AMD’s Replacement Panel for ’73-’87 Chevy GMC C/K Truck and ’73-’91 Blazer, Jimmy, Suburban Models
If you’ve spent much time in and around classic trucks, you know that rust is a major opponent that stands in the way of a successful restoration. Unfortunately, water and moisture don’t respect boundaries, as interior metal parts are equally susceptible to rust and decay as exterior panels. This simple fact is exactly what inspired Auto Metal Direct (AMD) to develop a replacement inner lower door panel that features OEM-matched size, fitment, and louvering. AMD’s replacement panel is stamped from high-quality, heavy gauge steel and comes treated with a rust-resistant EDP coating to ensure this will be the last time you or anybody else will have to worry about making repairs anytime in the foreseeable future.
AMD’s lower door repair panel is ideal for replacing a damaged factory panel, which is more common than you’d think due to moisture, rust, and other issues. The perfectly formed, high-quality steel panel has been reproduced to deliver the correct shape and size along with contours and lines that match the OEM section exactly.
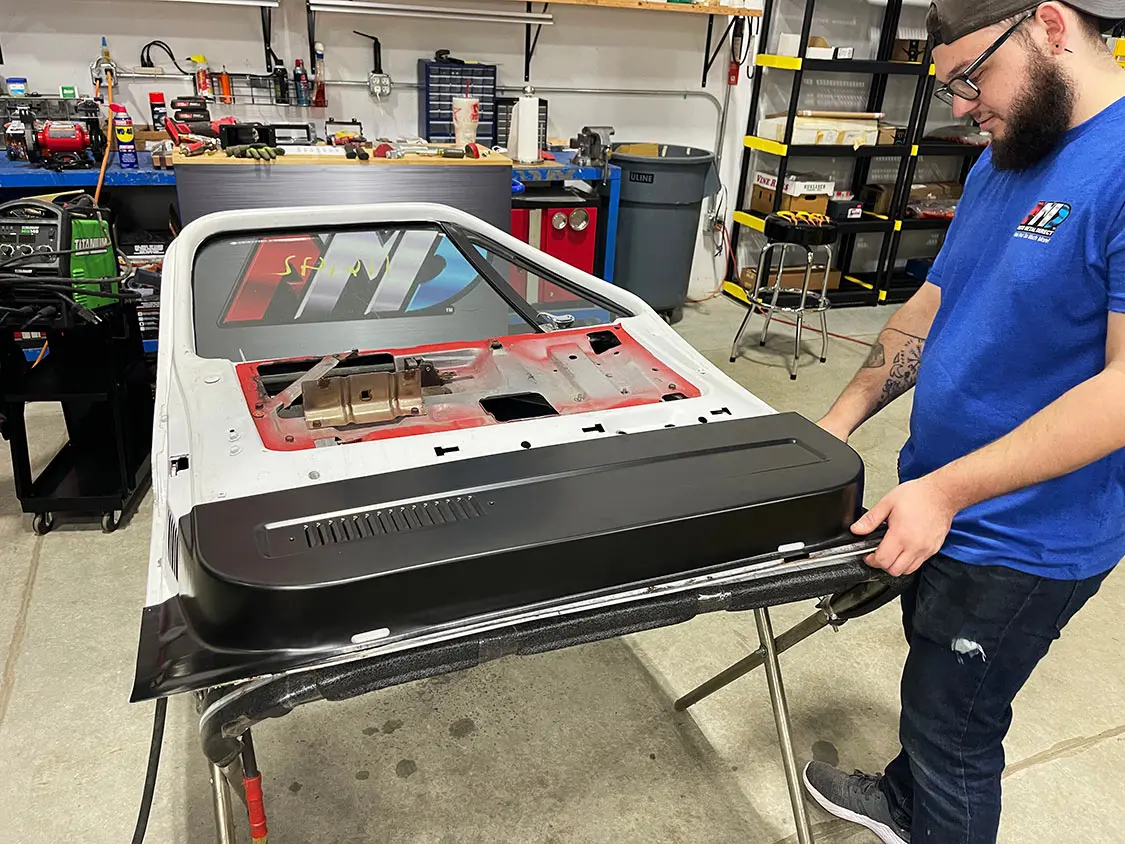
Maybe you have found yourself in the situation of needing to replace the lower door panels in your truck due to rust damage or just general jankiness as in the case of our donor truck. Whatever the exact situation is, rest assured that AMD has you covered. The installation process requires mostly hand tools with the exception of having to weld the panel into place. If your TIG/MIG skills aren’t as sharp as you’d like, invite a capable buddy over to hang out for a few hours and get the job done in your home garage.
Now, depending on how you wish to finish the inner door panel, further weld and grind work is still
required. But as far as showing the gist of AMD’s lower door panel installation, following these steps will help get the job done. Say goodbye to rust and hacked up door panels, and create a much cleaner appearance inside the cab of your Chevy pickup or SUV!
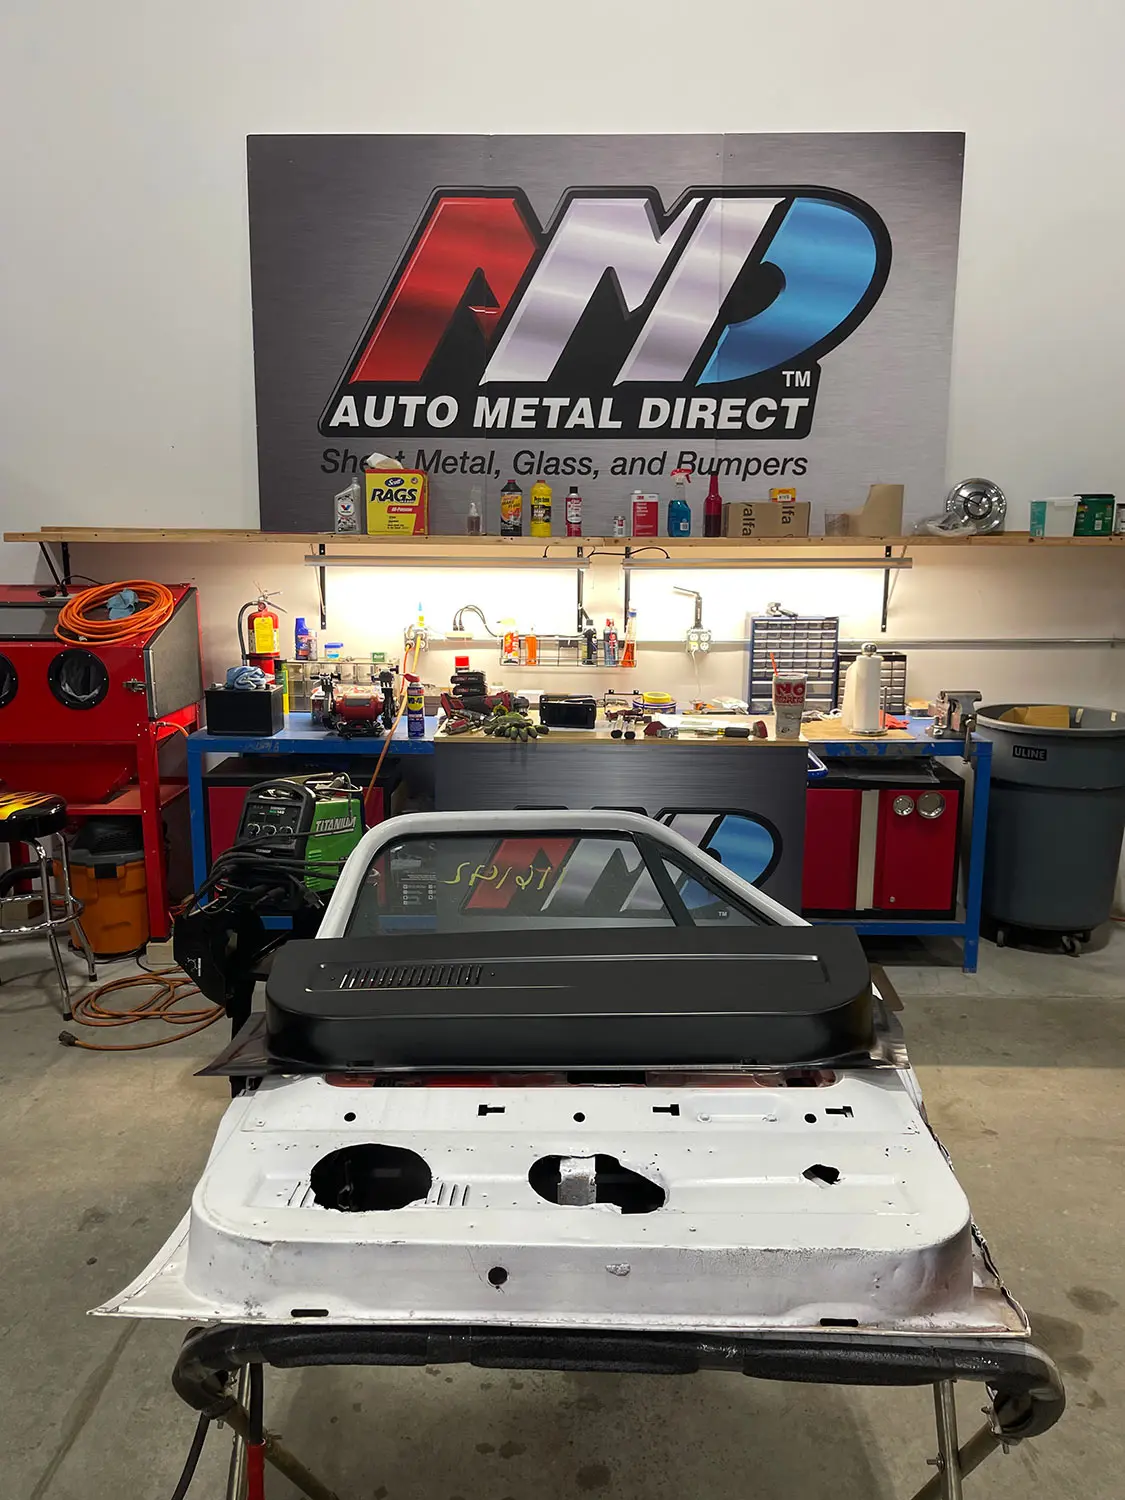
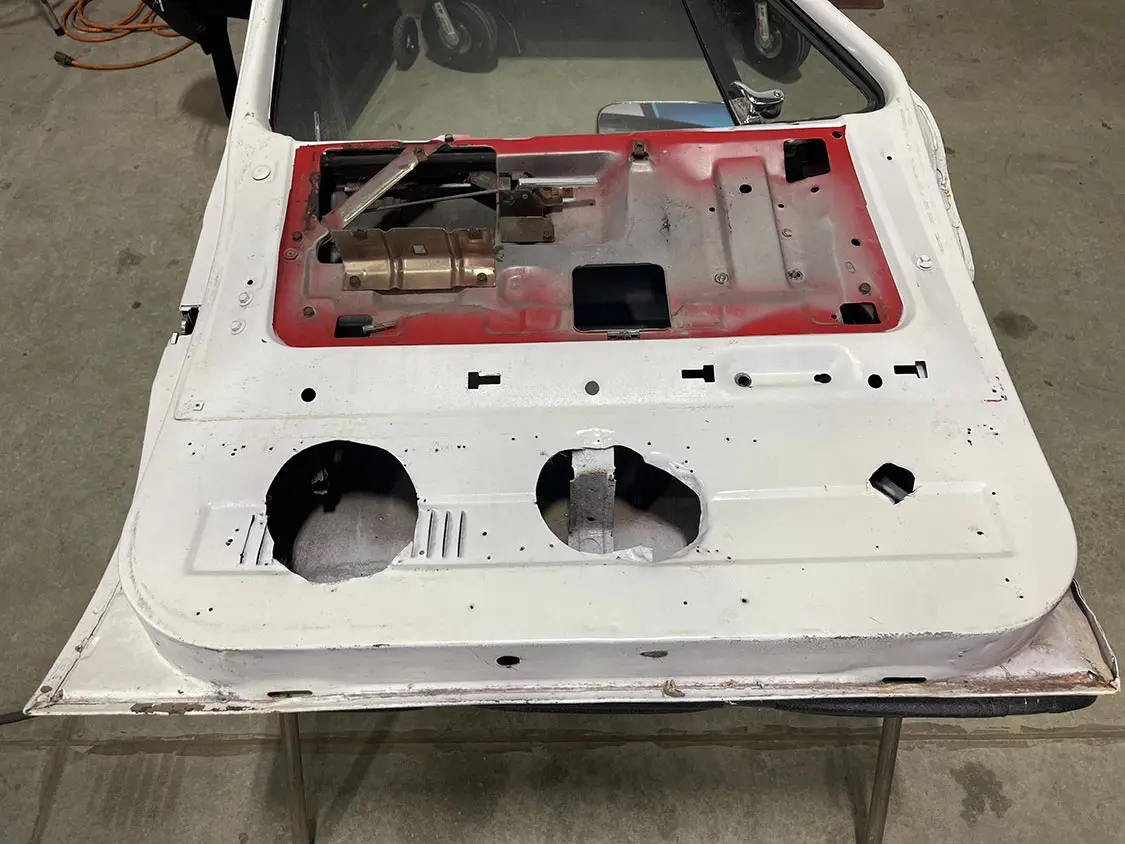
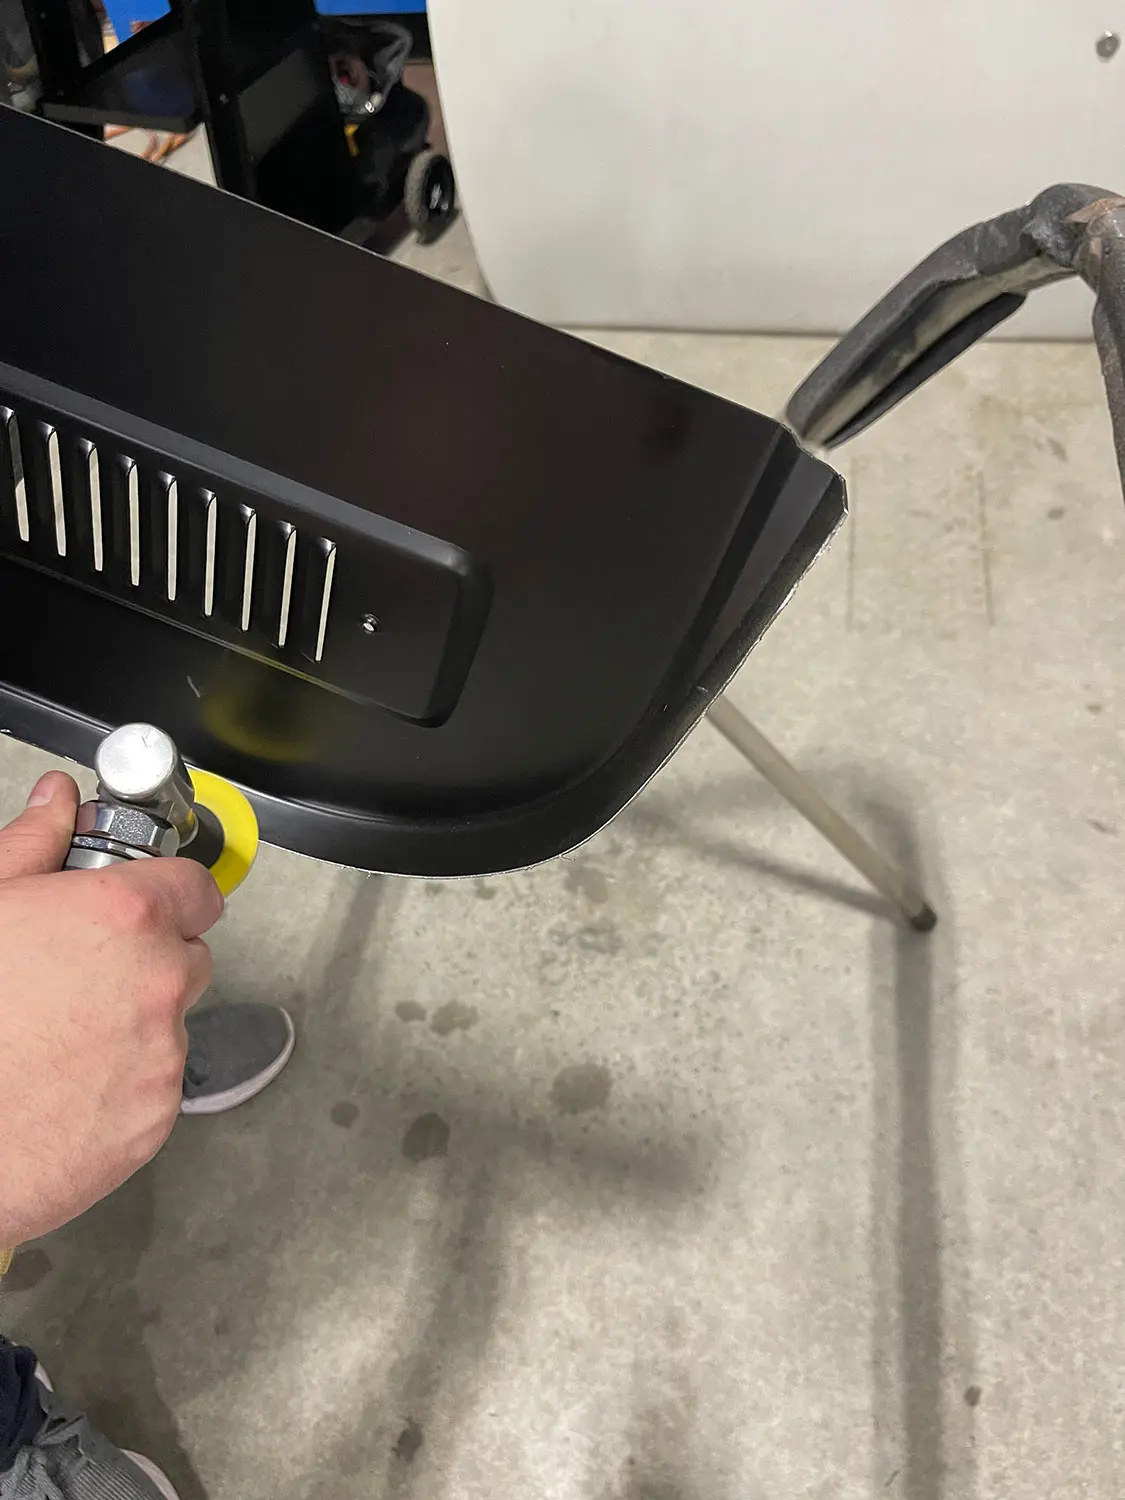
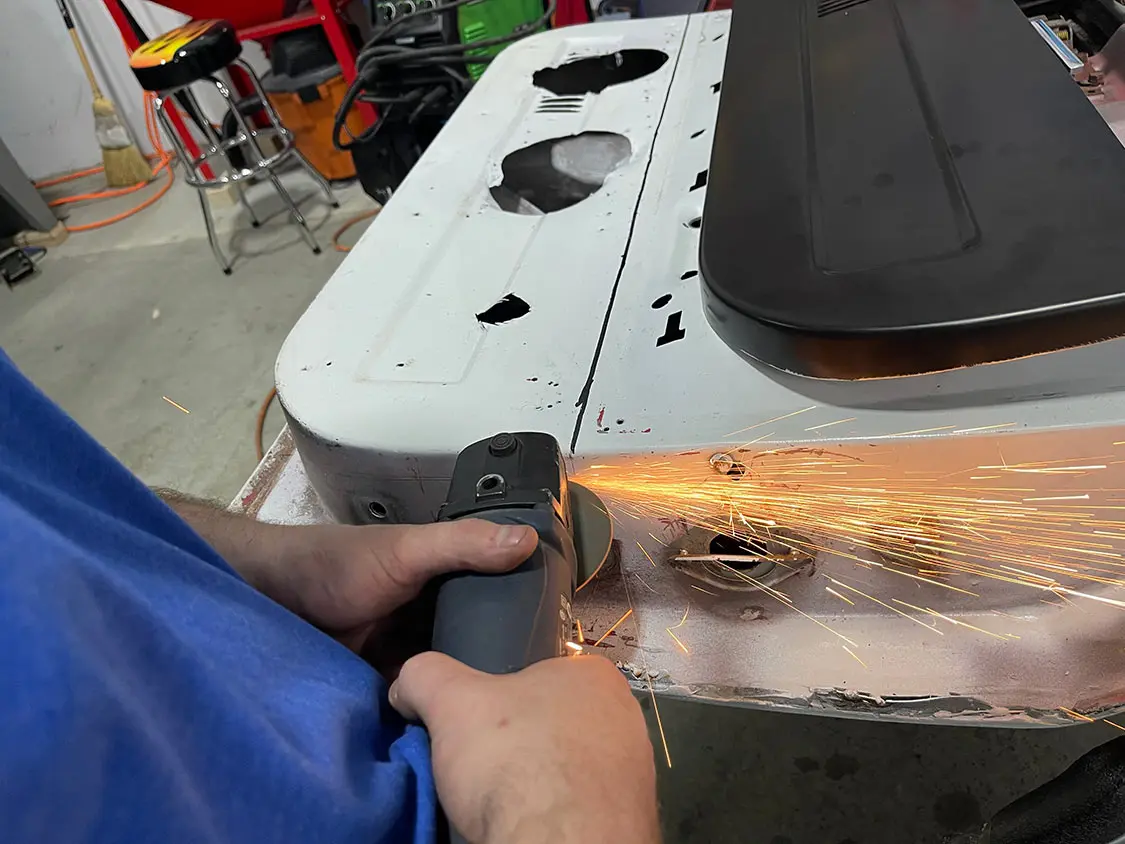
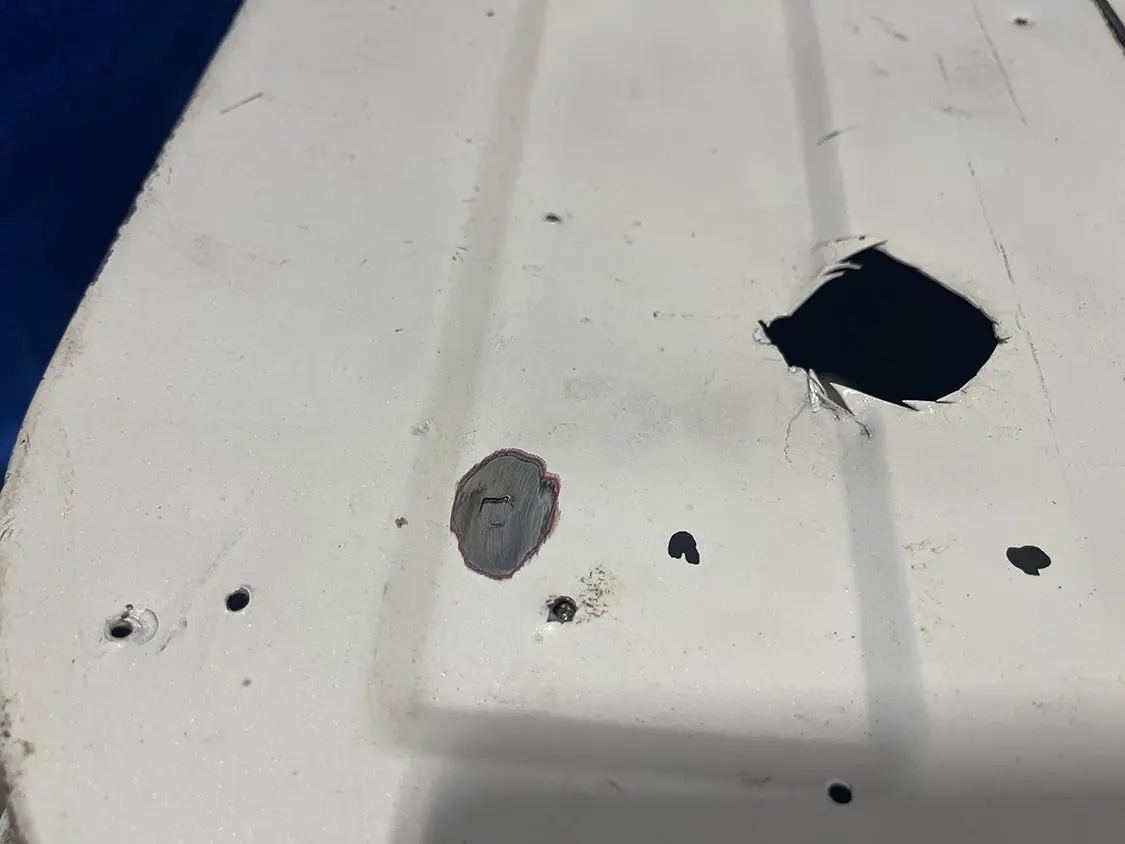
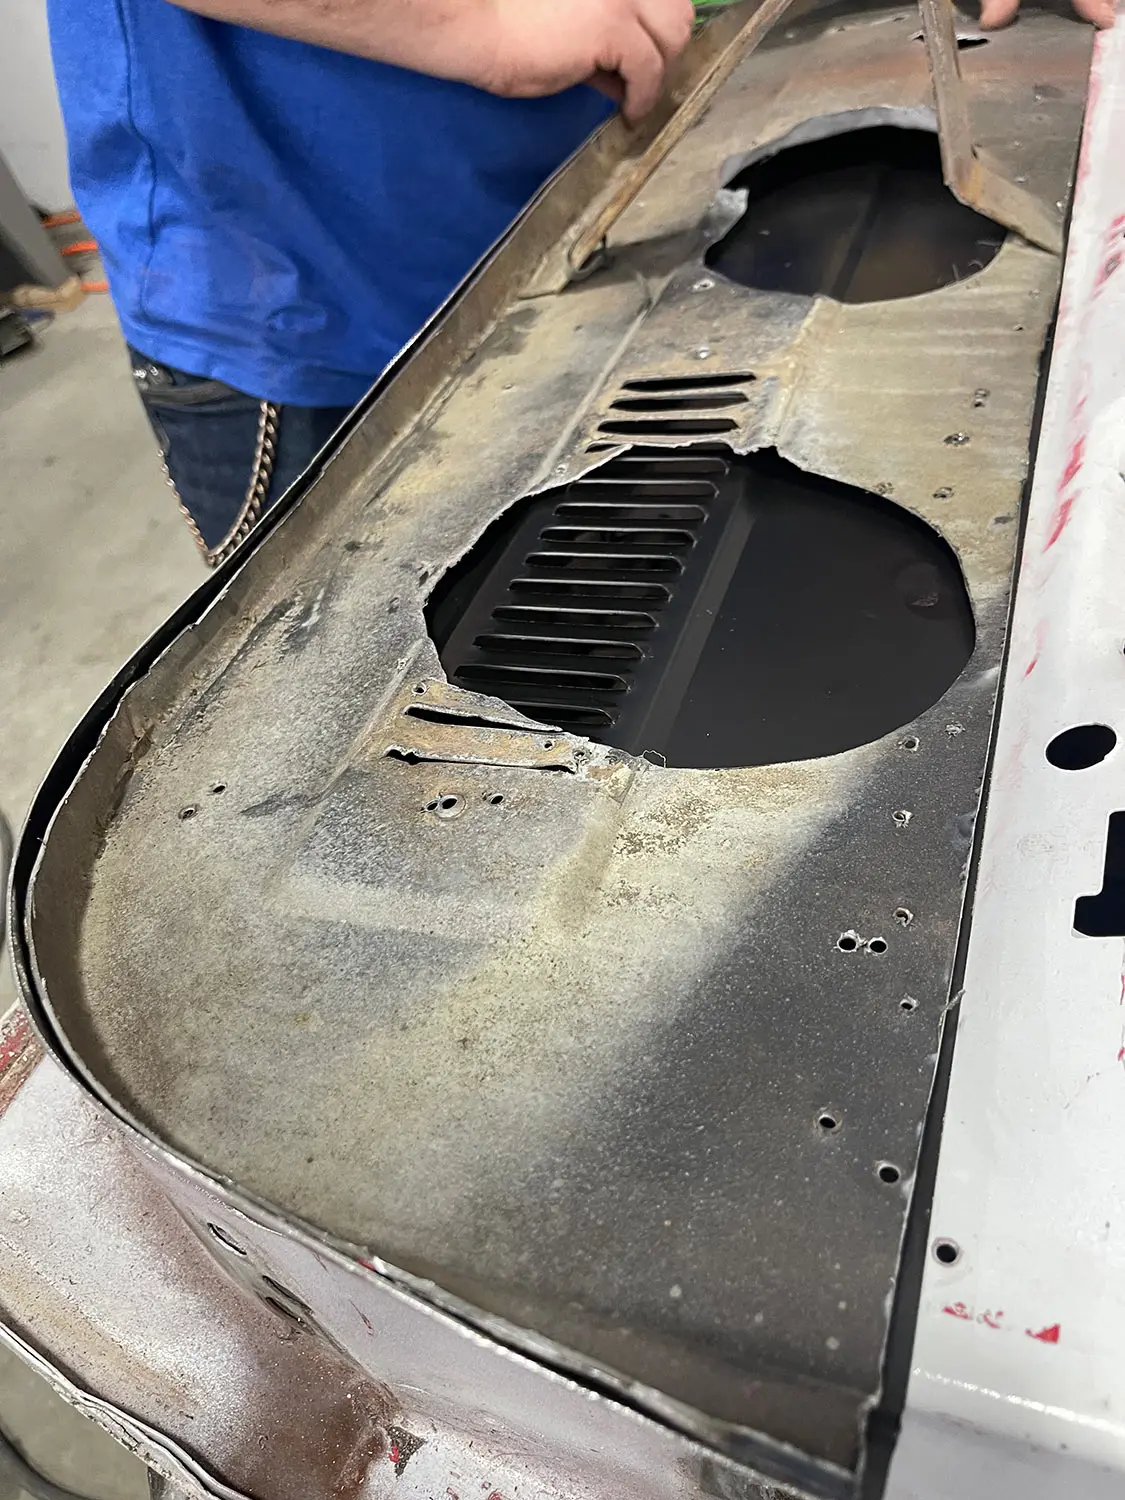
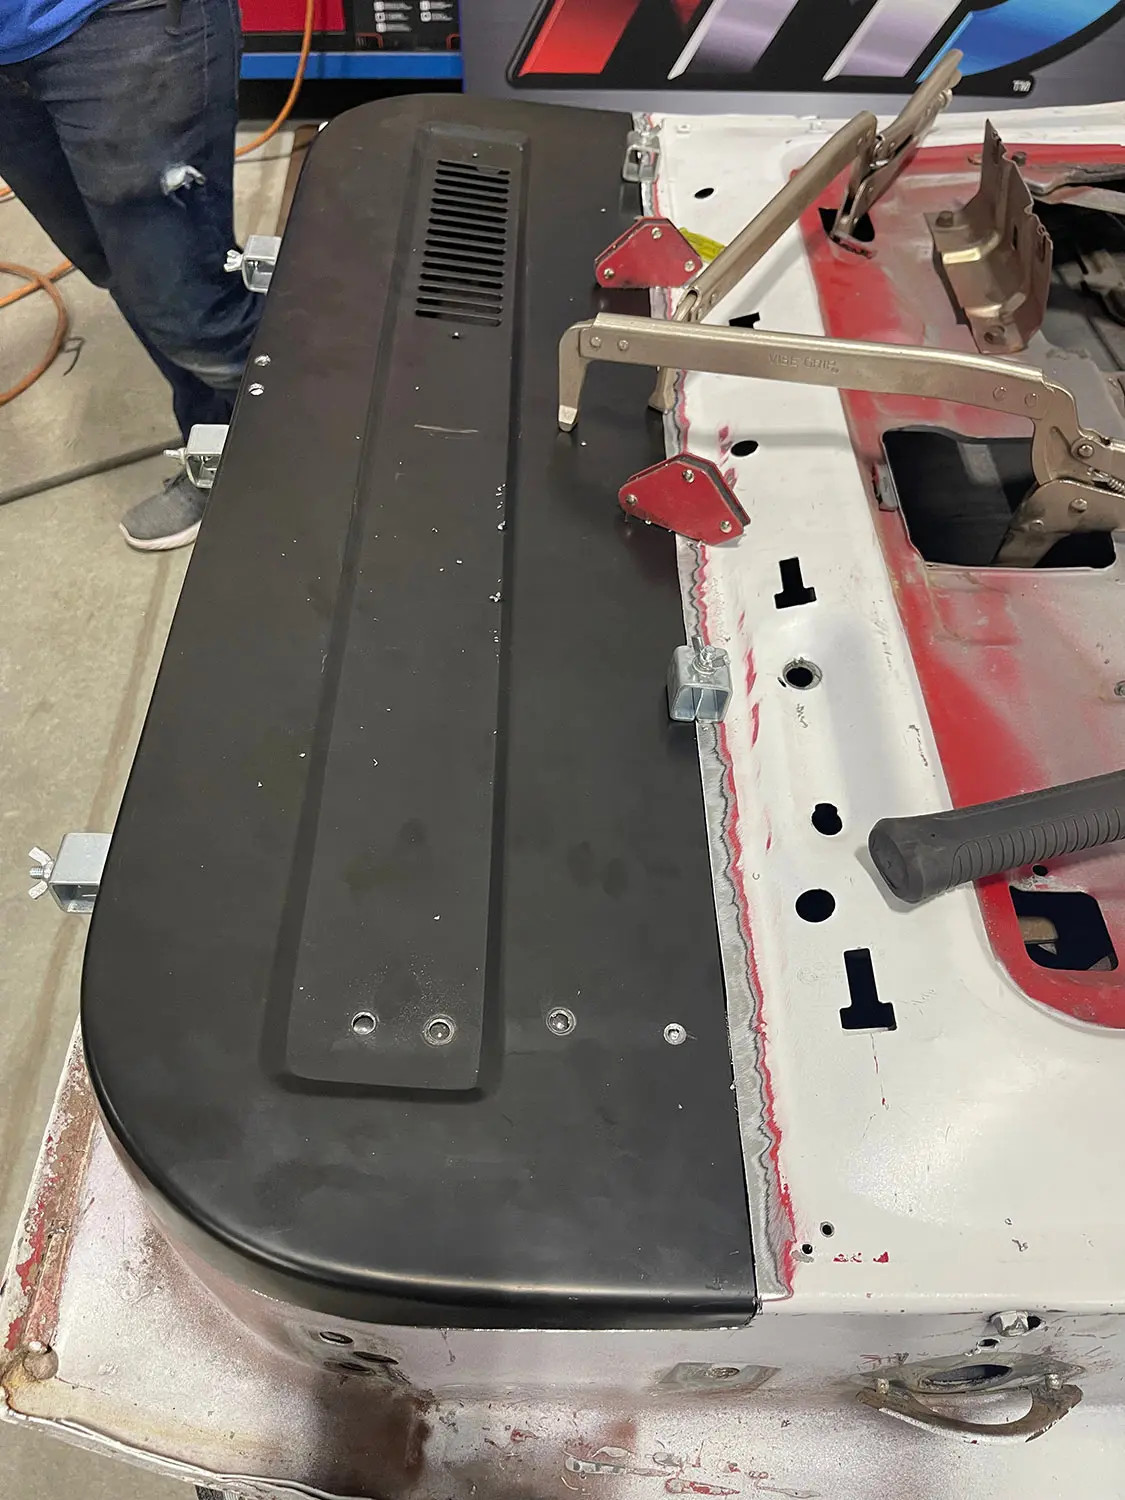
Here’s a glance at what was left of the factory door panel in its entirety. It’s obvious that it has been hacked up to fit a component speaker set or something along those lines. Now, compare that condition with the much cleaner look of AMD’s replacement lower panel that will erase the eyesore that the door once was.
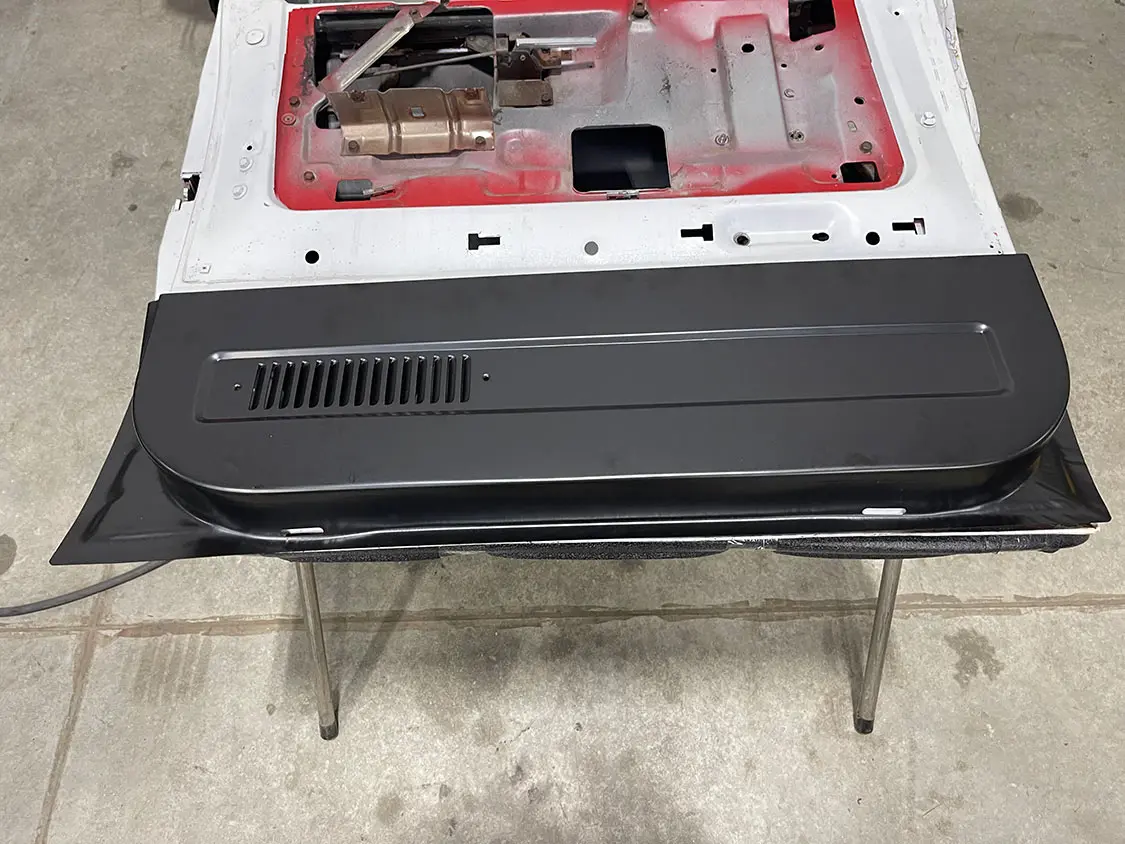
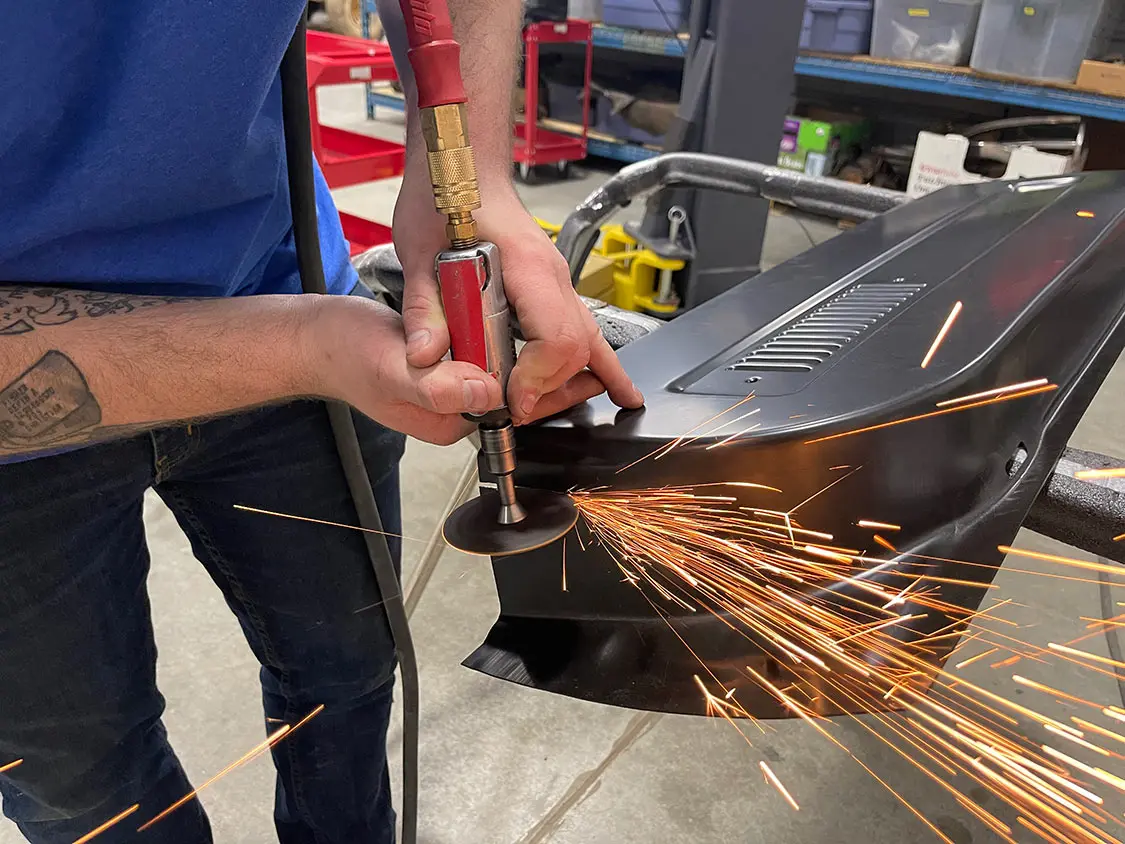
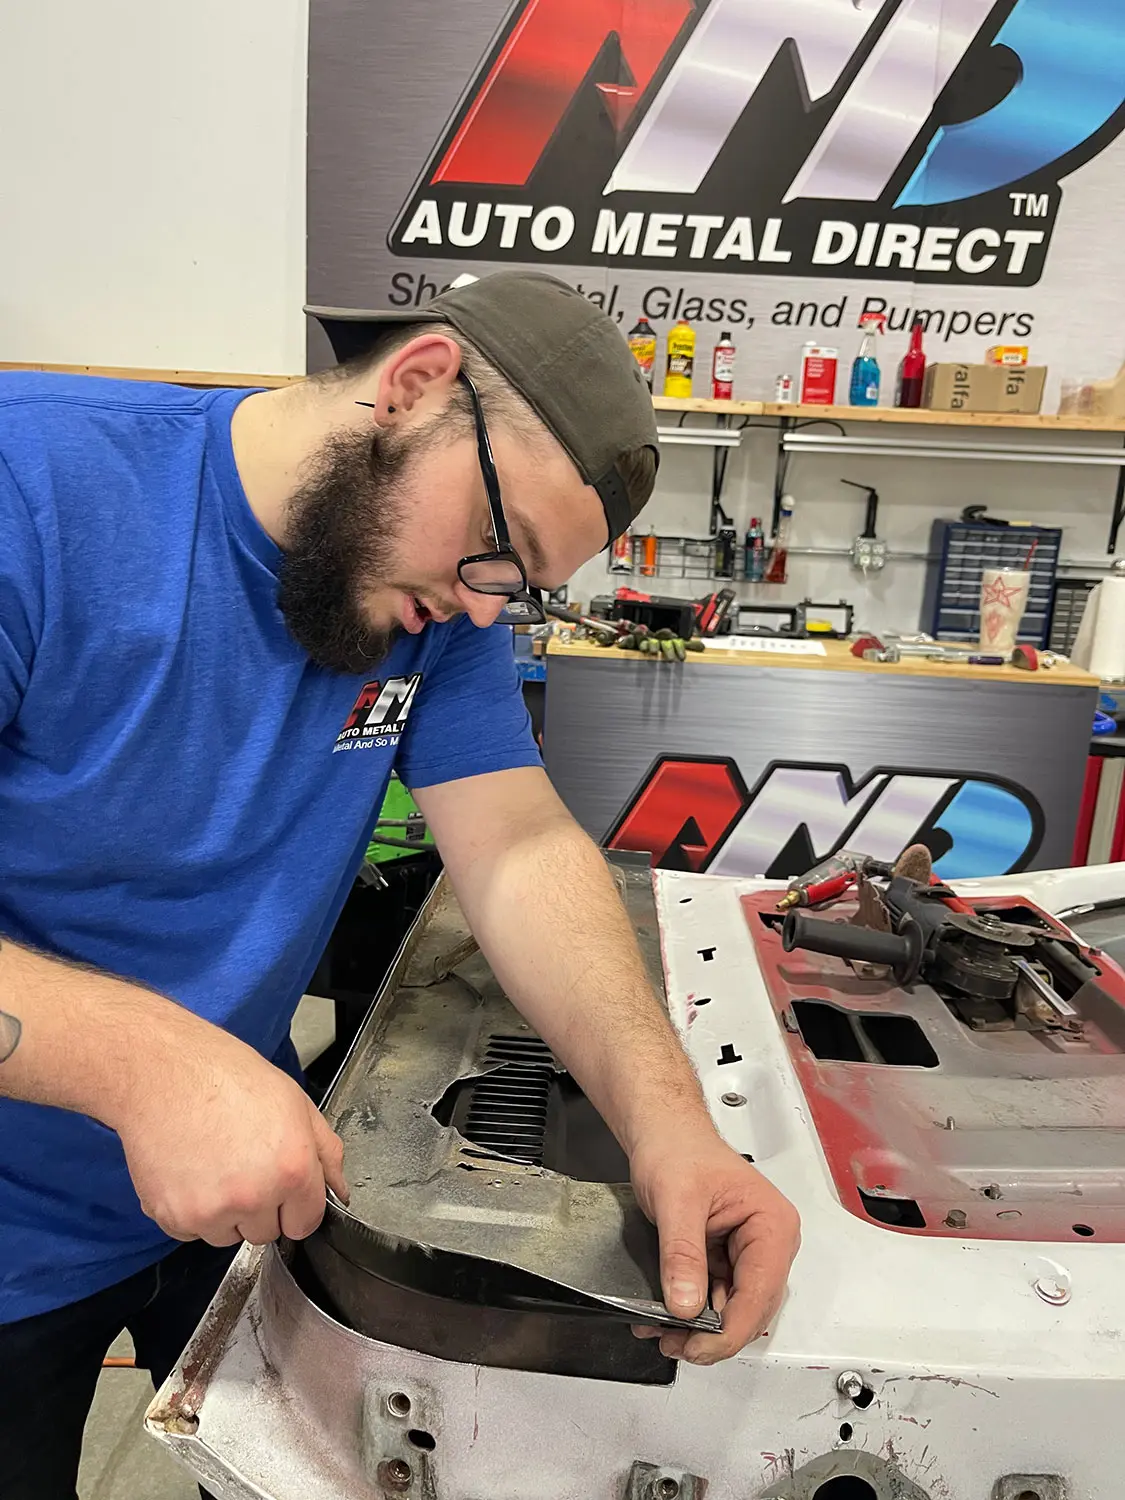
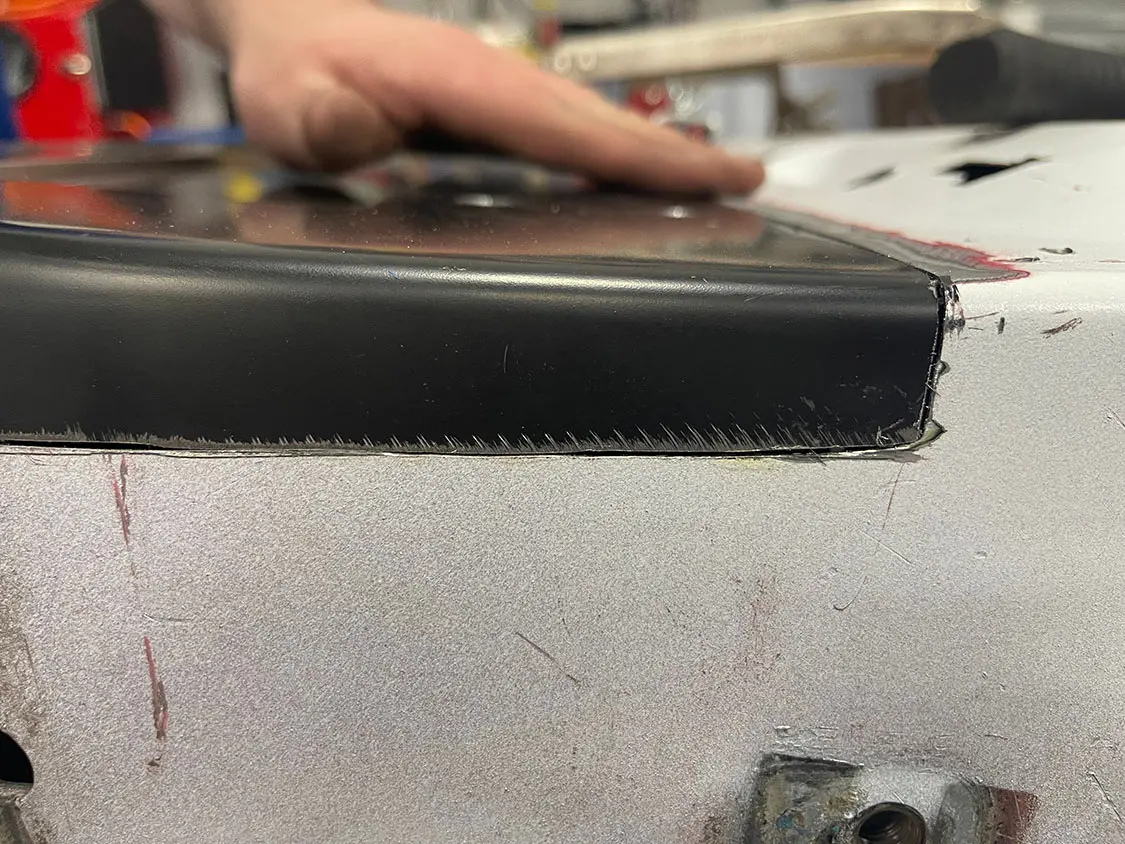
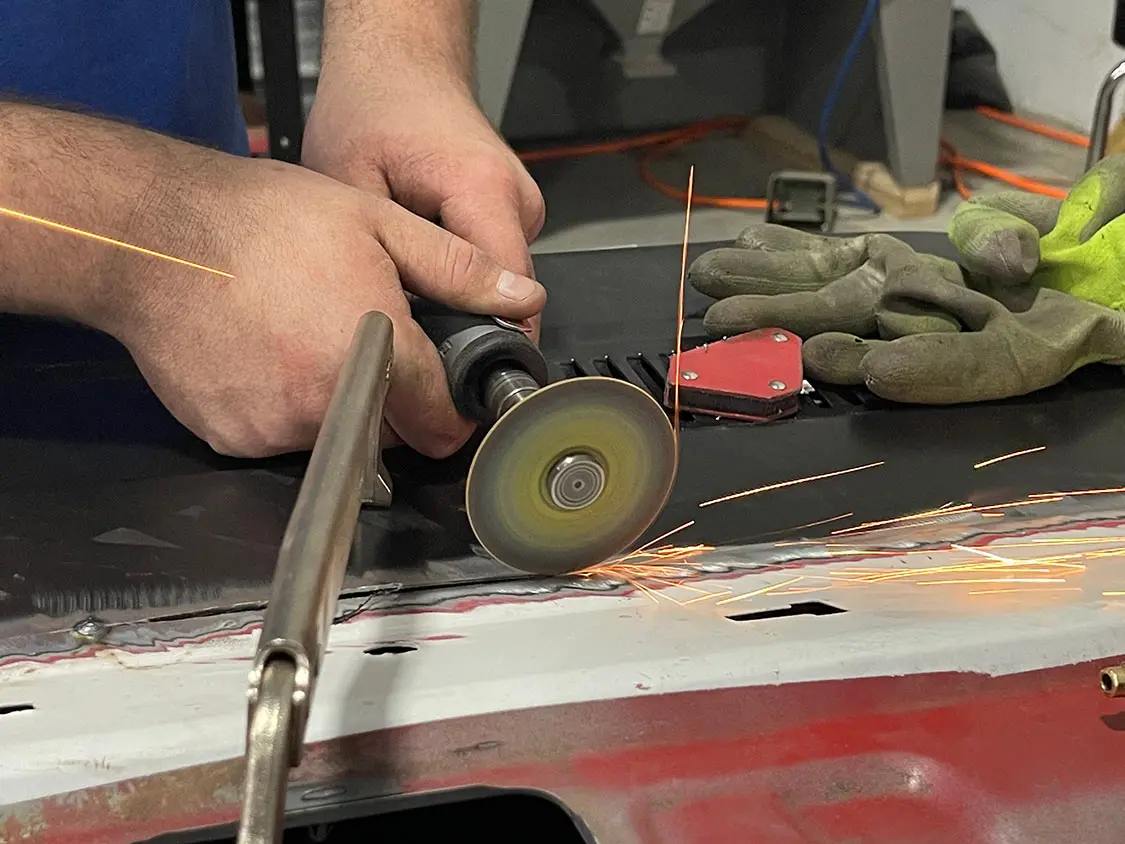
To start with the transformation, Devin drew a line across the panel to mark where to make the cut on the new panel. Once he finished carefully cutting his way around the panel, the edges were then smoothed out.
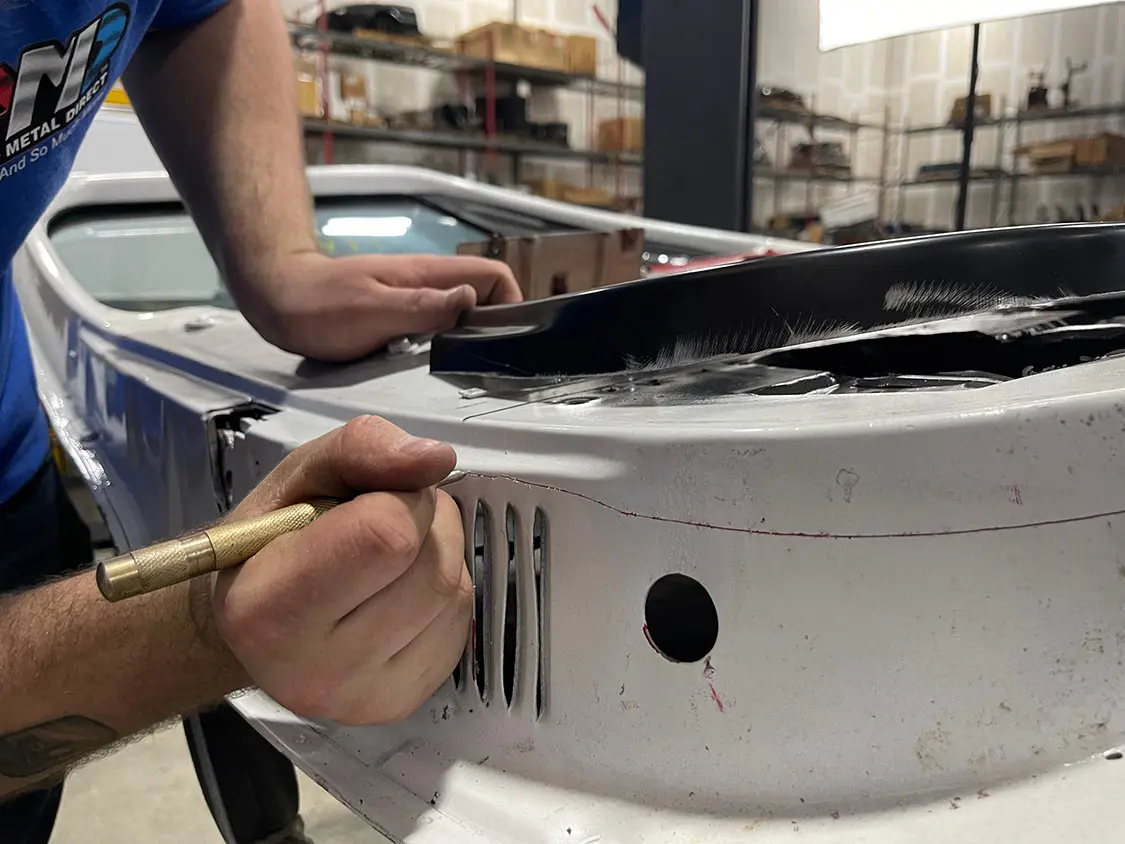
The next step was to position AMD’s panel that was just cut and traced where to make the incisions on the original door panel underneath it. It’s important here to mark around the side louvers of the OEM door as to keep those in tact for optimum venting in the future.
With the traced lines guiding the way, Devin began to cut through the factory door panel with care.
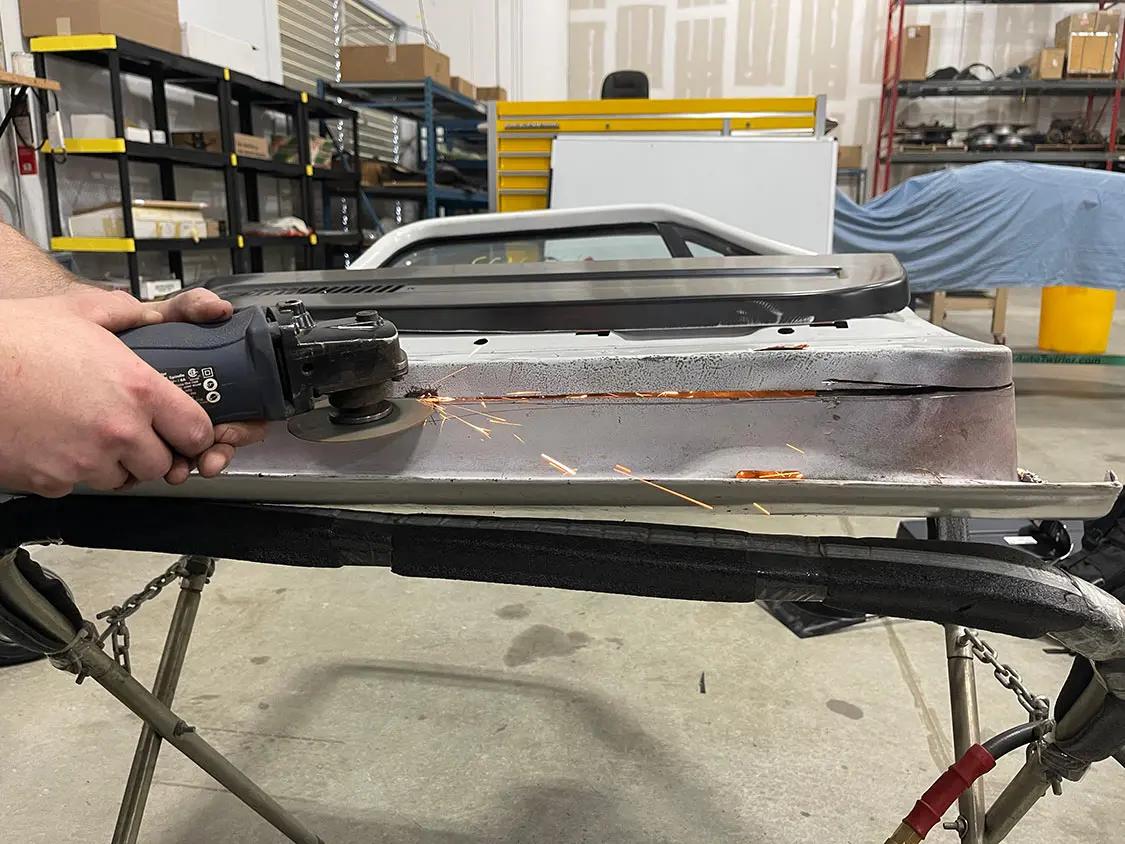
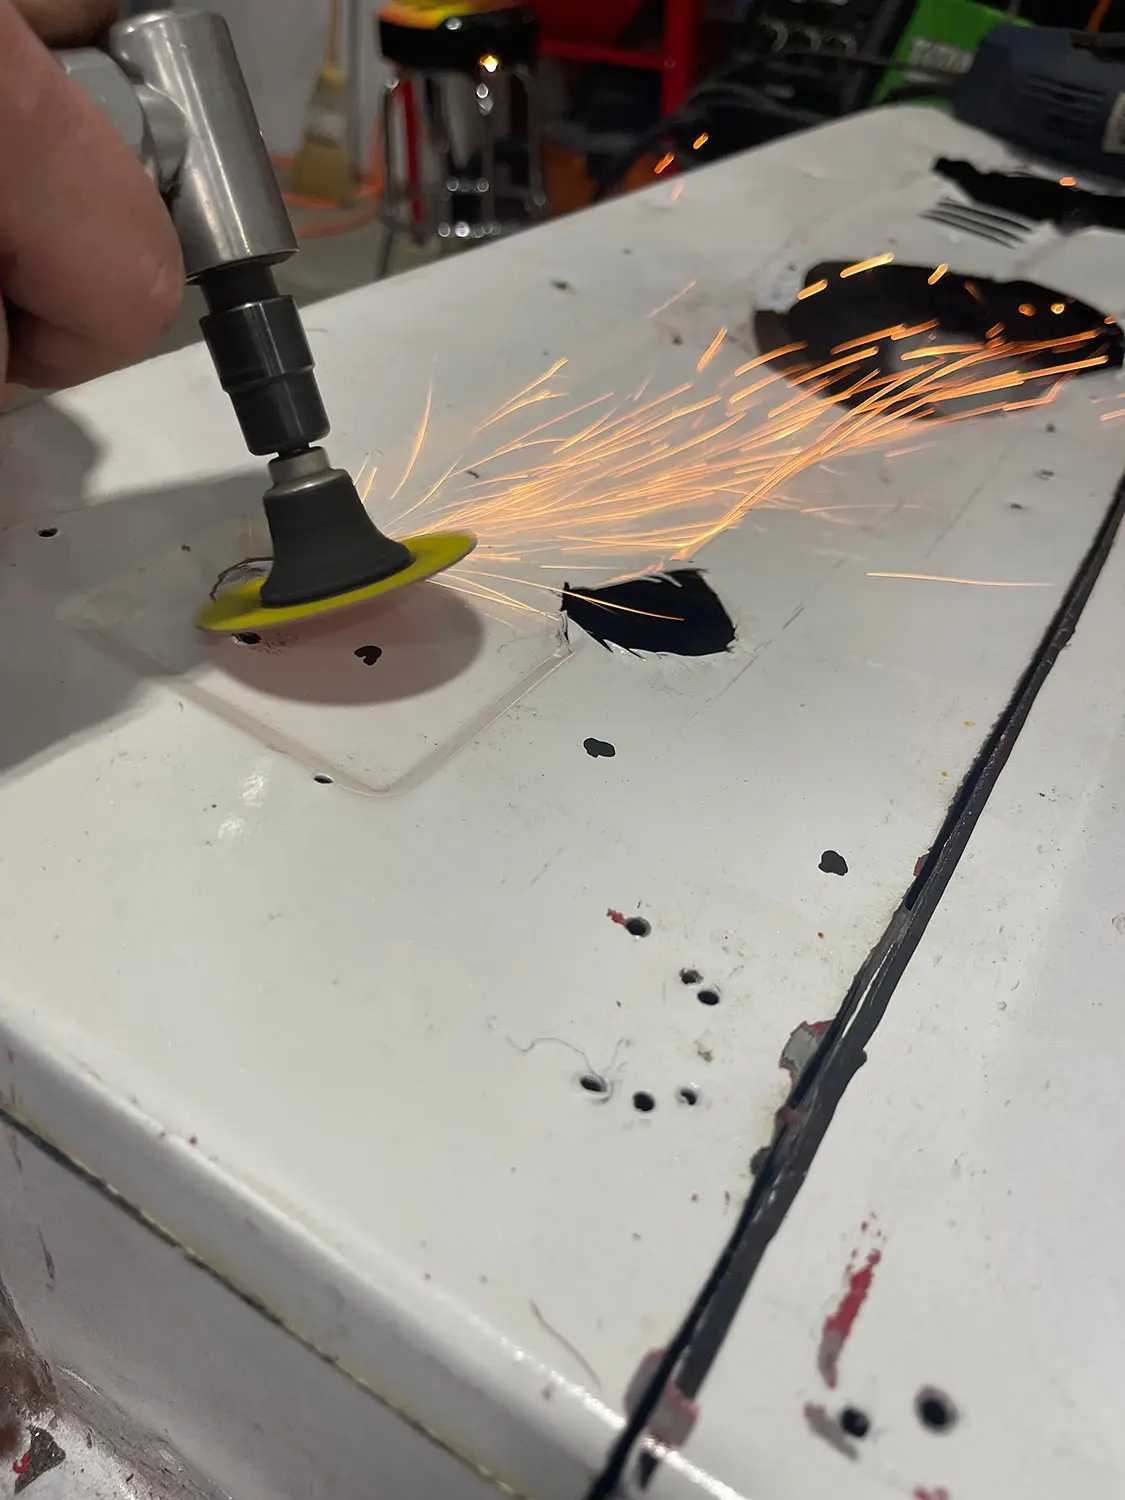
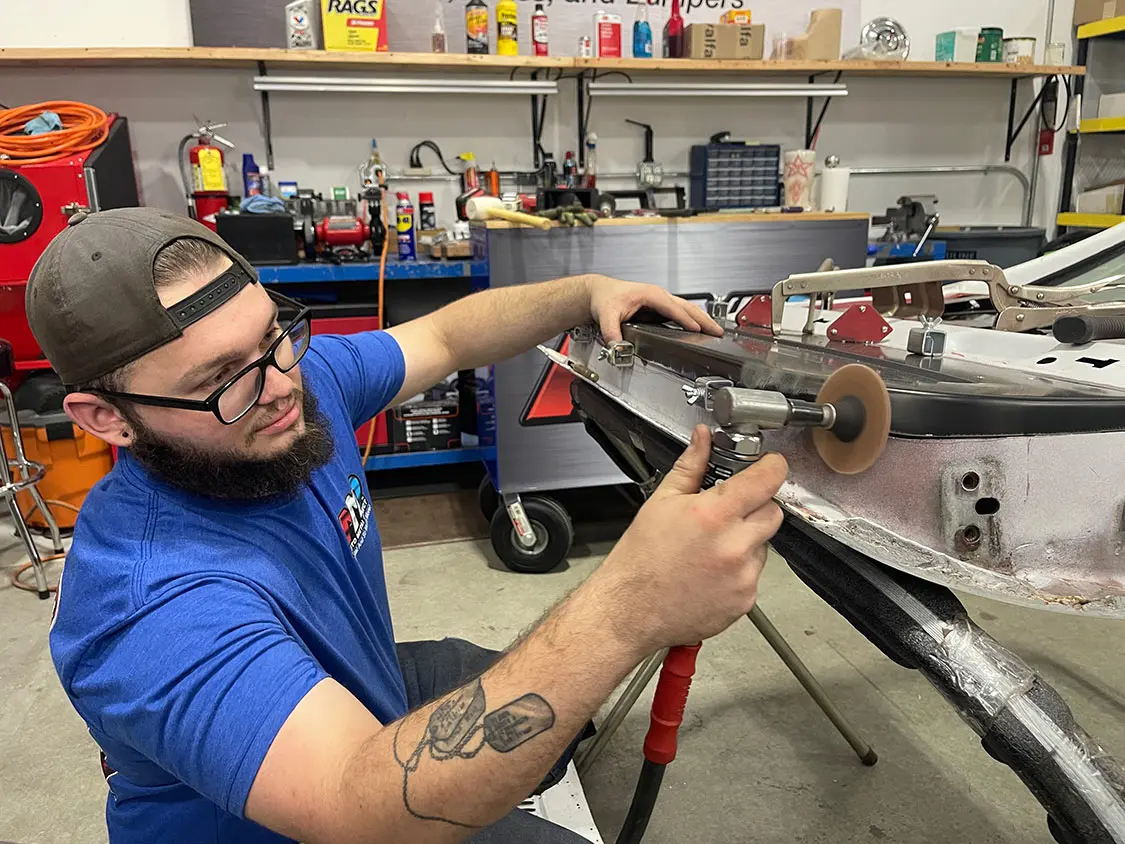
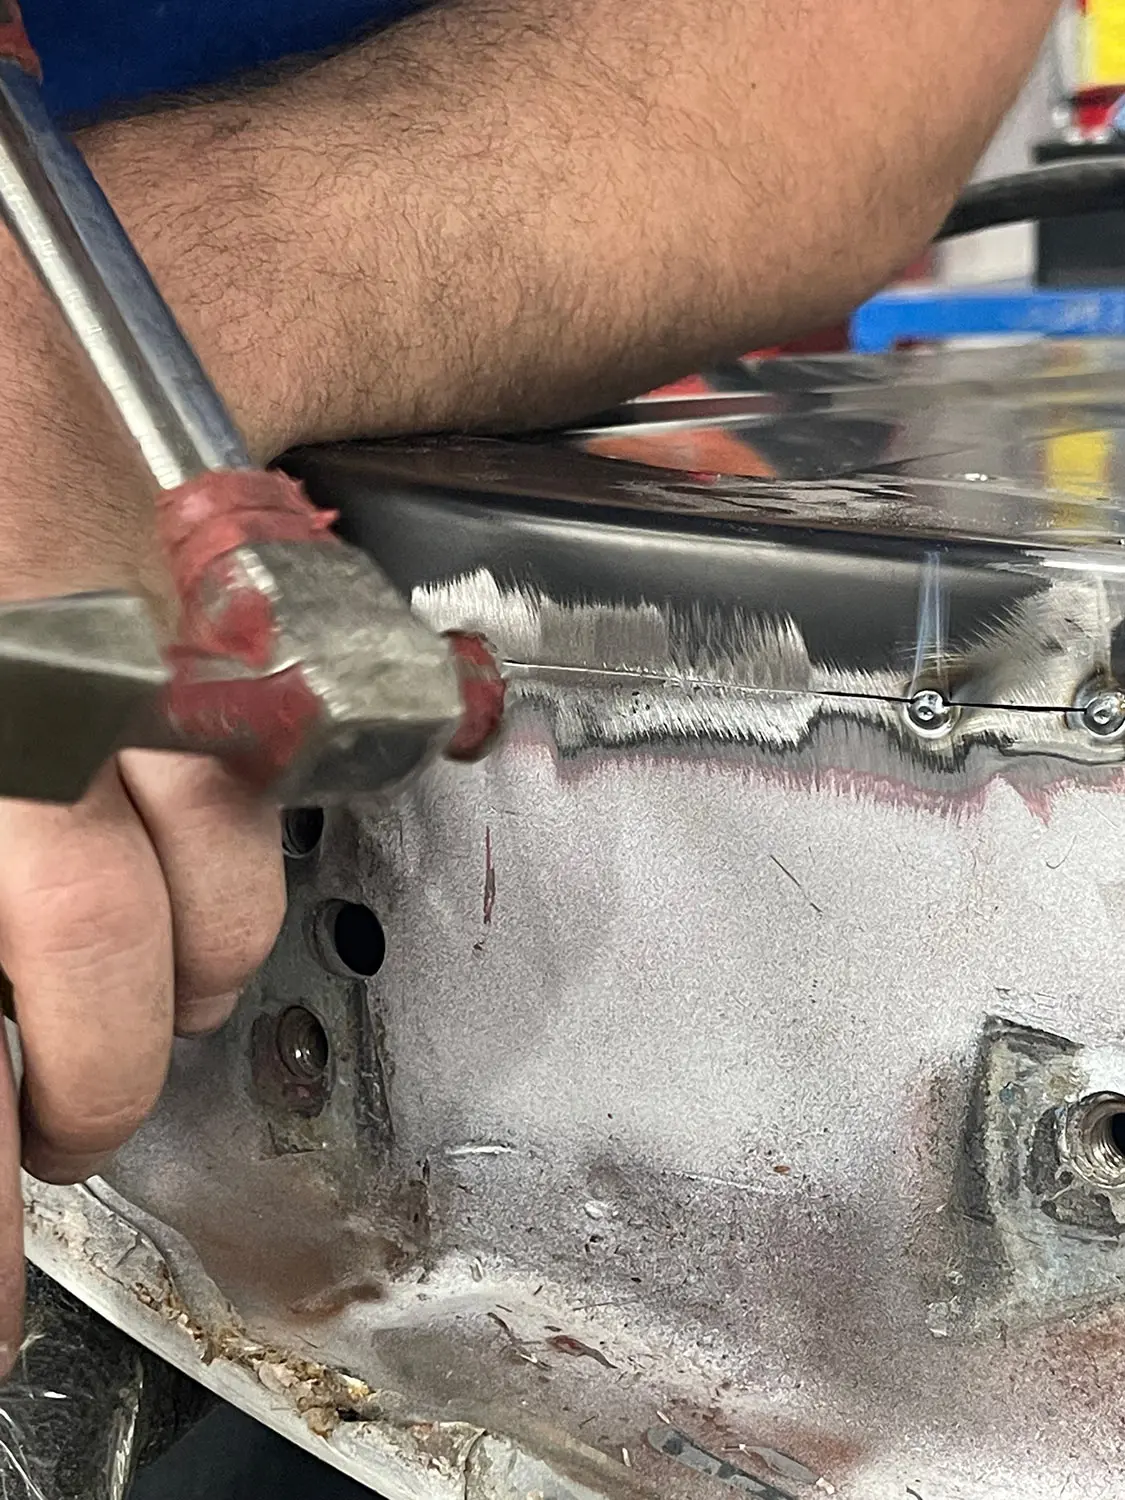
Even with the lower door panel cut entirely across and all around, it is still held in place at a few other mounting points. To release the panel, the factory welds holding it in place had to be burned through with the grind wheel.
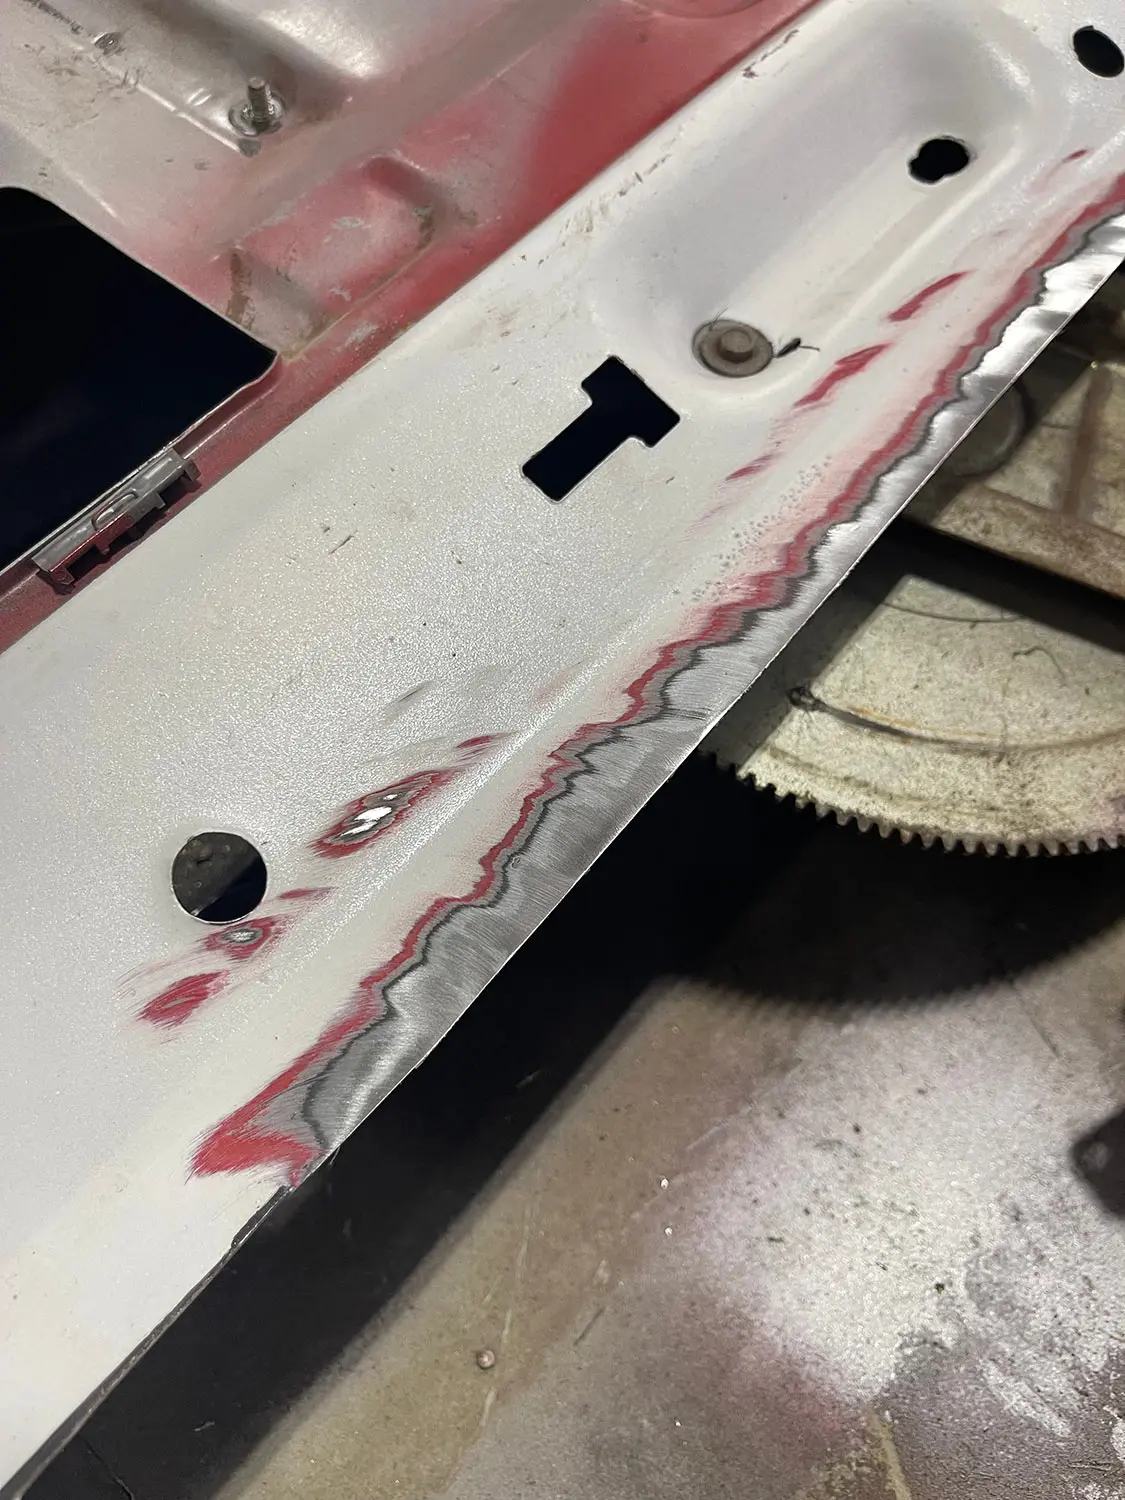
Next, the factory lower panel was removed and the freshly cut portion of the remaining door panel was ground down along the edge as well as along the side for a smooth finish.To ensure a tight finish, the AMD panel was temporarily dropped into place, and then the OEM portion that was just cut was placed upside down right on top of it.
This step was taken to reveal the most gapped and warped areas. When those problem sections were located, some minor reshaping was in order to minimize those gaps as much as possible.It was not clear to see that AMD’s panel sat much more snug after the test fitting and slight reshaping. Of course, not all lines will be cut perfectly, so unless there are major zigzags going on, the install will be fine—just trust the process.
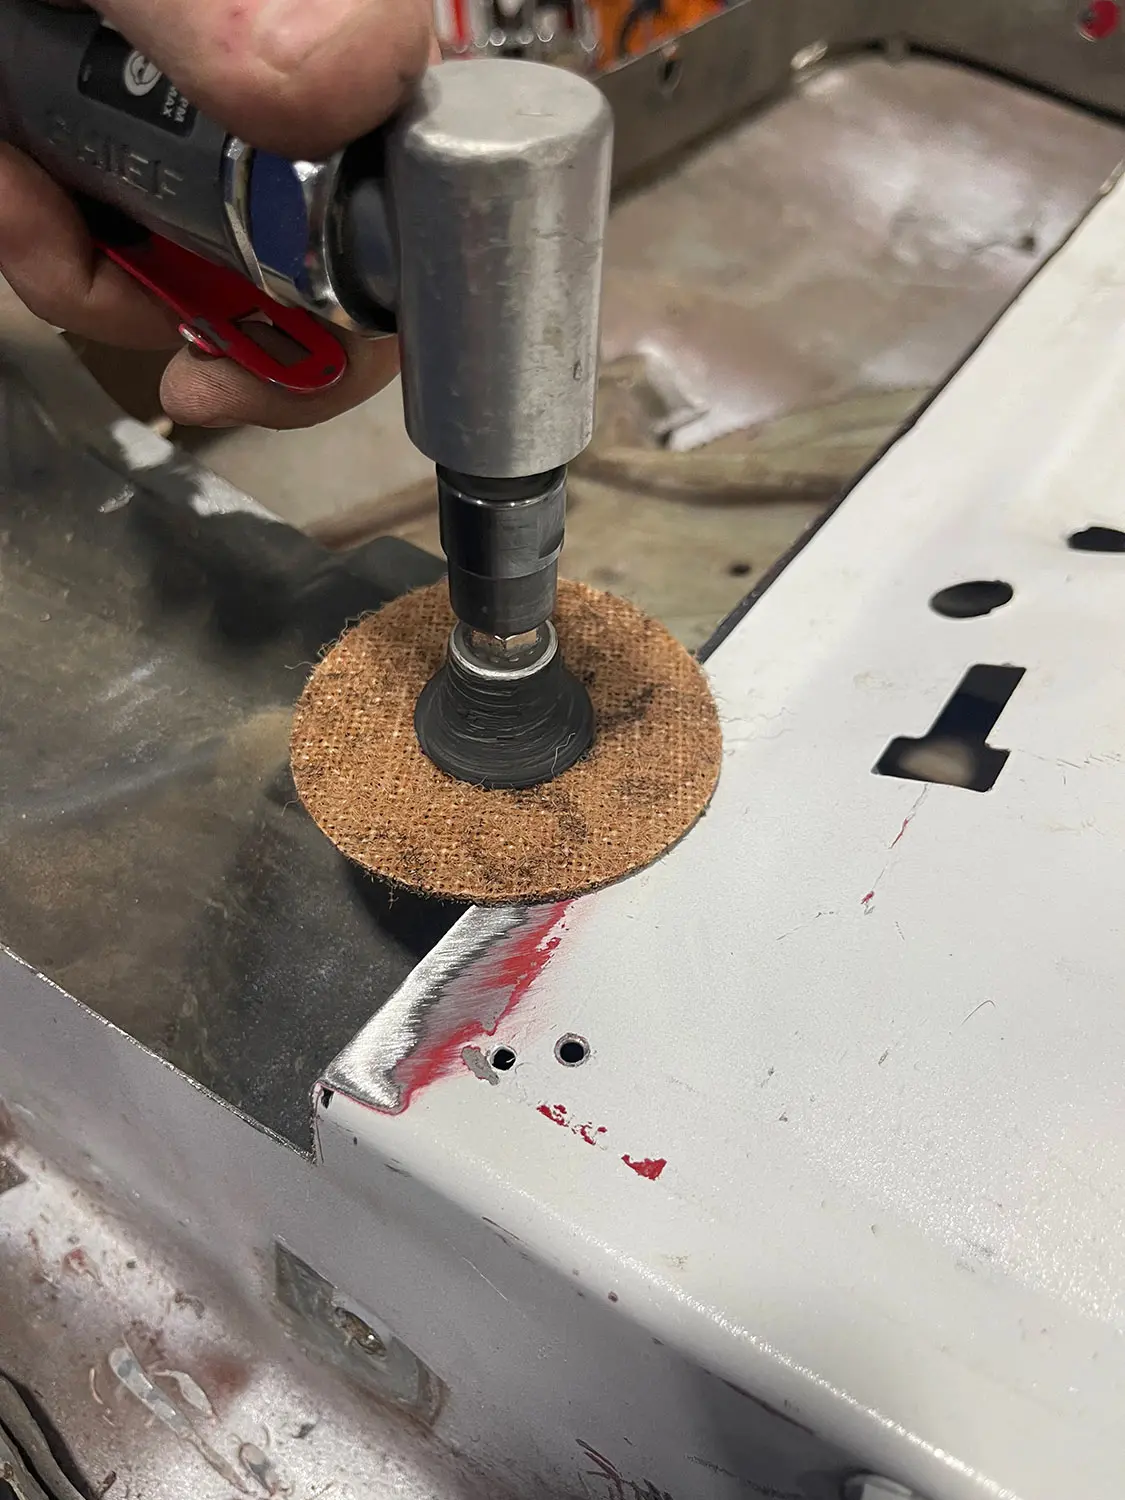
The next part of that process was to thoroughly scuff up both panels as they sat together. Exposing the bare metal will increase the adhesion of the welds scheduled to come next.
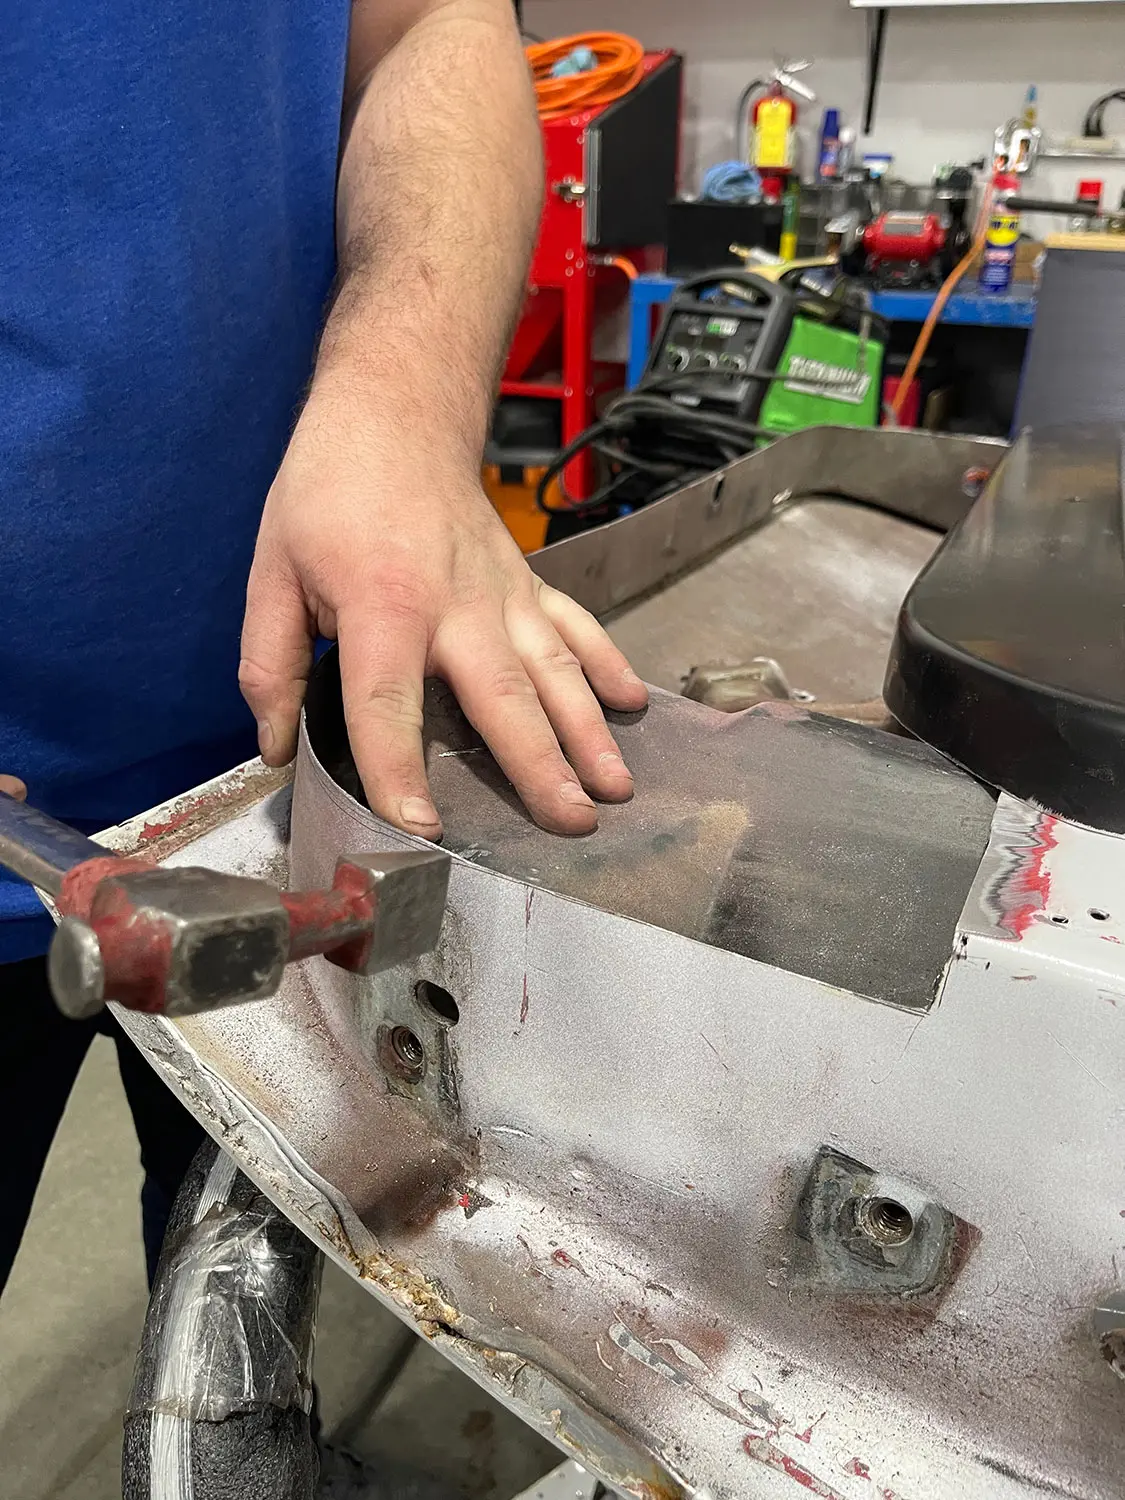
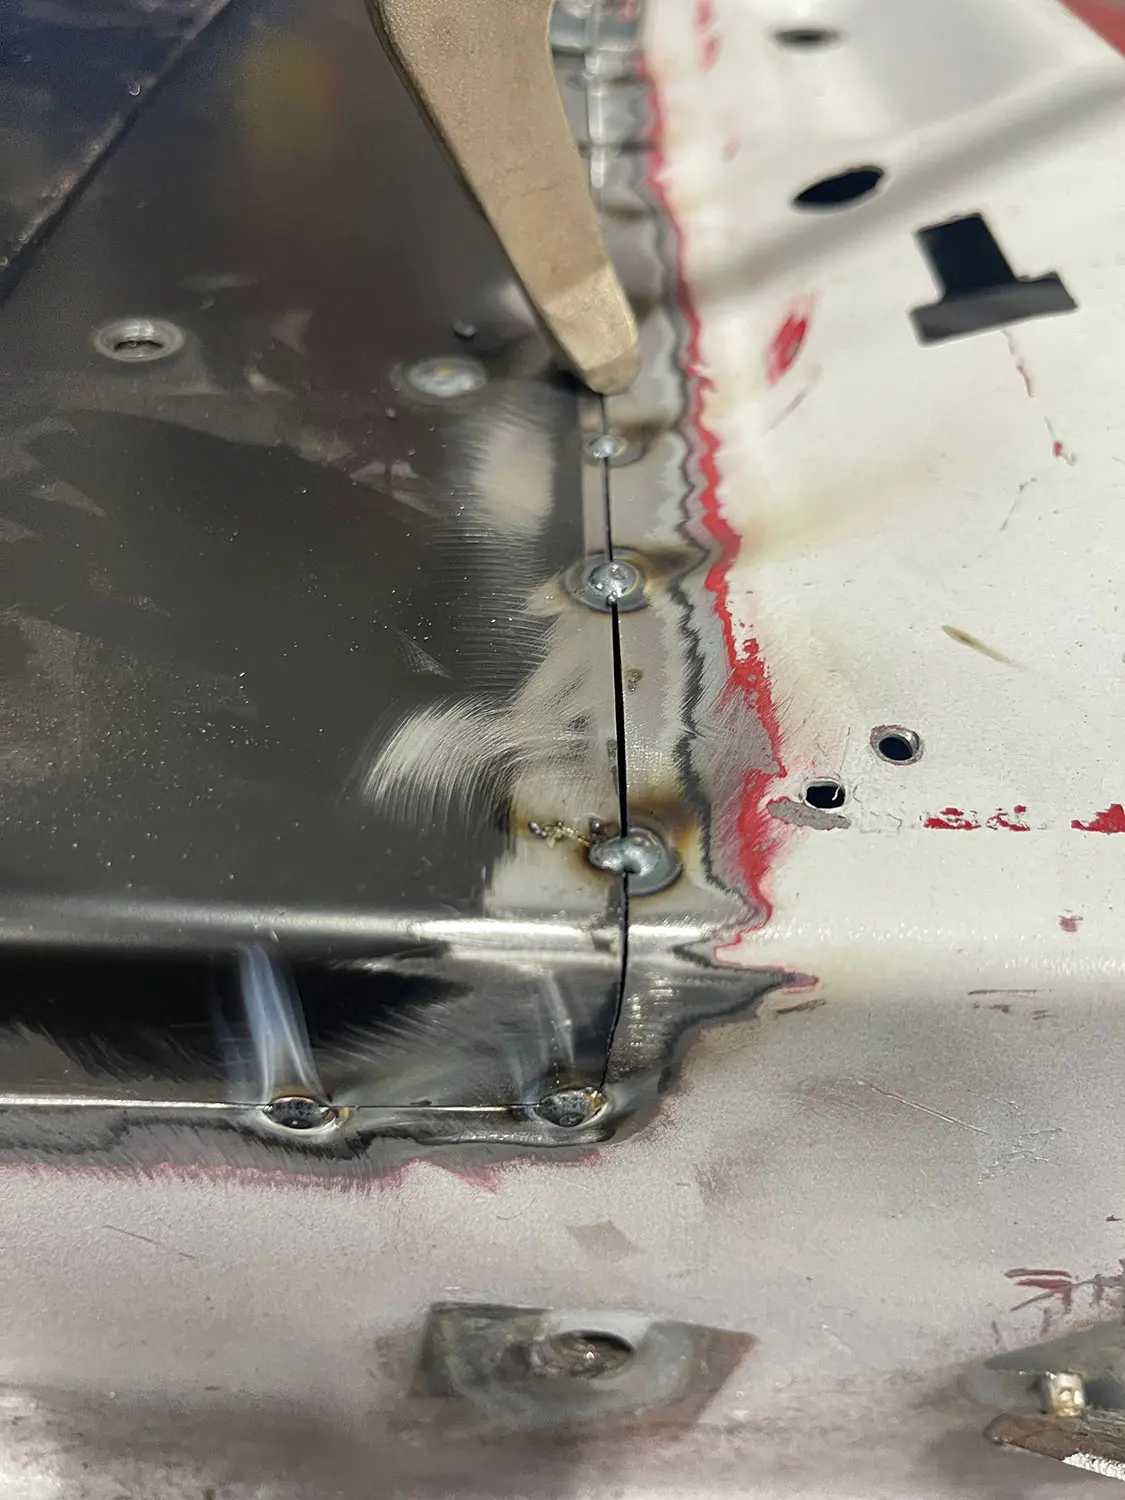
Devin continued to spotweld the AMD panel in place across the top and along the sides. Every now and then, he stopped to put the welder down and make a few small taps from a body hammer to knock them into better alignment.The welding was done from both sides first, and then across the top. Small portions where the two panels met showed some slight overlapping. To alleviate this very minor hiccup, a little trim work allowed Devin to continue with the welding process.Just like the factory panel was held in place in the mid sections, similar weld points were used to fuse the new panel in the same manner. This allows the metal to stay put without it shifting or bowing in any way.
We use cookies to enhance your browsing experience, serve personalized ads or content, and analyze our traffic. By clicking "Accept All", you consent to our use of cookies. Visit our Cookie Policy for more info.
 John Mata Jr.
.
March 04, 2024
.
How to
.
John Mata Jr.
.
March 04, 2024
.
How to
.


Share Link