Is your stuff safe? A lot of valuables left in vehicles are getting stolen. Smash-and-grabs are more common, and so having a way to secure things like cash, jewelry, checkbooks, wallets, or a defensive weapon is important.
Locking the doors simply isn’t enough to keep the criminals away. No thief has walked up to a vehicle, looked in the window, and pulled on the door handle only to say, “Dang, it’s locked—I guess I can’t steal that wallet laying in the seat.”
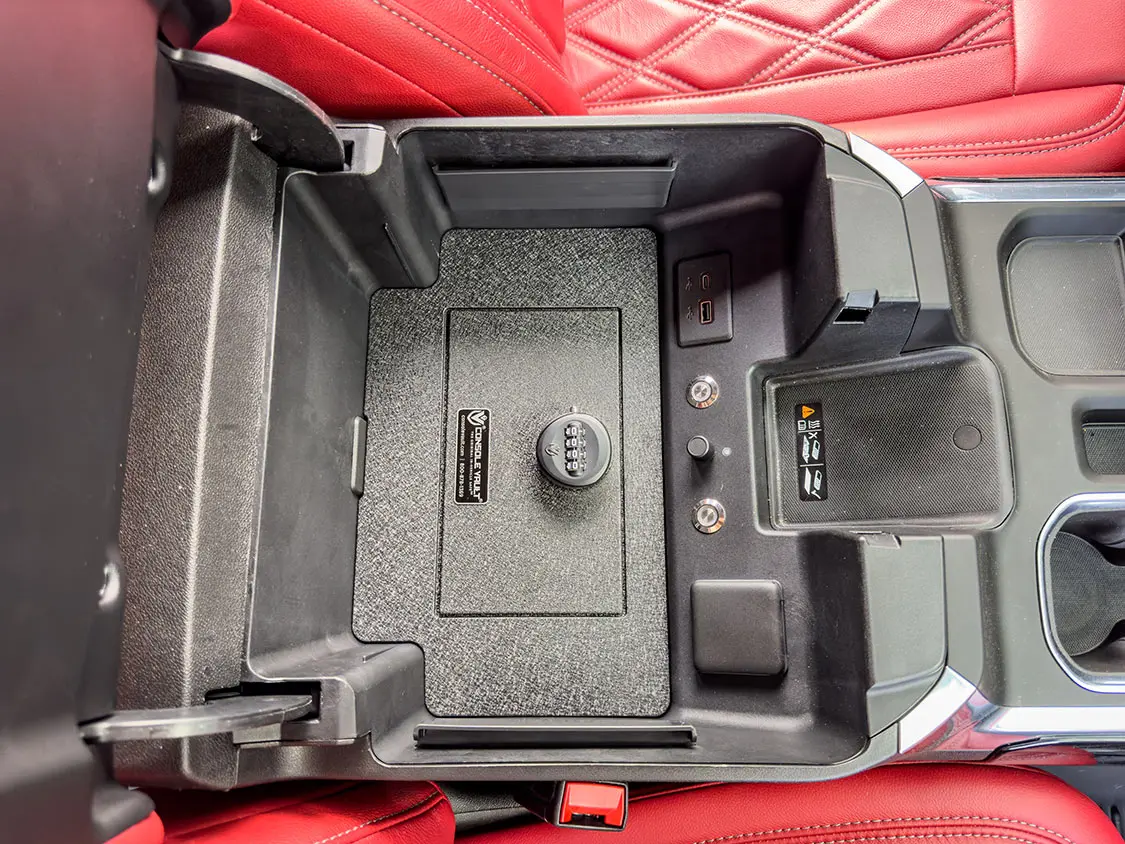
Experts recommend adding a secured place in your vehicle hidden from plain view that has a thief-proof lock made from thick steel.
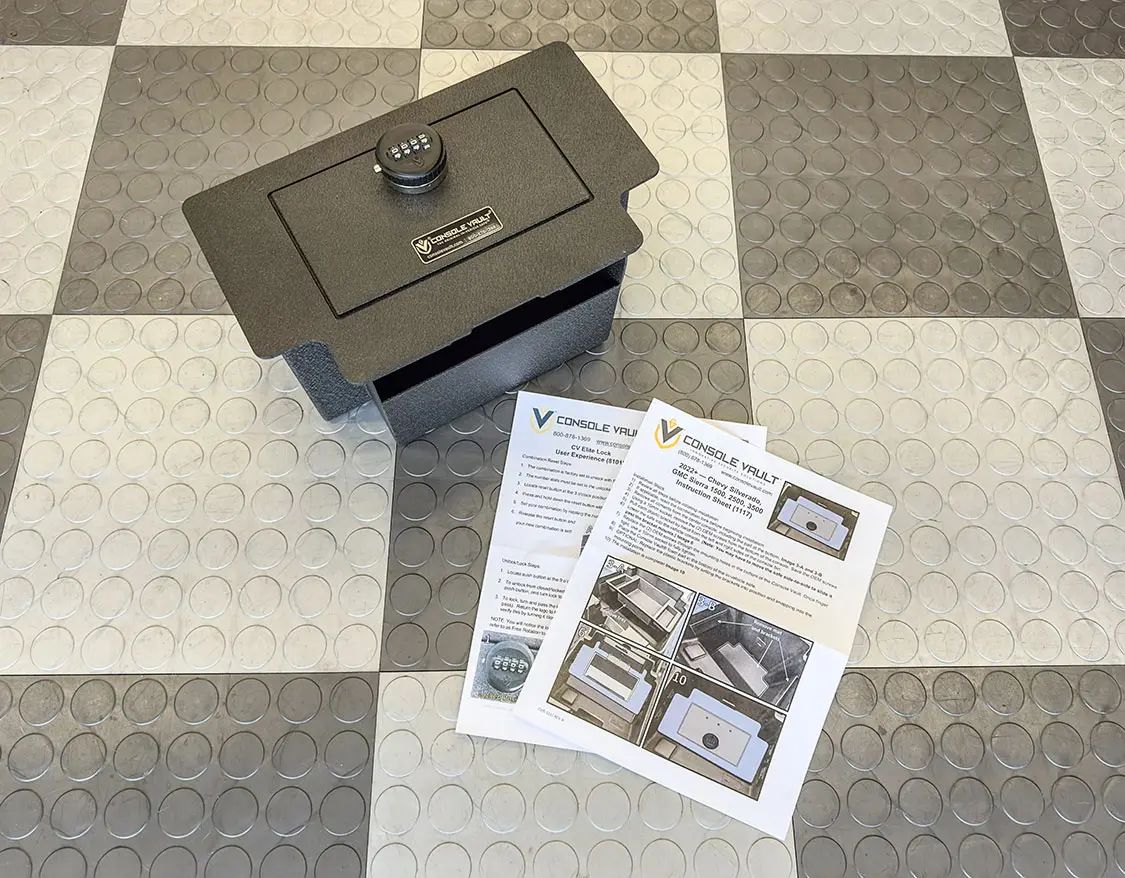
The safe itself is simple; it comes pre-assembled and ready to install.
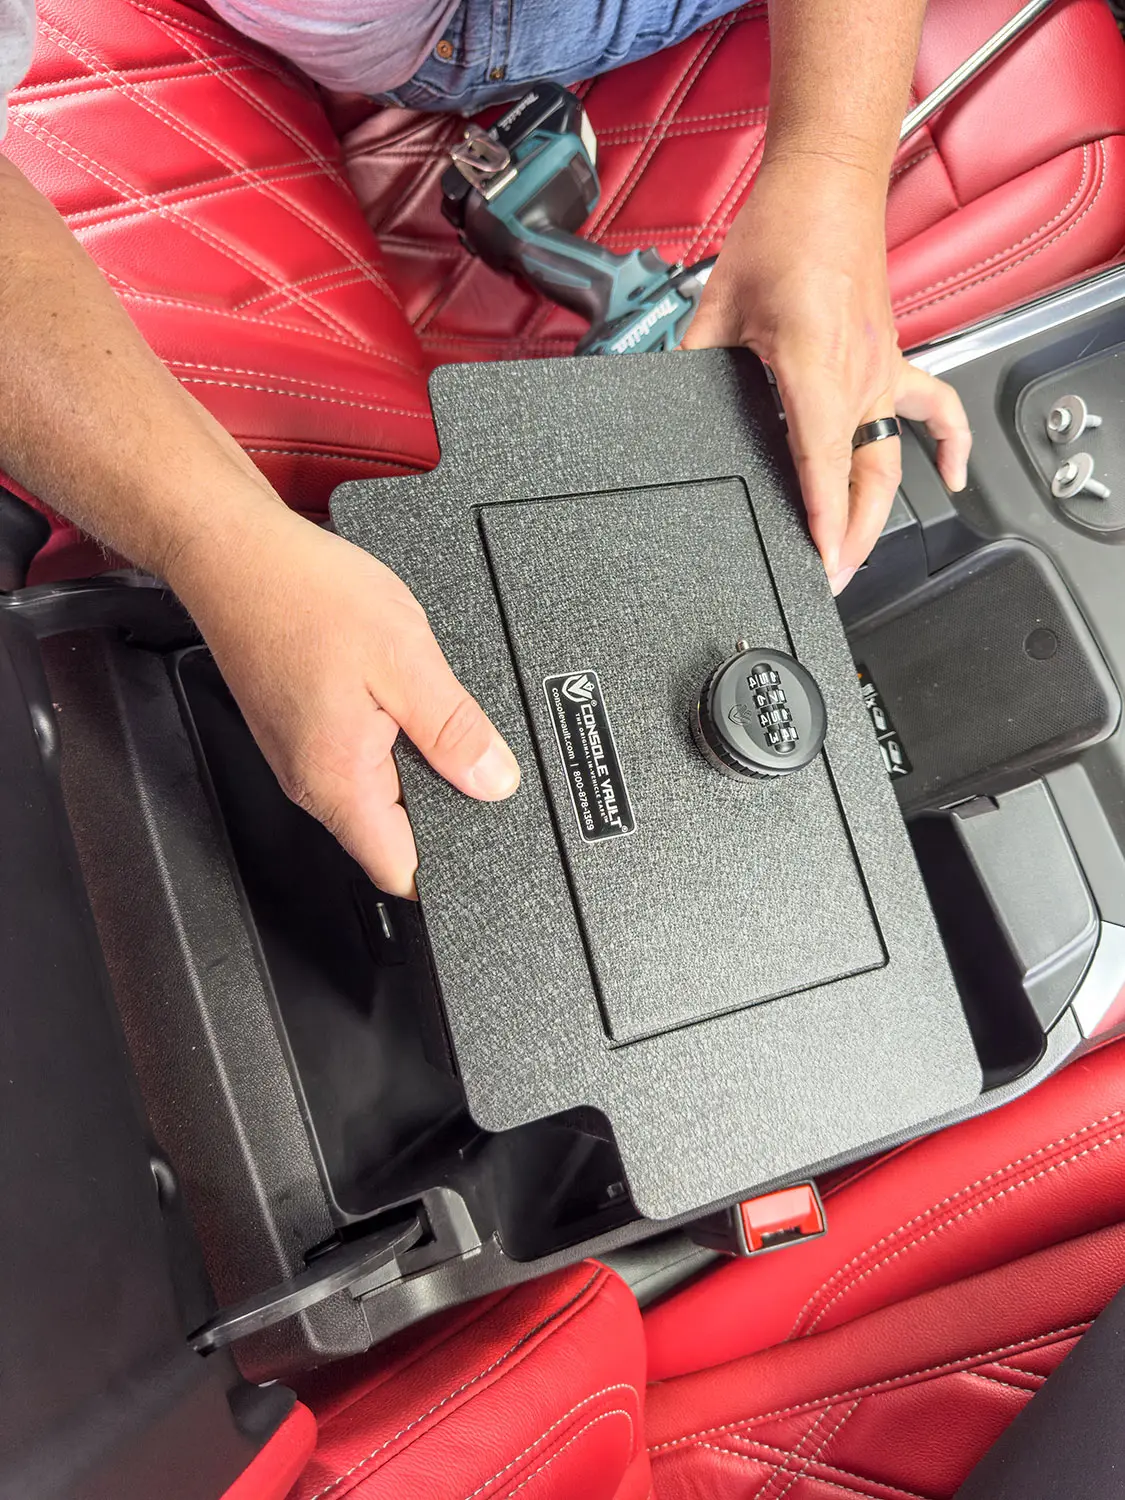
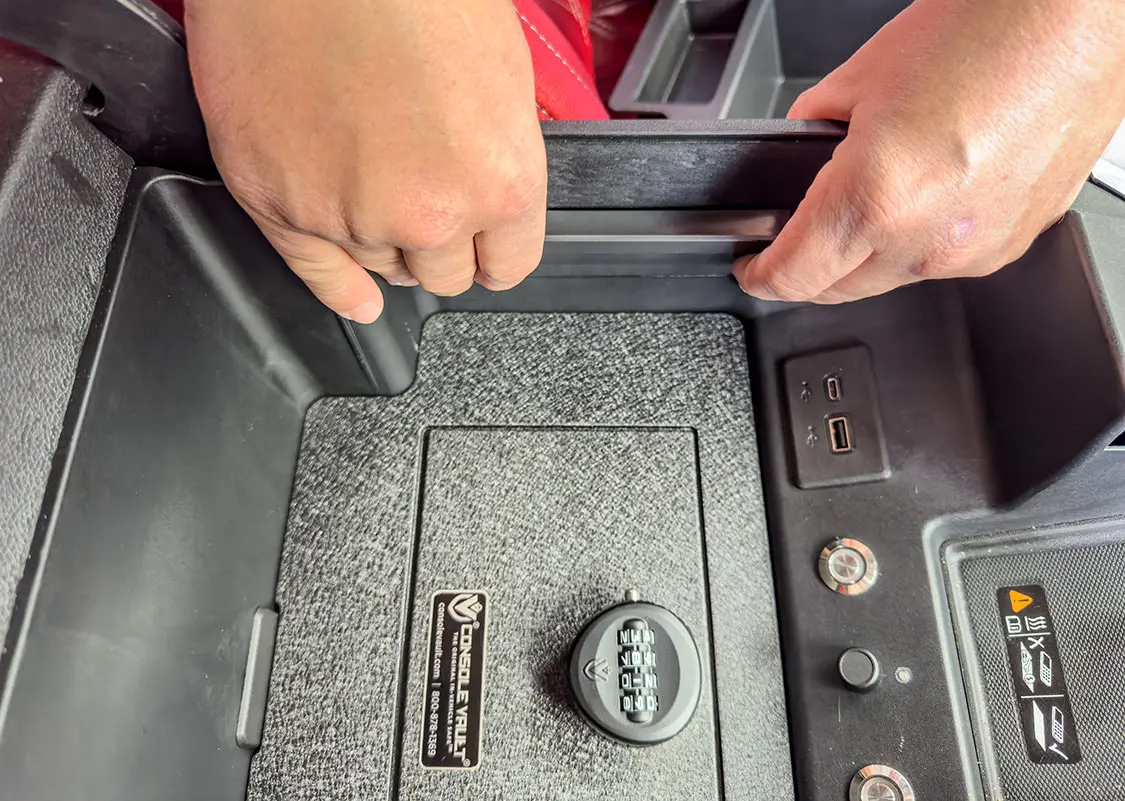
To achieve this extra protection, we contacted Console Vault and ordered one of its console safes built specifically for our ’23 GMC Sierra (Part #1117-4D with a $334 retail price). Safes are available for most newer vehicles, so finding one for your specific model is easy through Console Vault’s website. The safe we chose comes with the standard wrinkle black powdercoating to keep it from getting scratched. It also features a four-digit combination lock that lets you set a desired combination or change it as often as you’d like.
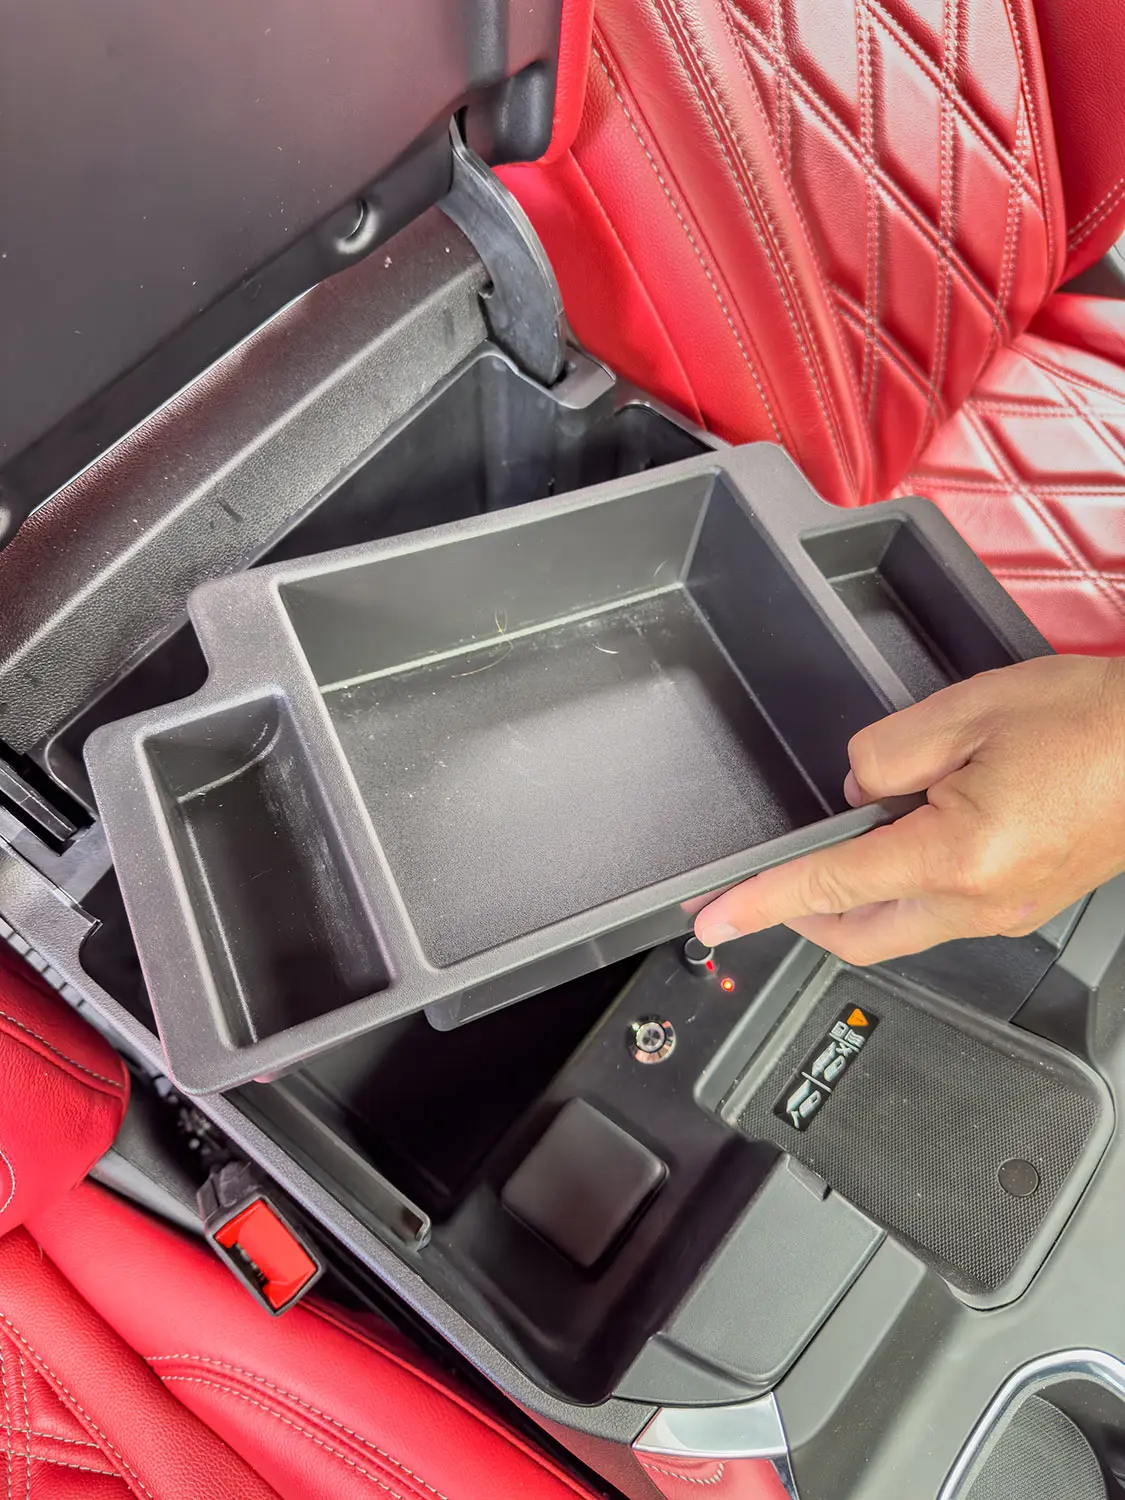
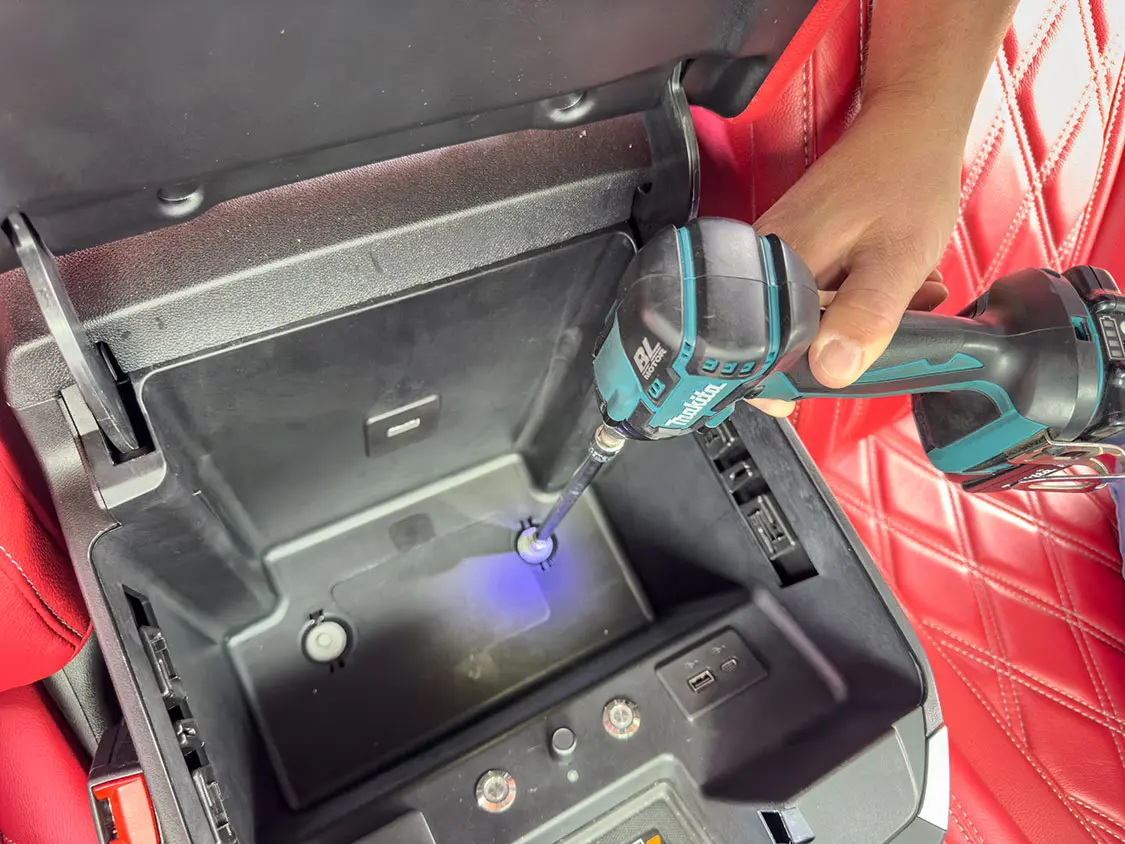
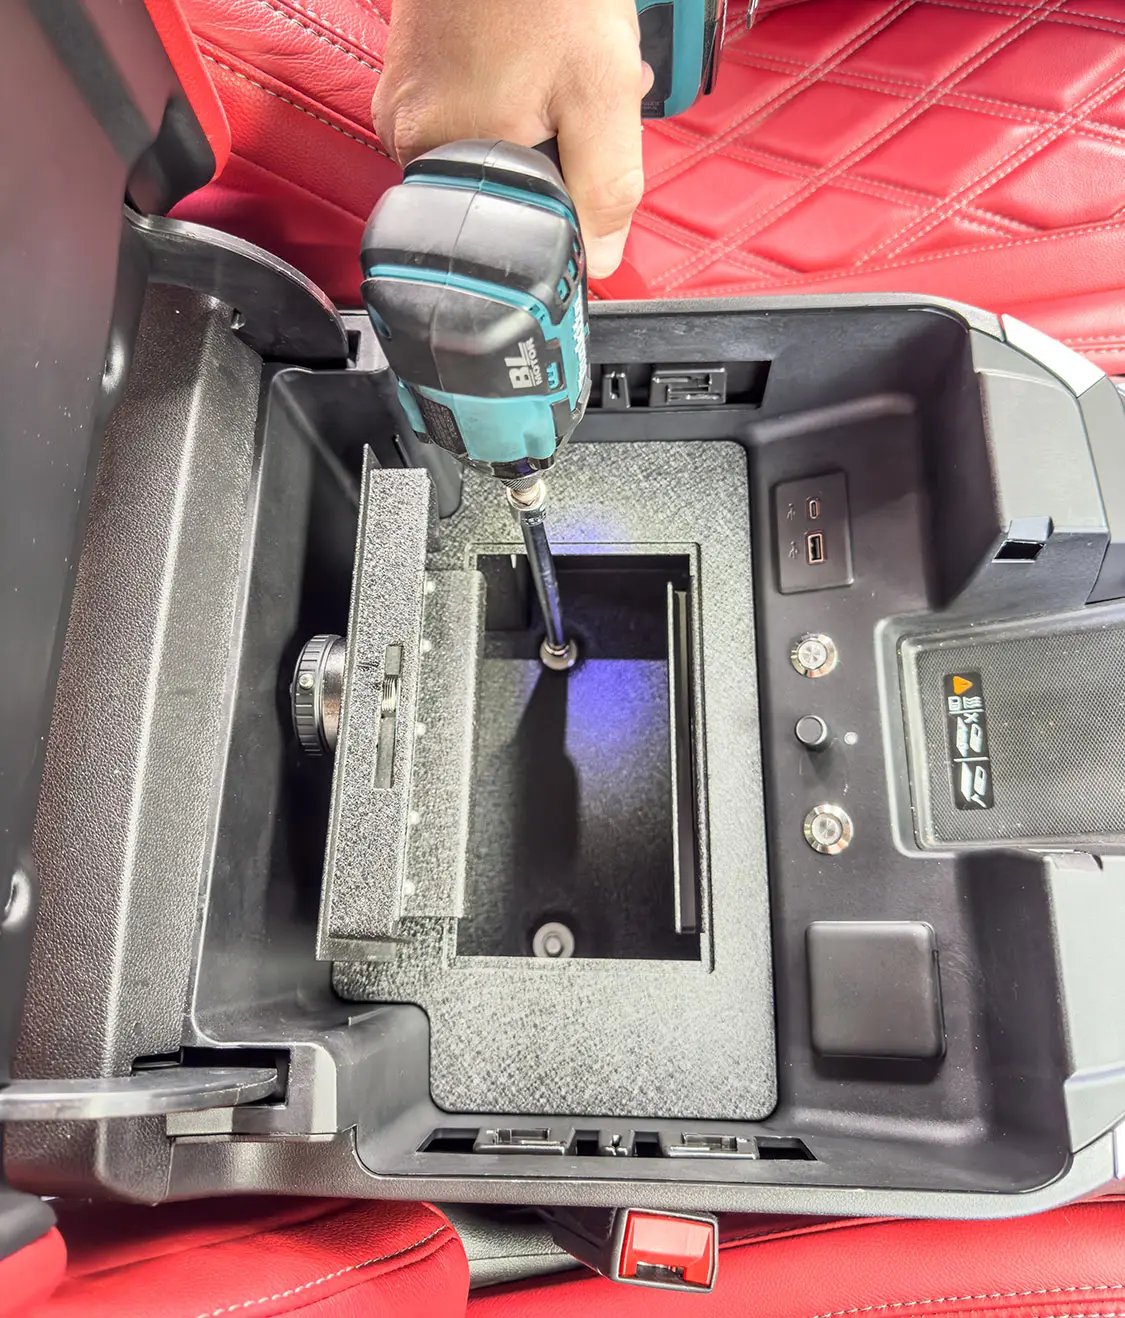
Installation is easy—anyone with a 10mm socket and a ratchet can get the job done in about 10 minutes. No cutting or drilling is required. Simply remove a couple factory bolts and reinstall them. Follow along and see how simple it really is.
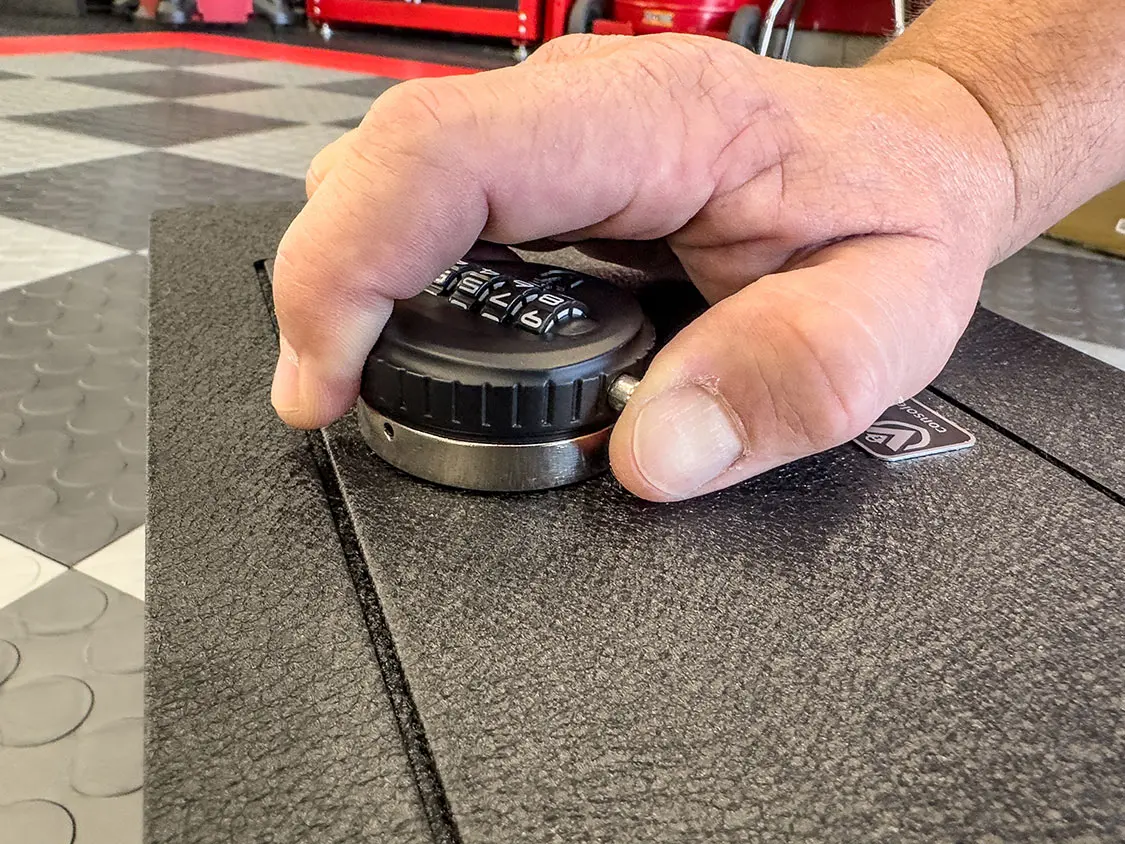
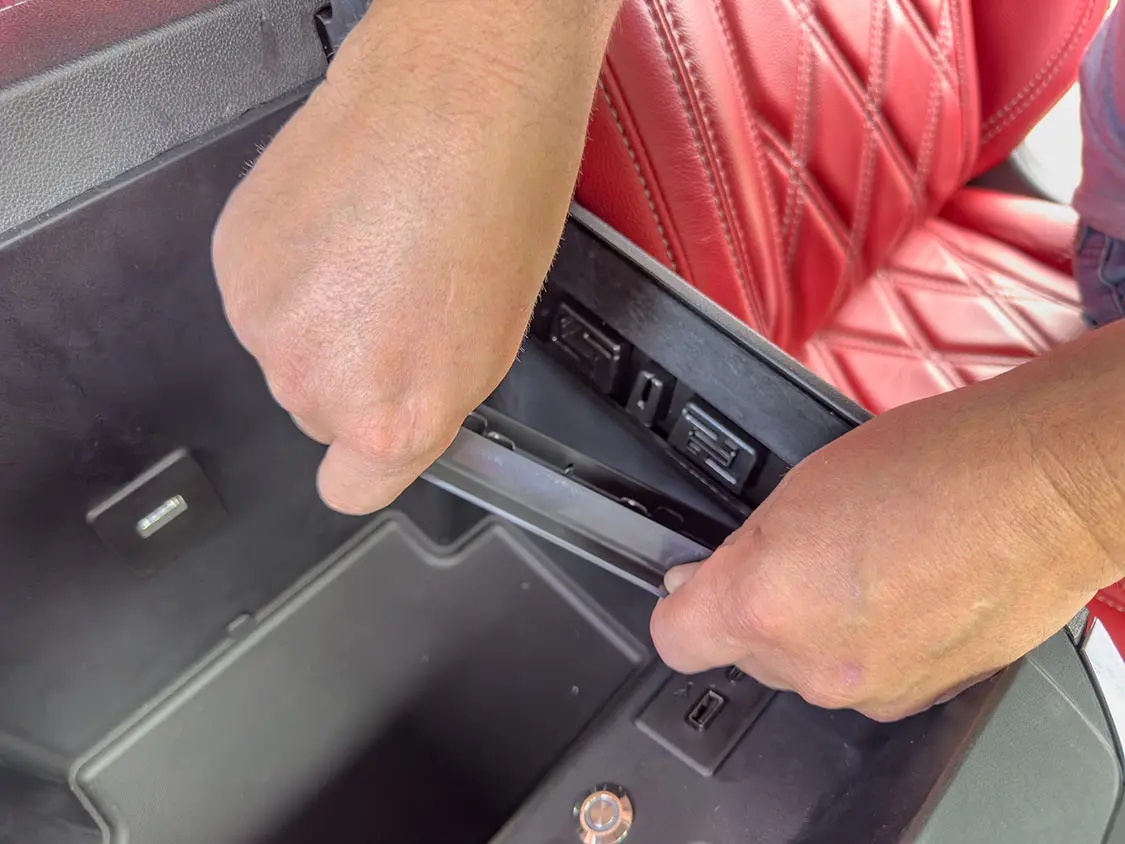
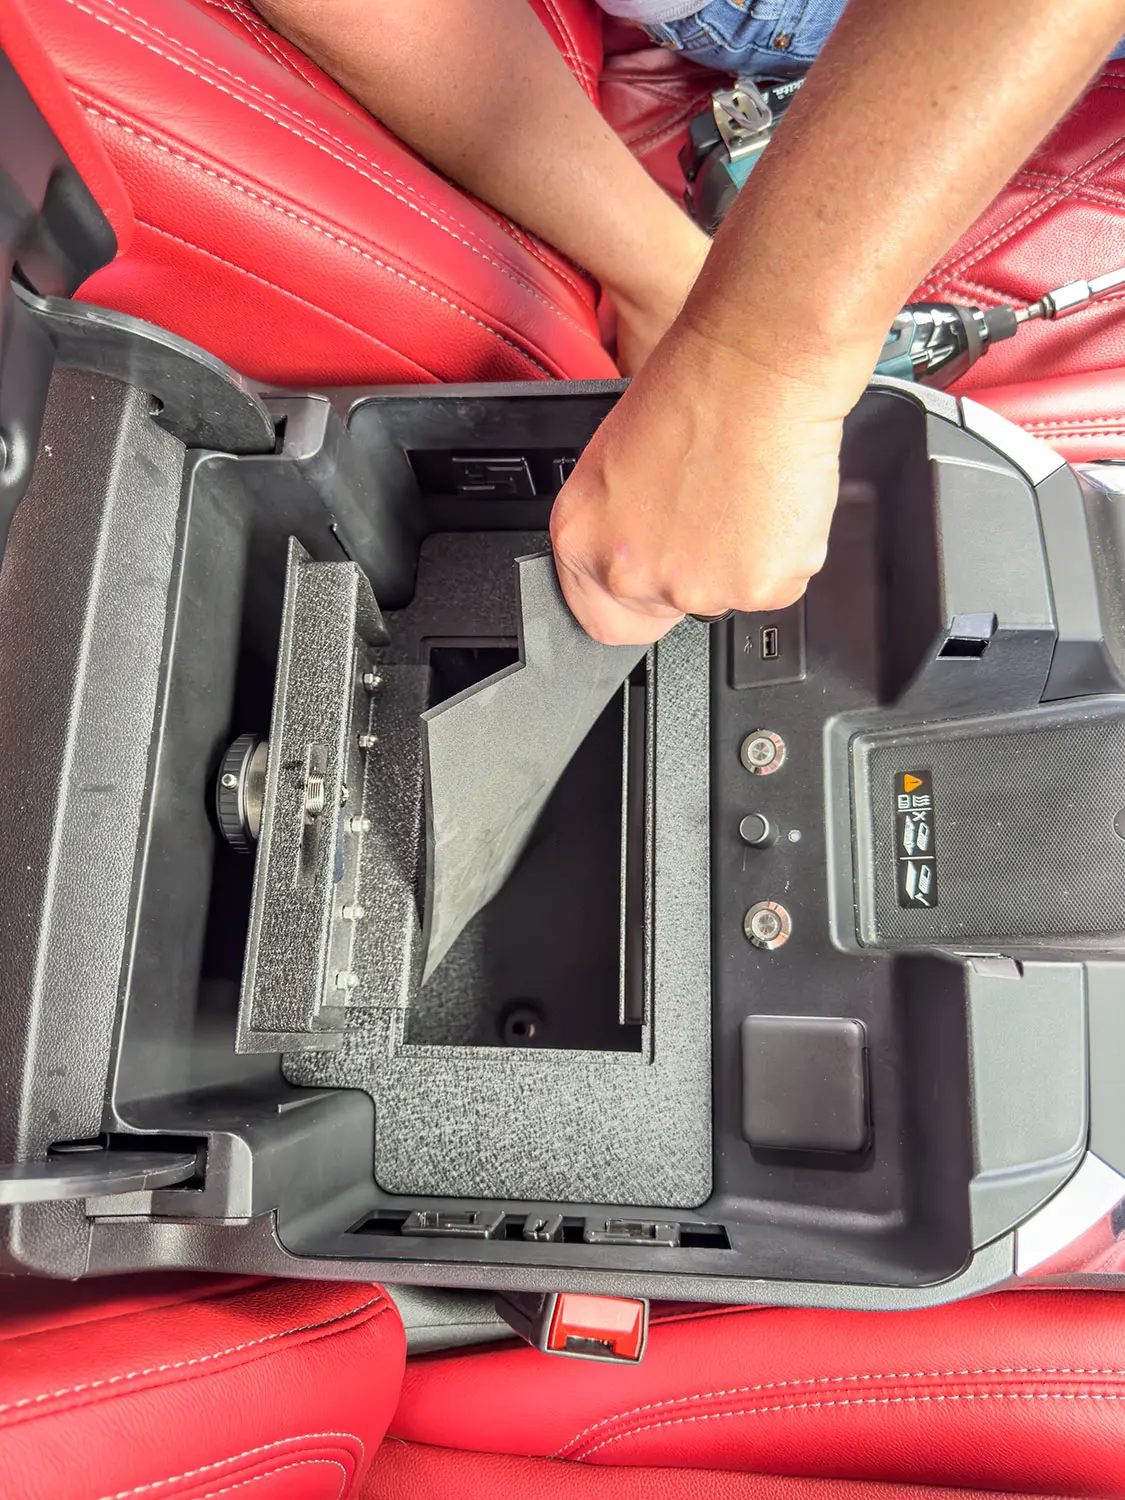
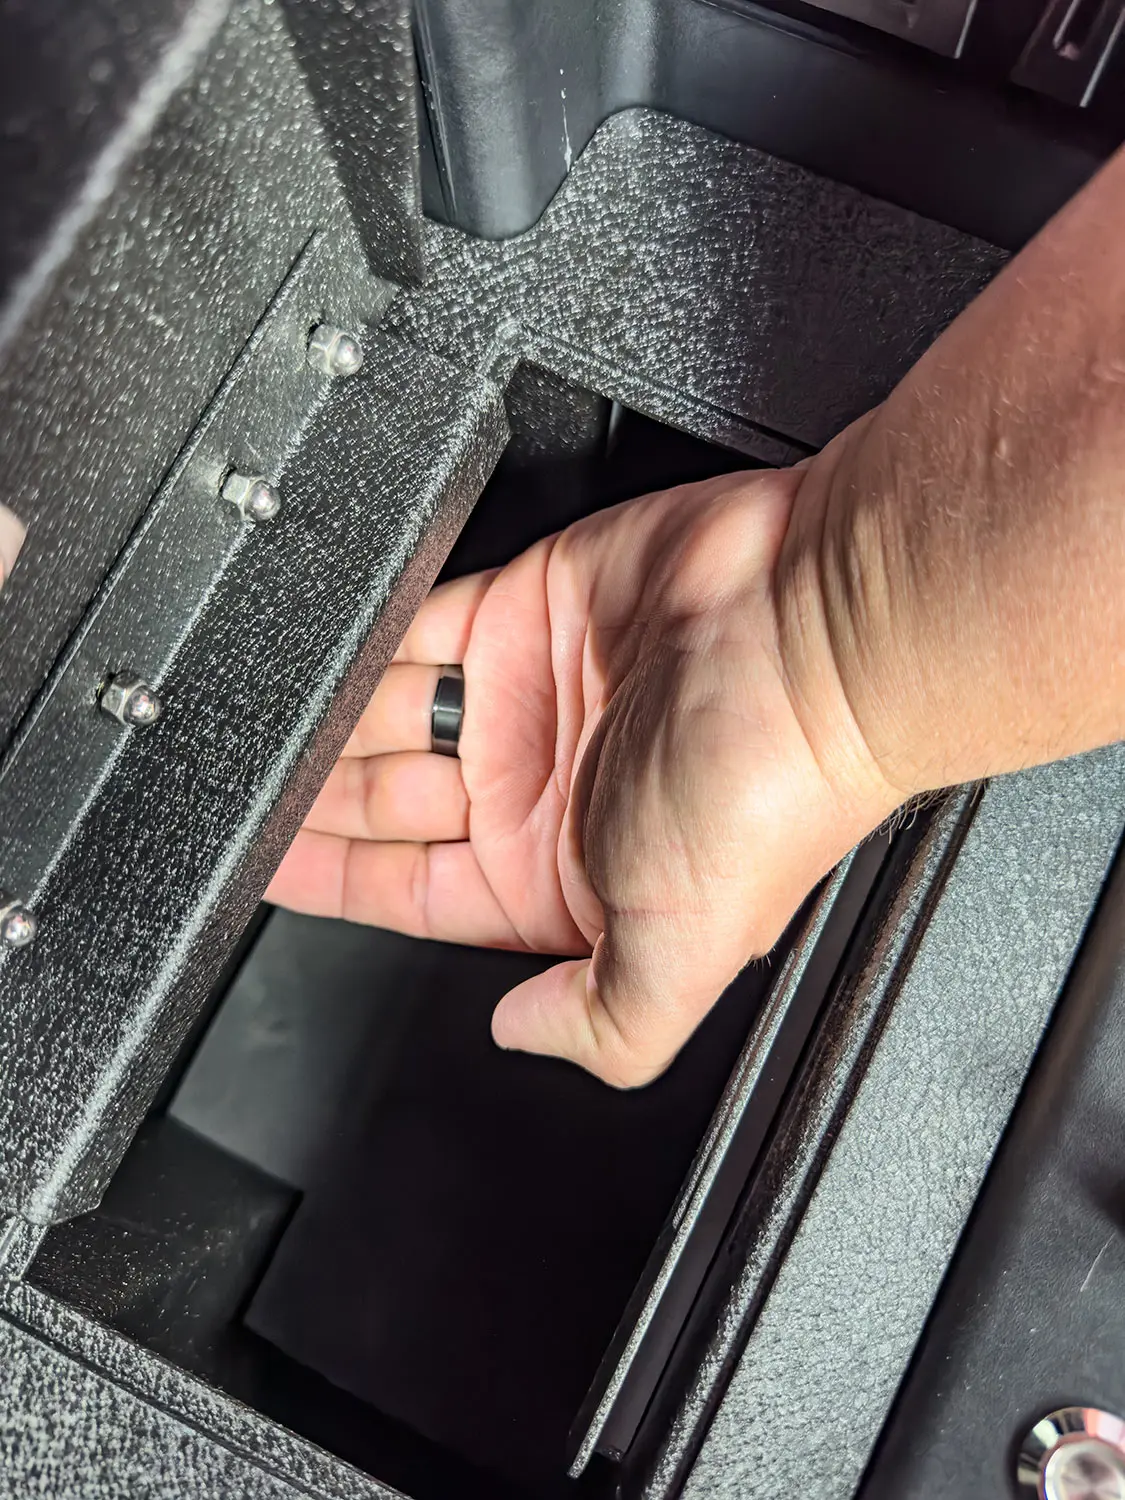
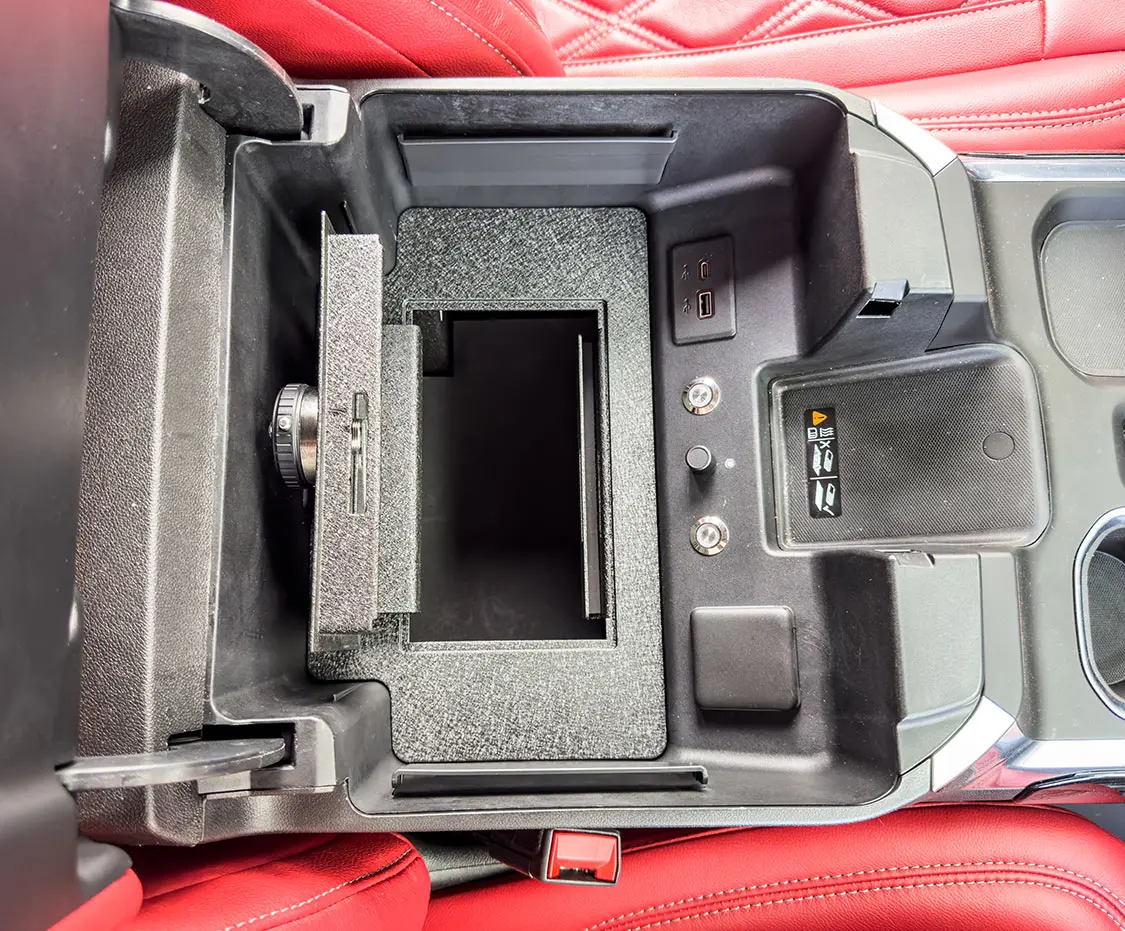
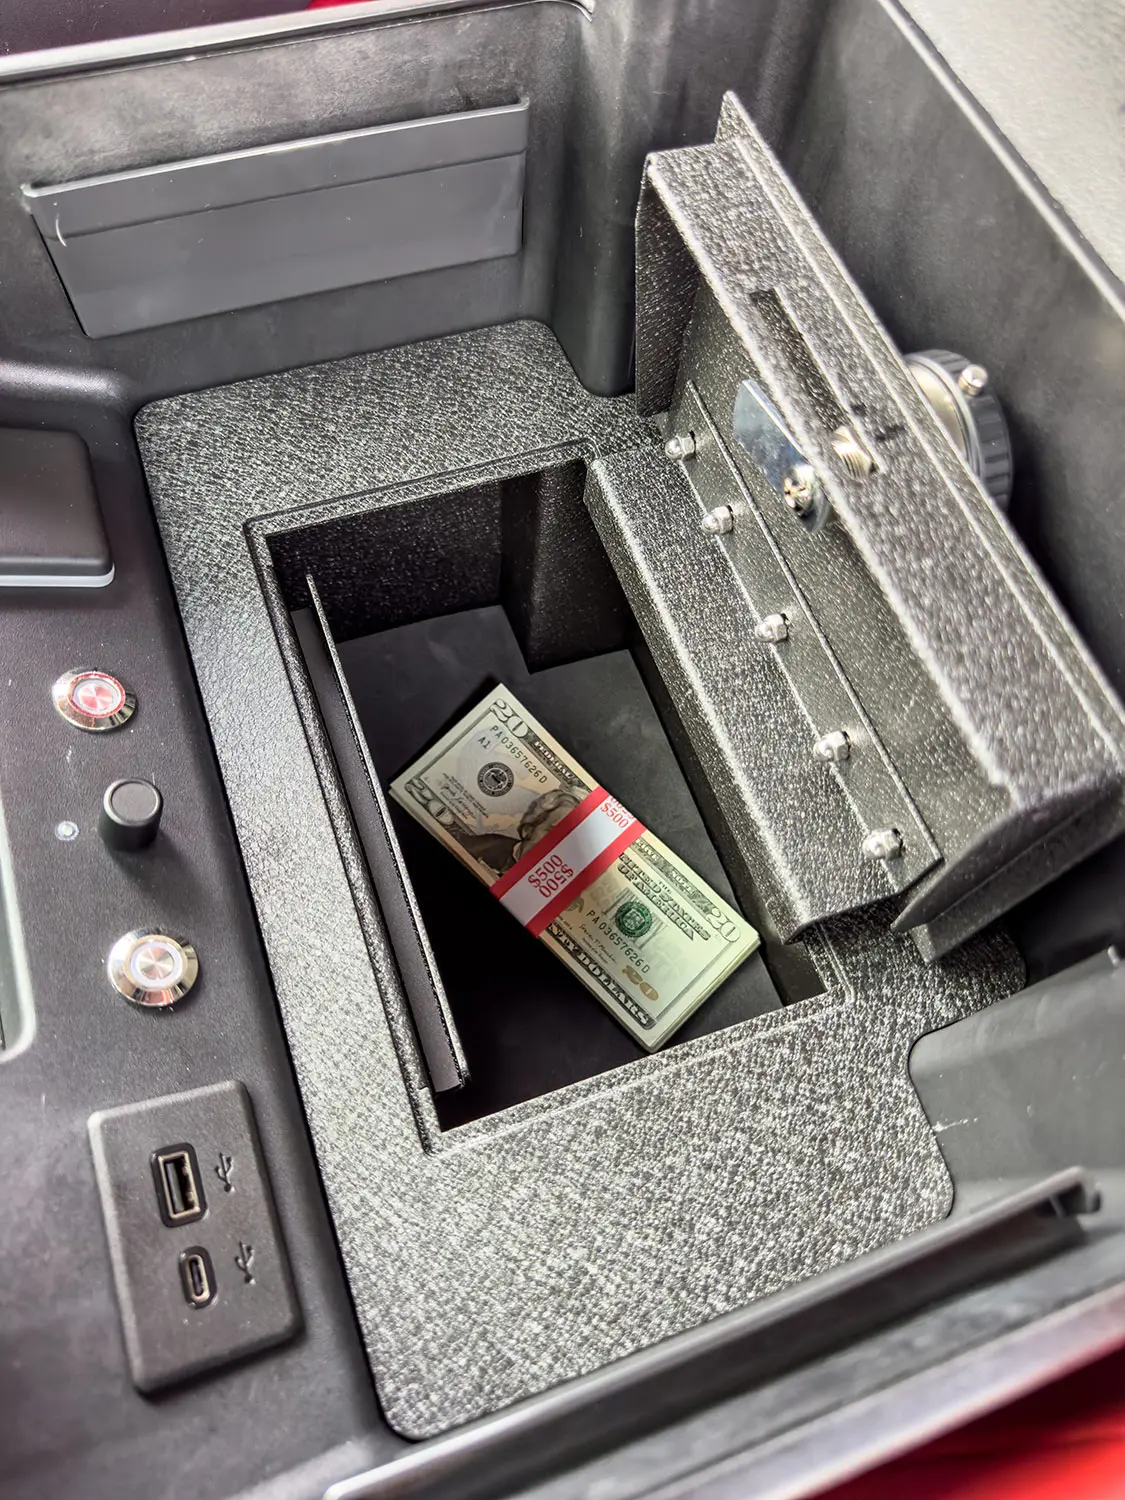
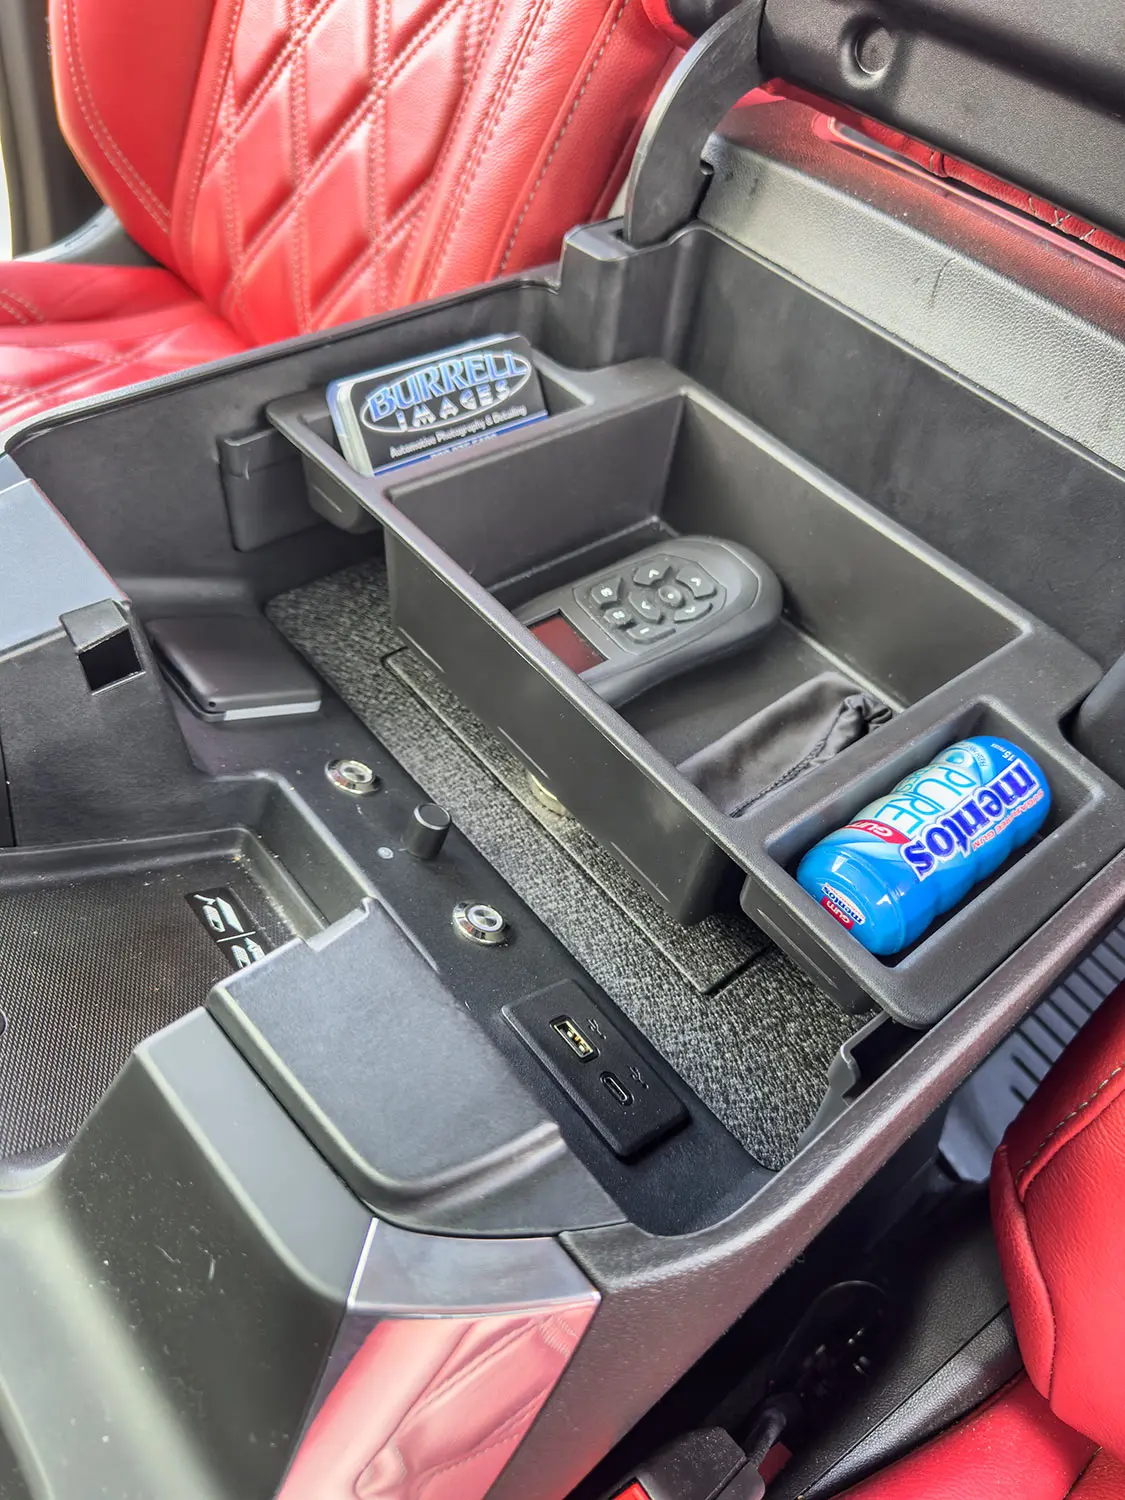
Before installing the safe, set the code. Press the reset button on the side of the lock mechanism and hold it while setting your desired code.Push the left-side button in while turning the lock to open the safe. As long as you leave the code at the right setting, it will open as needed until you spin the numbers, which then locks the safe.To install the safe, first remove the upper tray from the console.There is a side mount on each side of the console to hold the tray. Simply pull them toward the middle of the vehicle and remove both.Remove the factory rubber console liner. You will not need it after this step.Remove both 10mm bolts in the bottom of the console and set them aside since they will be reused.Set the safe into the consoleRemove the rubber liner from inside the safe.Reinstall the two factory 10mm bolts removed in step 7 and put the supplied rubber mat back in.As you can see, there is an access hole in the back of the safe to allow the factory console light to still work as intended.Clip both tray brackets back in.The safe is now installed. It will give you a place to securely lock up valuable belongings.With the safe open, you have full access to the depth of the console.Keeping things like money or weapons secure is what the safe was intended to do.You can still use the factory tray even with the safe installed.
Chris Hamilton is an automotive journalist, editor, and lifelong truck enthusiast with extensive experience covering custom truck builds, fabrication, performance upgrades, aftermarket products, and a ...
We use cookies to enhance your browsing experience, serve personalized ads or content, and analyze our traffic. By clicking "Accept All", you consent to our use of cookies. Visit our Cookie Policy for more info.


Share Link