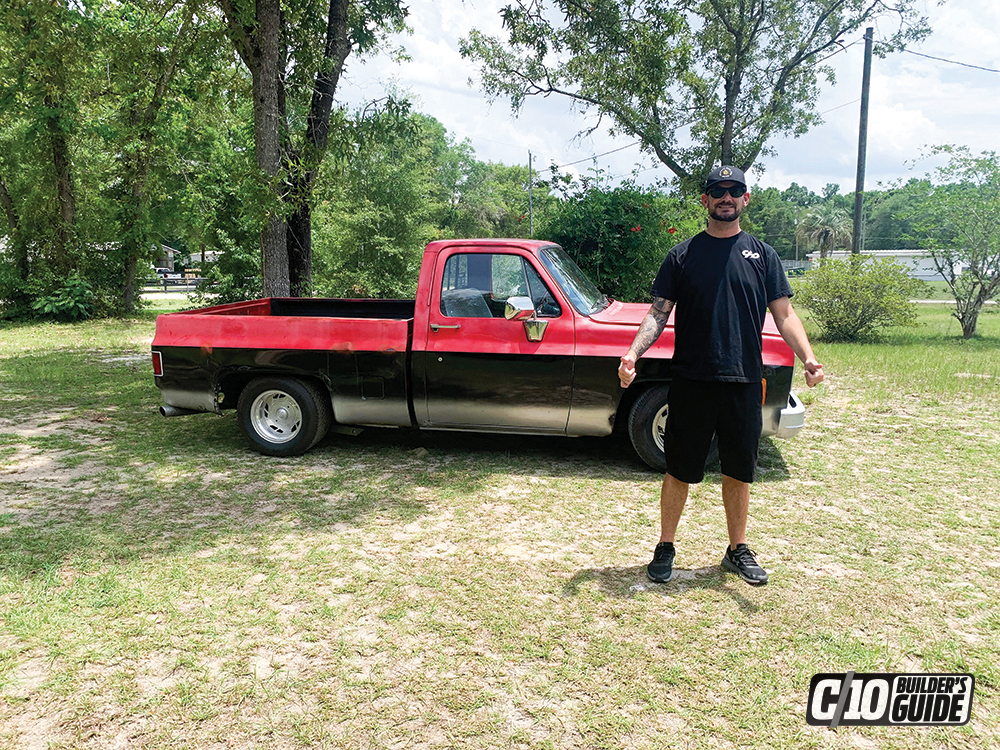
 Chris Hamilton
.
May 06, 2022
.
c10
.
Chris Hamilton
.
May 06, 2022
.
c10
.
Part of the fun of a long-term project is the process it takes to get from beginning to end. A story will inevitably prevail by the time your build is complete, and depending on your level of sentimentality you have to your steel, you may be repeating the things you remember from the days in the garage for many years to come. Nowadays with devices like cell phones and GoPros, it’s easier than ever to document the details so you can show them off to friends and family. Luckily for us, that’s what we do—and luckily for you, we are really good at our job!
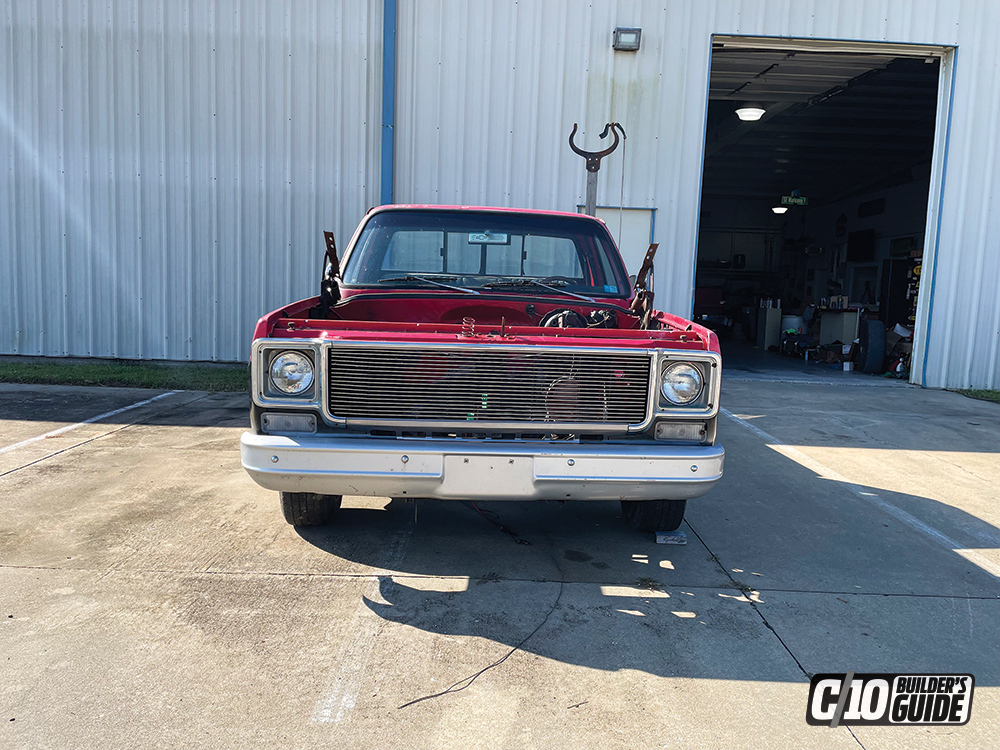
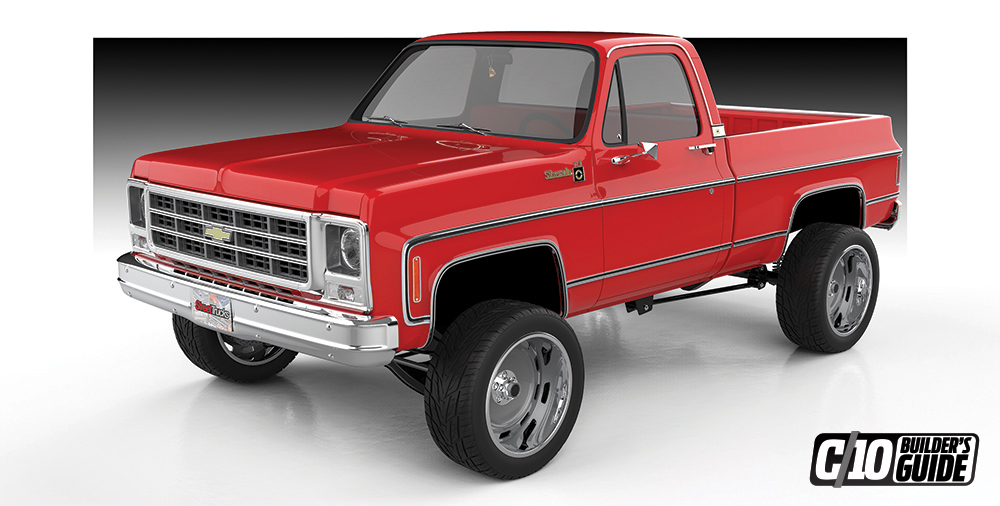
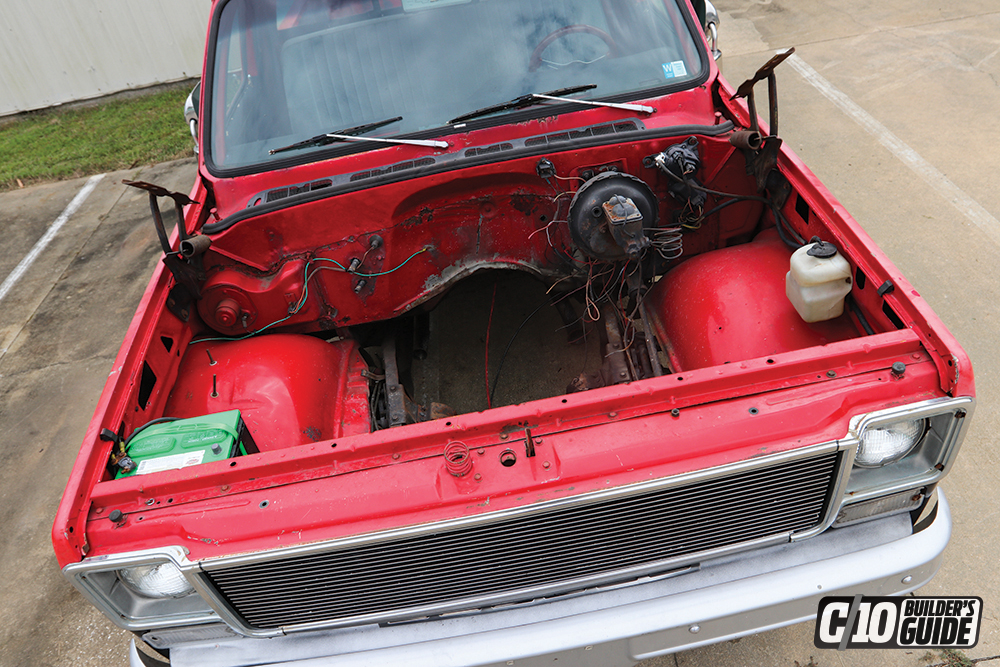
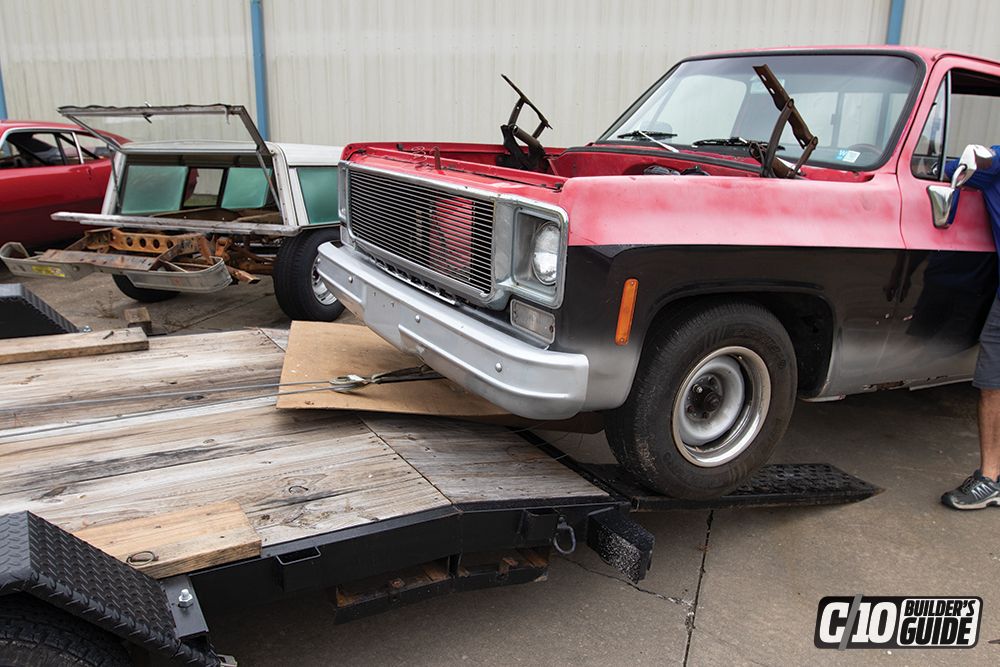
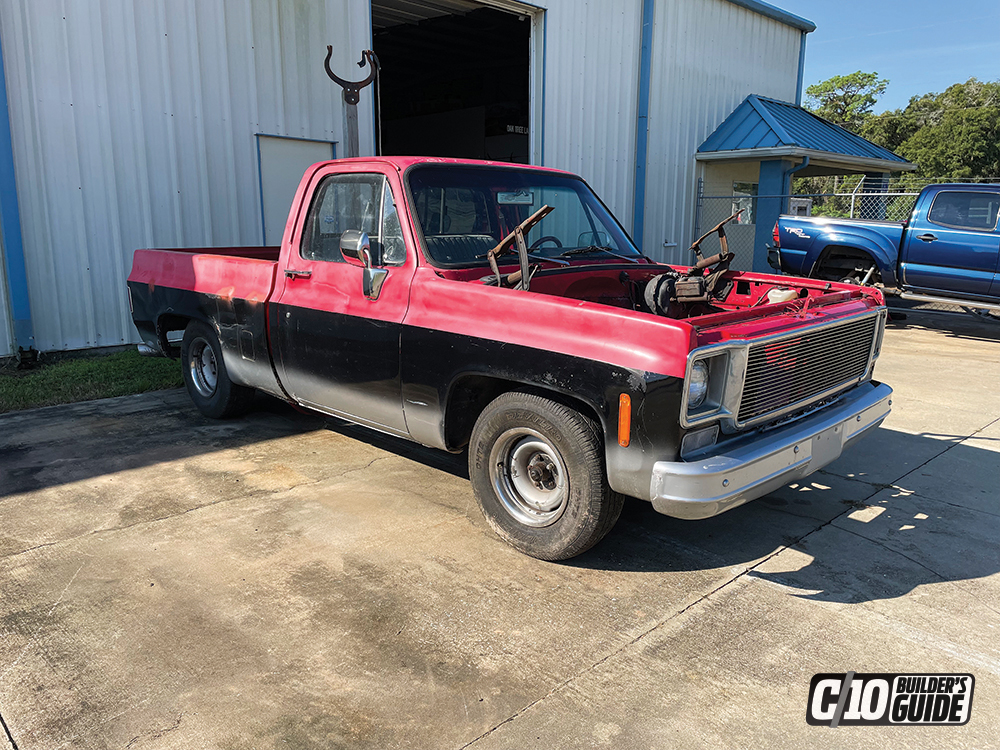
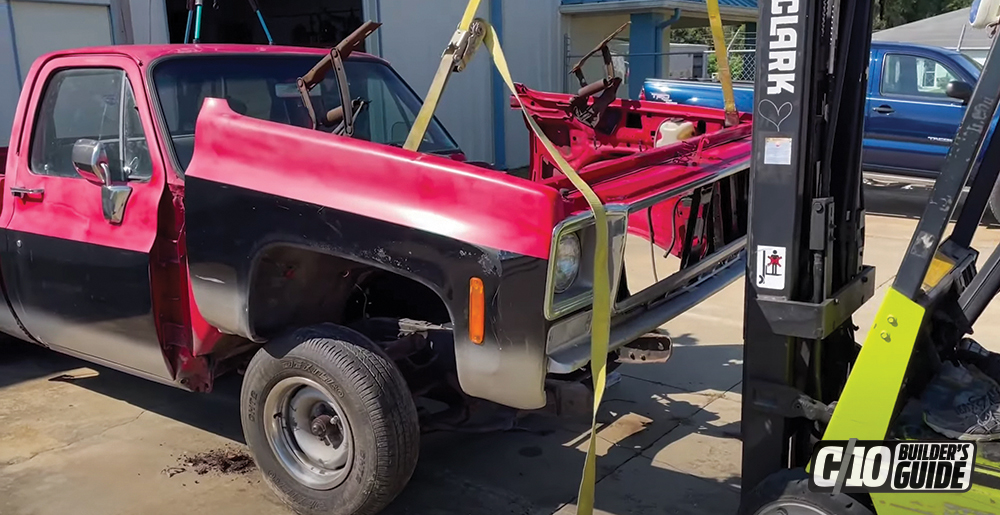
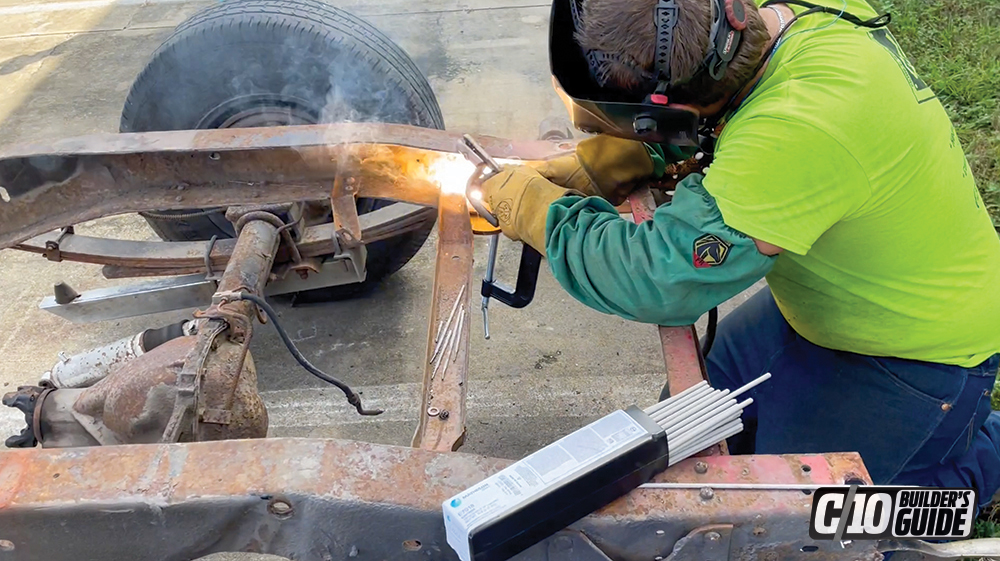
Project Rocky will be a unique, exciting, fun and fast truck that will be easy on the eyes for any type of human on this wonderful planet we all live on. We are tearing him down to the bones and rebuilding from the ground up. New everything and no stone left unturned. We will show you each and every step along the way, and this time, we are offering a free video series to take it to the next level.

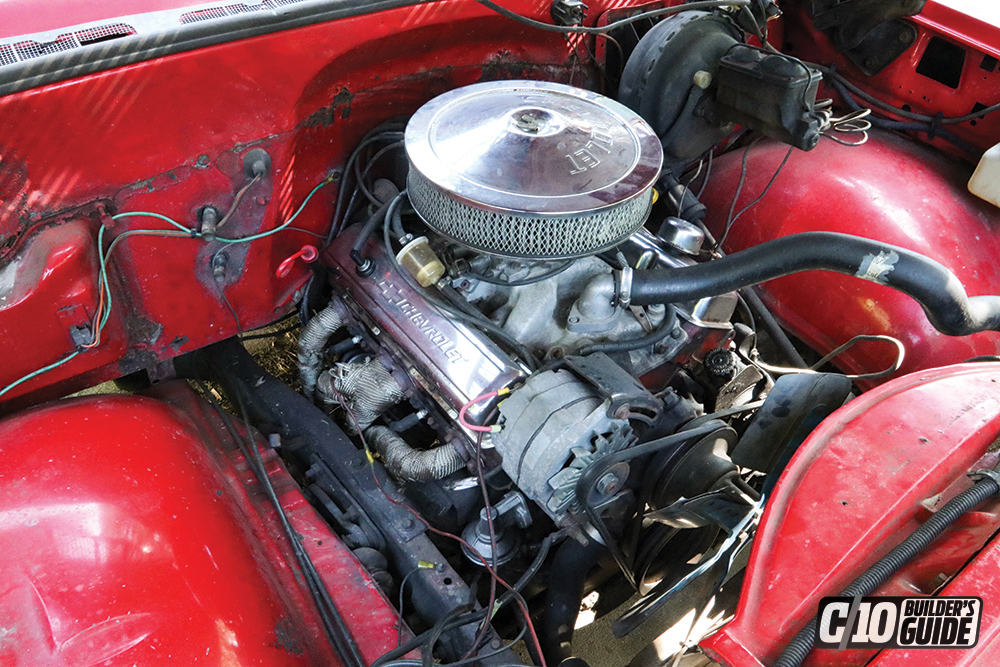
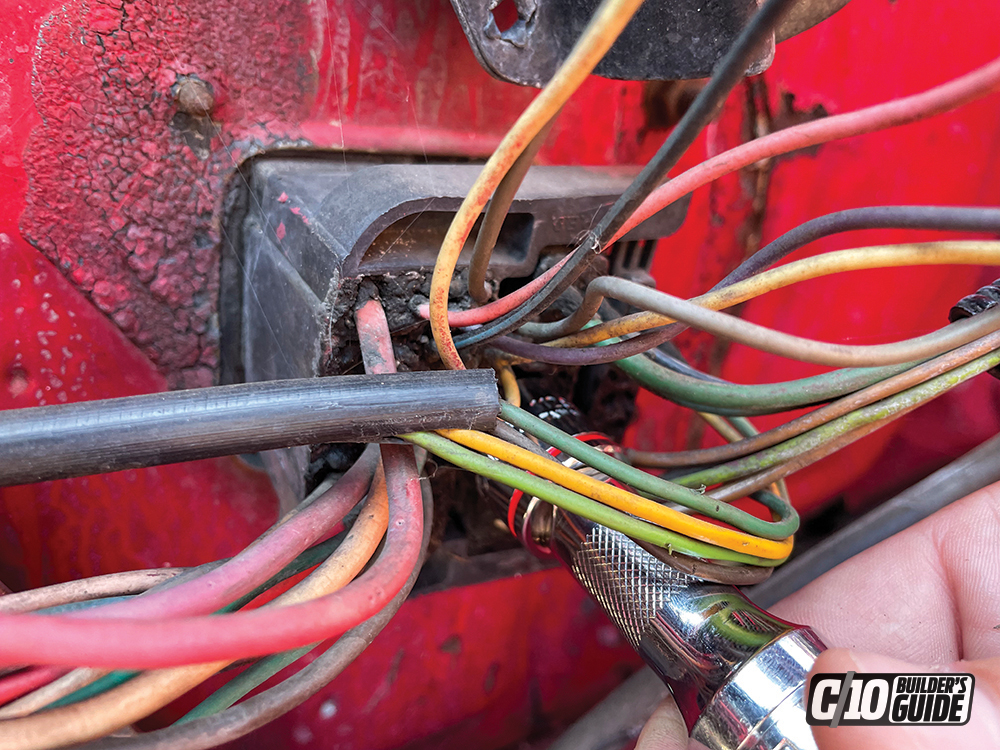
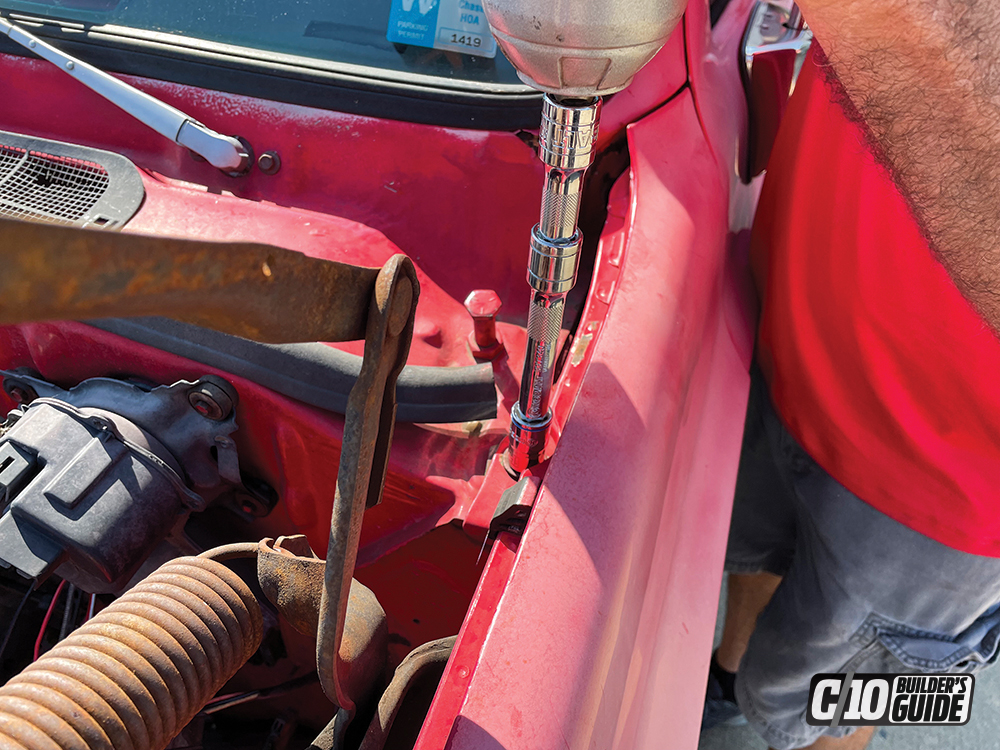
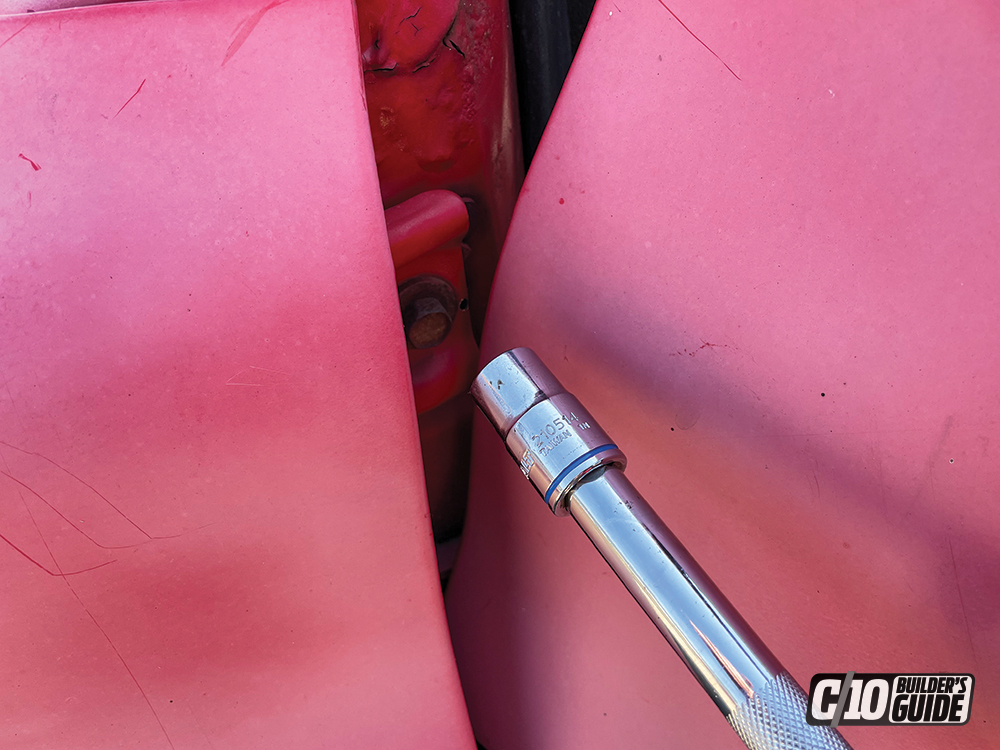
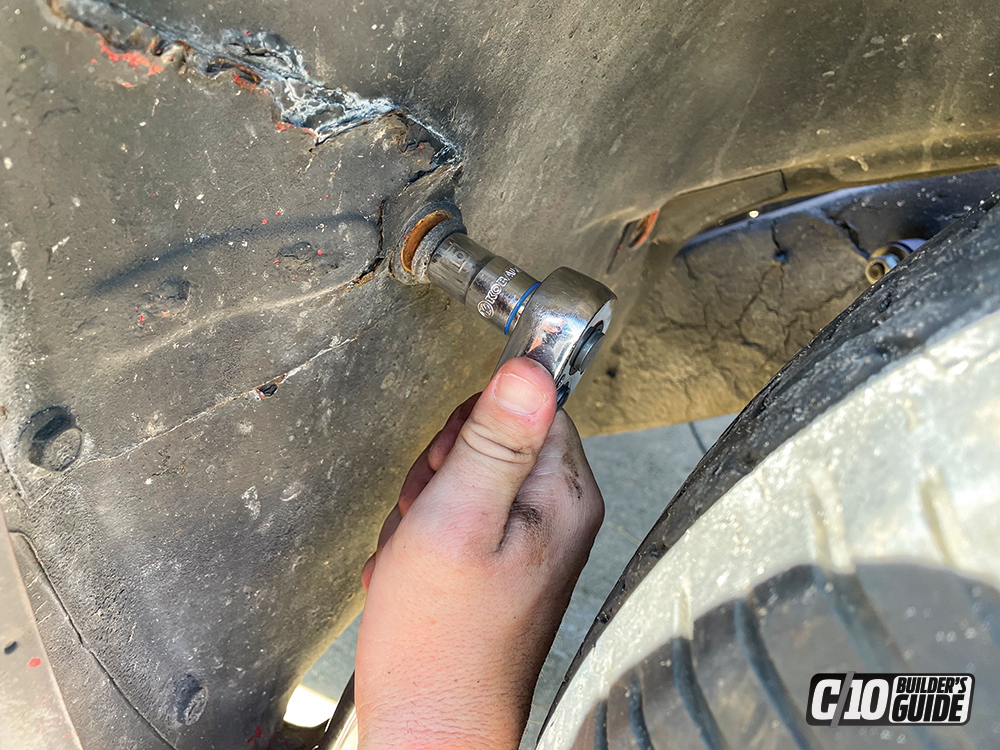
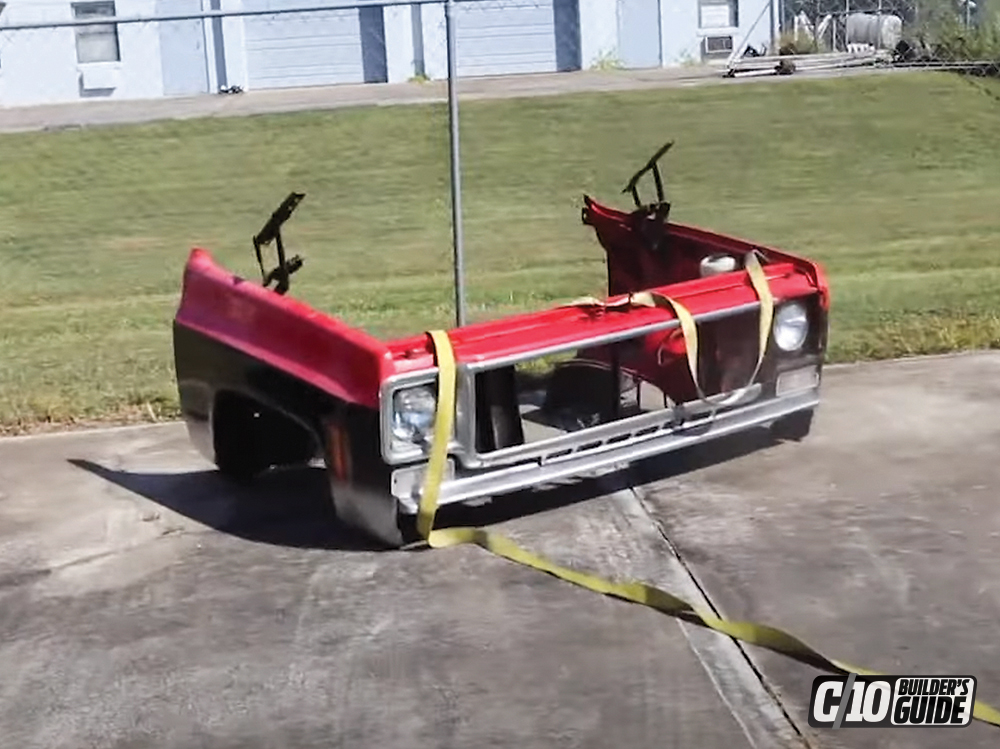
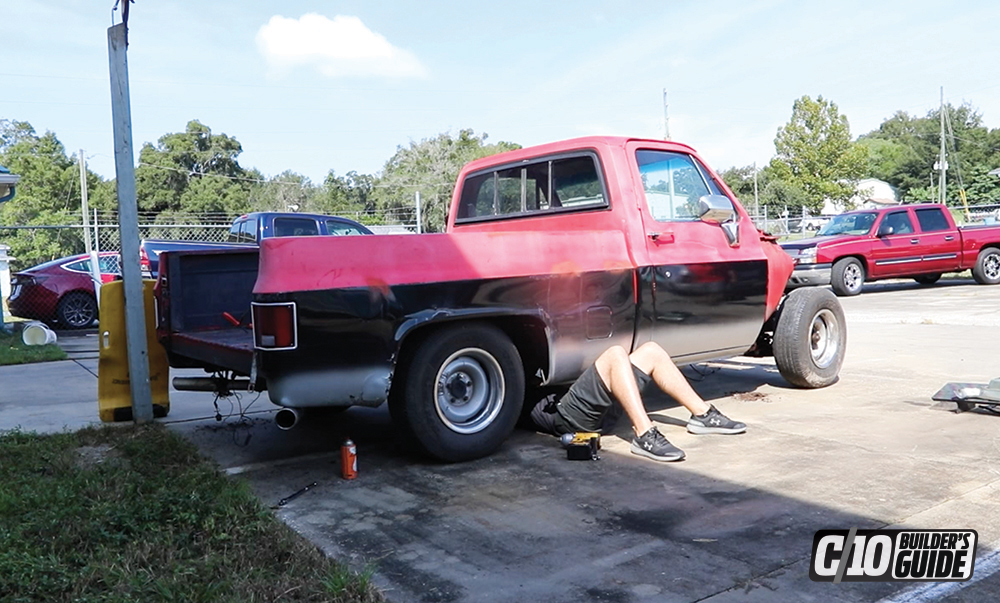
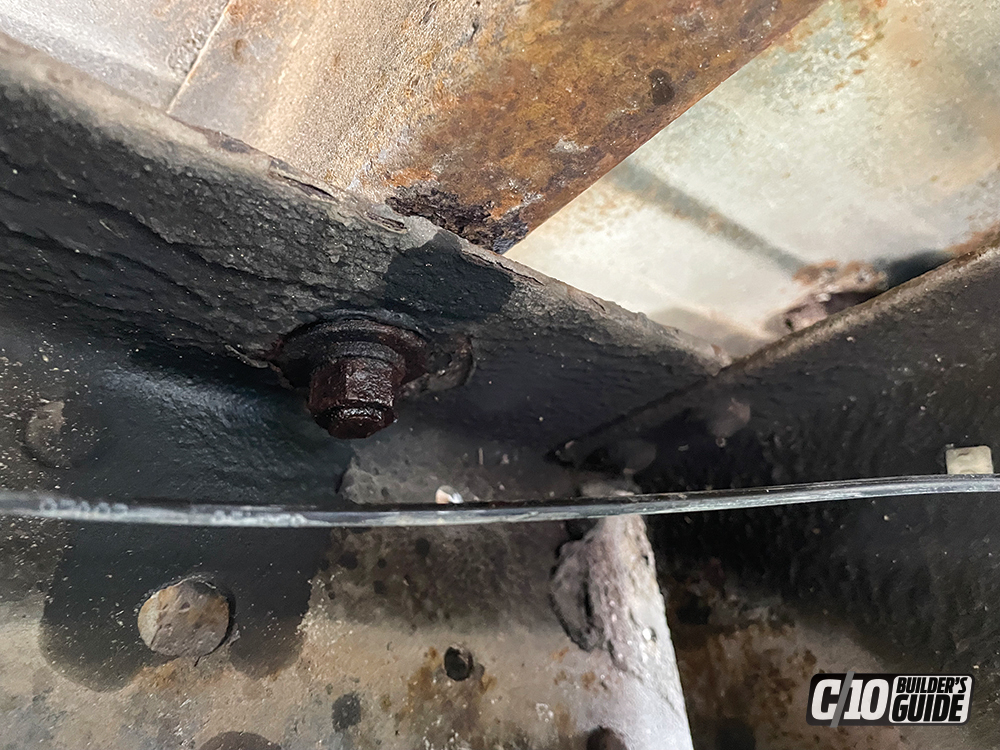
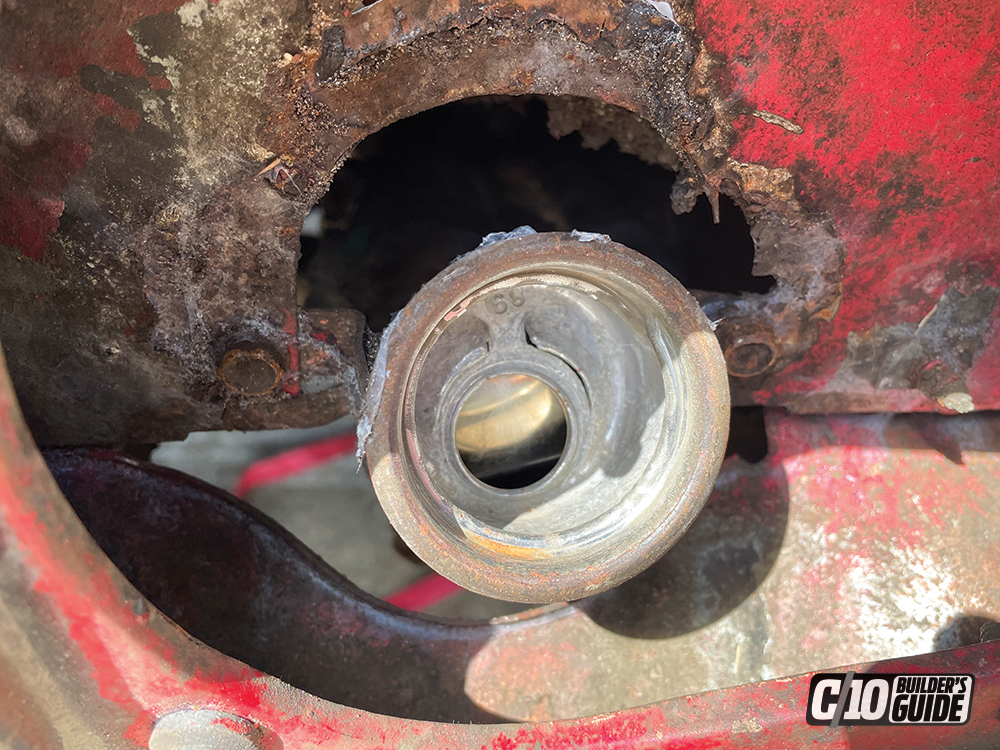
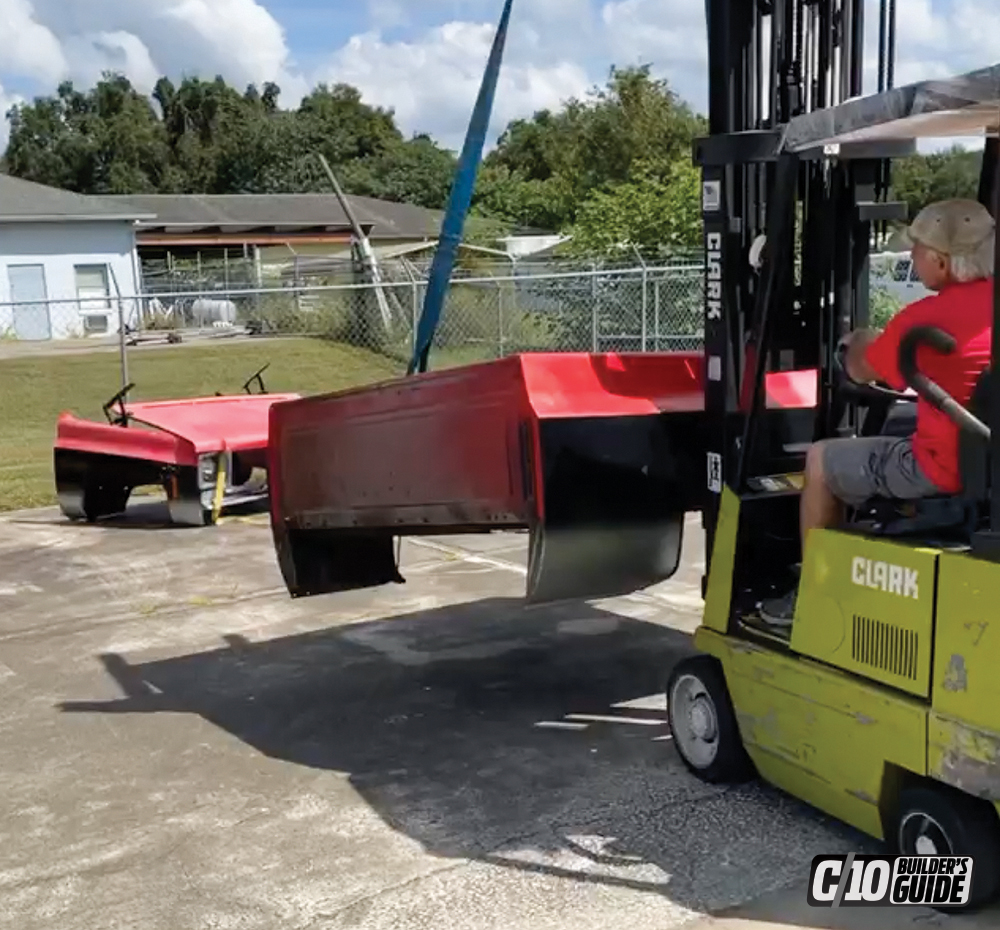
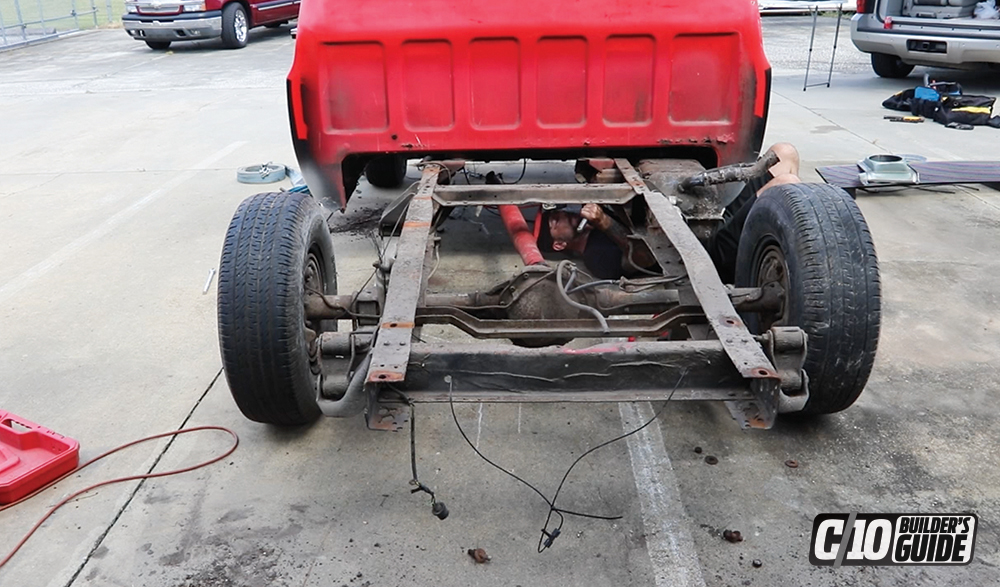
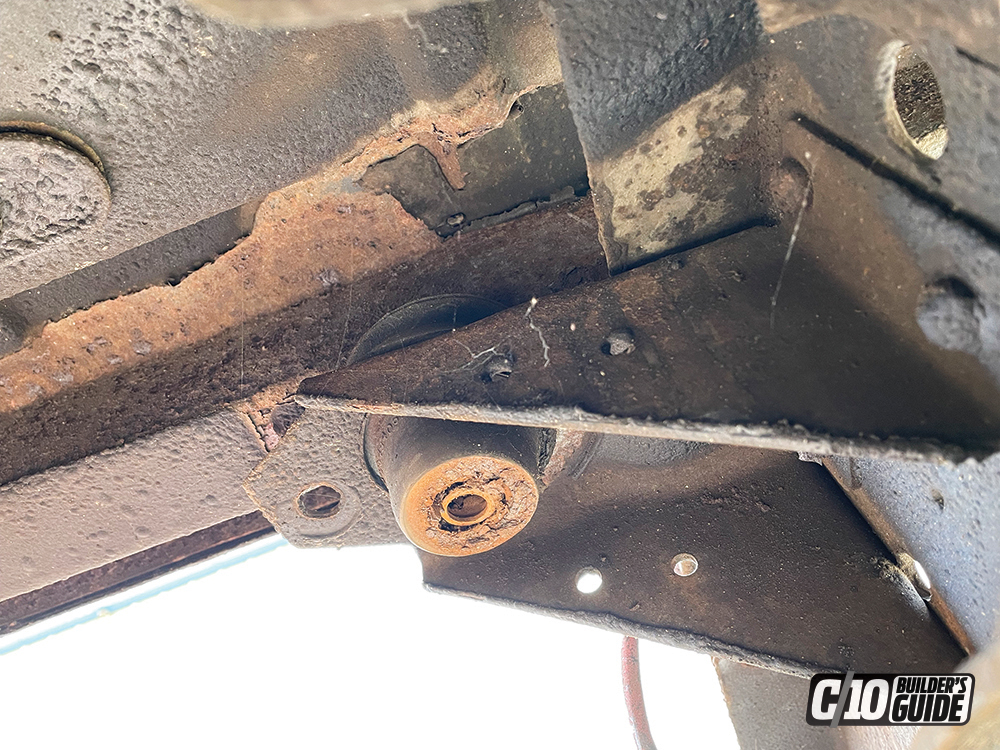
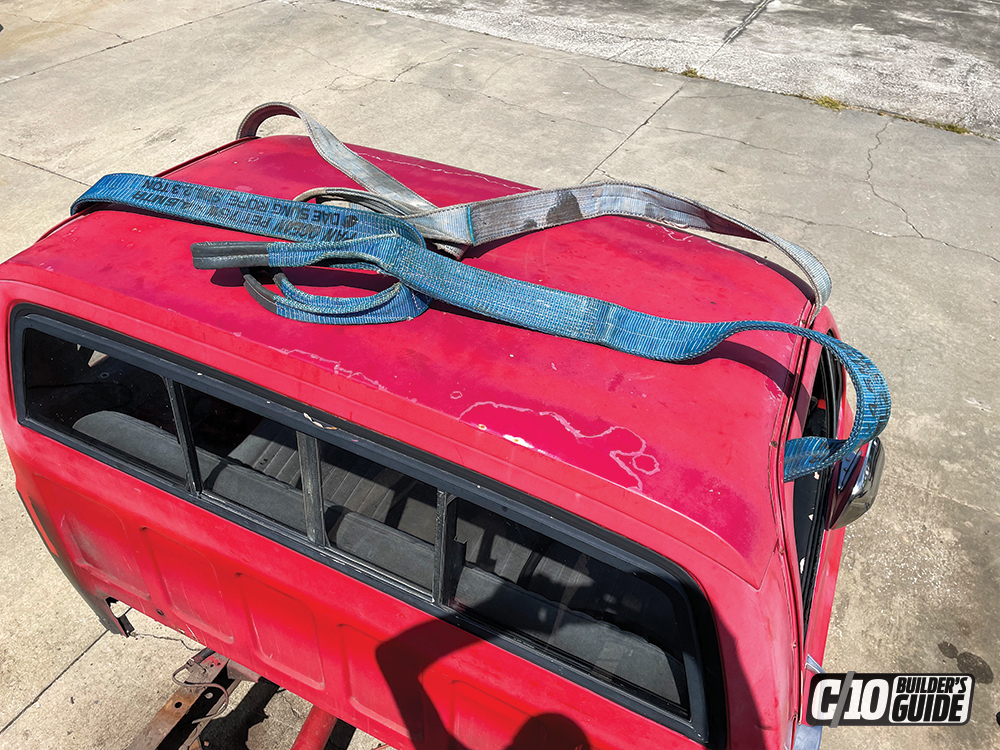
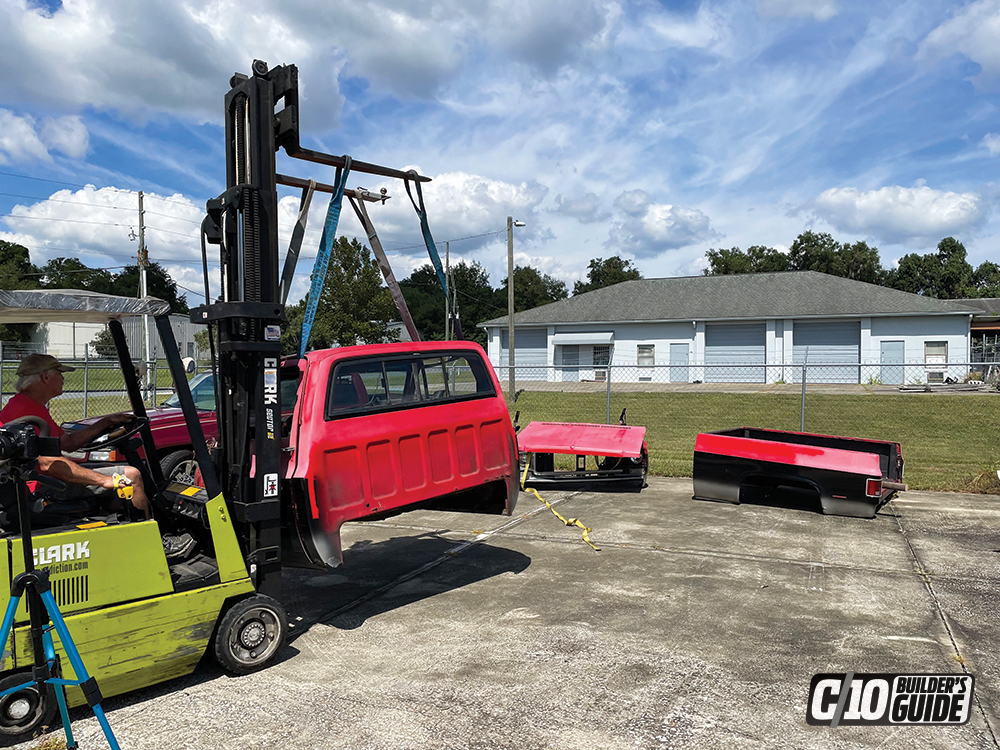
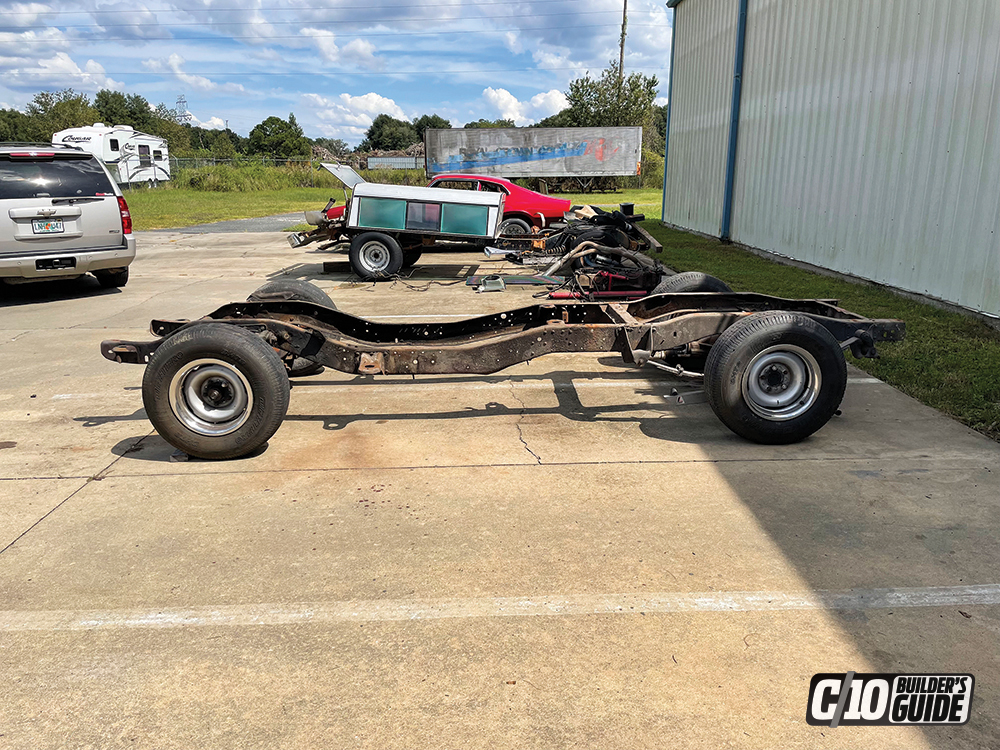
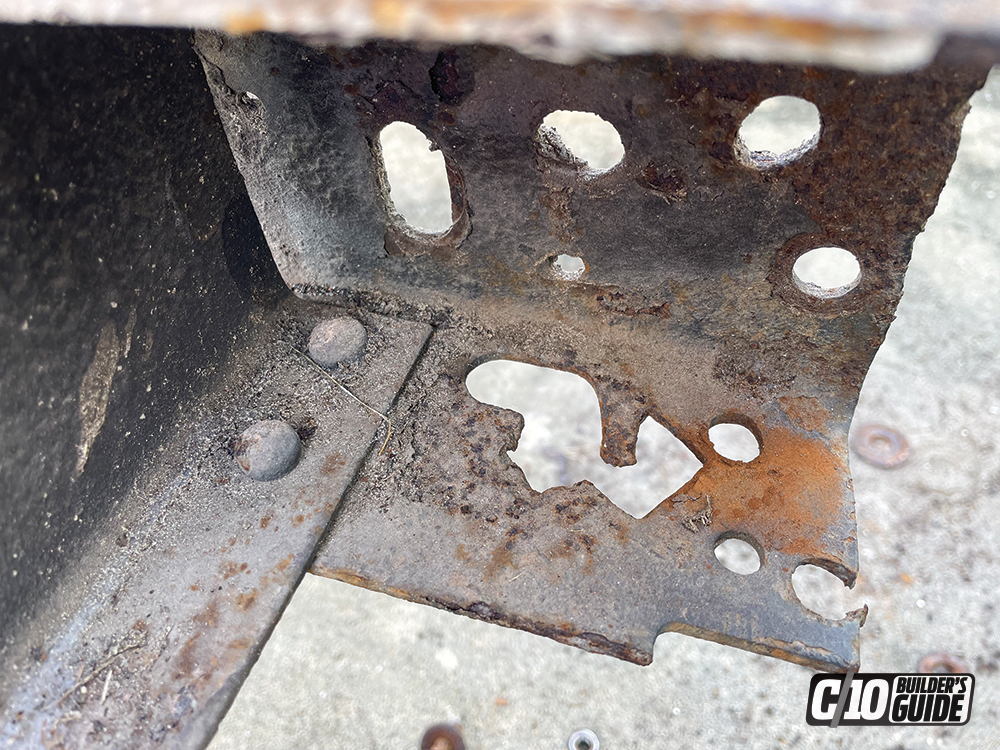
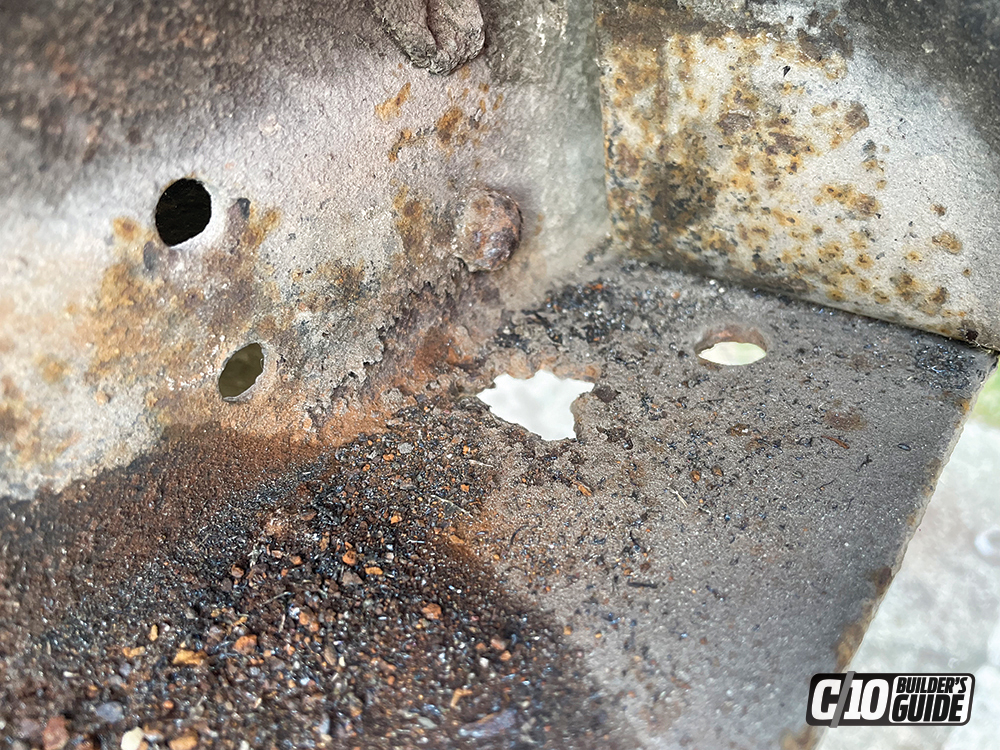
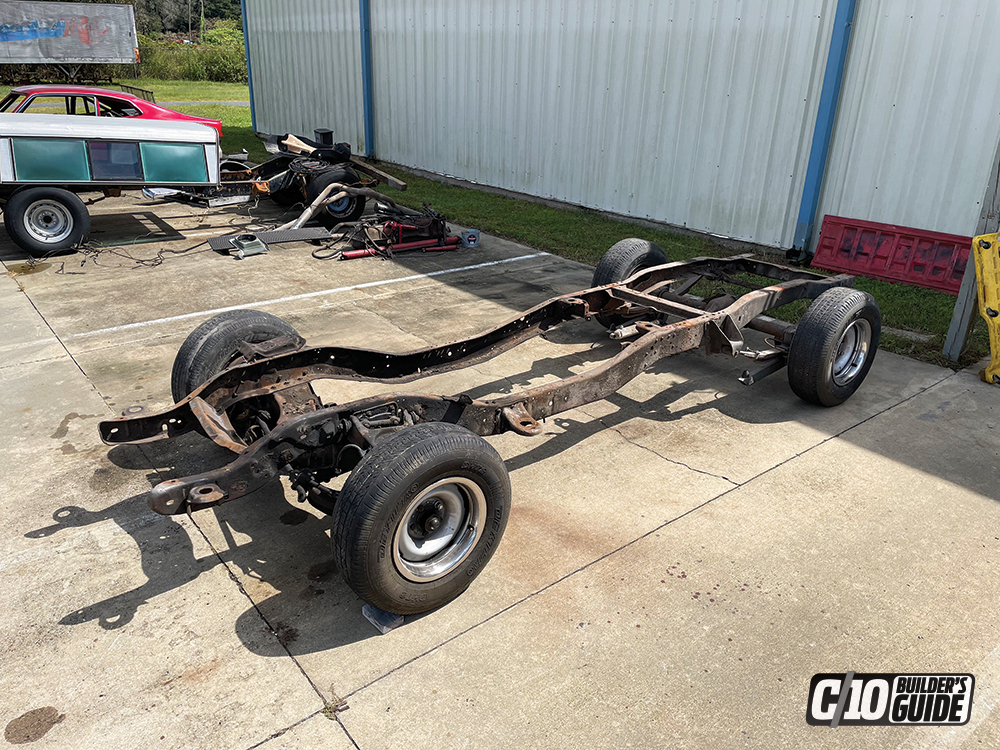
In this issue we will rip off the old and prep for the new. All the body panels need to be removed from the frame so it can be blasted and painted to look even better than new. The chassis is our most important starting point, so a few structural upgrades and visual modifications will be the first step. The only thing we will be using is the factory frame and original cab; the rest will be replaced with new aftermarket parts from amazing American companies that support our addiction one part at a time. We will work with RockAuto for all the OEM suspension pieces we need and combine it with some upgraded parts from BDS Suspension, Rough Country Suspension and Performance Online.
In the next issue we will break down all the parts we ordered to complete this project so you can follow suit if you like the concept. After the suspension is complete, we will bolt on a brand new set of American Force wheels wrapped in 33-inch Toyo tires. By the time our cab is rust free, thanks to our local paint and body shop, and the new Aeromotive fuel system will be routed and installed.
It’s going to be a very fun process and we will keep you informed all along
the way. Be sure to stay up to date with our video series on our YouTube channel. Until the next issue, keep wrenching away!


Department
Ford Wins Two 2023 Edmunds Top Rated Awards Edmunds, a trusted guide in car shopping for more than 50 years, has named the Ford F-150… Continue reading
Mike Self . May 06, 2023

COOL GEAR
Pinstripers Starter Kit Mack Brush Company’s Pinstripers Starter Kit is a great way to jump into the world of pinstriping. It’s ideal for pulling straight… Continue reading
Chris Hamilton . May 17, 2022
Features
A Wrong Turn Made Right Life tends to take a few wild and unexpected turns from time to time, and so do careless drivers. Still,… Continue reading
Mike Alexander . December 18, 2020
Department
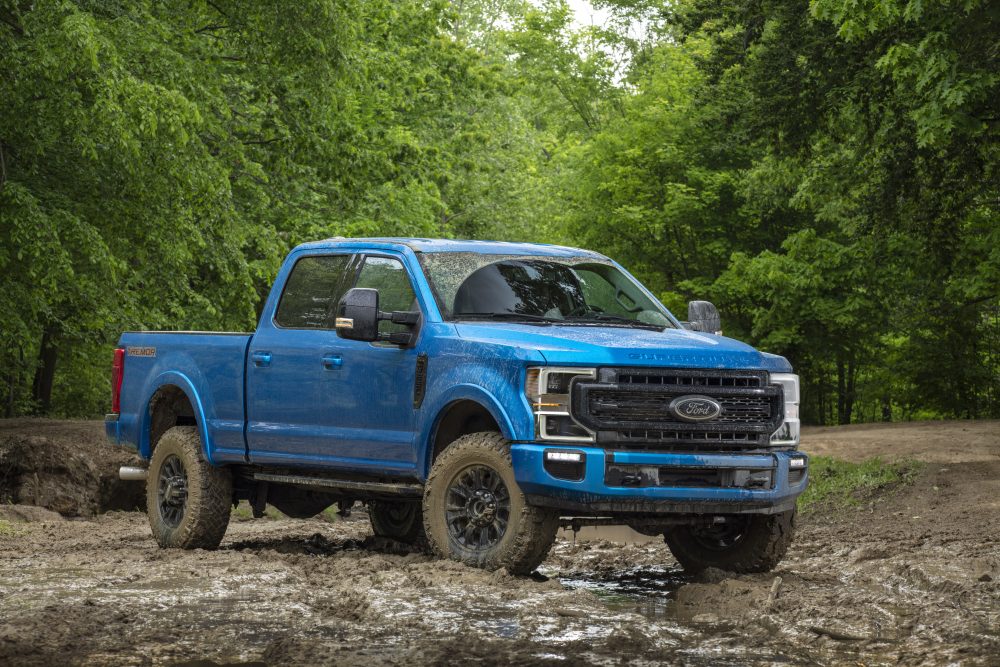
THE 2020 F-Series Super Duty is delivering next-level capability in an all-new way: the Tremor Off-Road Package. Tremor pushes the boundaries of Super Duty off-road… Continue reading
Chris Hamilton . December 04, 2019
Department
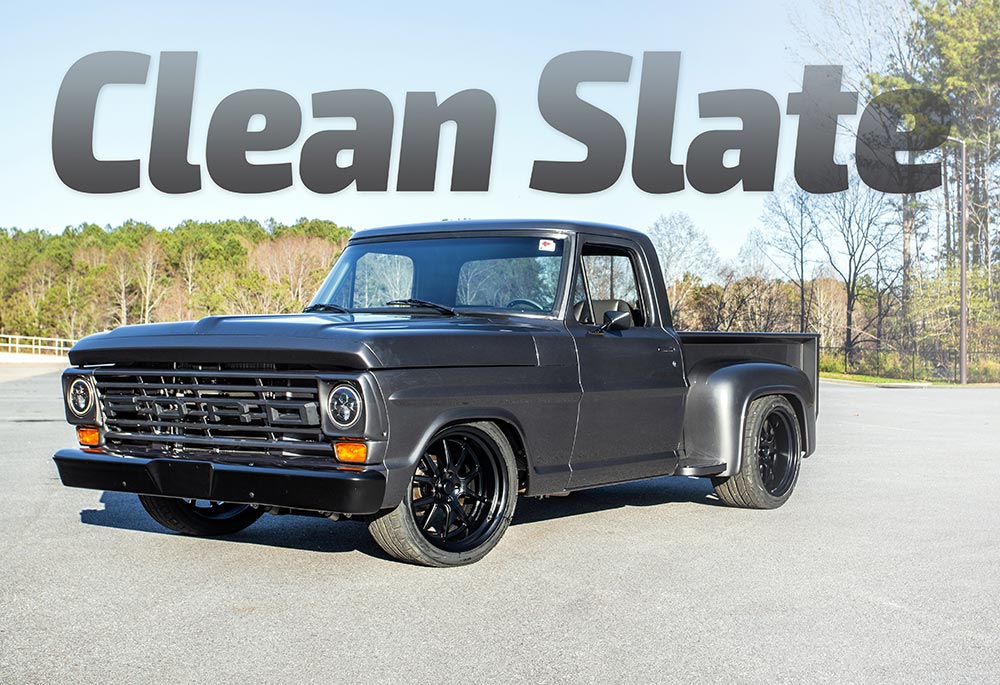
A Ford Truck Enthusiast’s Latest F-100 Creation Words by John Mata Jr. Photos by Solomon Lunger Truck owners and builders who find themselves being brand-loyal… Continue reading
John Mata Jr. . February 15, 2023
Features
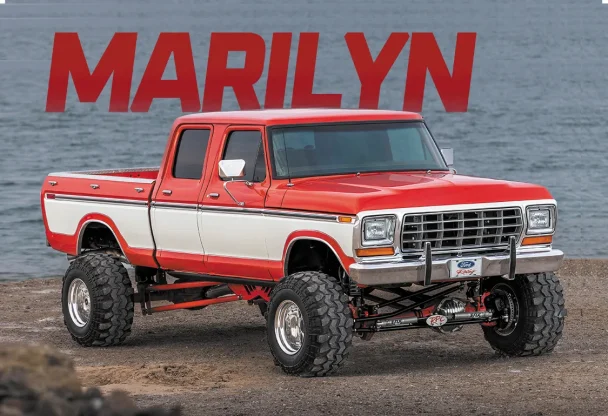
Robert Phillips’ Red-Headed ’74 Highboy Dentside Ford Highboy fans are a breed apart, and Robert Phillips of Chino Valley, Arizona, is a proud member of… Continue reading
John Mata Jr. . November 05, 2024


We use cookies to enhance your browsing experience, serve personalized ads or content, and analyze our traffic. By clicking "Accept All", you consent to our use of cookies. Visit our Cookie Policy for more info.

Share Link