 Chris Hamilton
.
June 17, 2020
.
C10 Builders Guide
.
Chris Hamilton
.
June 17, 2020
.
C10 Builders Guide
.
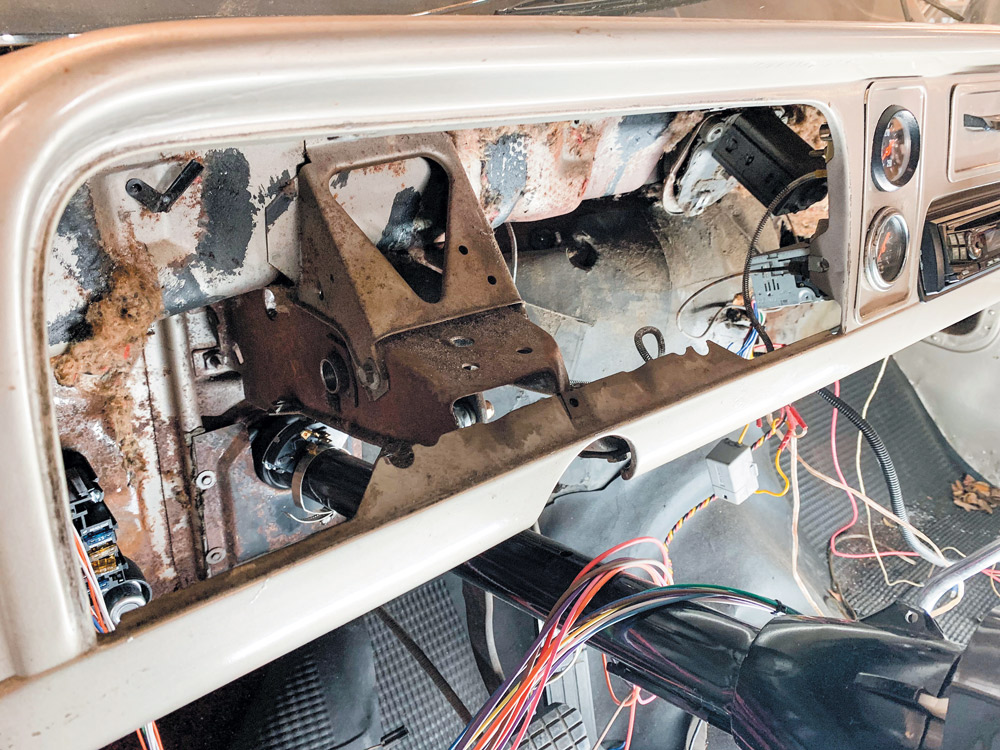
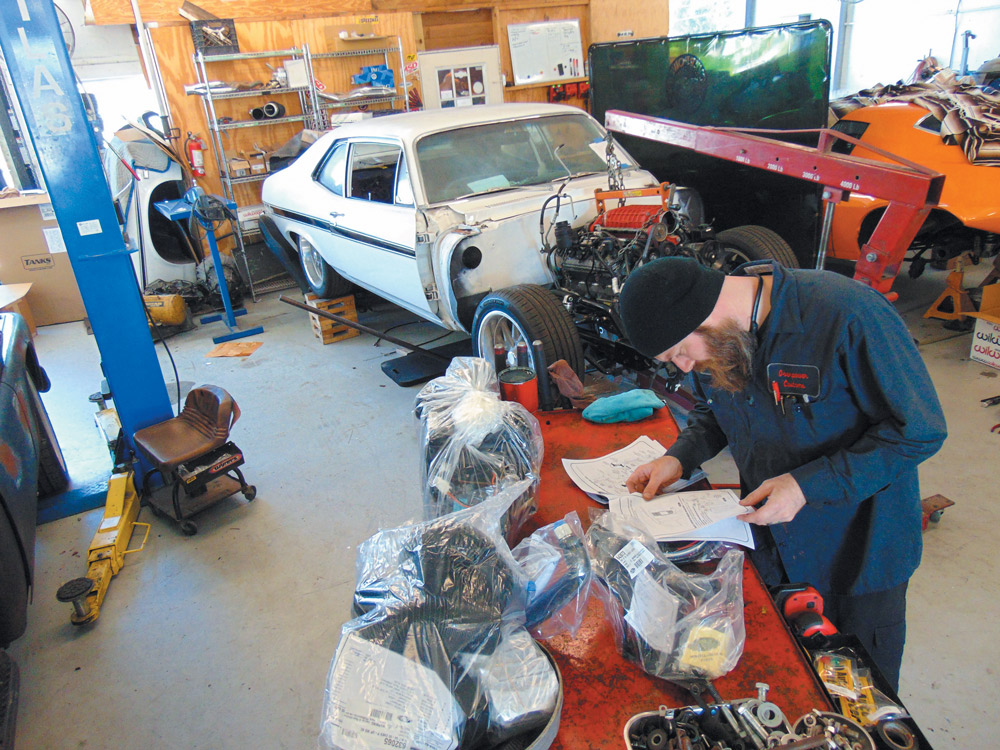
If you remember, we closed the last issue by running all new wires throughout our project ’65 C10. The pre-engineered kit from Painless Performance wiring makes the job manageable for most and as simple as they can design it. Also the addition of FiTech’s EFI carburetor conversion will give this cool classic the reliability we are looking for in this soon-to-be weekend cruiser.
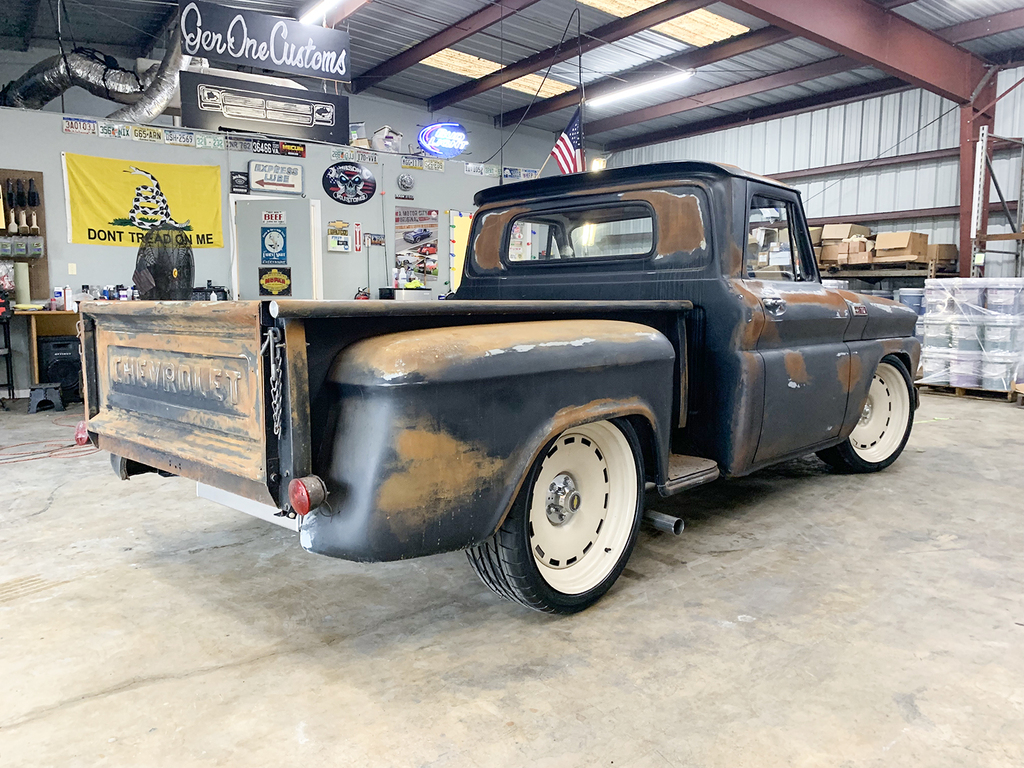
Complete confidence with every crank is what you’re buying, and the embarrassment of a dead engine is something you no longer fear. The cost of the parts is appreciated with every drive. Although, if your wife is sweating in the passenger seat on a hot summer day, it doesn’t really matter how good the engine runs does it? And that’s where we find ourselves with Project Raven.

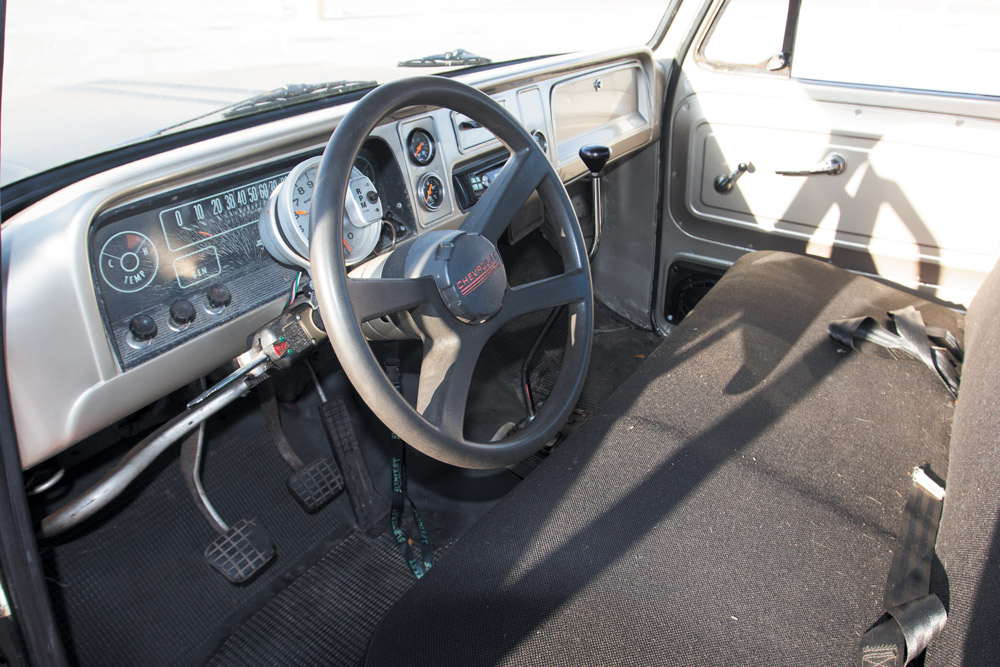
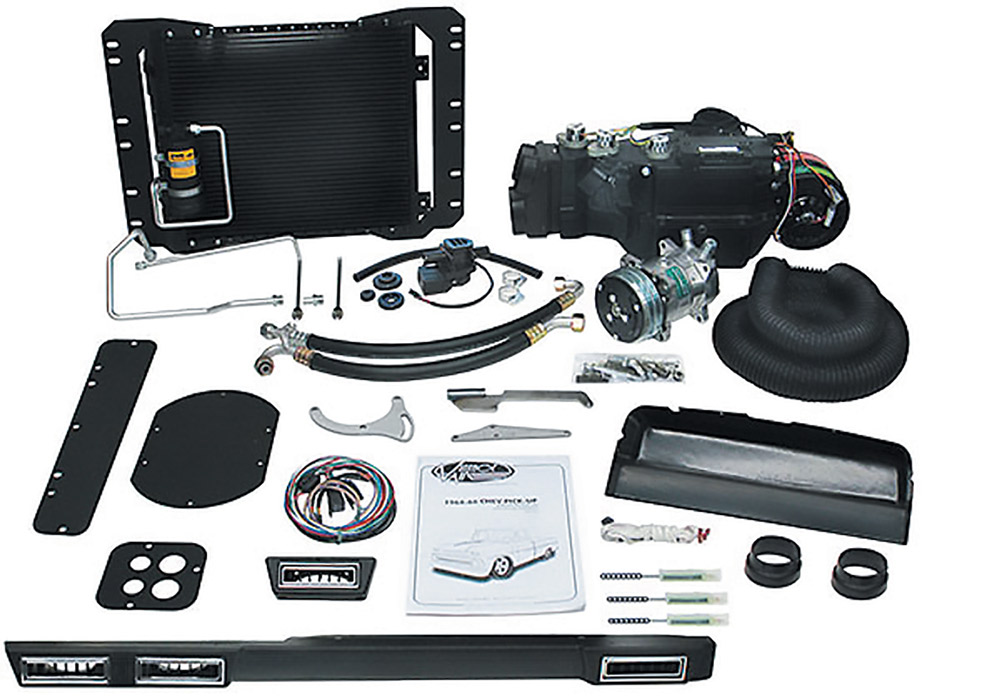
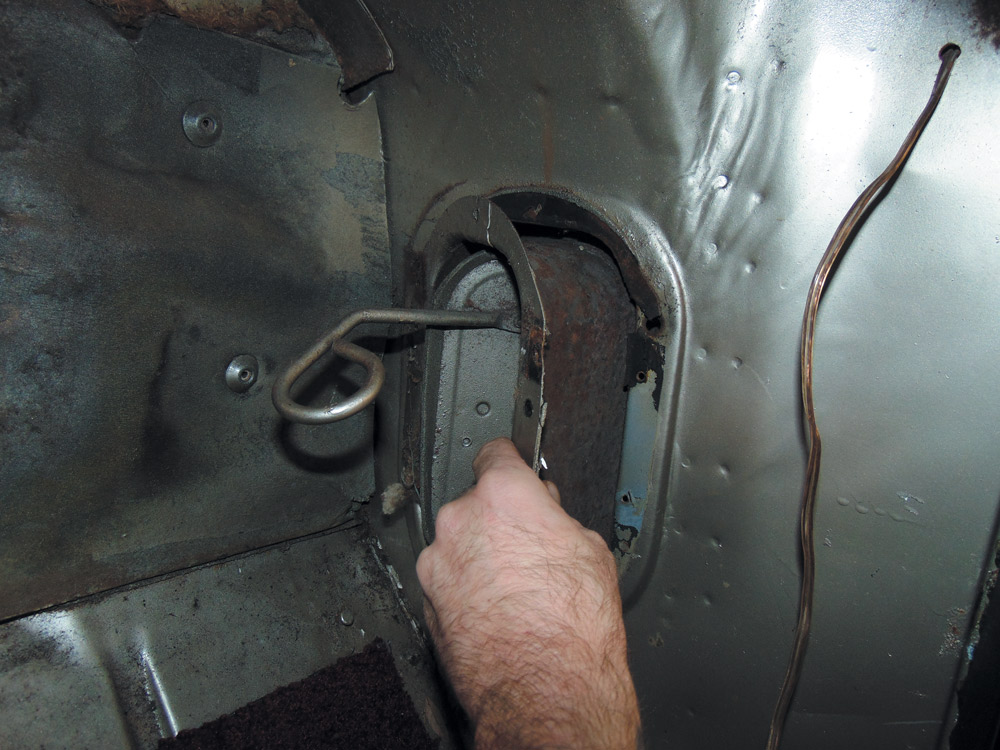
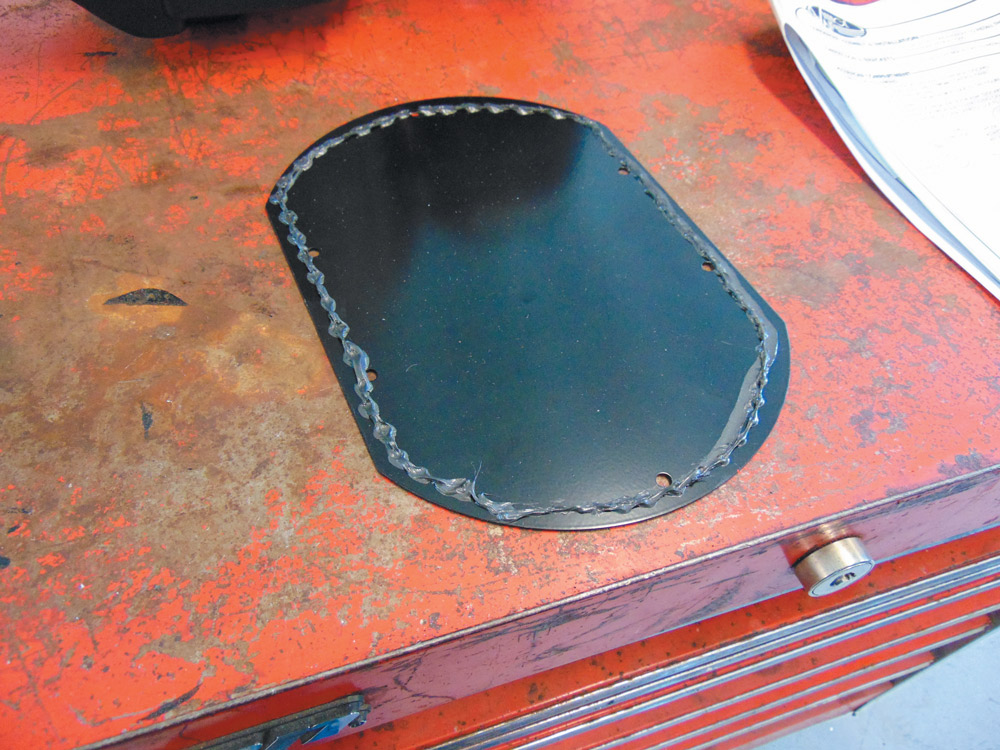
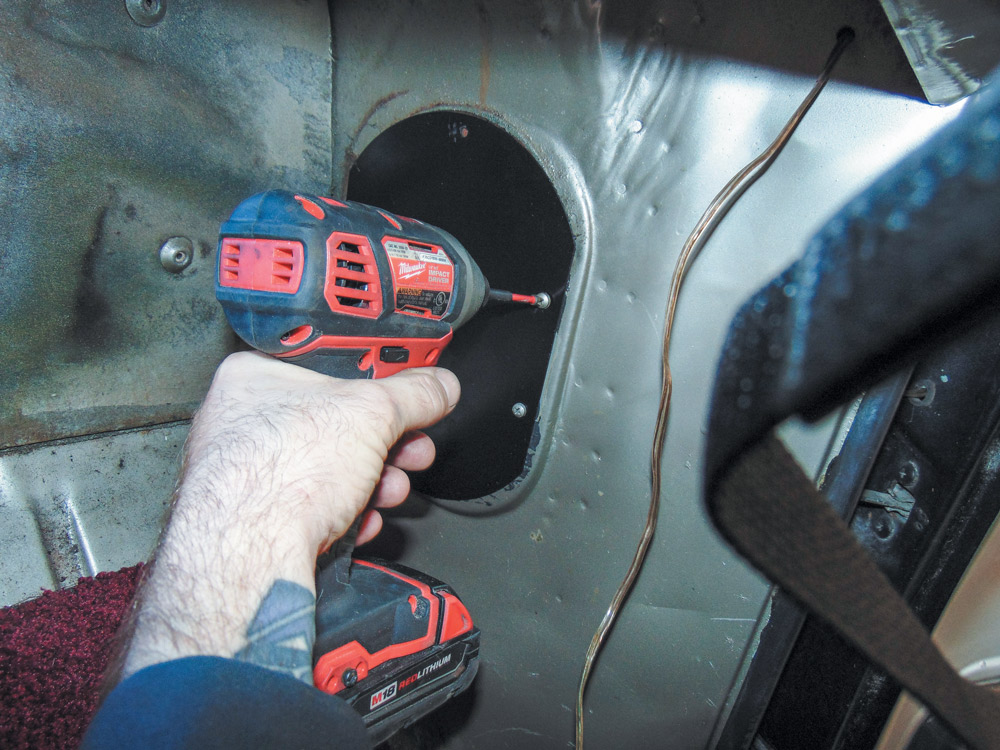
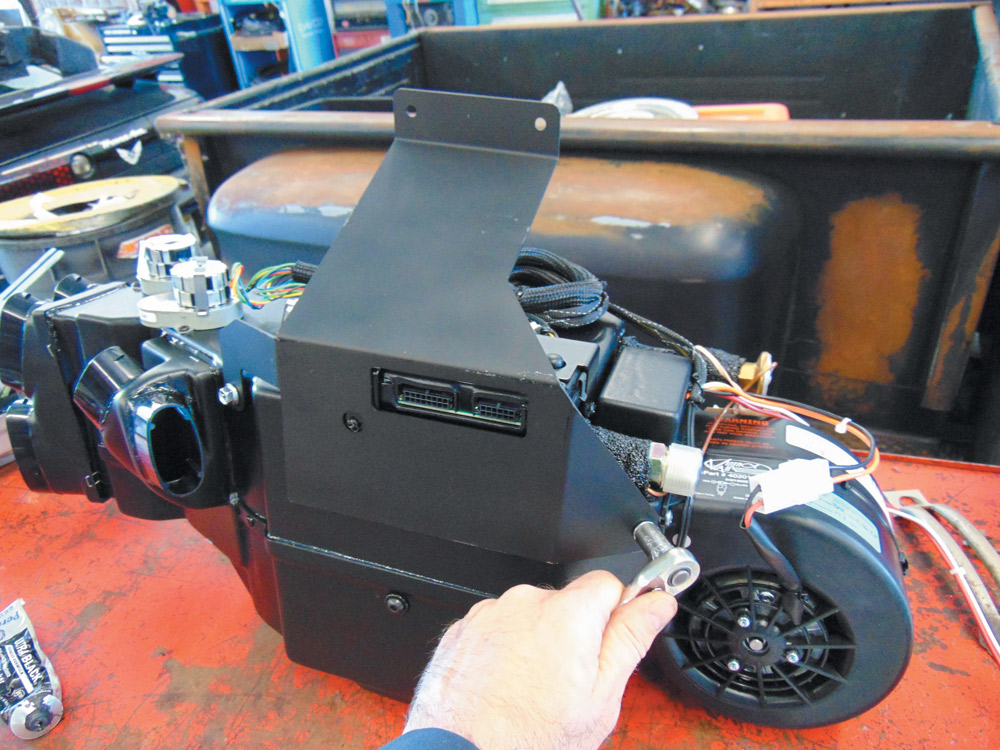
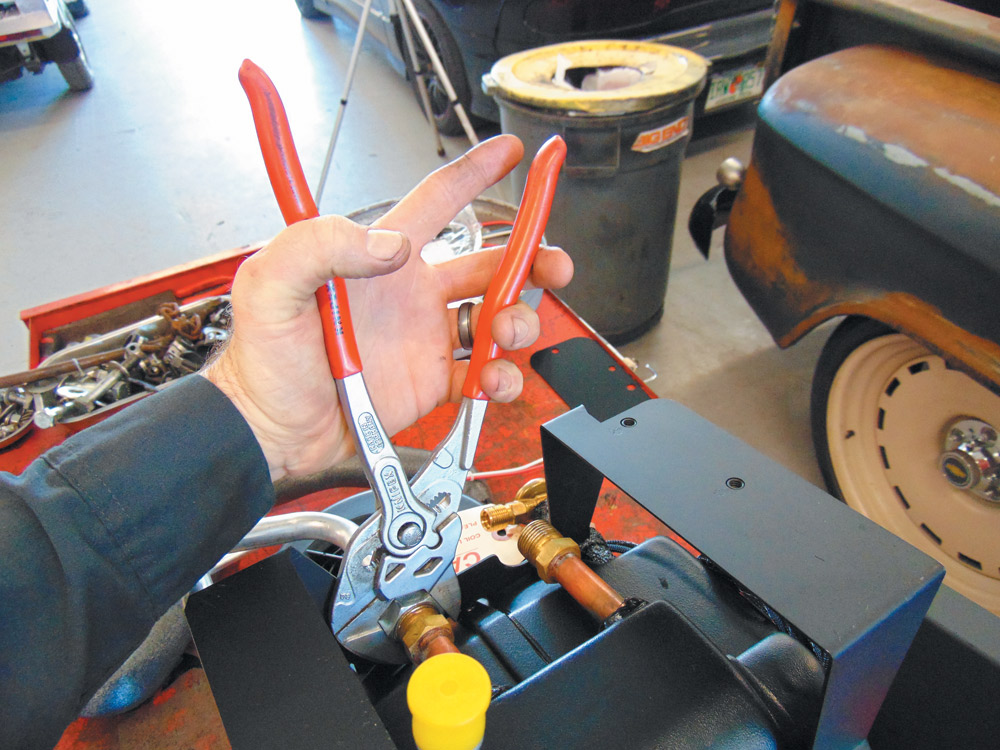
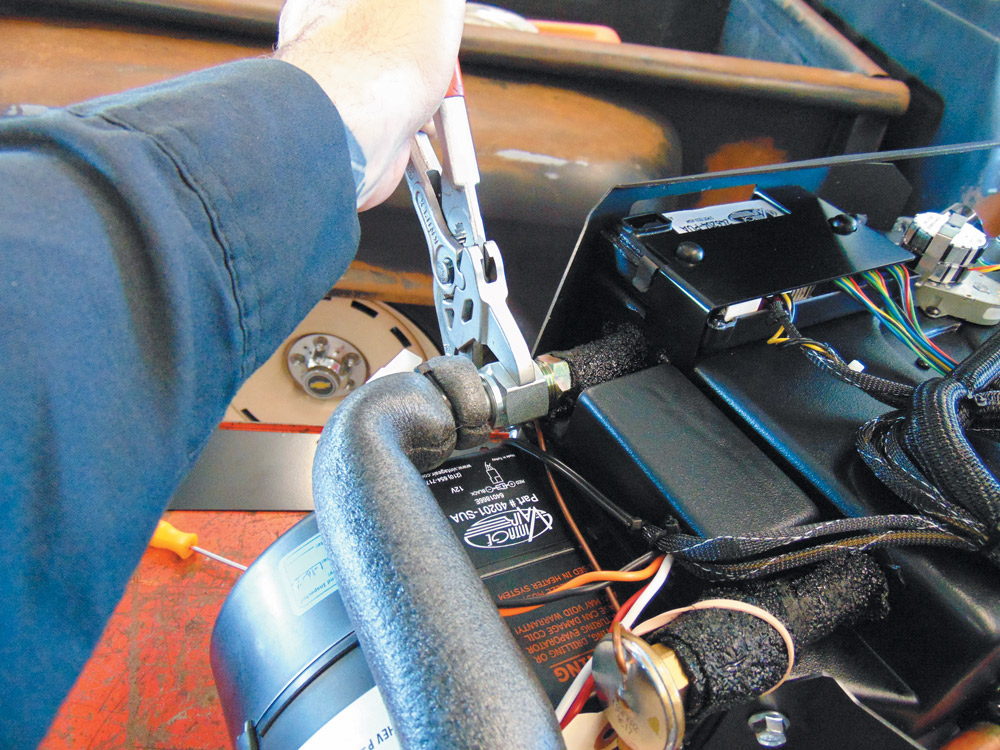
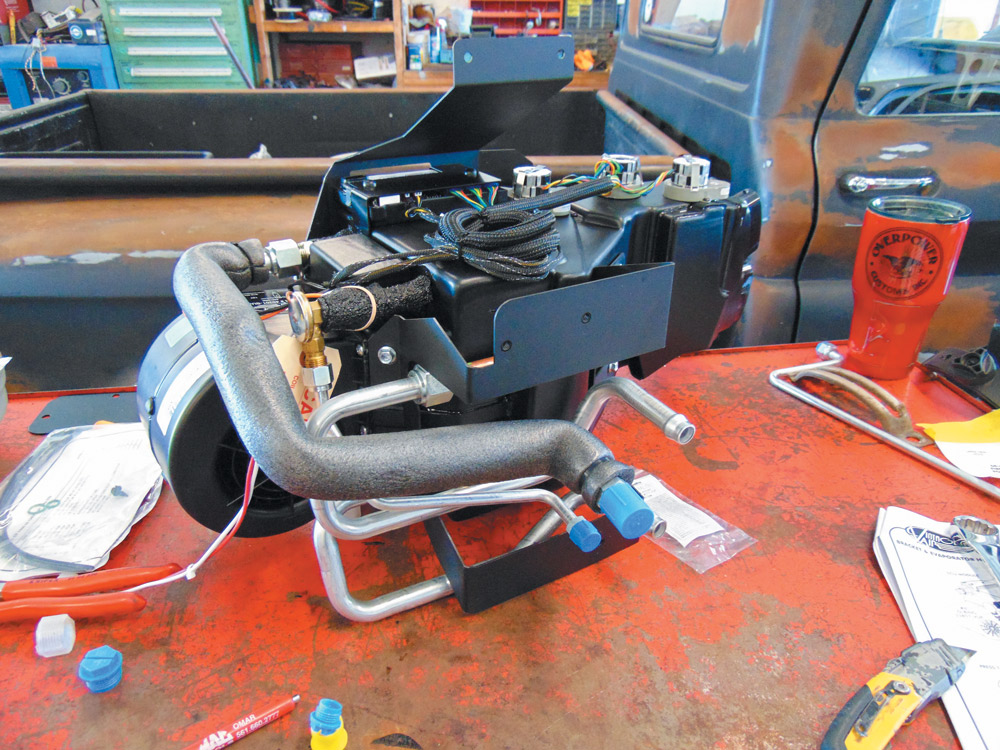
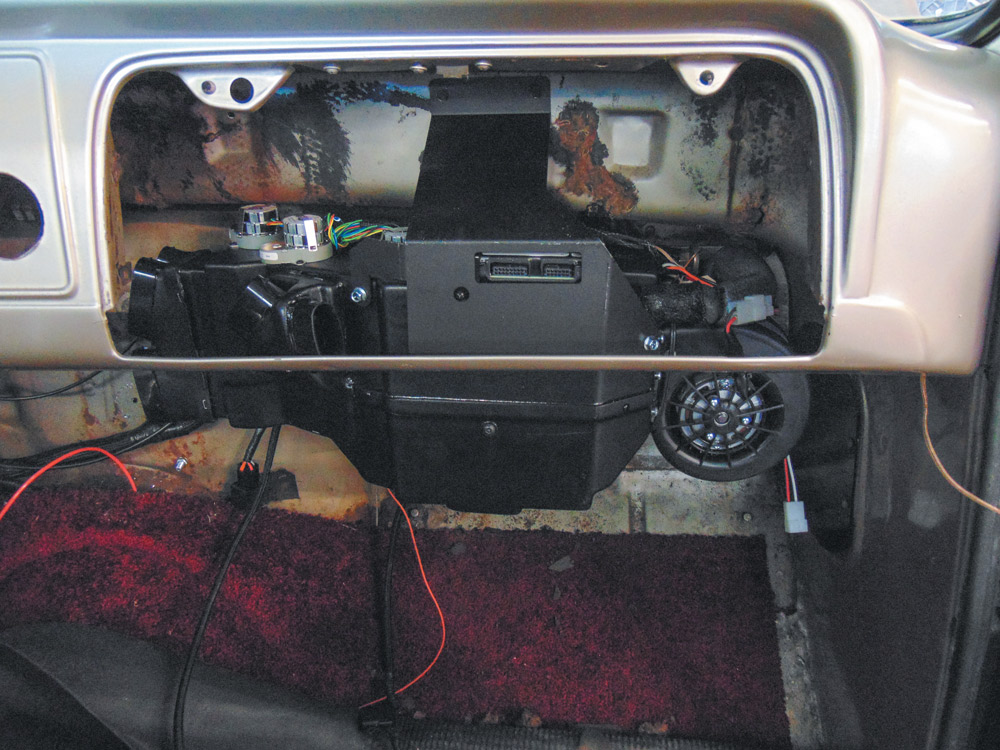
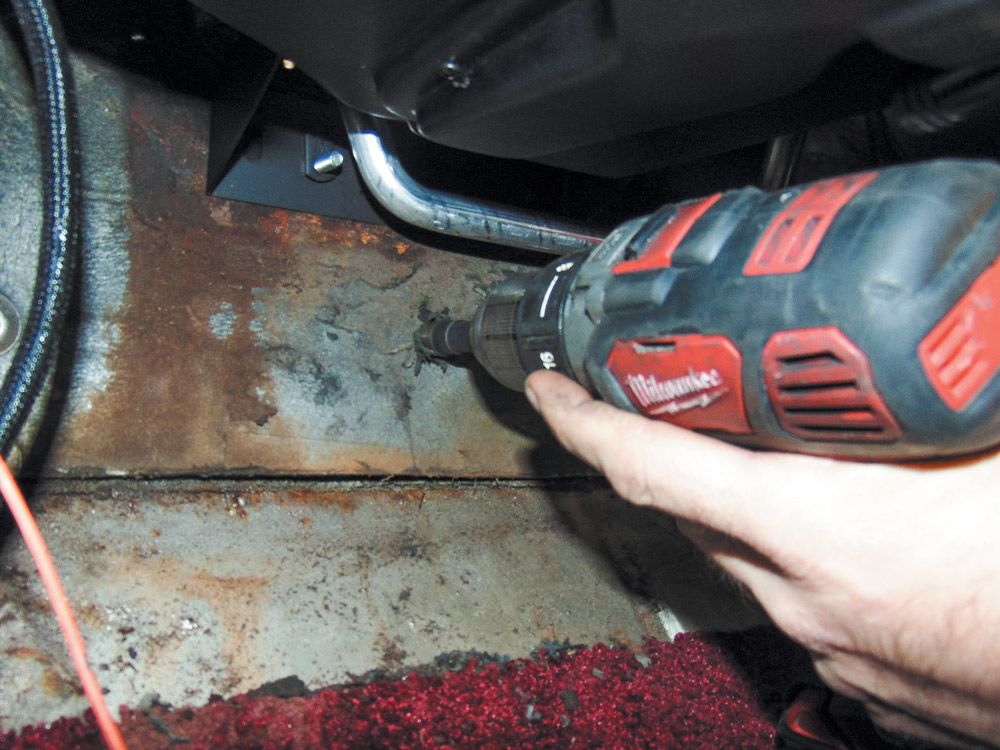
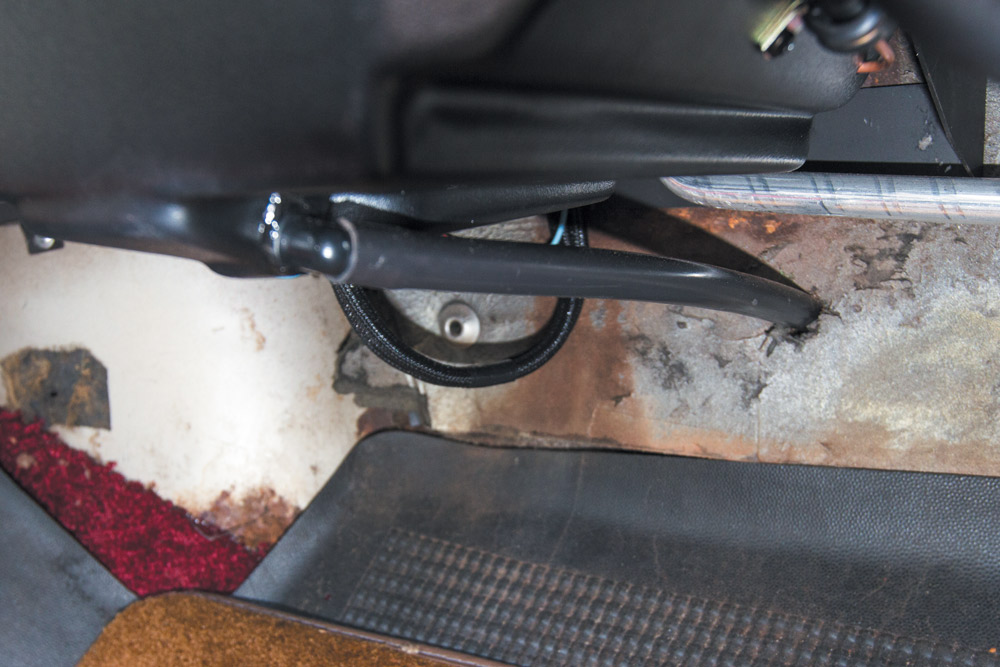
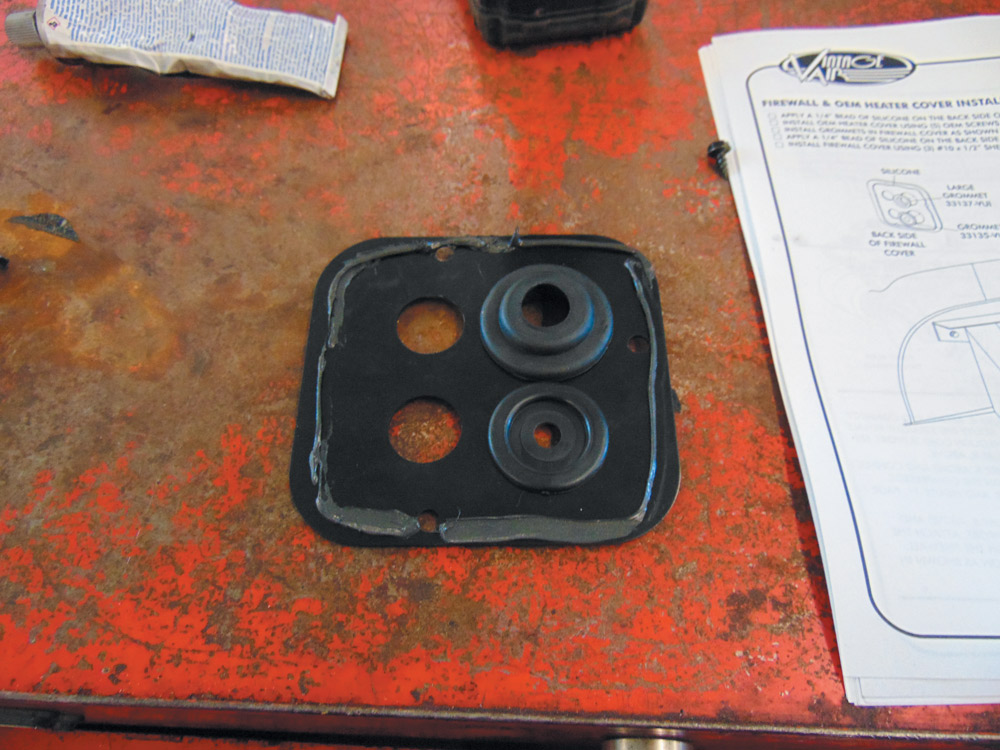
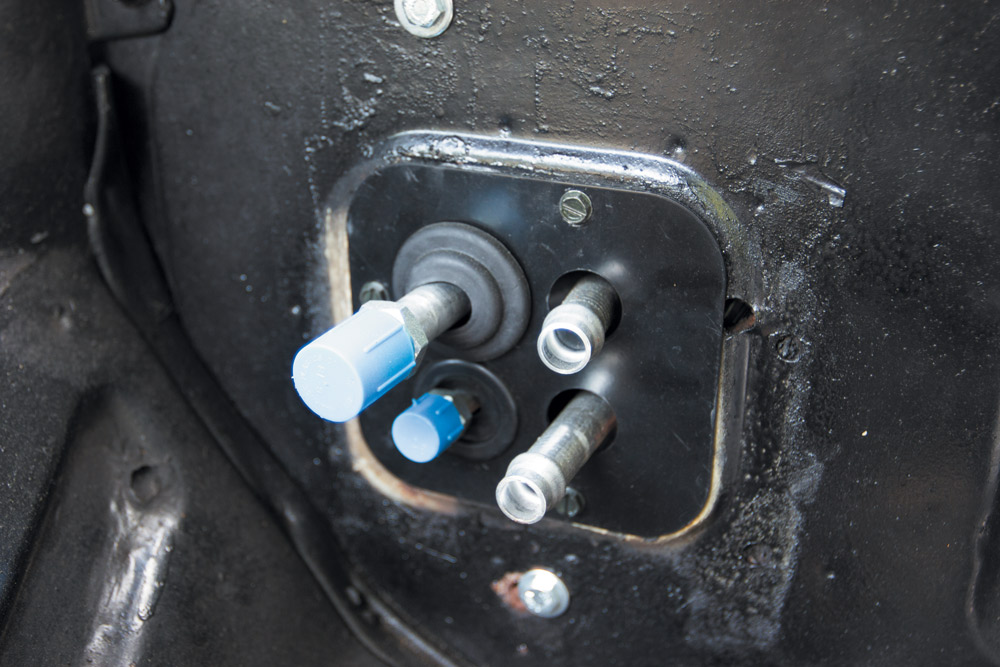
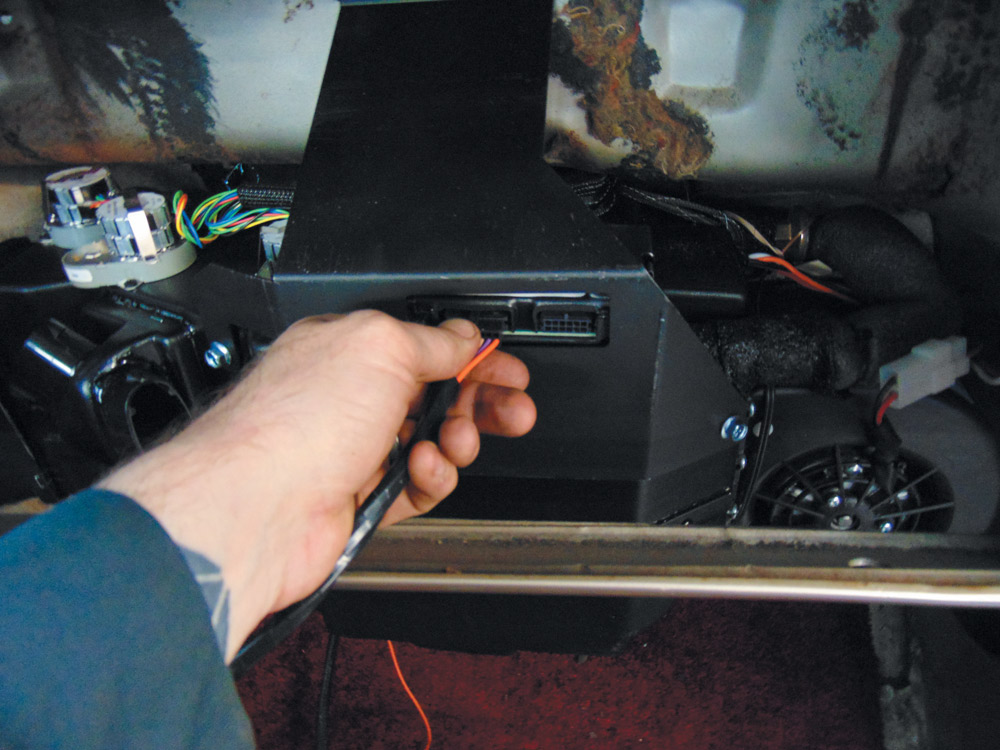
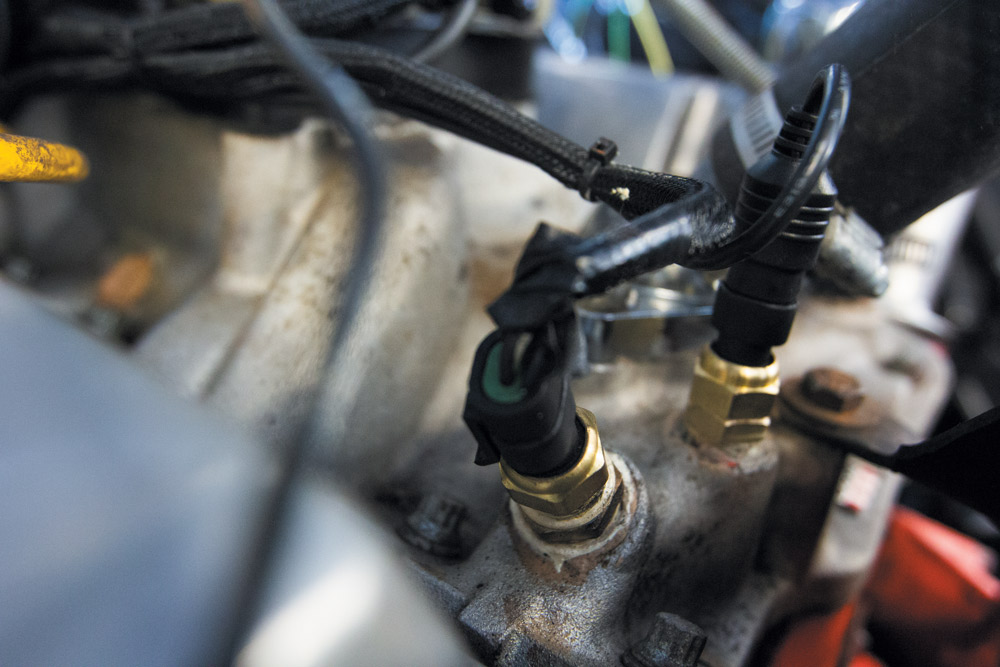
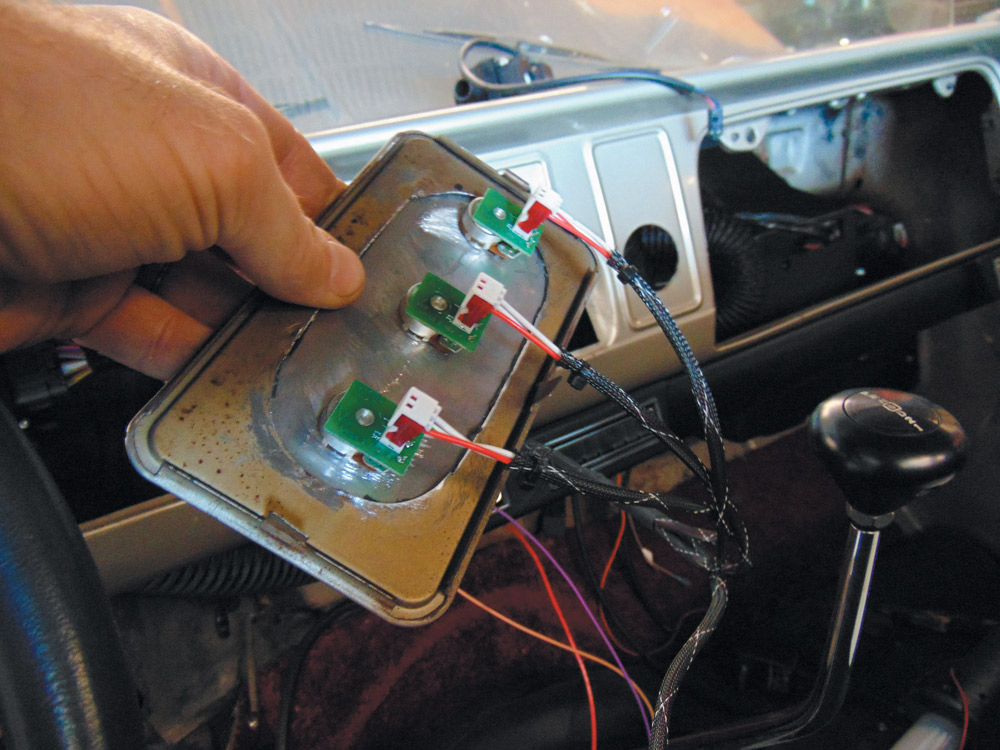
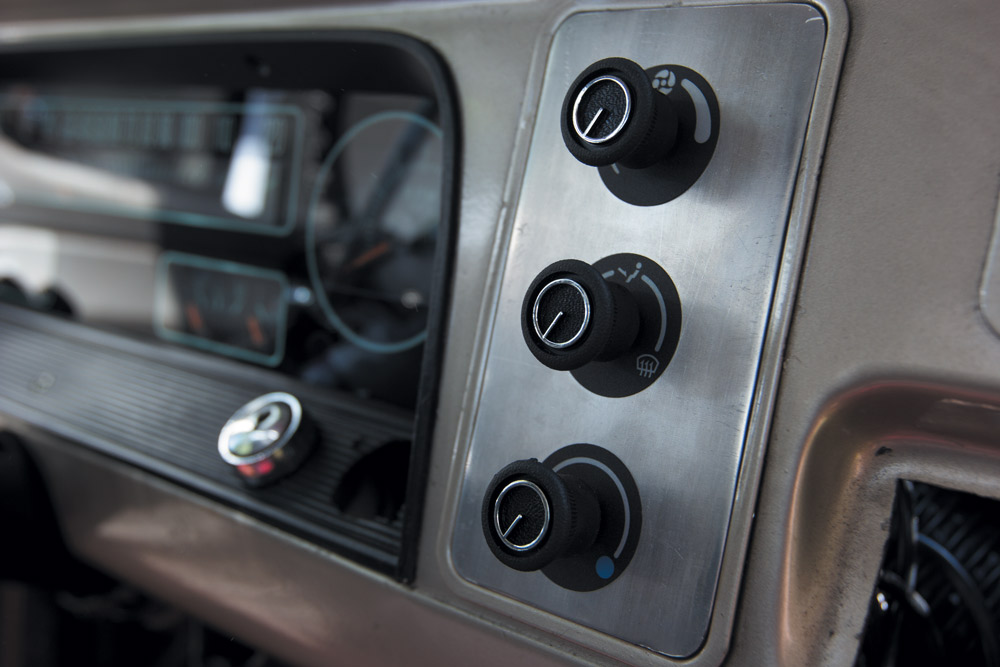
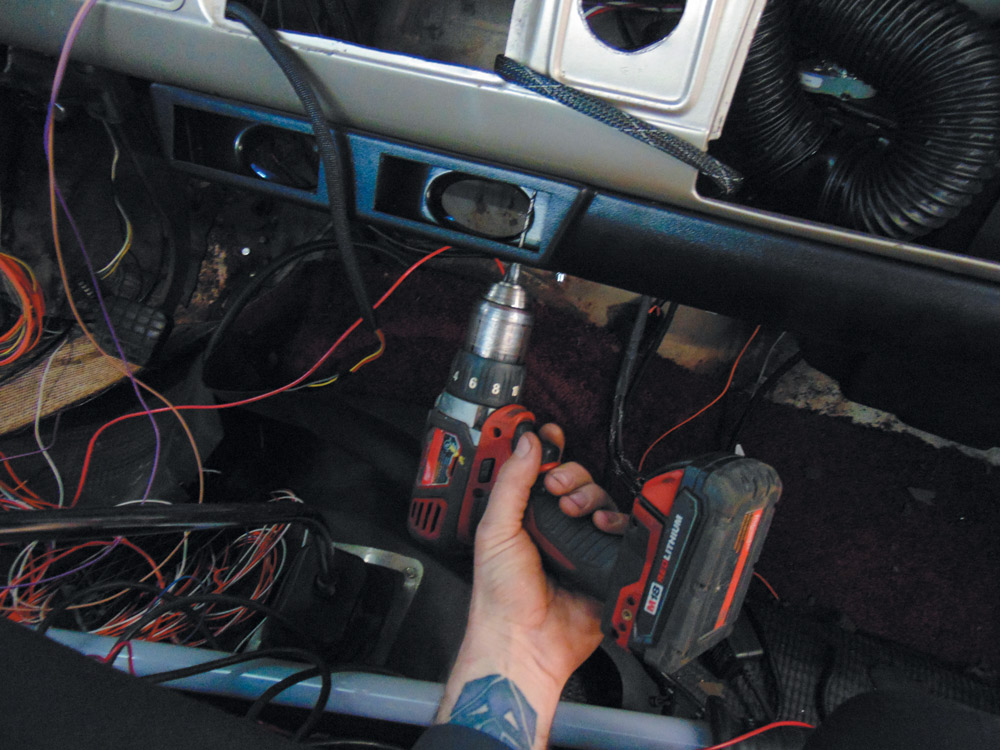
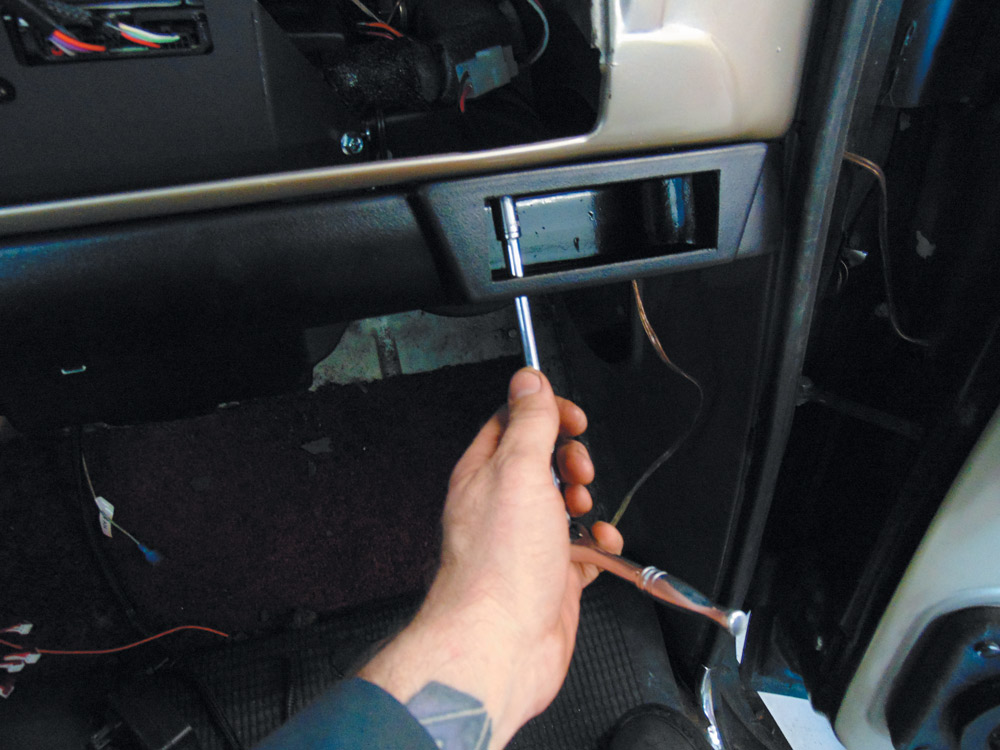
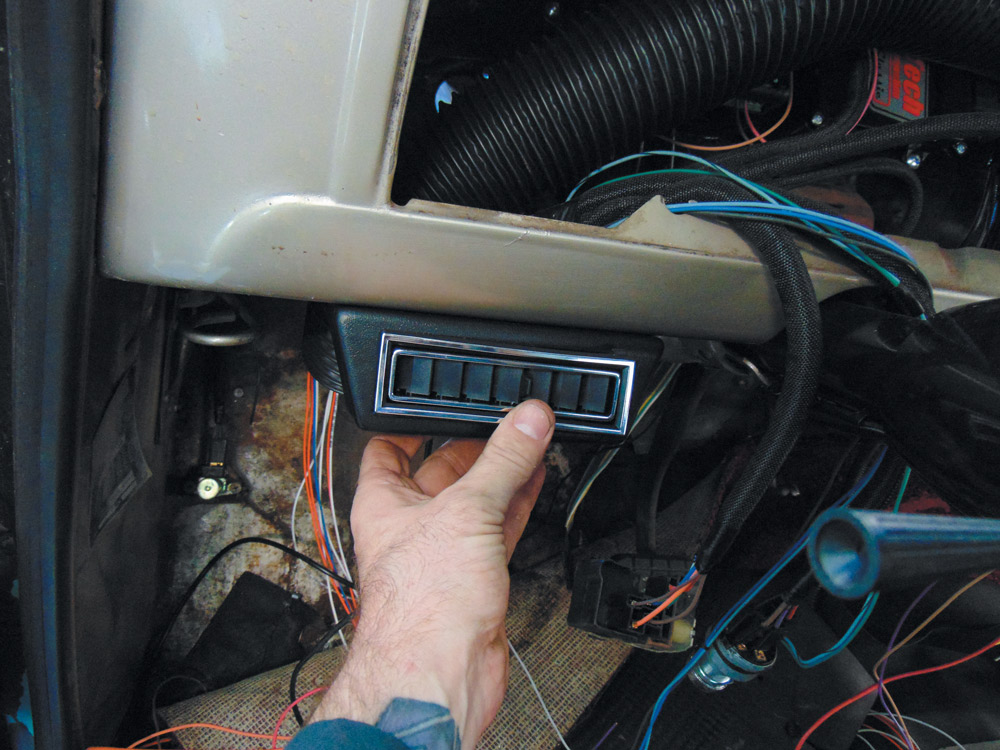
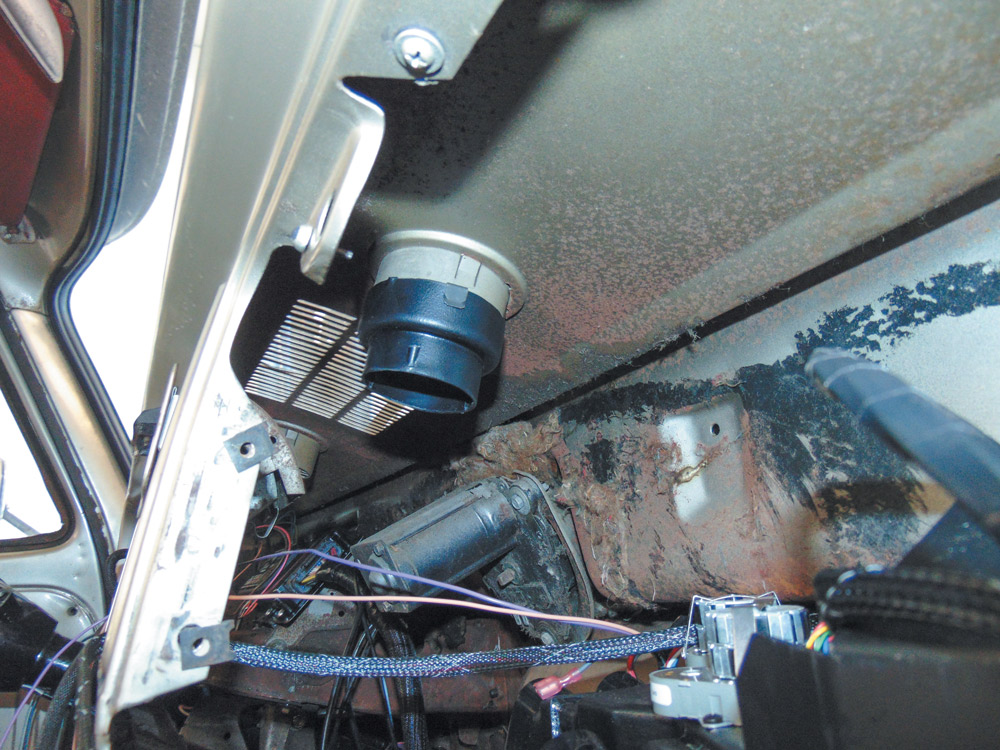
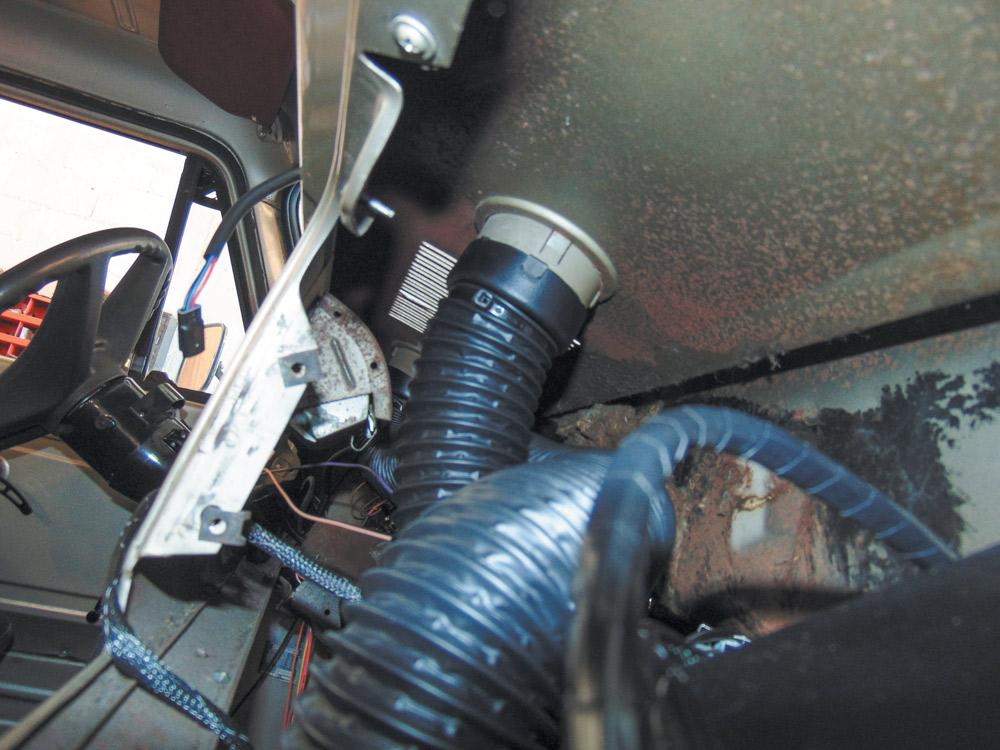
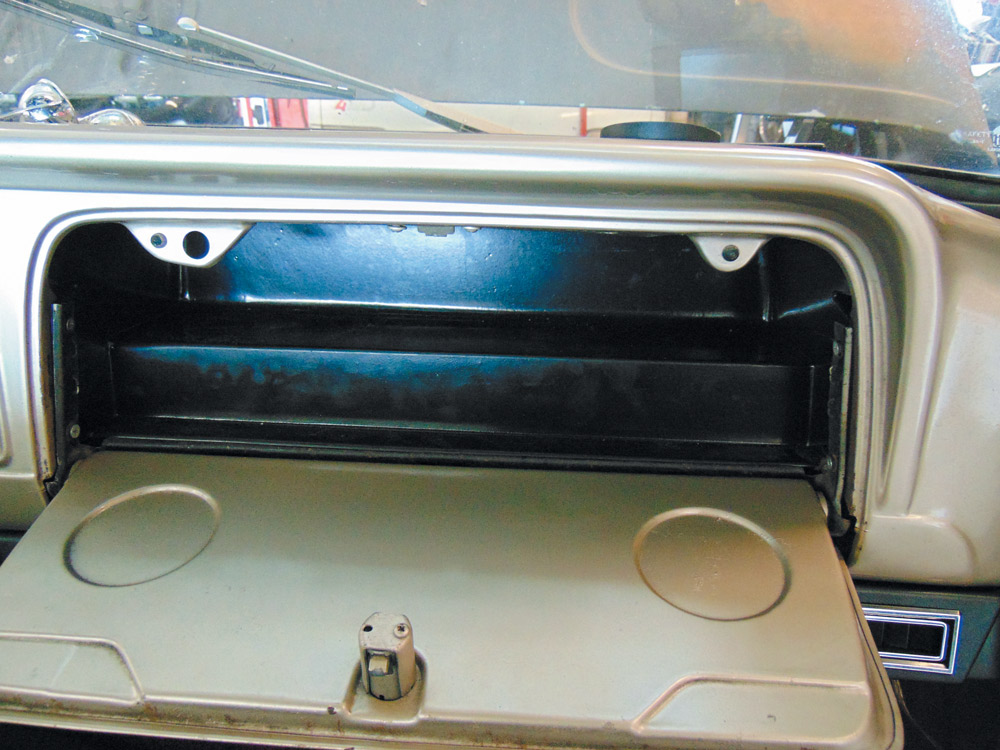
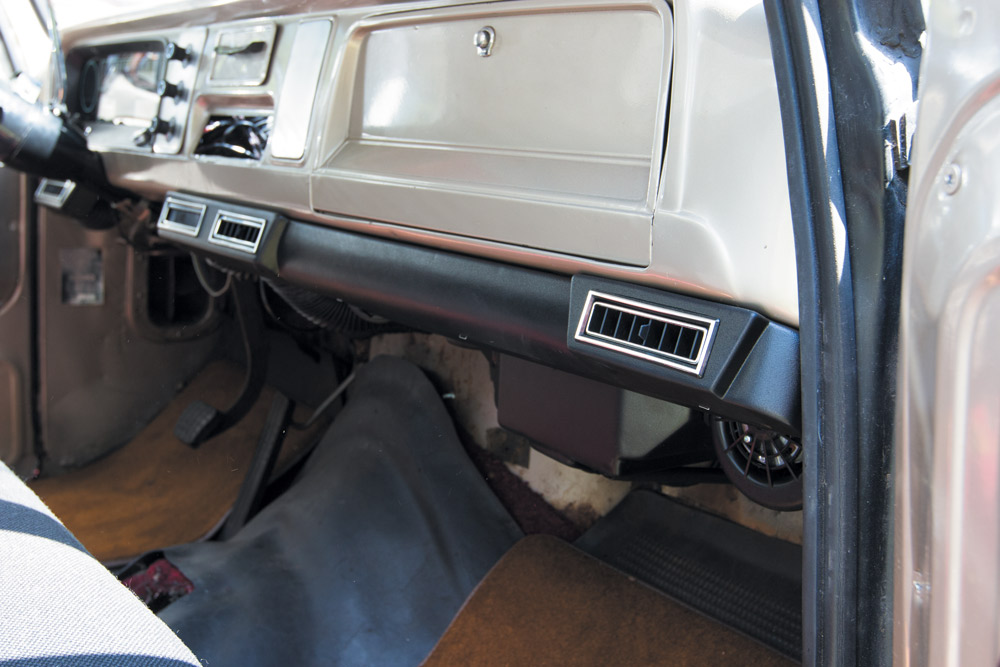
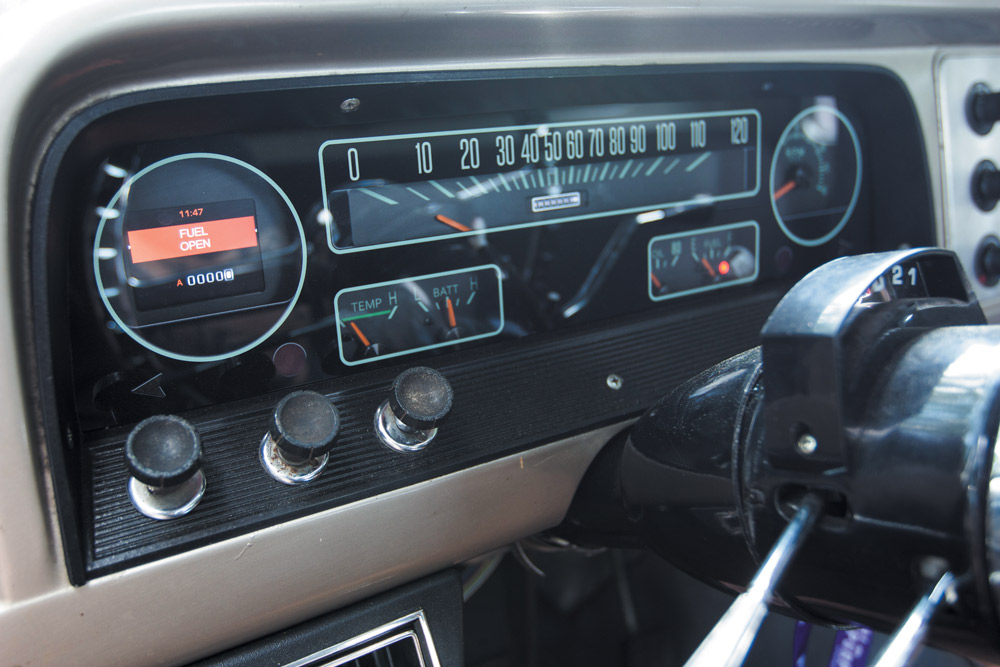
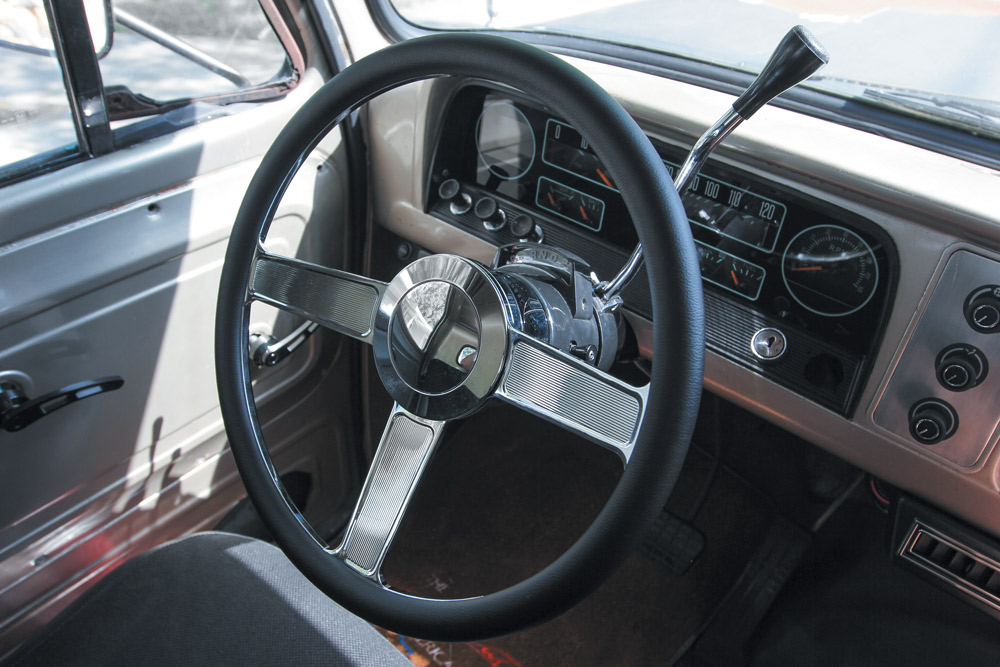
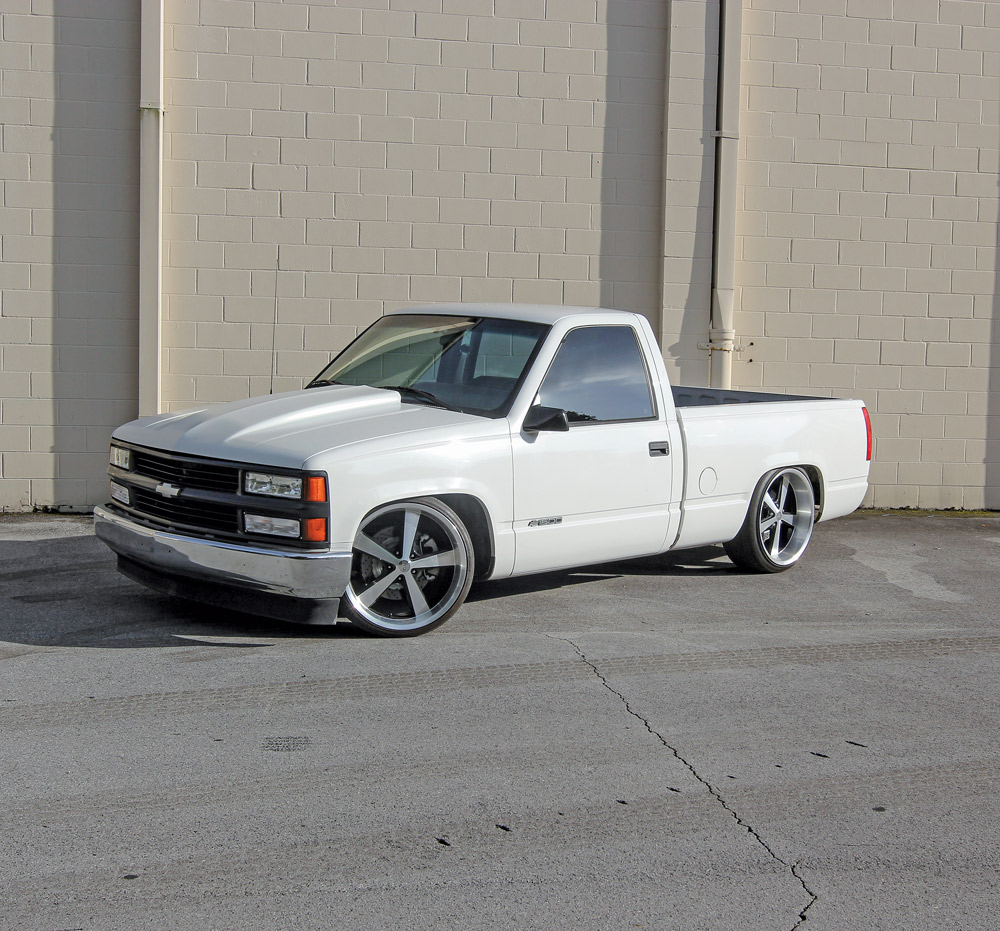
Summer is coming fast and we want to hit as many local shows as possible, so now is the time to install a Vintage Air A/C system before the temps start rising. We are also going to add a new Dakota Digital gauge cluster, which will take the guesswork out of fuel levels and engine temps. Both of these systems are specifically engineered for this year’s truck and designed to fit and feel like it came from the factory. Finally we will replace the ’90s style steering wheel that someone bolted on before we picked it up last year. A new wheel from Eddie Motorsports will look amazing. Let’s go!
[divider]Sources[/divider]
Vintage Air
www.vintageair.com
800-862-6658
Dakota Digital
www.dakotadigital.com
800-852-3228
Eddie Motorsports
www.eddiemotorsports.com
888-813-1293
Overpower Customs
www.overpowercustoms.com
561-844-3777


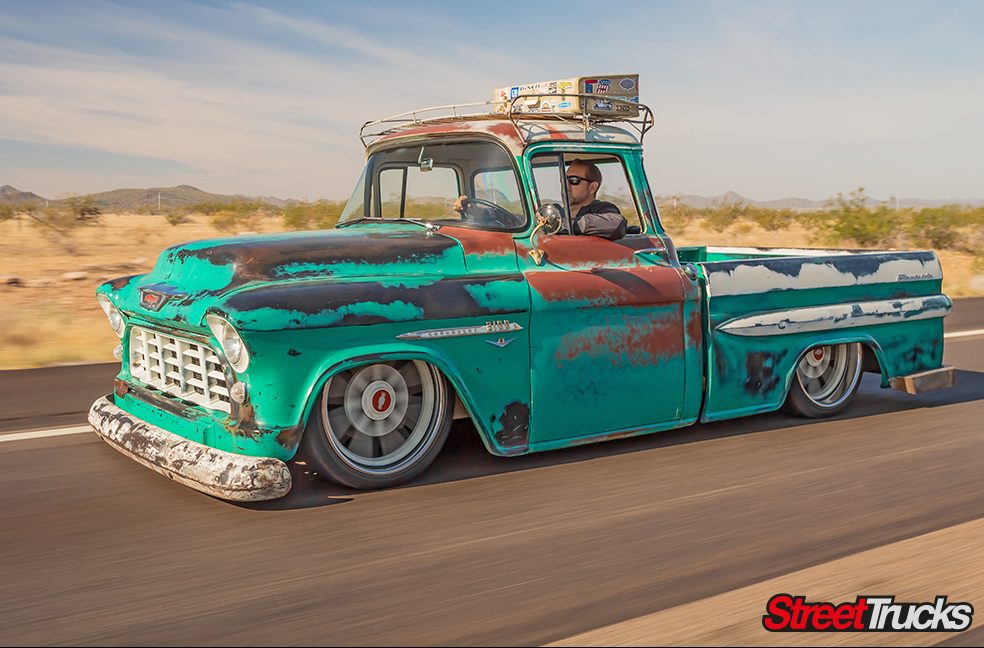
Blood Sweat and Gears
A Street Truck Aimed to Inspire The classic movie, “A Streetcar Named Desire,” was recently selected for preservation in the United States National Film Registry… Continue reading
Chris Hamilton . September 02, 2020
c10
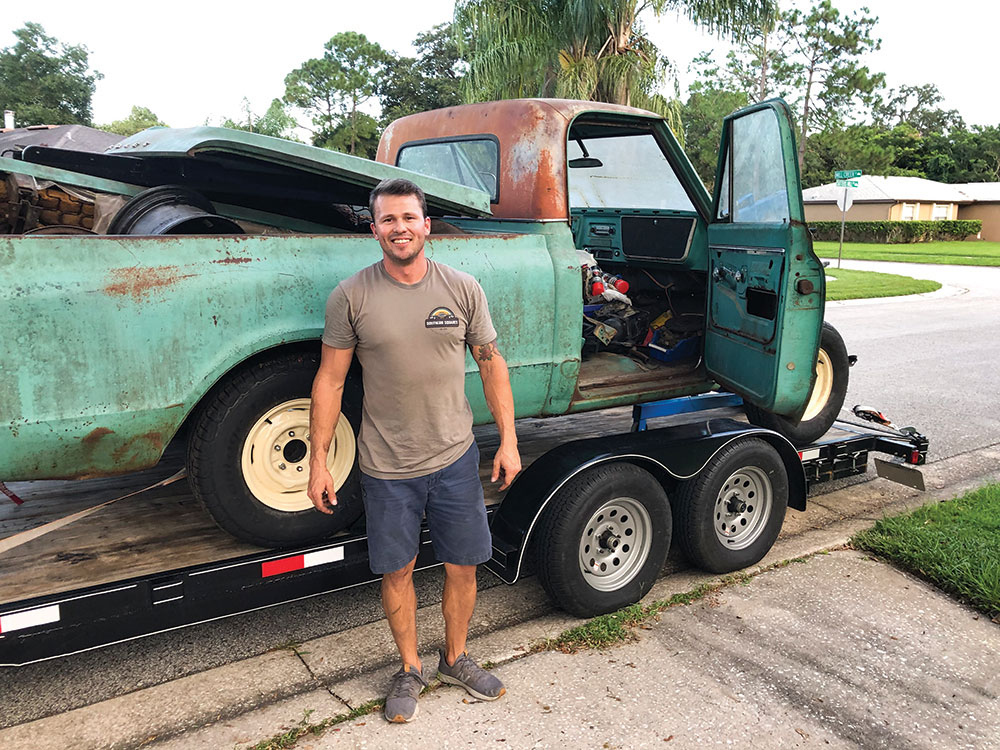
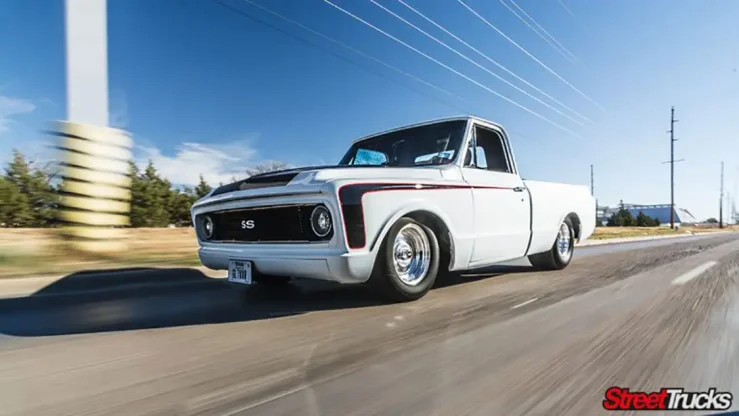
We all have that bucket list truck we want to own or build. For me, that truck is a 1967-’68 patina 503 light green shortbed… Continue reading
JOSH MCPHERSON . May 12, 2022
c10
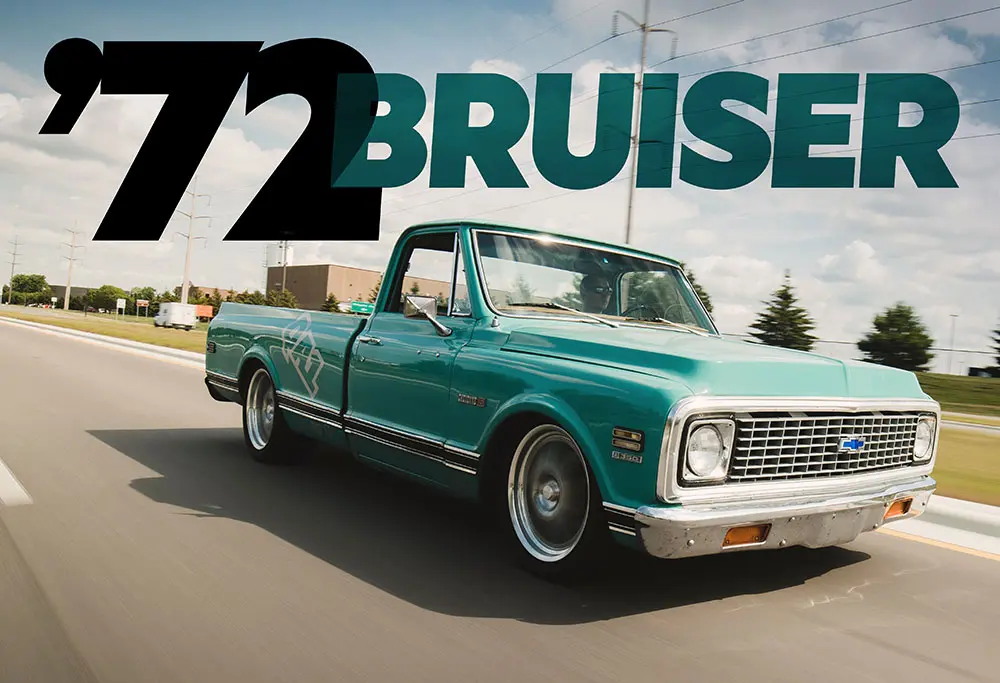
David Kass & QA1’s Bolt-On Road Warrior When Dave Kass set out to build his ’72 C10, he had a very good idea what he… Continue reading
John Mata Jr. . April 26, 2023
C10 Builders Guide
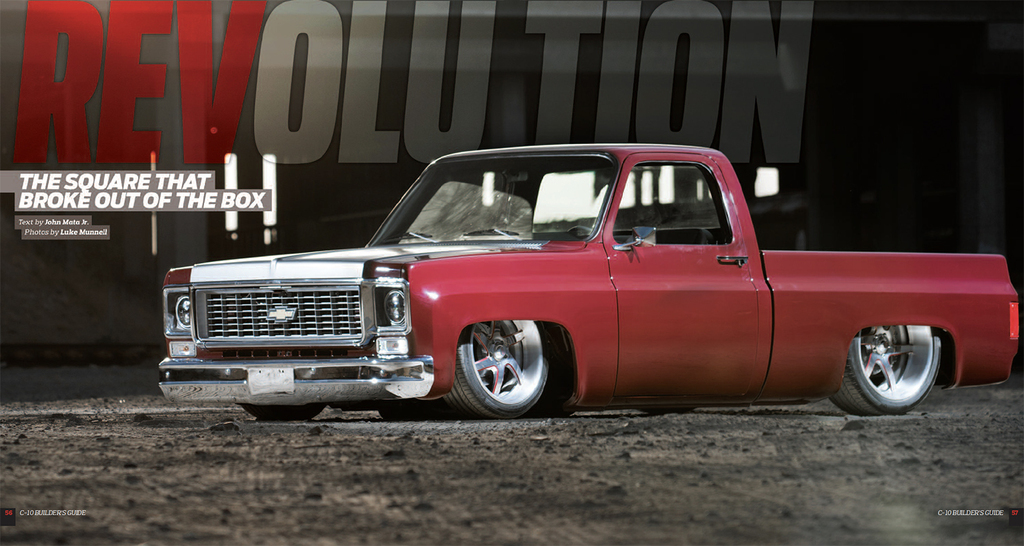
Evolution is in our nature. For those who aspire to dream bigger, there are always new opportunities. All it takes to discover them is the… Continue reading
Chris Hamilton . December 11, 2019
c10
Making The Most Of A Hand-Me-Down C10 With the hunt for good project trucks getting tighter these days, it must be nice to finally catch… Continue reading
Chris Hamilton . January 13, 2025
Features
There was a time when Chuck Velazco was almost strictly known as an up-and-coming builder of unique, custom motorcycles. For the past few years, however,… Continue reading
streettrucks . April 15, 2020


We use cookies to enhance your browsing experience, serve personalized ads or content, and analyze our traffic. By clicking "Accept All", you consent to our use of cookies. Visit our Cookie Policy for more info.

Share Link