Installing a Dakota Digital RTX Instrument Cluster in a 1967 C10
What’s better than driving an all-original classic? Driving a classic that looks all-original but has some serious upgrades. For years companies in the classic vehicle industry have been creating products that appear to be a factory option but modernized in appearance, technology, materials, or a combination thereof. Dakota Digital is one of those companies that has created an instrument cluster that looks like it could have been a factory option but have all the modern features you’d expect from them.
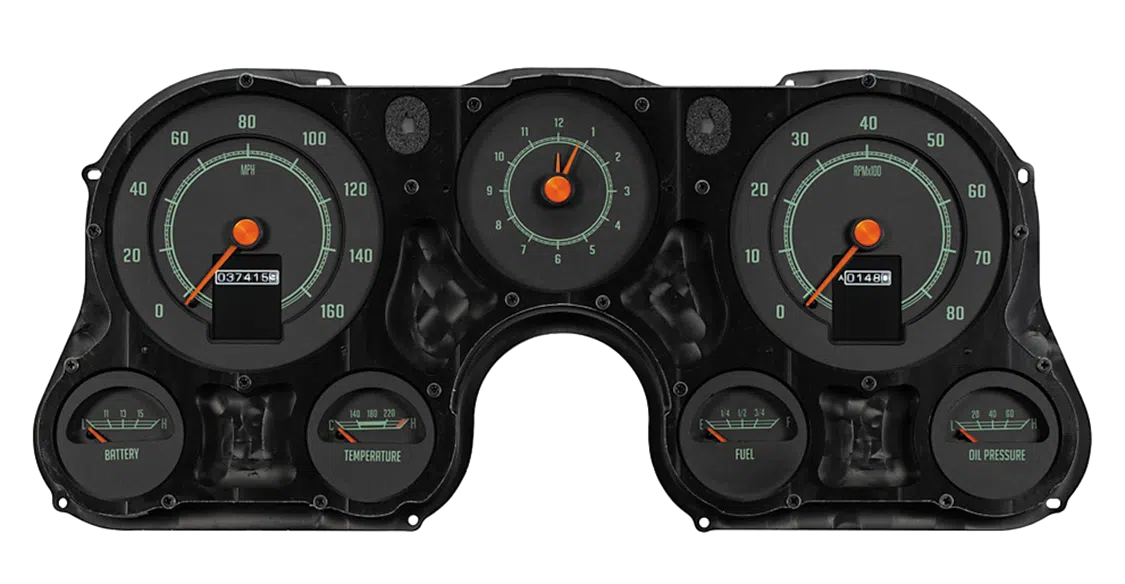
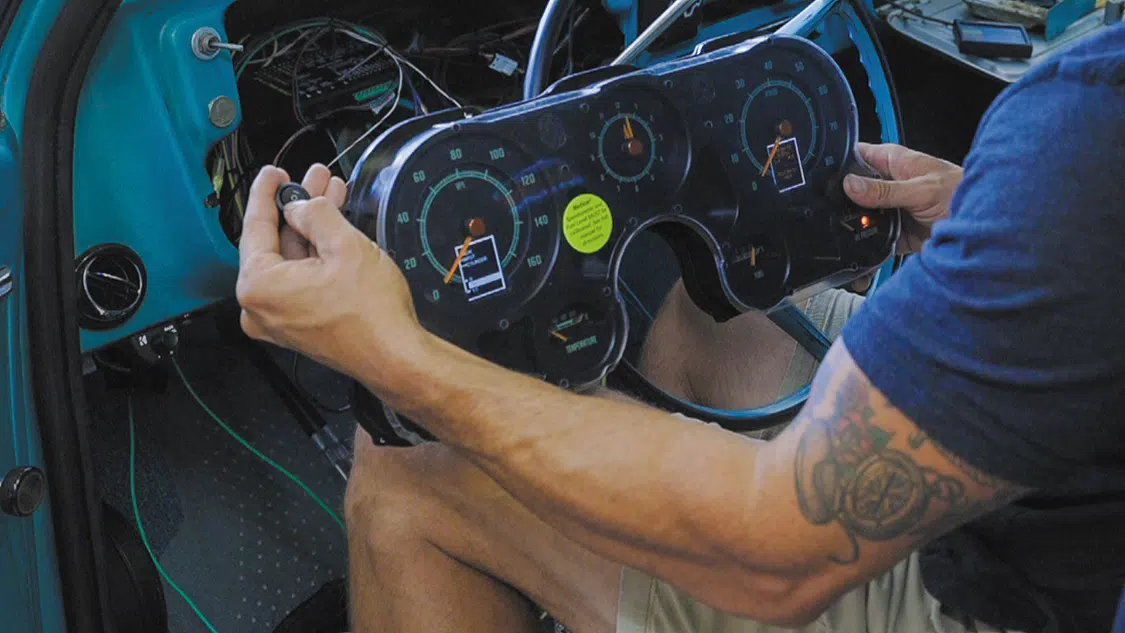
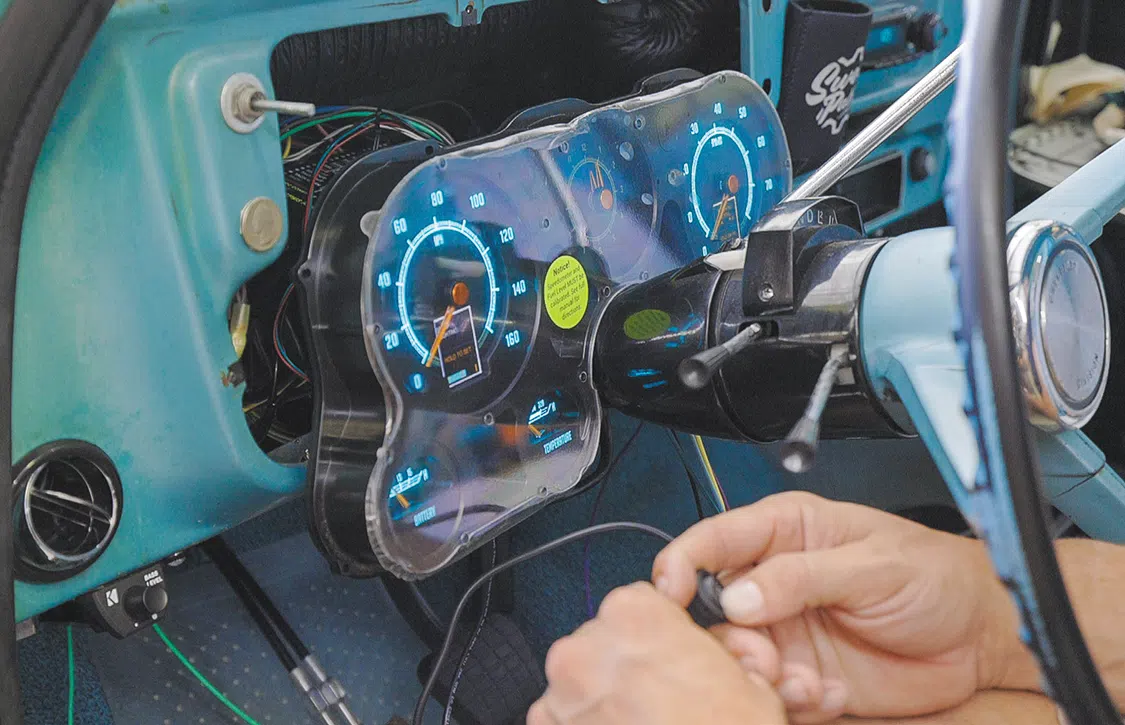
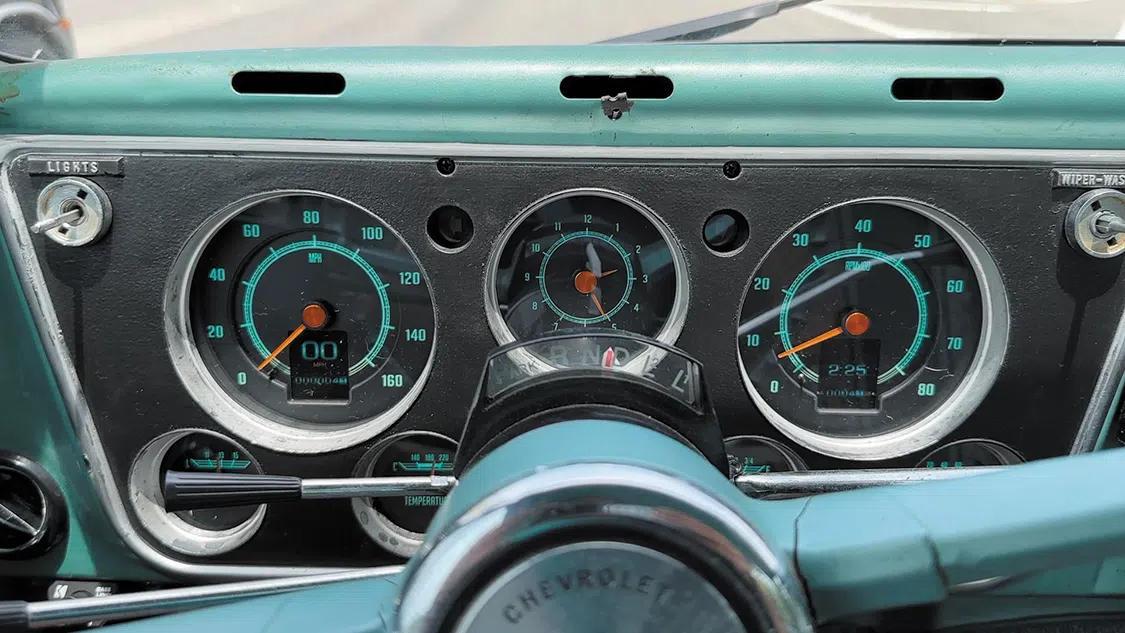
At first glance, these appear stock down to the rolling odometer, but Dakota Digital did an incredible job blending the classic GM typeface and design with modern features. With this set of gauges, you can not only keep tabs on all your typical engine vitals, but you can also monitor fuel pressure, AM/FM ratio, intake/manifold temperature, MAP/boost, and more. You can also test out your 0-60 time and 1/8- or 1/4-mile time and speed.
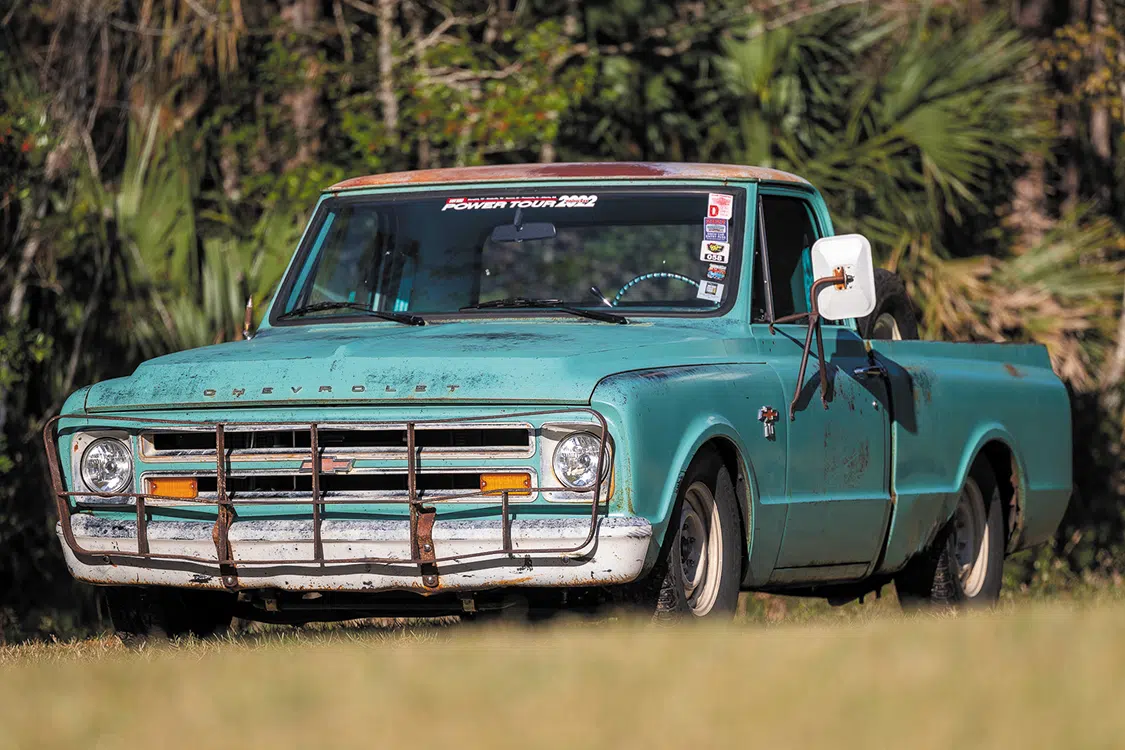
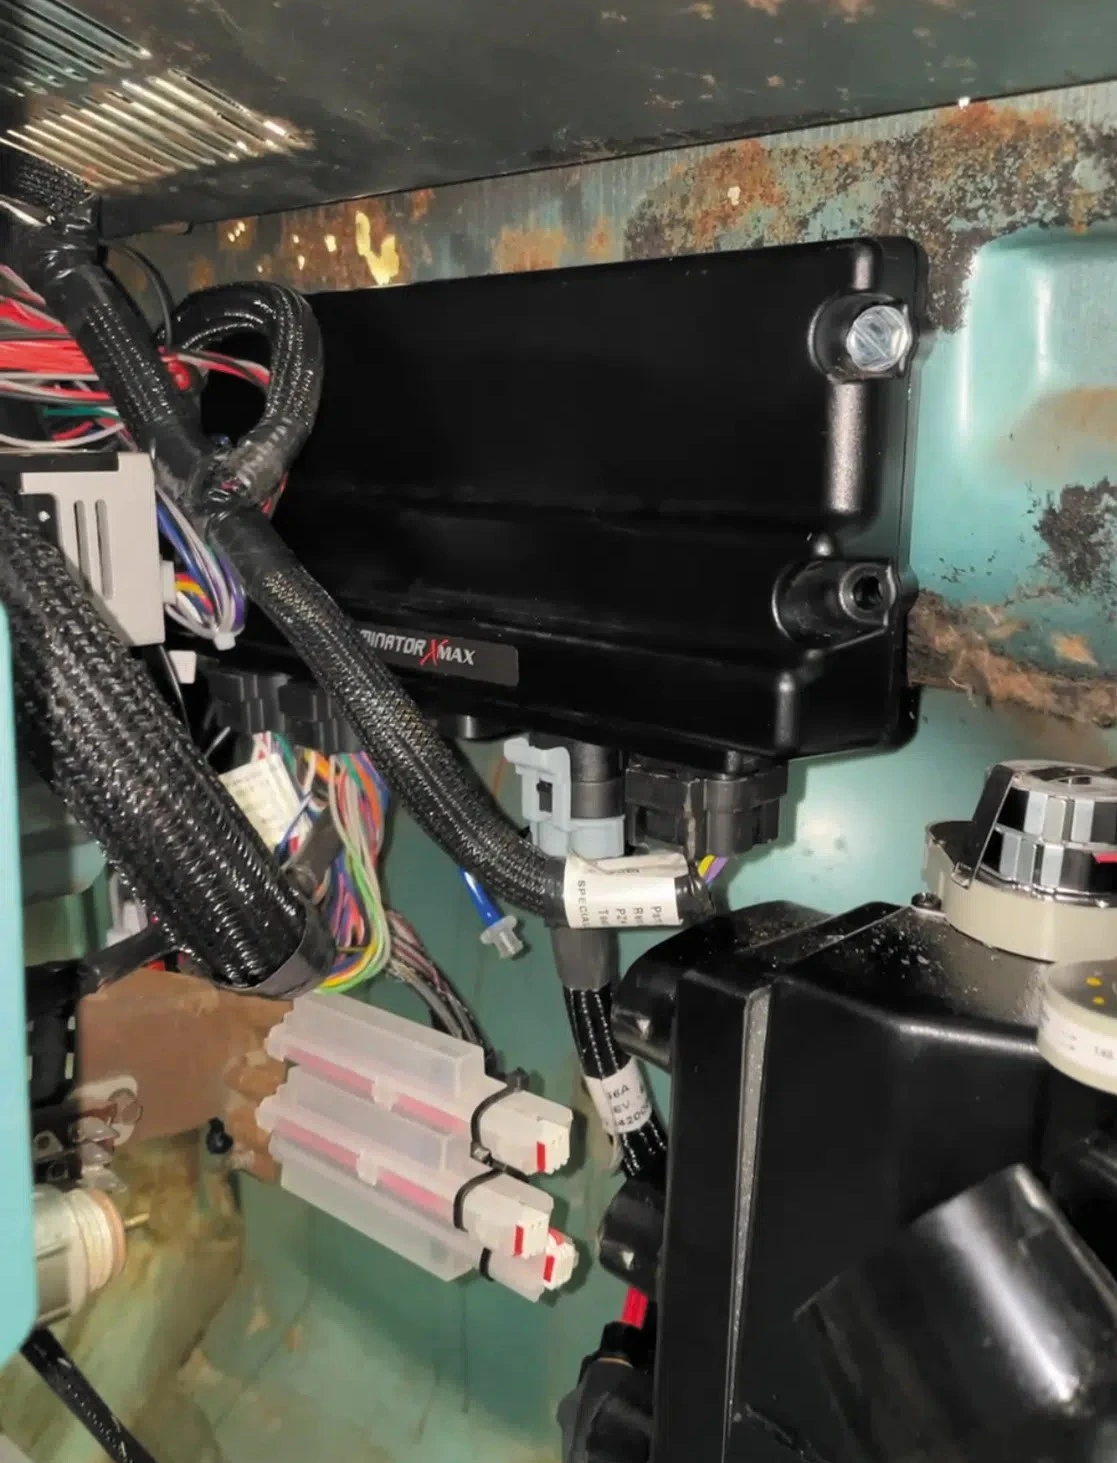
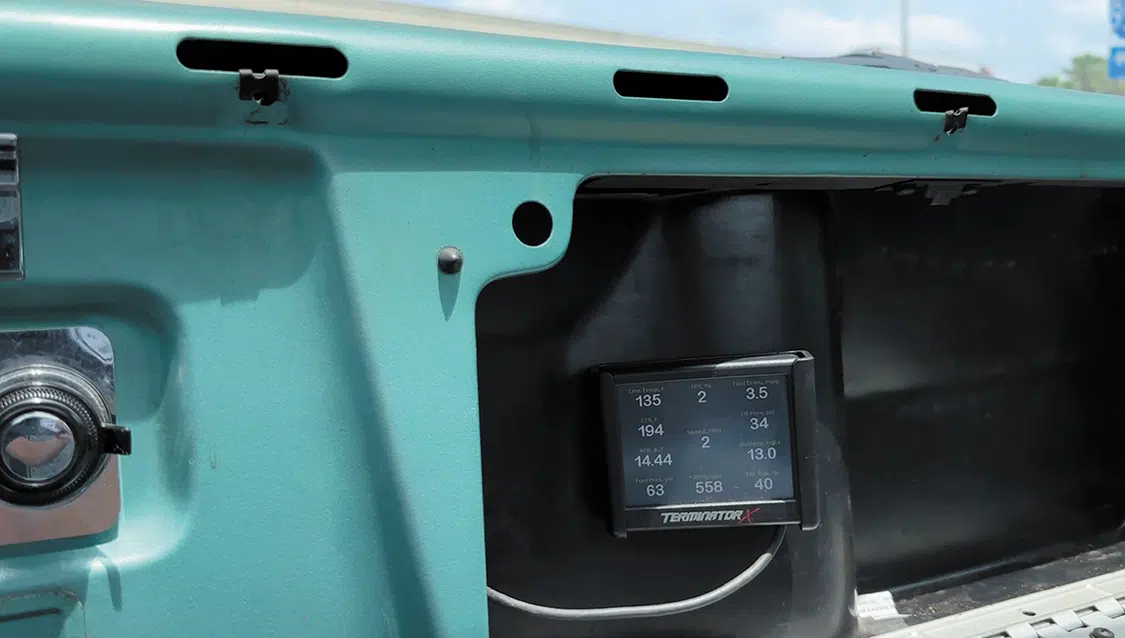
The truck receiving this instrument cluster is an original-paint 1967 C10 known as Project Last Chance. Last year we built this truck for the 2022 Hot Rod Power Tour and packed it full of goodies, including a modern drivetrain controlled by a Holley Terminator X Max.
The Holley handheld display already shows all the necessary engine vitals along with vehicle speed. Dakota Digital has once again outdone itself by creating an interface module (BIM) that connects directly to and reads data from the Holley system to display on the instrument cluster.
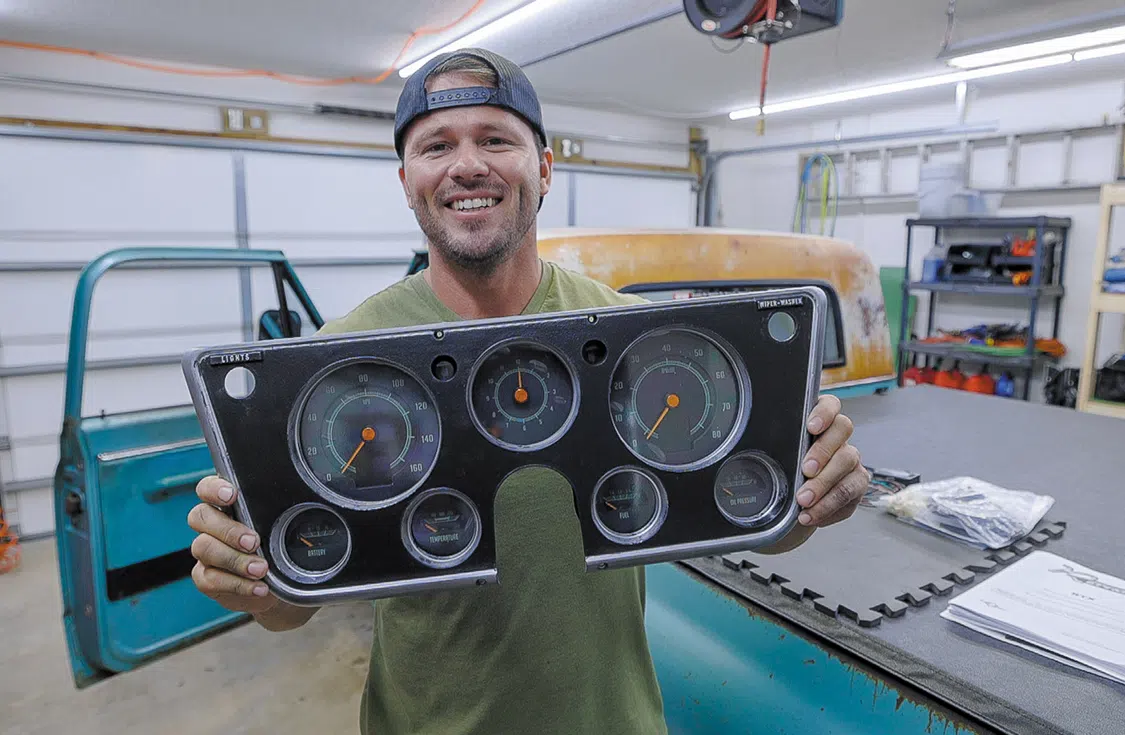
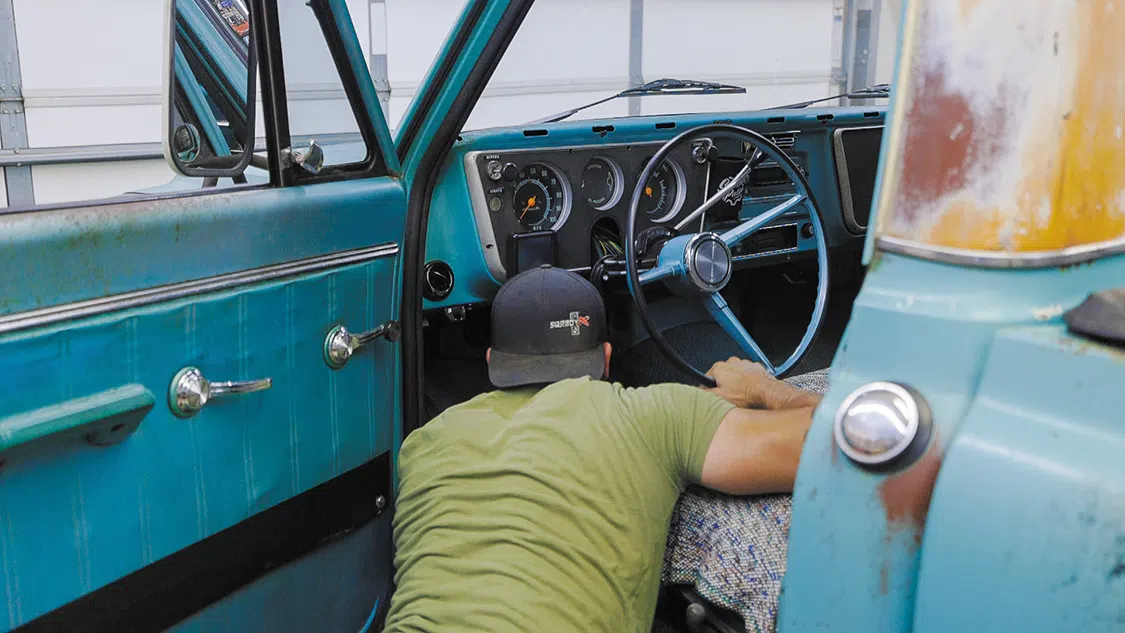
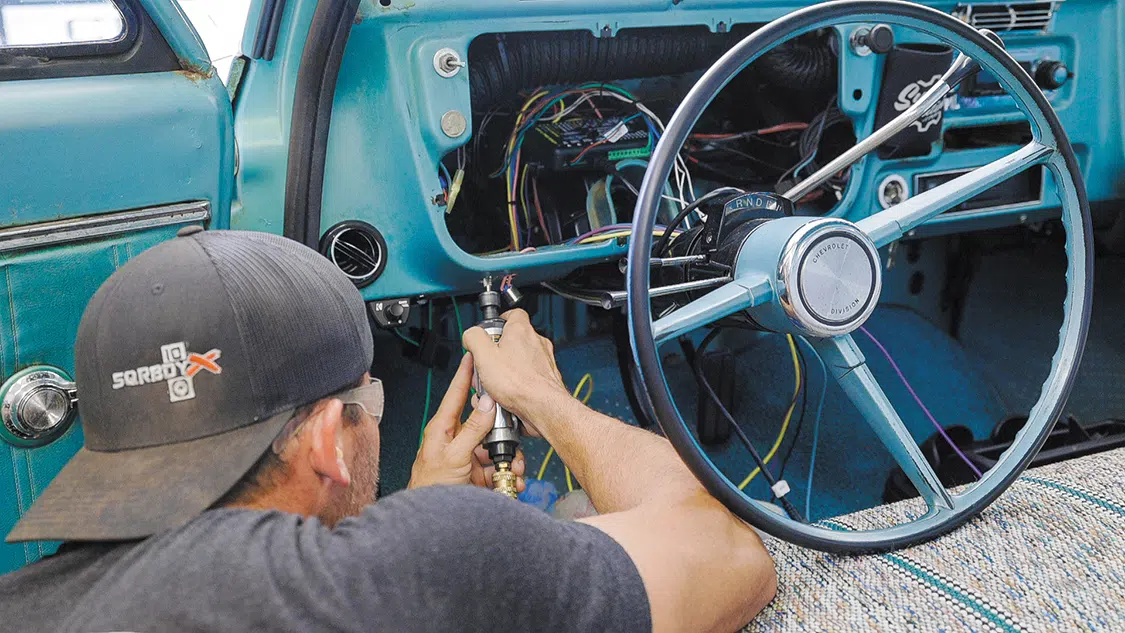
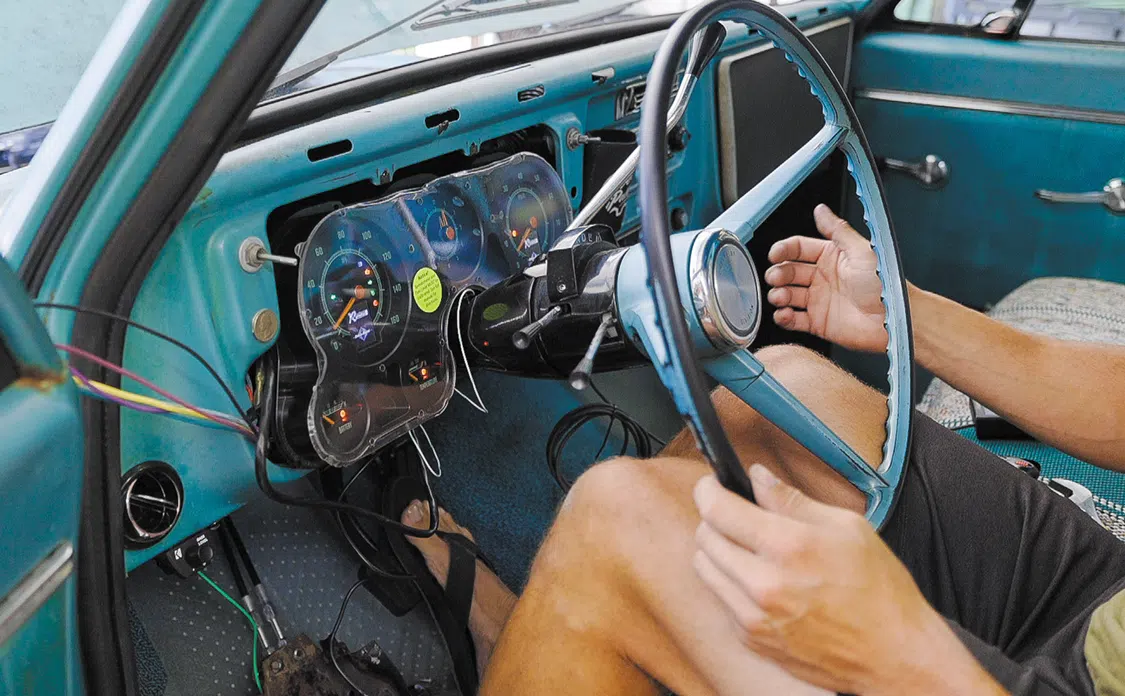
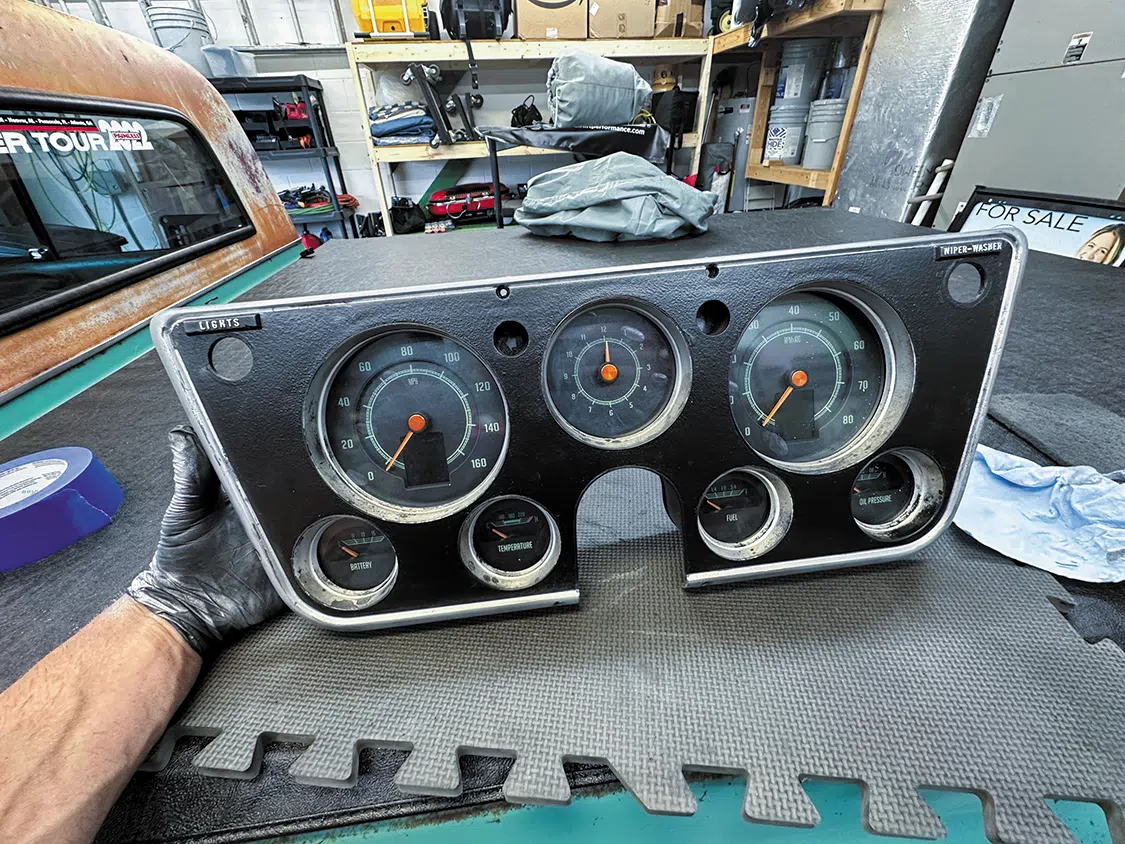
To get started on this install, I dropped the steering column to remove the original gauge cluster.
Dakota Digital RTX Installation Overview
Installing a Dakota Digital RTX instrument cluster in a 1967 C10 requires removing the factory gauge cluster, mounting the Dakota Digital control box and BIM module, connecting power and signal wires, configuring the Holley Terminator X Max CAN bus settings, programming the BIM module, and calibrating the gauges. The installation can typically be completed in a day and provides modern digital functionality while retaining a factory-style appearance.
Vehicle: 1967 Chevrolet C10
Gauge System: Dakota Digital RTX
ECU: Holley Terminator X Max
Installation Time: Approximately 6–8 hours
Difficulty Level: Intermediate
Special Tools Required: Laptop running Holley EFI software, drill, step bit, hand tools, wire crimpers, and die grinder.
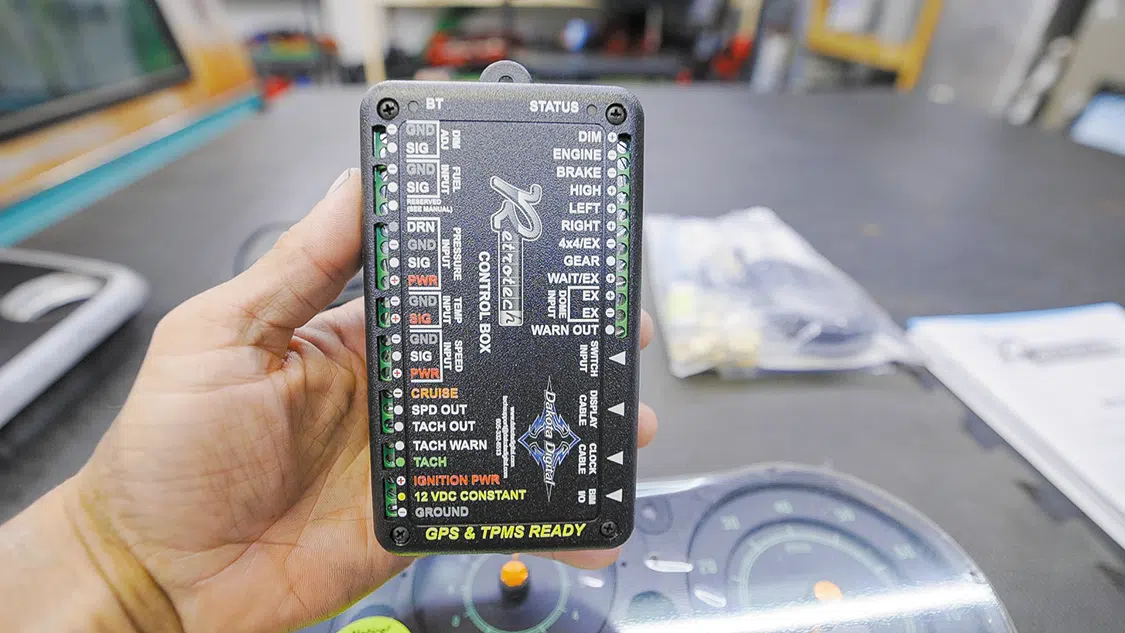
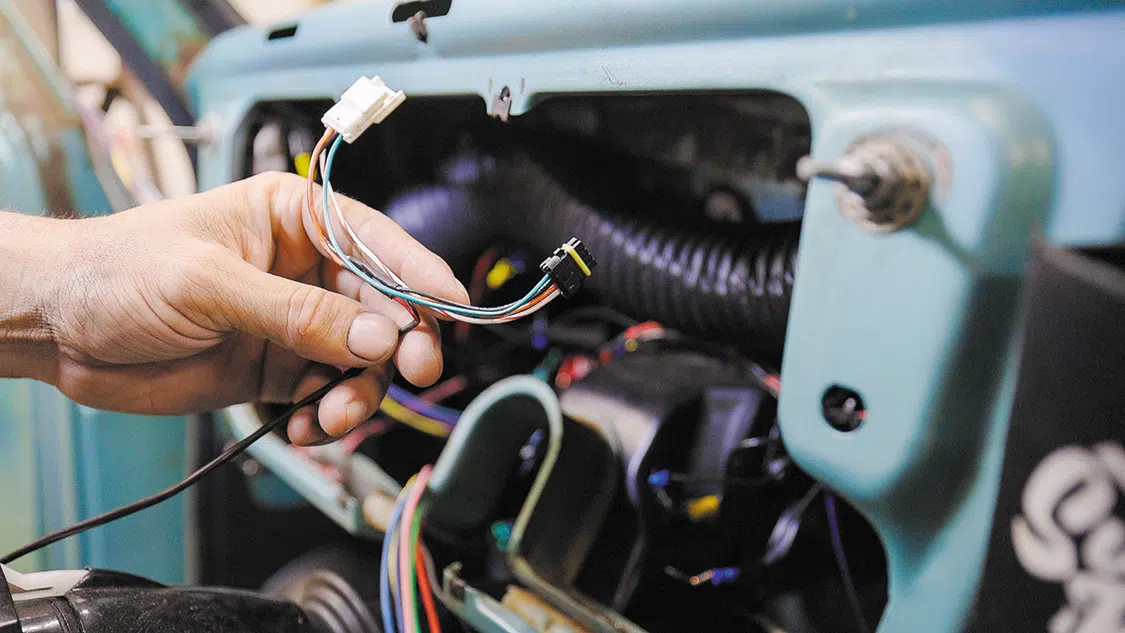
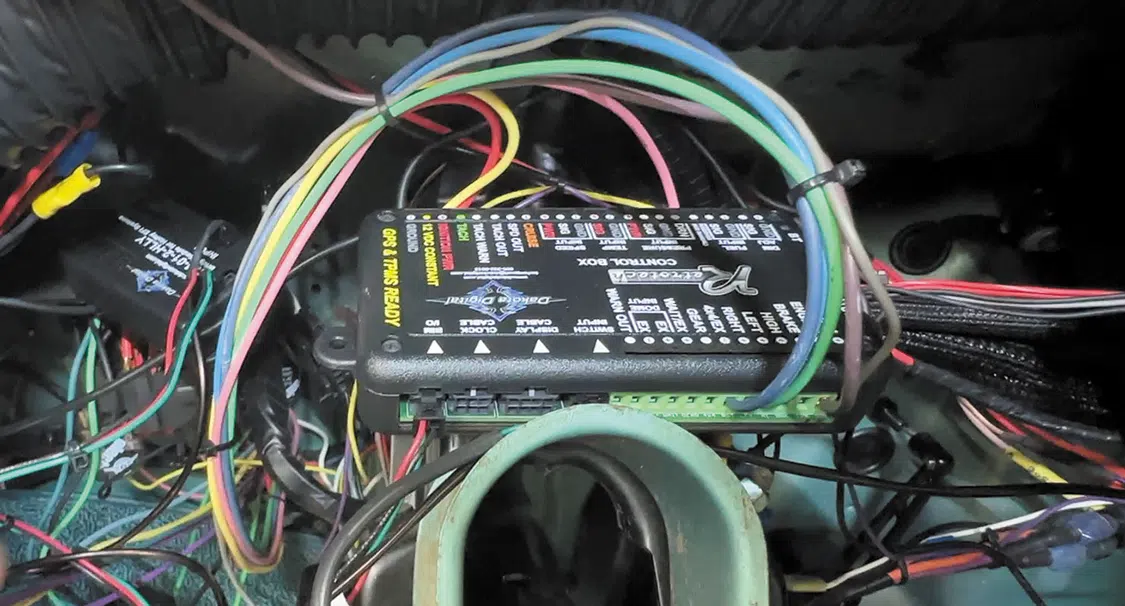
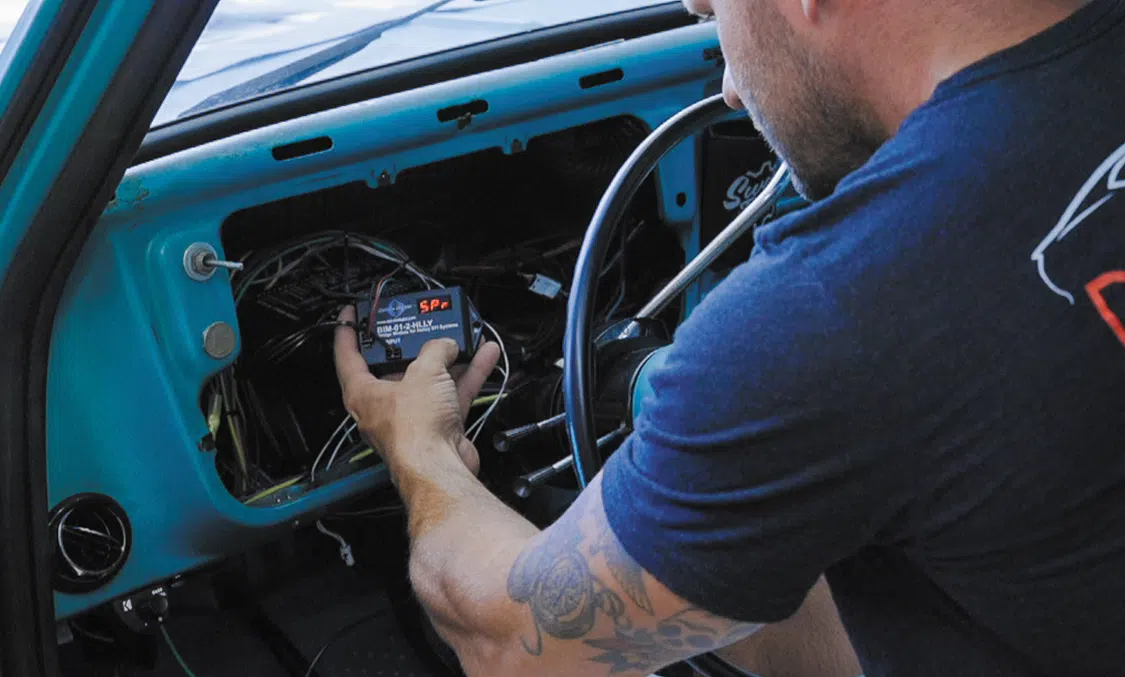
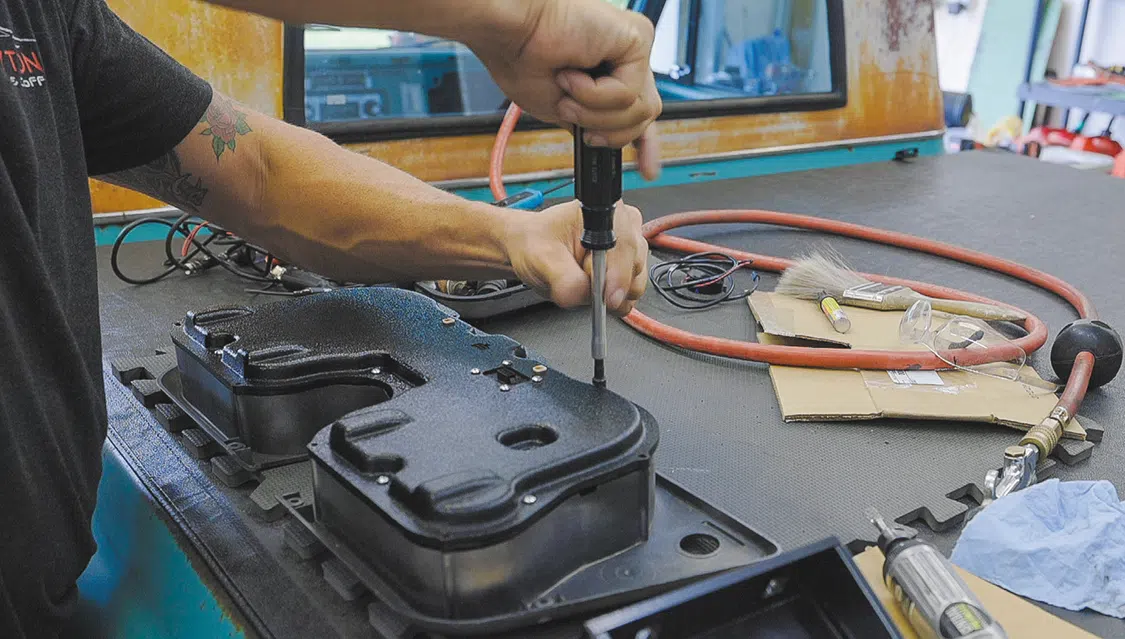
Once the original cluster was out of the way, we could find a location for the Holley BIM and Dakota Digital control box. I chose to mount the control box on top of the brake pedal support bracket and the BIM on the custom-made fuse block bracket.Now that I had an idea on how everything was going to sit, I could start wiring the control box. I started by running the supplied harness from the CAN bus plug of the Holley system to the BIM then to the Dakota Digital control box.
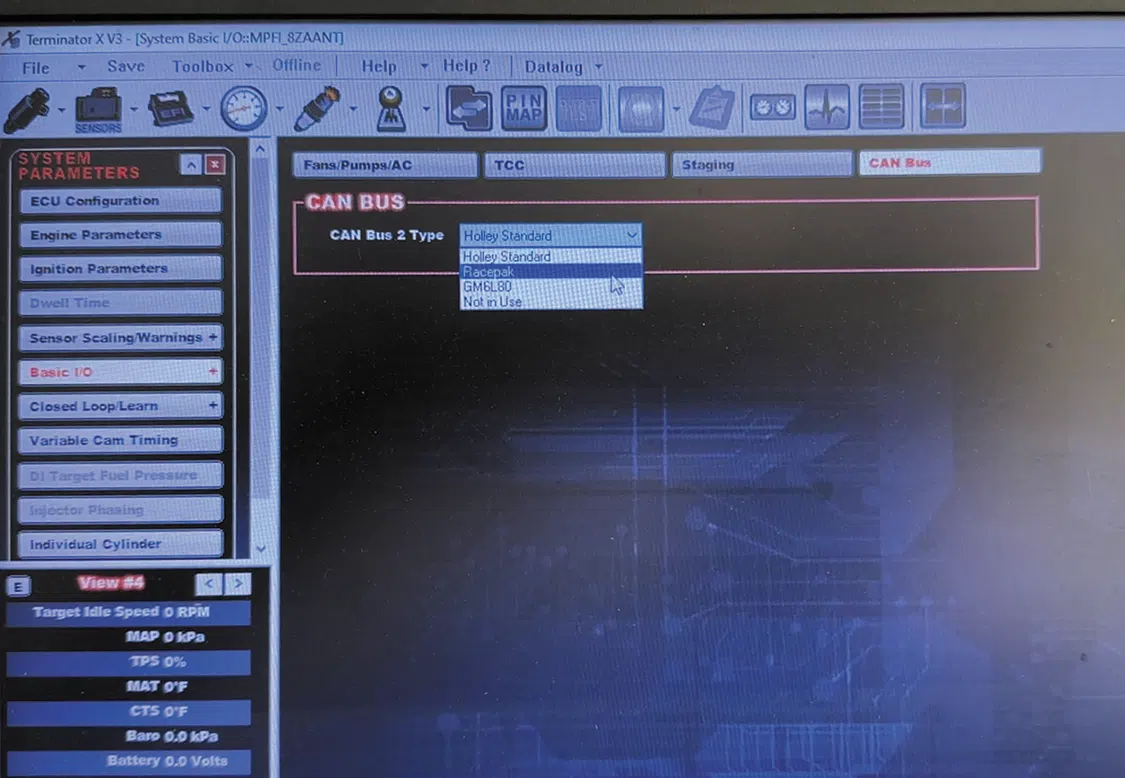
Next, I connected the ignition power, 12V constant, ground, fuel, dimmer, high beam, left turn signal, and right turn signal wires to the control box—and that was it for wiring! I also installed the buzzer on top of the control box.Then I was thrown a curve ball. I thought initially this BIM was plug-and-play, but you must do a few things for it work. I had to get a laptop (PC) to download the Holley EFI software to change the CAN bus type to “Racepack.” You cannot do this from the Holley handheld screen and must do it through its PC software (not supported for Mac that I have found).
What Surprised Me Most During Installation
The biggest surprise during this installation was discovering that the BIM module was not completely plug-and-play with the Holley Terminator X Max system. The actual wiring process was straightforward, but configuring communication between the ECU and the Dakota Digital system required additional software changes and troubleshooting. If I were doing this installation again, I would update the Holley firmware and configure the CAN bus settings before mounting any components.
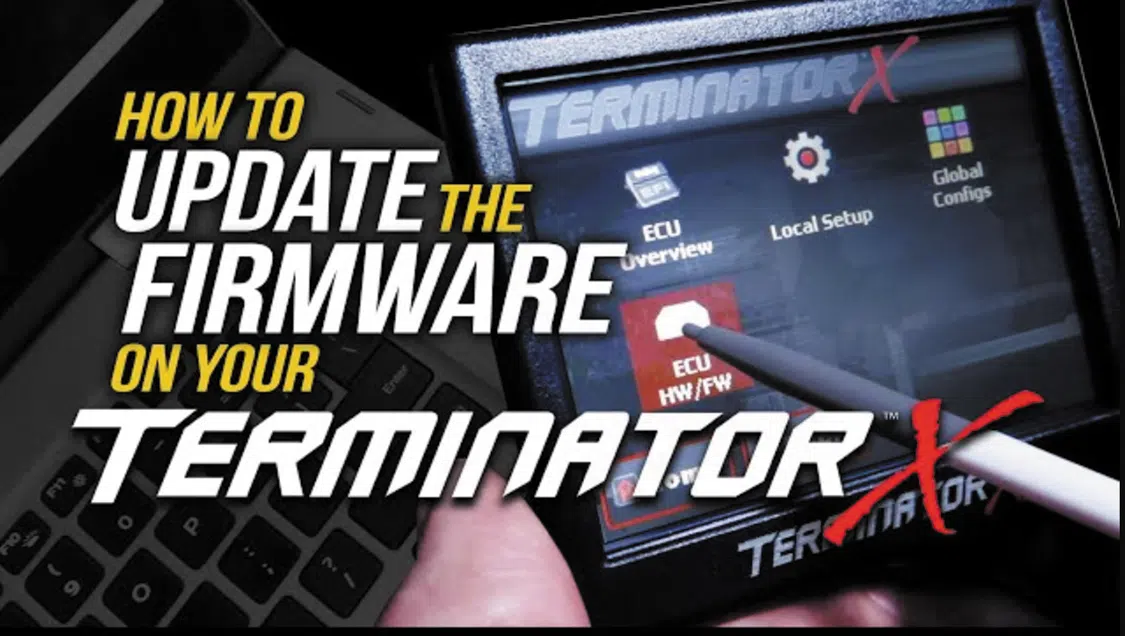
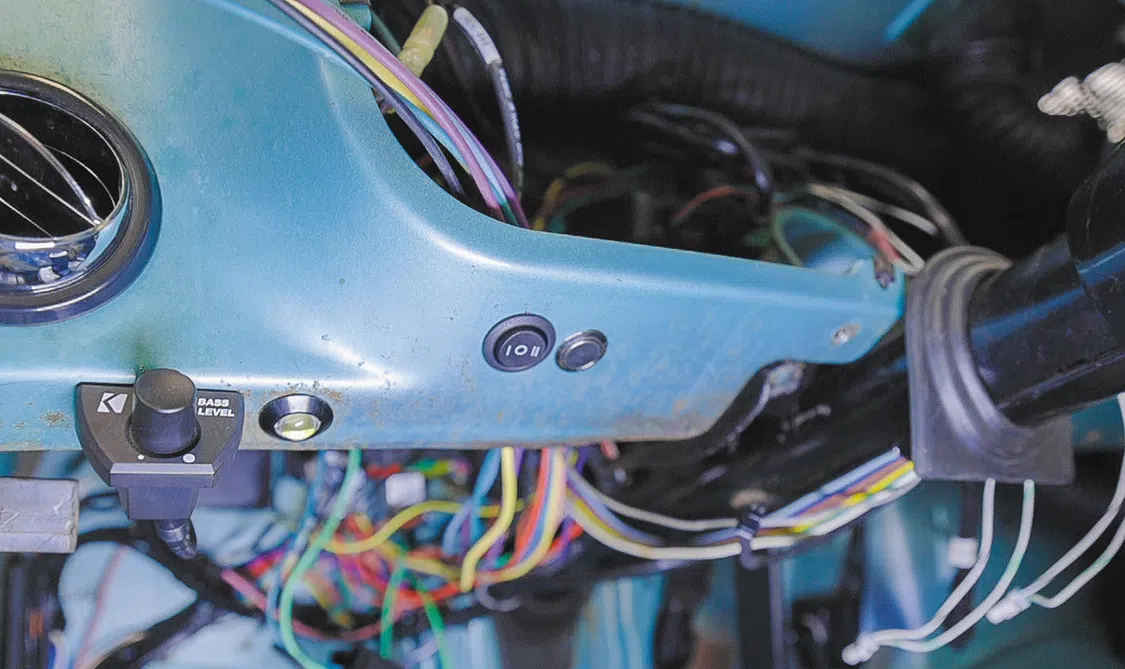
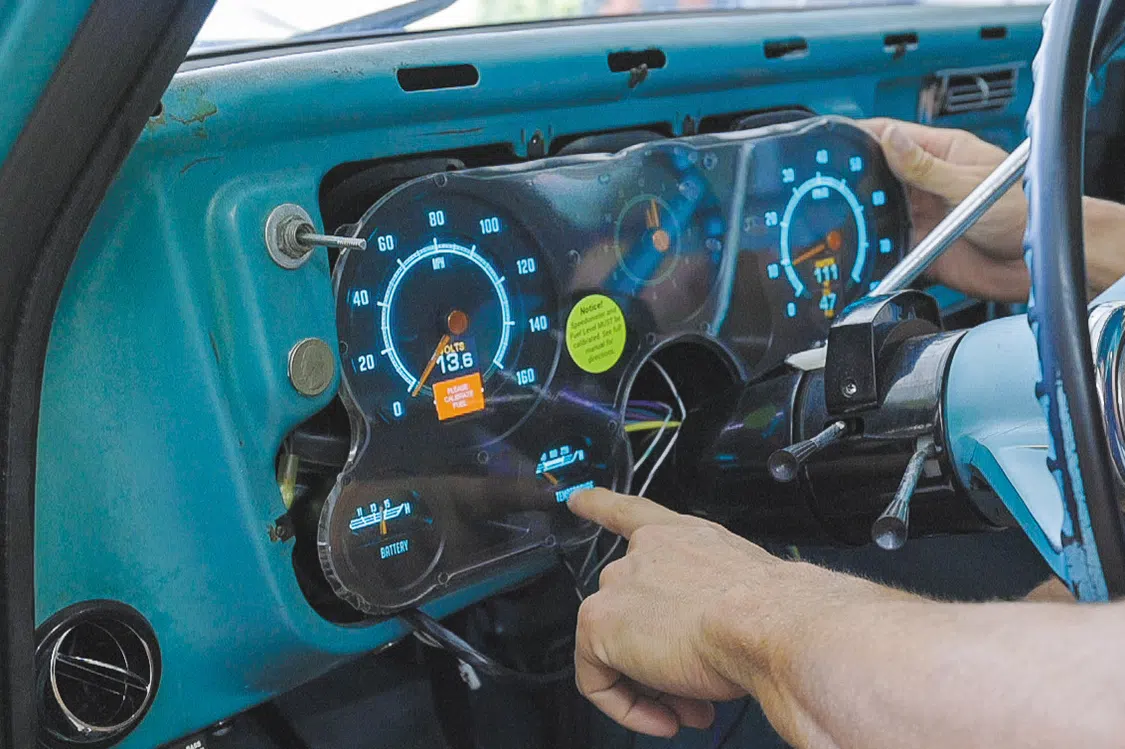
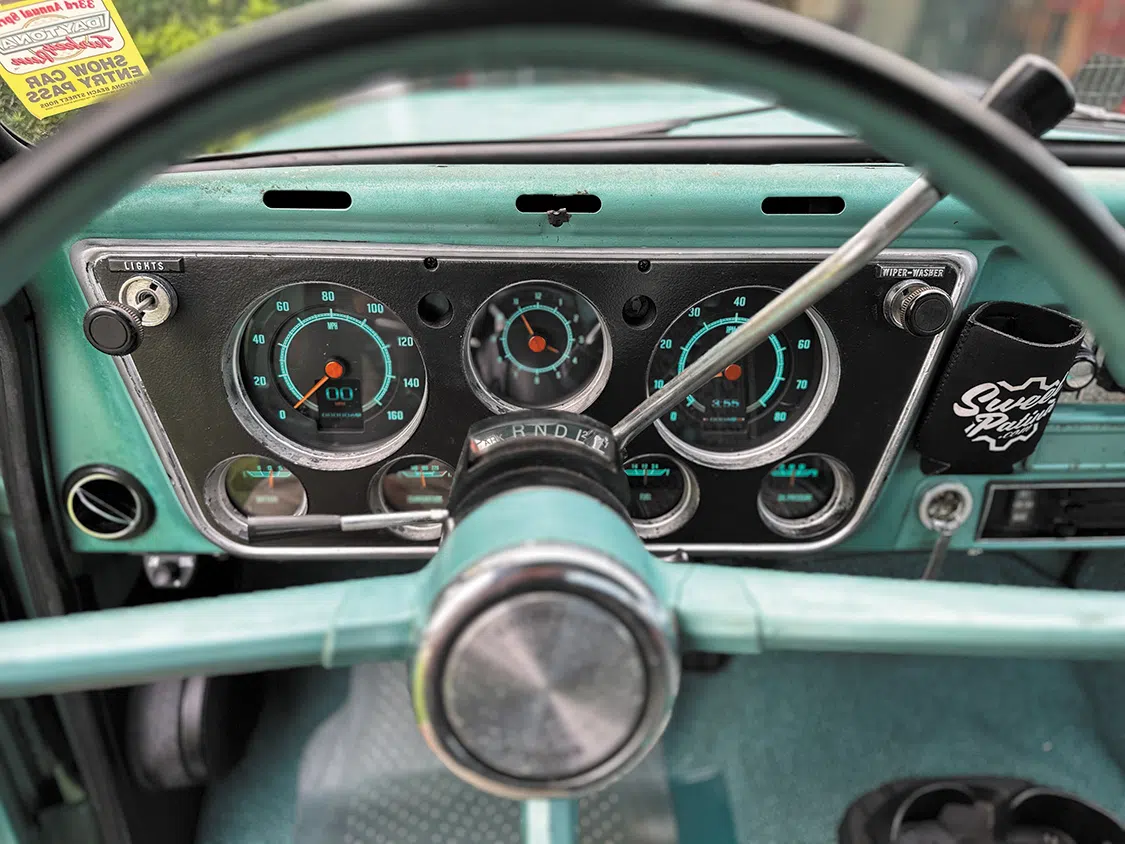
Now that I had the software for the Holley EFI system, I had to update the handheld screen and Holley ECM for it to accept my modified tune file. Holley has a great video on how to do this process. Check it out buy scanning the QR code above.I then found a location for the Dakota Digital switch right next to the line lock button on the lower section of the dash. You could mount the switch with the provided bracket, but I decided to mount it through the dash. The opening needs to be 13/16-inch but I did not have the right size step bit on hand. I drilled a ¾-inch hole and slightly widened it with a bur bit in my die grinder and installed the switch.The switch will not be visible when looking into the truck but will be easily accessible from the captain’s seat. This switch allows you to change the display selection, reset readings, and set up the various system parameters.Next, I hooked up the main data, turn signals, clock, and buzzer cables to the back of the gauges and powered them on for the first time.I fired the truck up an noticed the gauges were pulling the data I wired to the control box but not pulling data from the BIM. Once I did some more reading in the instructions, I discovered I also need to program the BIM to read the data from the Terminator X Max.I then needed to program the gauges for each data point I wanted the gauges to read from the BIM. Going down the setup menu, I programmed speed, RPM, engine temperature, and oil pressure to read from the BIM.I also went ahead and programmed the backlight colors for day and night mode. Night mode is activated when the headlights are turned on via the DIM wire on the control box.I fired the truck up again, and the gauges immediately pulled all the info I needed. After making sure all of the data was reporting correctly, I could install the gauges and reassemble the dash.
Common Mistakes to Avoid
Assuming the BIM module is completely plug-and-play.
Skipping Holley firmware updates before installation.
Forgetting to change the CAN bus type to Racepack.
Finalizing gauge installation before verifying communication with the ECU.
Not testing all sensor inputs before reinstalling the dashboard.
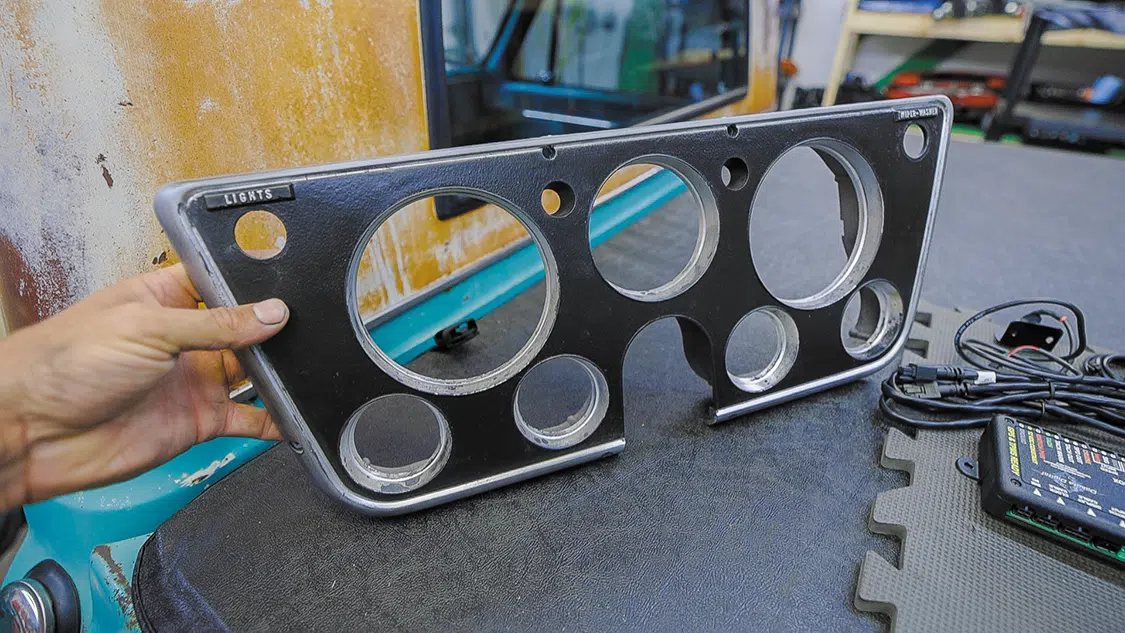
I was able to source an original seven-hole bezel (the original one was only three) and patina it to match the interior.Next, I secured the cluster to the bezel and got the first glimpse of what these will look like in the truck.You can hardly tell a difference in the new one versus original one at first glance, especially with this patina bezel.Once the gauges were installed for the final time, it was time for a test drive.I noticed right away the speed was accurate and the odometer started to roll. I reference the engine vitals on the Holley handheld readout and it was reporting accurately on the instrument cluster.
Dakota Digital RTX vs Factory Gauges
Feature
Factory
RTX
Speedometer
Mechanical
Digital/GPS
RPM
Limited
Configurable
Fuel Pressure
No
Yes
AFR
No
Yes
Bluetooth
No
Yes
Colors
No
30+
Now that this installation is complete, I can fine-tune these gauges to my liking. What I like the most about this install is that it does not take away from the look of the interior. You probably wouldn’t even know this is a brand-new setup of gauges behind that patina bezel. I love having the factory look with modern features.
Is Dakota Digital RTX Worth It?
For enthusiasts who want modern gauge functionality without sacrificing the factory appearance of their classic truck, the Dakota Digital RTX system is one of the best upgrades available. The installation requires some wiring and setup, particularly when integrating with a Holley Terminator X Max ECU, but the result is a clean factory-style dashboard with significantly more functionality than the original gauges.
After completing the installation and road-testing Project Last Chance, I found the gauges to be accurate, responsive, and easy to customize. The ability to display engine data directly from the Holley ECU eliminates the need for additional standalone gauges while maintaining a clean interior appearance.
Key Features Not Covered
Some other key features about these gauges that I didn’t cover include:
GPS technology
30+ colors choose separate colors for backlight, needle, and screen
Bluetooth connectivity for real-time readouts, setup, calibration, and customization
User-configurable data screens
CNC-machined housings are filled with electronics designed and built in-house
Contact
Dakota Digital has an astounding selection of gauges for the automotive, motorcycle and off-road industry. Check out DakotaDigital.com to see what the company has for your build.
Frequently Asked Questions
Can Dakota Digital RTX gauges work with Holley Terminator X Max?
Yes. Dakota Digital offers a BIM module that allows RTX gauges to communicate directly with a Holley Terminator X Max ECU.
Do I need a laptop to install Dakota Digital RTX gauges?
If you are integrating with a Holley EFI system, you may need a Windows-based PC to update firmware and modify CAN bus settings.
Can I retain the factory appearance of my 1967 C10 dashboard?
Yes. The RTX series was designed to maintain the factory appearance while adding modern digital functionality.
How difficult is the installation?
The installation is best suited for enthusiasts with intermediate wiring experience.
What information can Dakota Digital RTX gauges display?
The system can display speed, RPM, oil pressure, coolant temperature, fuel pressure, AFR, MAP, boost, intake temperature, and many other engine parameters.
🔥 Project Last Chance Build Series
Follow the complete build of our 1967 Patina C10 from teardown to final assembly.
Josh McPherson is the creator of Yeah Buddy Garage, where he documents classic truck builds, restorations, road trips, and hands-on garage projects. Known for his practical approach and family-friendl ...
We use cookies to enhance your browsing experience, serve personalized ads or content, and analyze our traffic. By clicking "Accept All", you consent to our use of cookies. Visit our Cookie Policy for more info.


Share Link