 Chris Hamilton
.
September 02, 2020
.
Blood Sweat and Gears
Chris Hamilton
.
September 02, 2020
.
Blood Sweat and Gears
The classic movie, “A Streetcar Named Desire,” was recently selected for preservation in the United States National Film Registry for being “culturally, historically or aesthetically significant.” Lately, it seems that ’88-’98 Chevy trucks are quickly being known to have the same qualities in the truck enthusiast world. GMT400 trucks were on every street corner and car show in the ’90s. With massive production numbers and excellent engineering, these Chevy trucks are still pretty easy to come by and available in many different forms, including shortbed, longbed, quad cab and even two different SUV platforms. Oftentimes, the guy who’s buying and restoring these trucks wanted one in his teen years, and now he’s older, generally successful and more financially stable than when he was 16 years old. These factors also drive custom parts manufacturers to focus on making products for the industry icons and get ahead of the popularity curve.
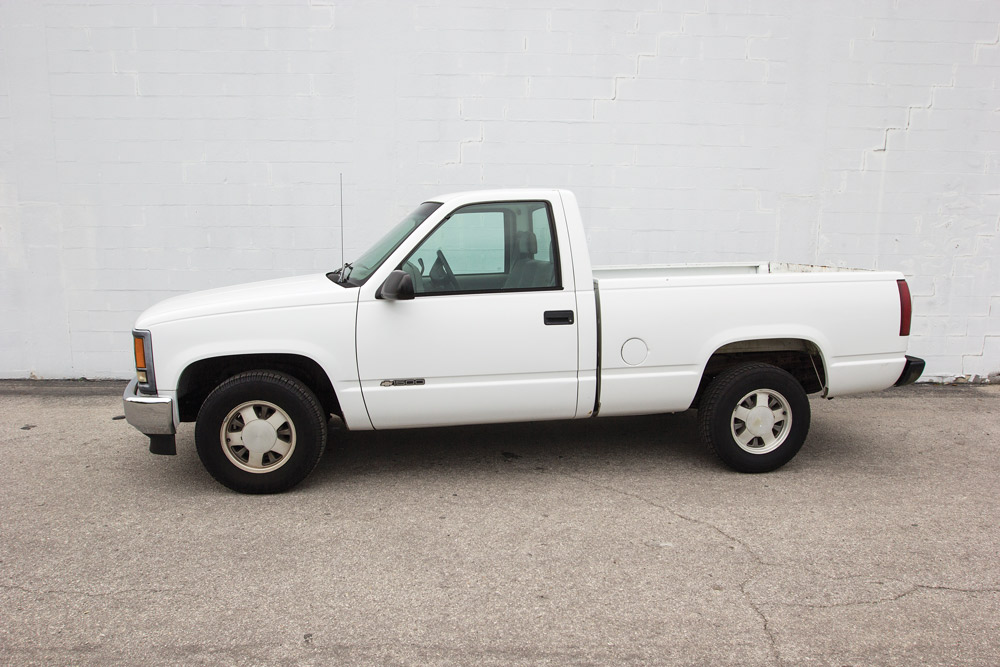
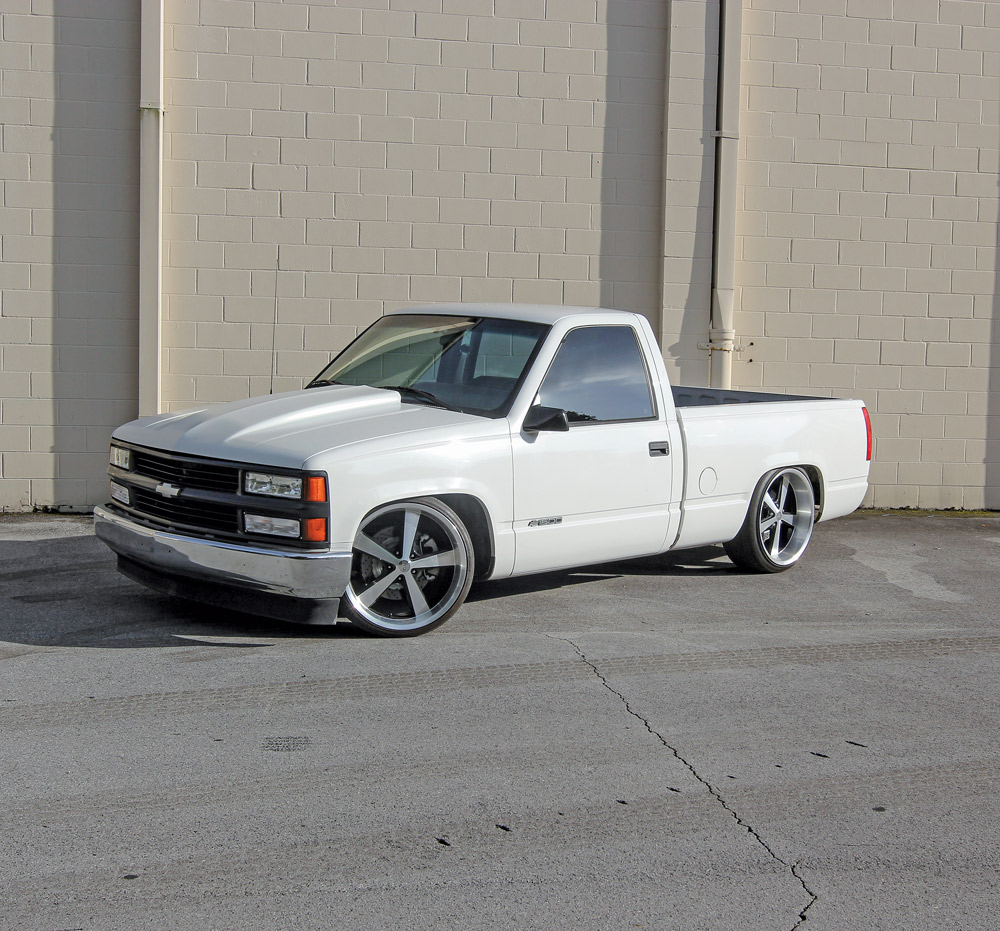
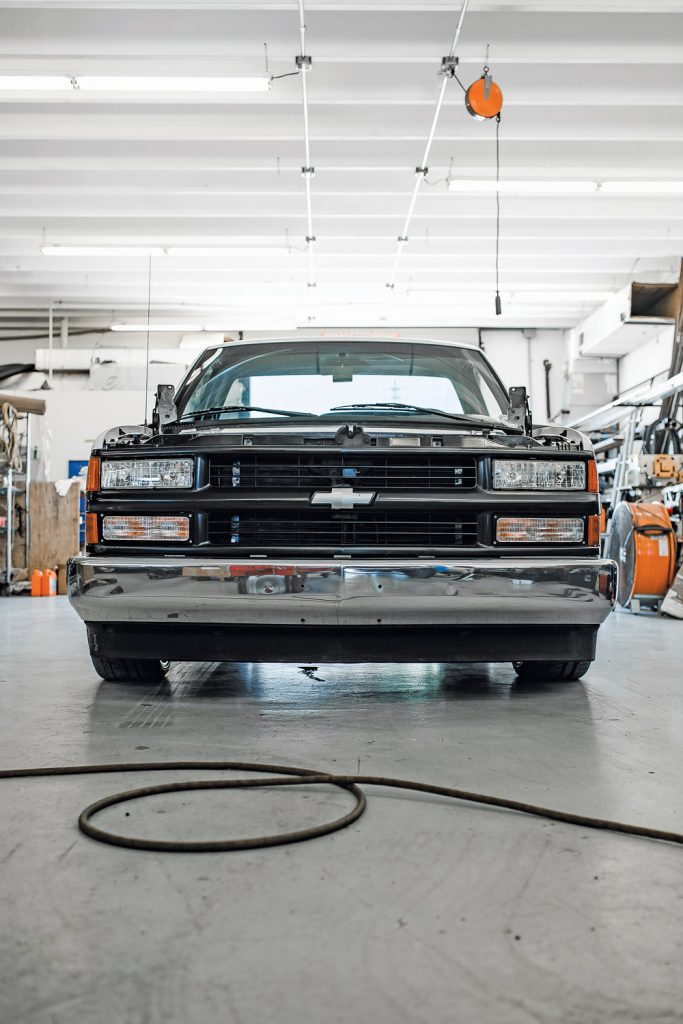
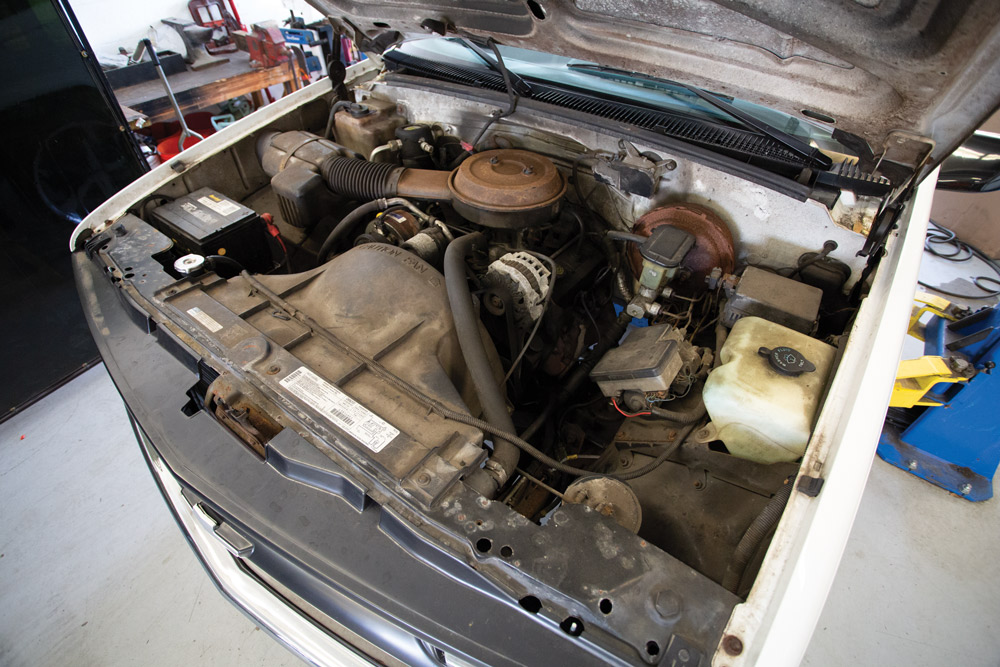
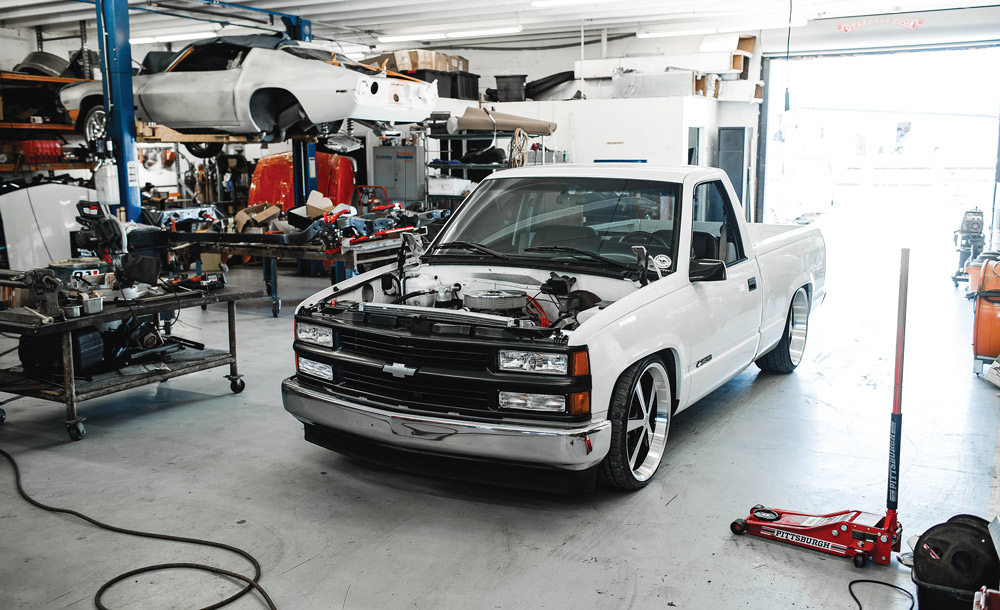
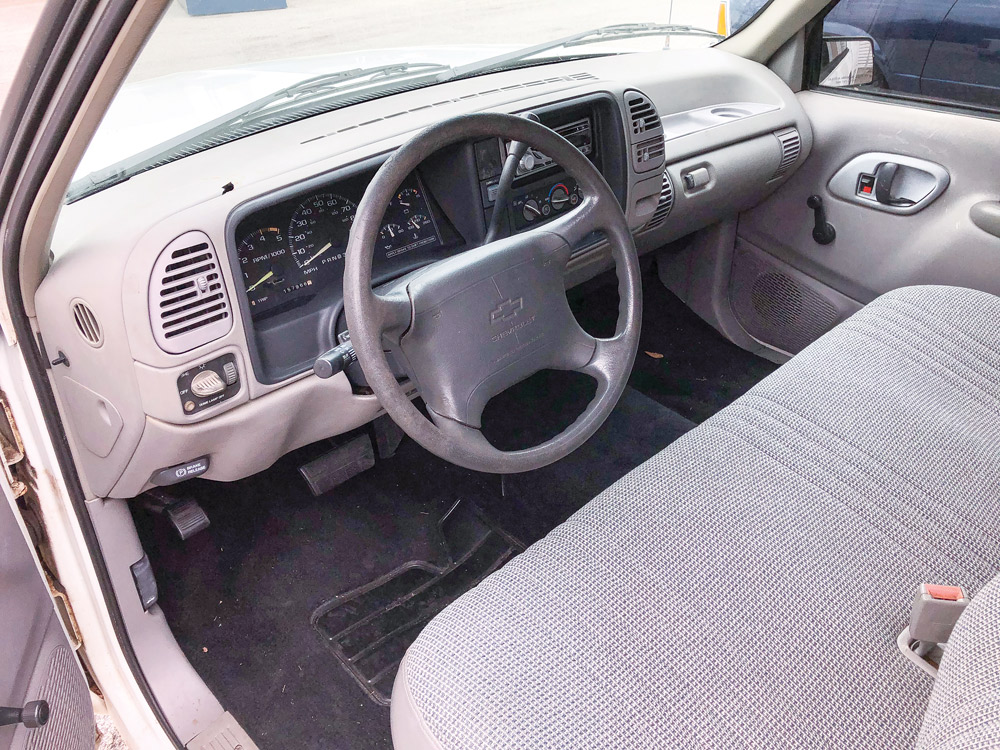
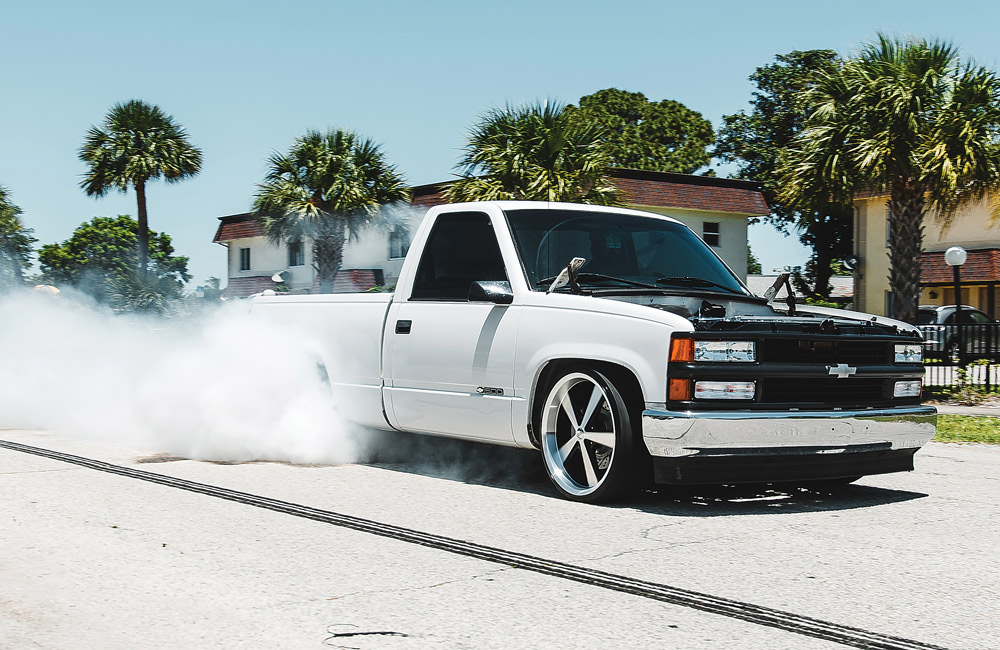
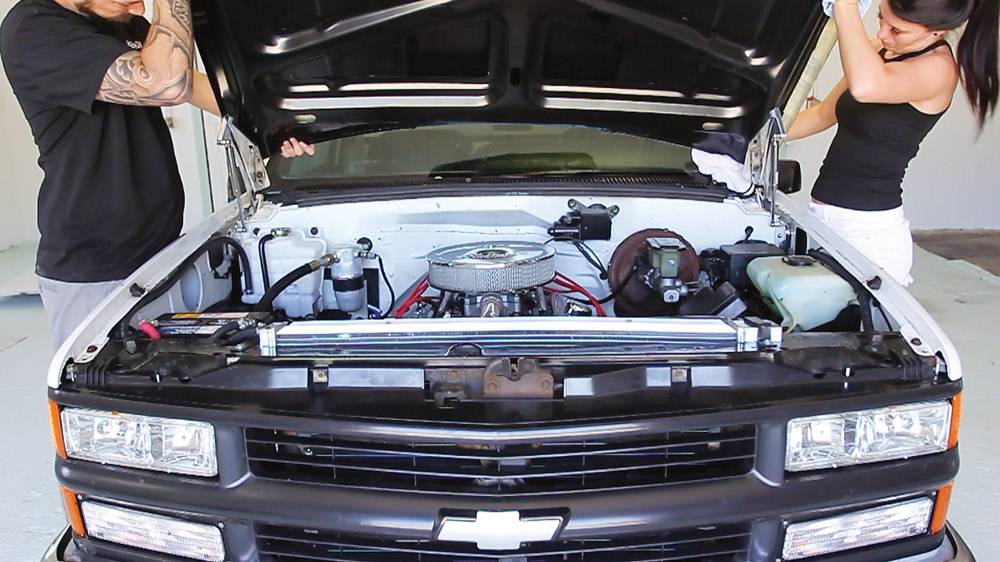
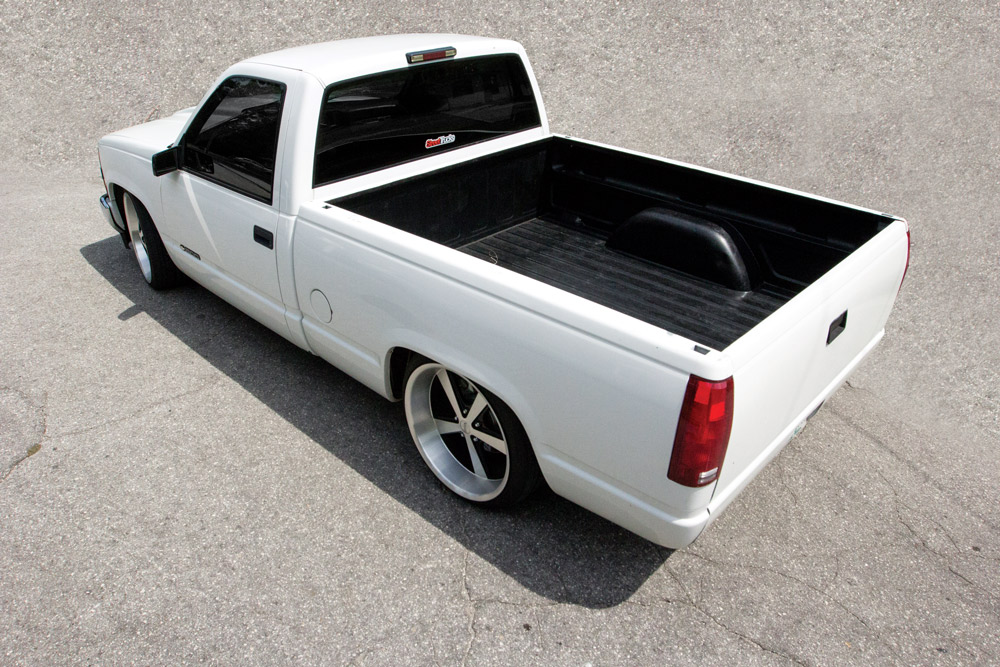
It’s easy to talk the talk and say you’re a fan of this body style, but it’s far more impactful to walk the walk and own one yourself. So, we took the challenge and jumped into the deep end of desire by picking up a running, driving ’95 Chevy C/K truck from the original owner for a smooth $2,000. Cold A/C and a solid cranking 4.3-liter V-6 gave this truck the appeal, but the full gas tank and a fresh oil change showed us that the previous owner still had love for this 20-plus-year-old family member.
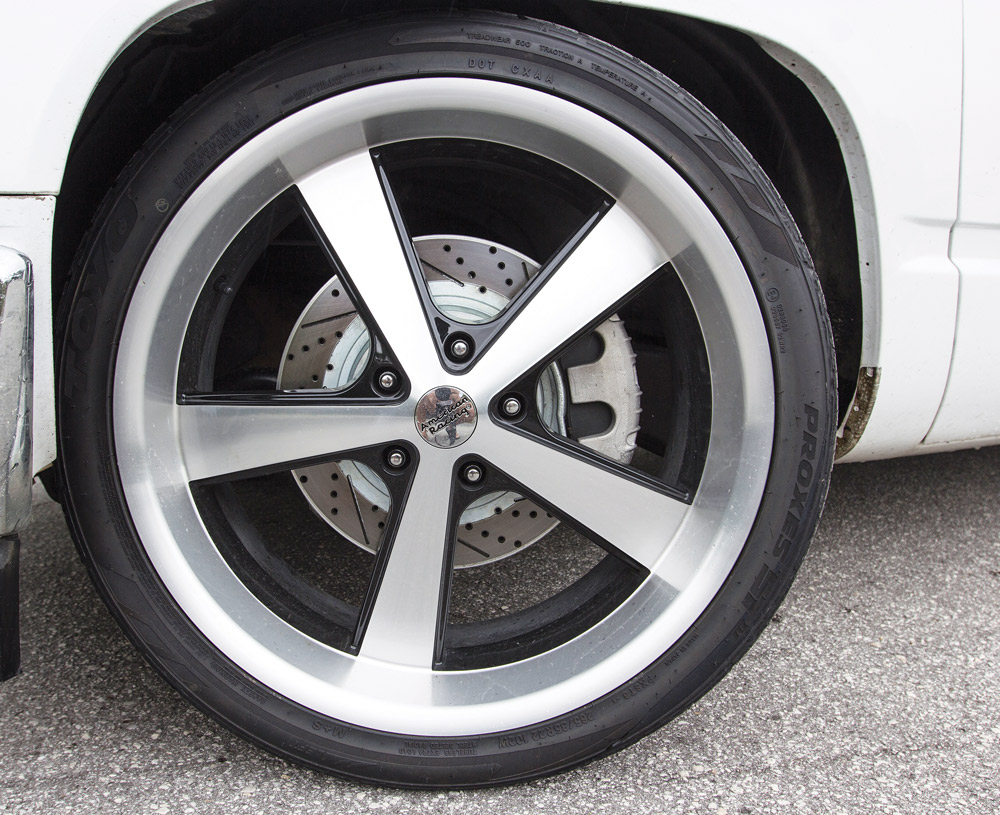
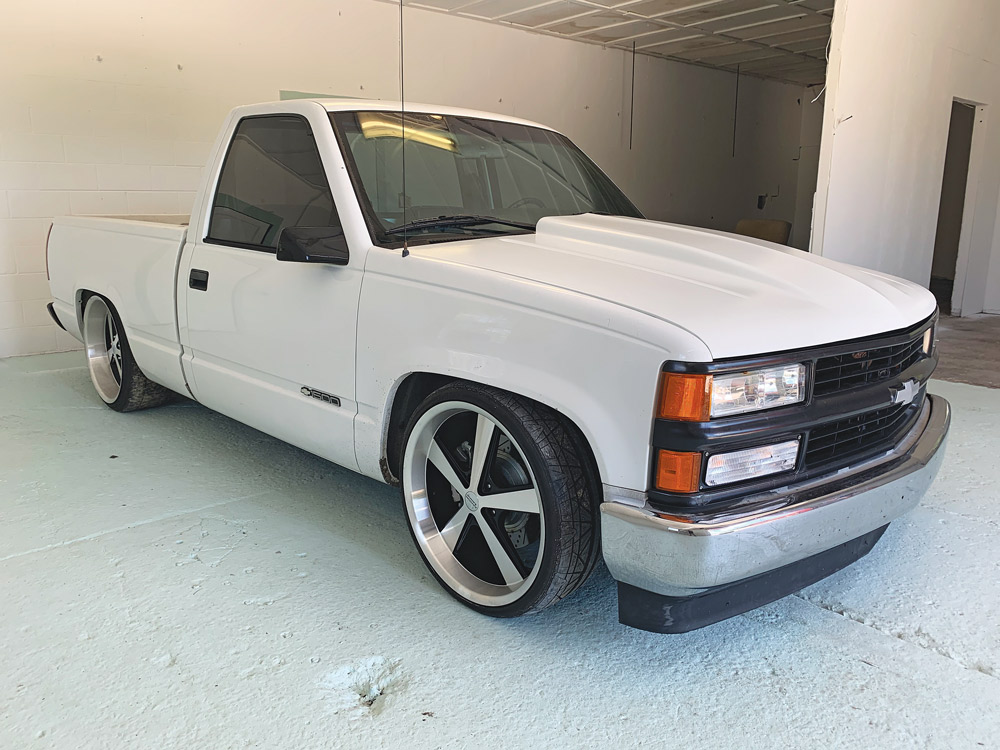
To quickly explain the project’s name: “Stella” is a Latin term meaning “star.” The name popped in our heads after we ordered our 22-inch American Racing Nova wheels. The word “Nova” is a female name of Latin origin that has a definition of both “newness” and “of great energy.” It’s also an astronomical term for a star that suddenly increases in brightness, just like this truck’s future. (Plus, Stella was a pretty stellar character in “A Streetcar Named Desire.”) So, with all that in mind, the name Stella just fits, don’t you think?
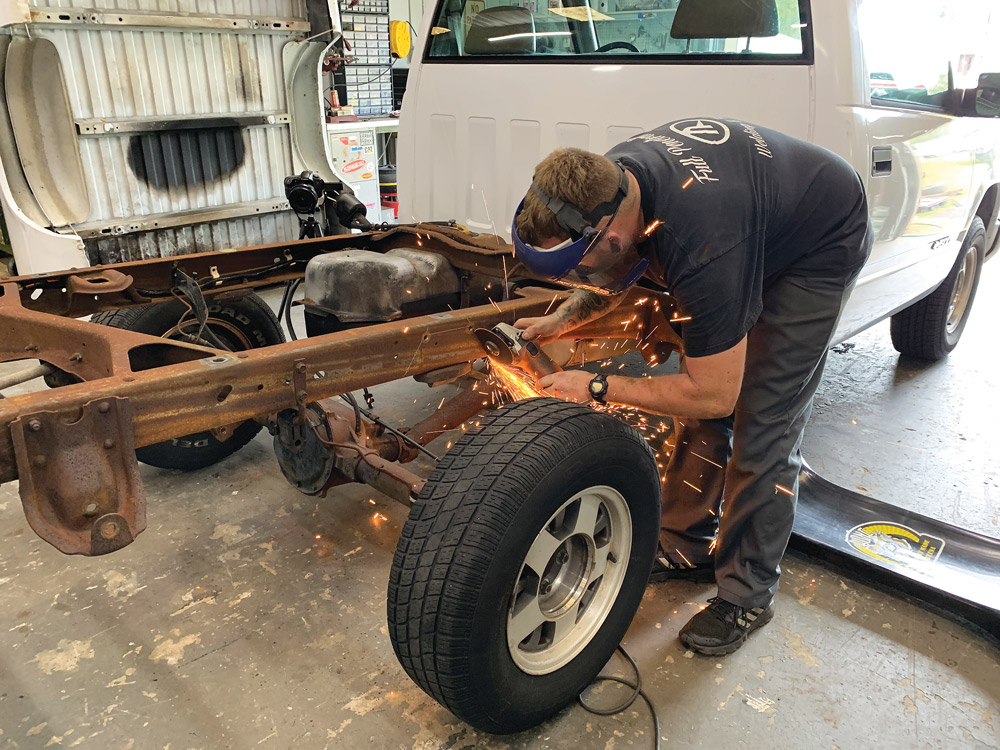
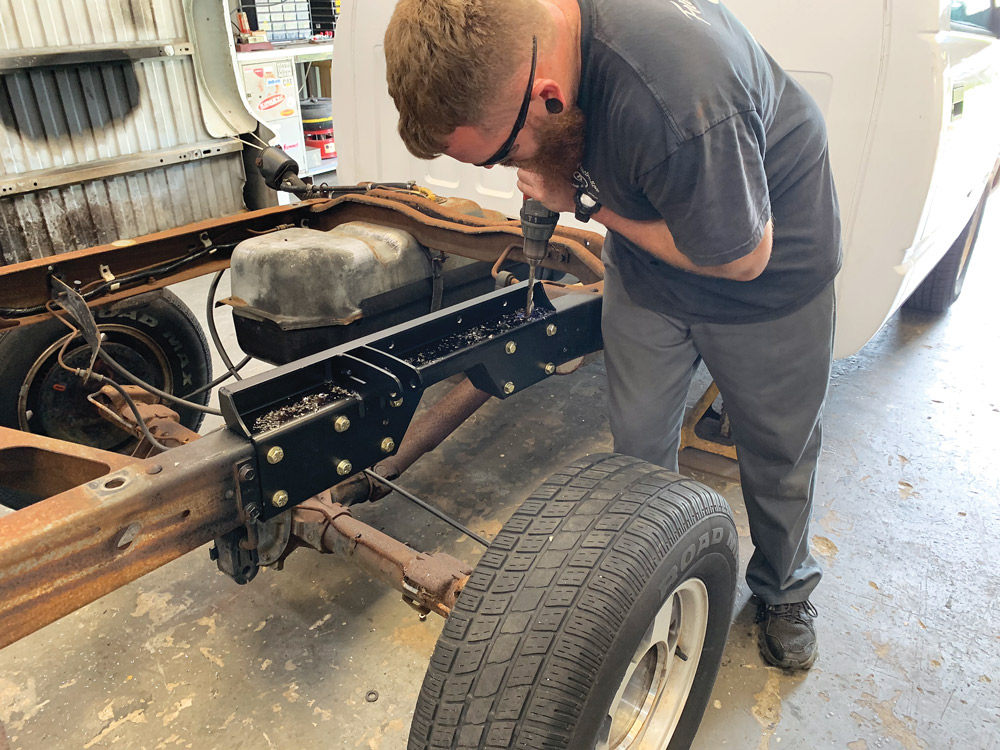
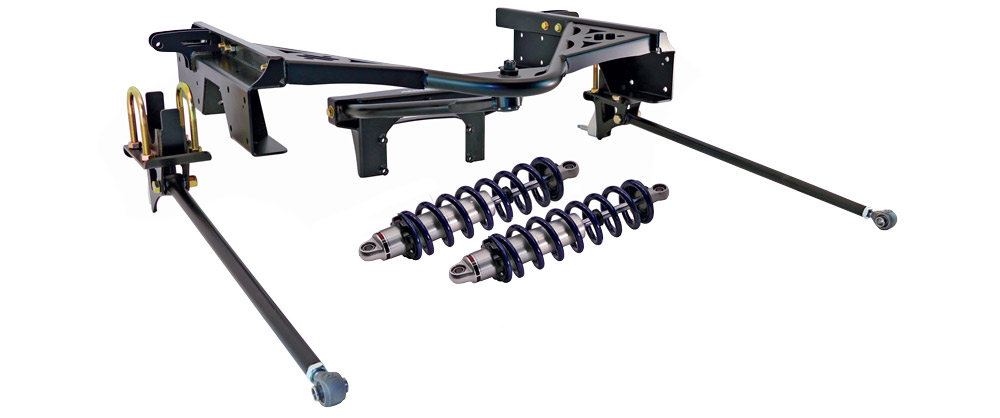
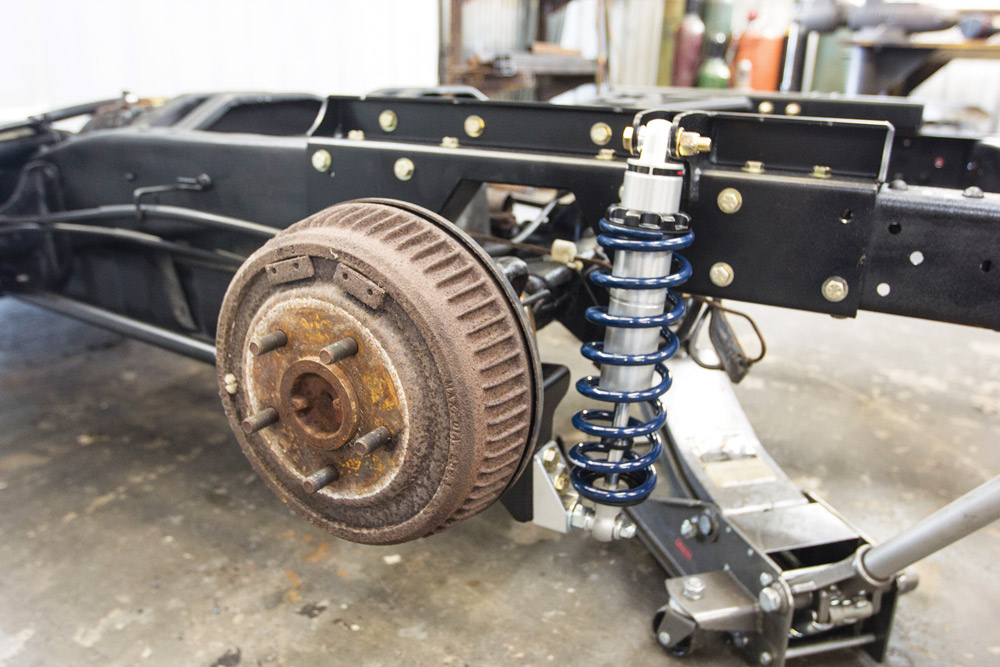
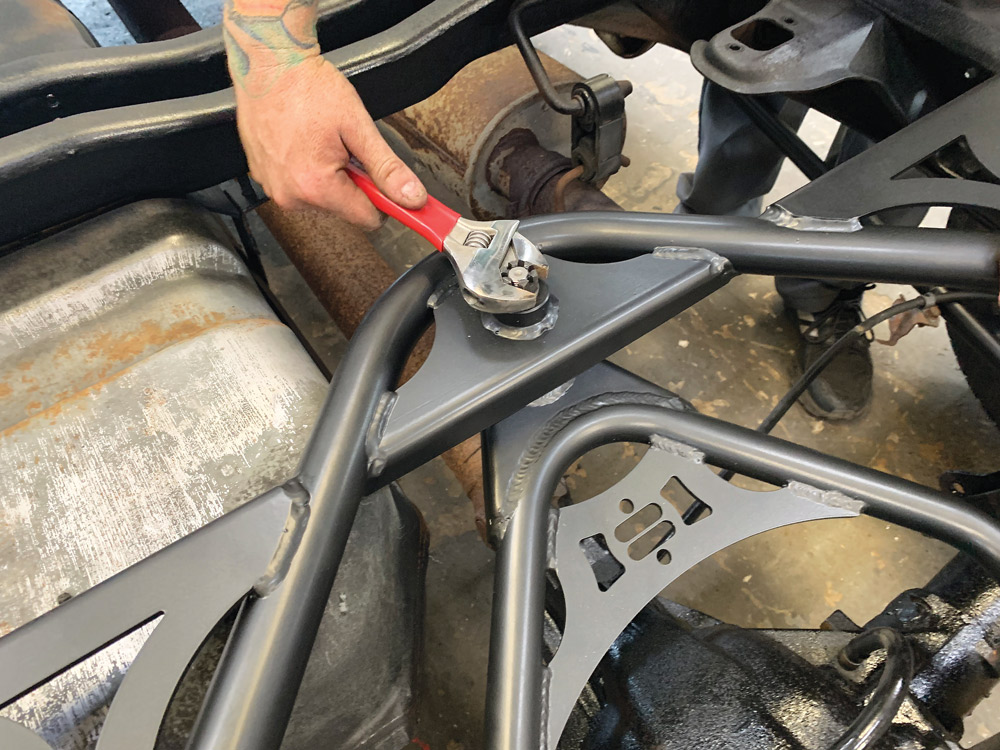
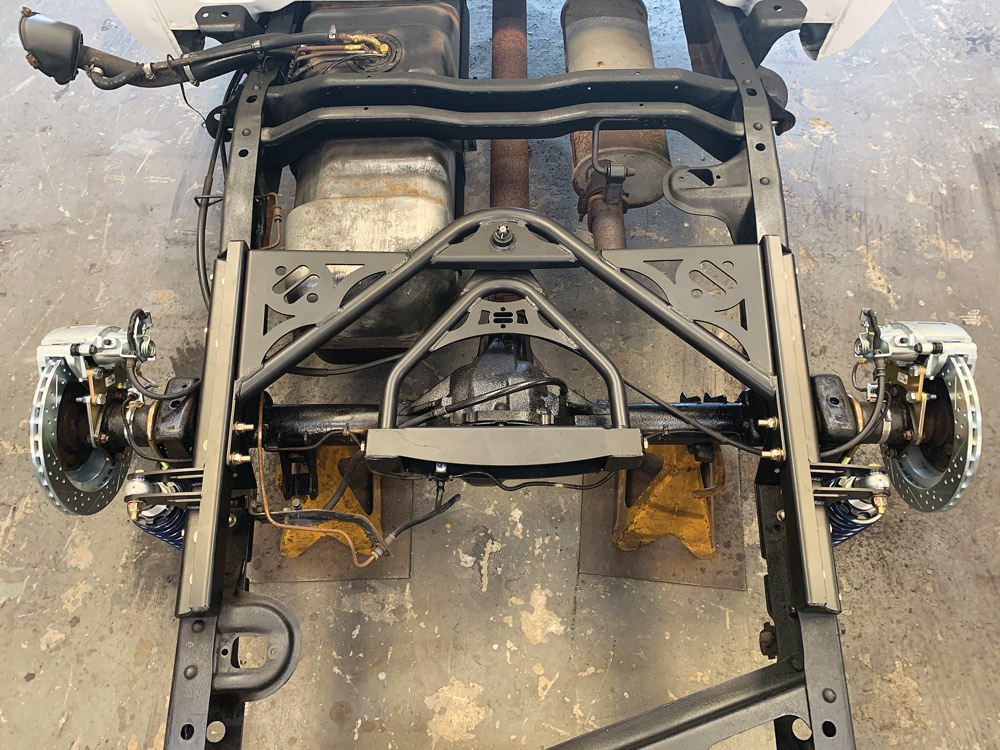
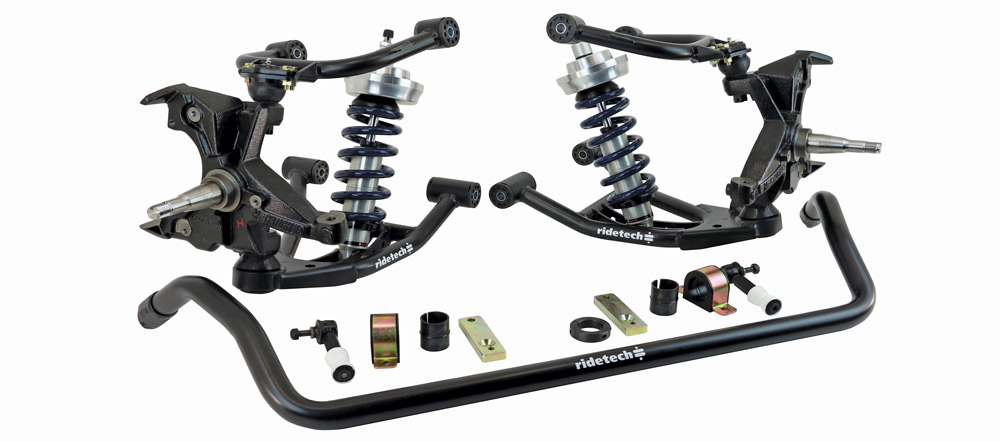
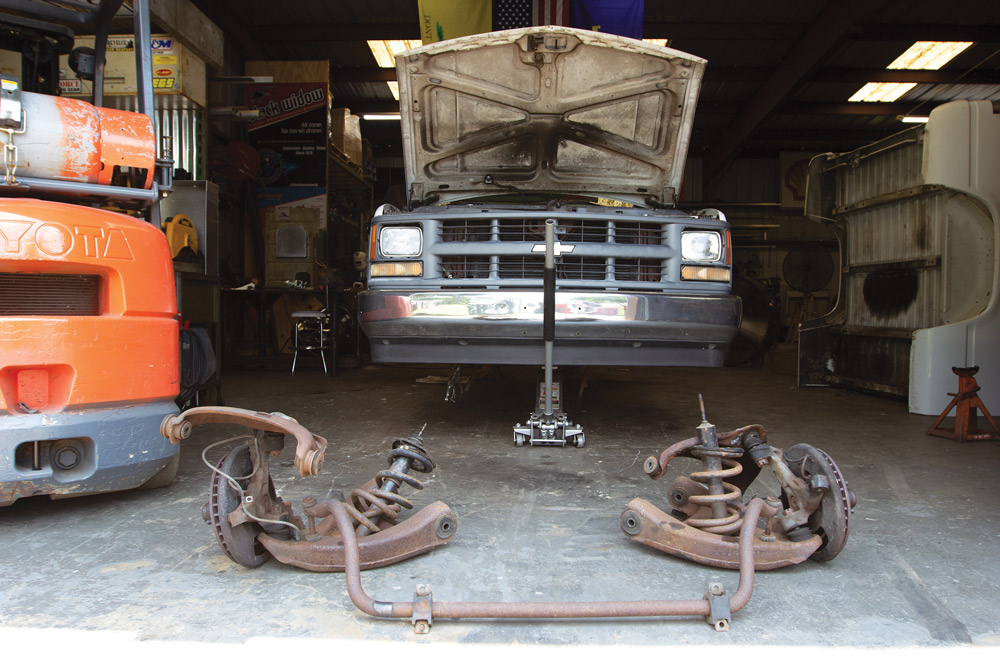
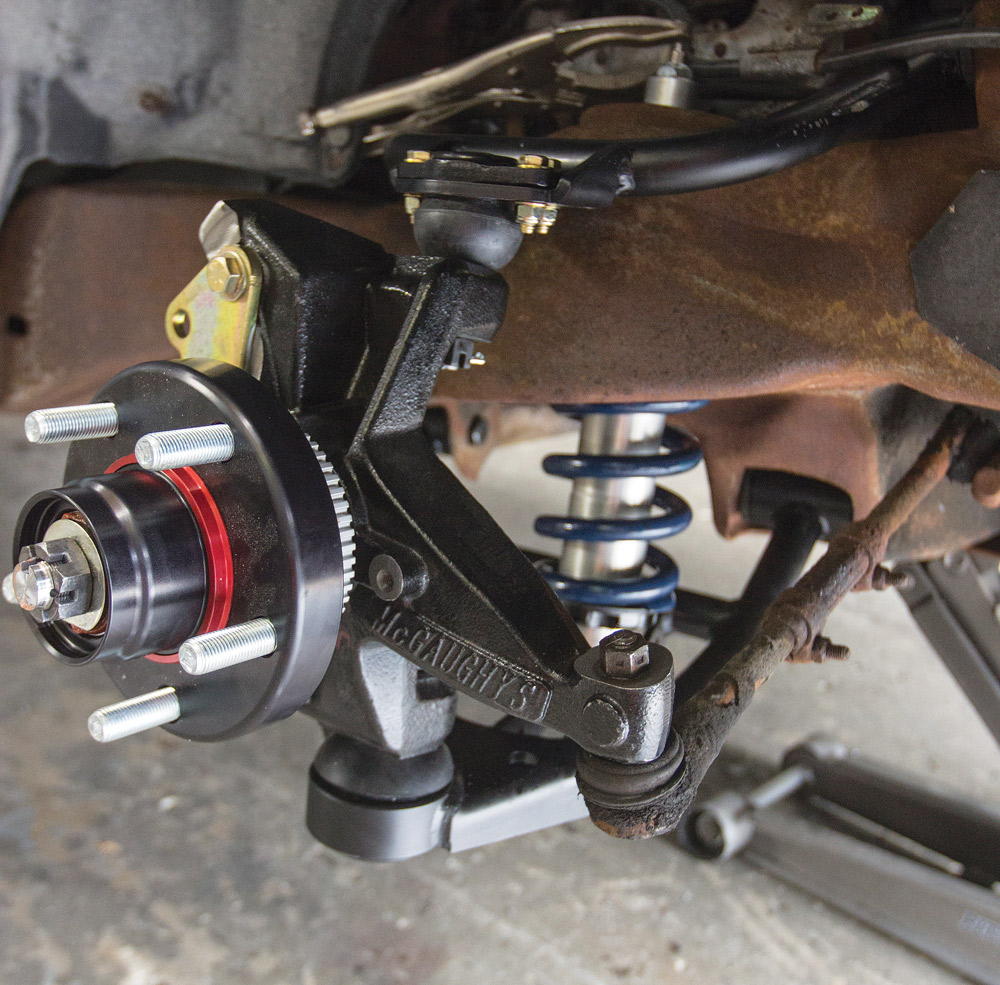
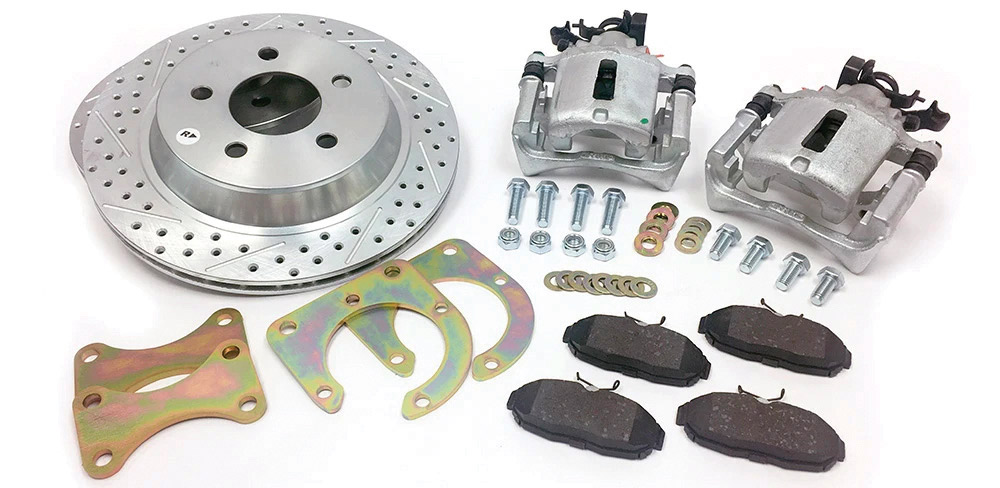
Over the next few pages, we’re going to take you through the process of giving this truck new life on the same old roads it’s been cruising down since its inception, first starting with a new suspension, upgraded disc brakes and a new set of wheels and tires. That’s only the beginning, but you have to follow along to see the rest. If this truck doesn’t motivate you to go out and start wrenching on your own OBS project, I’m not sure you picked up the right publication. Now let’s get to the good stuff!
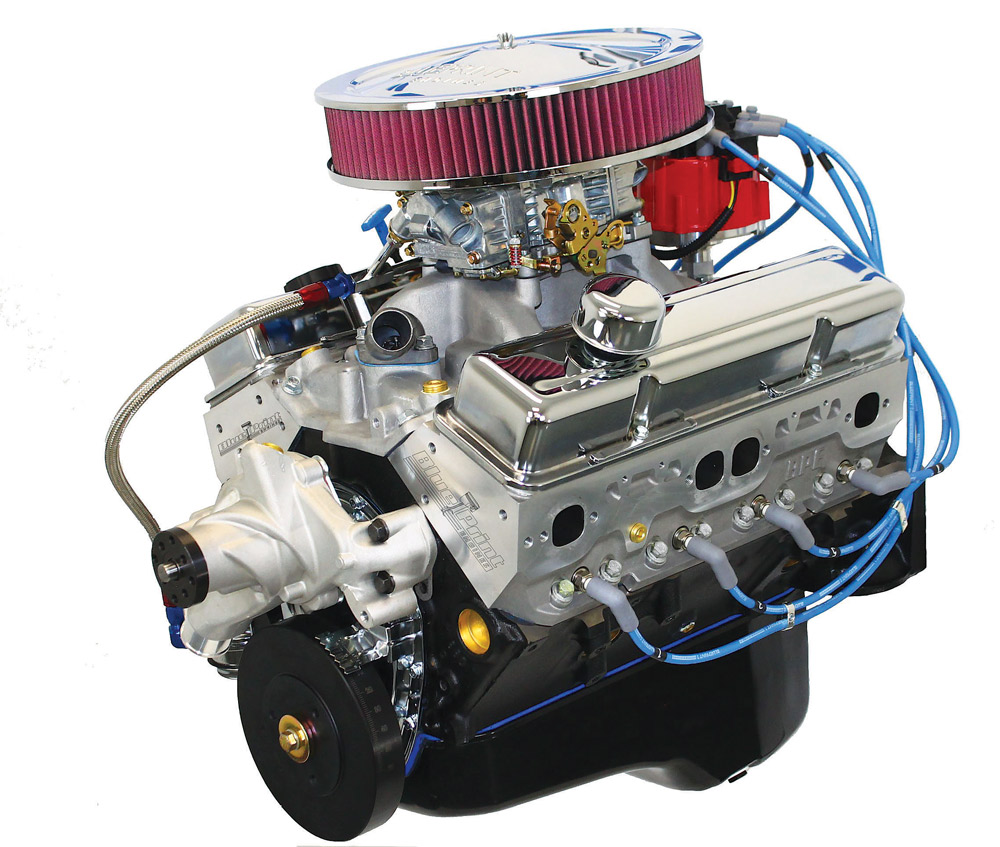
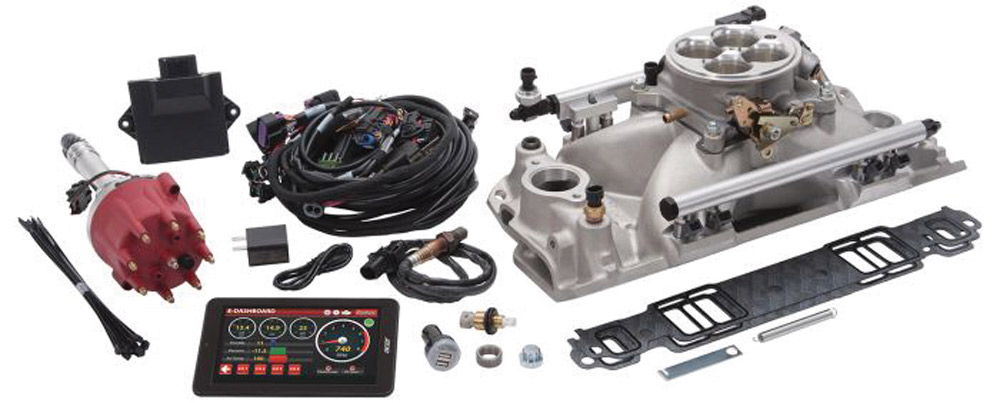
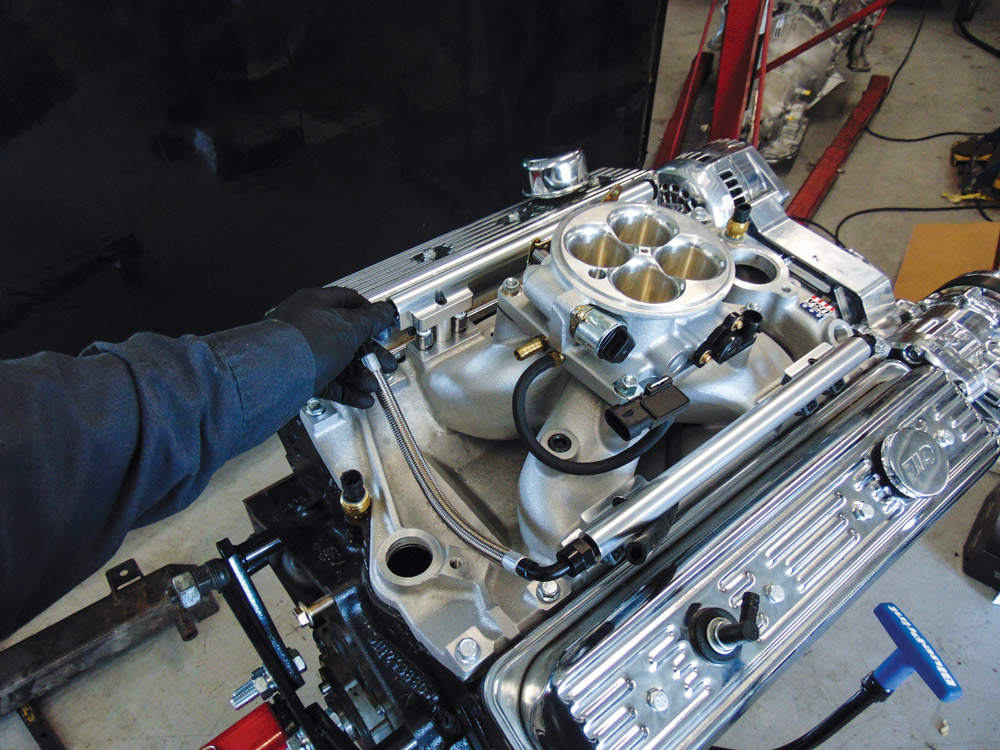
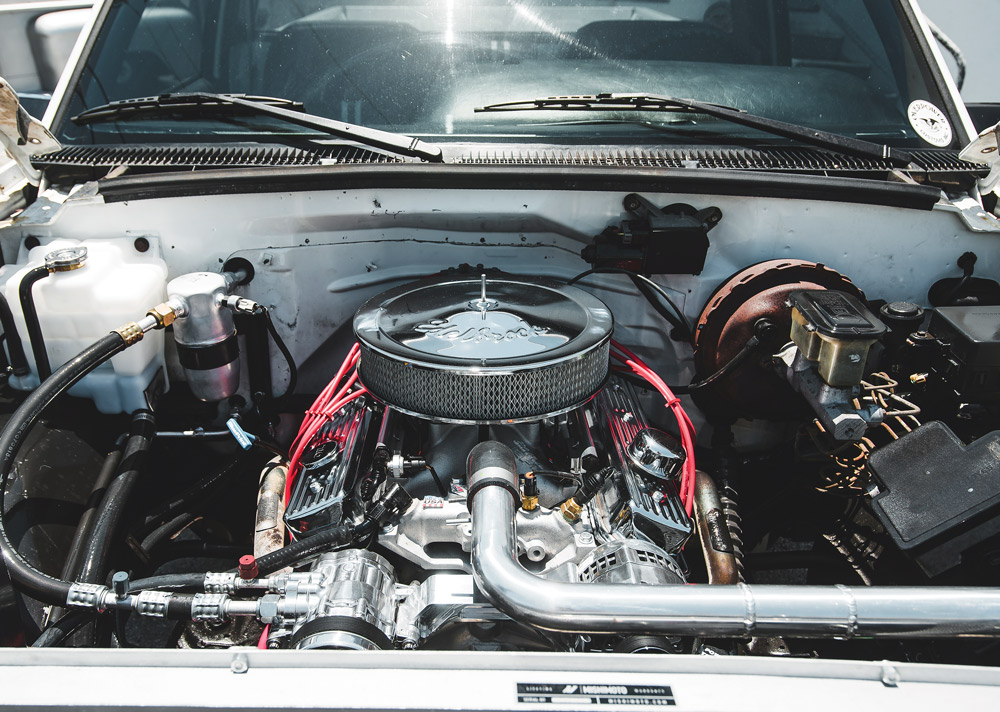
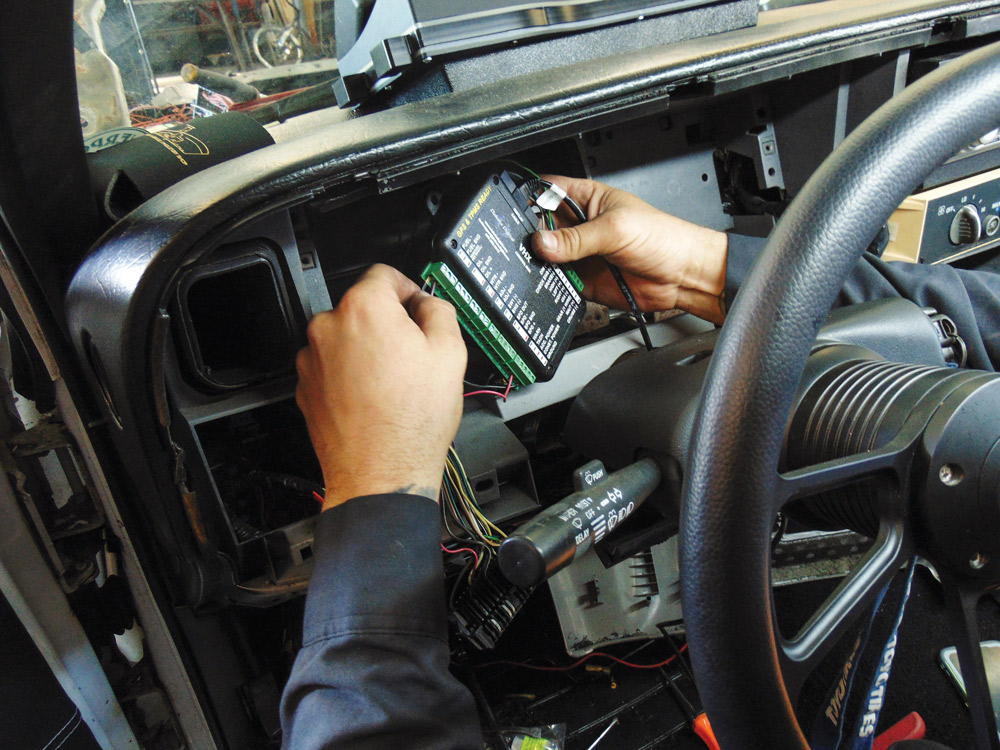
To control our fuel delivery system, we chose to go with Edelbrock’s new Pro-Flo 4 electronic fuel injection. The Pro-Flo 4 is not just a replacement for your carburetor. It’s a complete engineered system that provides the ultimate in performance, drivability and quality. This will result in a smoother idle, faster acceleration, better peak power, improved fuel economy and the ability to control detonation, all in the E-Tuner 4 app.
The key to the improved performance is the fuel injector location, which is at the end of the runner on the intake manifold right before the airflow stream enters the combustion chamber. This location provides a more efficient mixture control that’s unaffected by varying intake manifold runner temperatures and length.
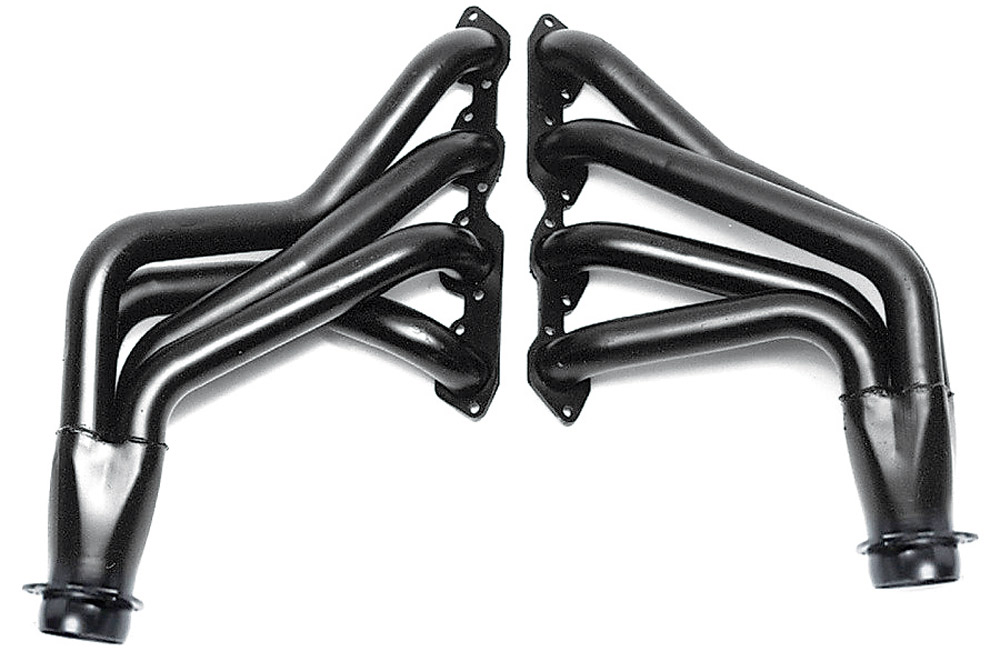
Next to be bolted to the block are our Hedman Hedders designed for the SBC 350ci engine. Hedman Hedders began as a one-man shop in 1954. Bob Hedman, founder of Hedman Hedders, sold his highly sought-after exhaust tubes to fellow racers on the salt flats of the Mojave Desert. But what started out as a way to make a few bucks to pay for Bob’s racing hobby quickly turned into the premier header manufacturer for both the racing and street header marketplaces.
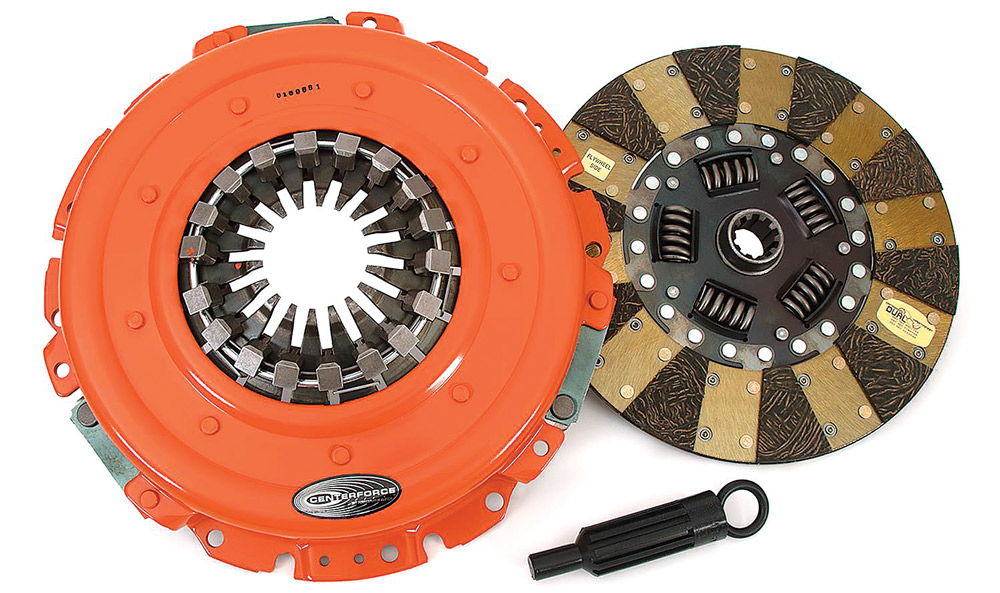
Centerforce is the clutch of choice for our project and recommended by American Powertrain. The Centerforce II Clutch Series utilizes a full facing disc with premium friction materials and a pressure plate with centrifugal weights. It offers superb holding power and maximum clutch life, making this clutch ideal for selected street/strip, off-road and towing applications.
• Patented centrifugal weight design
• Patented ball bearing pressure plate
• High quality friction material
• Light pedal effort
• Increased holding capacity
• Smooth engagement
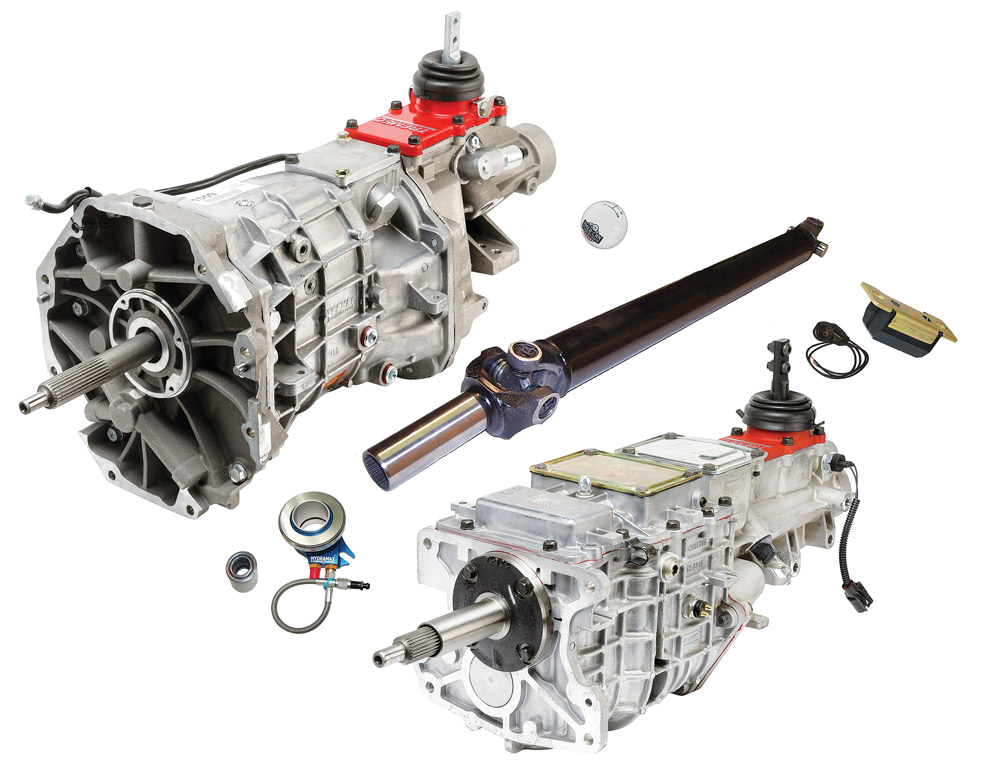
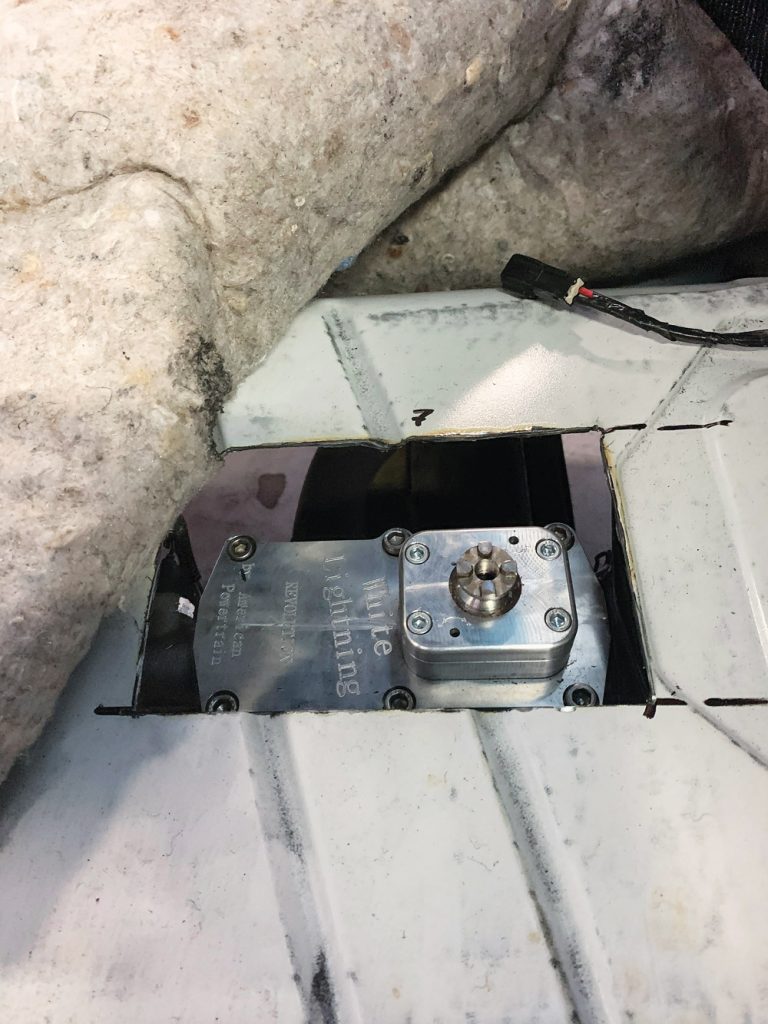
American Powertrain’s Pro-Fit kits for 88-98 Chevy/GMC C1500 OBS GMT400 trucks come in either 5 or 6-speed. There is no need to cut the floor if your truck is already manual since it fits in the factory location. This kit reuses the original cross-member. It’s actually a very easy install!
Benefits Include:
30-50% increase in fuel economy
Low RPM cruising for greatly reduced driver fatigue and an improved highway driving experience.
Reduced engine wear leading to longer engine life
Cooler engine operating temperature
The 88-98 Chevy kit includes
AP Revolution Shifter Mechanism locates shifter that will fit bench or bucket seats
Seamless DOM Driveshaft Assembly that has been race balanced
Solid U-Joints
A Driveshaft Slip Yoke made from Cryogenically hardened steel
Polyurethane Transmission Mount
Greased and pre-packed pilot bearing with stainless rollers
Reverse Light Harness
Electronic Speedometer Conversion
Shifter Knob and all the Hardware and instructions you need.
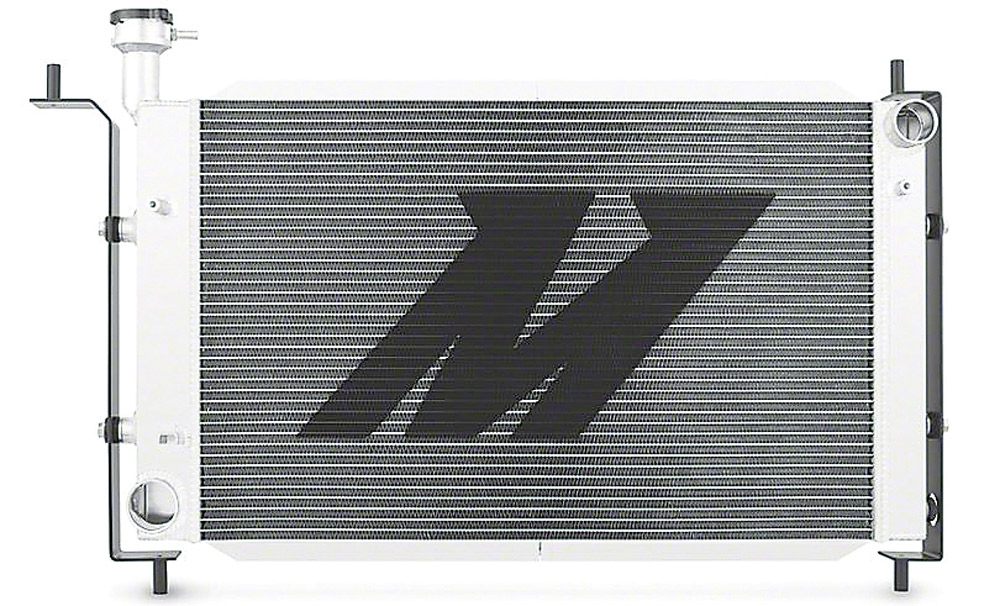
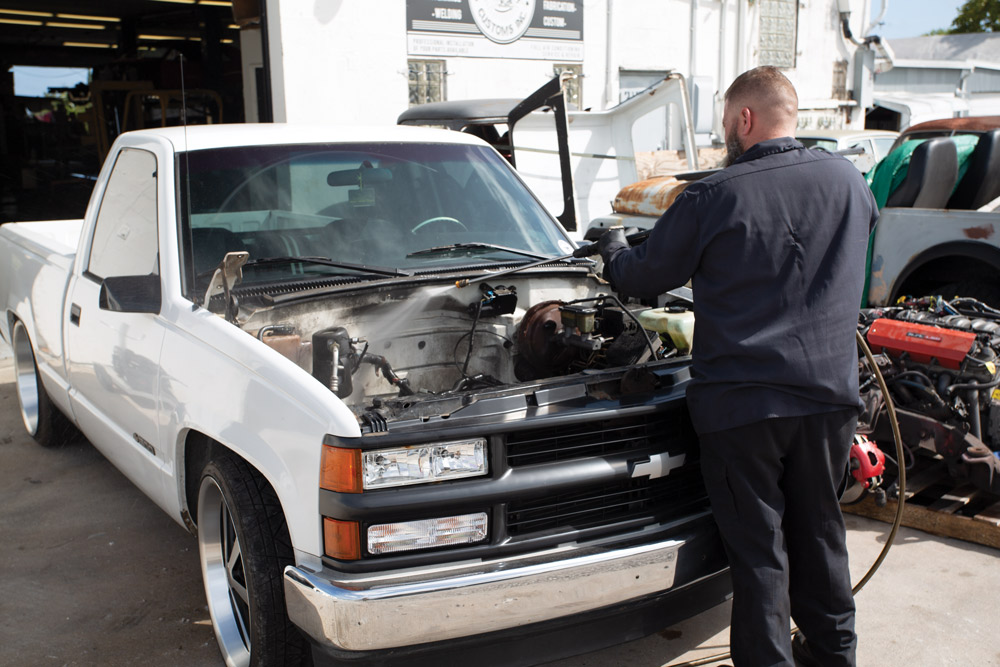
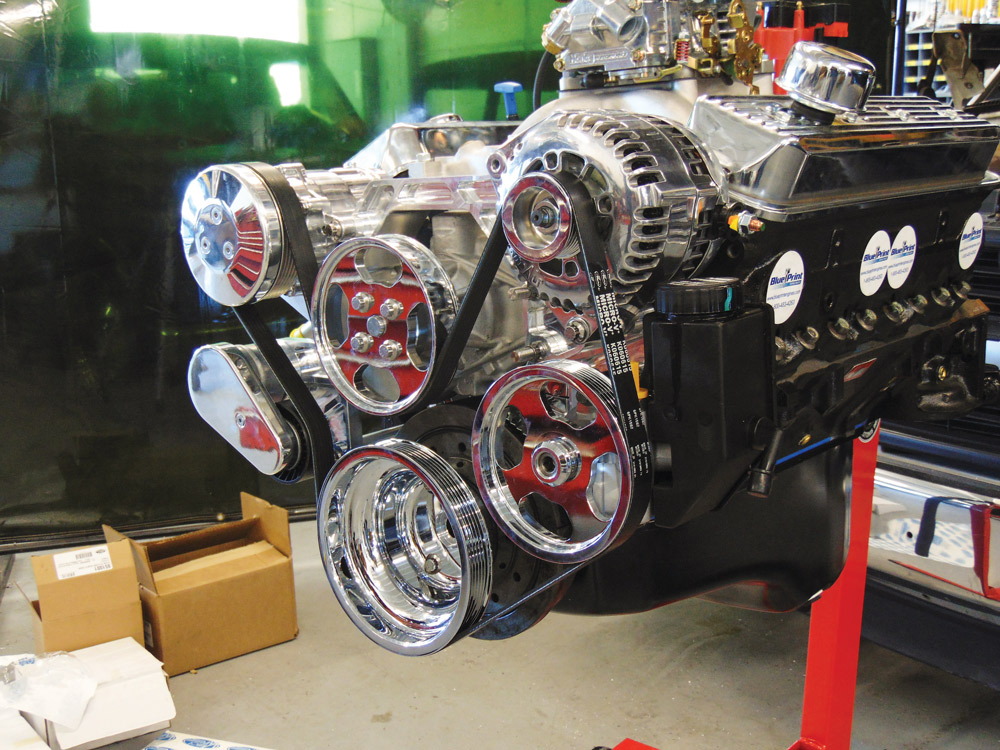
With the engine fully assembled, Trey can slide the engine into the bay and start prepping the cooling system. We used a set of factory V-8 motor mounts to bolt it to the frame and Mishimoto radiators and electric fans. This is a 6.2-liter (383ci) diesel cooling system that Trey recommended for additional cooling. To make it all work correctly, Trey installed a factory OEM diesel coolant reservoir and made a trick aluminum coolant transfer pipe.


Project Sources
American Powertrain
americanpowertrain.com
American Racing
www.americanracing.com
Autometal Direct
www.autometaldirect.com
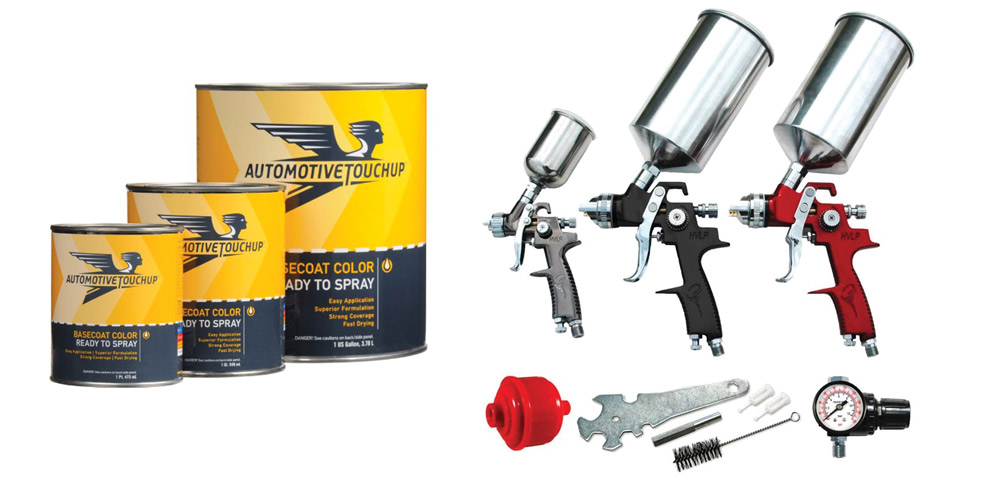
Automotive Touchup Paint
www.automotivetouchup.com
AVS on the Web
www.avsontheweb.com
AZ Pro Performance
azproperformance.com
Blueprint Engines
blueprintengines.com
Centerforce Clutch
www.centerforce.com
Classic Industries
www.classicindustries.com
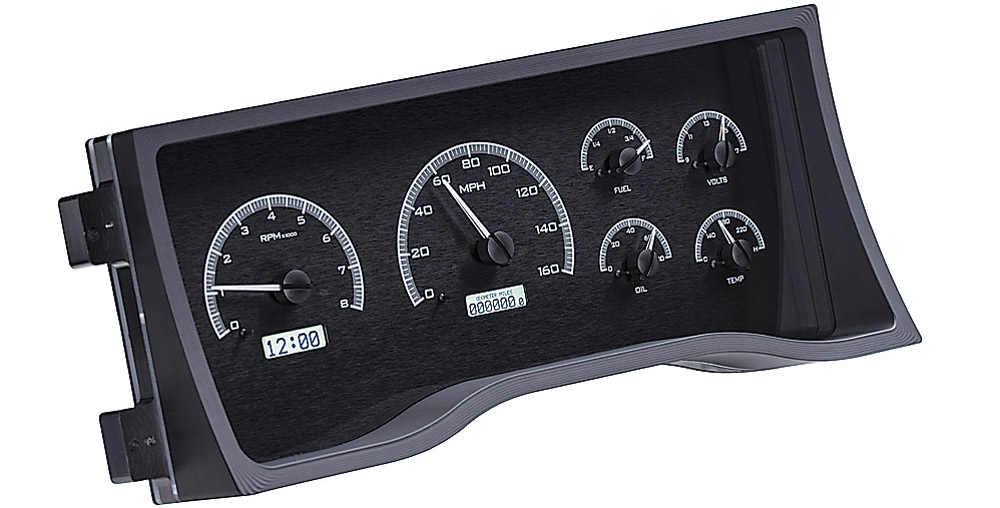
Dakota Digital
www.dakotadigital.com
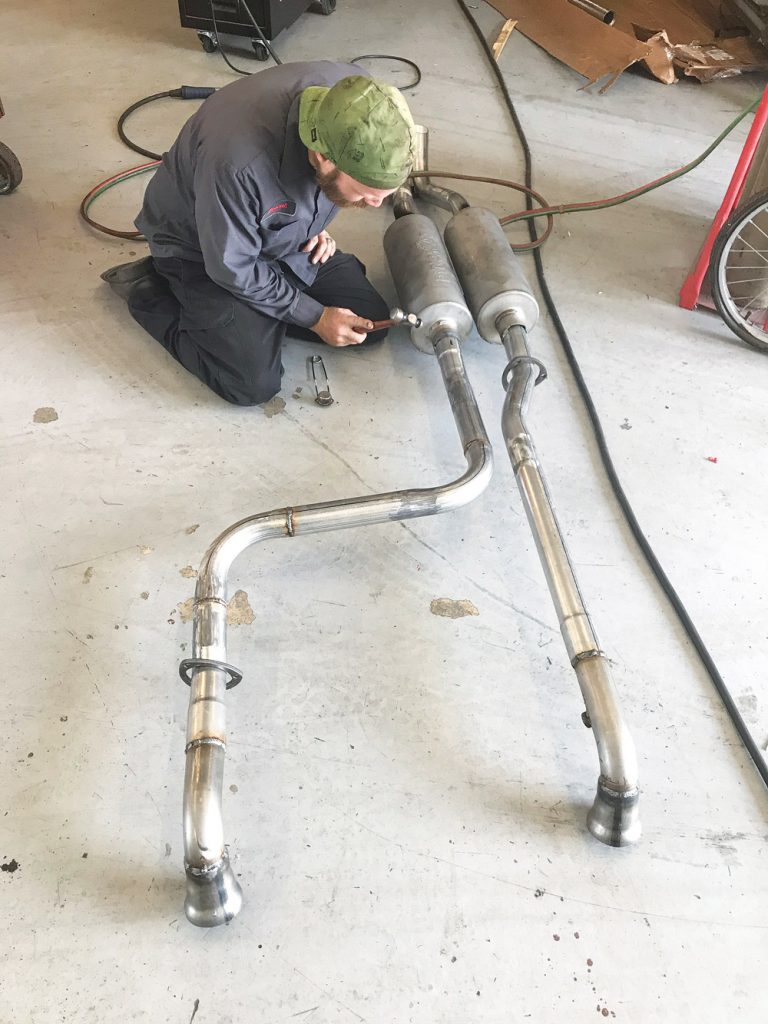
Dynomax Exhaust
www.dynomax.com
Edelbrock
www.edelbrock.com
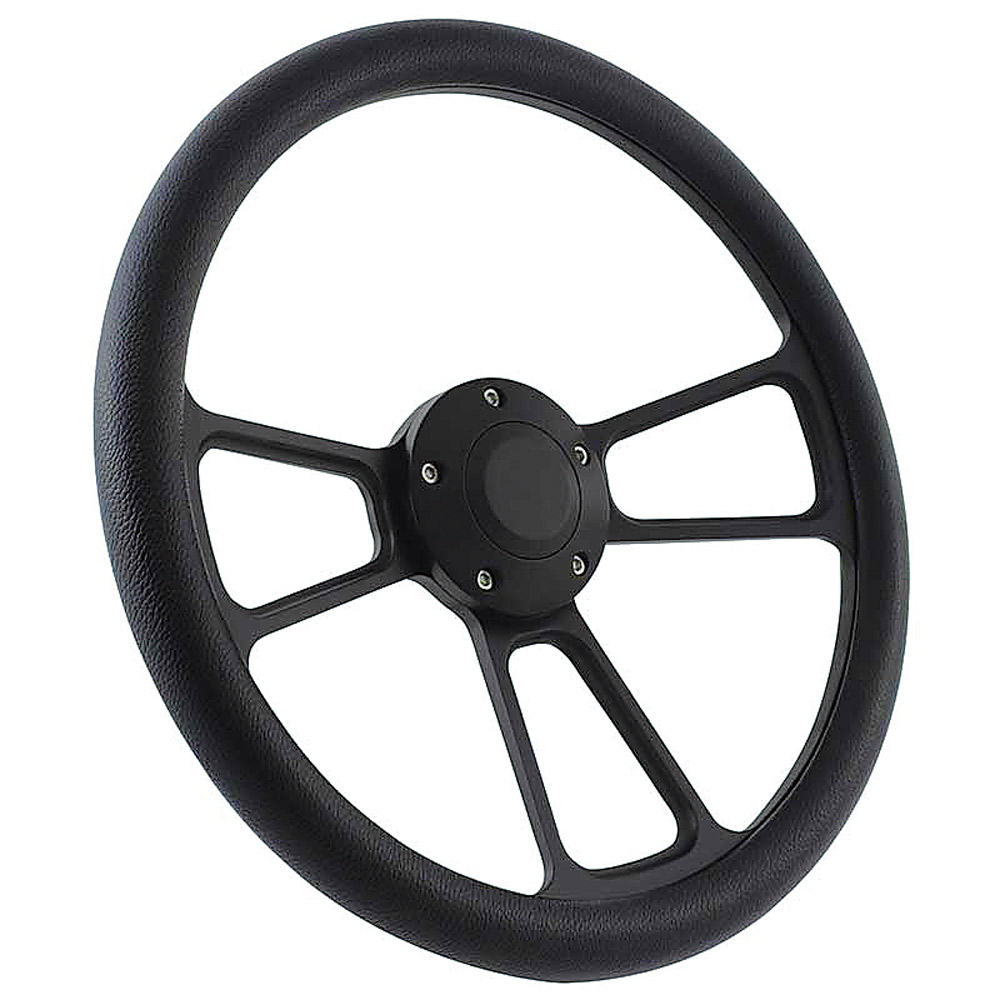
Forever Sharp
fssteeringwheels.com
Full Pen Fabrication
www.fullpenfab.com
Hedman Performance Group
www.hedman.com
LMC Truck
www.lmctruck.com
Lokar
www.lokar.com
Mishimoto
www.mishimoto.com
MrTailLight
www.mrtaillight.com
Nitto Tire
www.nittotire.com
Optima Batteries
www.optimabatteries.com/en-us
Overpower Customs
overpowercustoms.com
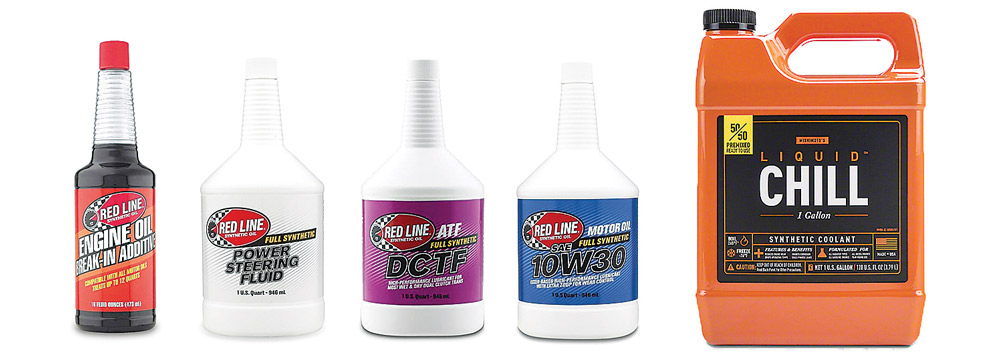
Red Line Oil
www.redlineoil.com
RideTech Suspension
www.ridetech.com
TMI Interiors
www.tmiproducts.com
Vintage Air
www.vintageair.com
c10
Dino’s git down is one of those yearly events you just can’t miss if you’re in the area. This GMC/Chevy only event brings in the… Continue reading
SOLOMON LUNGER . November 25, 2019
Department
With the decision made that this would be a show-stopping weekend cruiser, we didn’t feel the need to replace the OEM dashboard with a mint… Continue reading
Chris Hamilton . February 03, 2022
Department
Chris Hamilton . October 12, 2020
c10
Finish Line Speed Shop Builds to Give Back You could make the argument that all of us should give back to our communities, even if… Continue reading
Kevin Whipps . January 22, 2024
America
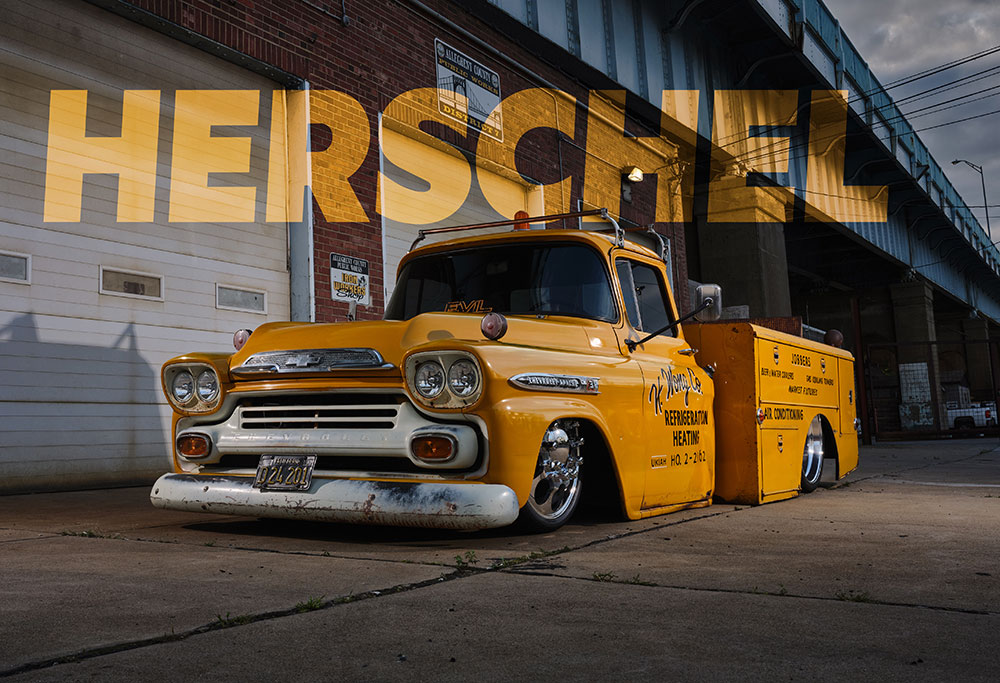
Every Scar Tells a Story At 29 years old, young Herschel Wong was on the hunt for a new work truck for his business, H.… Continue reading
Mike Self . June 24, 2022
C10 Builders Guide
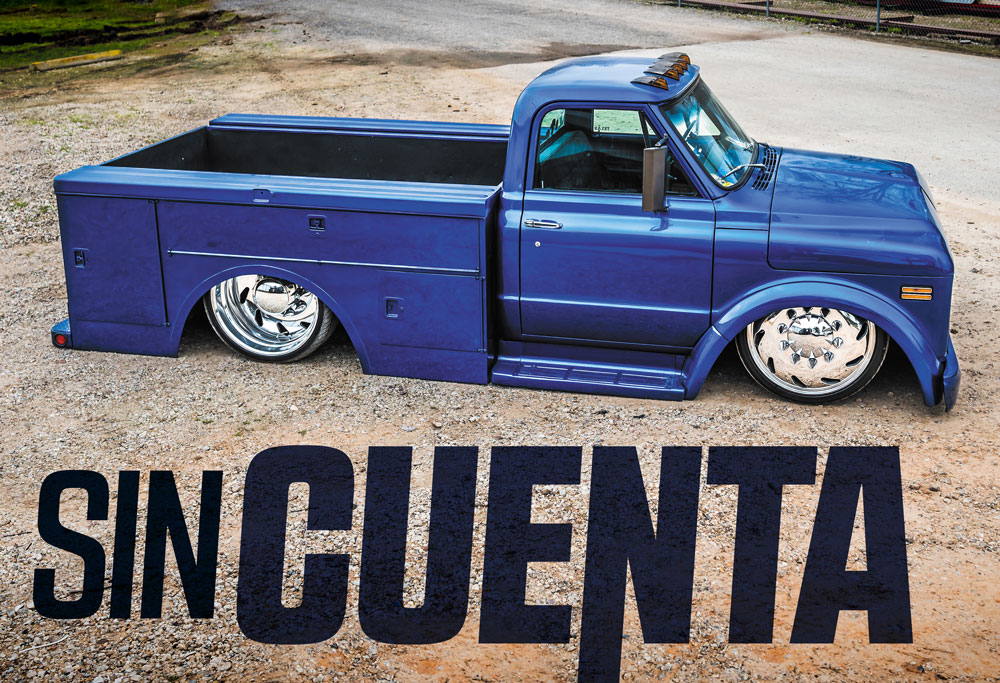
Laid Out, but Always Ready to Roll You might be thinking to yourself, “That’s one of the most amazing C50s I’ve ever seen!” But you’d… Continue reading
streettrucks . September 22, 2020

Share Link