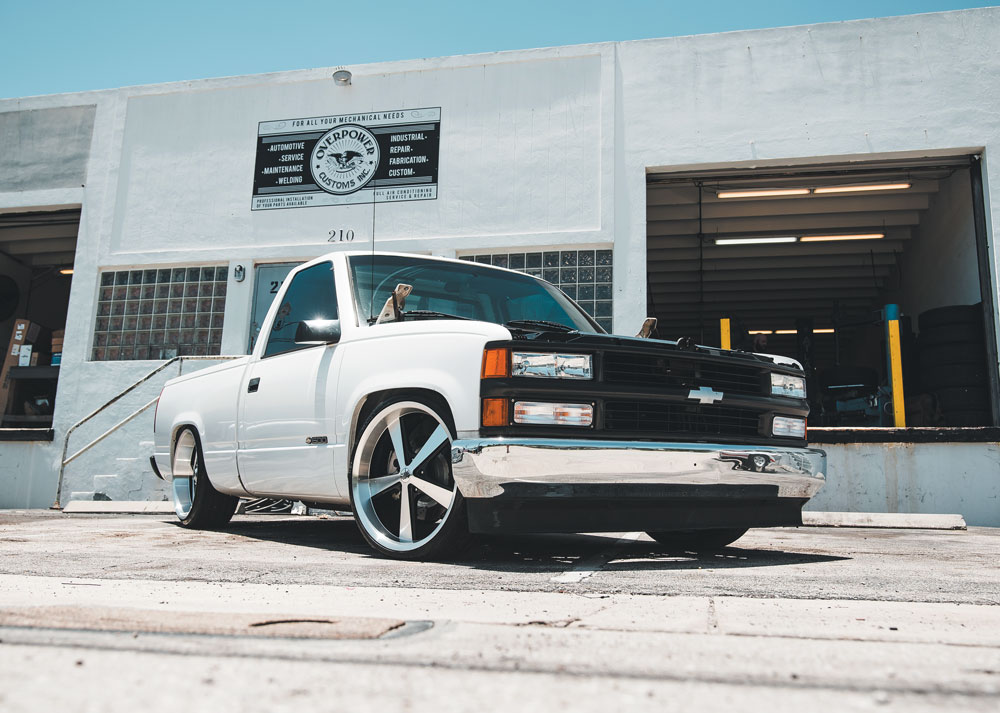
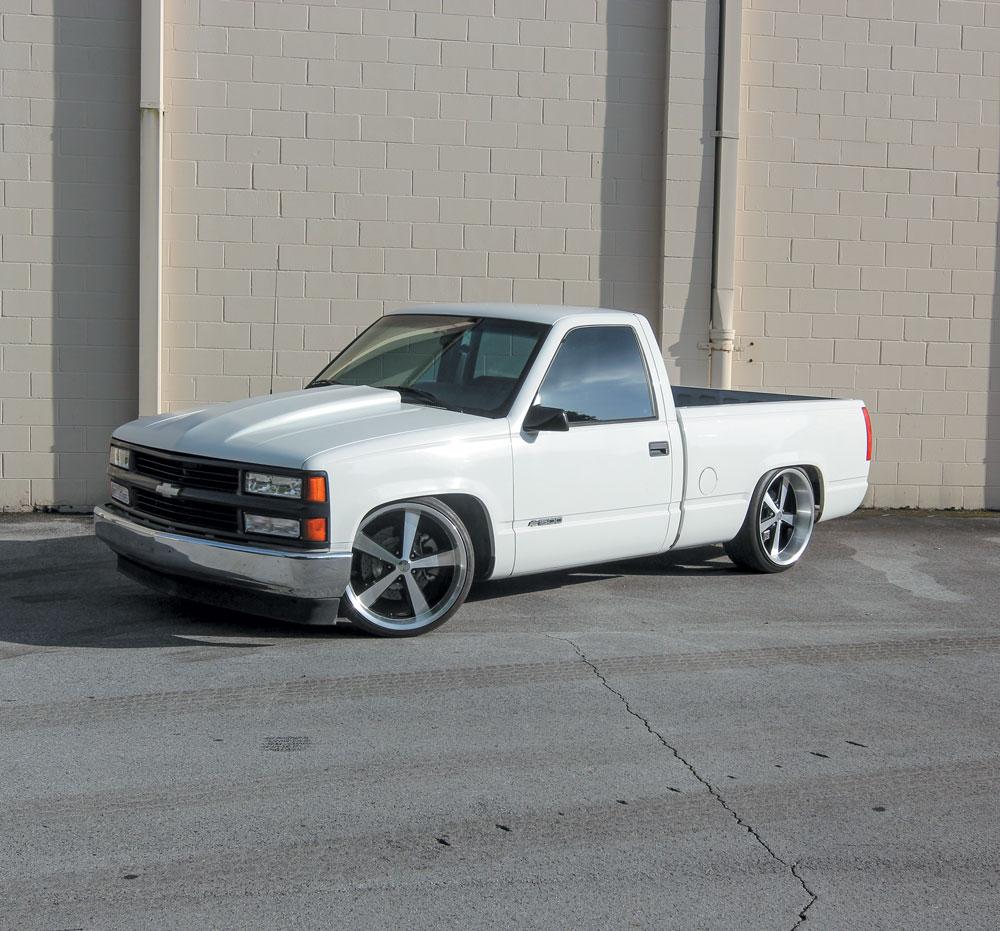
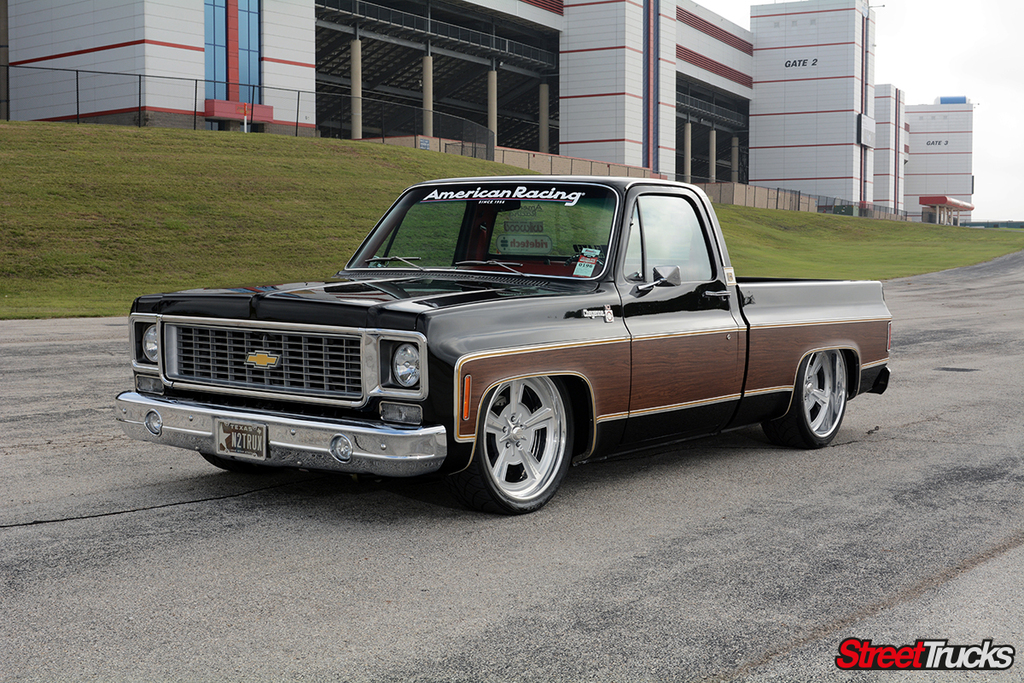
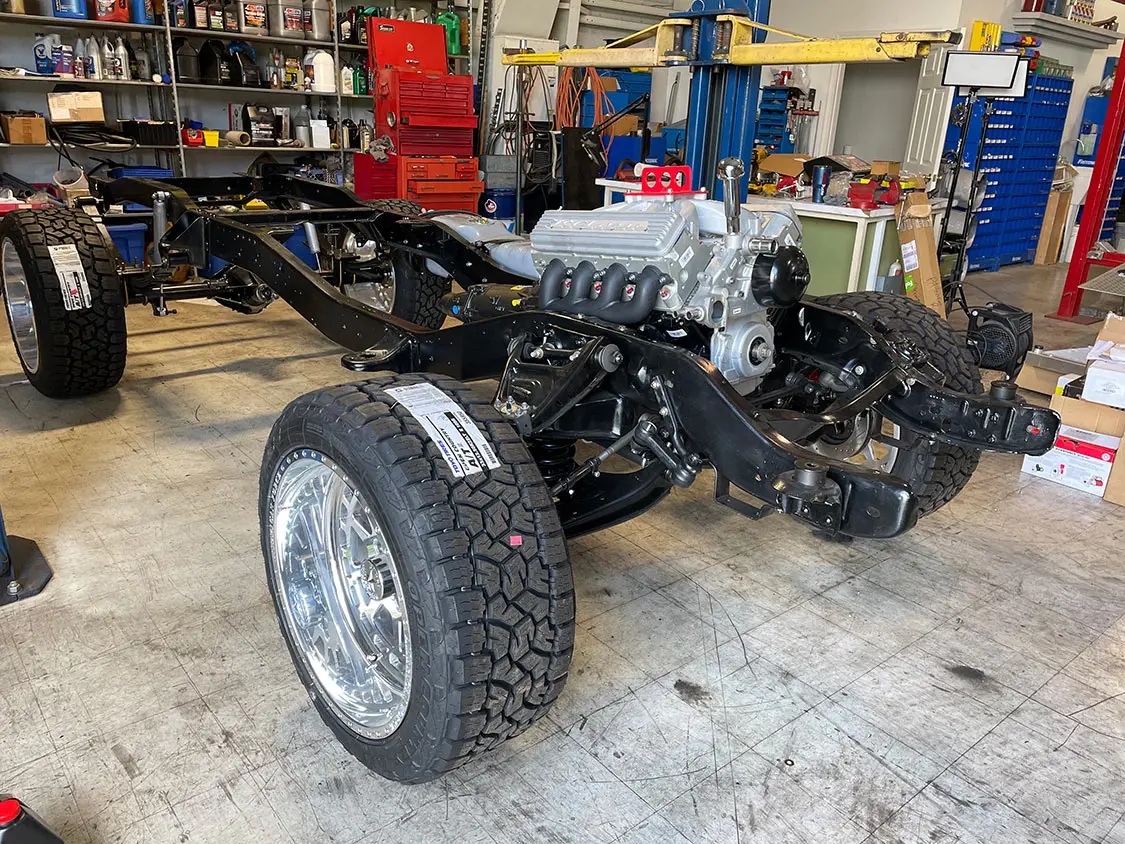
When we left you last, Stella was finally on the road and ready to shred her new Nitto tires. The engine is complete and in the break-in process. A few hundred miles of fluid movement and dust shaking revealed a couple simple issues that needed to be addressed. Loosening exhaust bolts and new rattle noises always pop up, but nothing that a day on the lift and some turns of a wrench can’t fix.
Once the break-in period is done, we will swap out the transmission fluid with a Syncromesh liquid and she will be ready to daily drive. During that process we took the opportunity to prep and paint our new metal panels. We wanted the truck to look the part, so along with the rumble from the exhaust, a cowl hood is an absolute necessity.
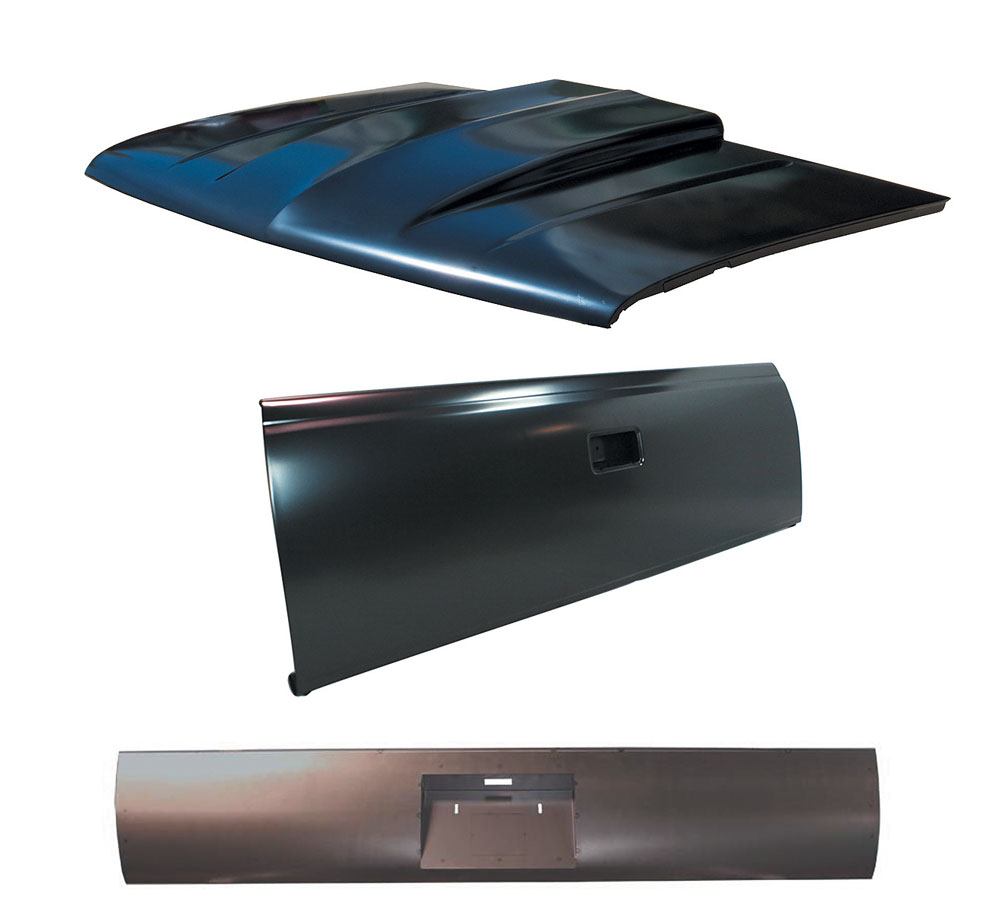
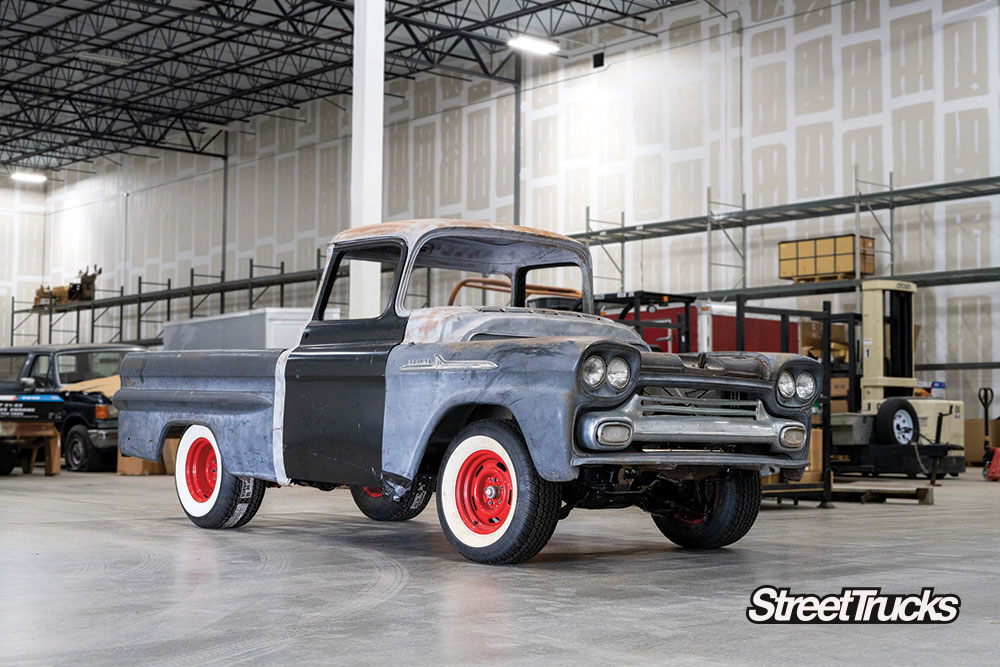
Removing the rear bumper is a must-do modification as well if you’re going for the true sport truck look. The all-metal roll pan from AVS on the Web fits perfect and can be temporarily bolted in while we wait for our turn in the paint booth. Finally, a new tailgate from LMC Truck will replace the beat-up factory piece. With all the new parts painted and installed, we will coat the bed floor with a DIY bedliner kit. This is going to be an amazing truck when it’s all complete, but for now we have some work to do. Stick around and follow along!
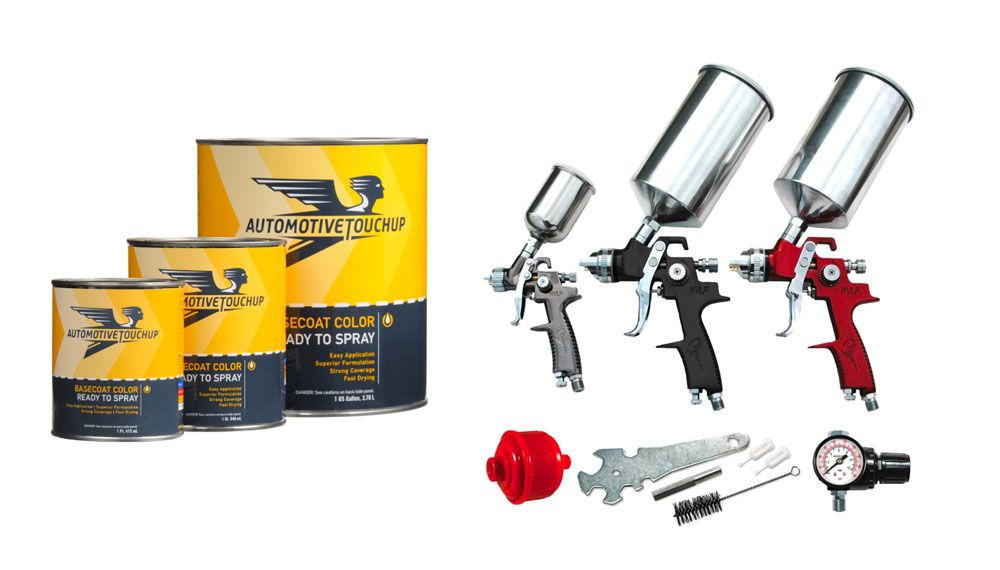
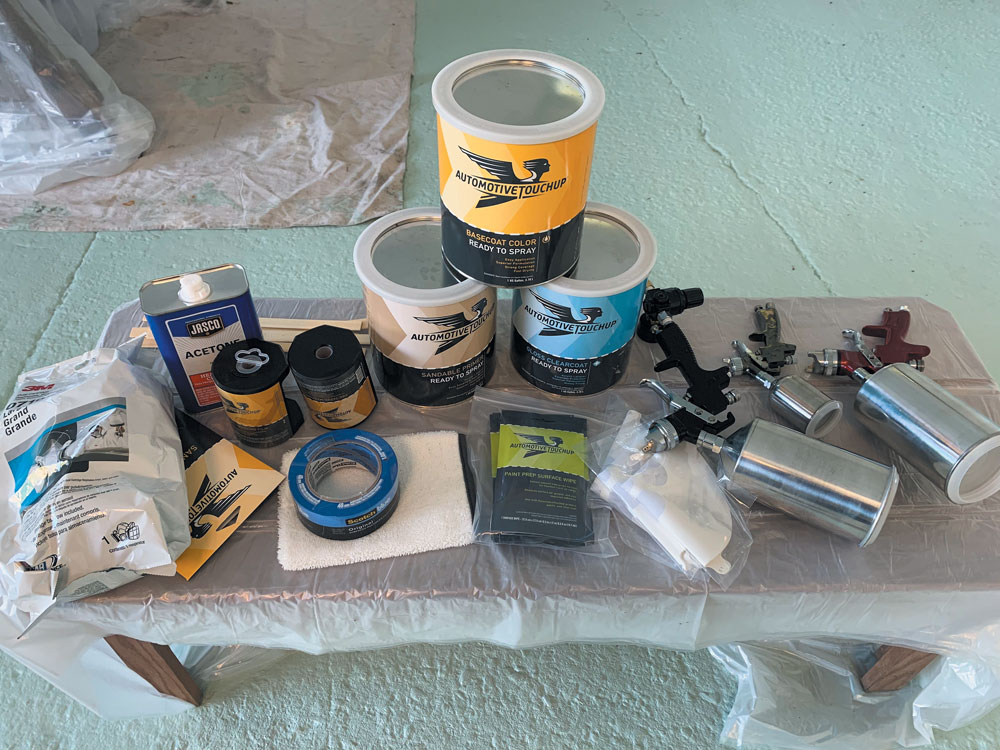
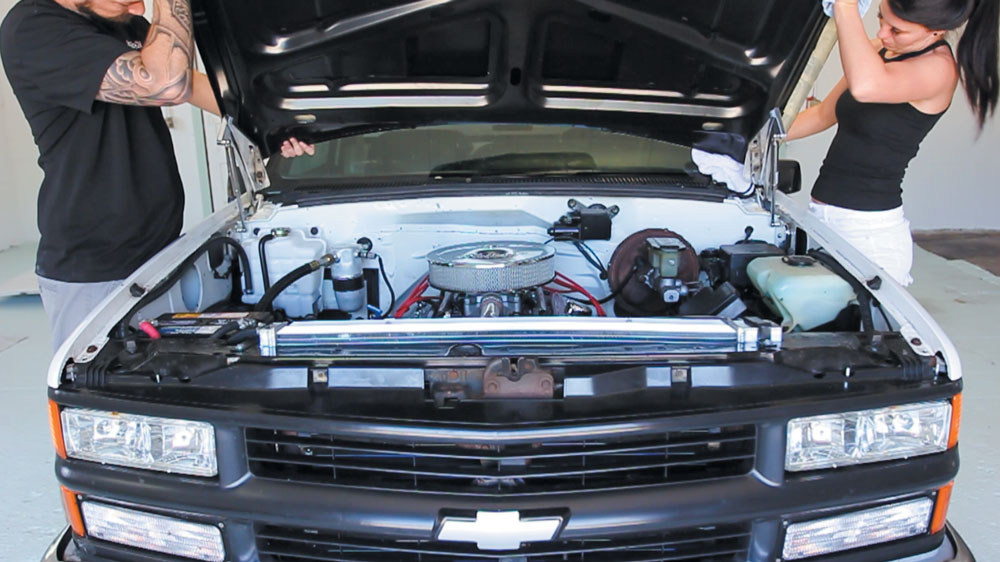
Our first start was a success and Stella finally got to see the sunlight again! The Blueprint Engines 383ci Stroker sounds strong and the Dynomax exhaust rumbles perfectly.While Trey finishes some final tuning to the Edlebrock Pro-Flo, we started working on the exterior of the truck. A new 2-inch raised cowl hood from Autometal Direct combined with an LMC replacement tailgate and an AVS on the Web roll pan will give the truck the aggressive look it deserves.All this new metal will need to be painted to match, and to save costs we decided to go with Automotive Touchup color matching paint and their DIY paint products that even include the paint guns!
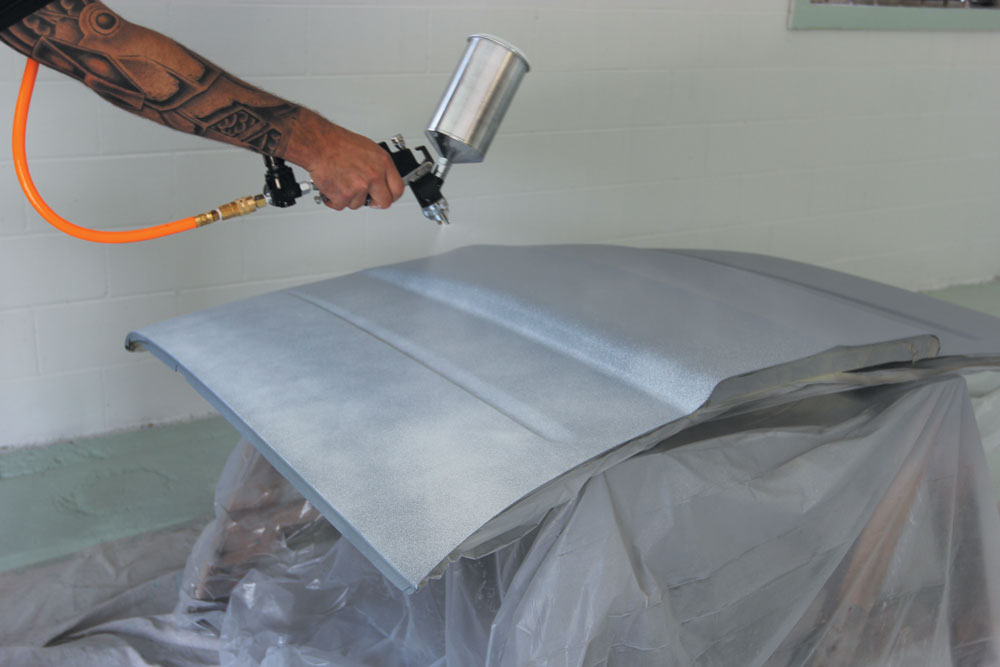
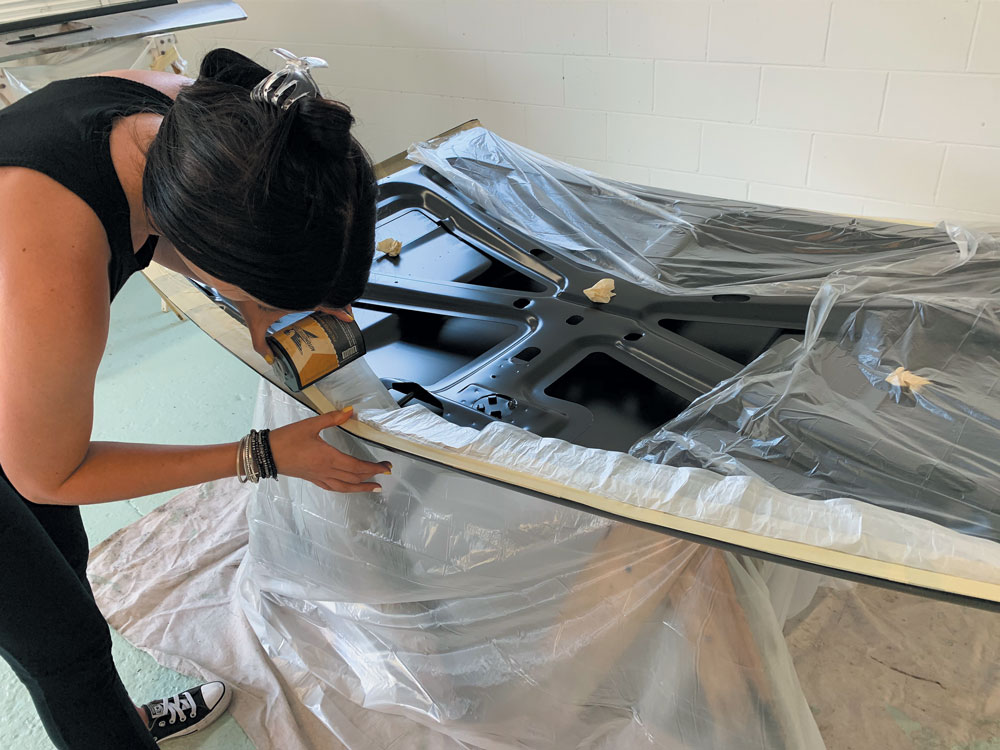
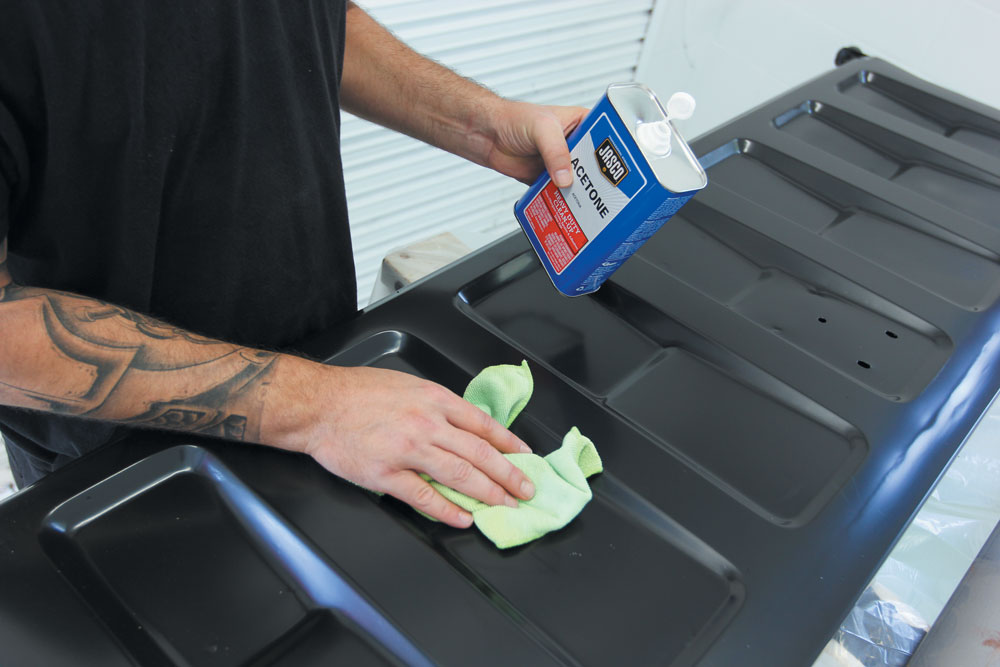
As with any paint project, the prep work is key. We wanted a clean work area, so the garage was cleared out and sawhorses were brought in. Taping off the parts we don’t want painted comes first, followed by prepping the OEM panels with a simple scuff with scotch pads and a wipe down with acetone.
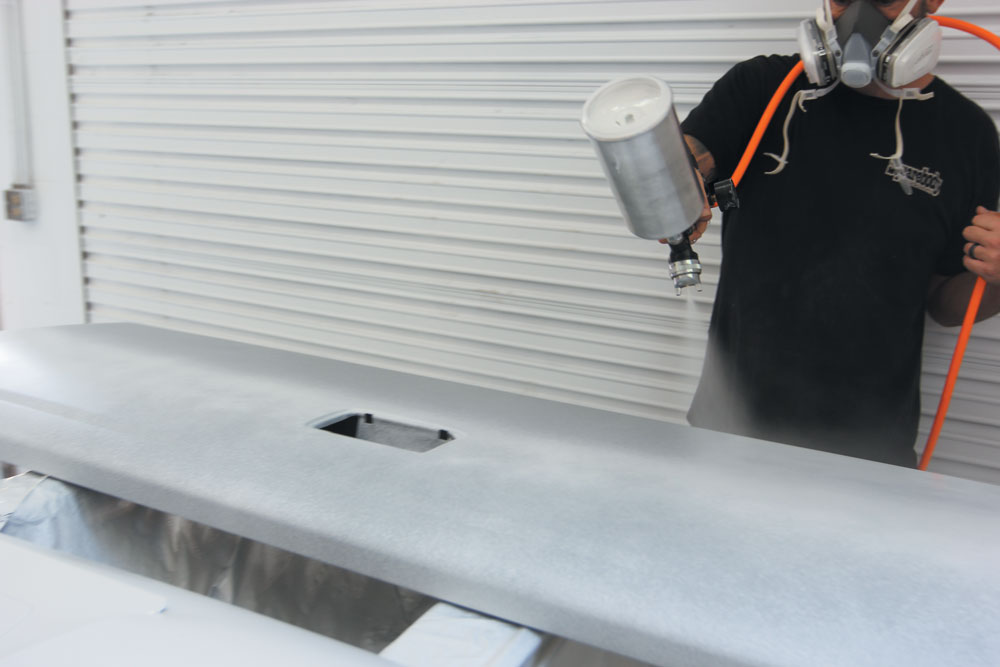
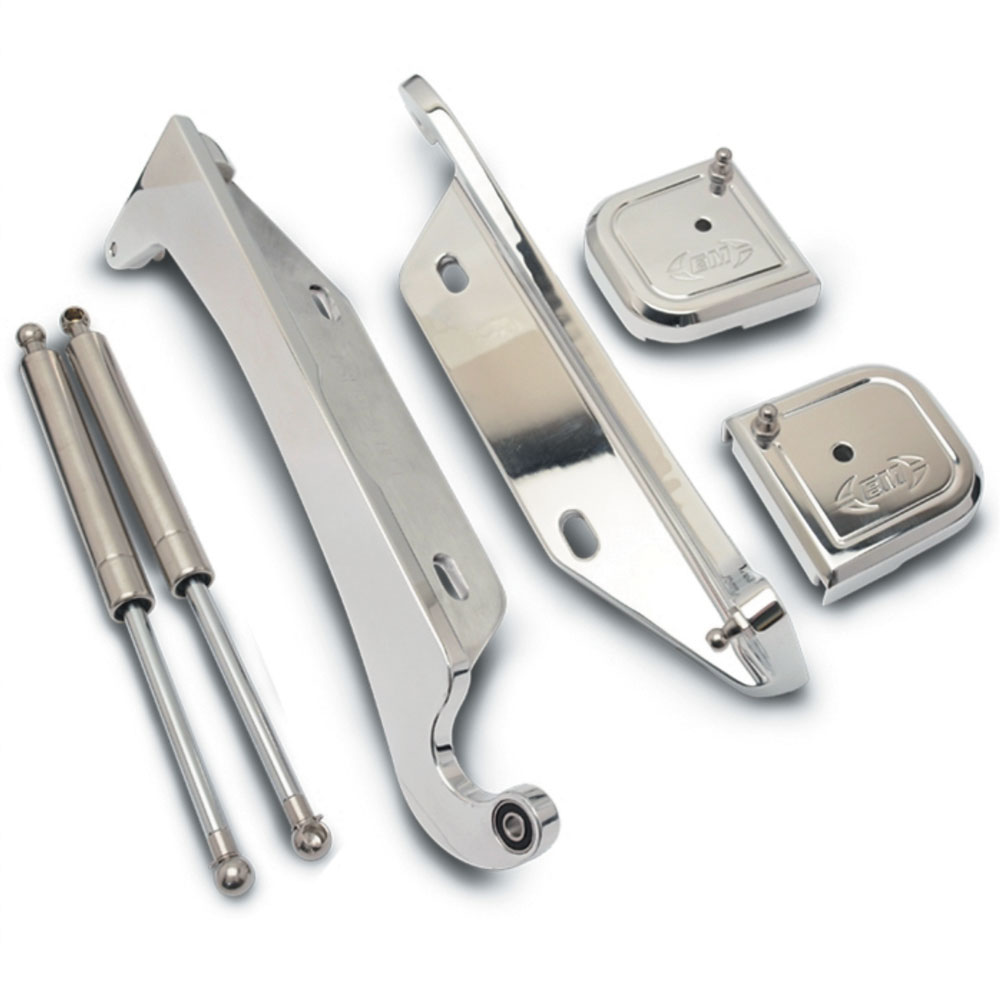
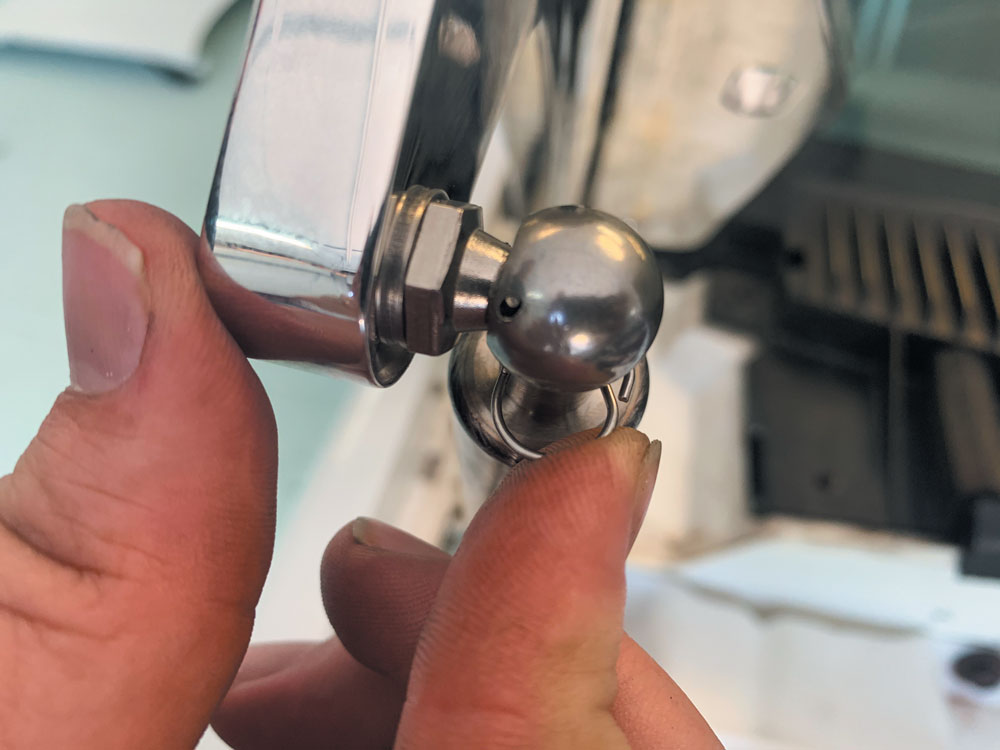
Automotive Touchup made it easy on us by offering a three-stage ready-to-spray paint system that requires no mixing at all. Just stir, pour and spray, giving around 15 minutes per coat and 1 hour per stage. We focused on keeping the hose away from the surface and our hands parallel the panels. We’re not pros or even experienced amateurs, but Automotive Touchup gave us the confidence we needed to pull off a great paint job. We were extremely impressed and pleased with the results.Instead of reusing the factory hood hinges, we took the opportunity to bolt on these new Eddie Motorsports billet hood hinges. They come in polished or powdercoated and the bolt on in the factory location. No cutting, no welding.
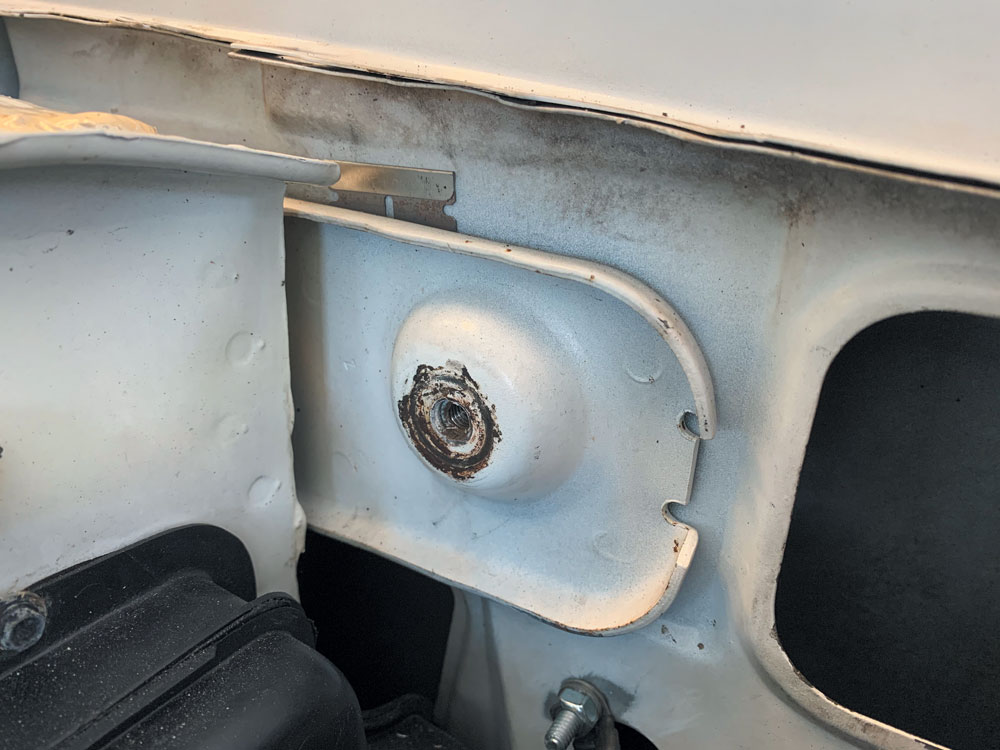
Brackets to mount the gas struts—Eddie Motorsports provides these billet aluminum blocks that bolt to the factory hinge location.
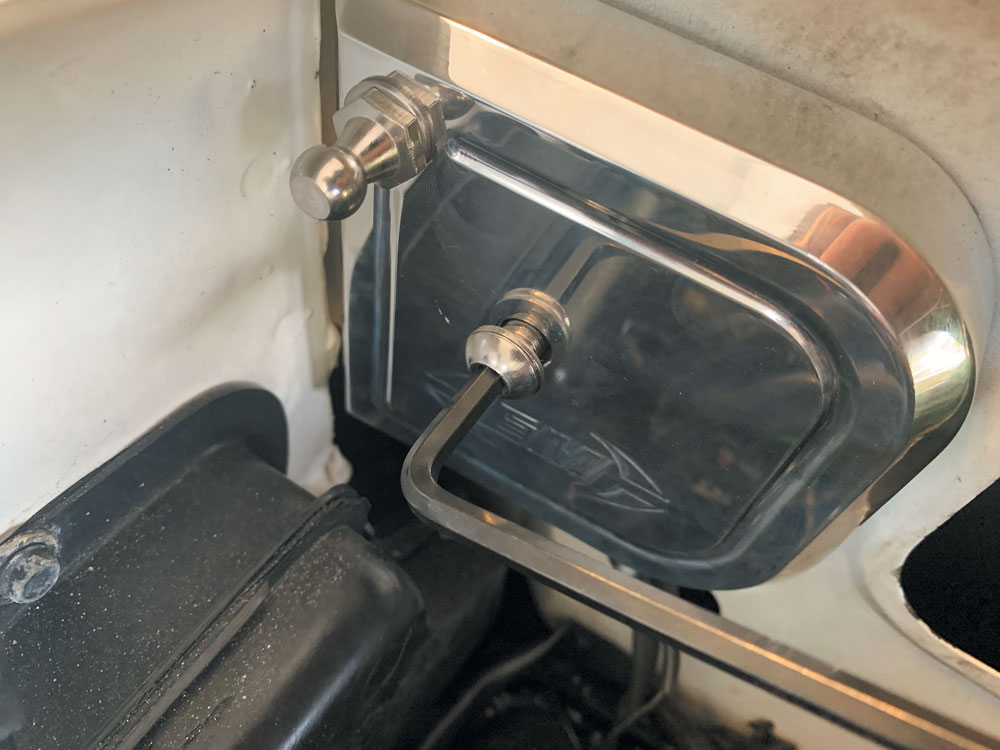
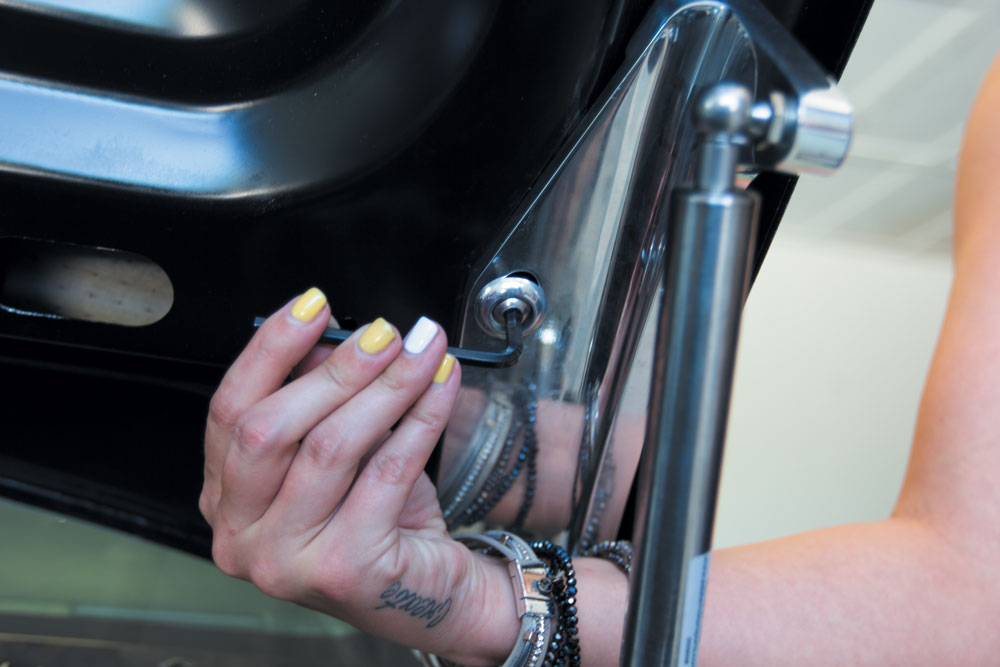
The provided hardware is bolted into place and the new gas struts are clipped in. No hassle!
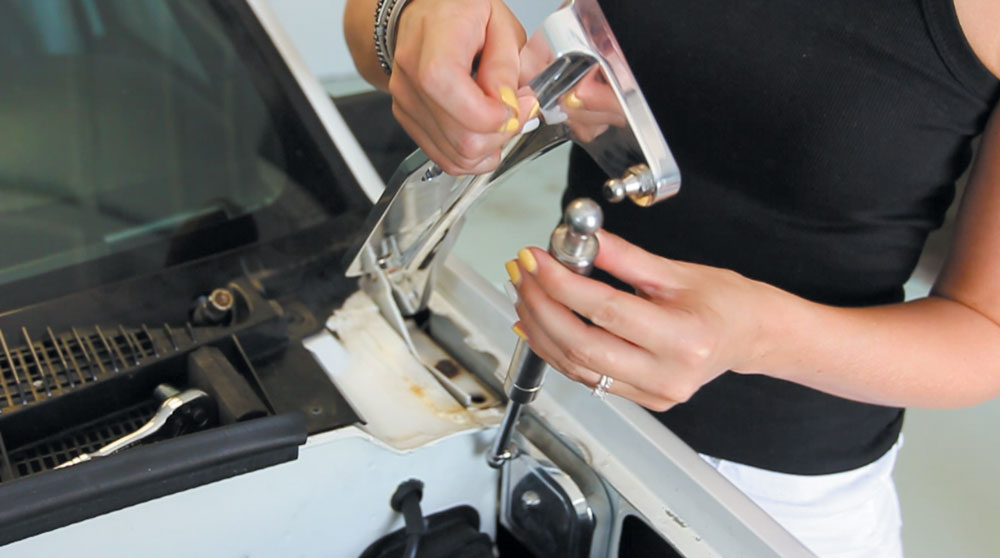
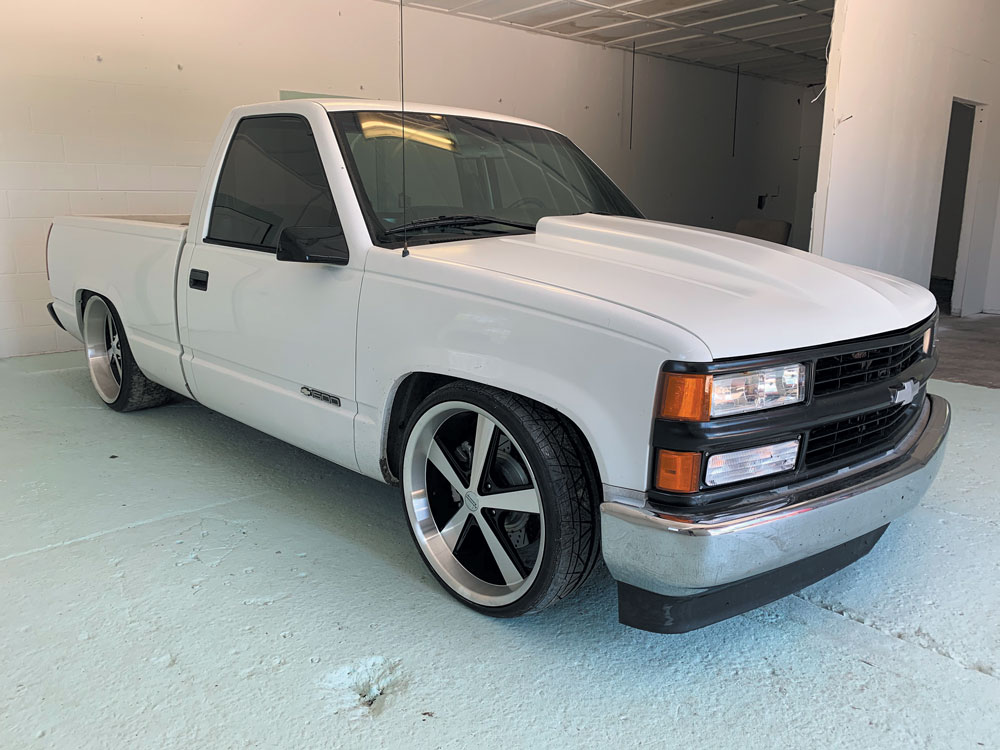
Last, the hood is brought back into the mix and bolted on with the new hardware. These hinges look great and operate extremely smoothly.The front of the truck is complete, and it looks great! Now time to focus on the back.
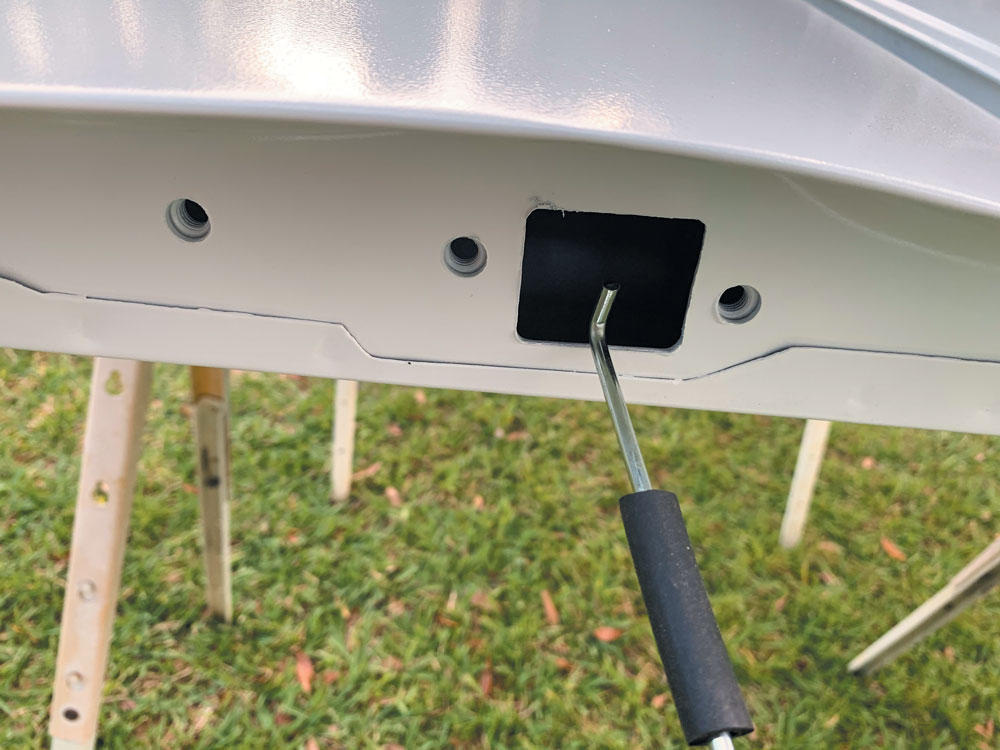
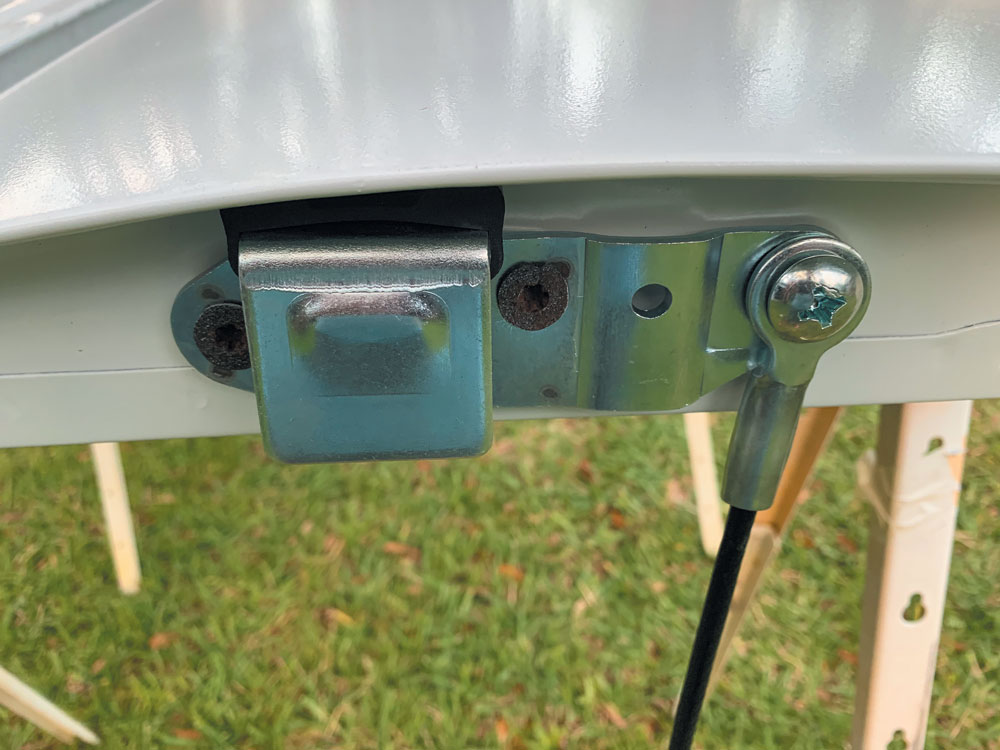
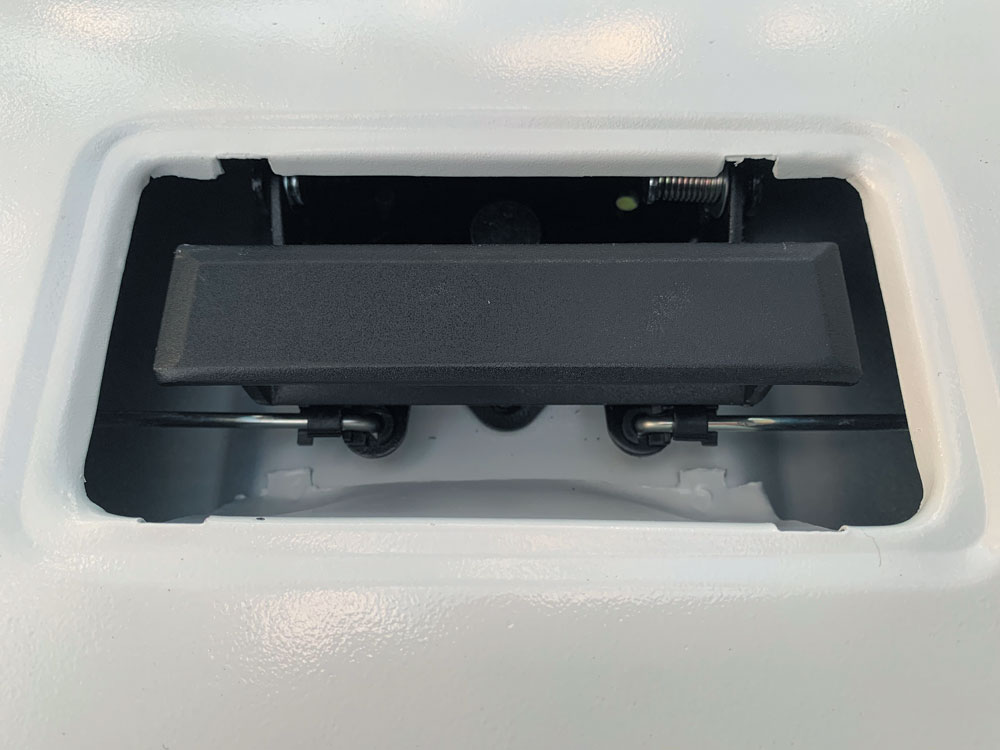
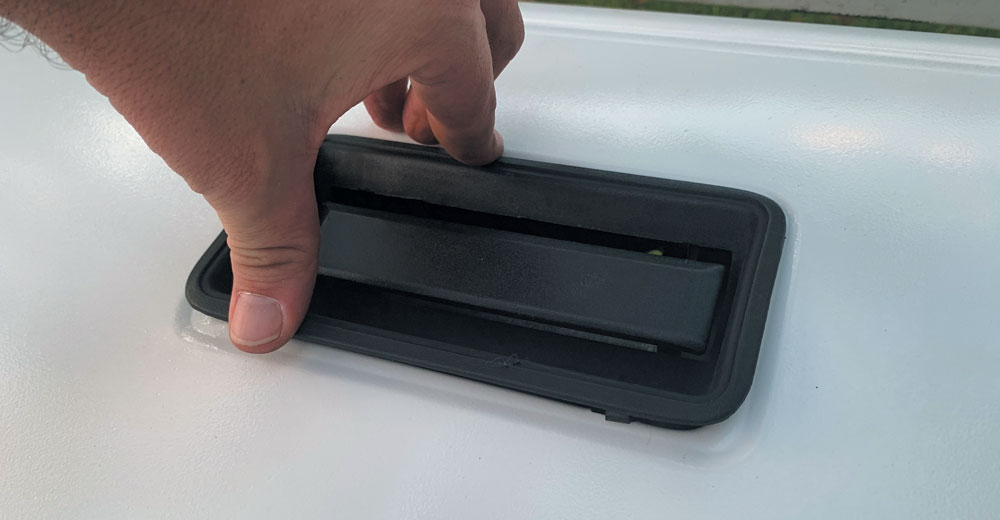
Before the new tailgate can go on, we need to bolt on the hinged and hardware. This kit from LMC Truck provides all the parts and pieces you need, including a latch and plastic trim ring.
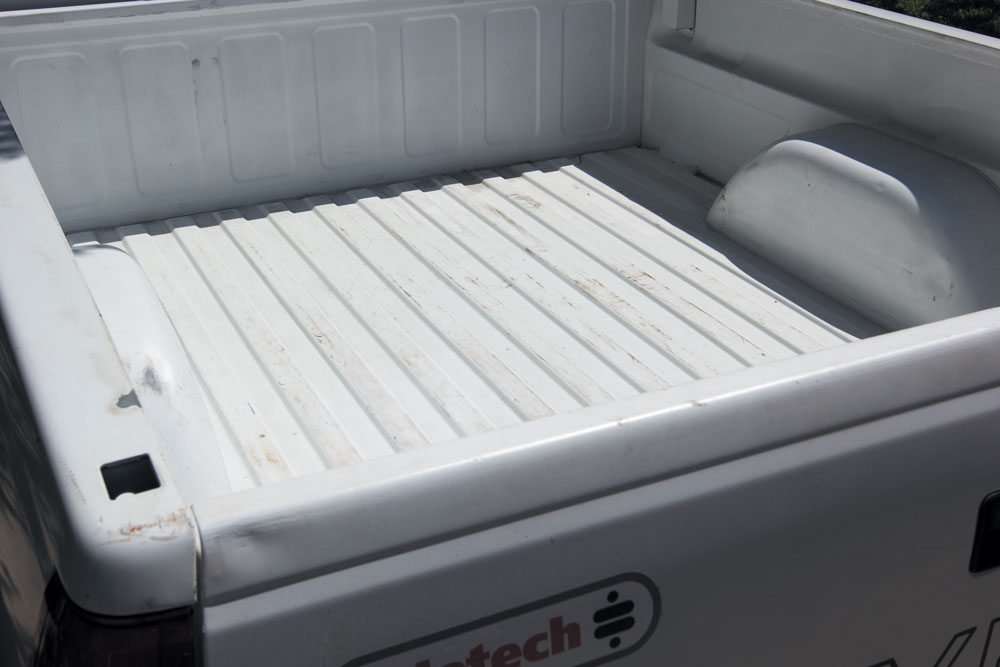
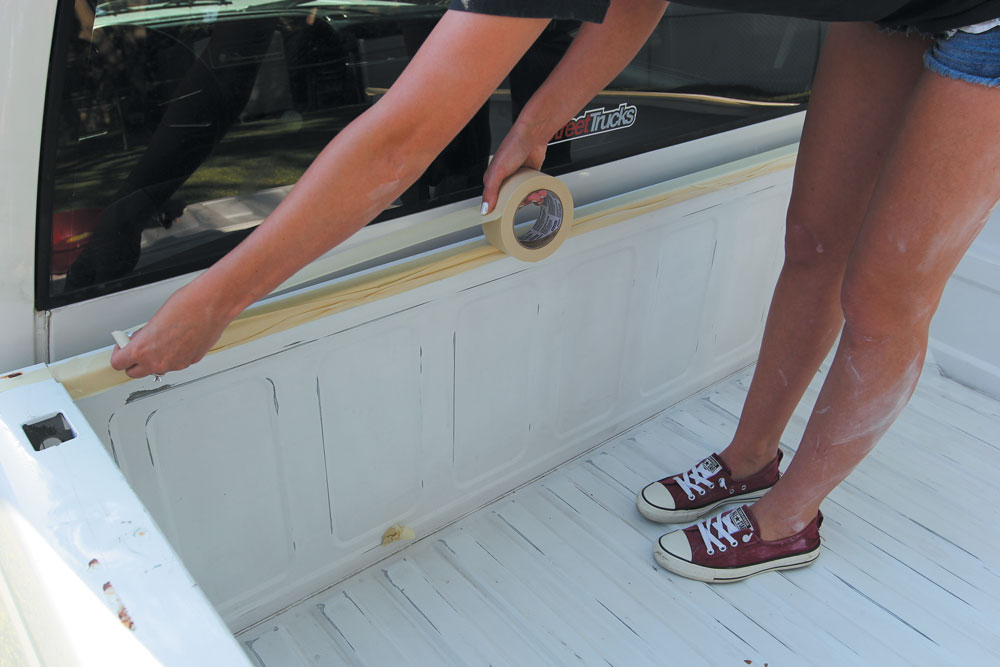
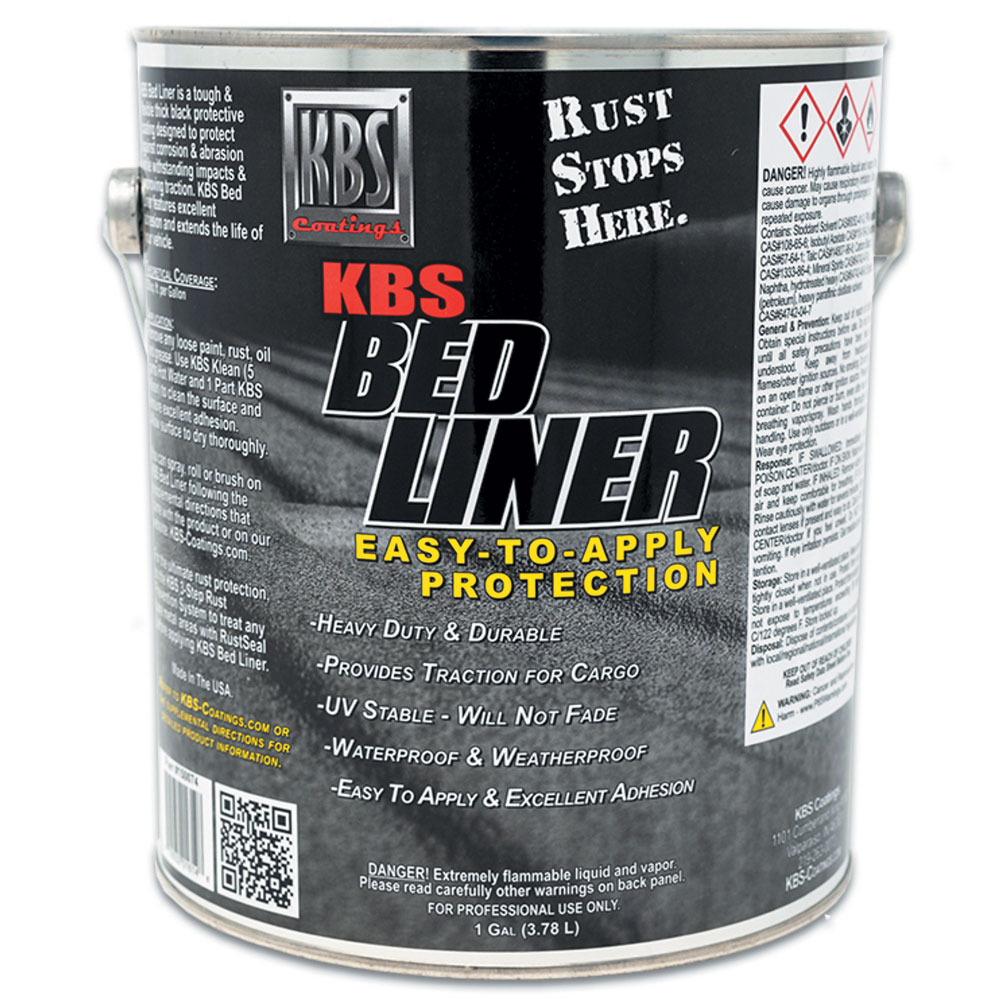
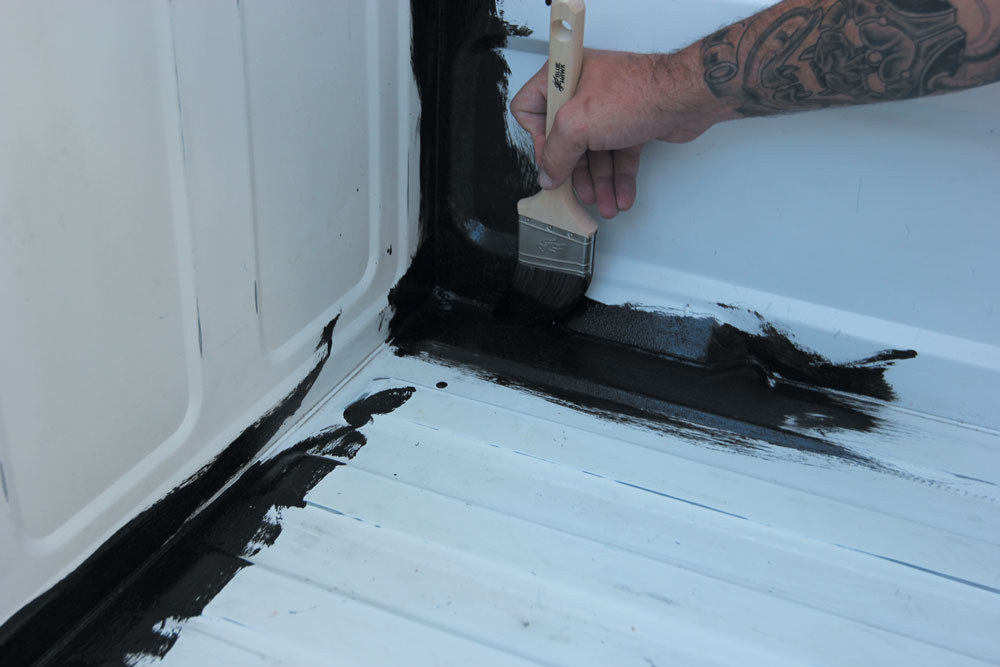
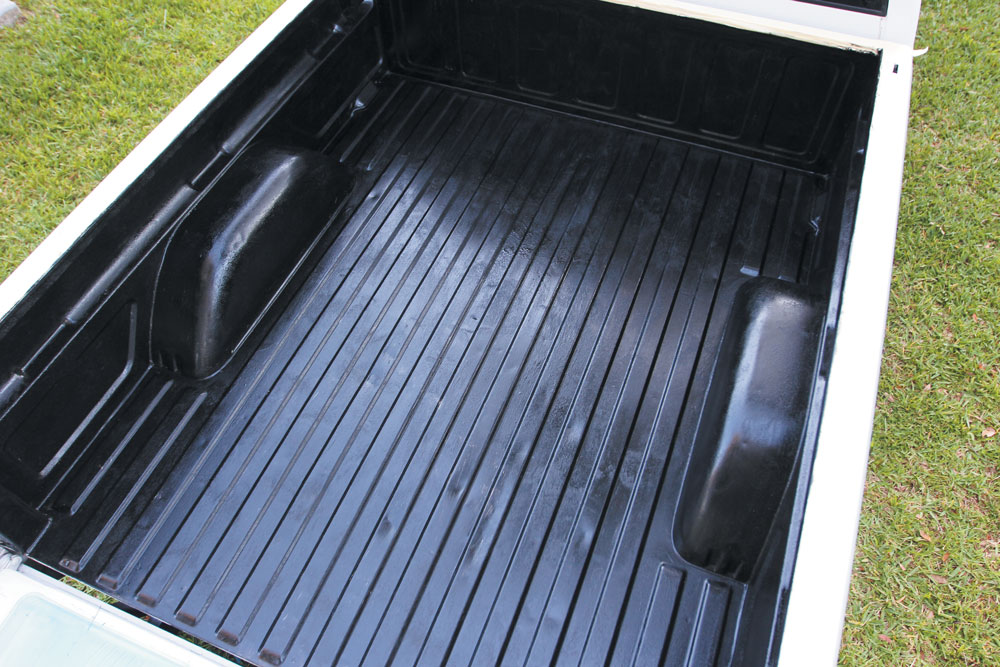
To give the inside of the bed a makeover, we taped off the edges and coated it with this DIY brush-on bedliner kit from KBS products. It’s easy to accomplish and looks great if prepared properly.
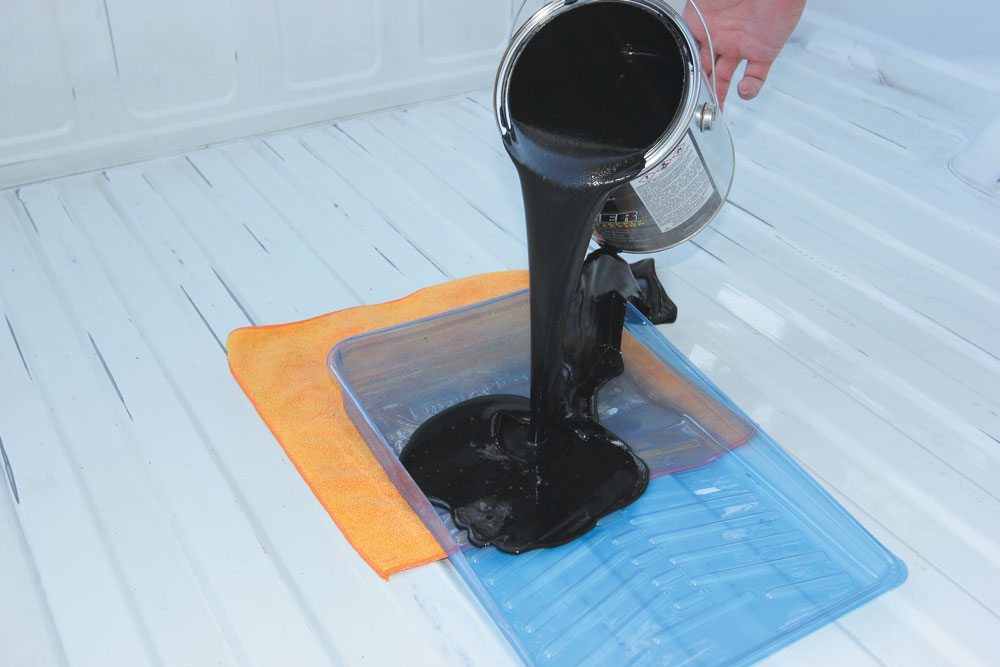
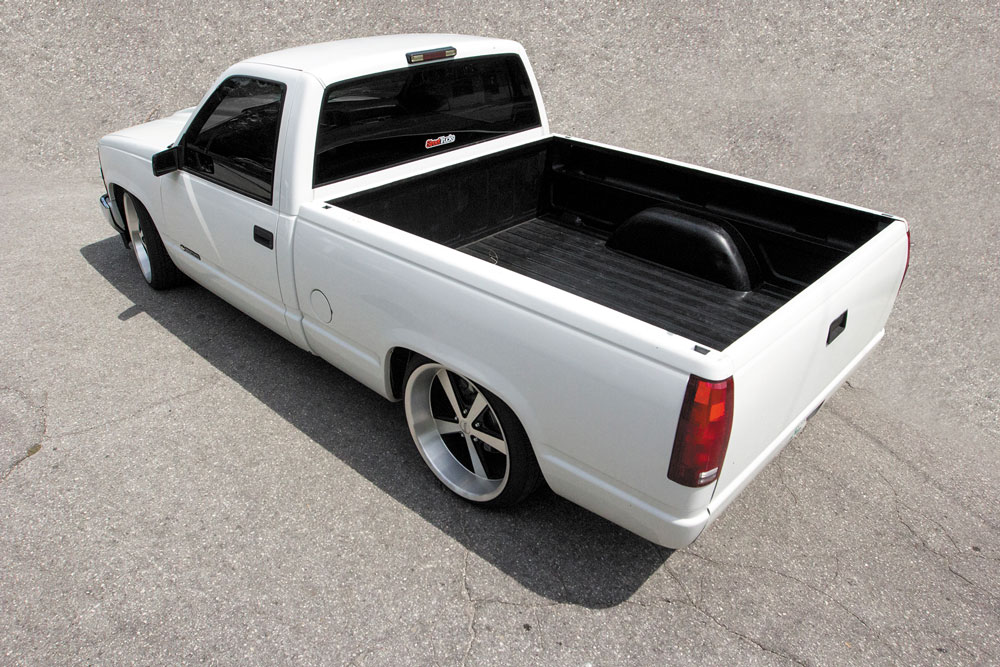
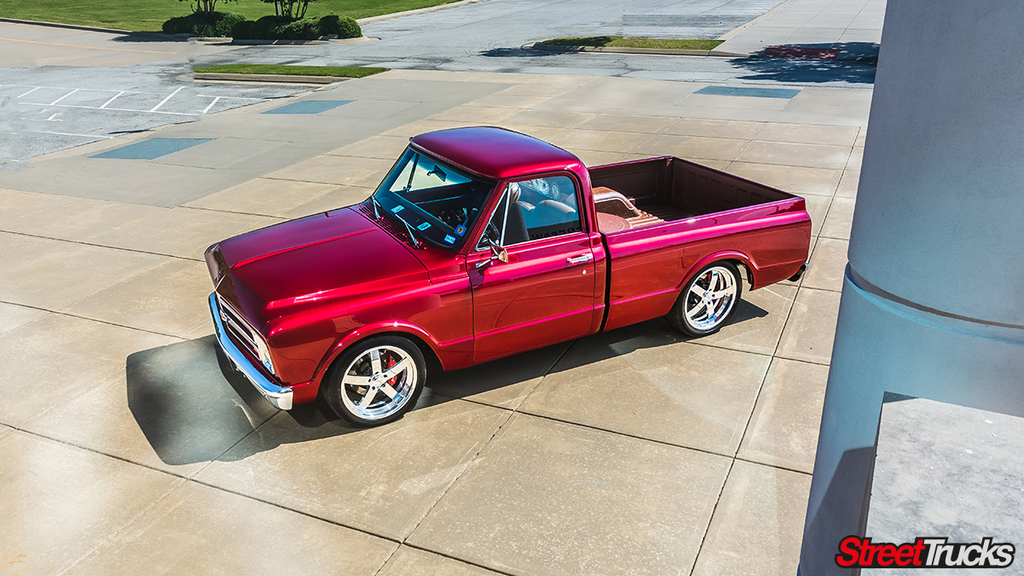
After some significant time with sandpaper and acetone, the bed was first cleaned and prepped before pouring any bedliner. Starting with the corners and rails, we used a basic paint brush to coat the entire bed floor in about an hour and a half. It looks great!Now that the new tailgate and roll pan are installed, the back of the truck looks great too! For now, the roll pan is simply bolted in, but before Stella is rolled into the paint booth, it will be welded and smoothed to perfection.
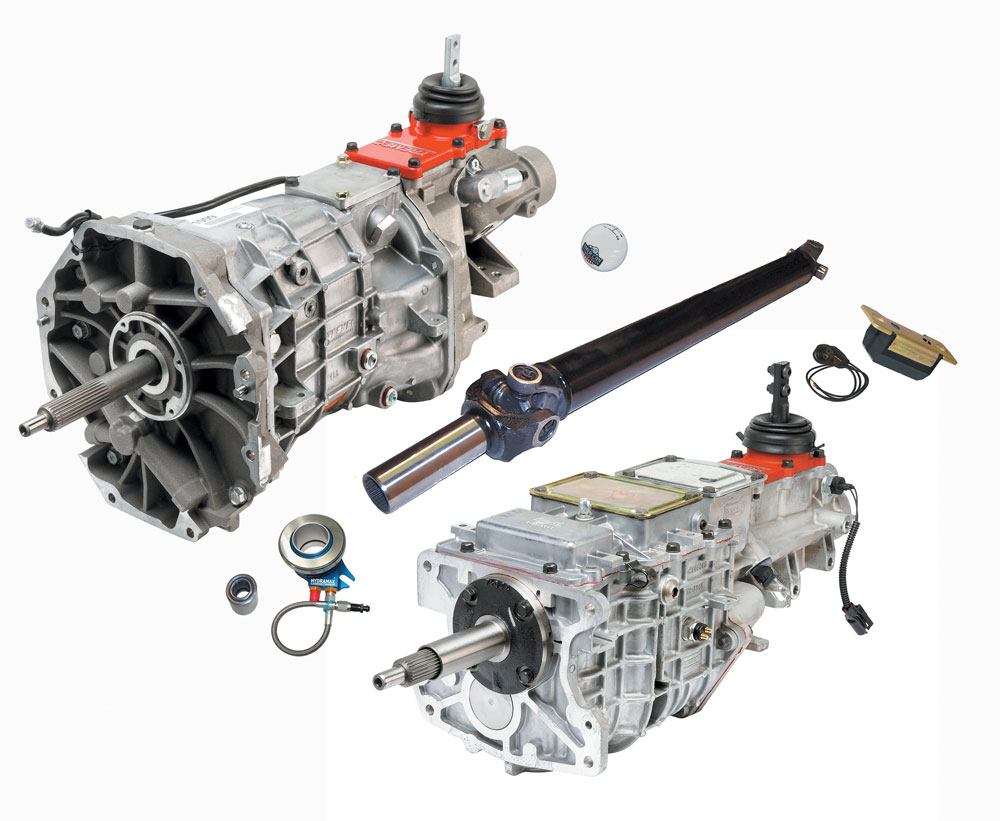
The last thing to do before she’s back on the road as a reliable daily driver is to properly break in the transmission for the most reliable performance. American Powertrain recommended very specific fluids for its transmissions, and everything is clearly listed in the manuals and online. This 5-speed TREMEC requires a GM Synchromesh transmission oil after the break-in period. So, after a few hundred break-in miles, we swapped out the break-in fluid and replaced it with Pennzoil Synchromesh.
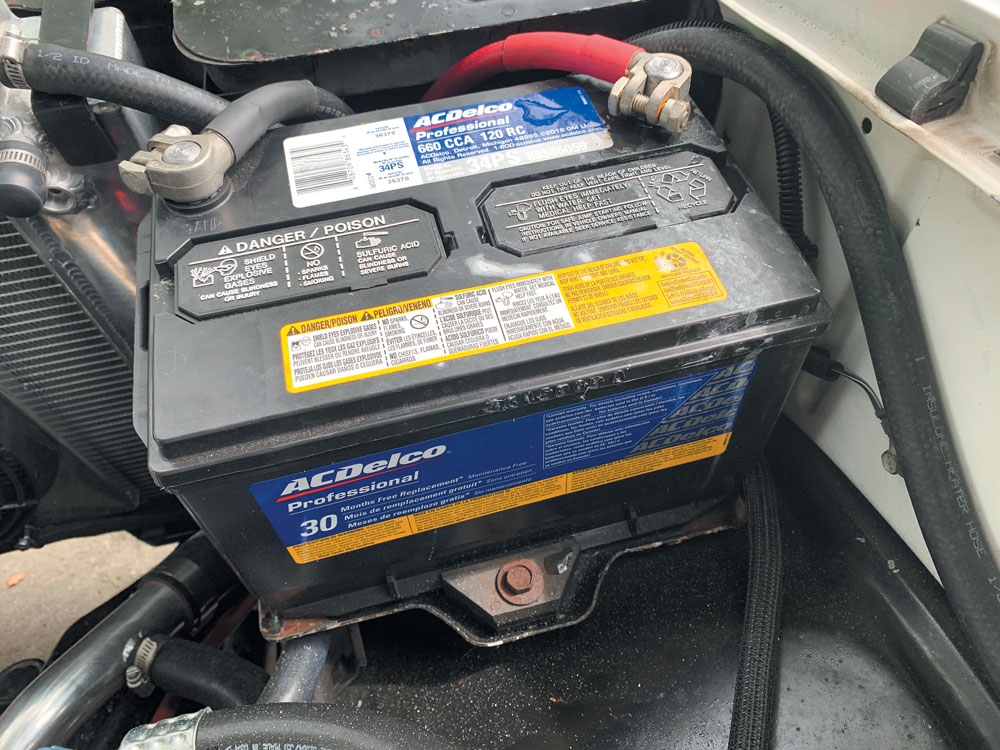
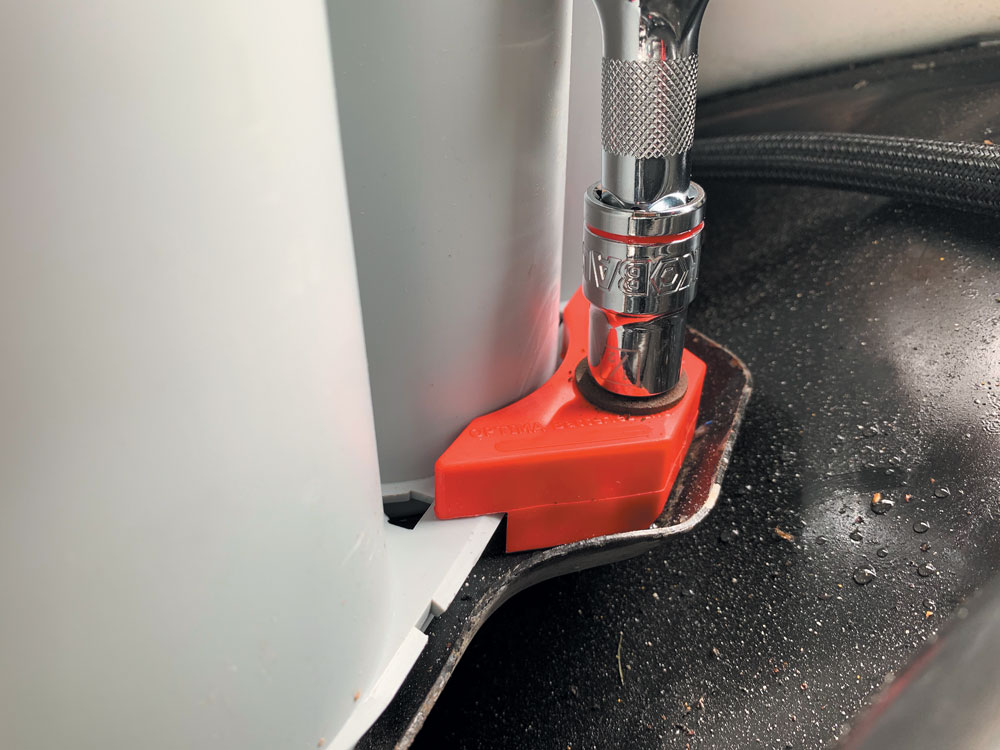
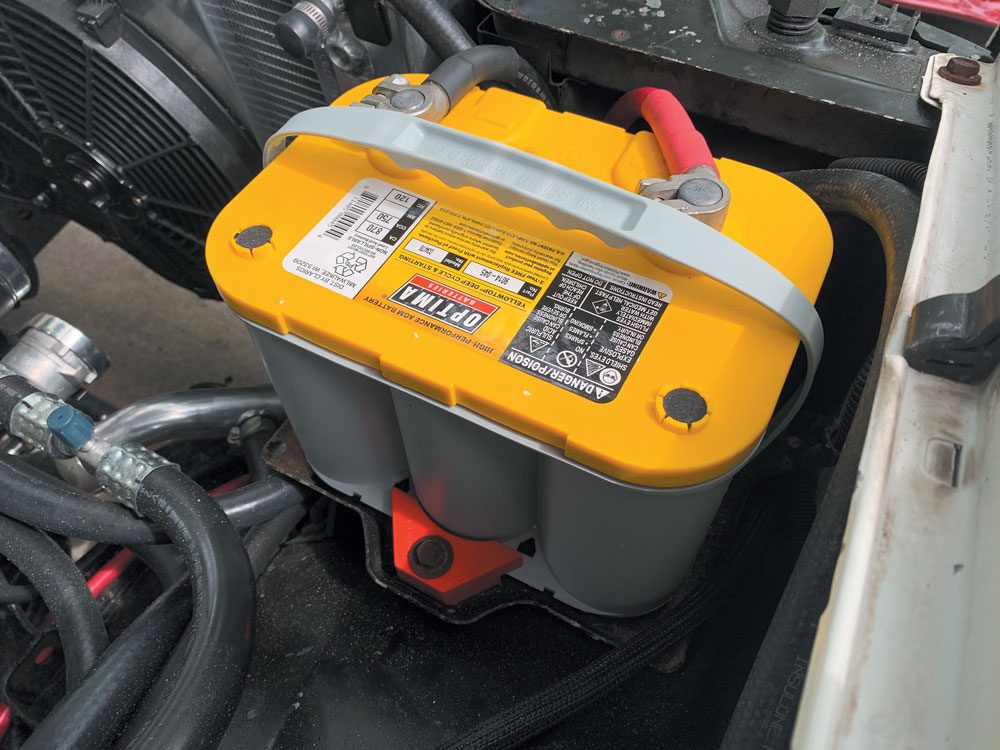
Next on the maintenance list is to replace the OEM replacement battery. This AC Delco unit is nice, but it just can’t keep up with the demands of this high-performance engine and starter. Naturally we turn to the top of the food chain of high-performance batteries. This Optima yellow top fits in the factory battery box and even comes with a new rubber clamp to lock it down.
Chris Hamilton is an automotive journalist, editor, and lifelong truck enthusiast with extensive experience covering custom truck builds, fabrication, performance upgrades, aftermarket products, and a ...
We use cookies to enhance your browsing experience, serve personalized ads or content, and analyze our traffic. By clicking "Accept All", you consent to our use of cookies. Visit our Cookie Policy for more info.


Share Link