 BJ OF BJ’S CLASSIC CLUSTERS
.
October 17, 2023
.
c10
.
BJ OF BJ’S CLASSIC CLUSTERS
.
October 17, 2023
.
c10
.
My passion for classic vehicles ignited when I was a kid riding around in my father’s 1970 F-100 for over a decade. At the age of 22, I purchased my own Bumpside. Eight years later, I now have a few more plus a Dentside.
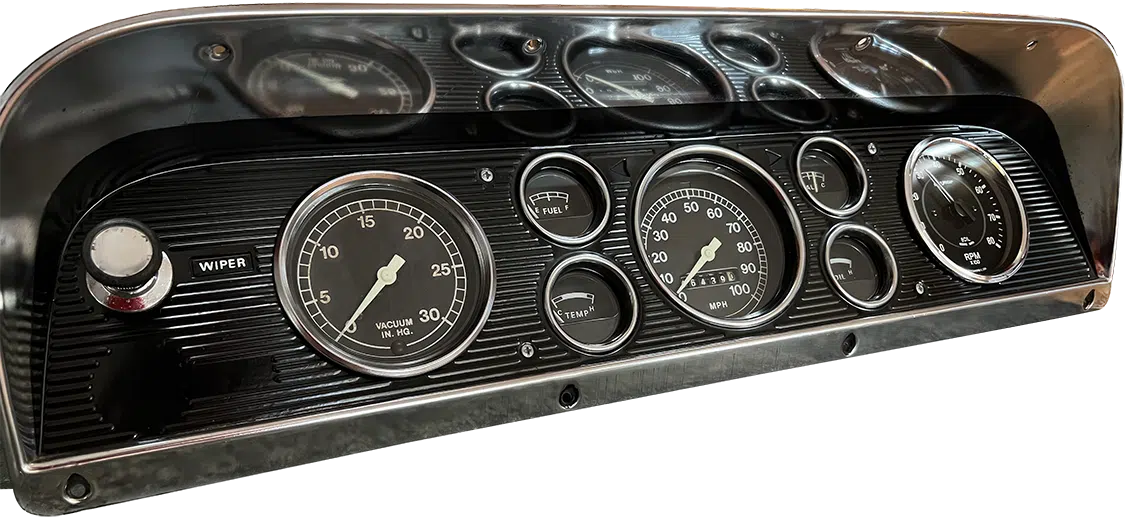
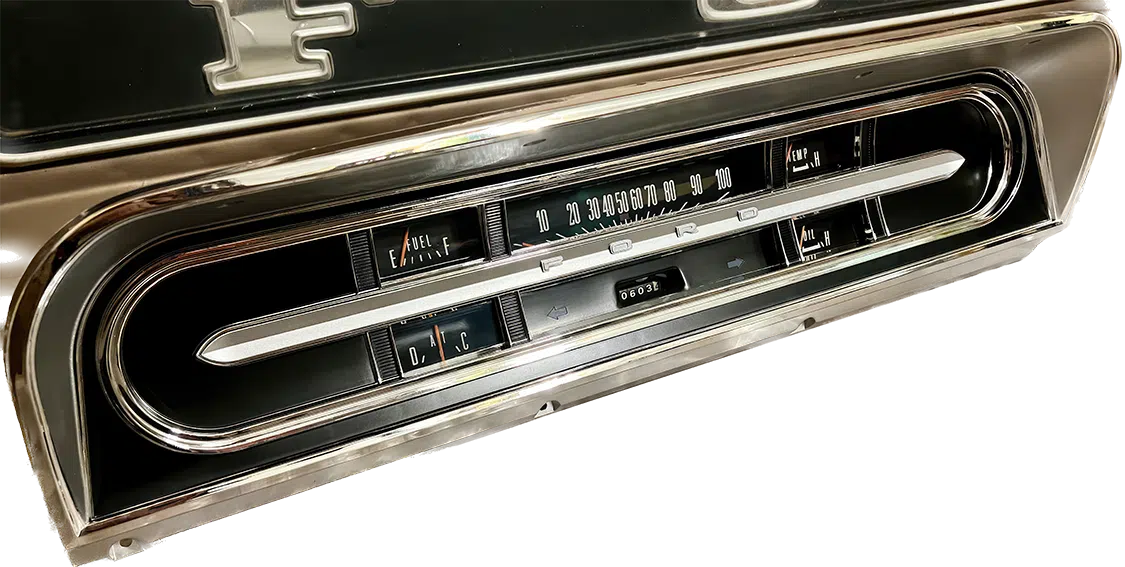
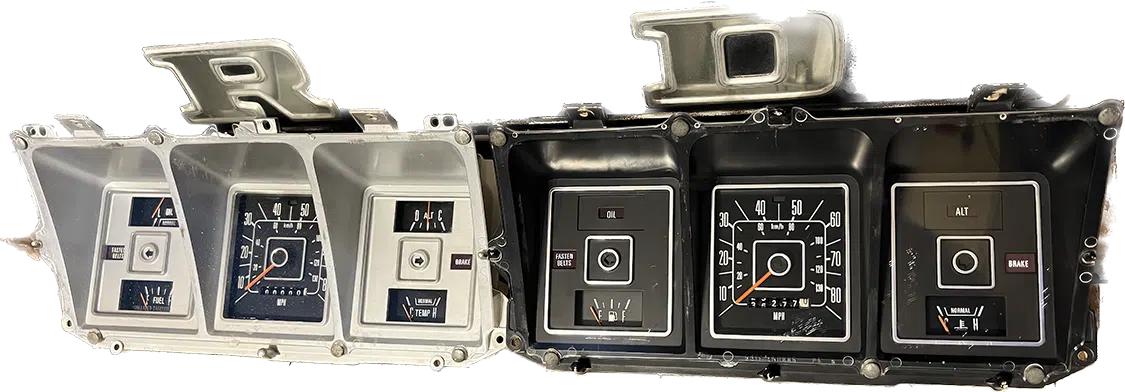
My two most recent acquisitions, a 1969 F-100 and a 1976 F-250, needed some serious attention in the instrument cluster department. The ’69 had a lens that was so yellowed that you could barely see through it, plus the illumination did not work. The ’76 had deteriorated housing that was in desperate need of replacing. I did the work and shared both my progress and results in Facebook groups, and the amount of interest was surprising. So, I built several clusters and sold them before a lightbulb went off and I realized that I needed to be offering a refurbish service to individuals rather than selling clusters outright. This is how BJ’s Classic Clusters was started. I’ll walk you through my process, so you know what my services entail!

I did the work and shared both my progress and results in Facebook groups, and the amount of interest was surprising.
After communicating with the customers, reviewing the photos of their clusters, and learning what they had in mind for their projects, I give them a total estimate. When giving the estimate, I warned them of blind costs that could appear if a part is unexpectedly compromised, as well as the cost that would add to their bill. The client then sends their cluster to me, and, once received, I inspect the item. I let the customer know that I have received their item, what I found with my inspection, as well as any surprises that may not have been evident in photos. Following that discussion with the client and getting any permissions needed on ordering parts is when I dive into the cluster.
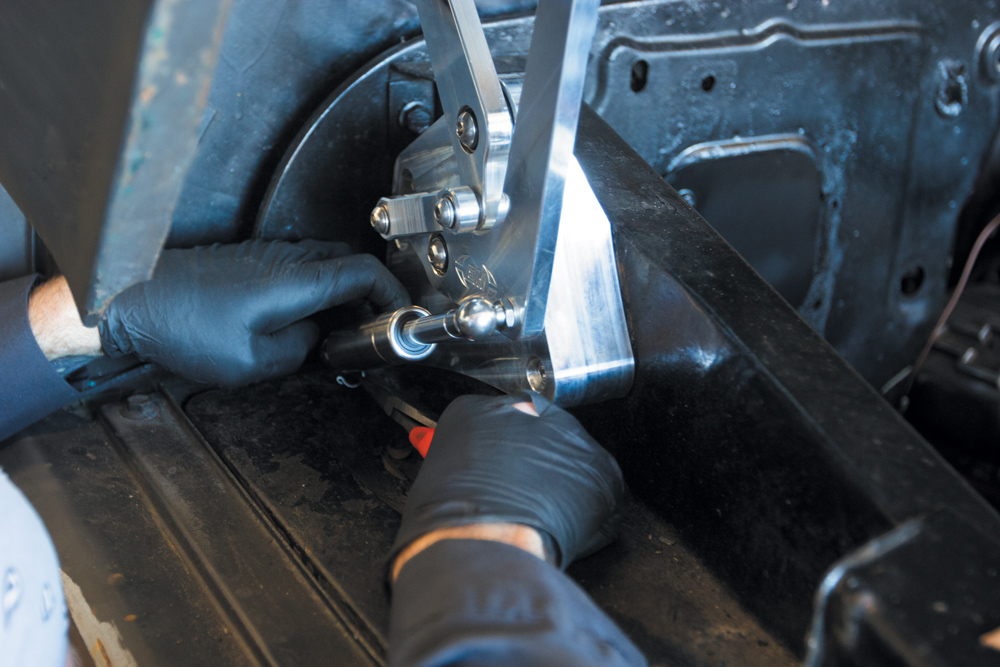
The process every cluster goes through is different, but each one is done with a common end goal in mind. Let’s start with disassembly. Every cluster is disassembled, but how far it is disassembled is dependent on the cleanliness of the assembly and the condition of the housing. If the assembly has light dust on it, it can simply be dusted after the bezel is removed. If the assembly has heavy dust (the kind that, after being disturbed by me and shipping, would become airborne again going down a bumpy road) and/or grease, it gets completely disassembled down to the housing and gets a bath to be 100% rid of any particulates that might become airborne and ruin all the work that I have just completed. No one likes to look through dust to see their gauges!
As always, I work with the customer and their budget. If a housing looks like it’s compromised enough to not make it through complete disassembly (mid ’70s to early ’80s Fords) and the customer doesn’t have the budget to replace it, then I will do the best I can with the gauges still installed. All bezels and lenses get a bath, every time. This further eliminates particulates and prevents dirty hands while handling the assembly down the road, all while making the cluster more presentable than it was when I received it. Lastly, this is the stage where the wiring and/or printed circuit are inspected. If there are broken or cracked wires, they are repaired with solder connectors and shrink wrap; if the printed circuit needs repair, that can be done (as long as a copper strip isn’t fried), or if the customer prefers a replacement, that can be ordered.
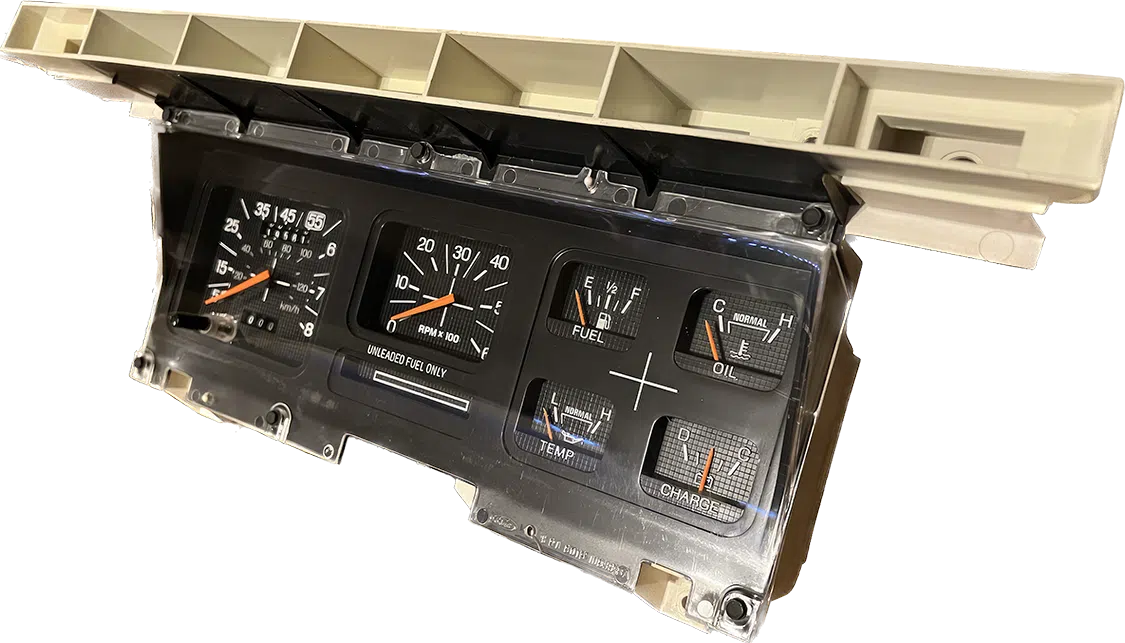
Next comes the testing, cleaning, and painting of the internal components. Gauges can get rattled, bumped, fried, or simply wear out over time. It is never assumed that a gauge is fully functional. Each gauge is tested using an external power supply and a known voltage, and a photo is taken of the gauge at true center. What the gauge reads at center, and where the center mark is on the gauge face are sometimes two different things. This documented photo is taken so that the customer has it for future reference; if nothing else, it lets the customer know where the true half-tank mark is!
Next comes testing the speedometer, which is tested by chucking up an old speedometer cable into a drill and checking that the speedometer reads at the known miles per hour. Once testing is complete, the faces of all are dusted, cleaned, and painted if need be; the gauge needles are also painted at this step as well.
It’s now time for reassembly! Much more goes into this step than just simply putting it all back together. Now is when the wiring or circuit is secured in place by the installation of both the voltage regulator and the gauges. The installation of the speedometer is after that.
Next comes the testing, cleaning, and painting of the internal components. Gauges can get rattled, bumped, fried, or simply wear out over time.

Once the wiring is in place, this is the stage where I take the time to clean up the sockets, bulbs, and their connections. Every bulb is removed from its socket and their connections are cleaned and adjusted as necessary. Same goes for the bulb sockets; their housings are cleaned, their contacts are cleaned, and once installed, each bulb is tested for functionality at the bulb socket contacts. To prep the lens for installation, a multi-phase polishing process is applied to the lens to rid of any medium to light scratching, as well as light hazing that may have occurred over the years to the lens. Also, if a metal bezel is present, it is buffed and waxed before installation. Depending on the cluster, the bezel and lens are then installed in the appropriate order.
Finally, I want to double check that the cluster will be fully functional when it reaches the customer. To do so, I connect a harness plug to the cluster and check all lights and gauges using the harness connection. This ensures that all of the wiring, connections, and lights are coming in contact with one another properly and will work when installed by the customer. Photos are taken of each light working and sent to the customer, as well as an overall of the cluster to make sure they like what they see. The cluster is then carefully packed, a shipping estimate is calculated, I get paid, and the cluster is sent on its way. I check in with the client to make sure they get the package, ensure that nothing was damaged, and check that they are happy with what they have received.
…if a metal bezel is present, it is buffed and waxed before installation. Depending on the cluster, the bezel and lens are then installed in the appropriate order.
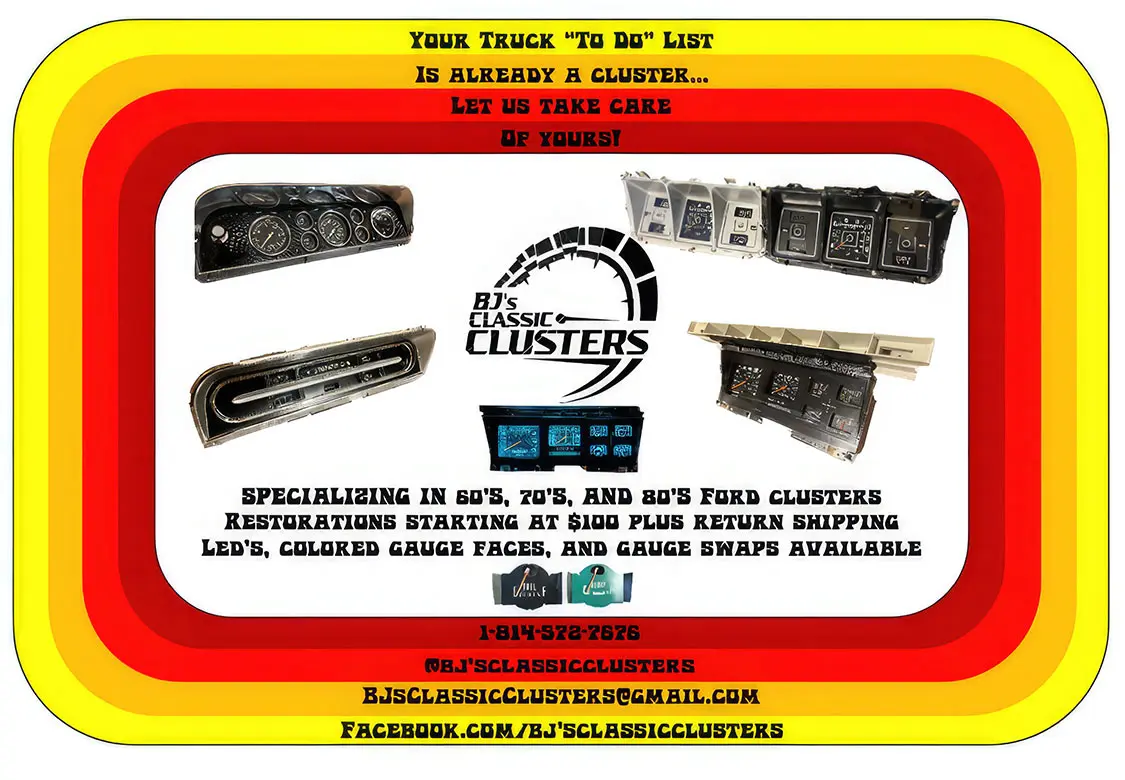
That wraps up my restoration process for these clusters. I’m sure you’re wondering about the details. Cluster restorations start at $100 plus return shipping from my location in Pennsylvania. I do offer some customization, such as an LED bulb upgrade (colors available), white faced gauges (many gauge face colors available here too), custom needle colors, odometer setting, and gauge installation (in bezels with sufficient space, such as the F-600 gauges). I do sell clusters outright, and if it is a cluster I do not have one in stock, I will source one for you. Customizations I am working on currently are ammeter to voltmeter conversions, internal LED edge illumination, and plug and play circuit wiring for model years that originally used printed circuits.
BJ’s Classic Clusters
1-814-572-7676
bjsclassicclusters@gmail.com
www.facebook.com/bjsclassicclusters

Department
Style, Comfort and Muscle… You Can Have It All! In the entertainment world, a “triple threat” is someone who can sing, dance and act. It’s… Continue reading
KEVIN TETZ . July 09, 2021
Department
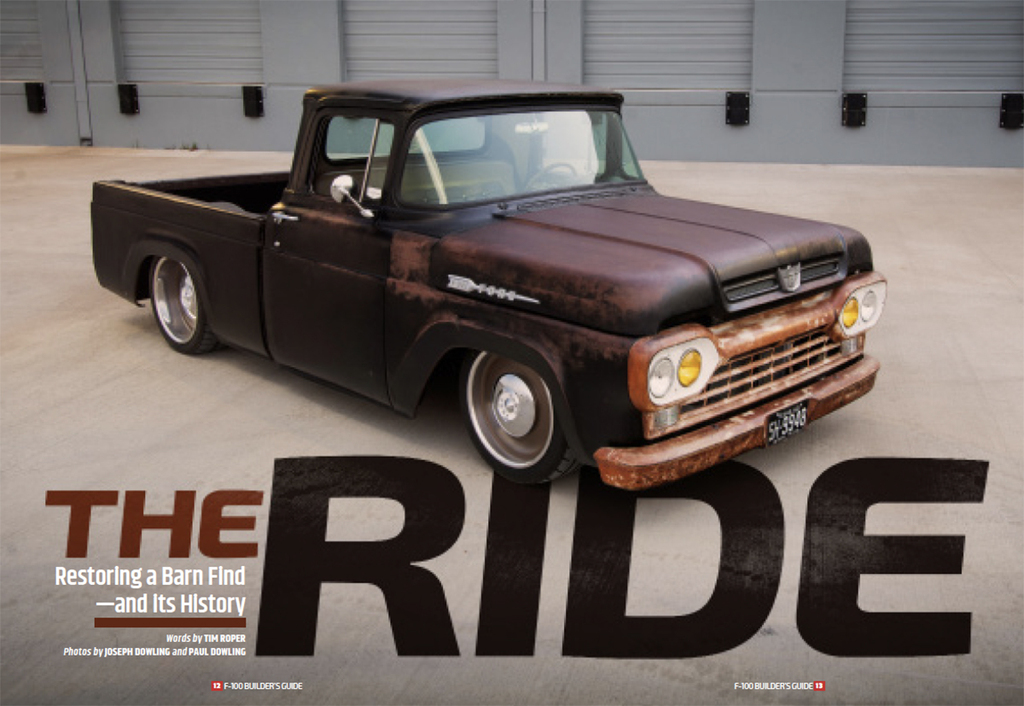
Steve Mills has had a few nice Ford trucks in his lifetime, including a ’68 that was featured in the inaugural F-100 Builder’s Guide. Looking… Continue reading
Chris Hamilton . October 22, 2021
COOL GEAR
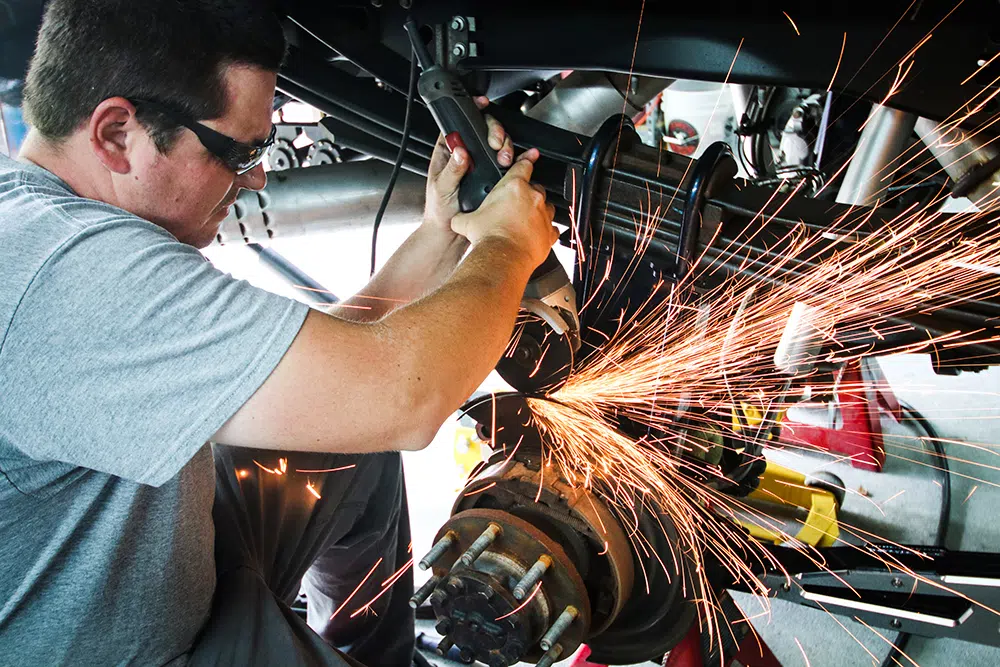
Adding Wilwood Disc Brakes to an F-250 When it comes to driving a big truck or pulling a trailer down the road, ensuring that you… Continue reading
Chris Hamilton . April 28, 2023
C10 Builders Guide
WHAT’S WORSE THAN EVENLY LIFTING A 55-year-old steel hood with the factory installed hood hinges? Having one fall on your hand while you’re working on… Continue reading
Chris Hamilton . April 30, 2020
Blood Sweat and Gears
From stock and mild to inventive and wild! The 2021 Barrett-Jackson Las Vegas Auction was home to some of the hottest pickup trucks around. Today,… Continue reading
Adam Johnson . November 08, 2021
Department
For most of our readers, getting better performance from their trucks is a must. Whether it is more power for quicker acceleration or more torque… Continue reading
Chris Hamilton . November 12, 2020


We use cookies to enhance your browsing experience, serve personalized ads or content, and analyze our traffic. By clicking "Accept All", you consent to our use of cookies. Visit our Cookie Policy for more info.

Share Link