 Jason Chandler
.
March 02, 2022
.
Blood Sweat and Gears
.
Jason Chandler
.
March 02, 2022
.
Blood Sweat and Gears
.
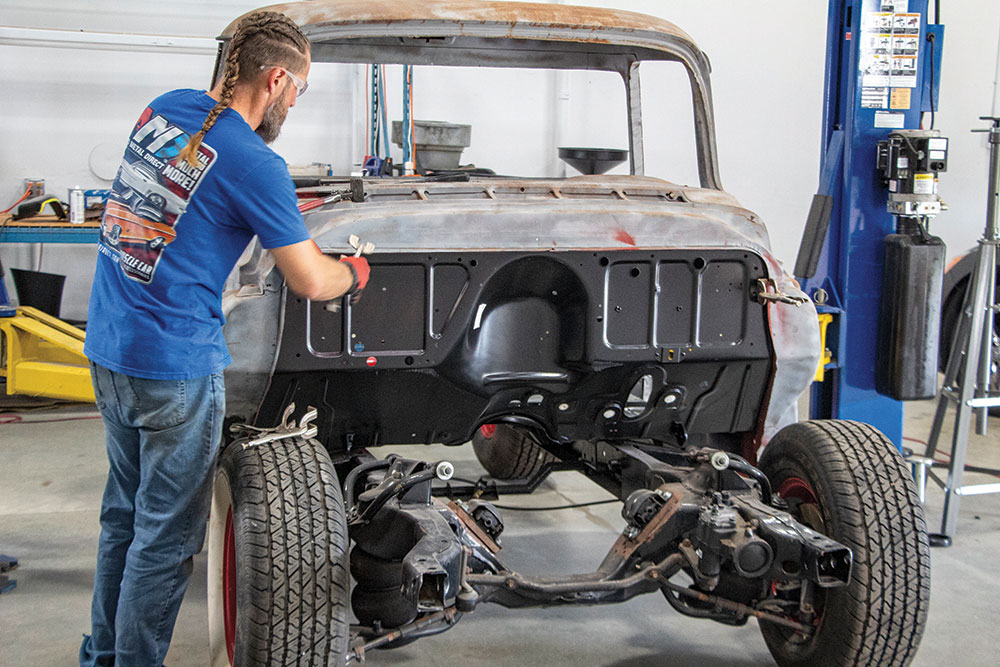
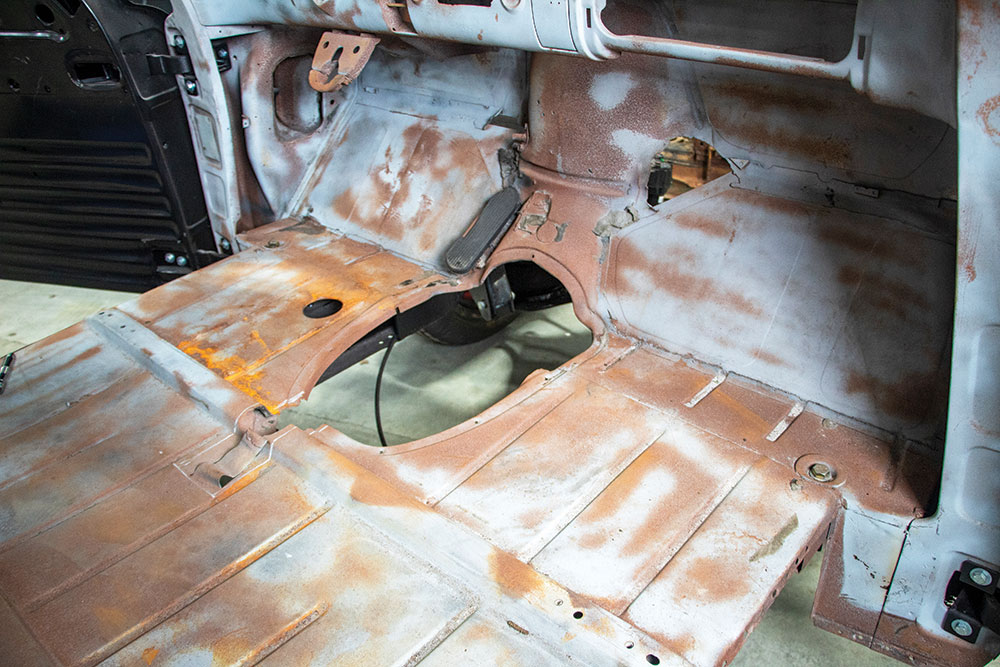
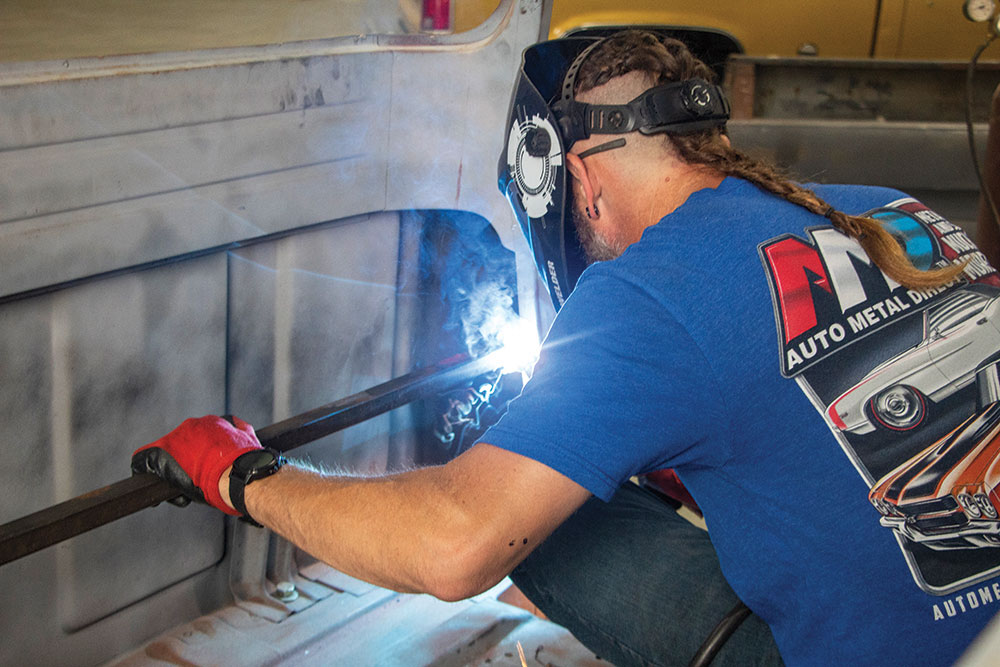
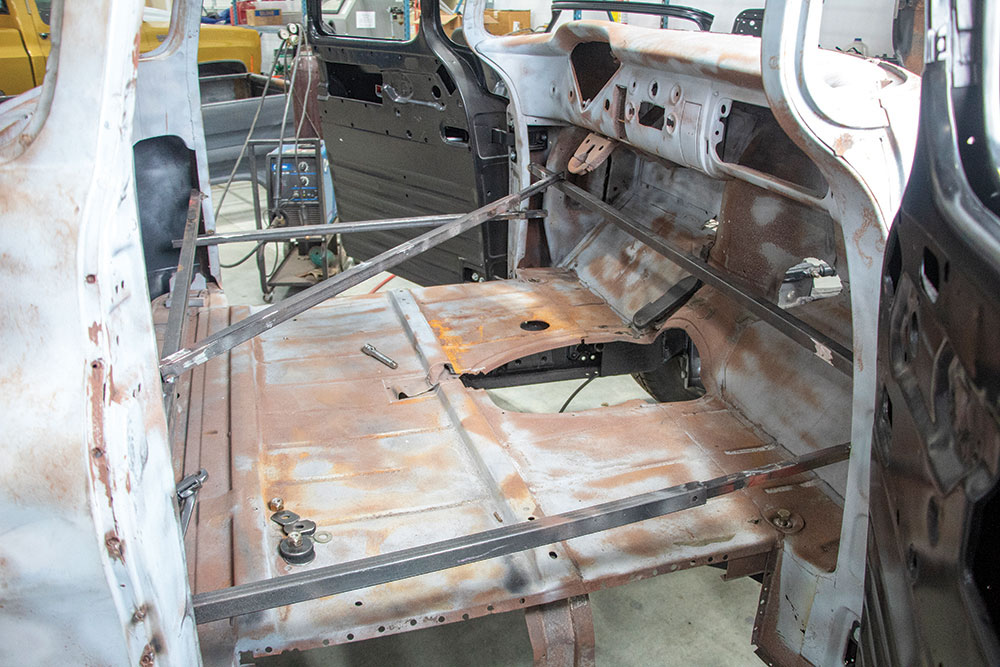
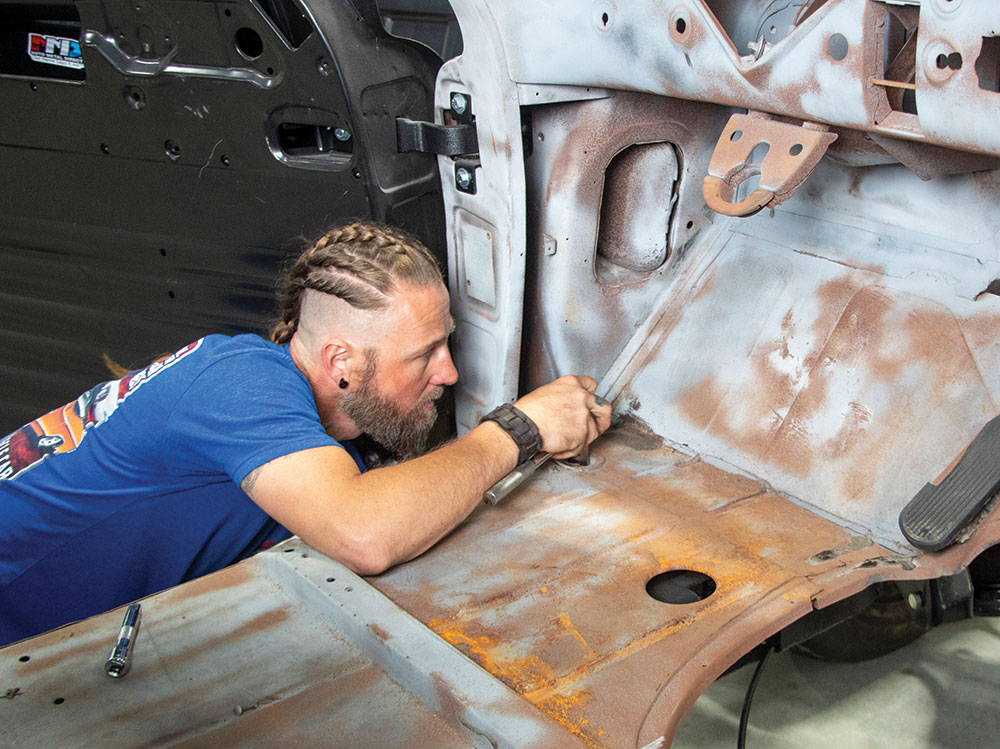
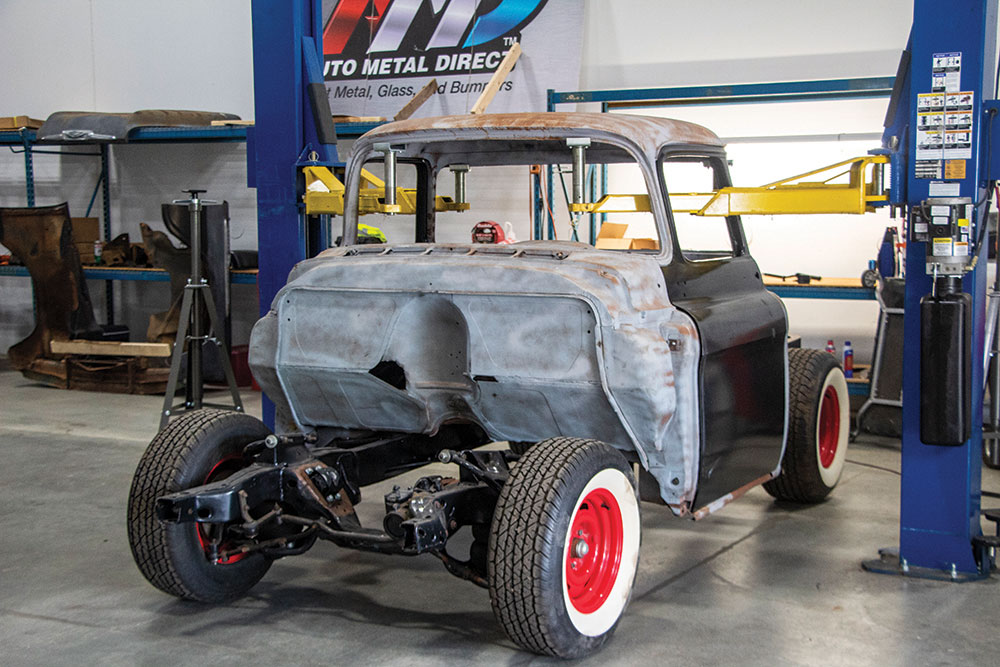
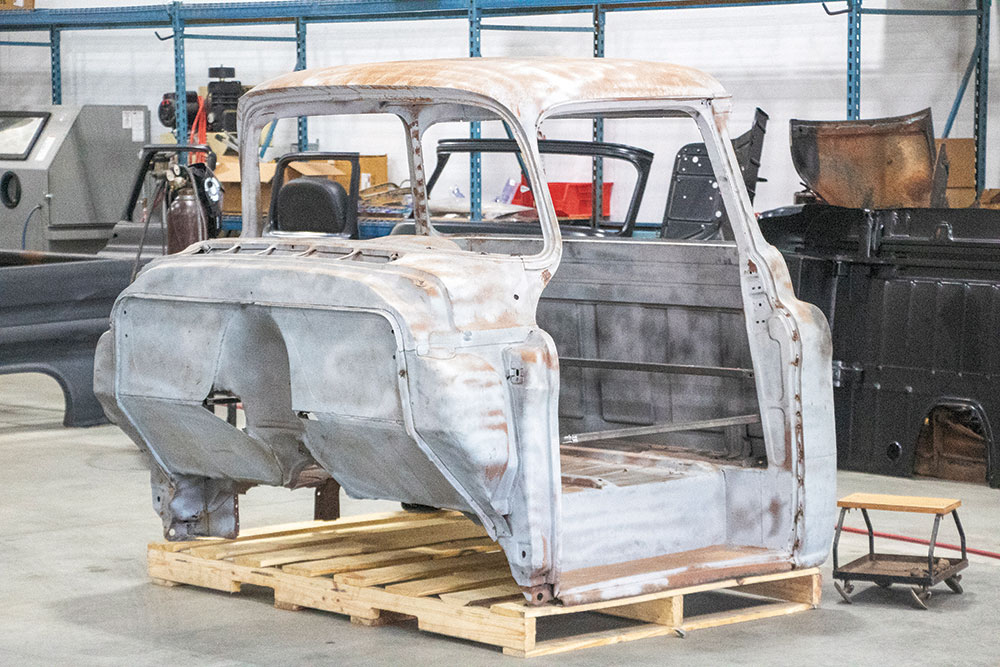
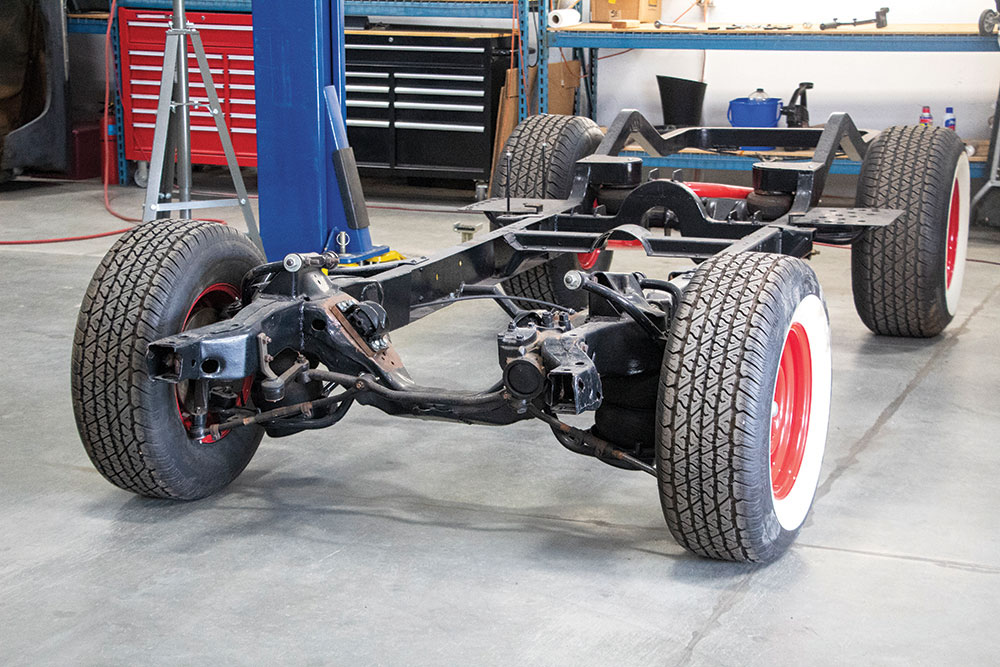
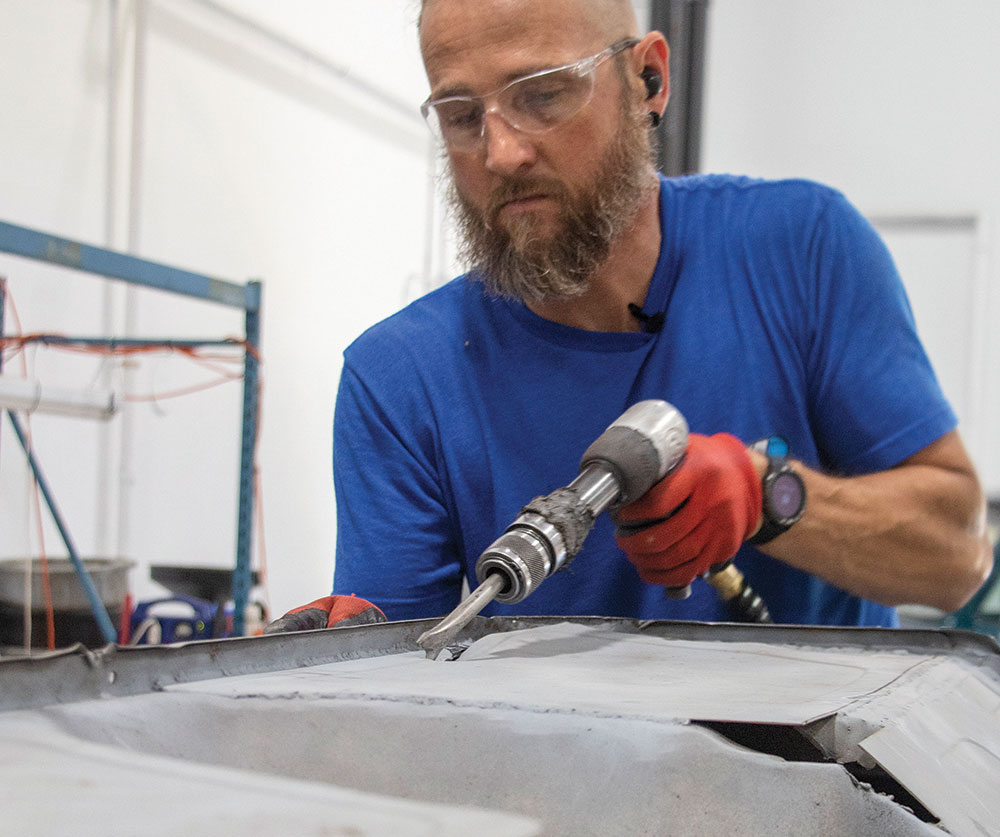
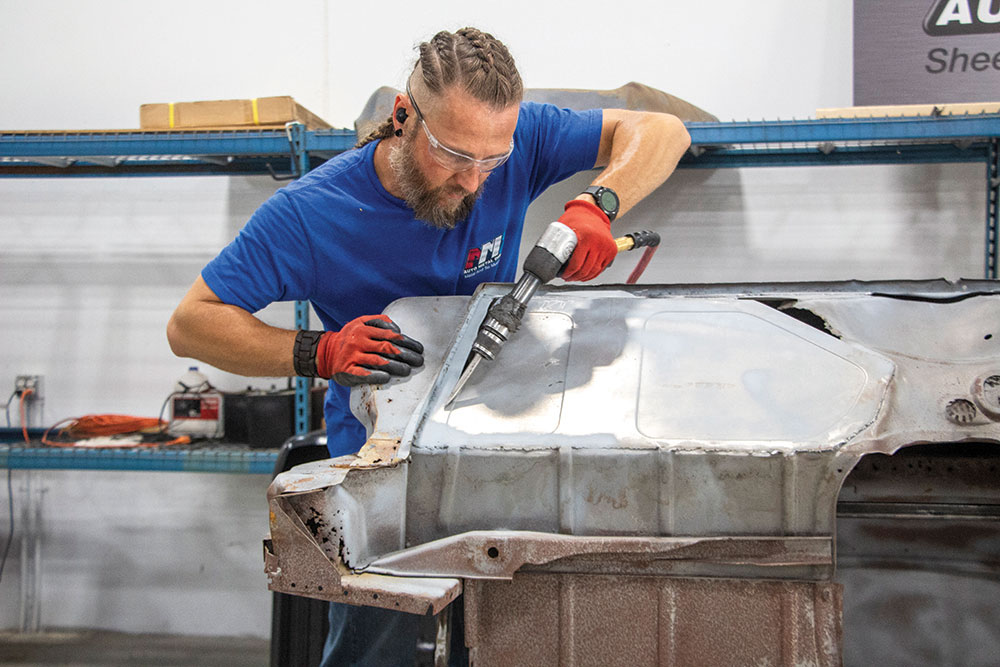
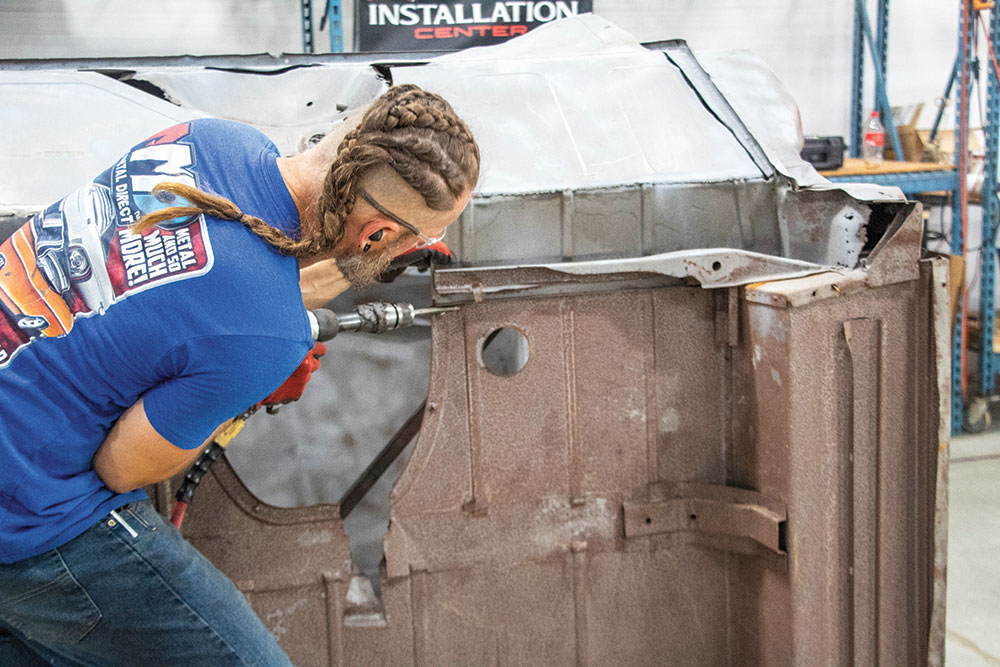
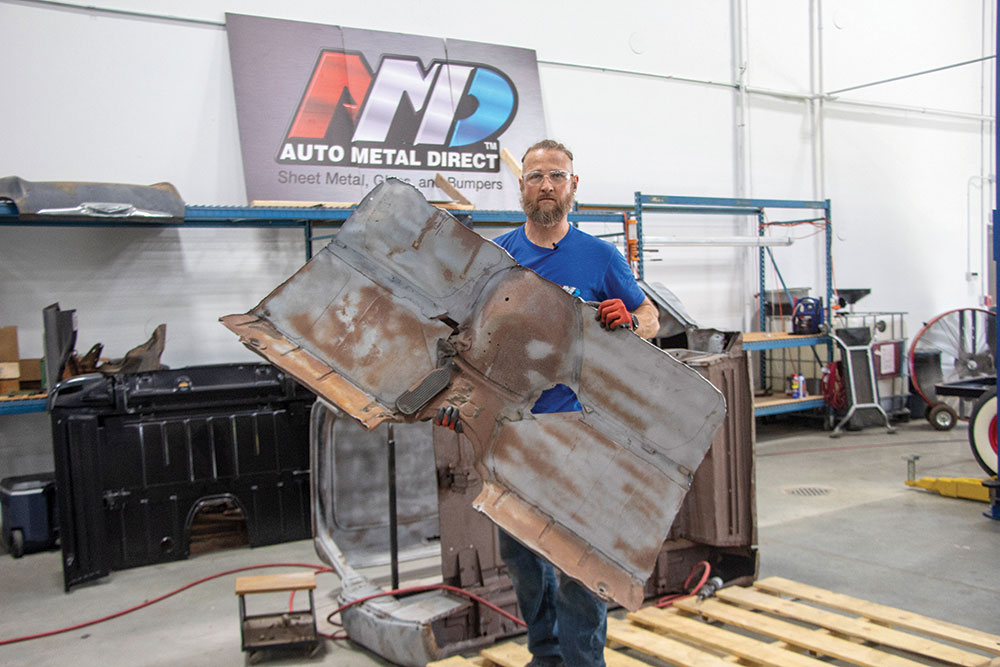
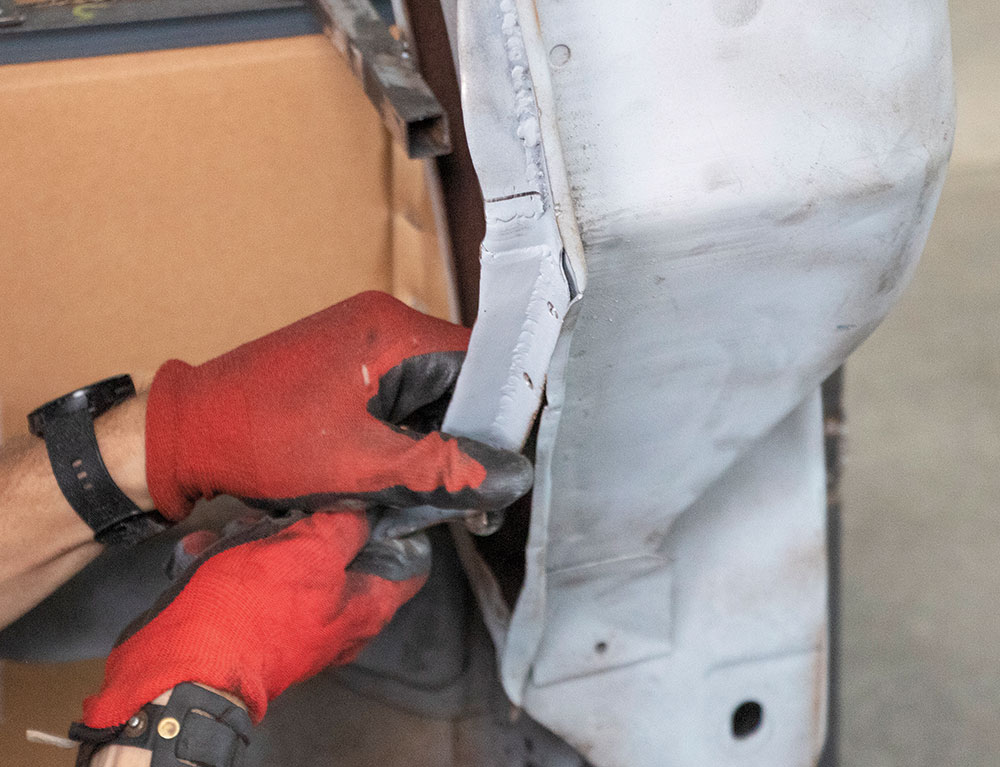
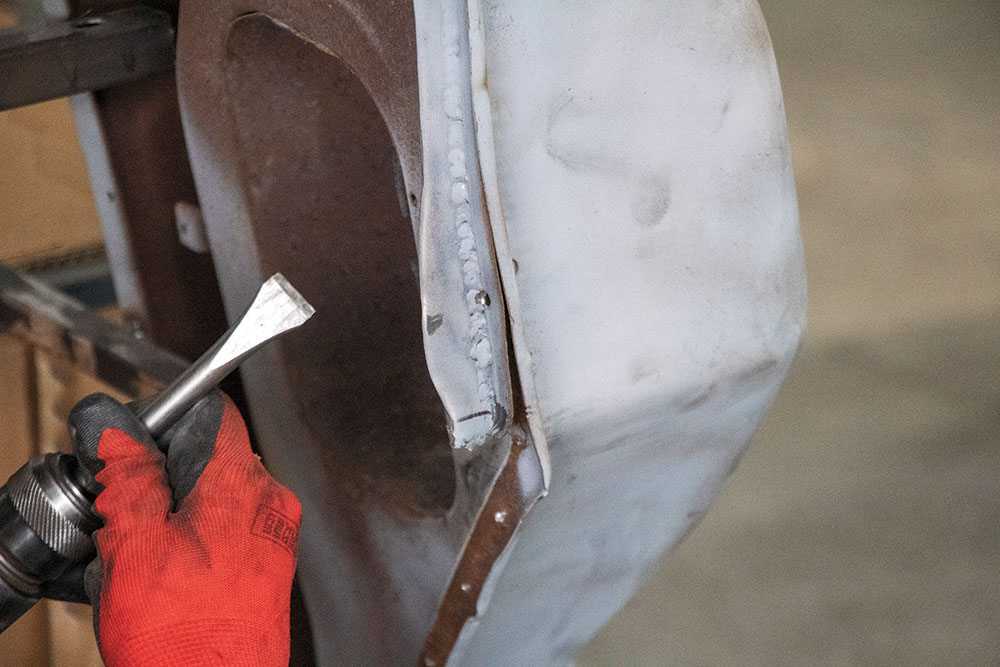
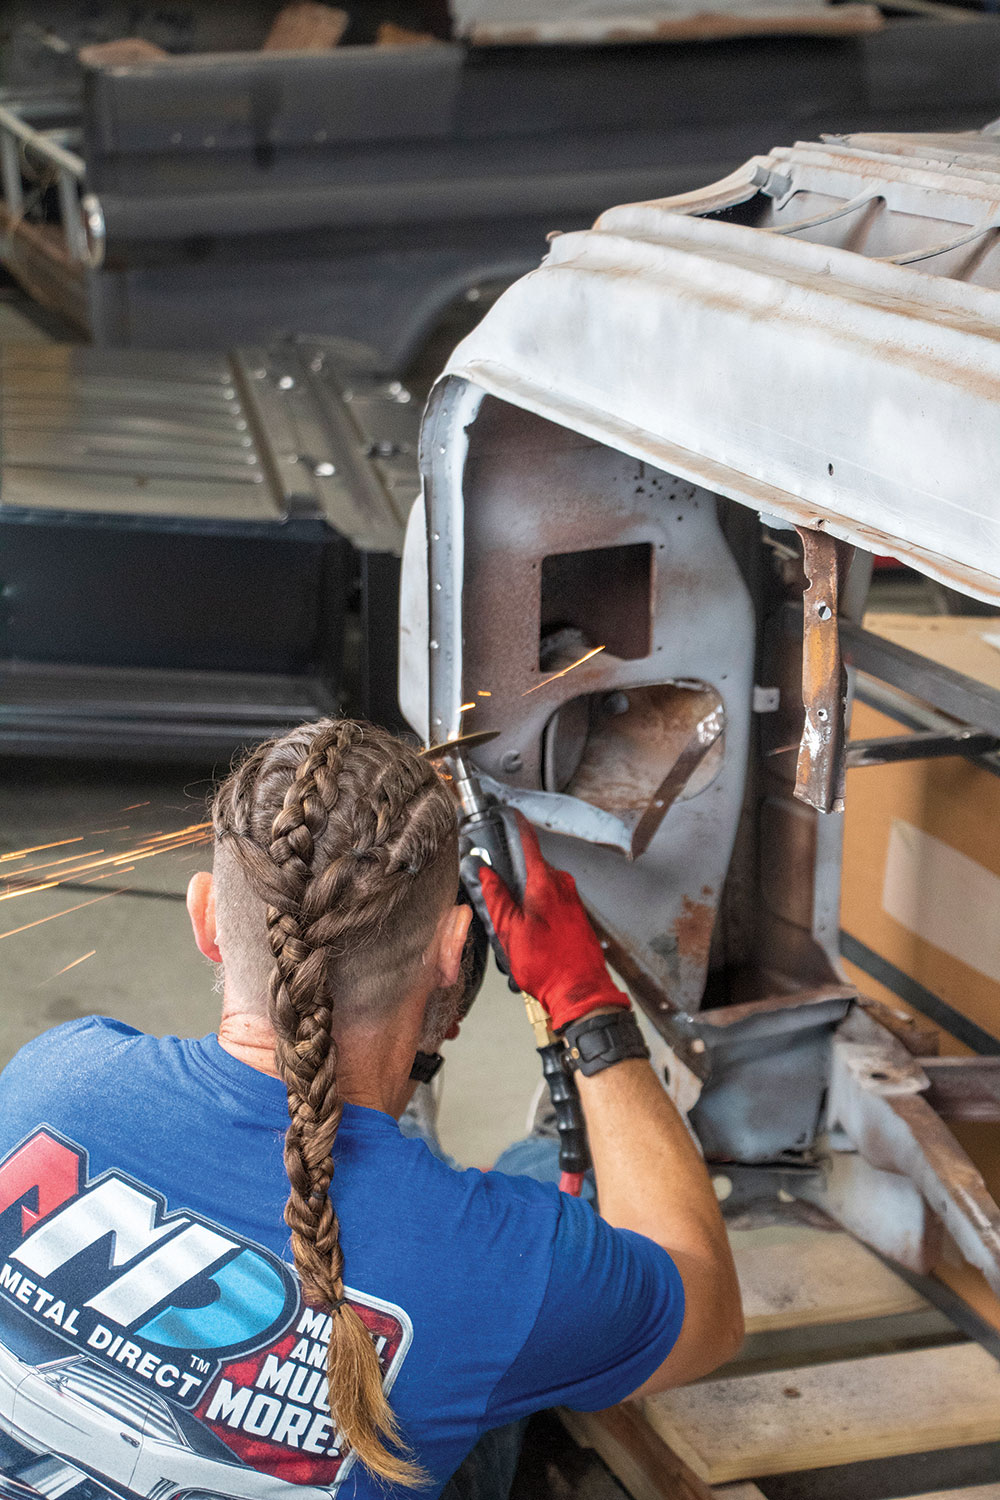
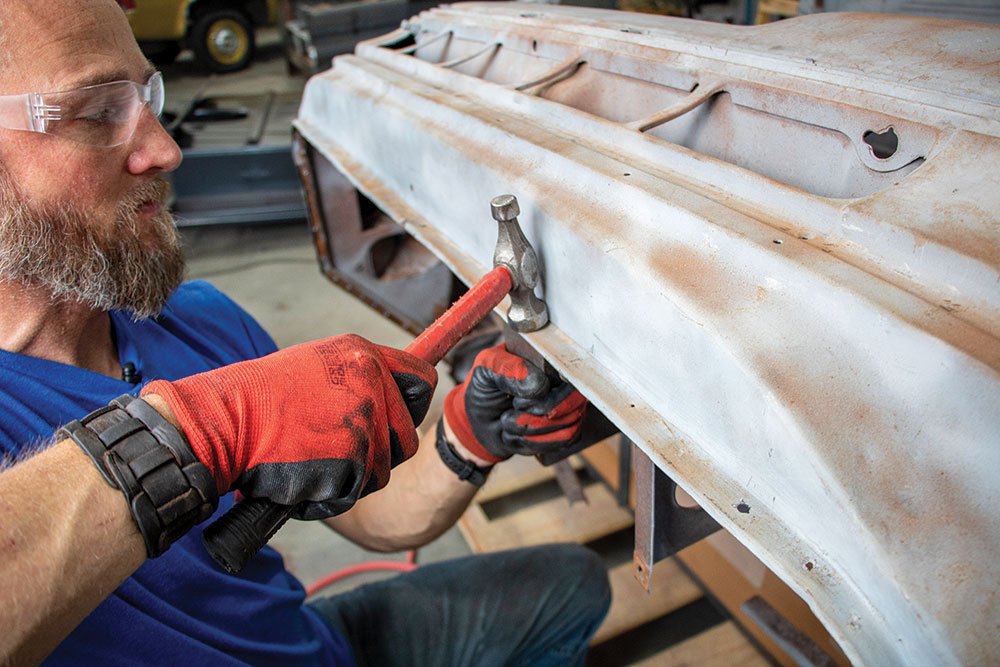
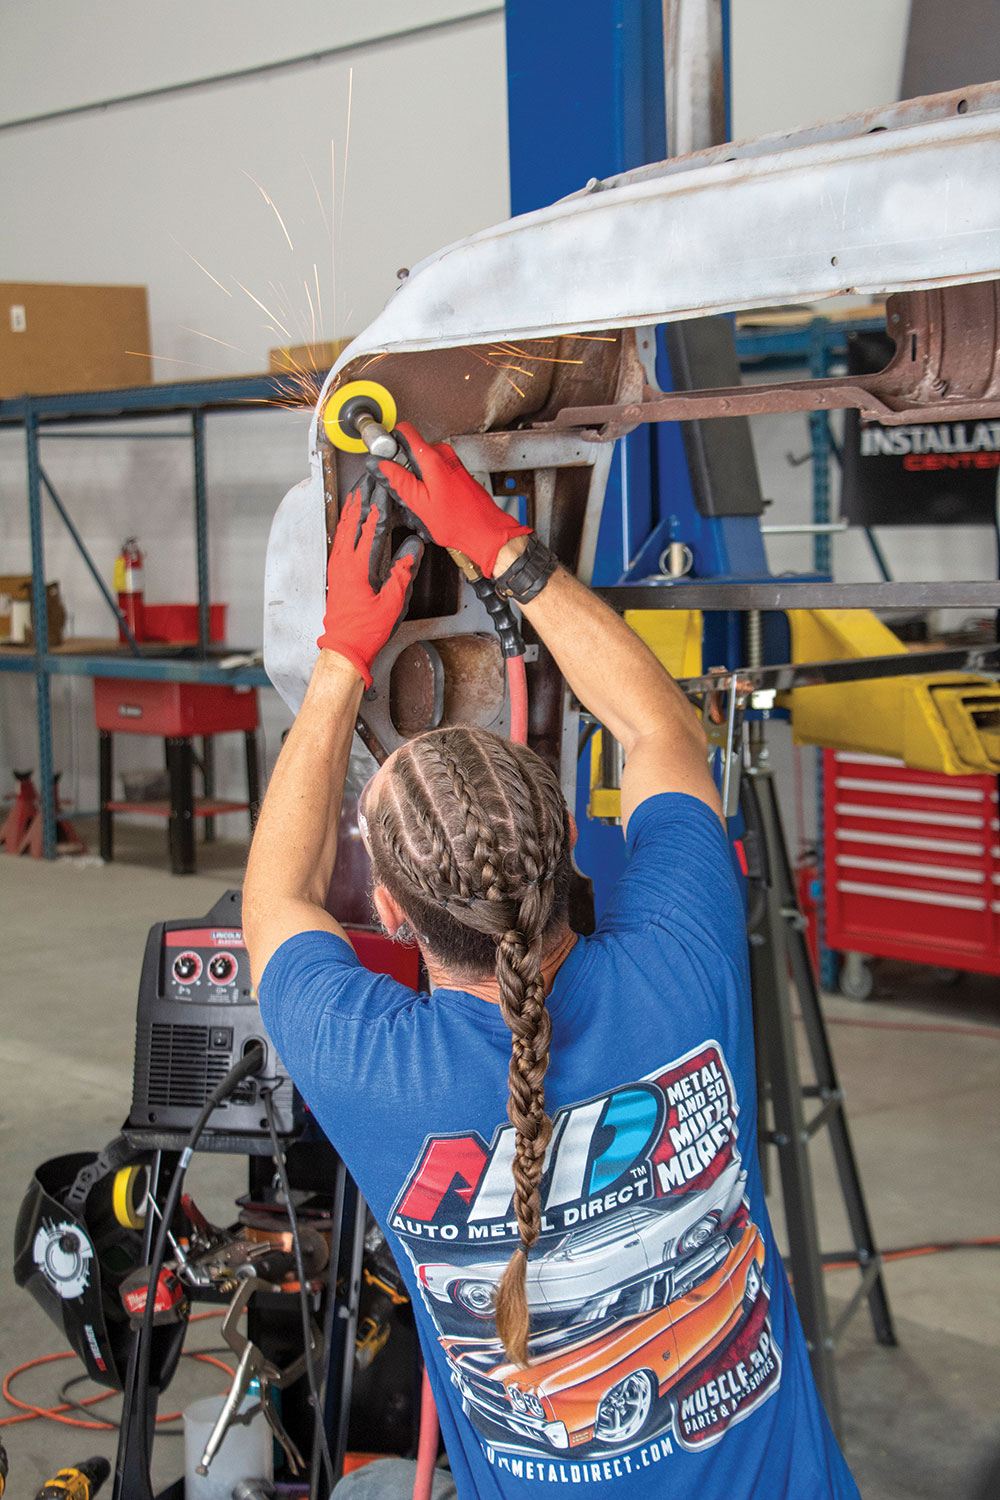
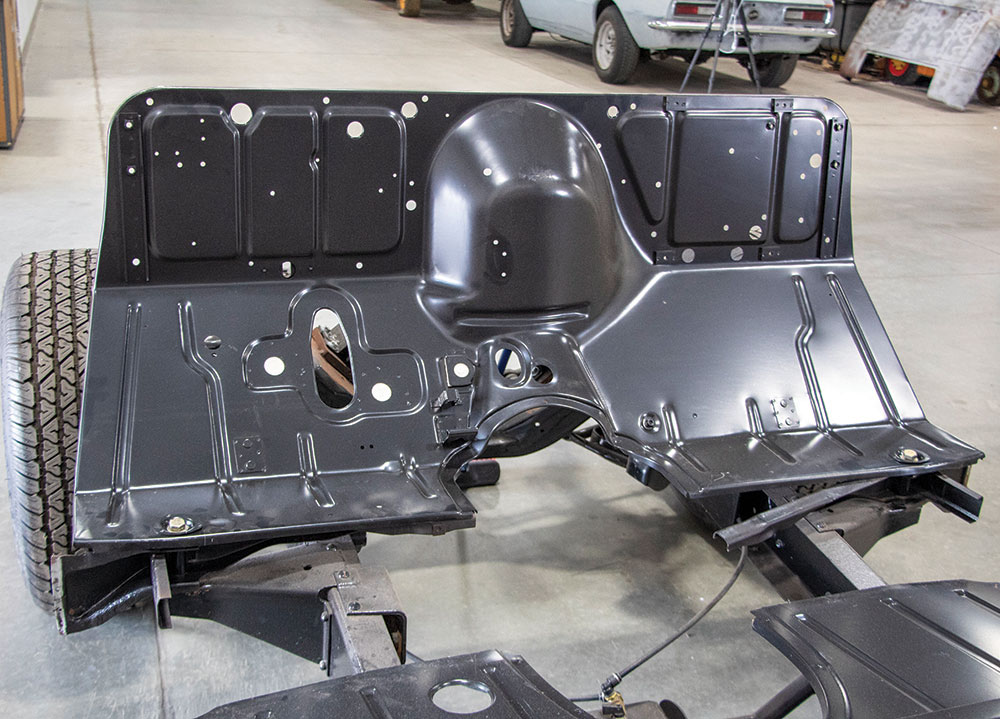
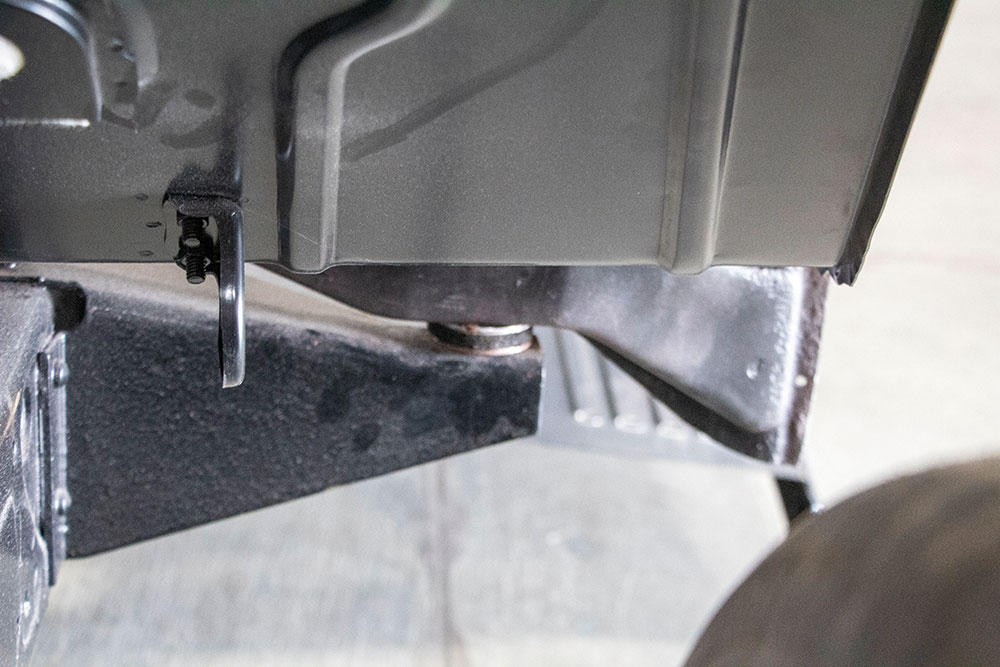
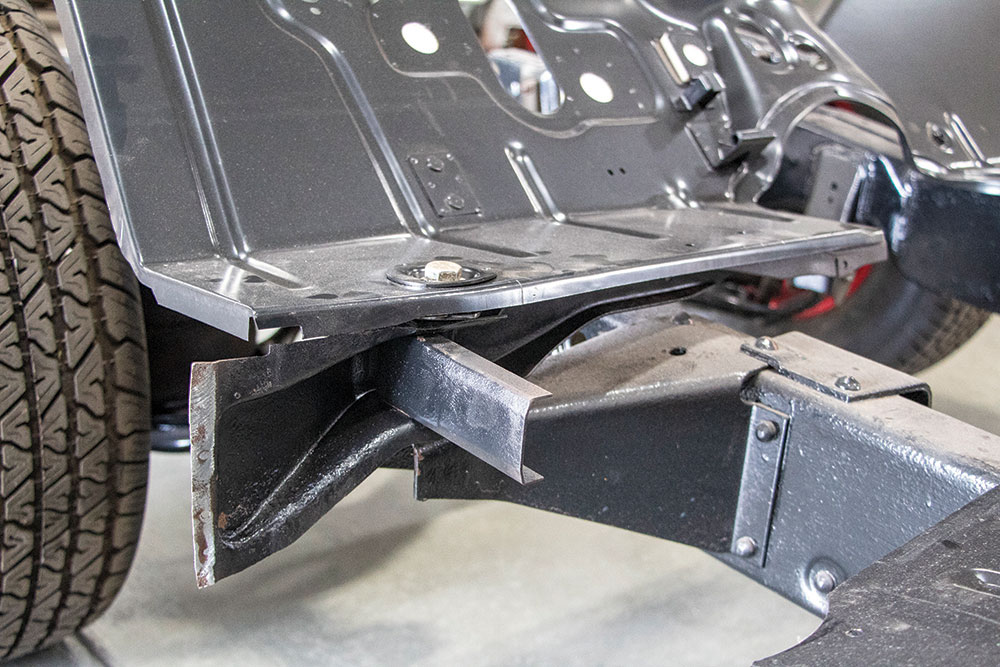
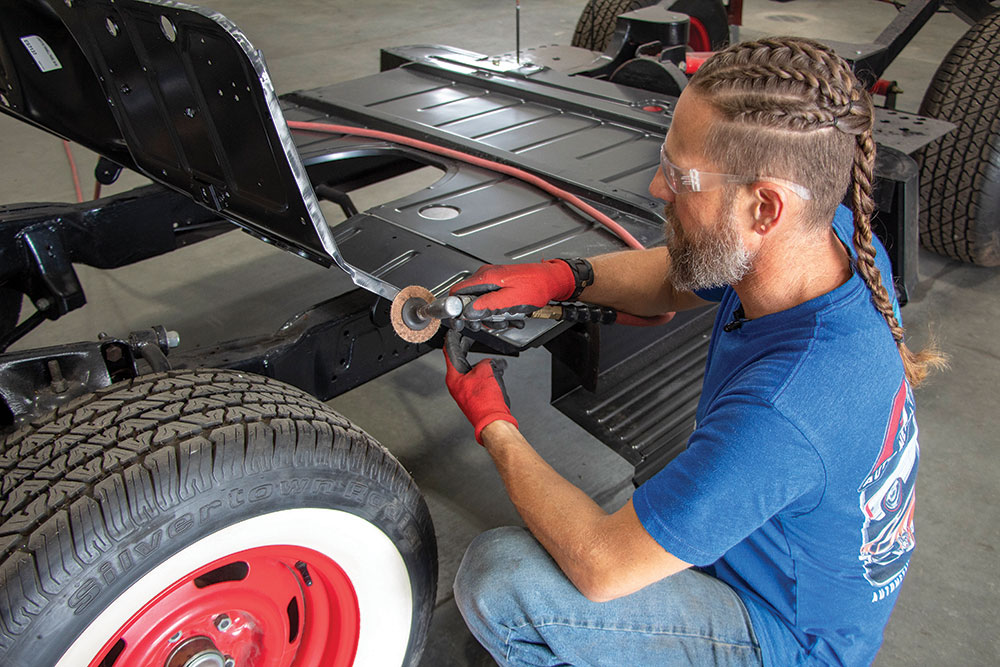
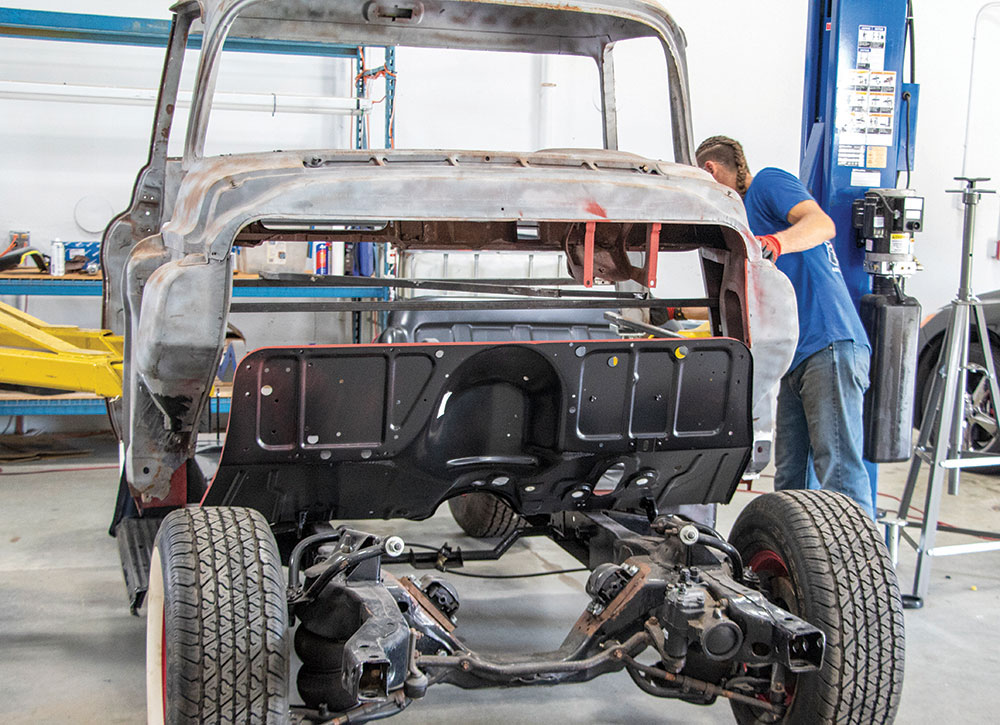
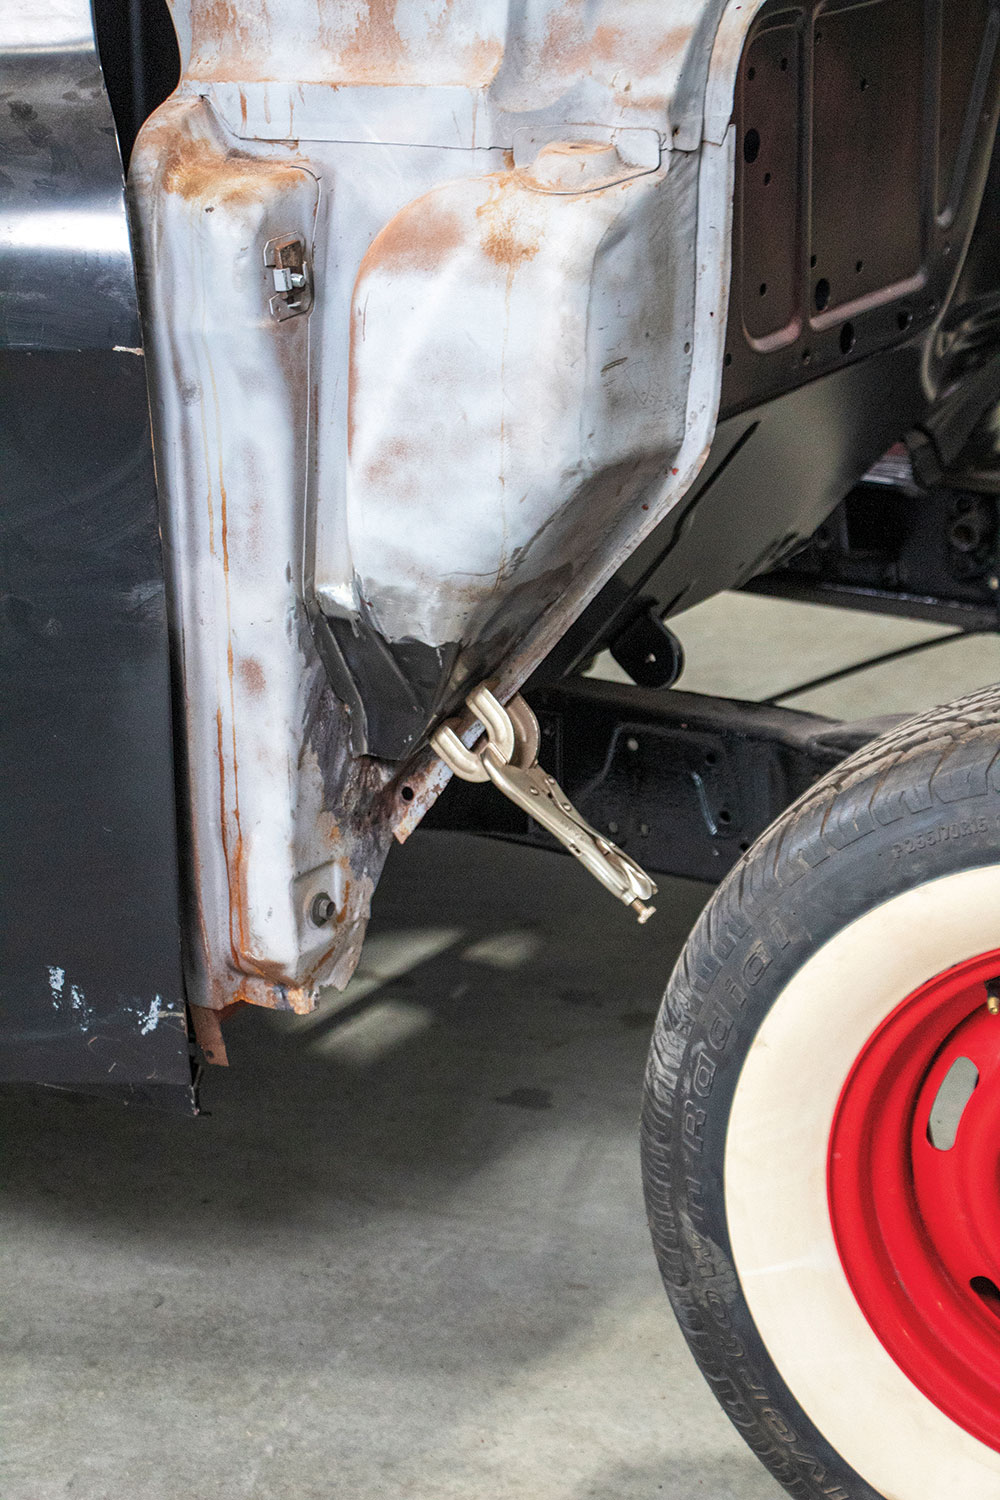
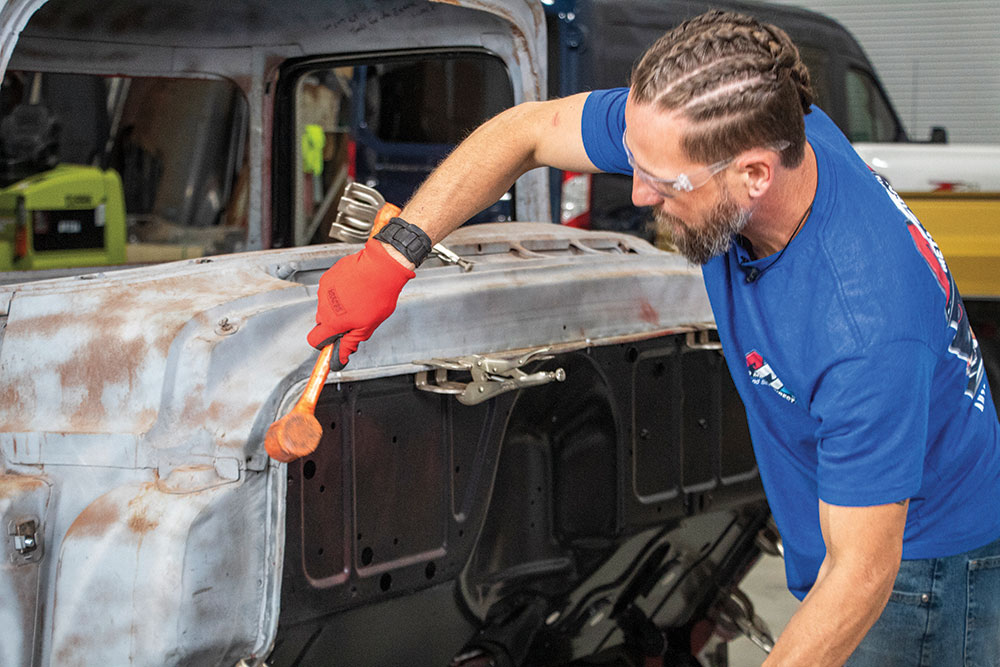
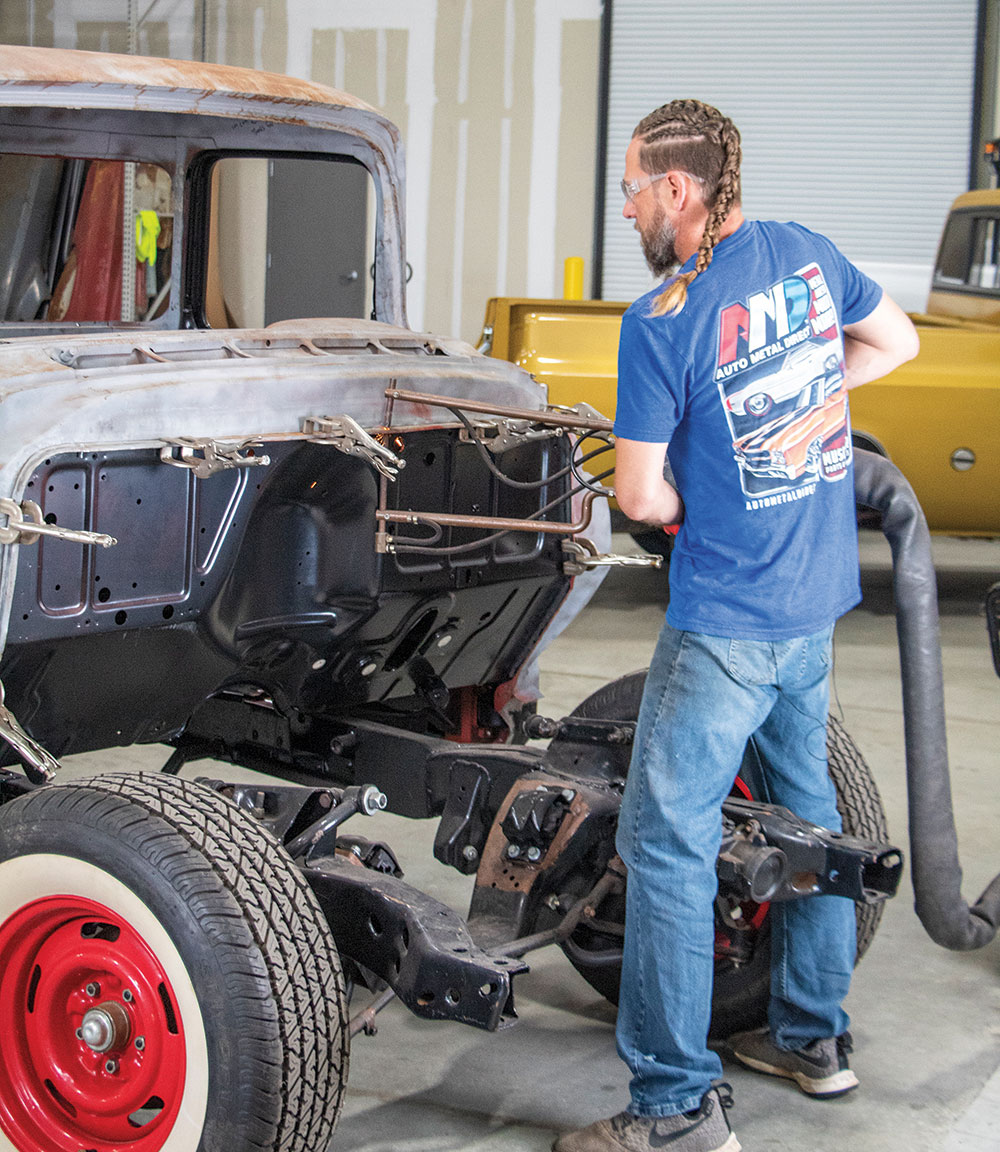
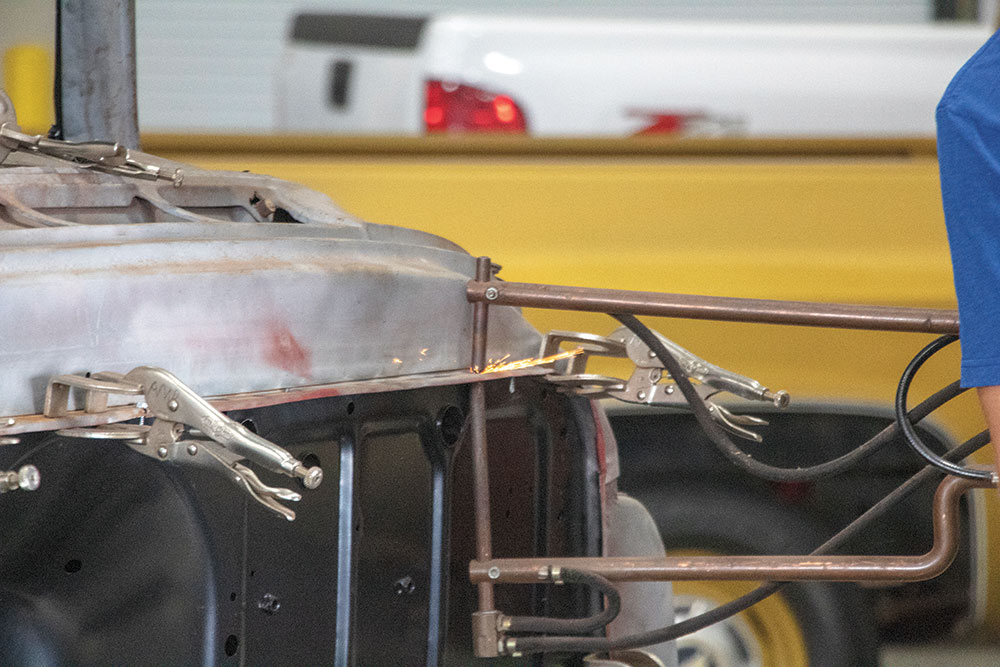
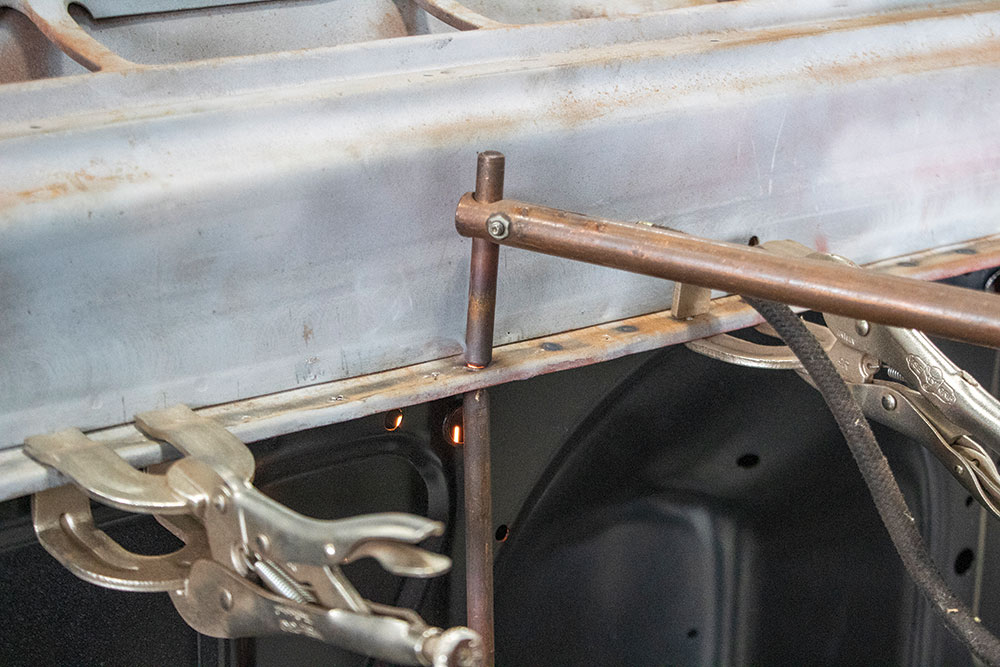
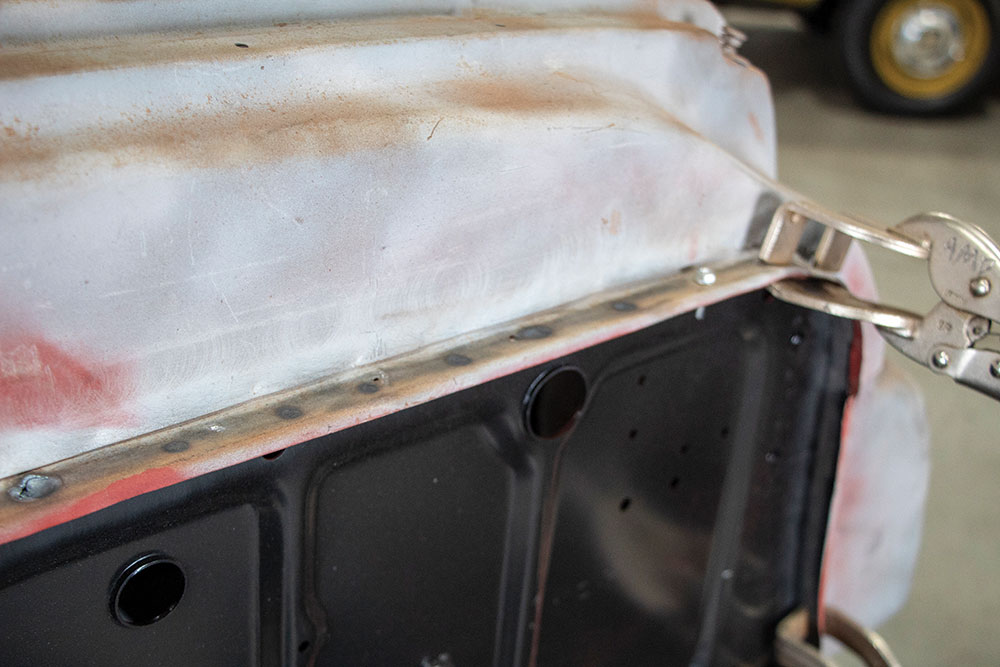
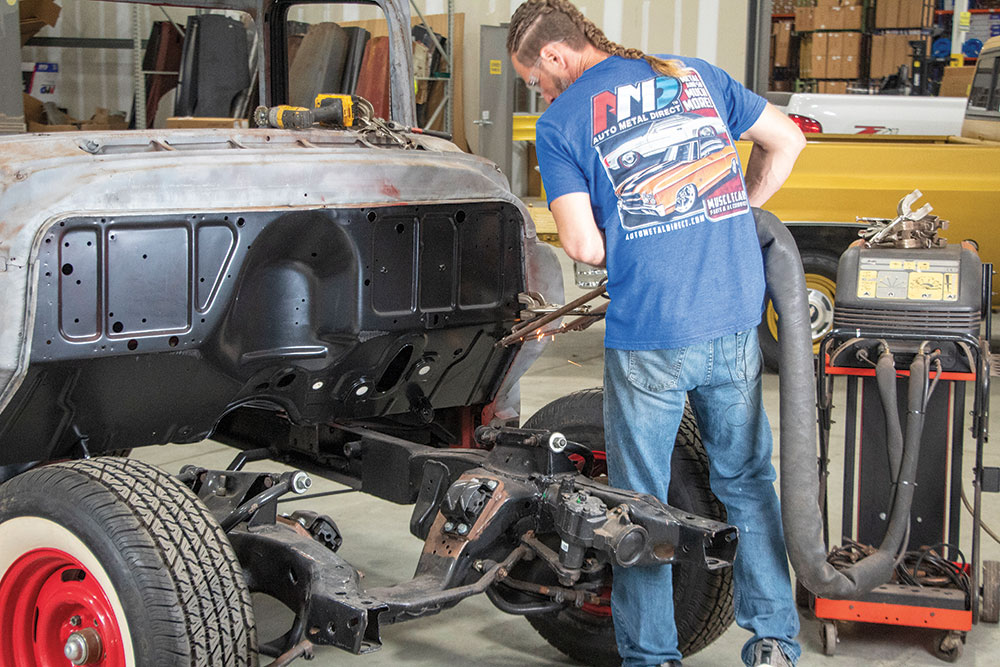
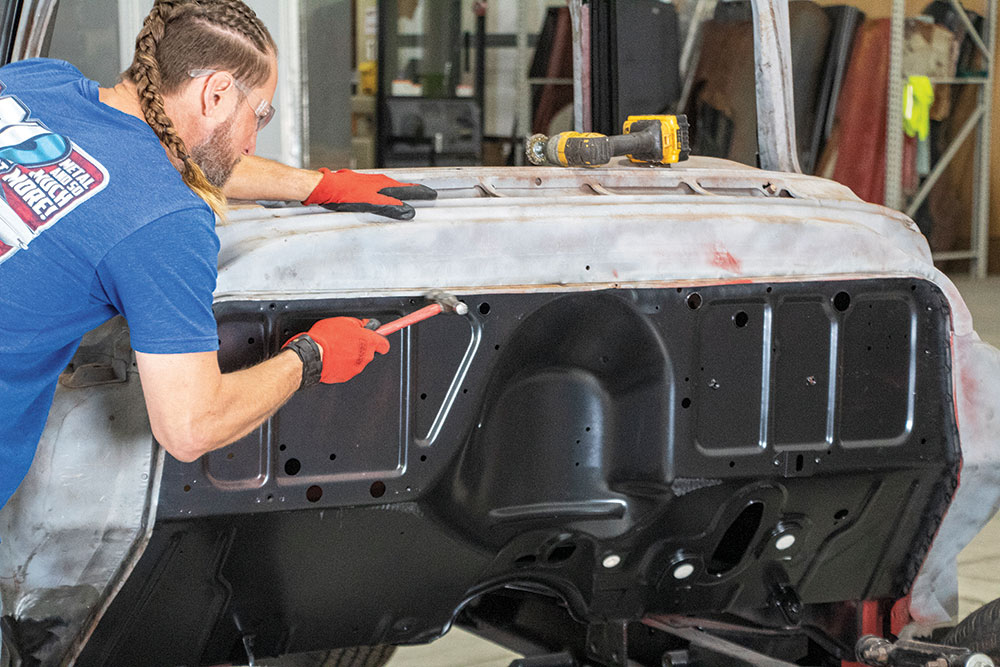
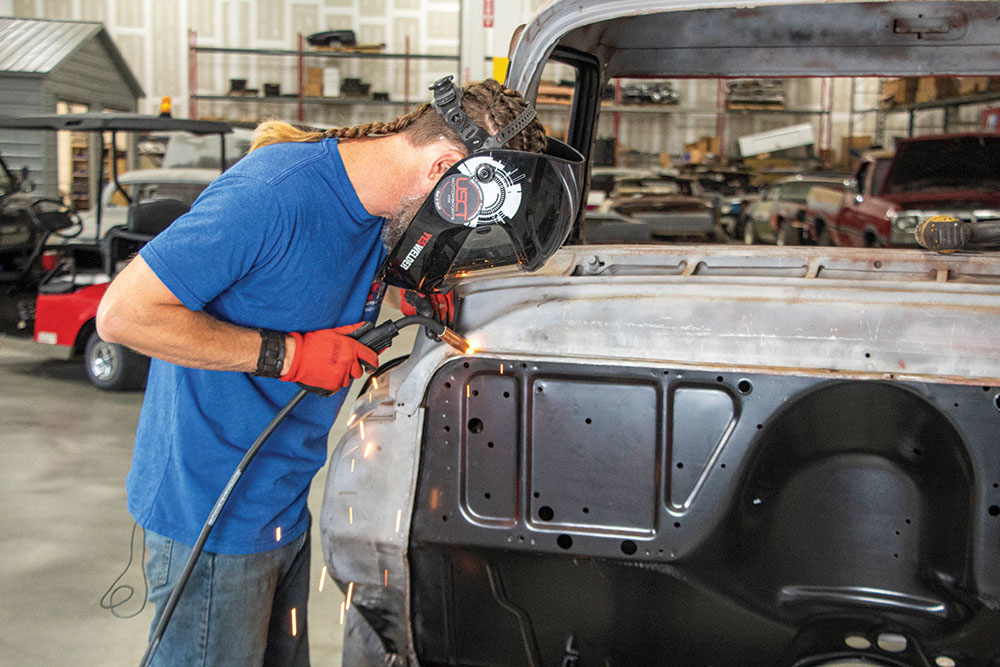
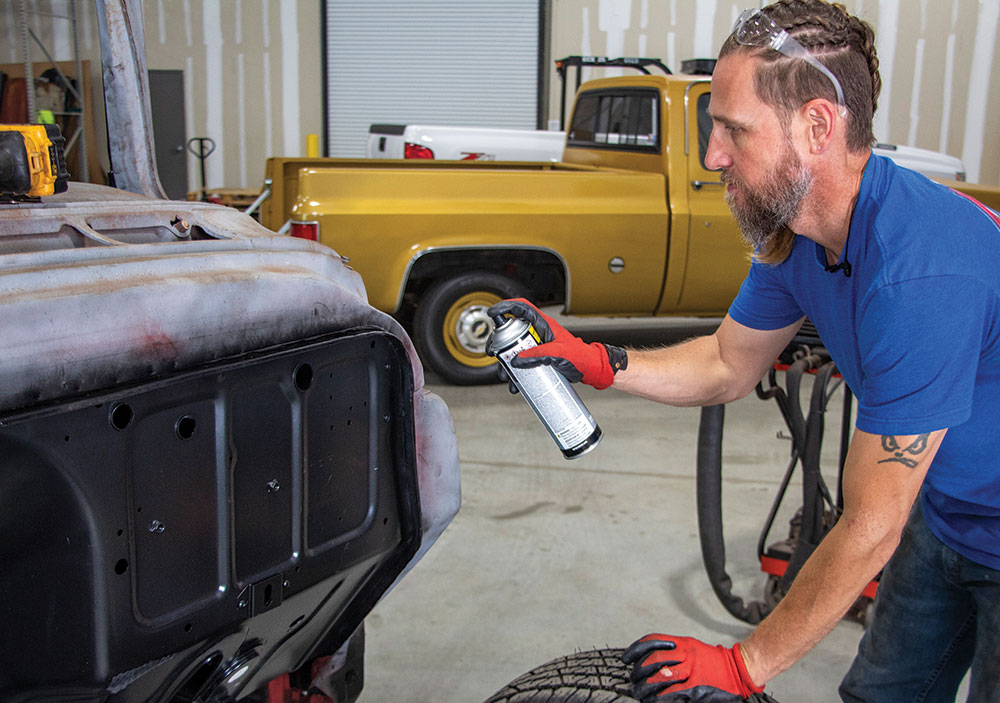
Now, if you have been following along, you know Burnadebt was a long way from greatness. We patched the fenders and removed the rust, we worked out the issues with the cowl sides, and now, we set our sights on the firewall. Burnadebt has been in and out of shops over the years with varying levels of modifications, patches and added issues from these repairs. The firewall was no exception.
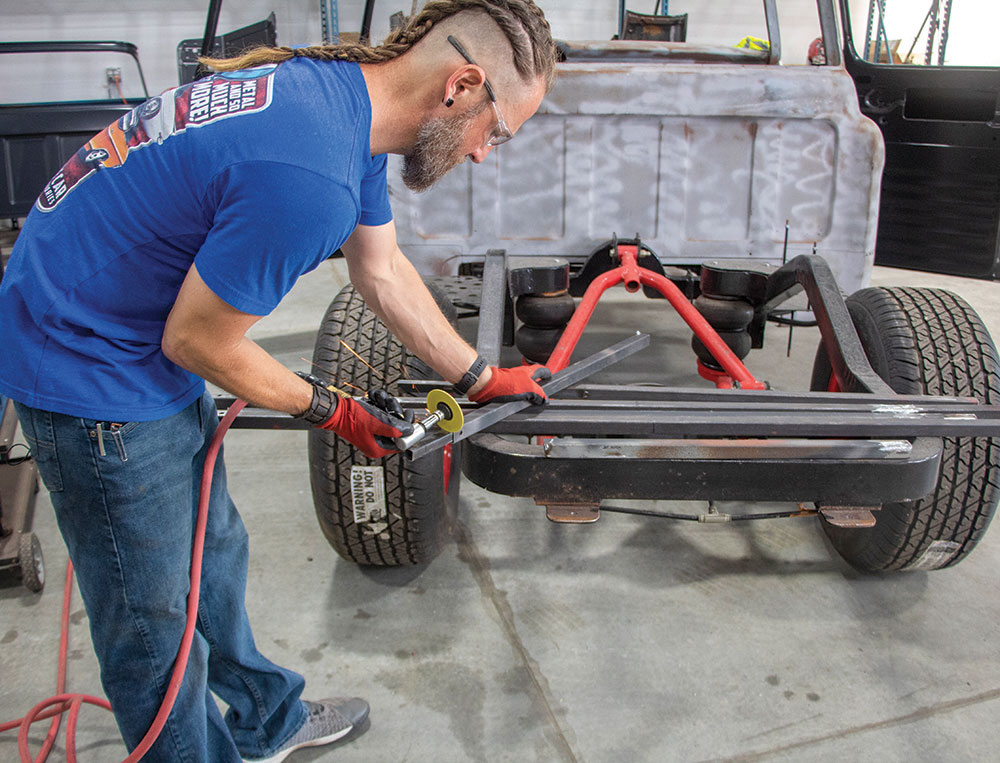
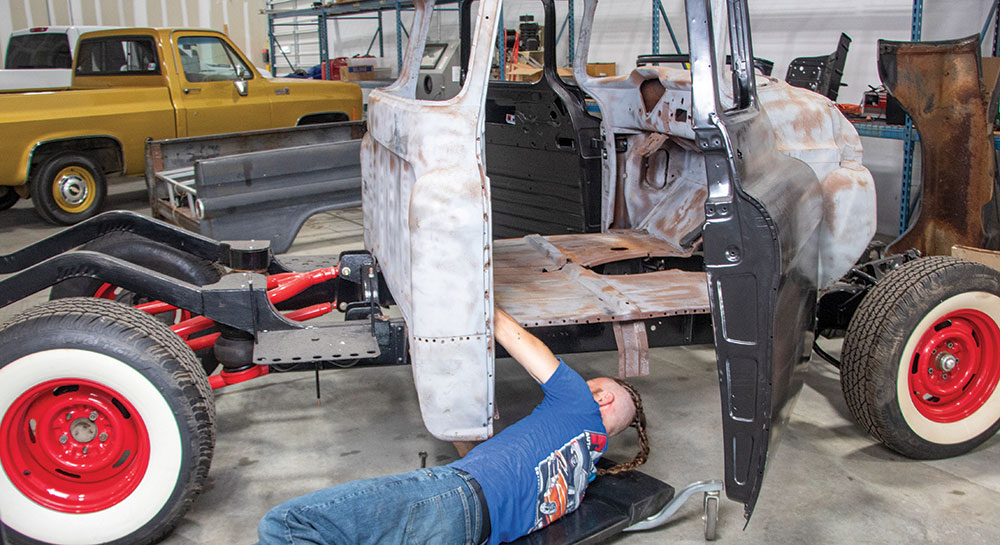
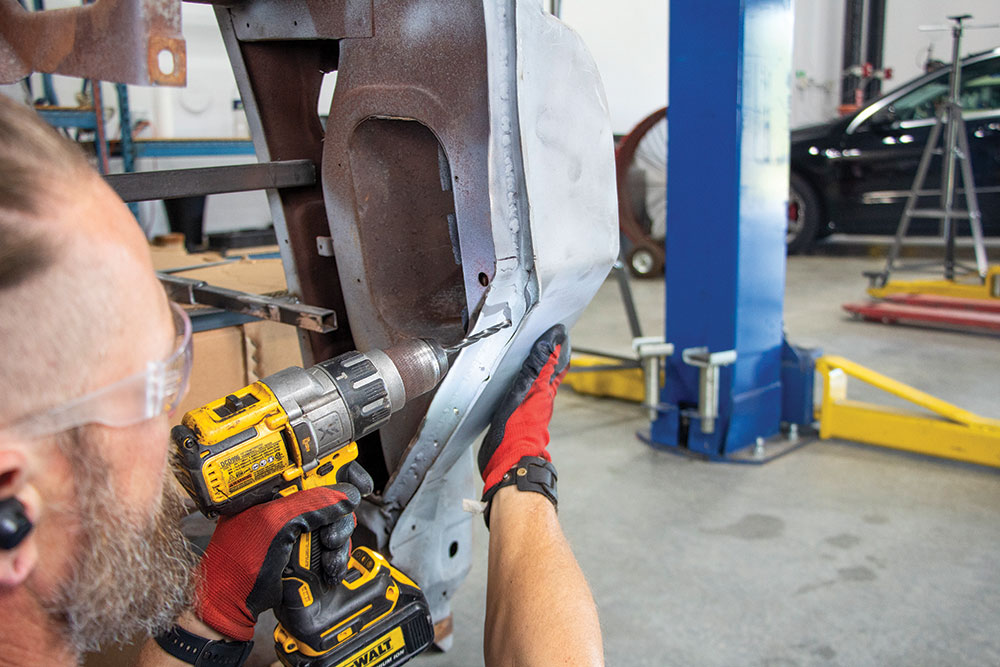
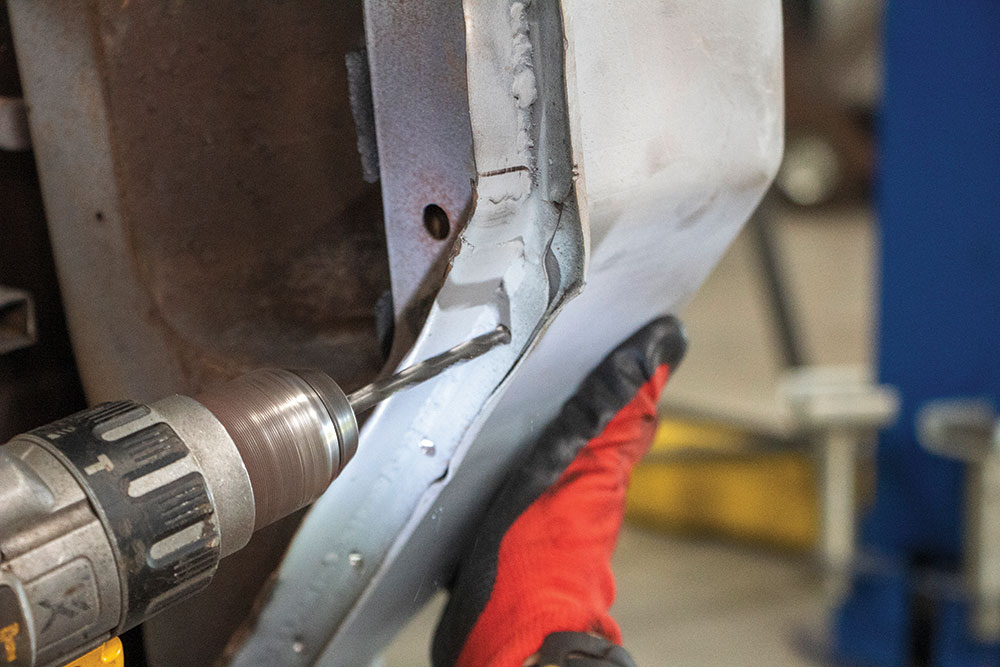
Bead rolled panels were added at some point but were never completely installed. We are going to start over with a brand-new OE style firewall replacement from our guys at AMD. In addition to the firewall, Burnadebt will be receiving a new floor assembly as well as a new back cab panel from AMD. You will see these parts come into play here and there. This will allow us to properly align the firewall for installation. If you’re doing these repairs at home, don’t worry. We will tie it all together right here in Street Trucks.

The firewall on these trucks is a common area for rust. The seam where the firewall meets up with the cowl, the side cowl areas along the kick panel and the toe board area all like to collect water and rot out over time. Follow along, and let’s do these repairs along with the help of our friends at AMD.


Uncategorized
Domino: A family project gone wild Back in 2008, Terry and Sara Rose (along with Sara’s dad) purchased a decent but well-worn ’68 Chevy C10… Continue reading
streettrucks . December 30, 2020
Events
SEMA Show Attendee Registration Now Open! The annual gathering featuring automotive innovation is set to take place in the fall at a time when analysts… Continue reading
Chris Hamilton . May 29, 2020
Department
We drove our insane tandem axle truck ( C10 Slayer) for the first time capturing some funny reactions and we also have a huge surprise!!… Continue reading
Adam Johnson . December 09, 2021
Features
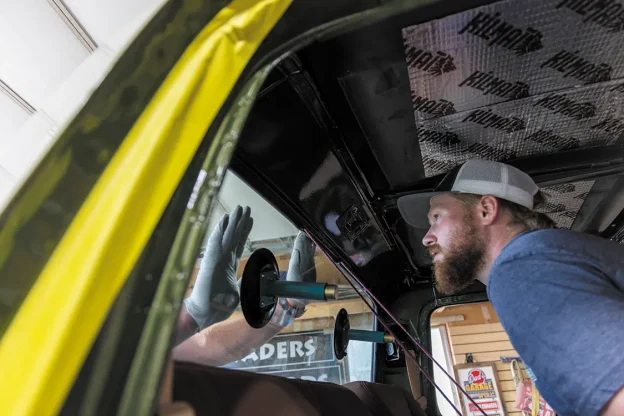
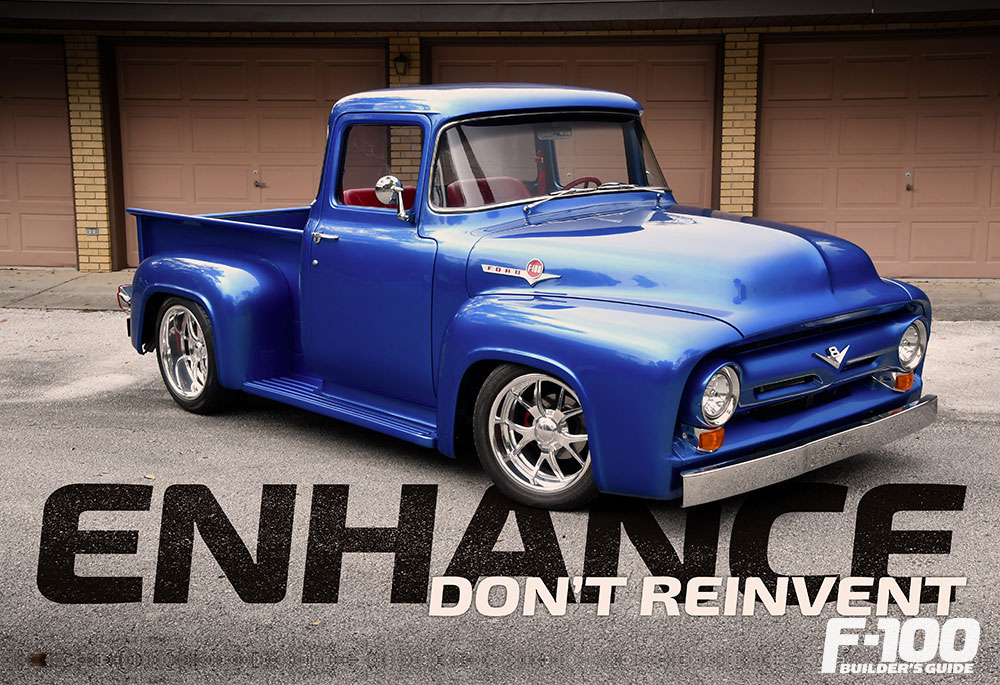
New Tinted Glass for our ’76 F-250 Installing new glass in a truck can be one of those tasks that seems intimidating at first,… Continue reading
DEVAN ENCE . July 22, 2025
Events
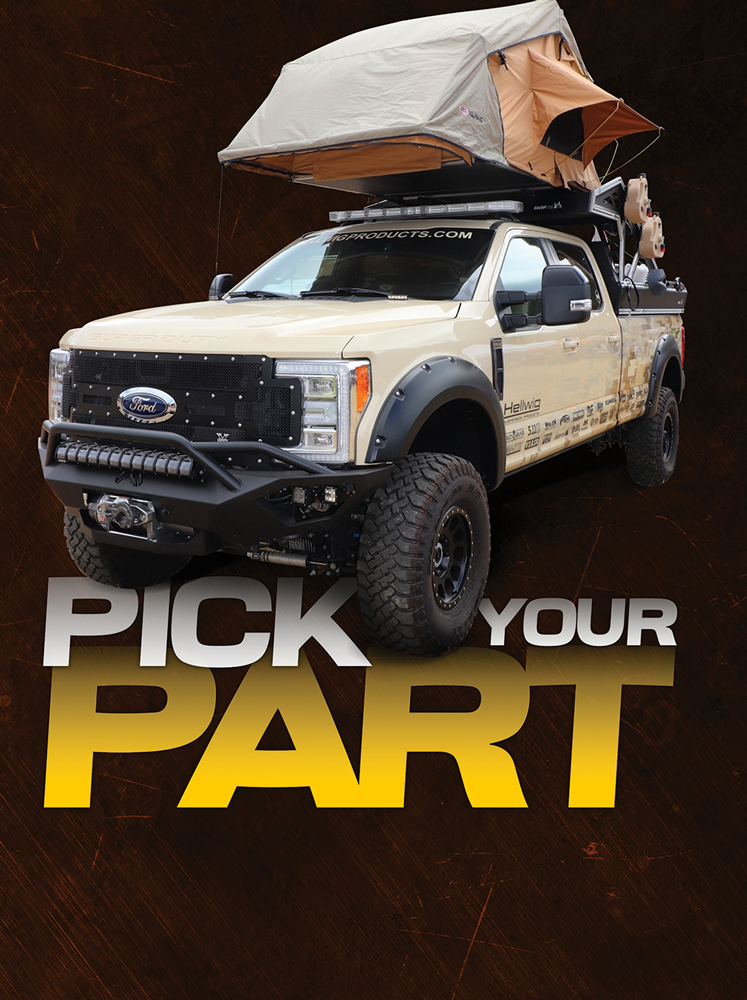
New Truck Parts from the MPMC Media Trade Conference WSEMA’S MOTORSPORTS PARTS MANUFACTURERS COUNCIL (MPMC) DEVISED THE ANNUAL MEDIA TRADE CONFERENCE TO ATTRACT PRINT, ONLINE… Continue reading
JASON R. SAKURAI . July 25, 2019
Industry News
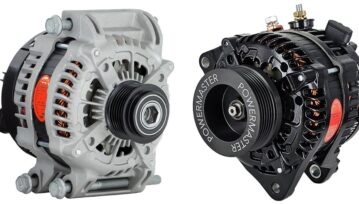
Thanks to Powermaster’s HPR Alternators, you can run your air conditioning, electric fans and fuel pump, blasting stereo, and more without worry. Capable of… Continue reading
Nicole Hamilton . June 23, 2026


We use cookies to enhance your browsing experience, serve personalized ads or content, and analyze our traffic. By clicking "Accept All", you consent to our use of cookies. Visit our Cookie Policy for more info.

Share Link