Installing QA1 Suspension’s New Front Crossmember Coilover Kit
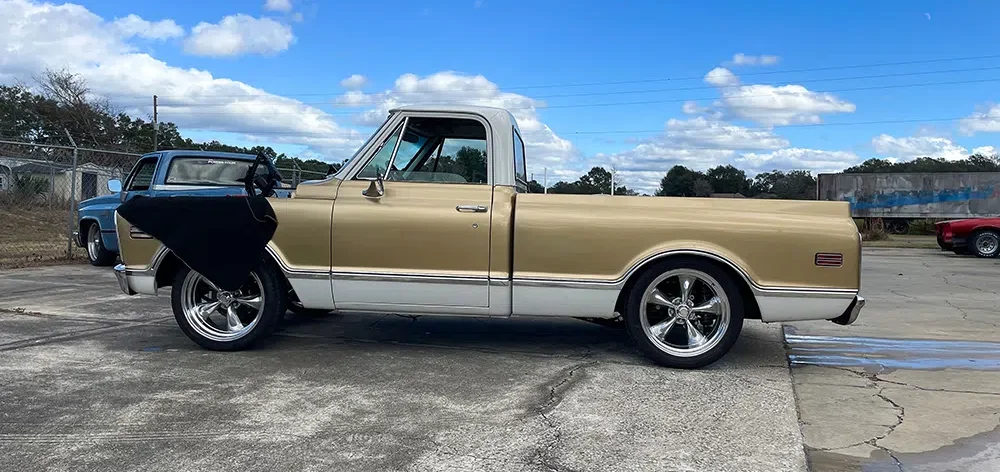
In our previous issue, we took this 1968 Chevy C10 out for a final ride on the antiquated suspension it had bolted to the frame. This particular truck is still in amazing shape after having performance upgrades installed more than 10 years ago, which is impressive to say the least. It looks great while cruising down the road, but if you’re sitting inside the cab, you would understand why we’re redoing the work. Modern technology and extremely intelligent engineers have increased the level of products available for these classic icons.
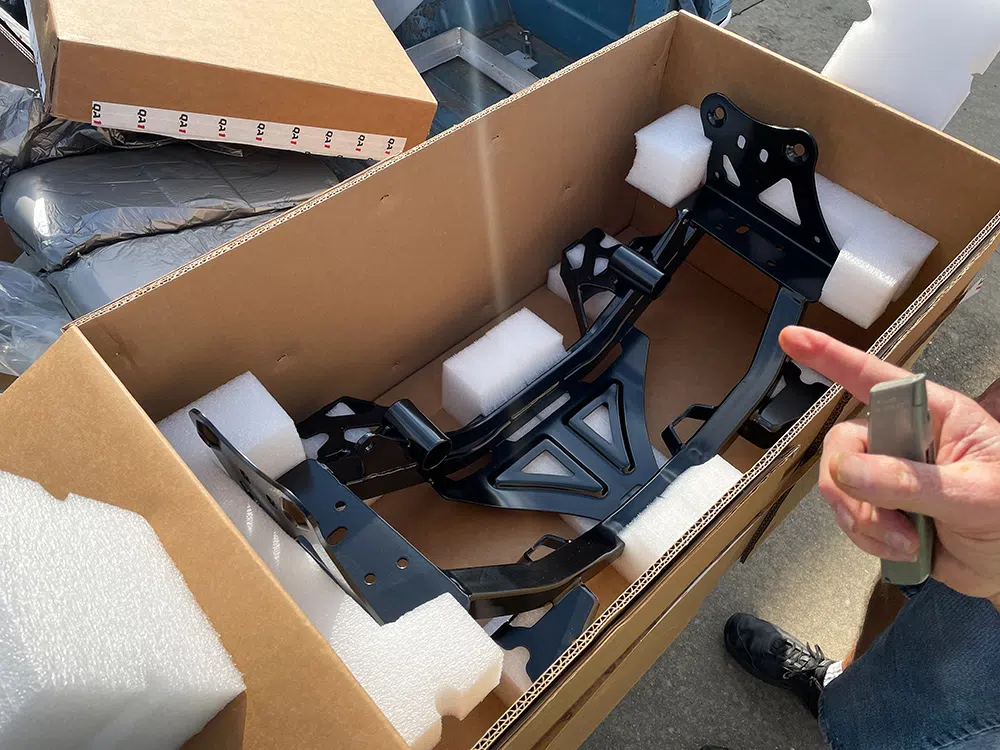
For this suspension swap, we turned to QA1 Motorsports with an eye directly on the company’s new front crossmember suspension. This kit converts our truck to rack-and-pinion steering along with coilovers all the way around, giving it a squatted look along with a very high-performing feel.
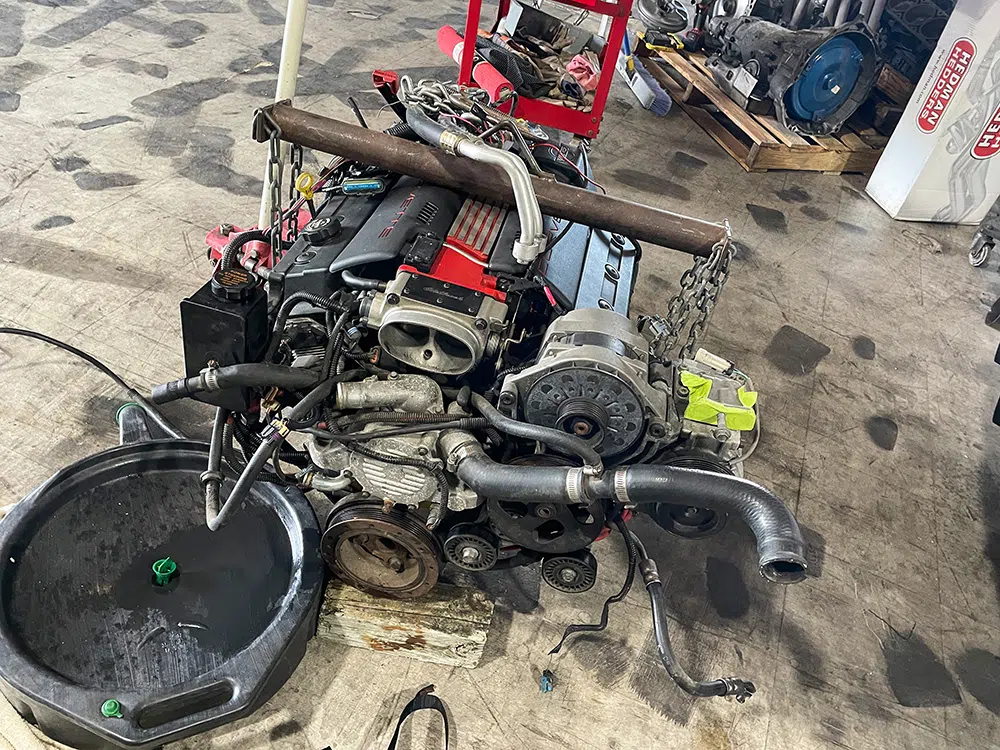
We are also swapping the engine with a factory pullout from a 2018 Chevy truck. The 6L engine will have nothing more than an updated cam and some new plugs and wires before being bolted between the framerails and connected to the rearend through a 6L80E transmission. Thanks to the incredibly advanced design, this suspension is completely bolt-in from front to rear aside from cutting the C-notch.
We 100% recommend anyone with some basic mechanical know-how to install the kit themselves using a little bit of time, patience, and research. We’ve already got the old suspension out of the truck, so it’s time to install the new parts from QA1. Let’s go!
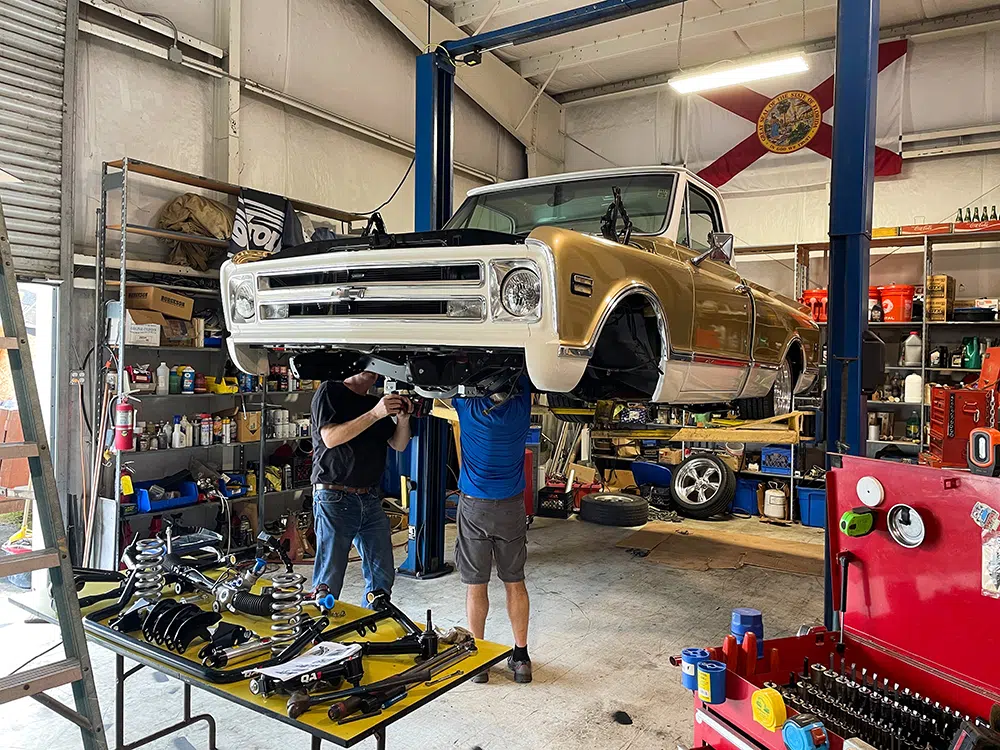
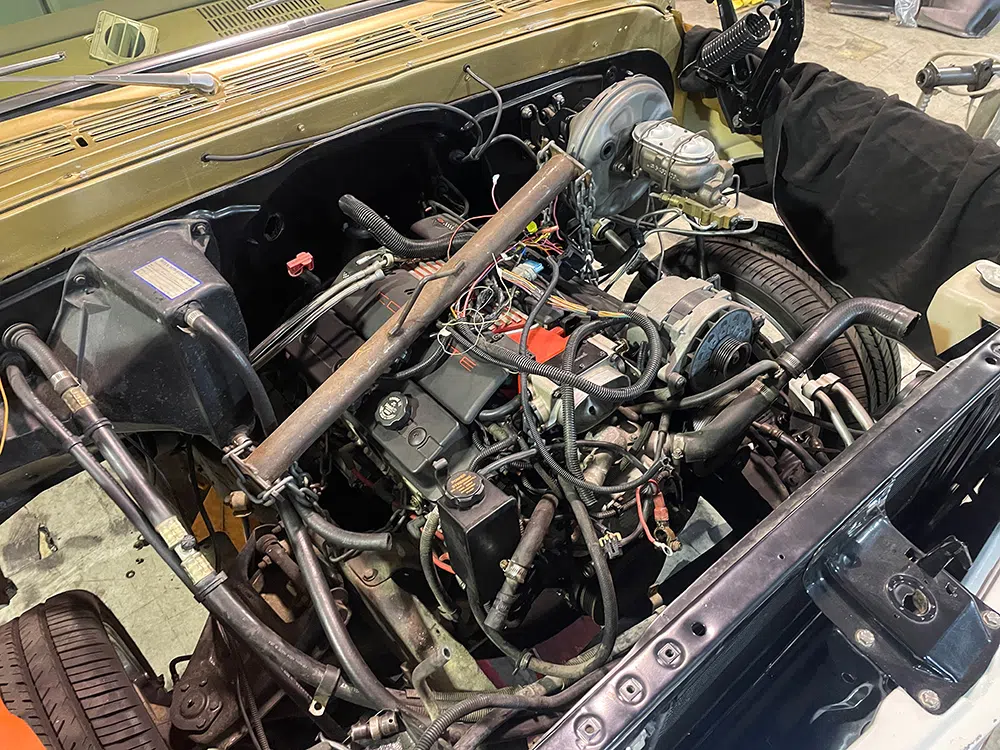
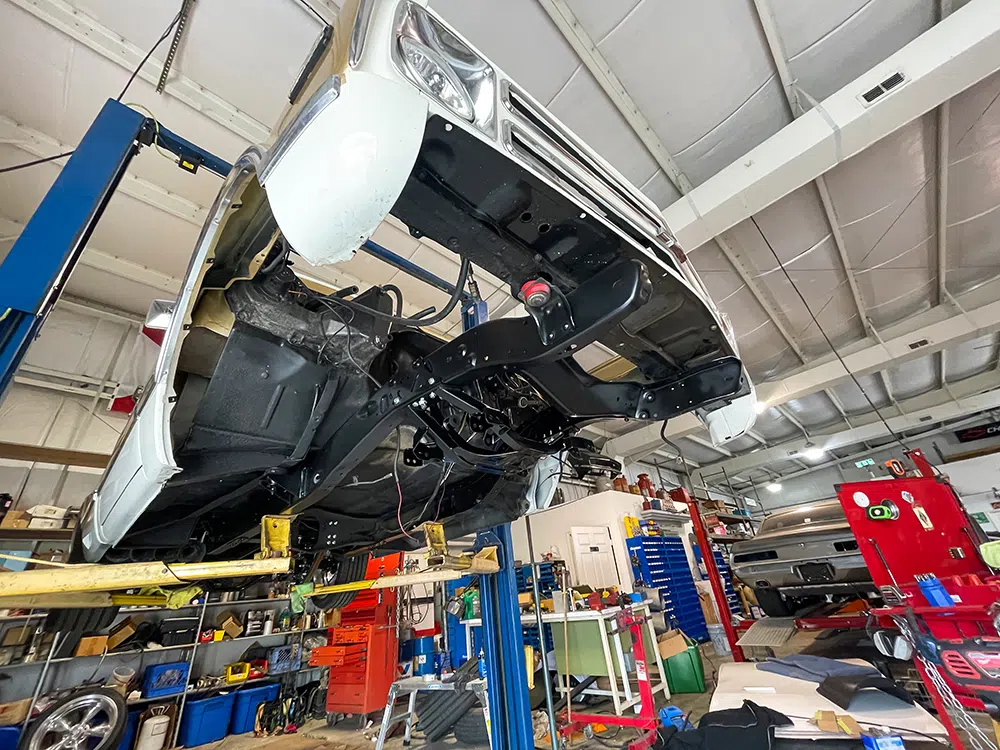
With the truck in the air, the first thing we need to do is unbolt the engine and factory suspension.
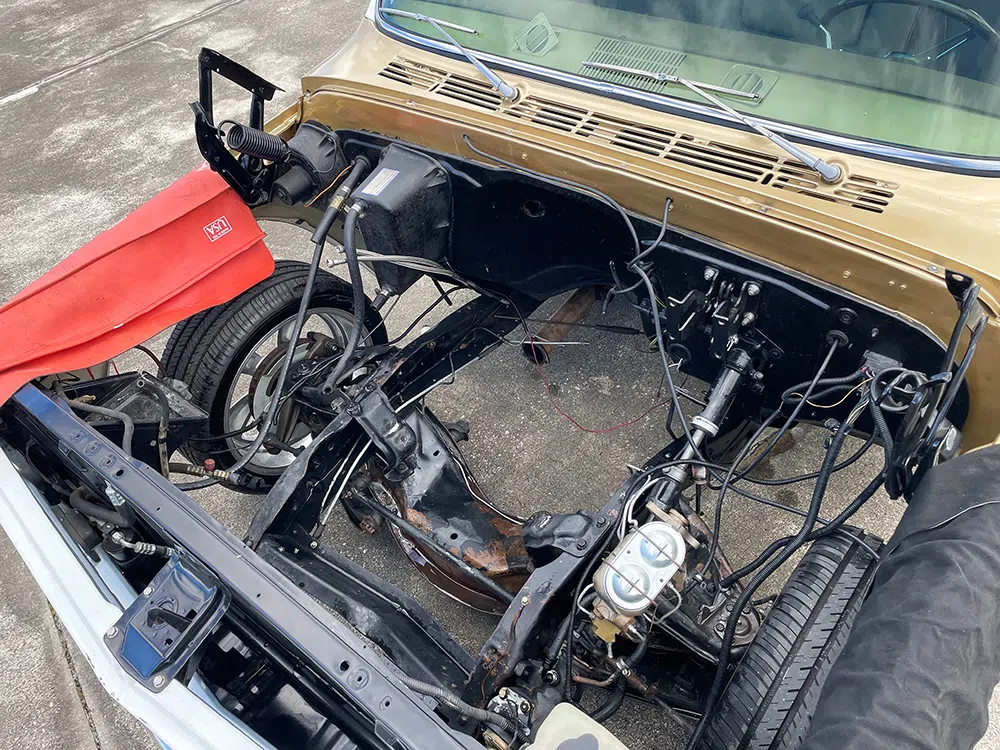
Because we originally installed this engine, we knew exactly how to remove it. The process went extremely fast, and we had it on the ground before lunch.Before we start to yank out the suspension, we pushed the truck outside and gave it a quick bath to remove all of the grease and grime inside the engine bay.
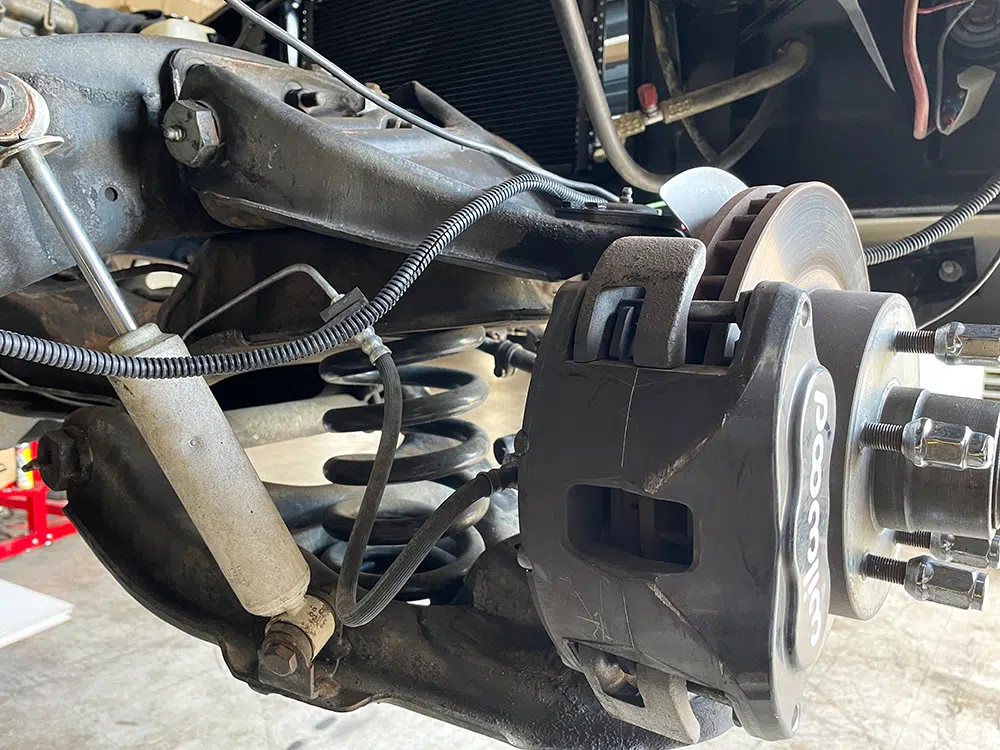
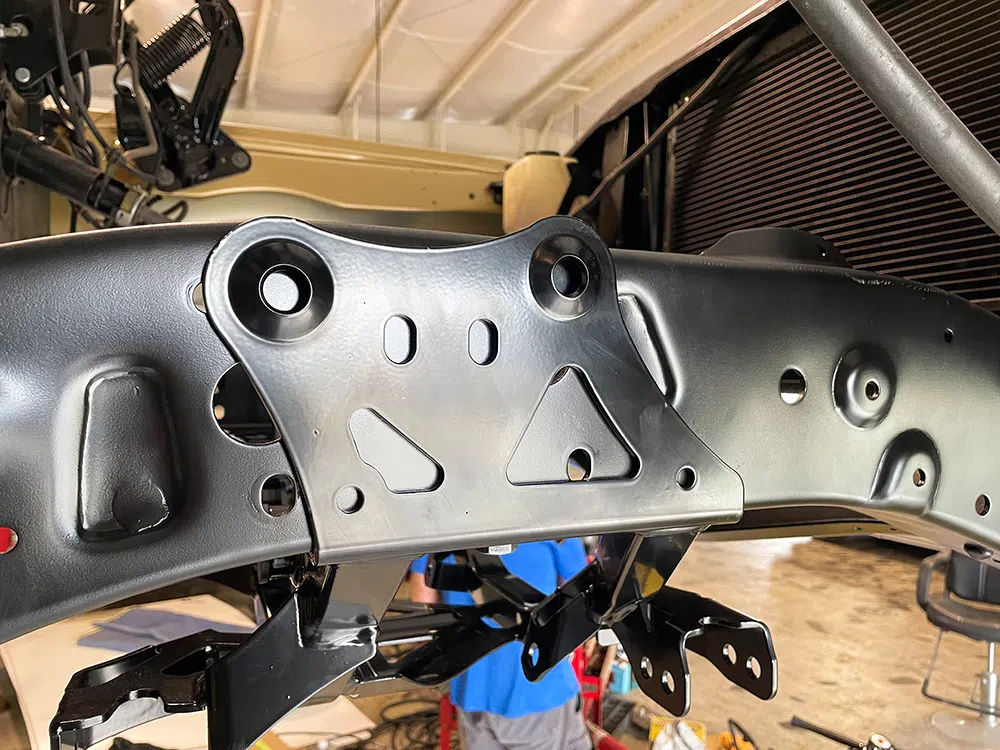
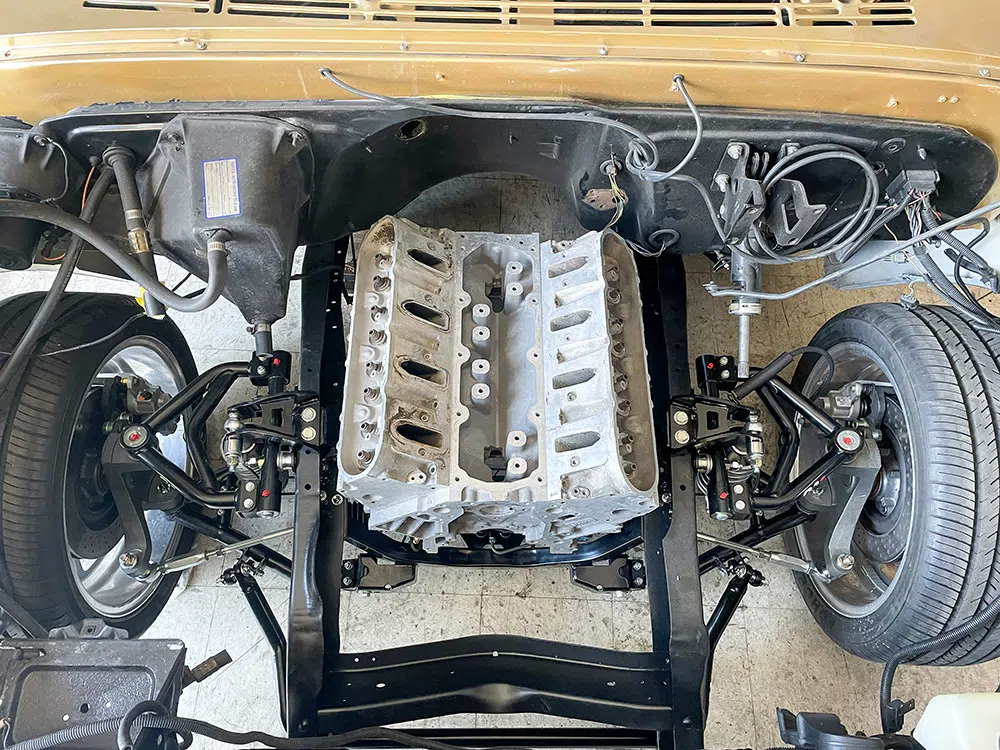
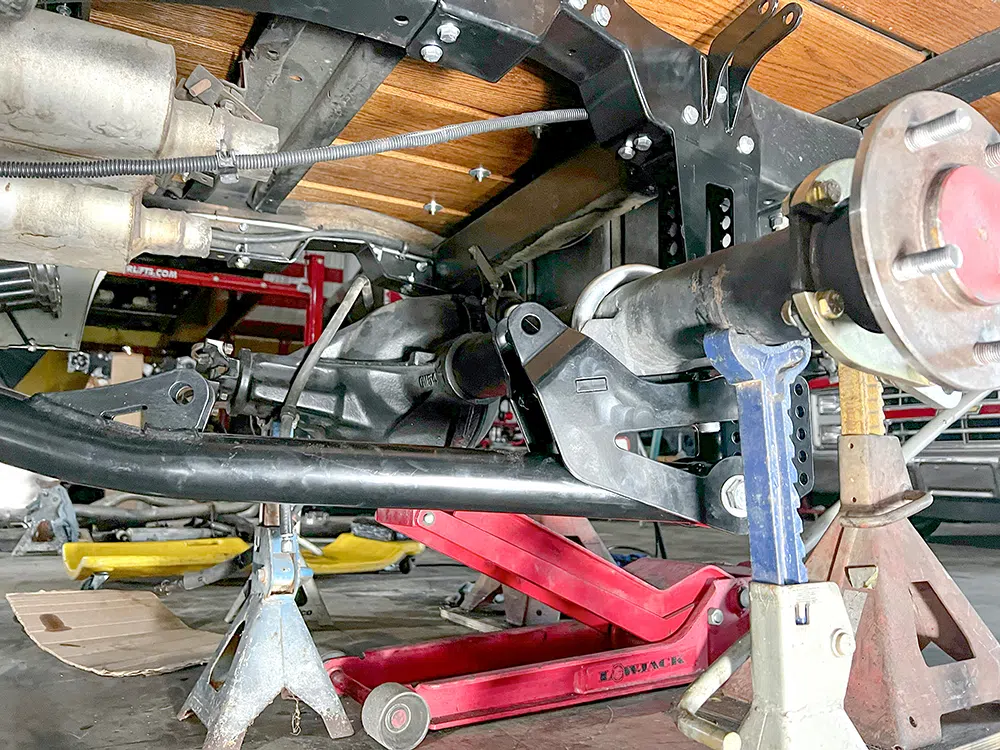
The complete rear suspension and front crossmember can be removed since all these parts will be replaced.The new front crossmember from QA1 is specifically designed for this truck and will require a rack-and-pinion steering kit.
Modern technology and extremely intelligent engineers have increased the level of products available for these classic icons.
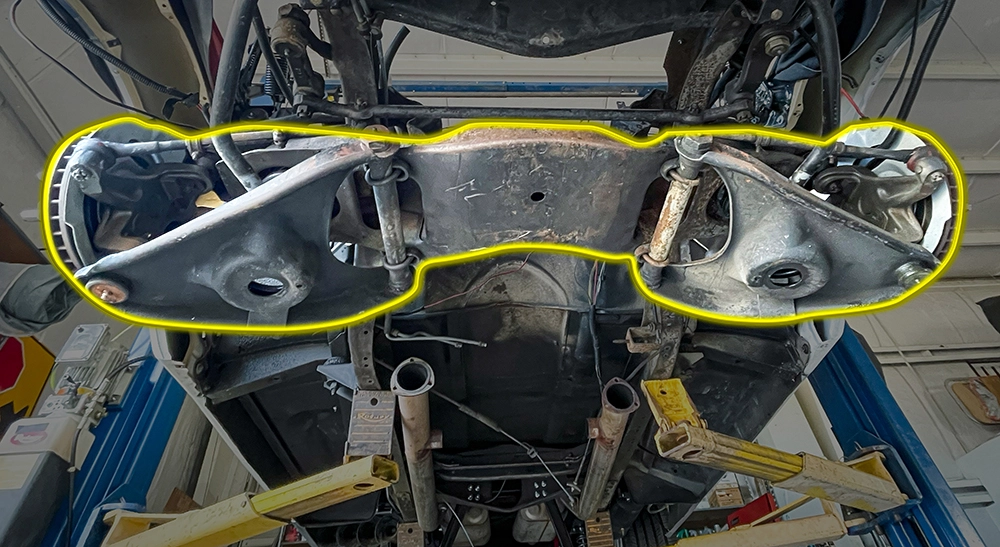
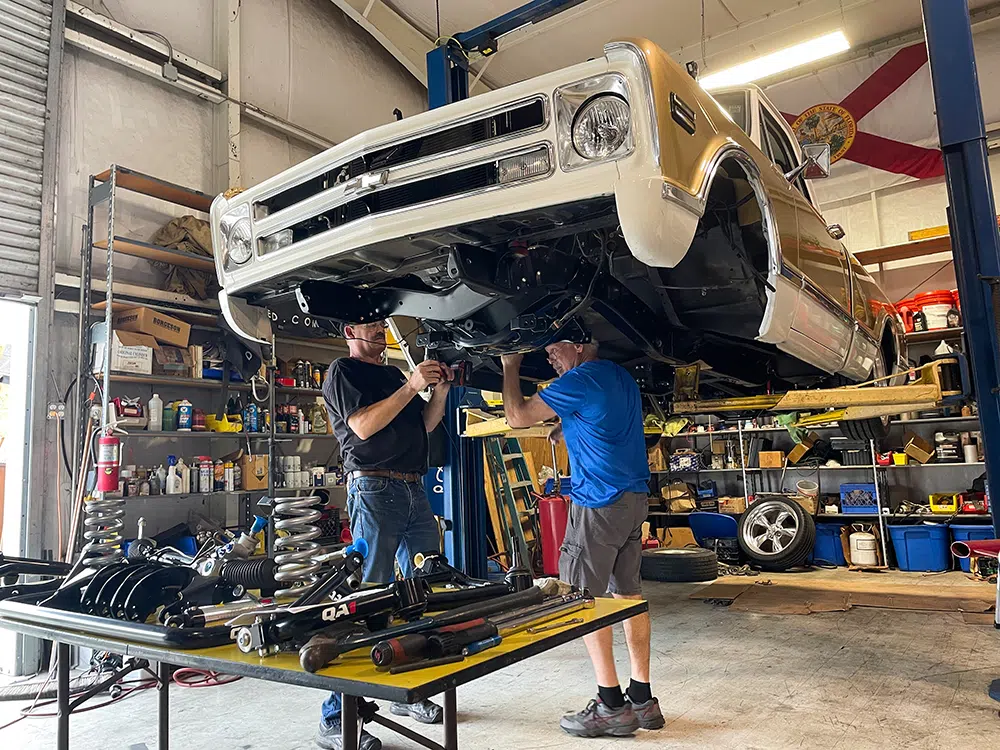
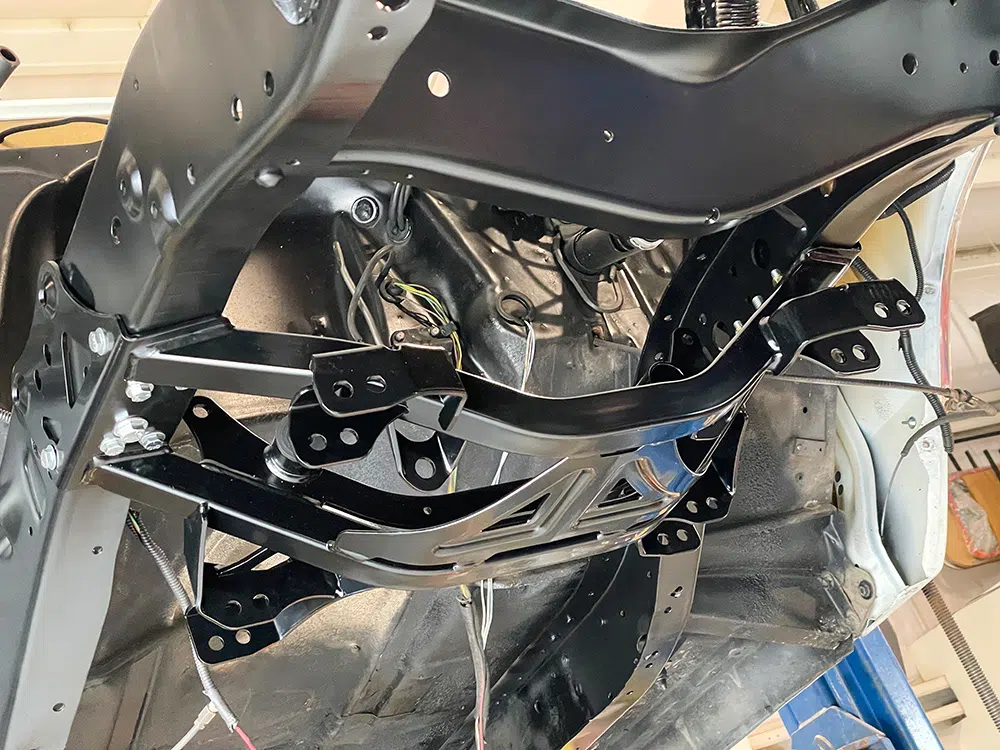
Dave and Roger made quick work of the front crossmember, which looks great next to the newly painted framerail.
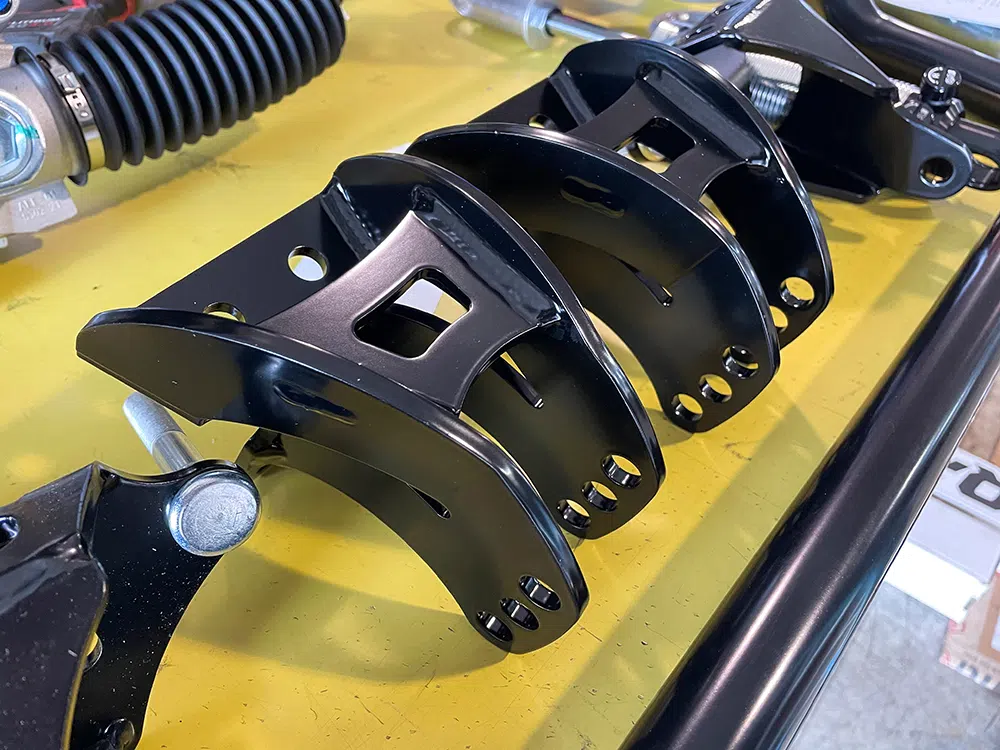
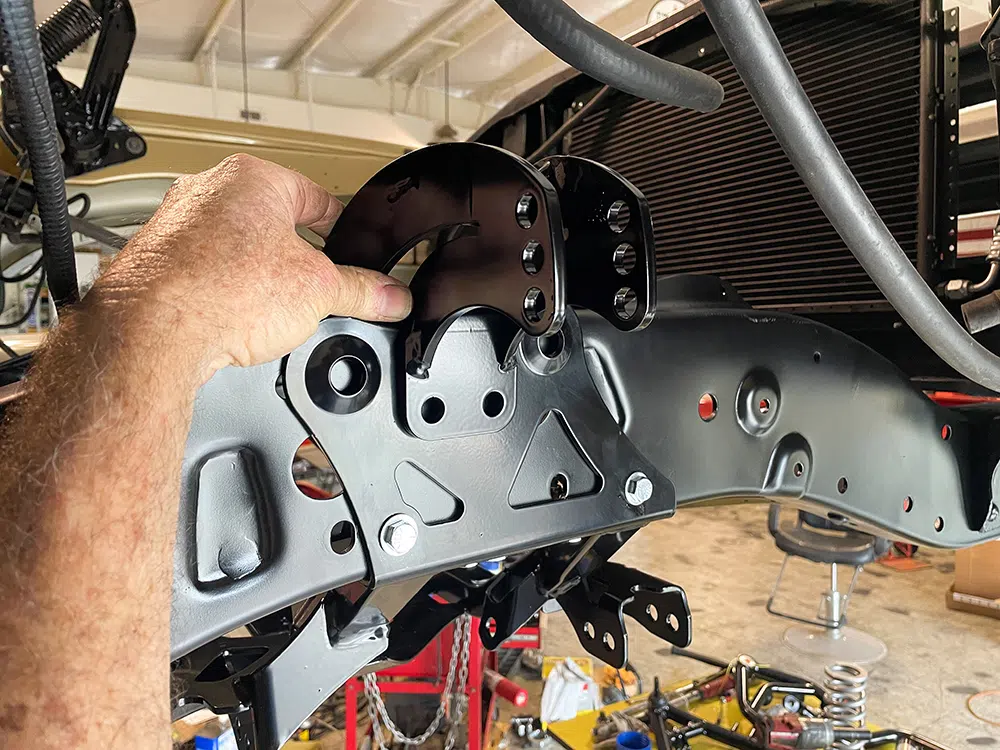
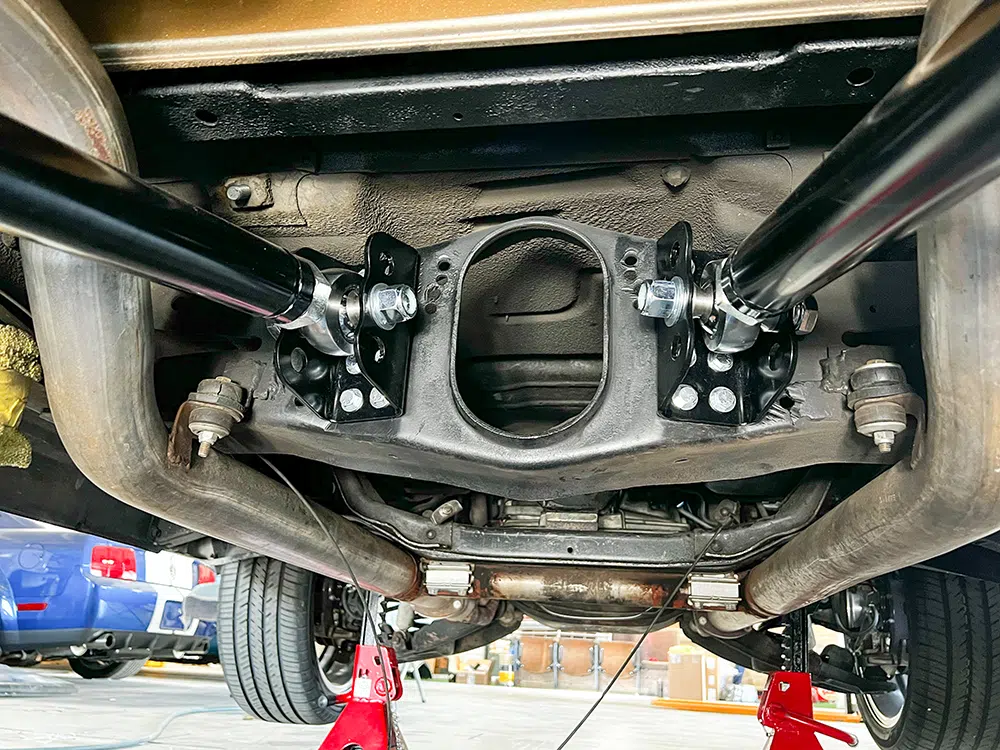
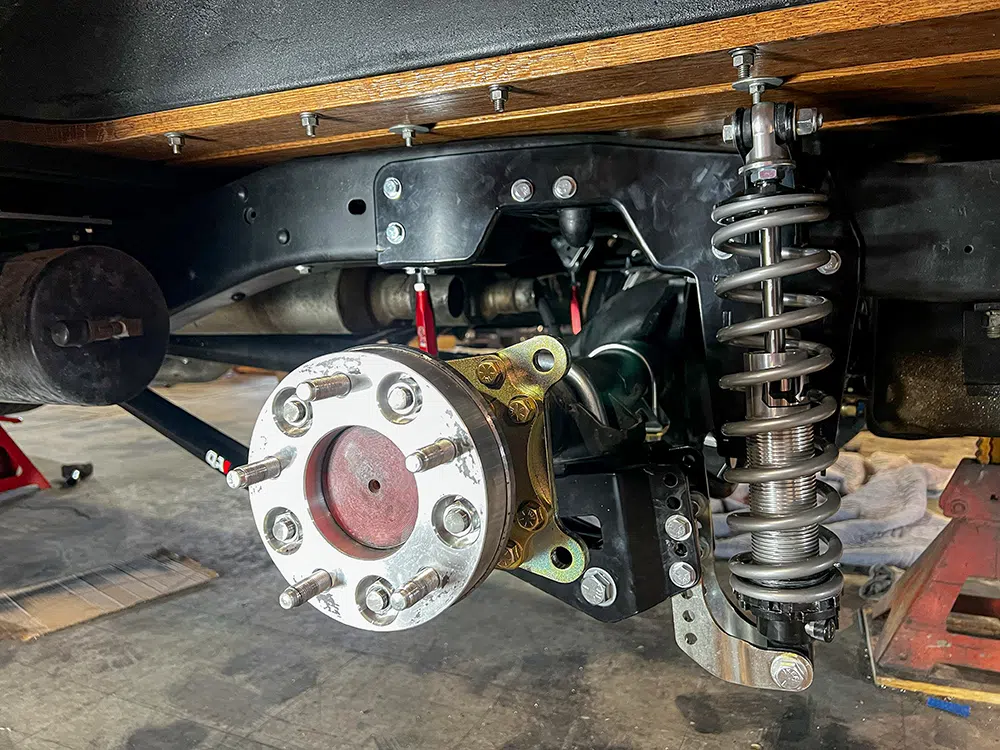
The upper coilover mounts bolt directly to the framerail and front crossmember, securing everything in place.The upper and lower control arms can also be installed along with the coilover. The system is extremely easy to manage, and the parts go together exactly as the instructions describe.We had a 6.0L LS block laying around, so we marked it up to make sure nothing would hit and the motor mounts fit correctly.
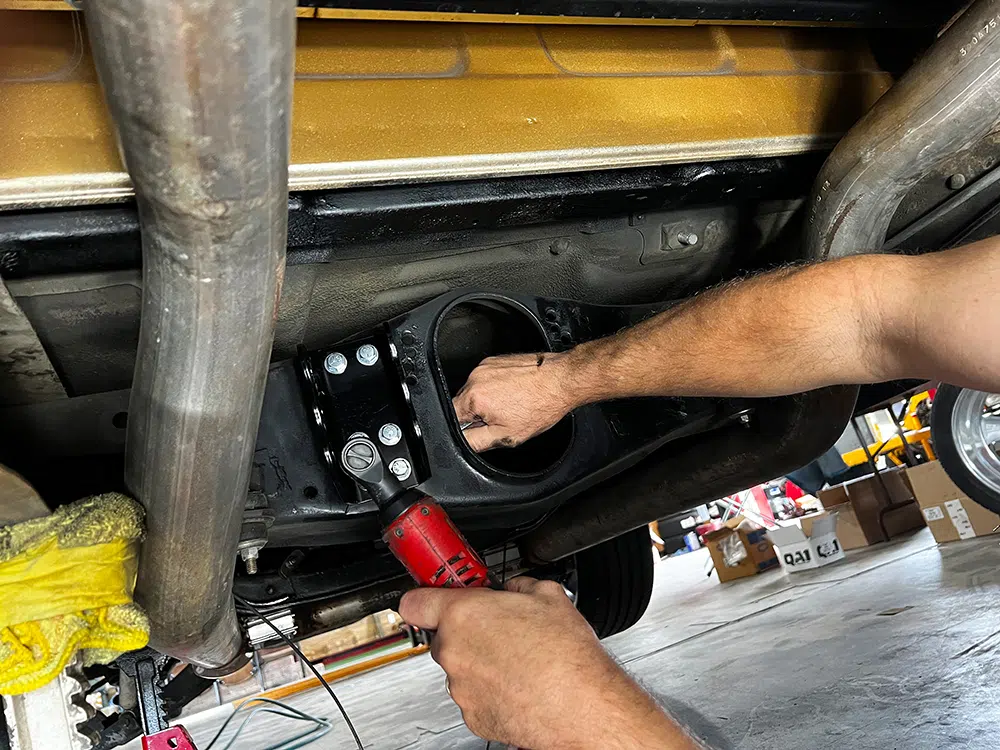
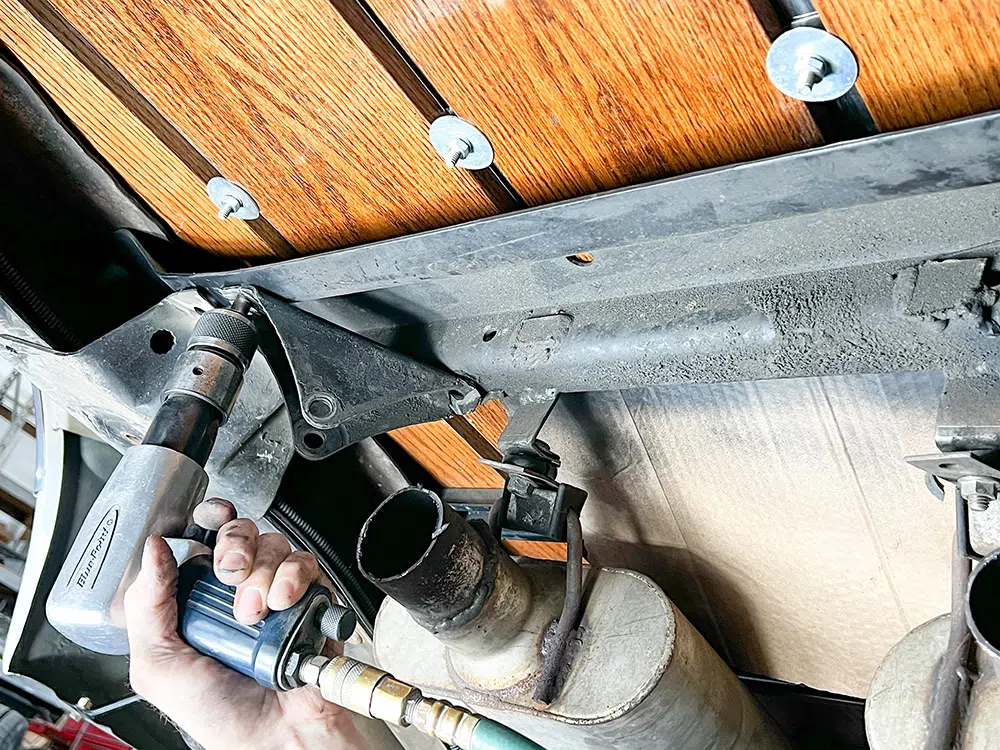
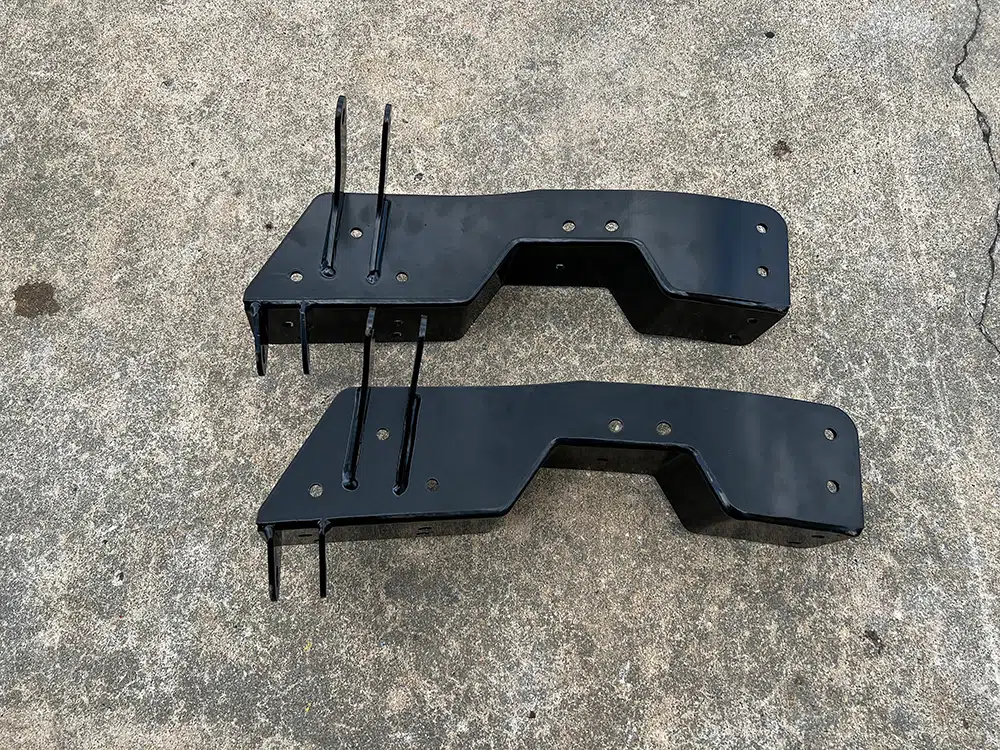
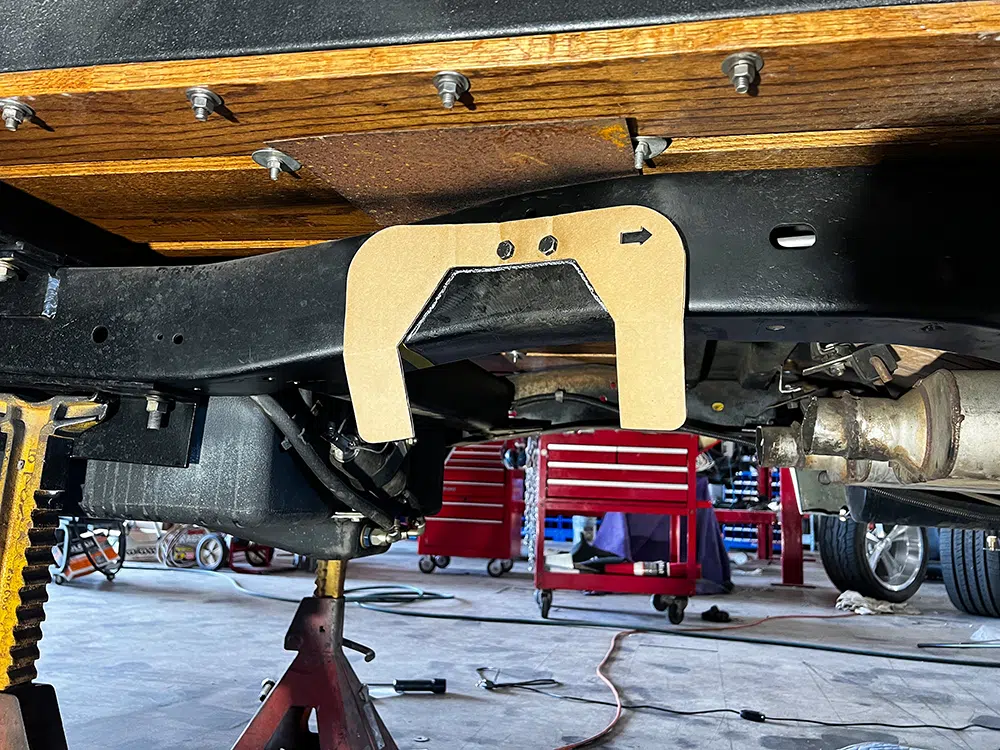
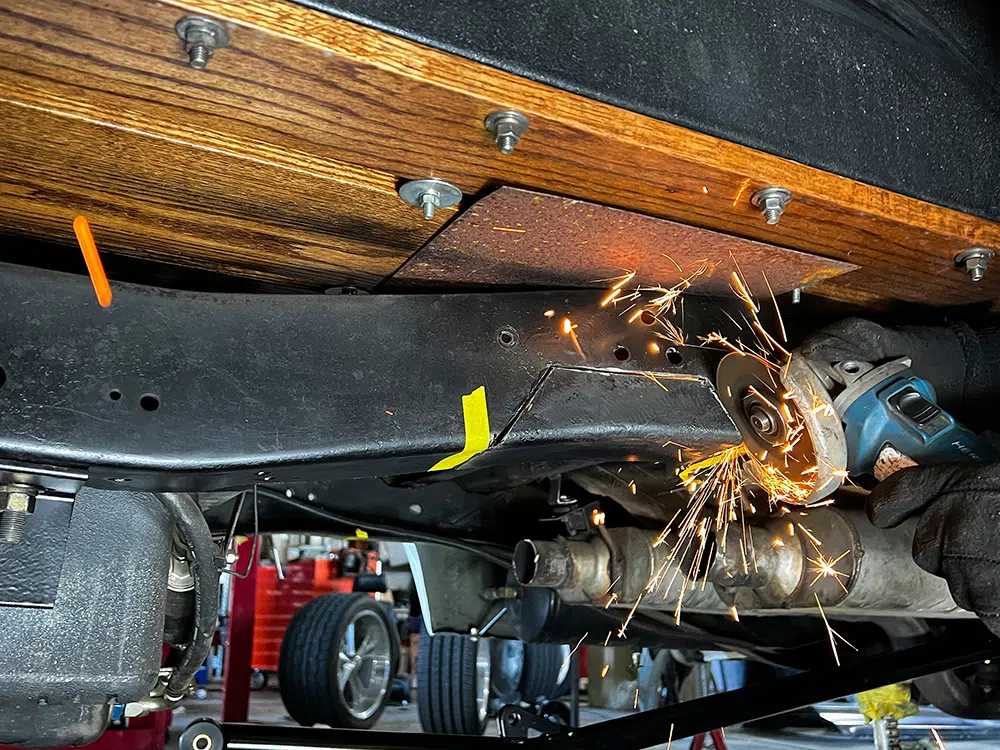
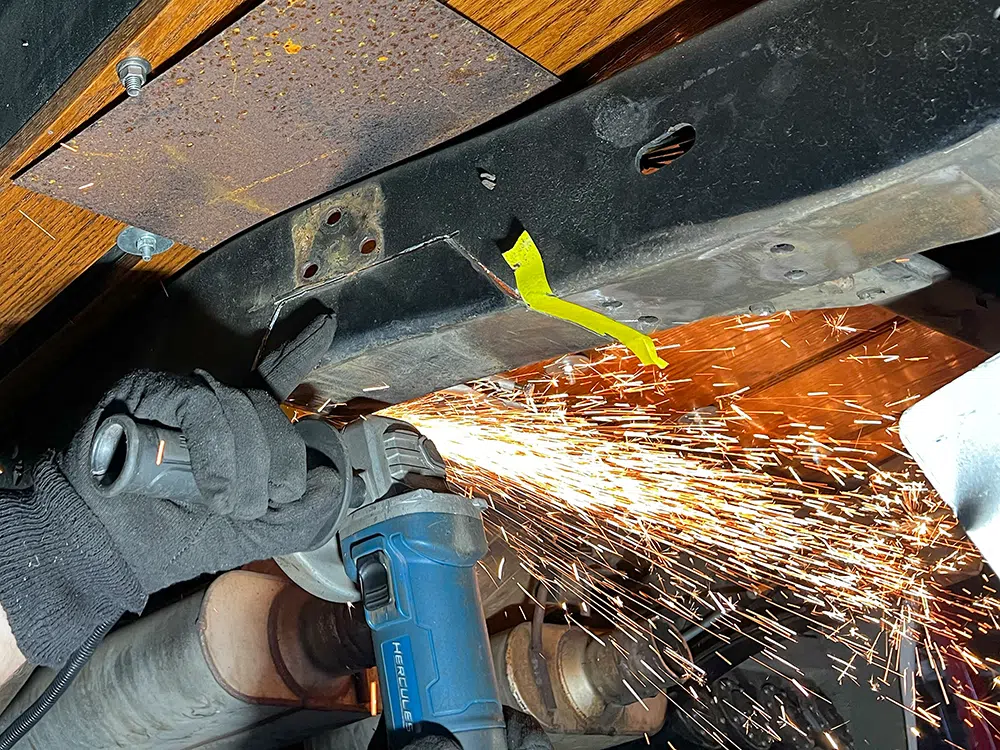
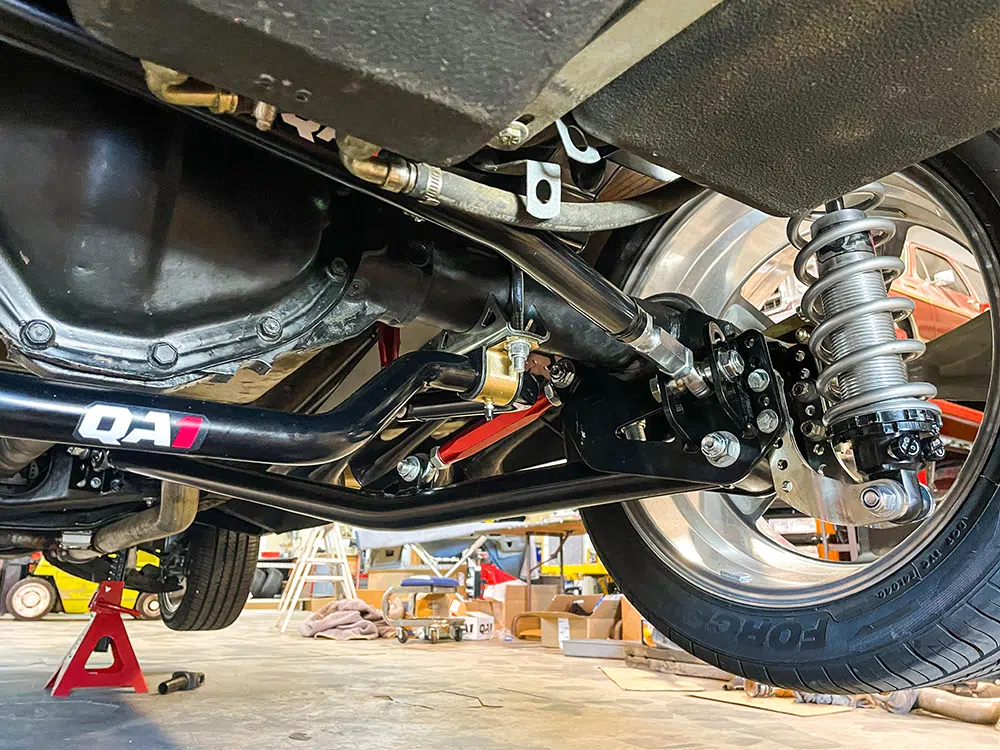
Moving to the rear, the first thing we need to install are the link bar brackets. After a few holes are drilled, they can be bolted to the crossmember.Next are the link bar mounts, which port directly to the brackets. Very nice engineering by QA1 Suspension.The factory shock mounts are removed for clearance.The link bars can now be installed onto the mounts. The Heim joints on the link bars are extremely solid and well-built.Now time to get a little dirty. We need to install these C-notch brackets in order for there to be enough clearance for the axle.QA1 sends a template to transfer onto a piece of cardboard, which will give us the exact cut we need to make.
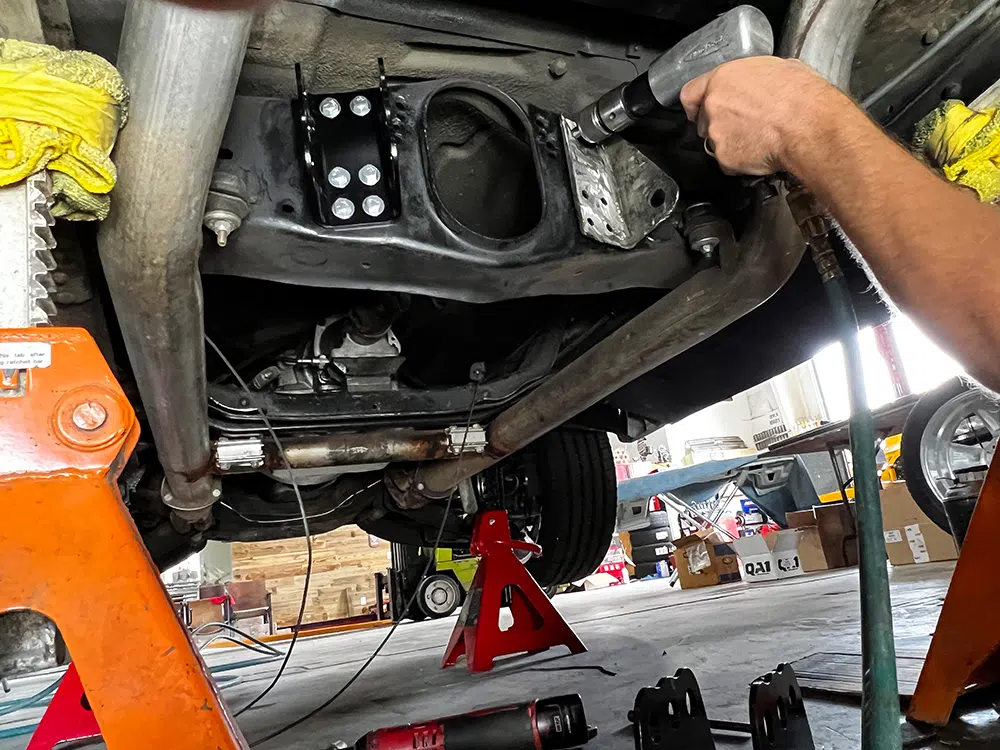
Using a cut-off wheel, Roger cut the frame clean and even on both sides.
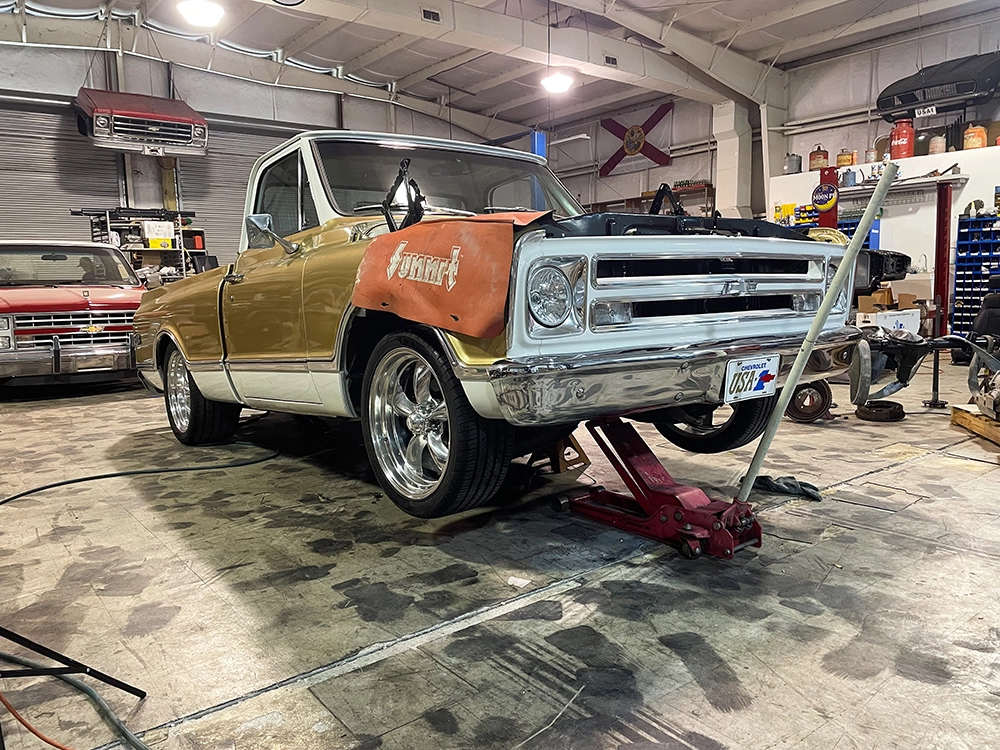
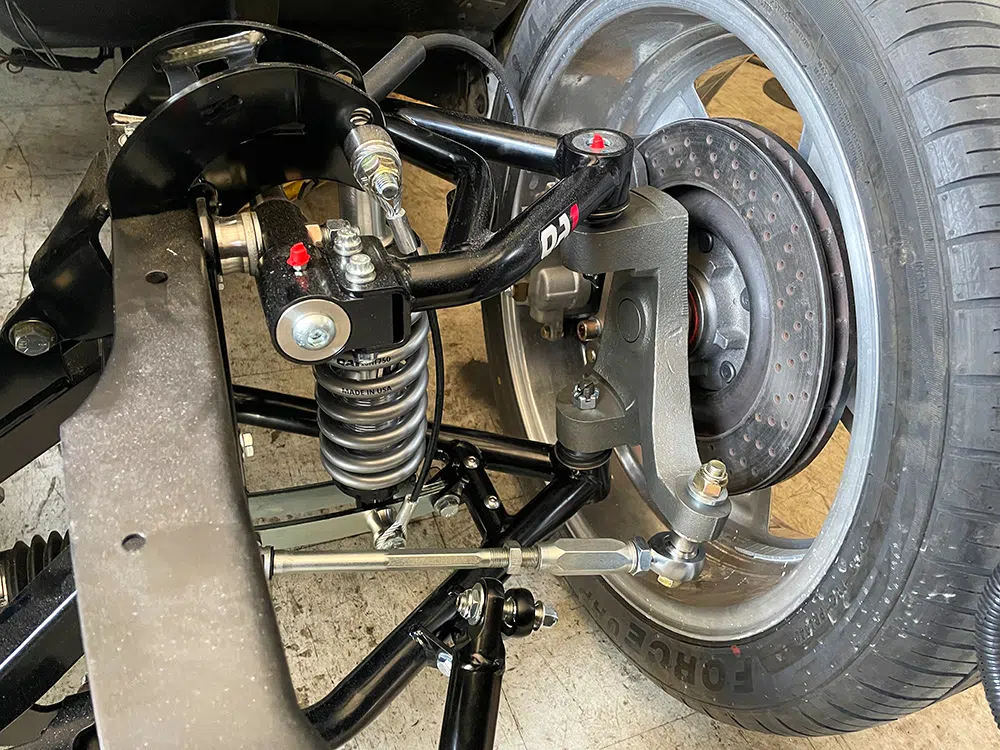
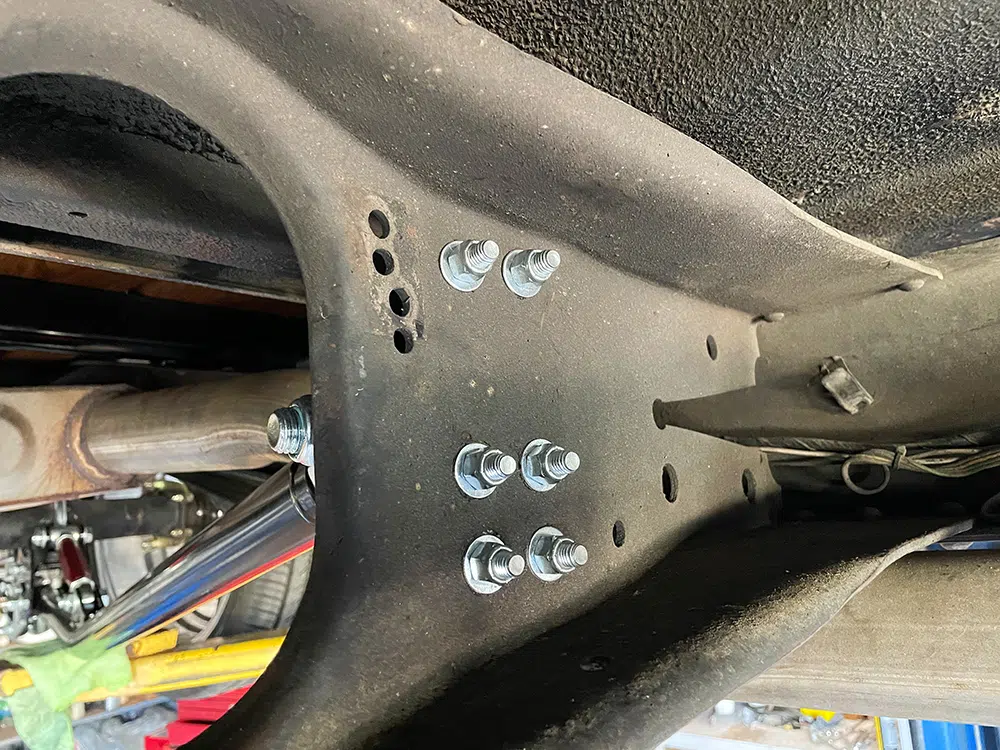
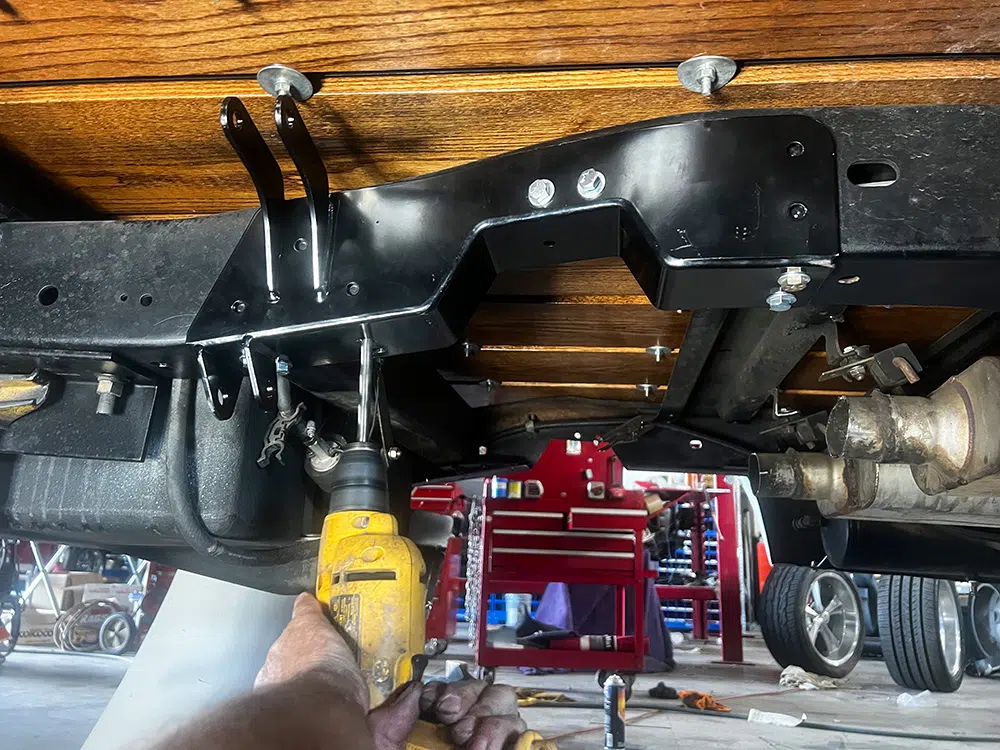
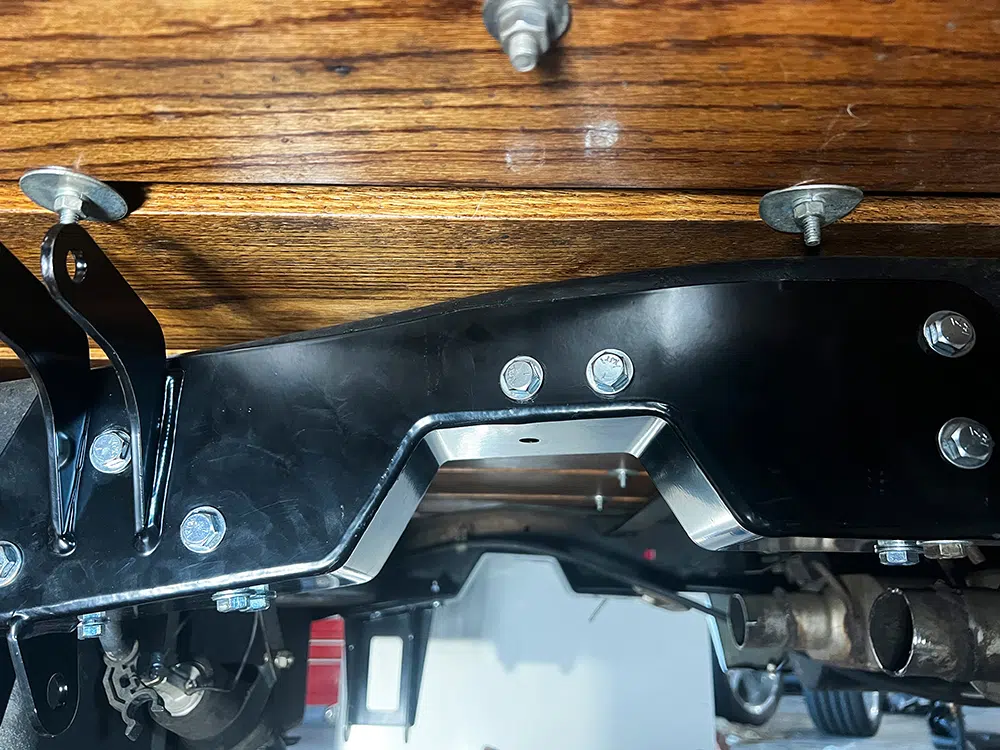
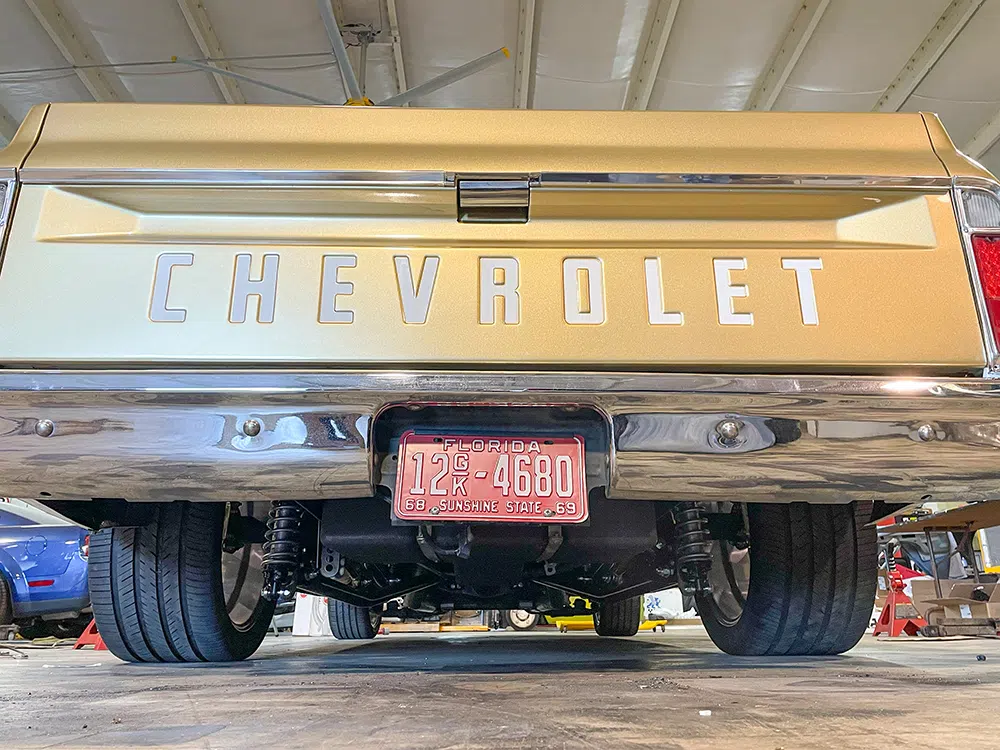
Now that the frame is cut, the bracket can be set into place. Holes can be drilled to bolt it into its final location.Next to install are the link bar brackets on the axle along with the link bars.To finish up the install, Dave added a few last red anodized link bars. Heim joints are also installed to finish off the suspension.Now we simply bolt the coilovers into place along with the front and rear sway bars before the wheels can go on. This was a very fun install to complete if you have the time and the patience.We set the truck on the ground to see its final stance. In the next issue, we will show you the wheels we have chosen and get this engine fired up. This is going to be another great Street Trucks build!
Chris Hamilton is an automotive journalist, editor, and lifelong truck enthusiast with extensive experience covering custom truck builds, fabrication, performance upgrades, aftermarket products, and a ...
We use cookies to enhance your browsing experience, serve personalized ads or content, and analyze our traffic. By clicking "Accept All", you consent to our use of cookies. Visit our Cookie Policy for more info.


Share Link