 SOLOMON LUNGER
.
March 15, 2023
.
Department
.
SOLOMON LUNGER
.
March 15, 2023
.
Department
.
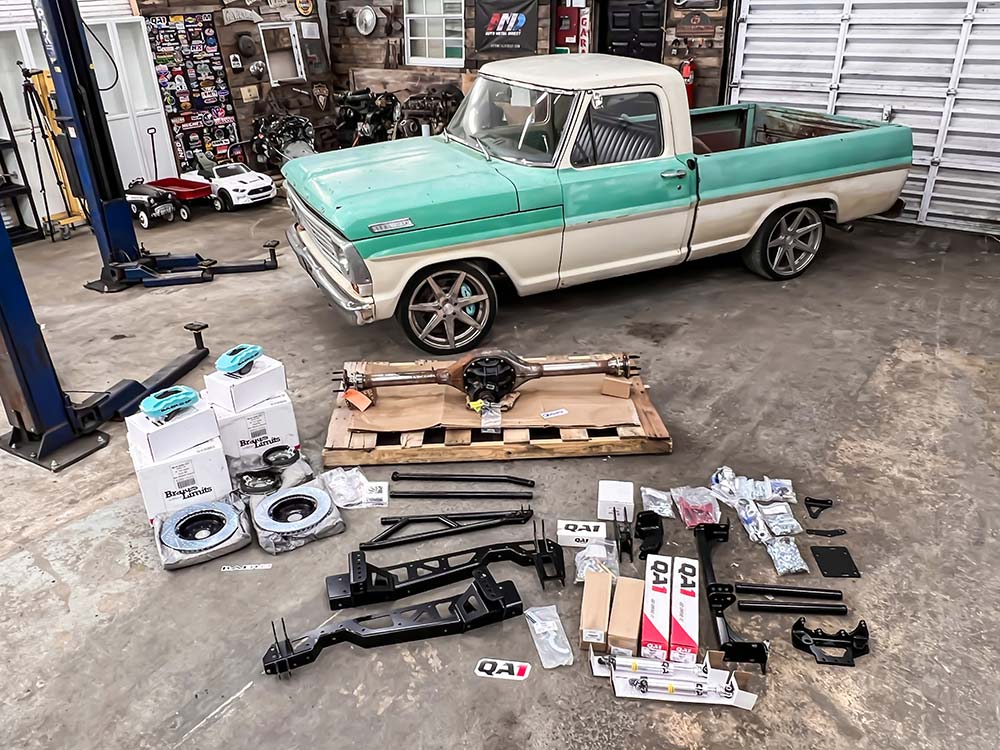
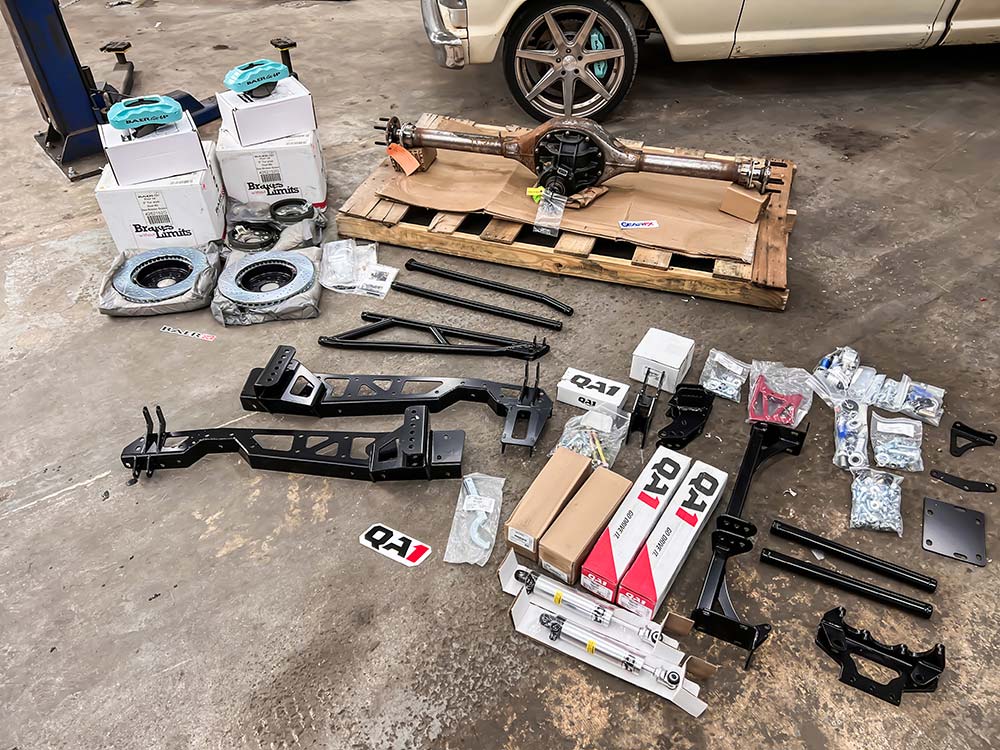
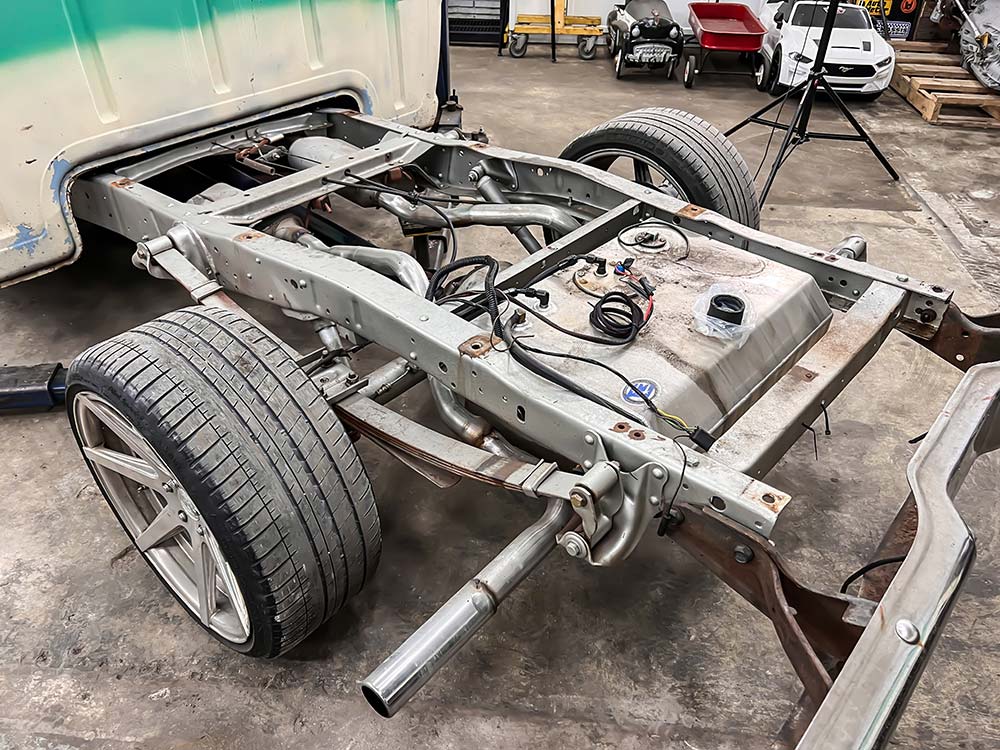
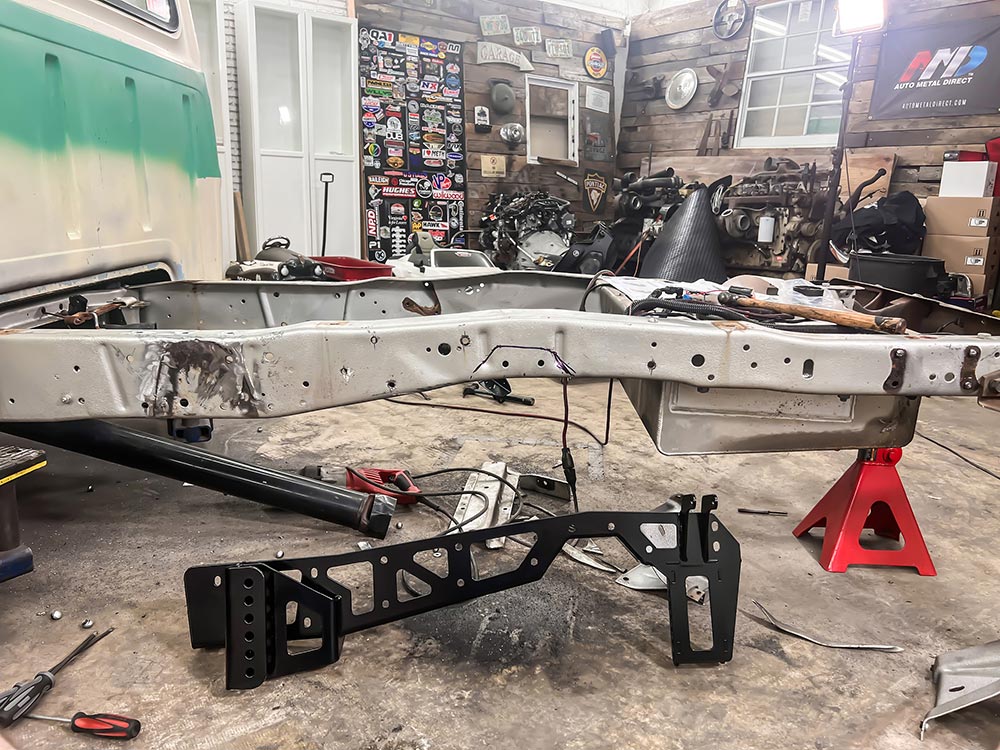
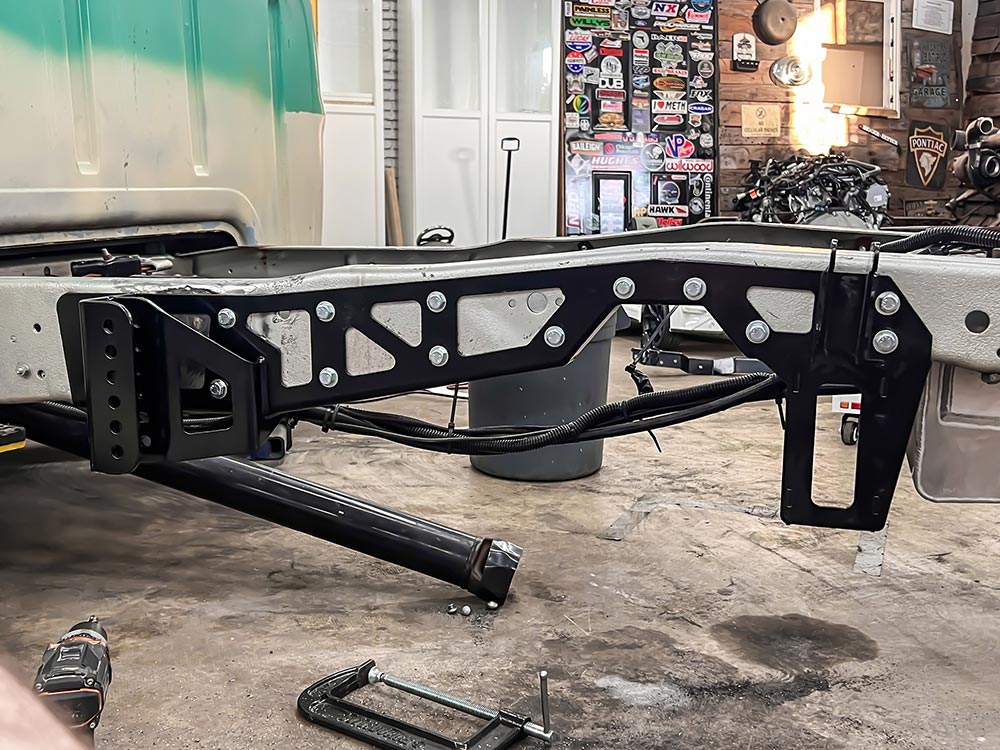
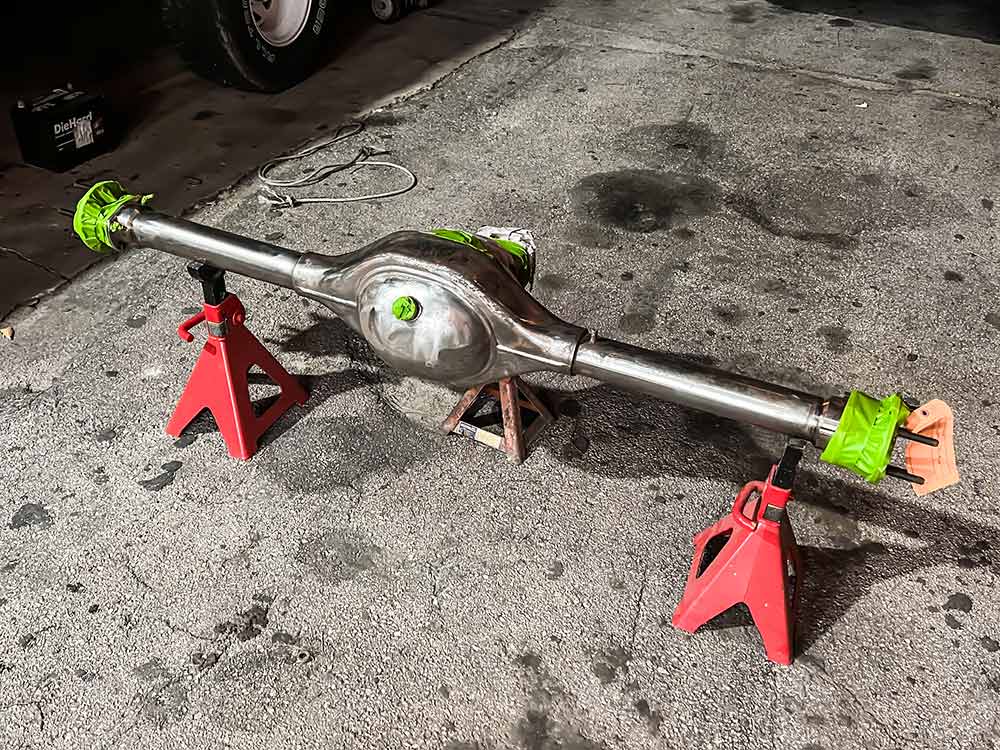
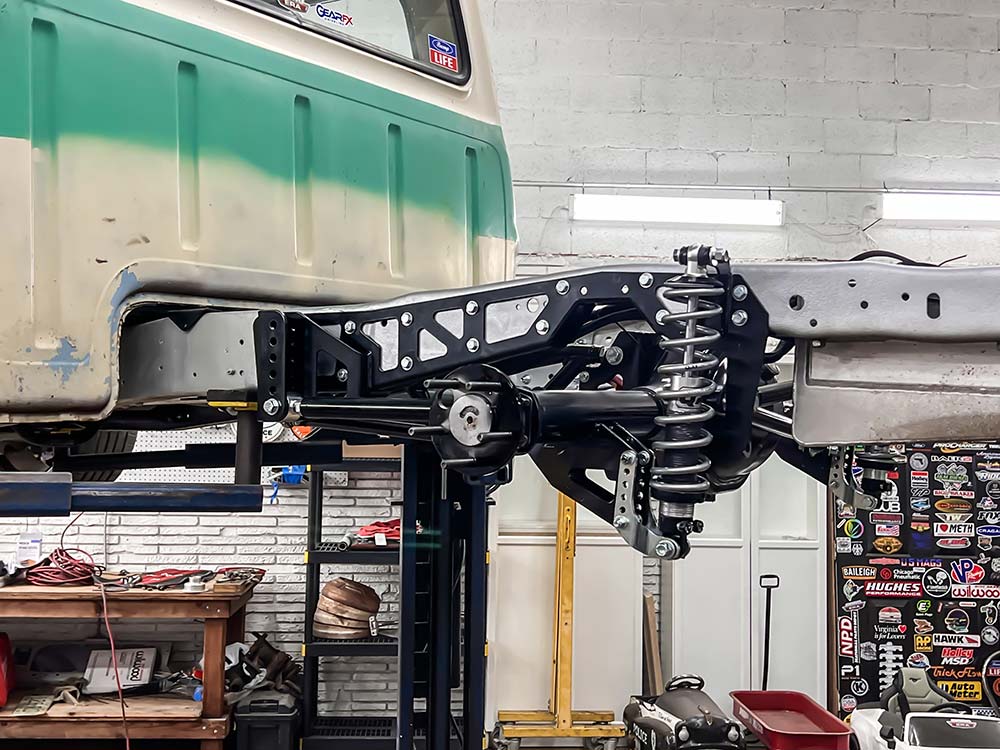
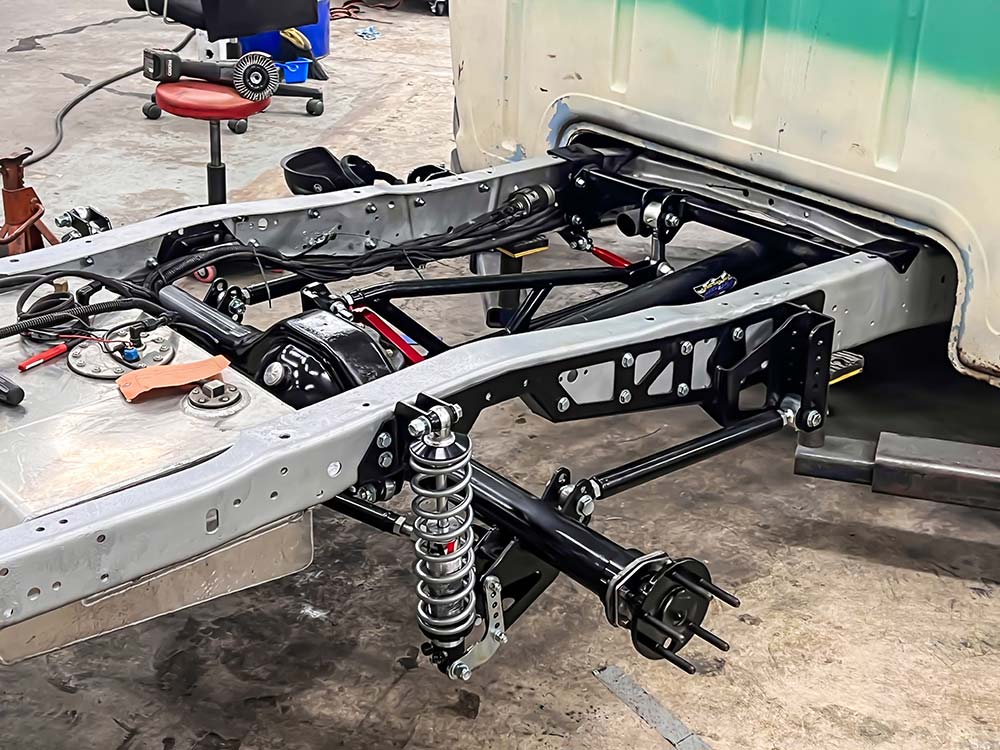
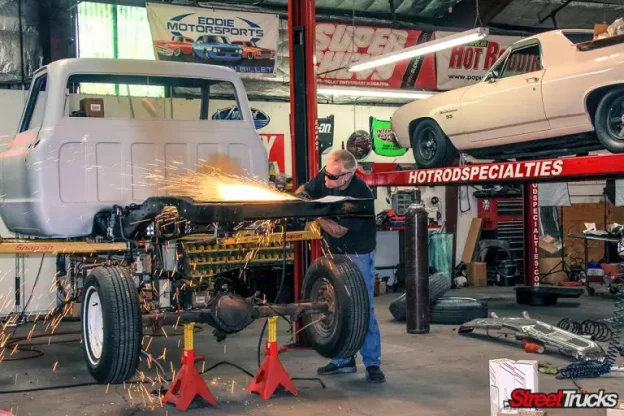
In the last issue of FBG, we did some Crown Vic front upgrades to our 1967 F-100, and we wanted to keep the rhythm going and address the rear suspension too.
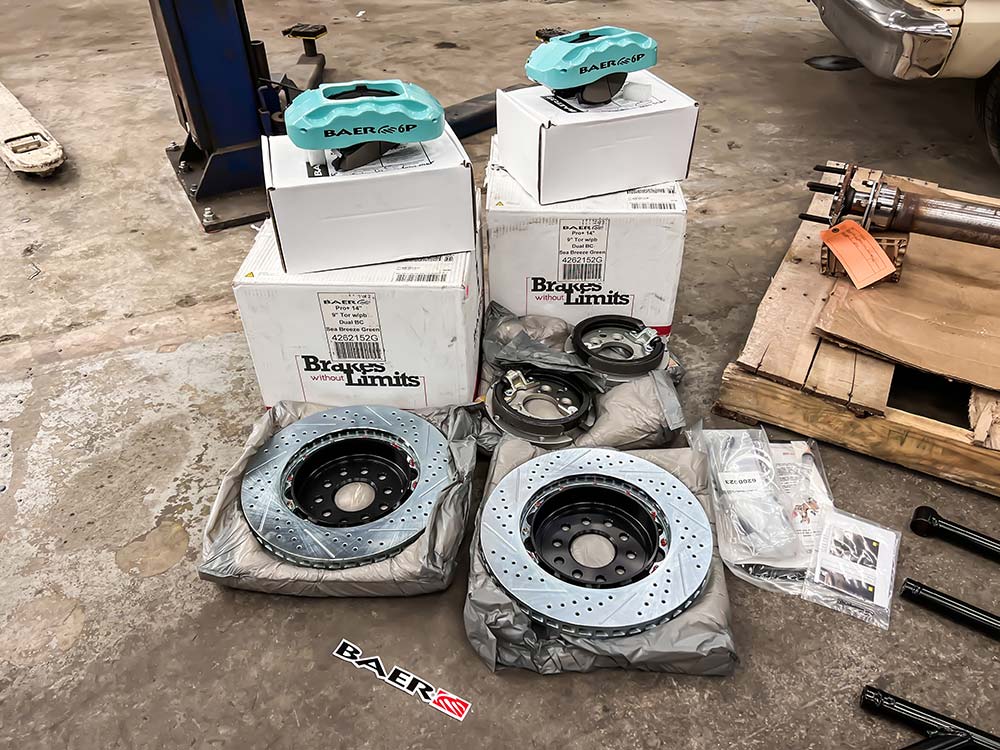
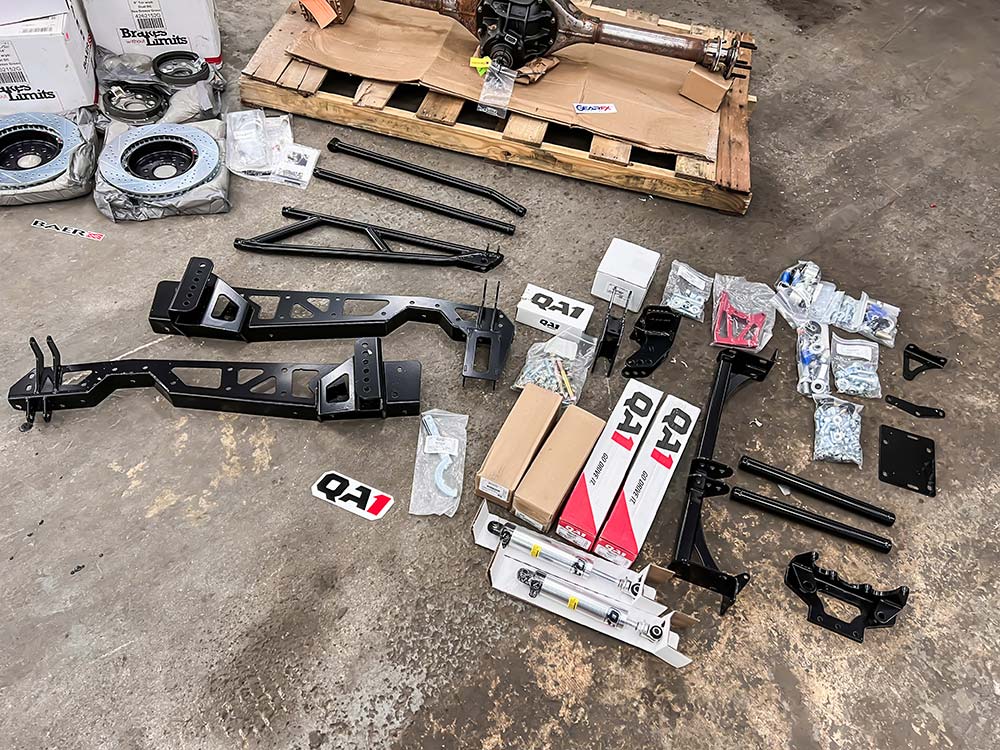
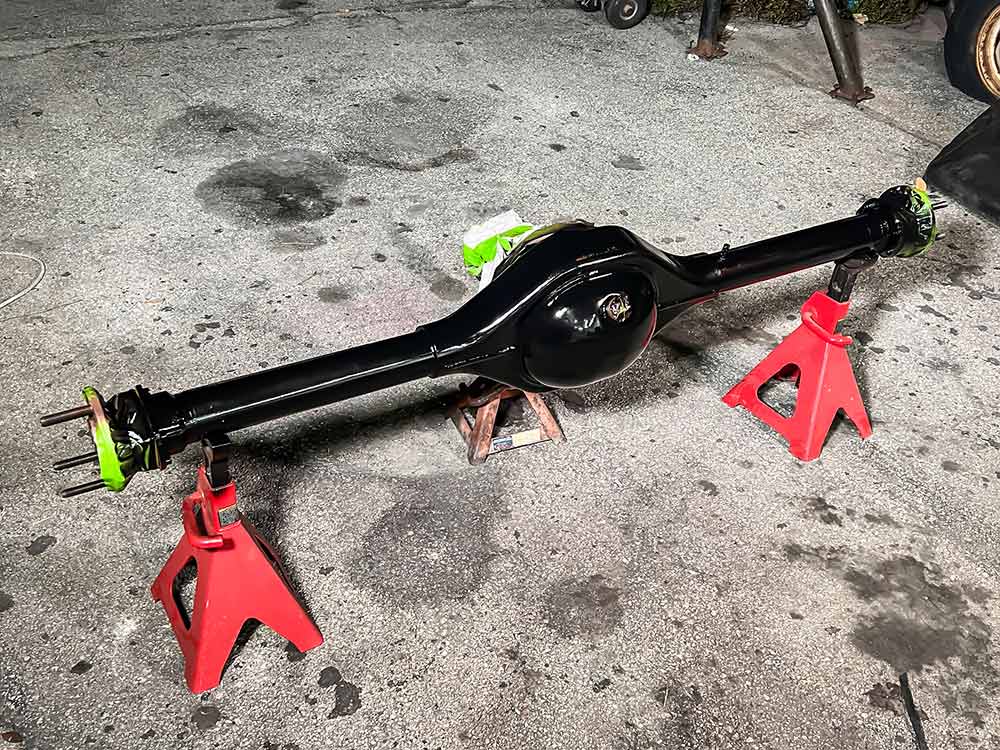
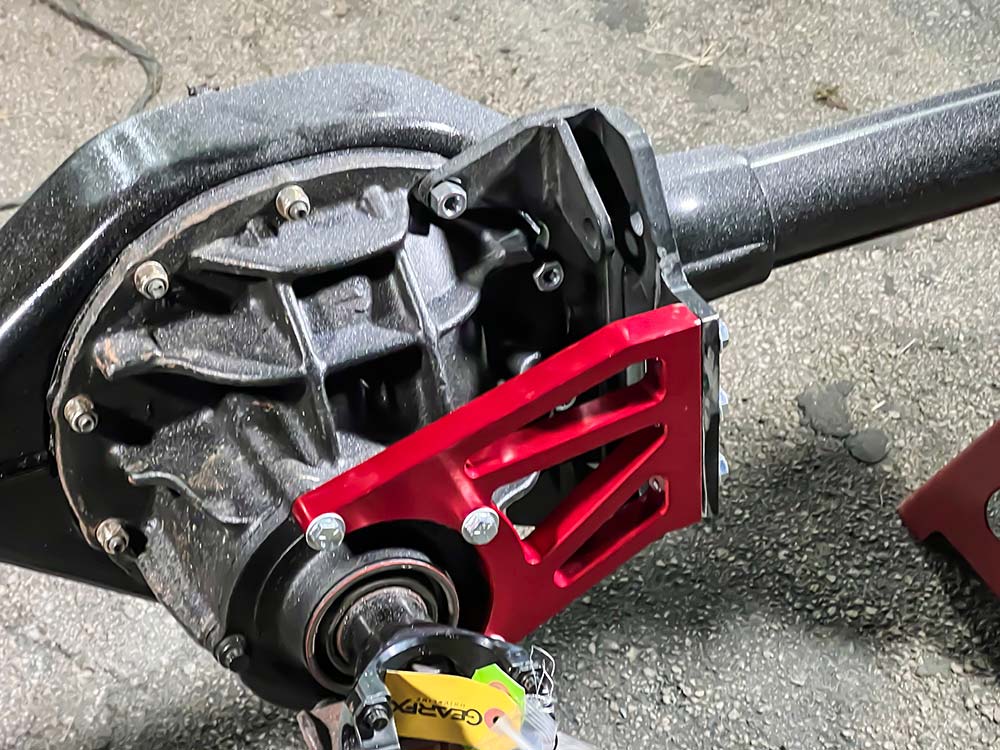
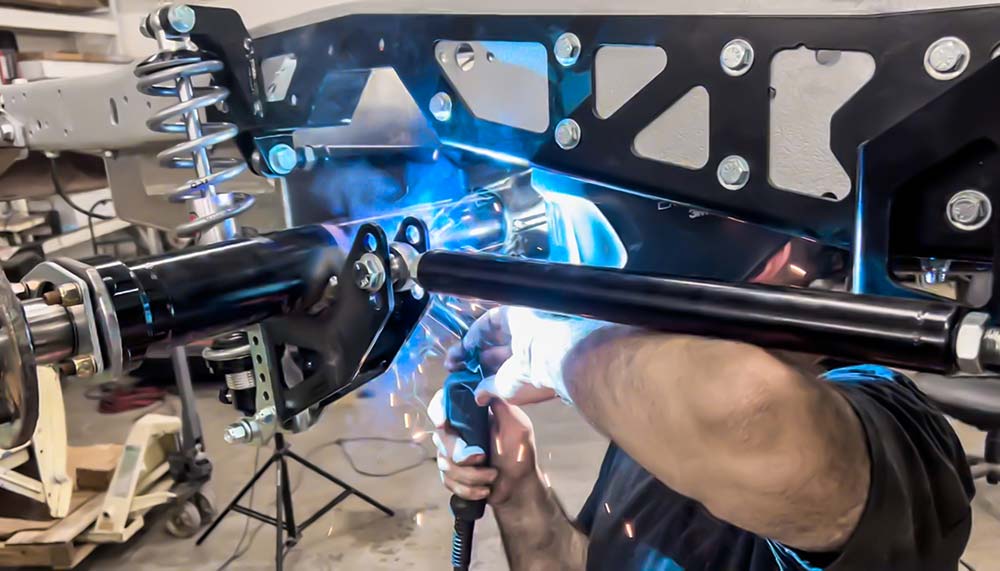
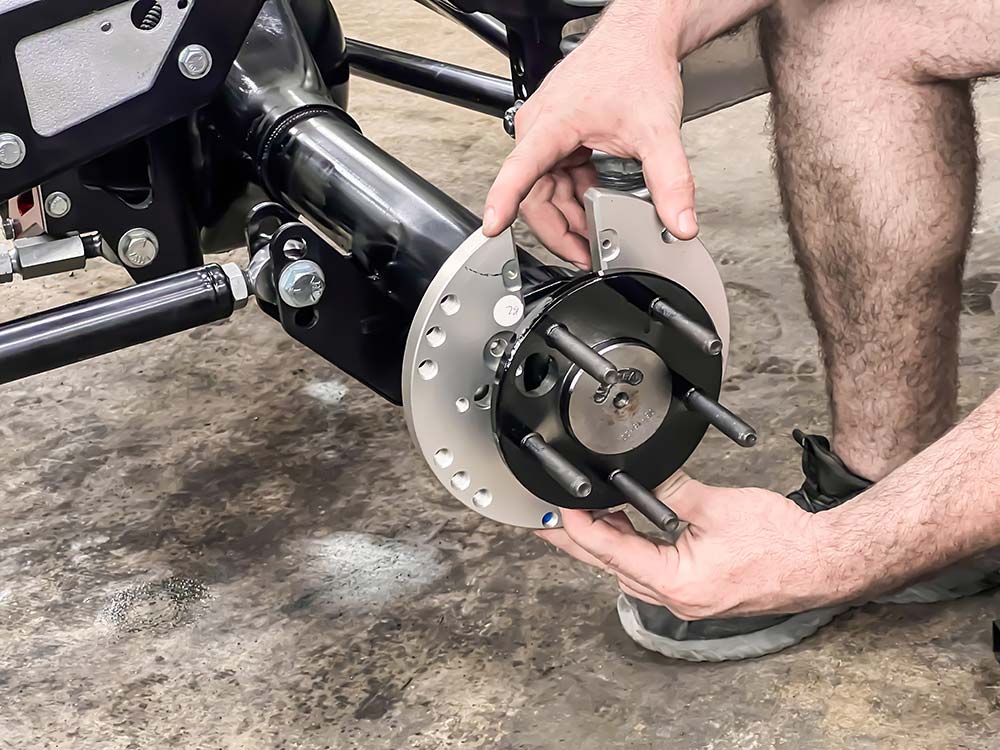
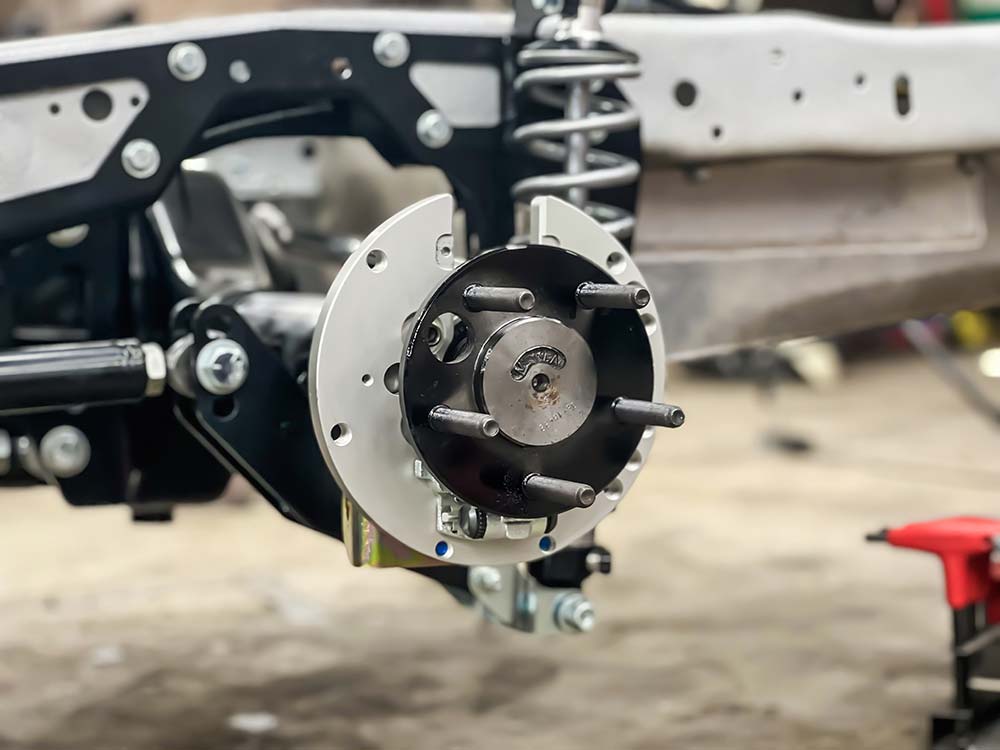
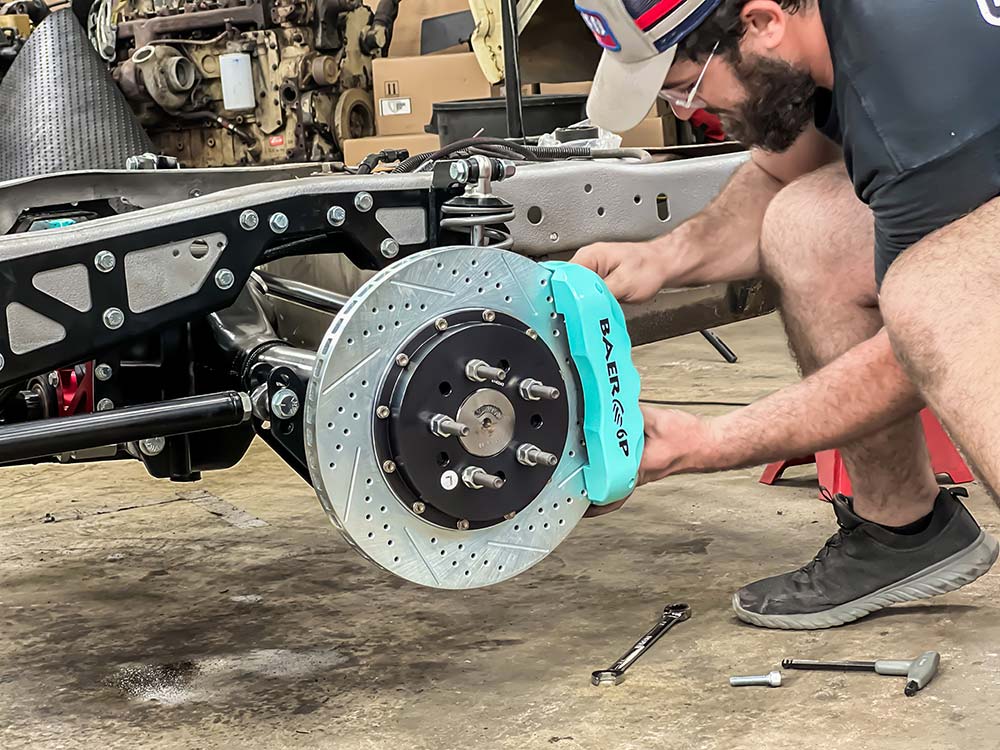
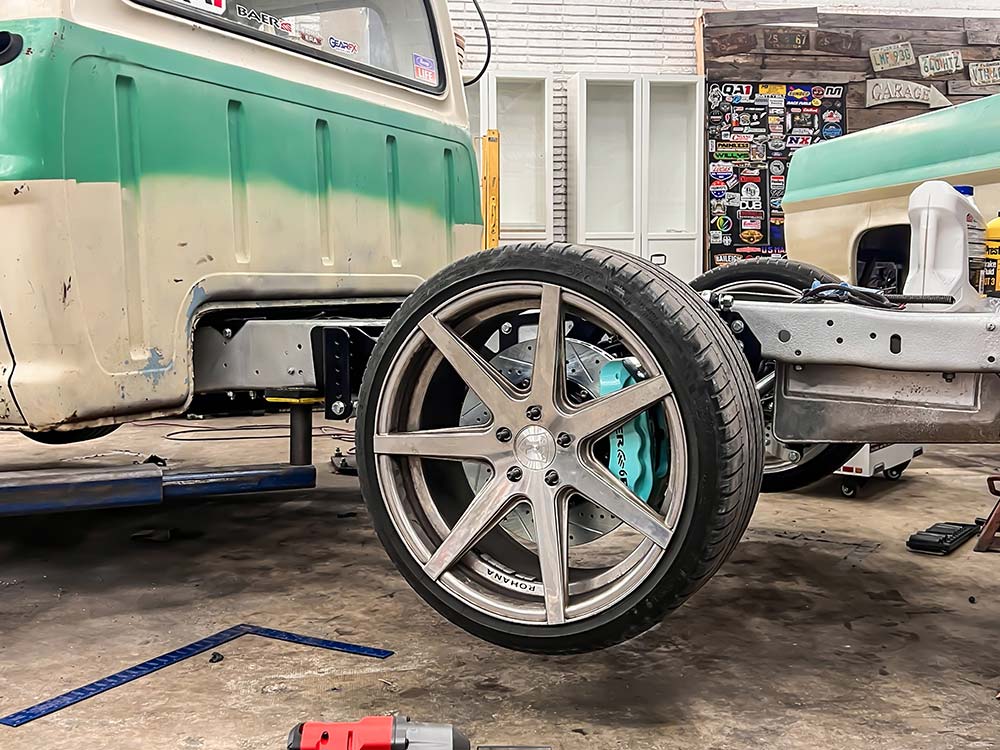
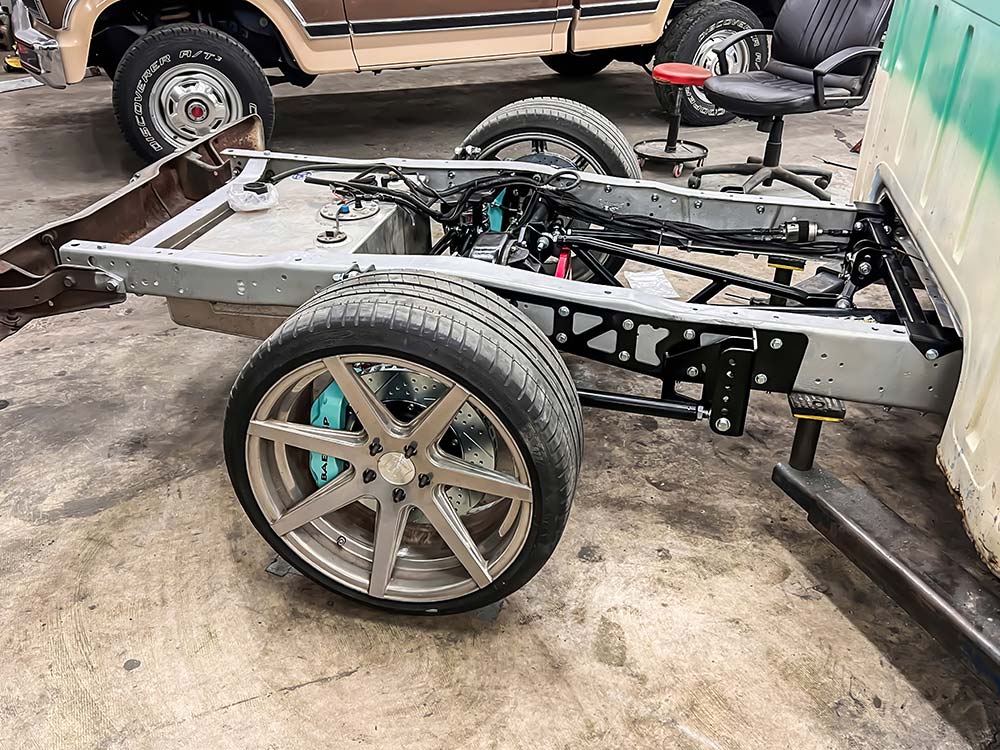
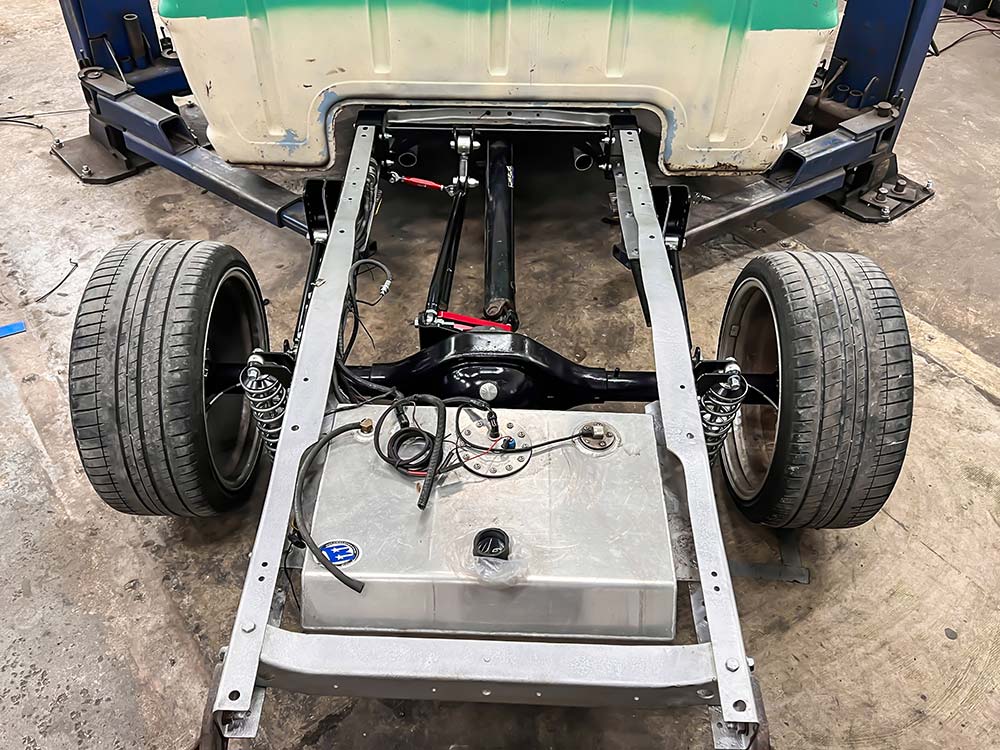
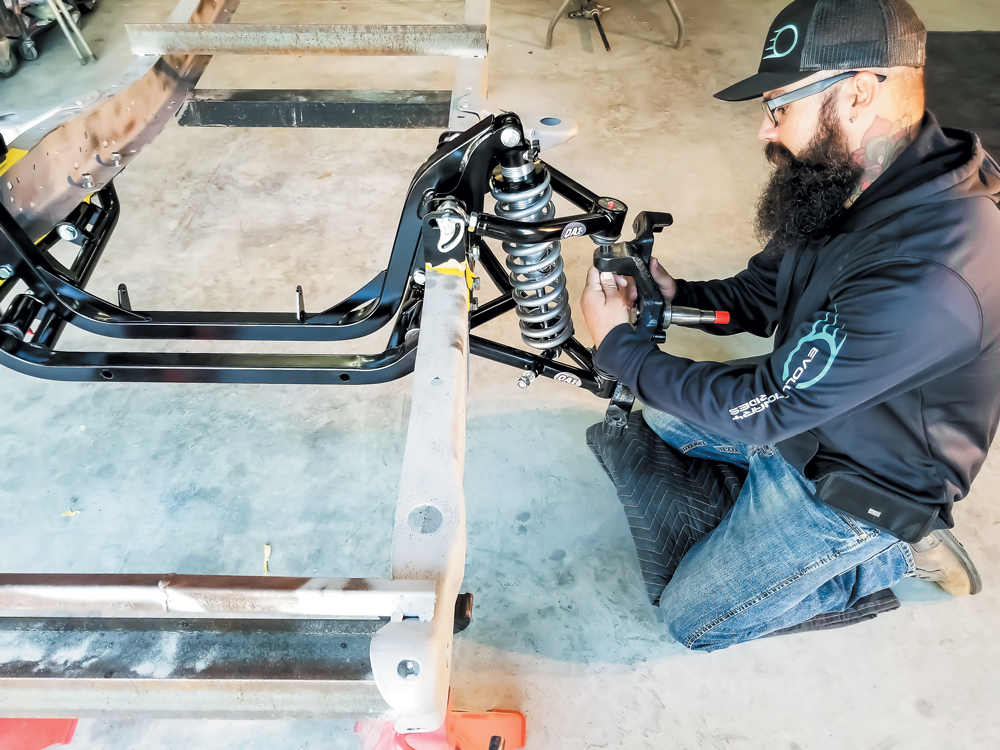
We have some fun plans with this ’67 F-100, and power is one of them. With that in mind, we elected to go for a new 9-inch GearFX driveline housing with 35 spline axles, 3:70 gears, a Detroit locker. To hold that monster of a rearend in place, we have the QA1 rear suspension. Just like up front, we went with a matching set of Baer Brakes Pro+ 6-piston setup.

One thing we did a little differently than a usual QA1 install is that we welded the QA1 axle parts to the axle instead of bolting it on, just because of what the intent of the final build is.


C10 Builders Guide
The C-10 crowd builds trucks in a variety of flavors; everything from stock with a restored look and lowered on some clean rollers to flat… Continue reading
Chris Hamilton . September 19, 2023
C10 Builders Guide
There are lowering components on the market with very different agendas. For C10 owners looking to simply lower the ride height of their truck, the… Continue reading
Chris Hamilton . January 30, 2020

Department
Fred Bishop’s tale of this gorgeous 1971 Ford F-100 build (now affectionately known as El Diablo) begins seven years back or so. Fred’s Uncle Dave… Continue reading
Mike Alexander . August 17, 2021
F100 Builders Guide
A1, the alphanumeric code for one of the industry’s top suspension, rod ends, spherical bearings and shock absorber companies, was founded in 1993 by Jim… Continue reading
streettrucks . June 10, 2020

F100 Builders
F-100 Super-Nationals & All Ford Show 43 Years And Still Going Strong! Nothing could stop the F-100 Supernationals & All Ford Show this year. Neither… Continue reading
Adam Johnson . April 05, 2021

F100 Builders
Two Family Favorites Inspired this Latest Addition! Lots of folks can claim an early start to their automotive enthusiast hobby, but few folks can top… Continue reading
Joe Greeves . October 05, 2021


We use cookies to enhance your browsing experience, serve personalized ads or content, and analyze our traffic. By clicking "Accept All", you consent to our use of cookies. Visit our Cookie Policy for more info.

Share Link