 SOLOMON LUNGER
.
November 11, 2022
.
Department
.
SOLOMON LUNGER
.
November 11, 2022
.
Department
.
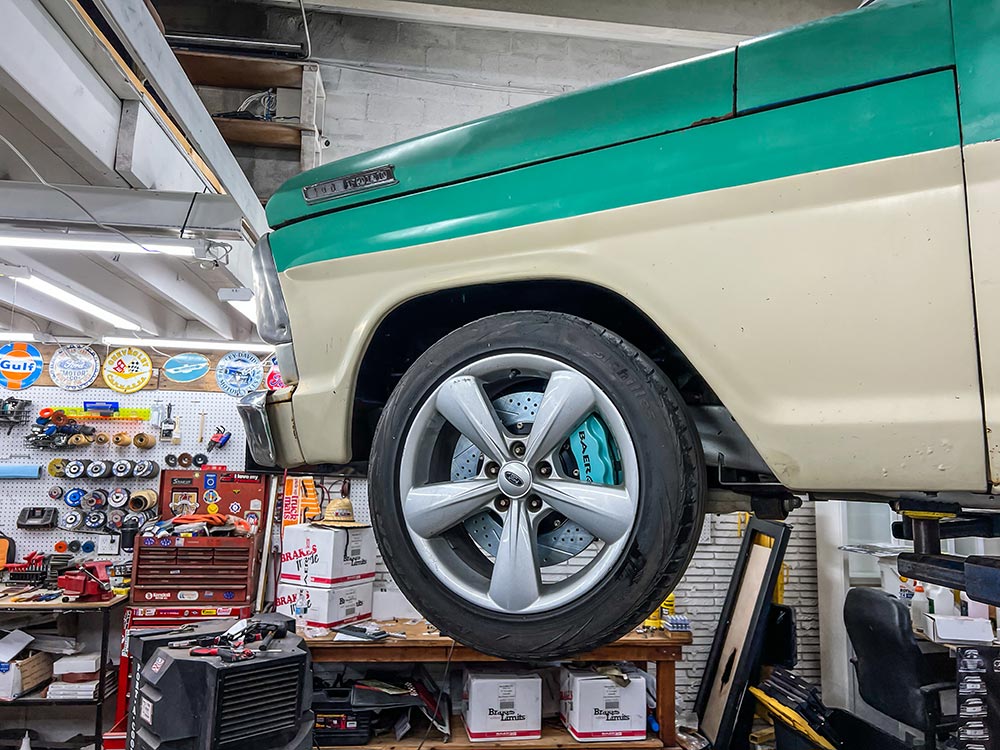
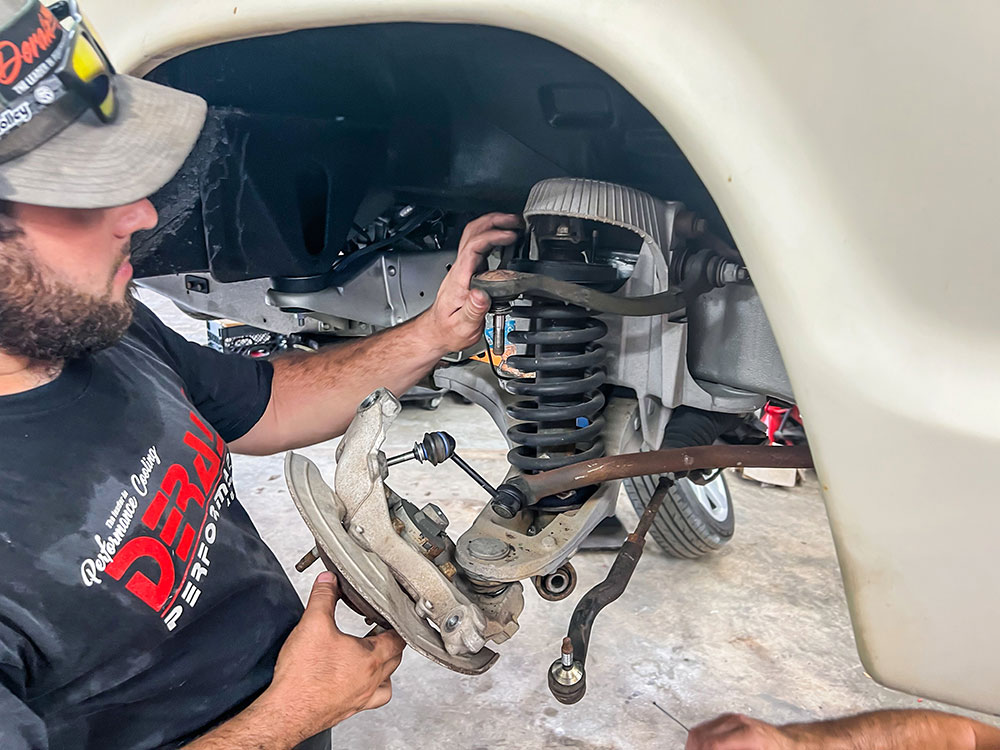
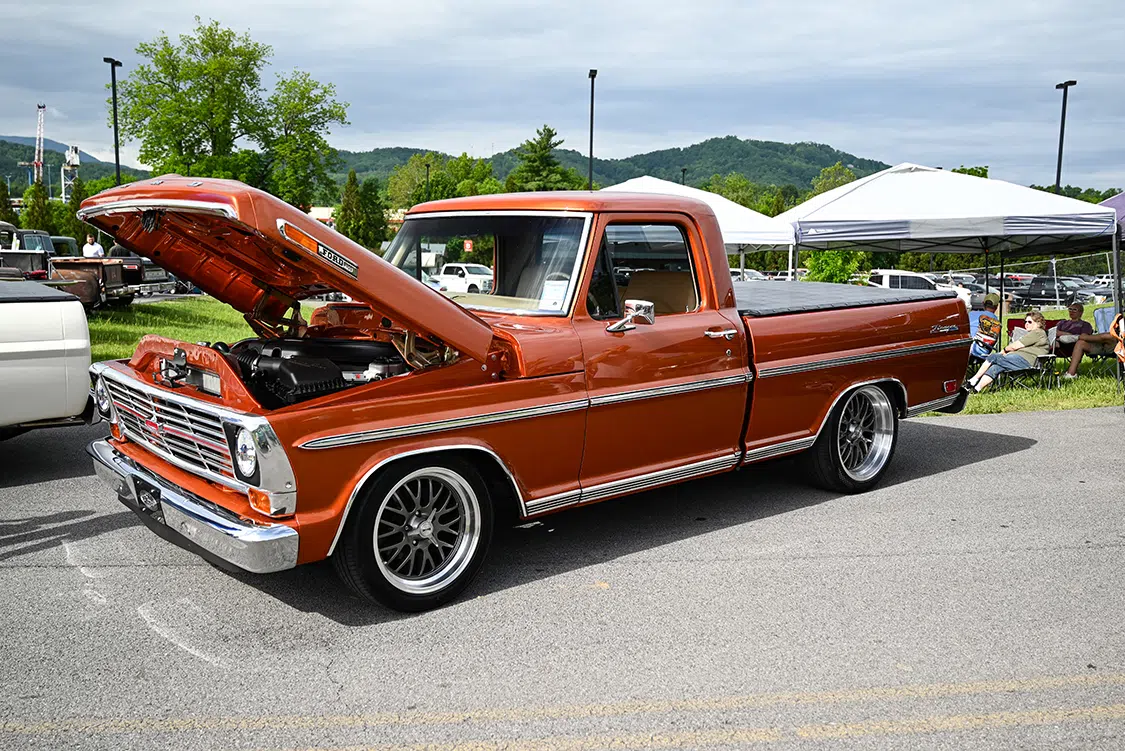
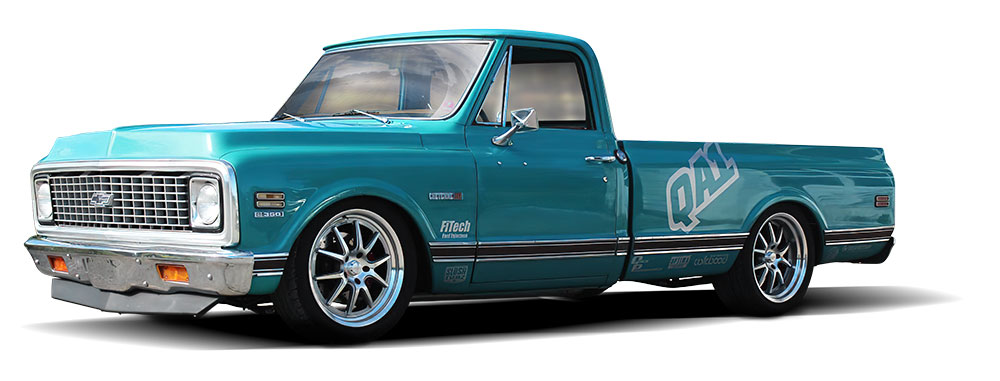
The Crown Victoria has become extremely popular as a front suspension swap for our beloved F-100s. One of the main reasons is because of the abundance of Crown Vics from 2003-2011. The aftermarket always takes notice of trends and, of course, this is no exception.
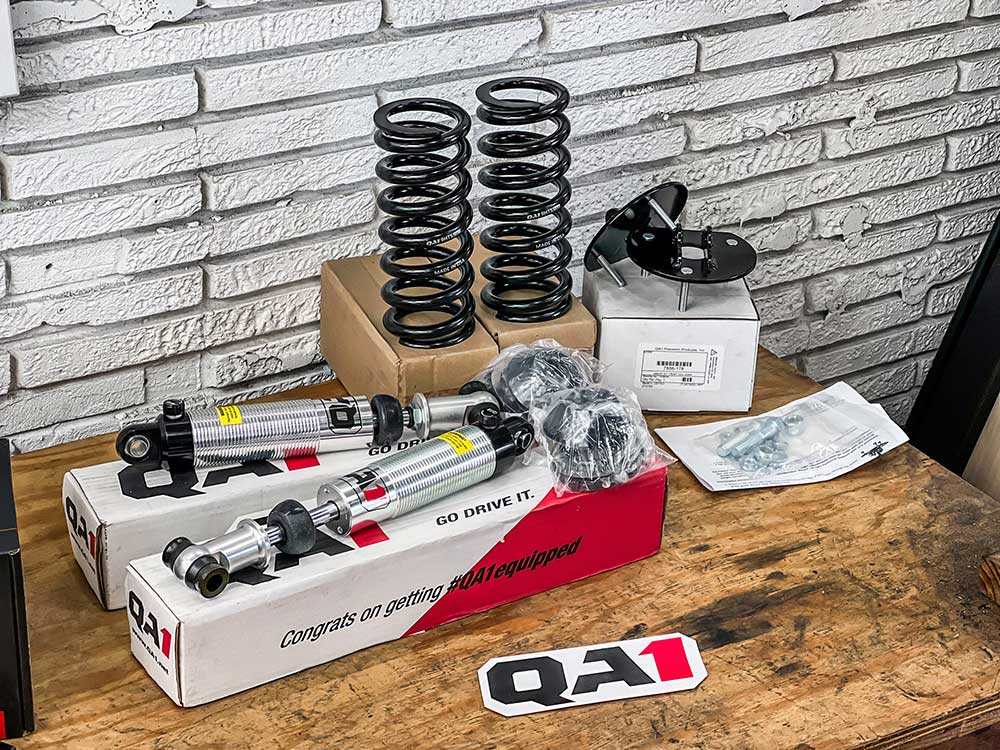
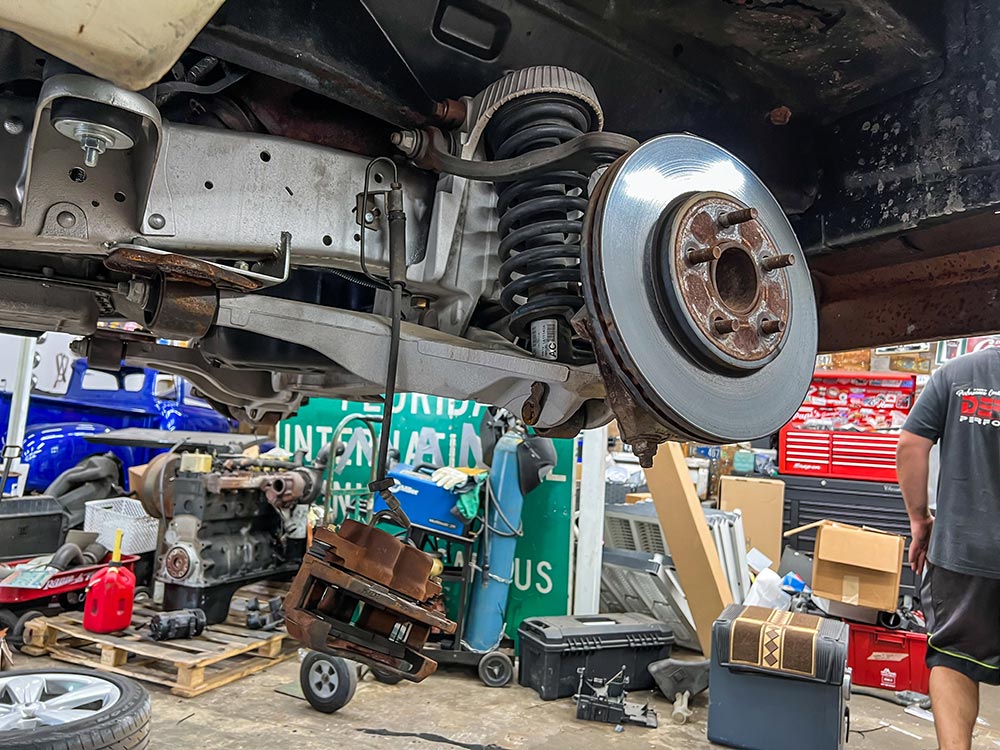
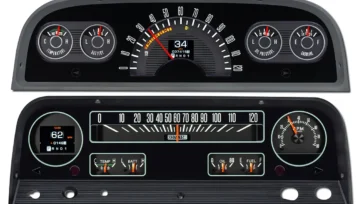
The factory Crown Vic front suspension has 1- or 2-piston disk brakes and a shock and coilover springs that have no adjustment. Thankfully, companies like Baer Brakes and QA1 Motorsports are there to help us all out.

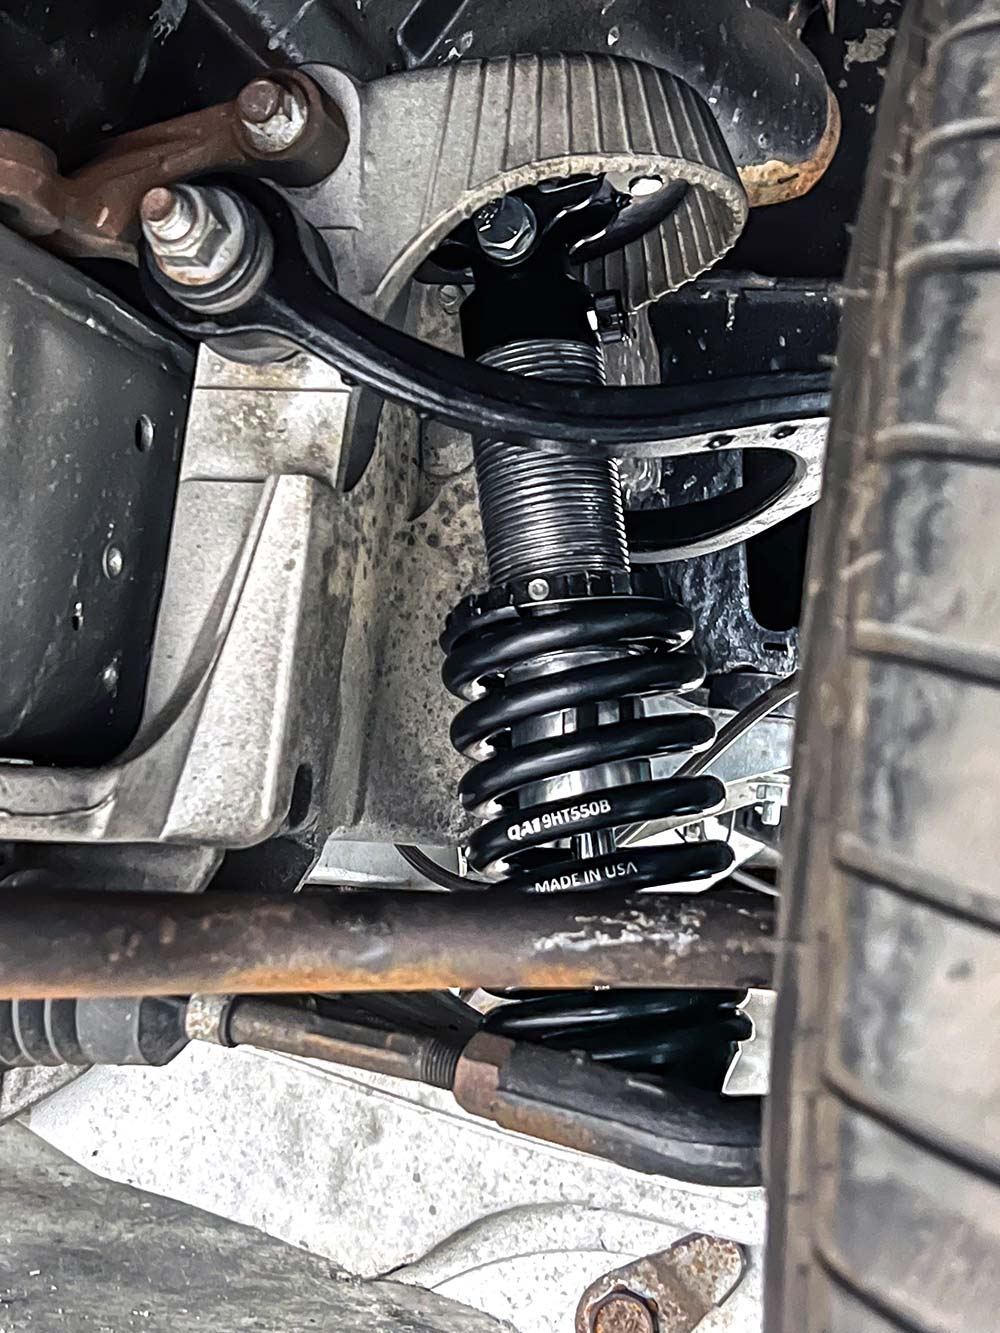
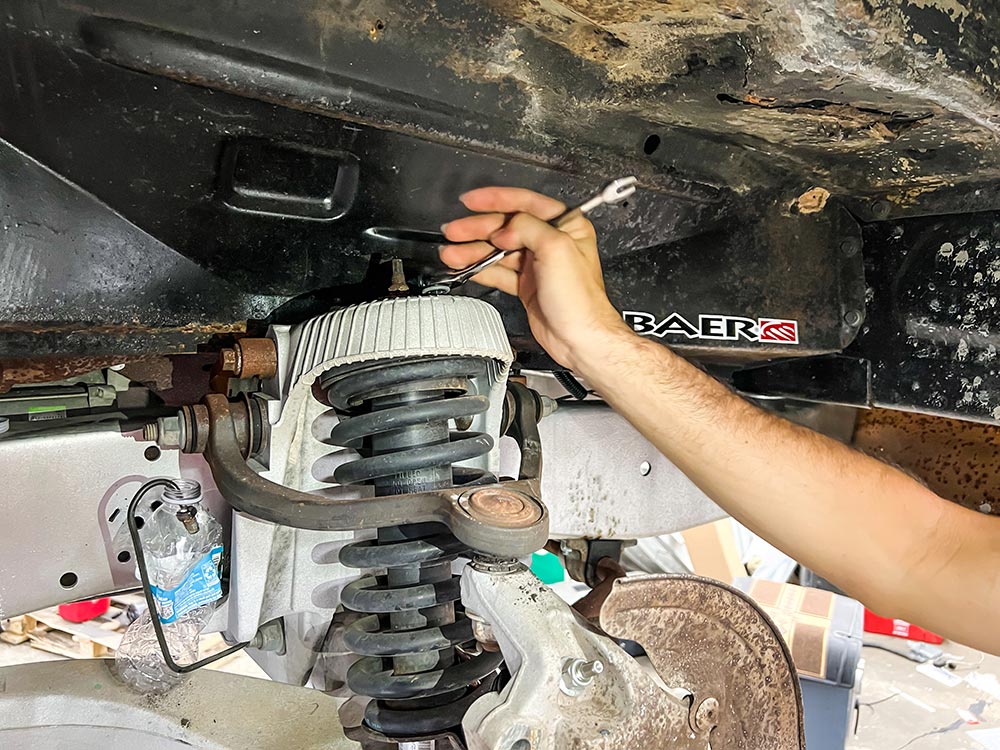
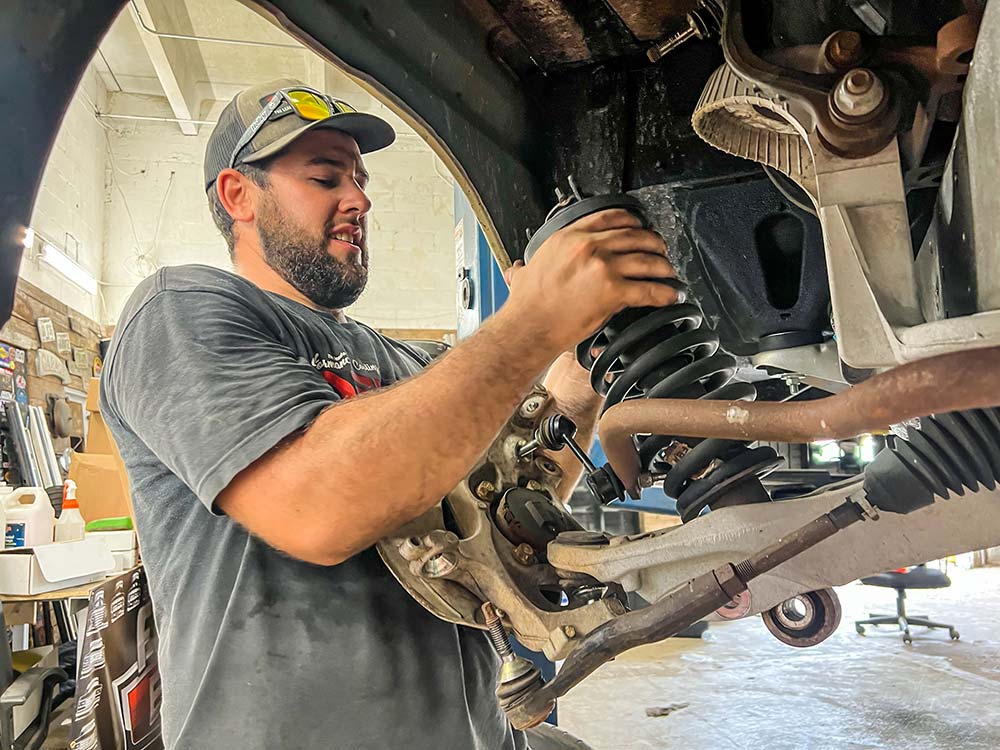
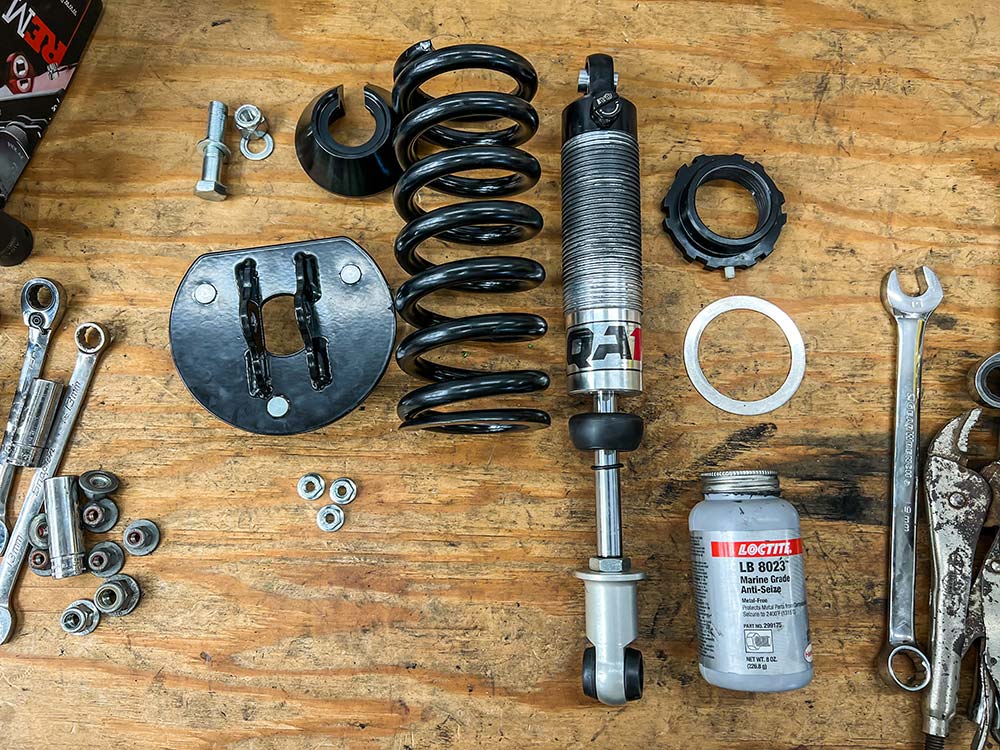
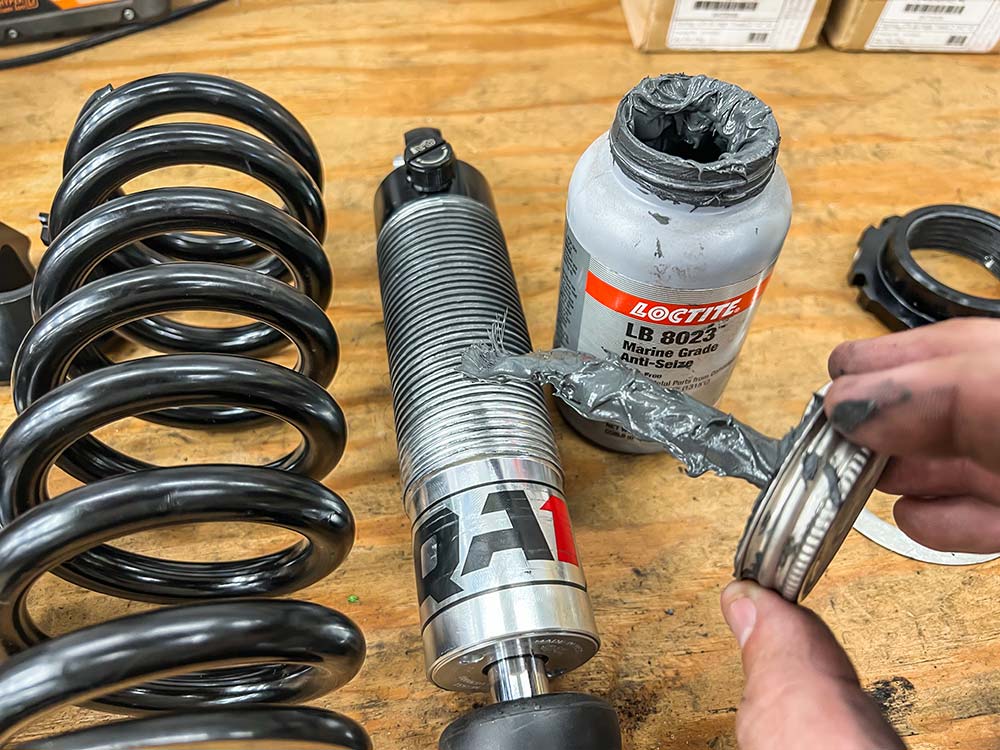
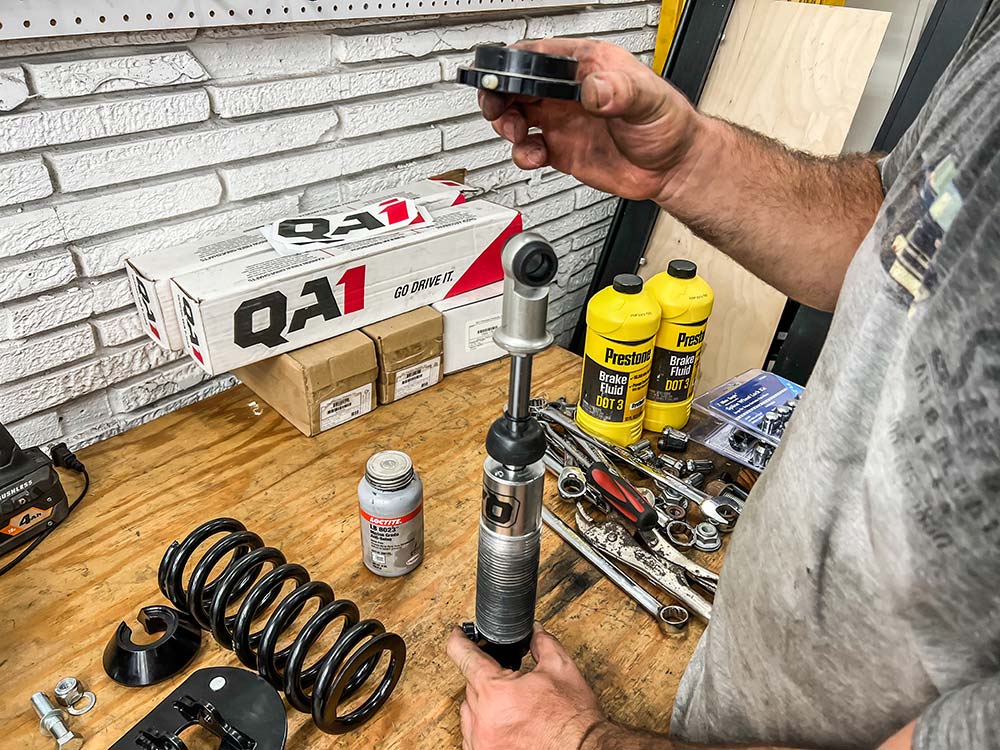
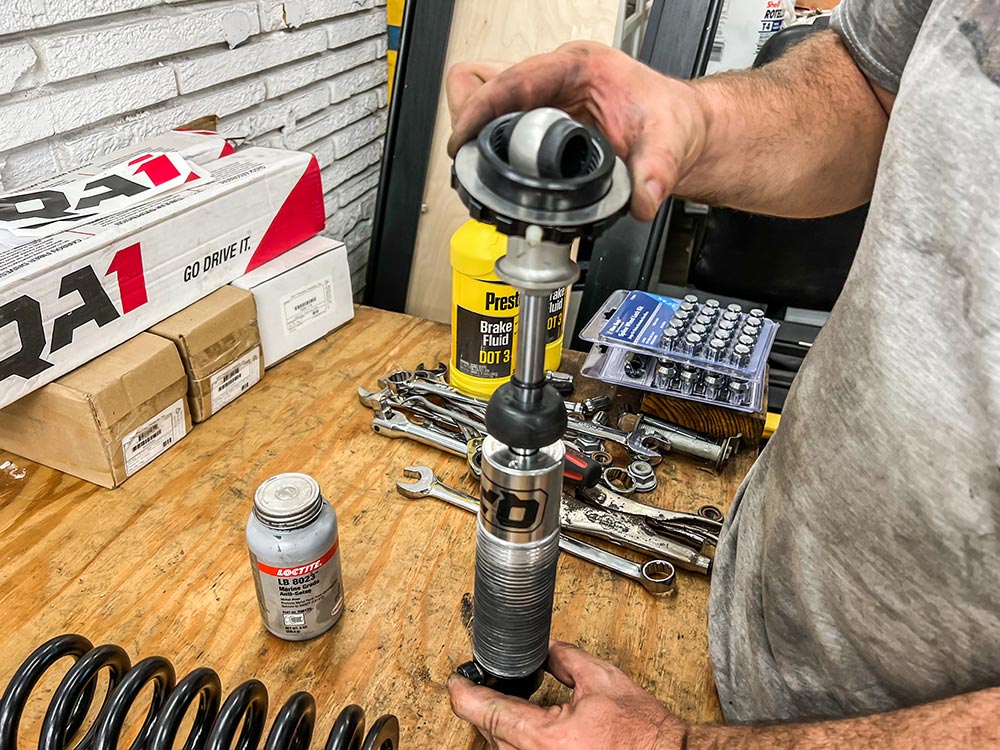
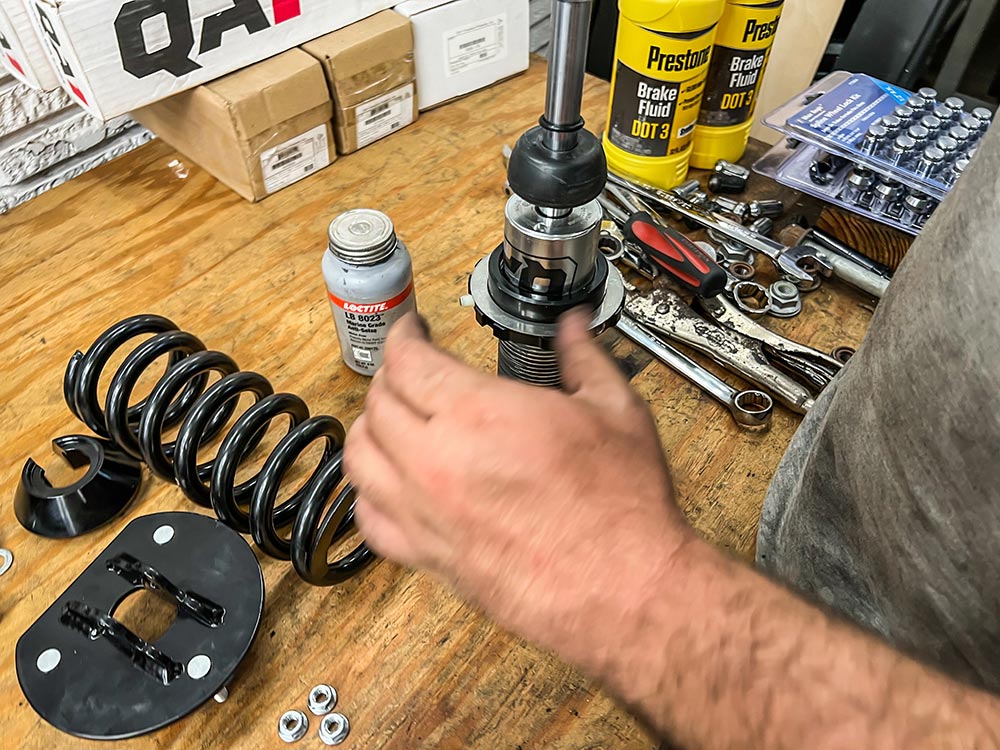
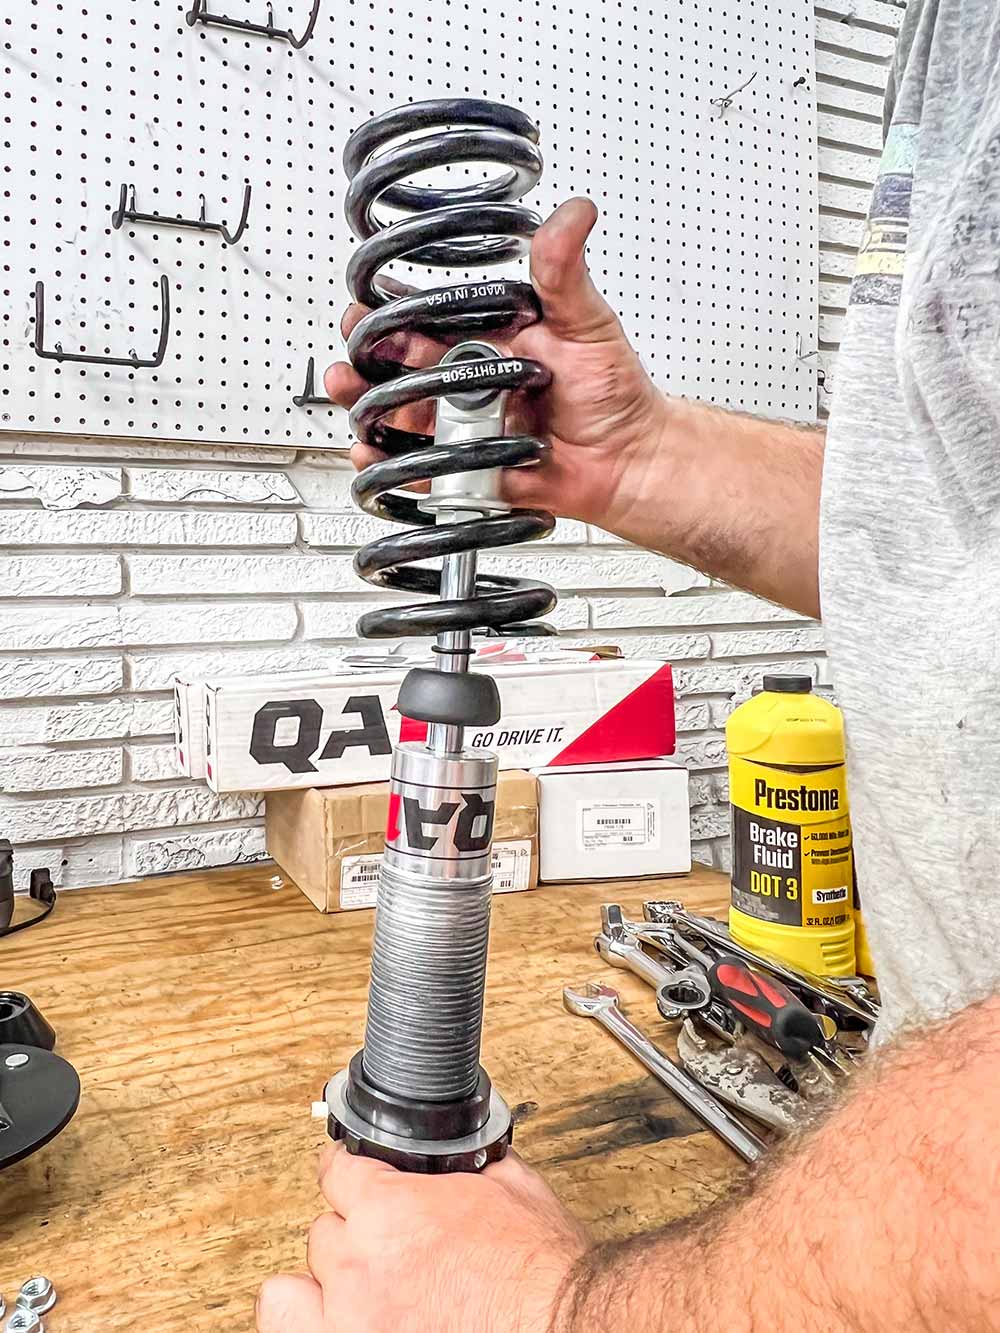
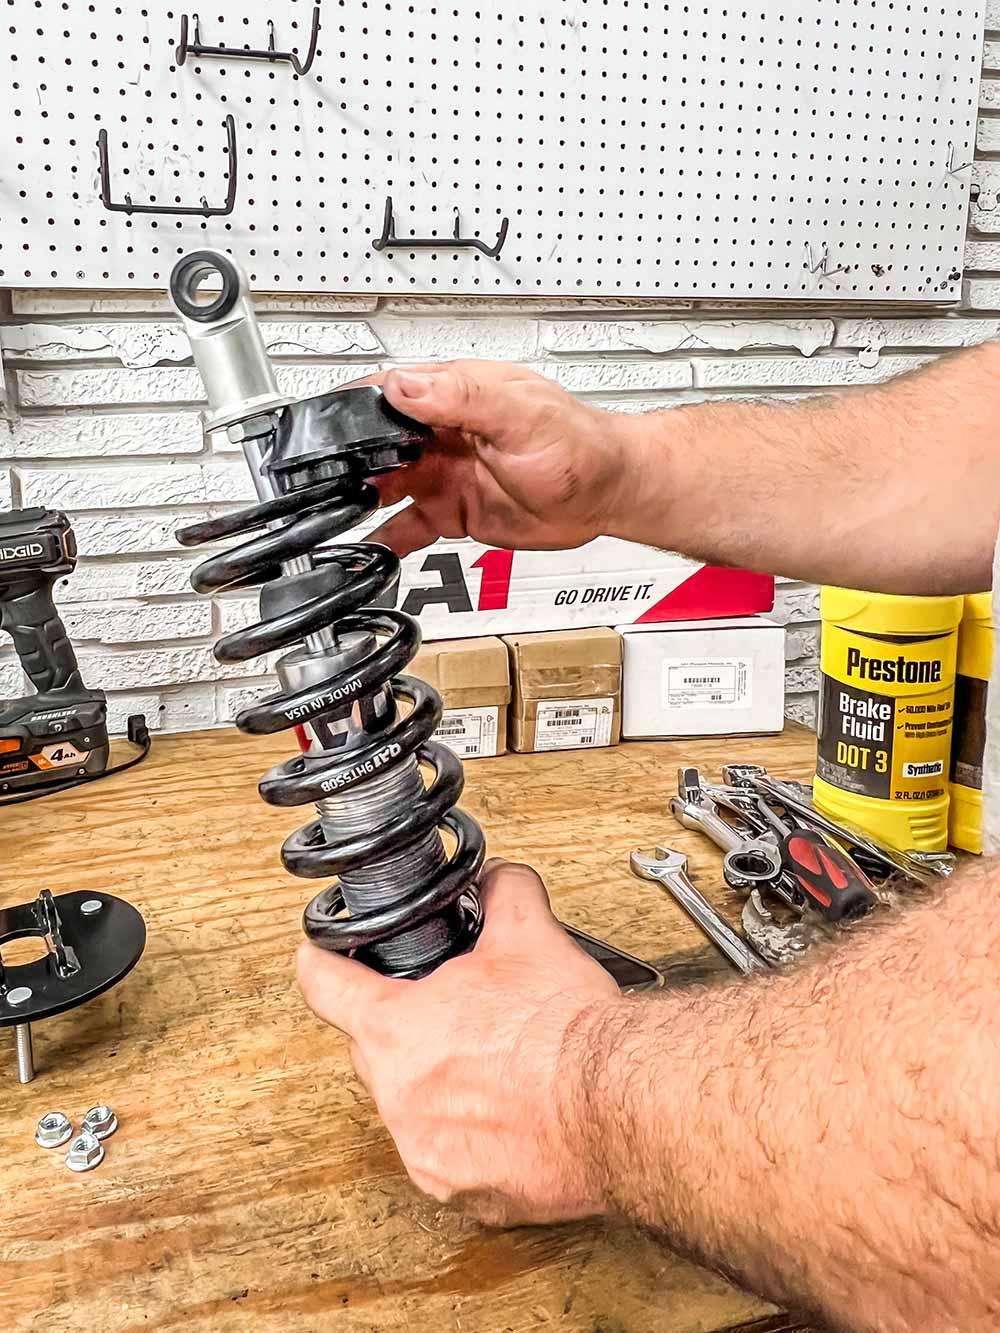
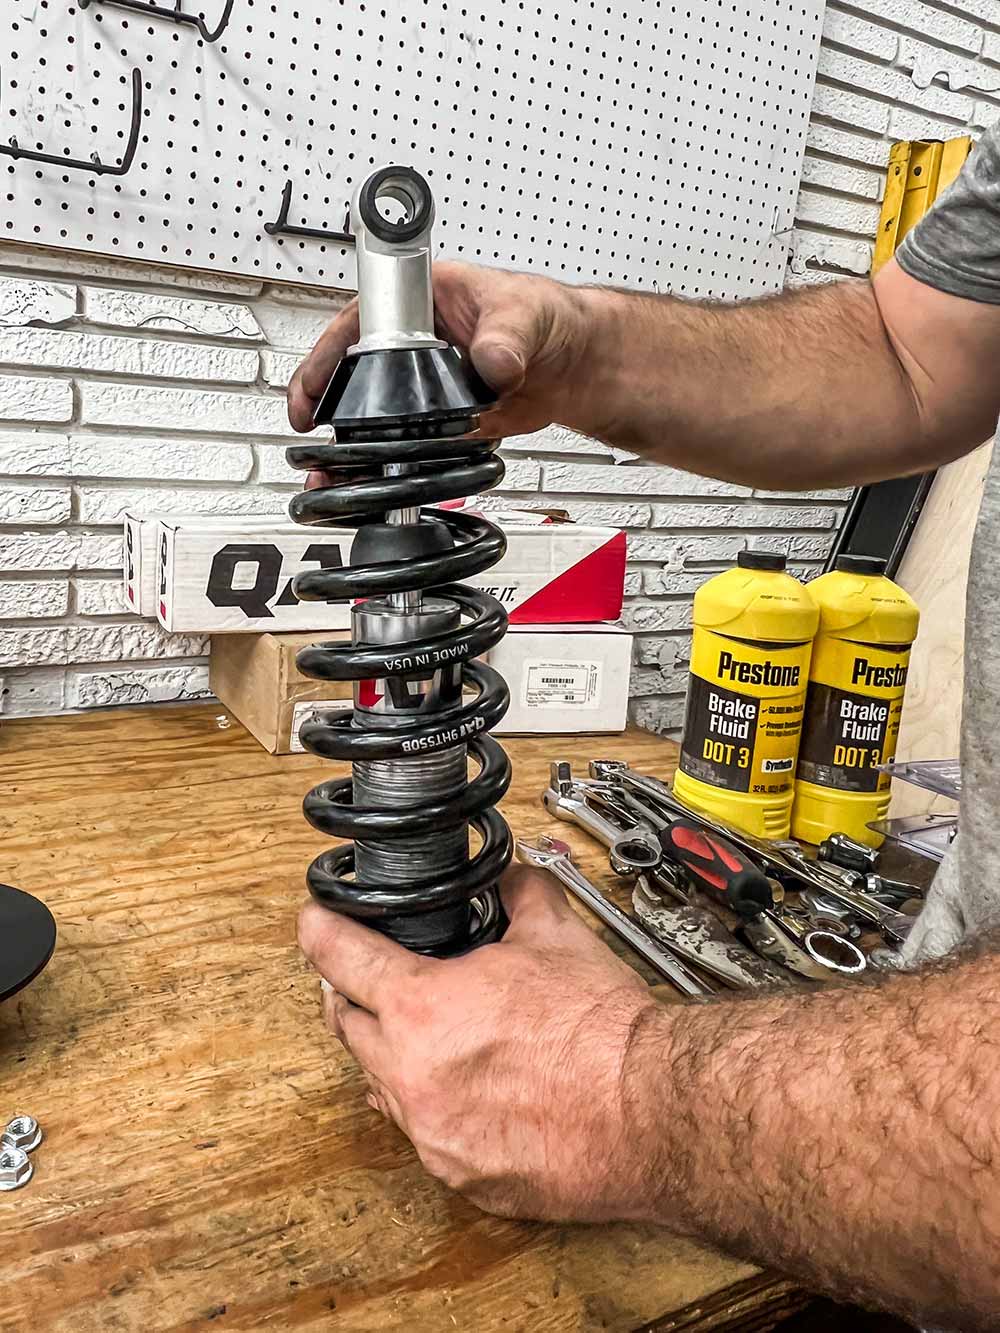
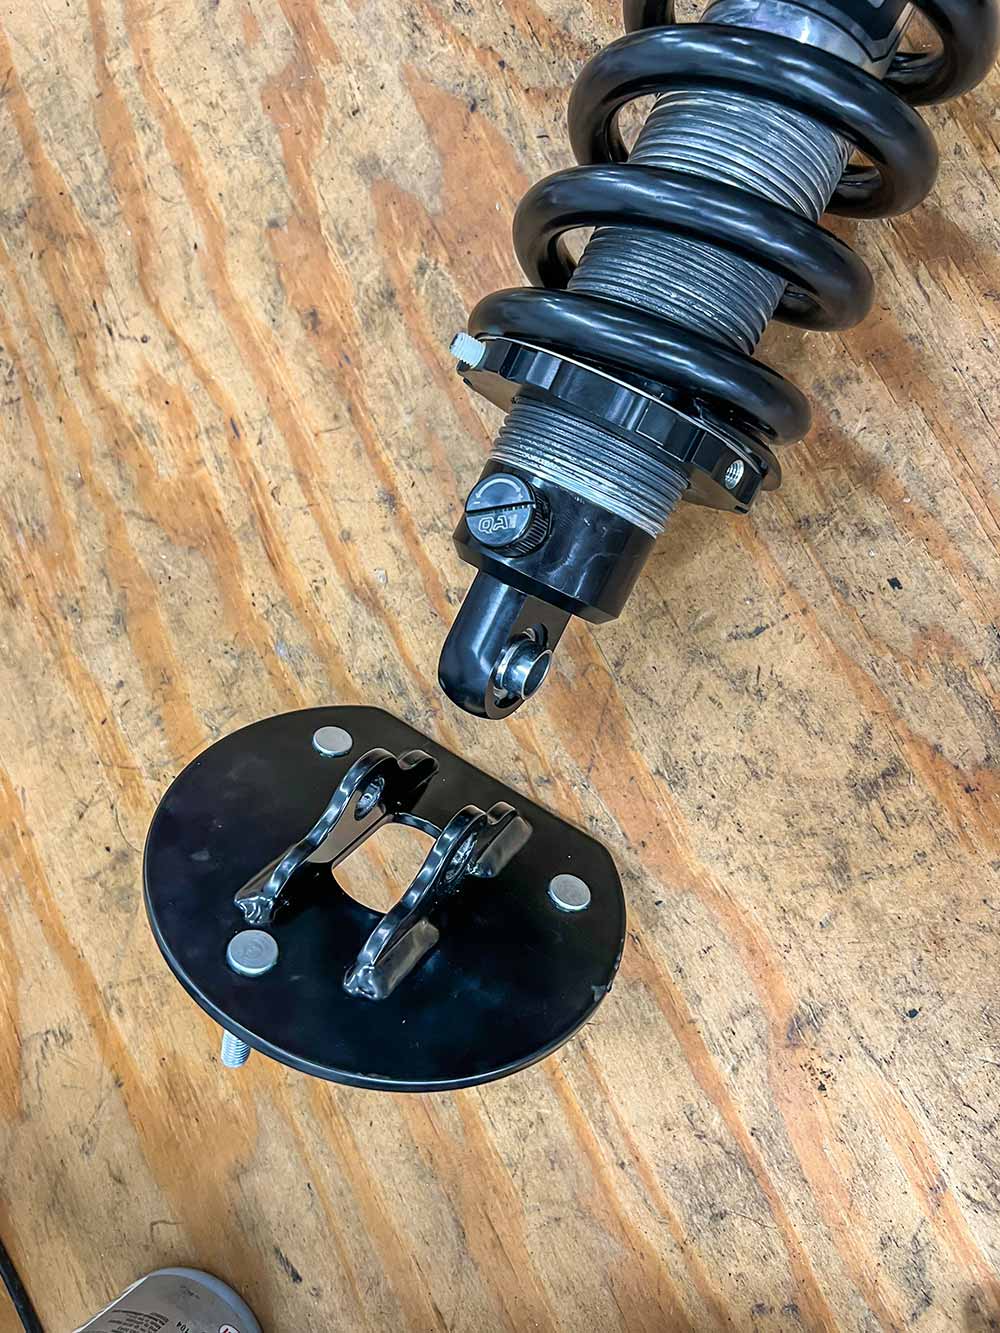
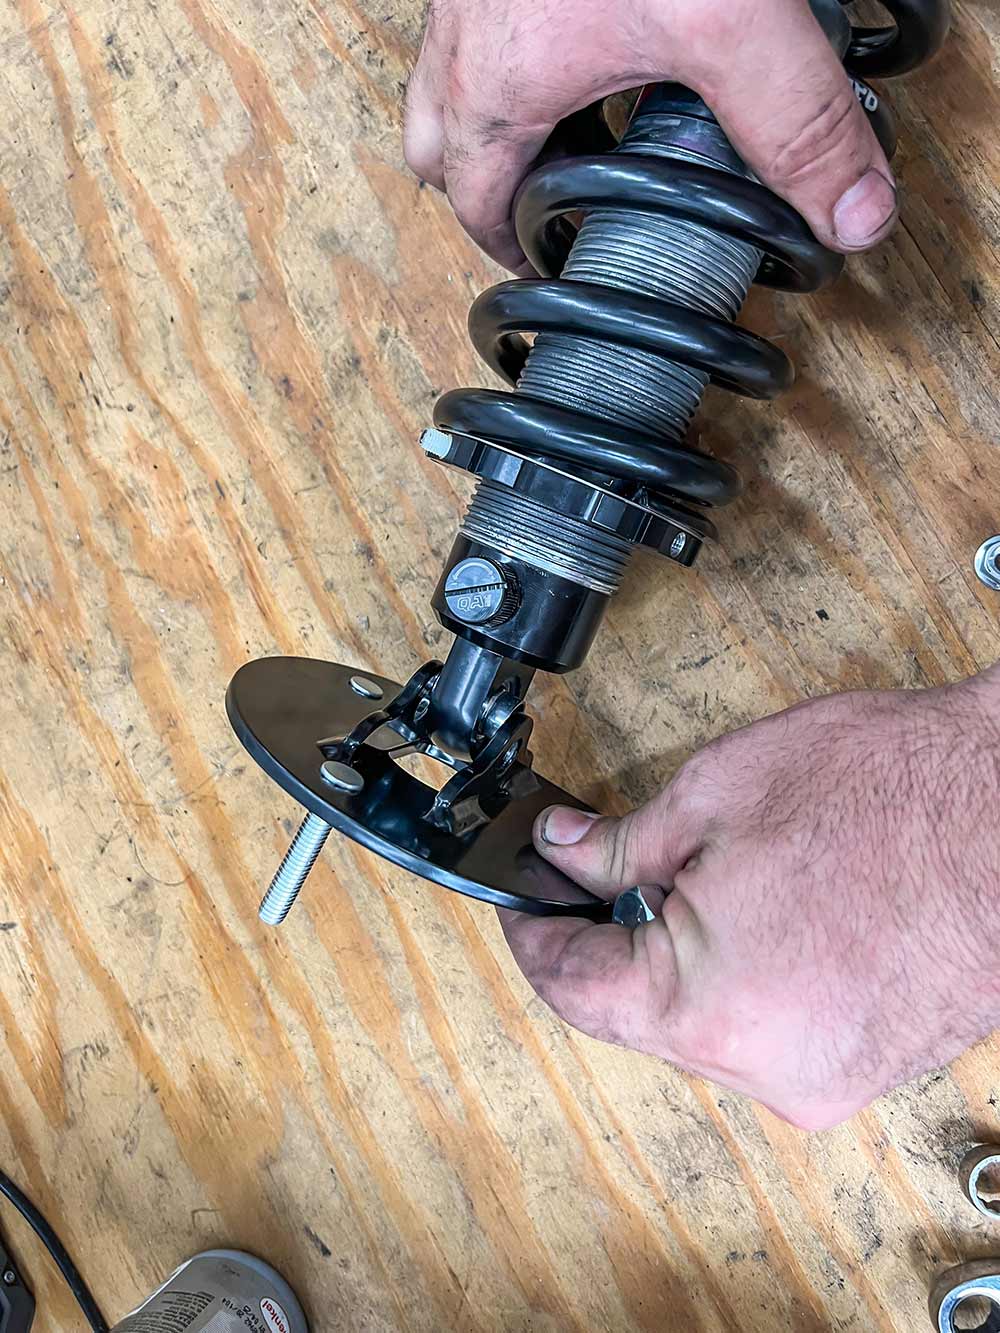
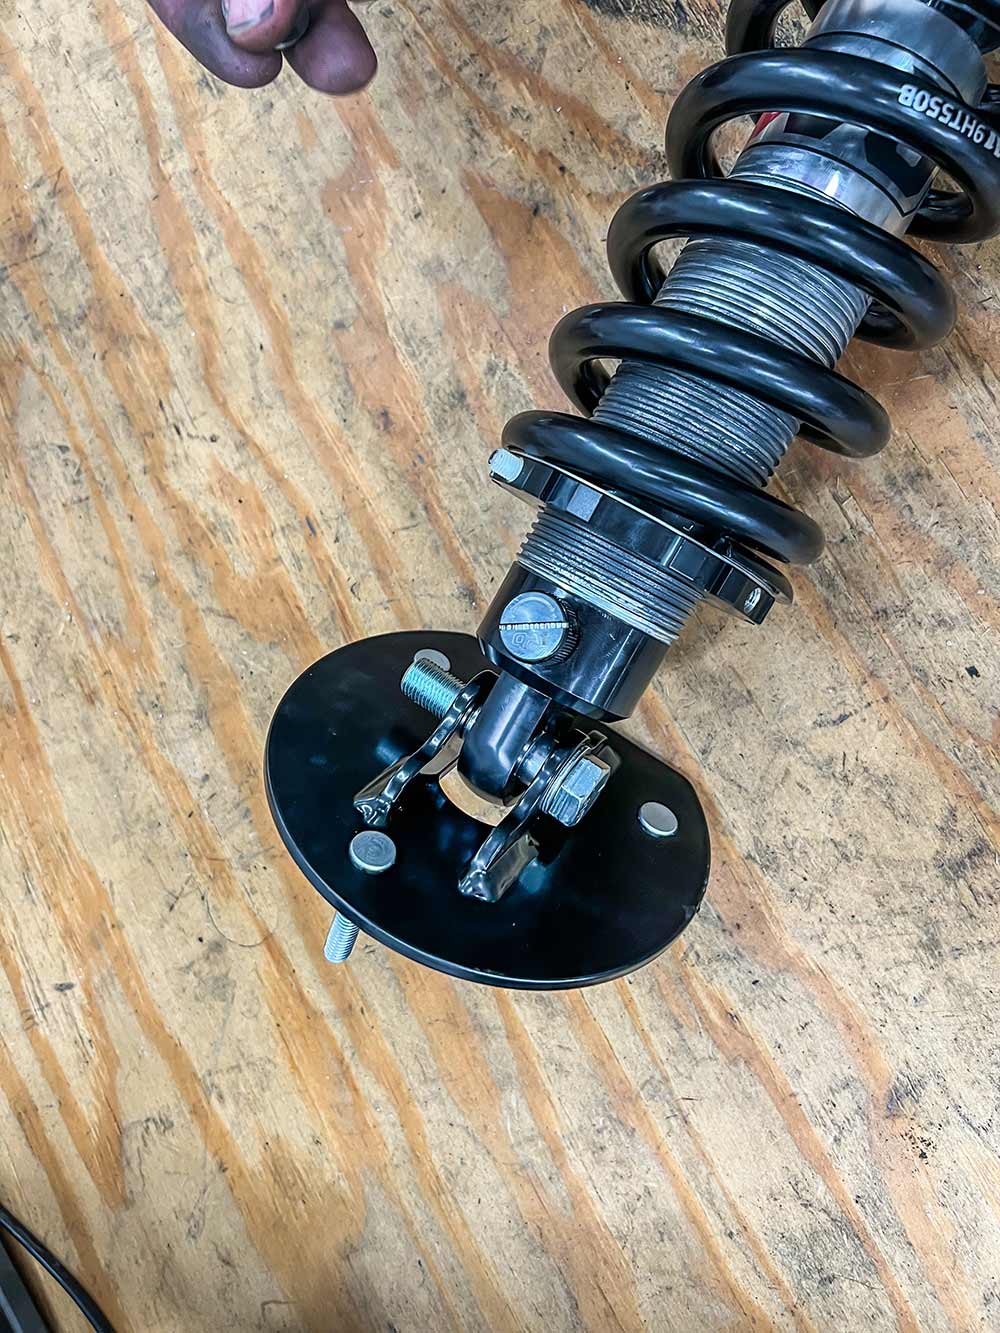
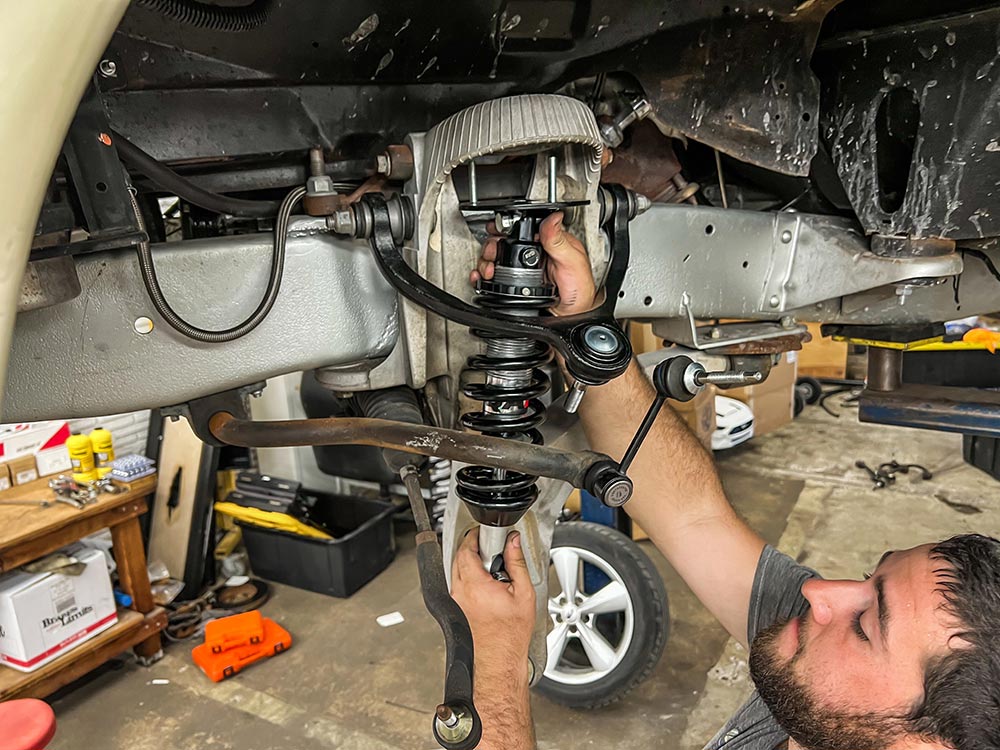
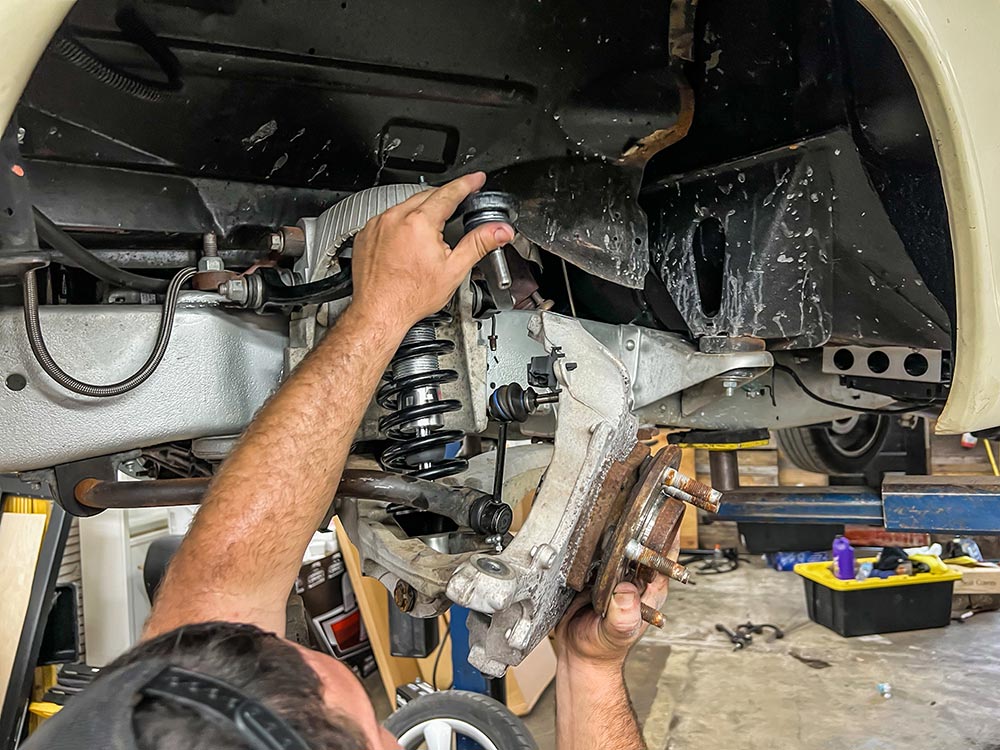
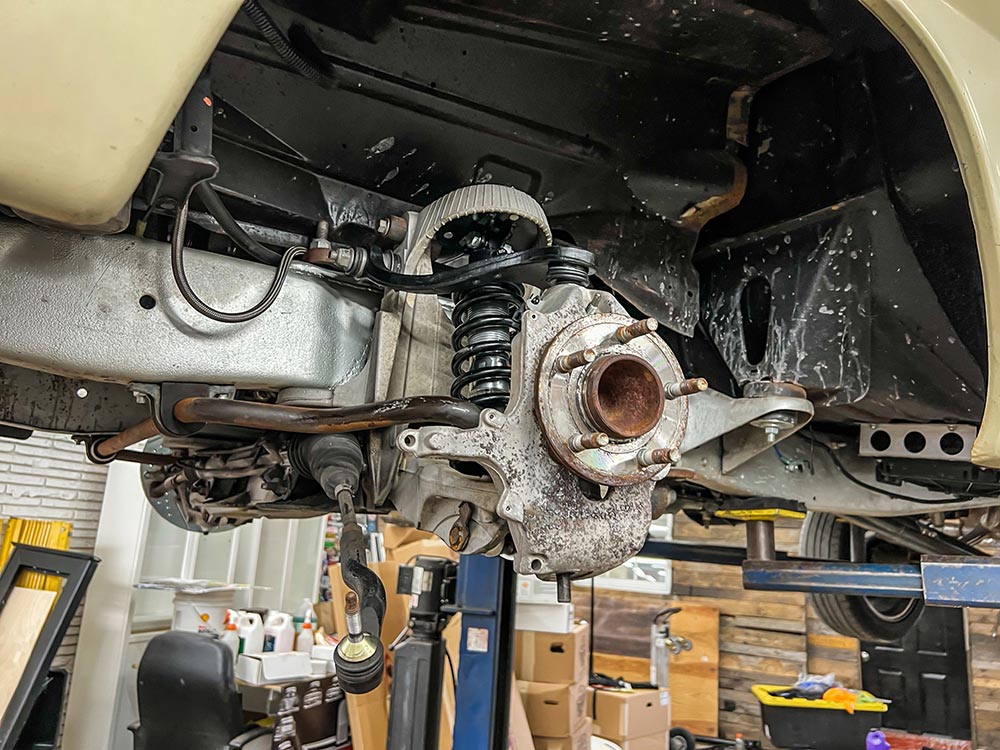
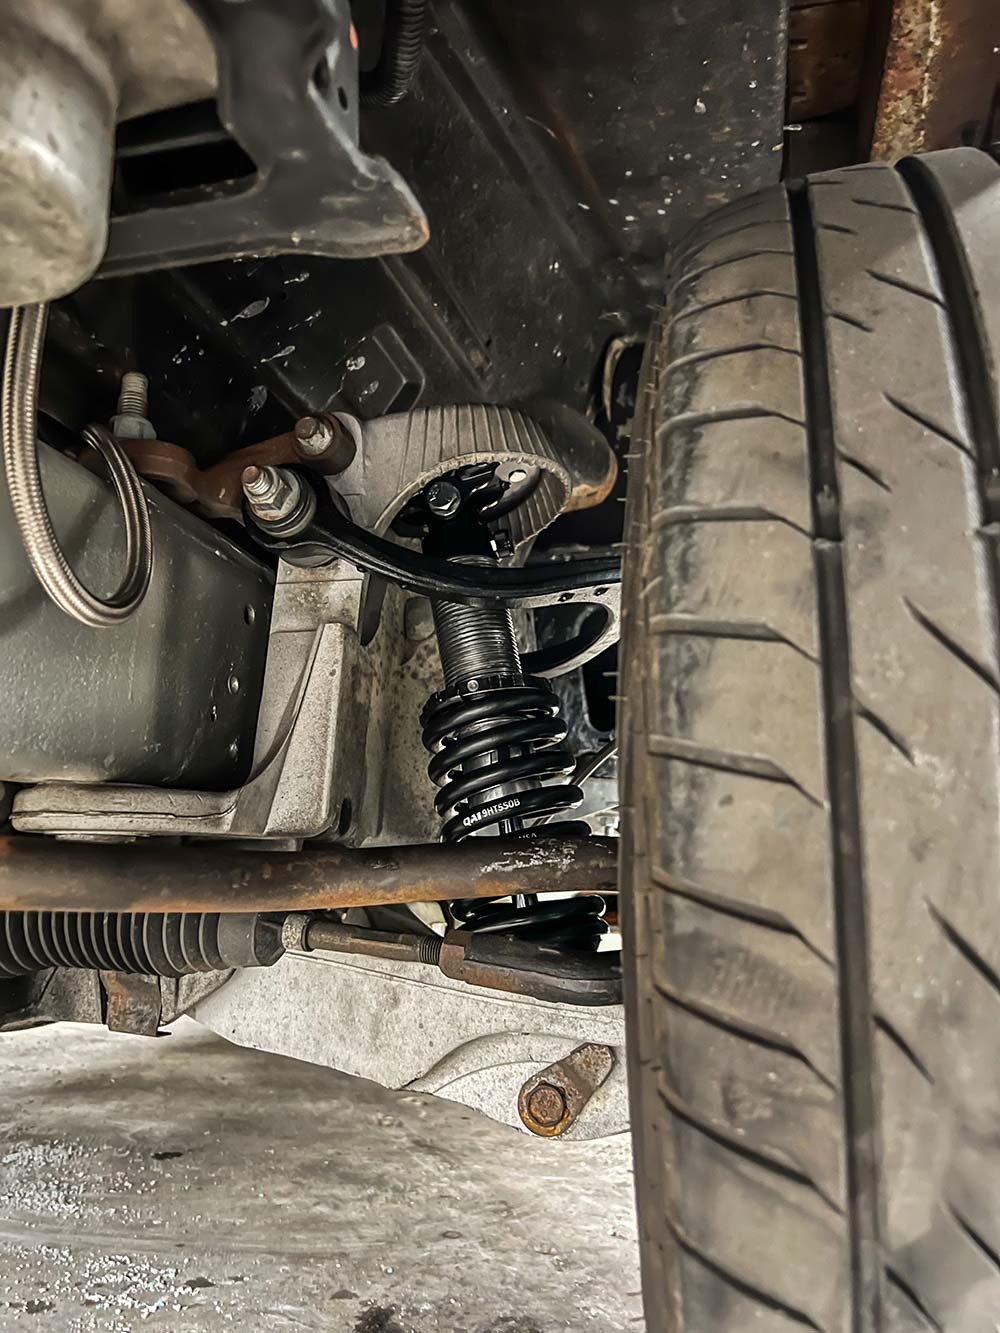
Most people know the name QA1 as the company known for making high quality parts that work. QA1 released its own bolt-in front and rear suspension for F-100s. Dave told me that they had hundreds of inquiries to create a Crown Vic coilover conversion—and so they listened and created this system. Features include adjustable ride height up to 3 inches lower for a perfect stance, adjustable valving to achieve the perfect blend of comfort and performance, easy bolt-in installation, and most importantly, it’s made in the USA! Installing these coilovers are probably one of the easiest things you can do; it took us just two hours total.
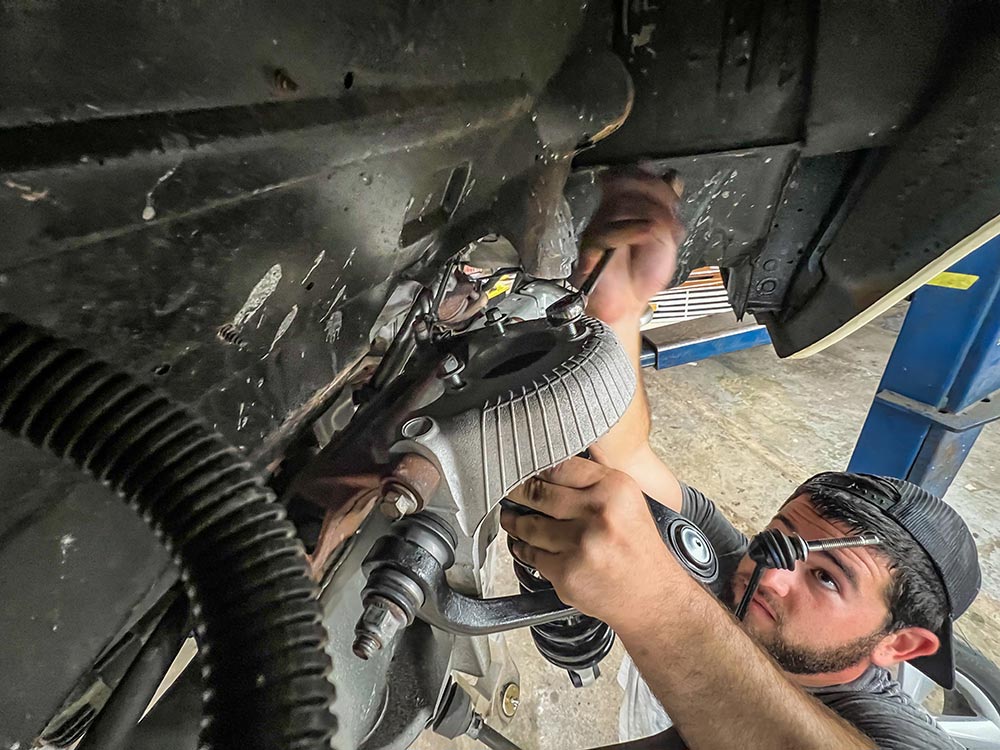
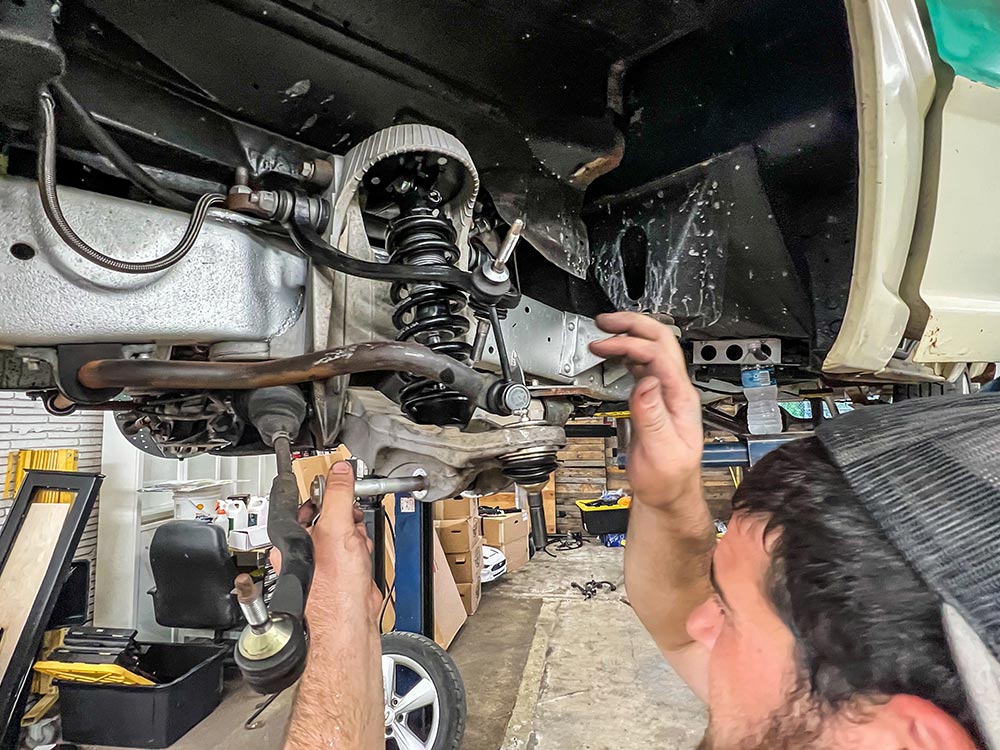
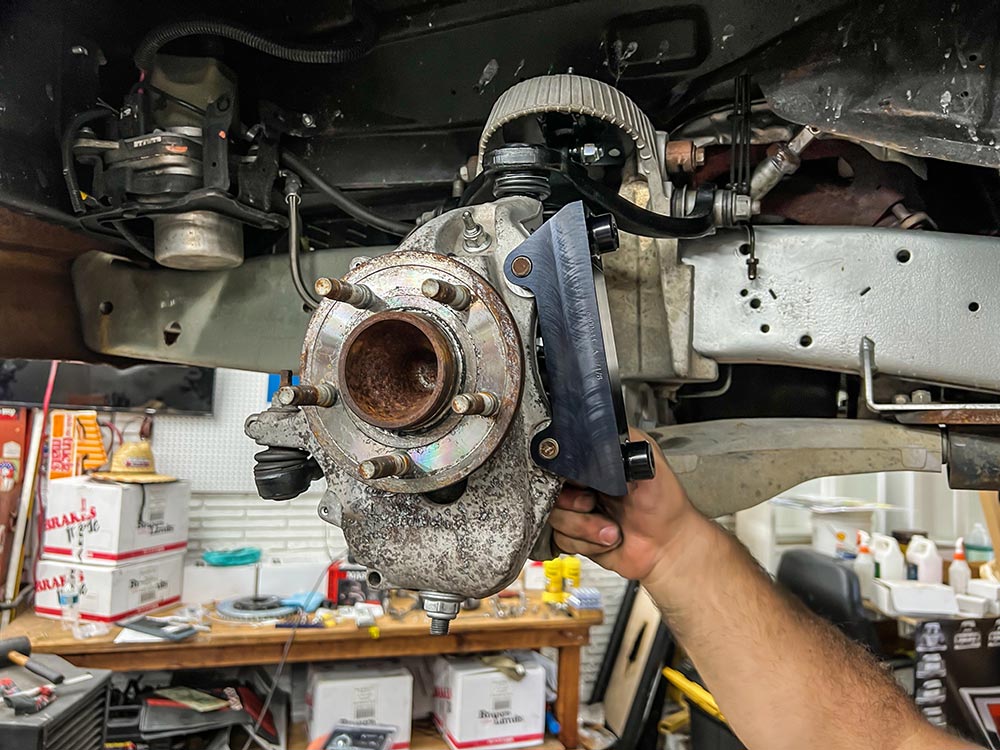
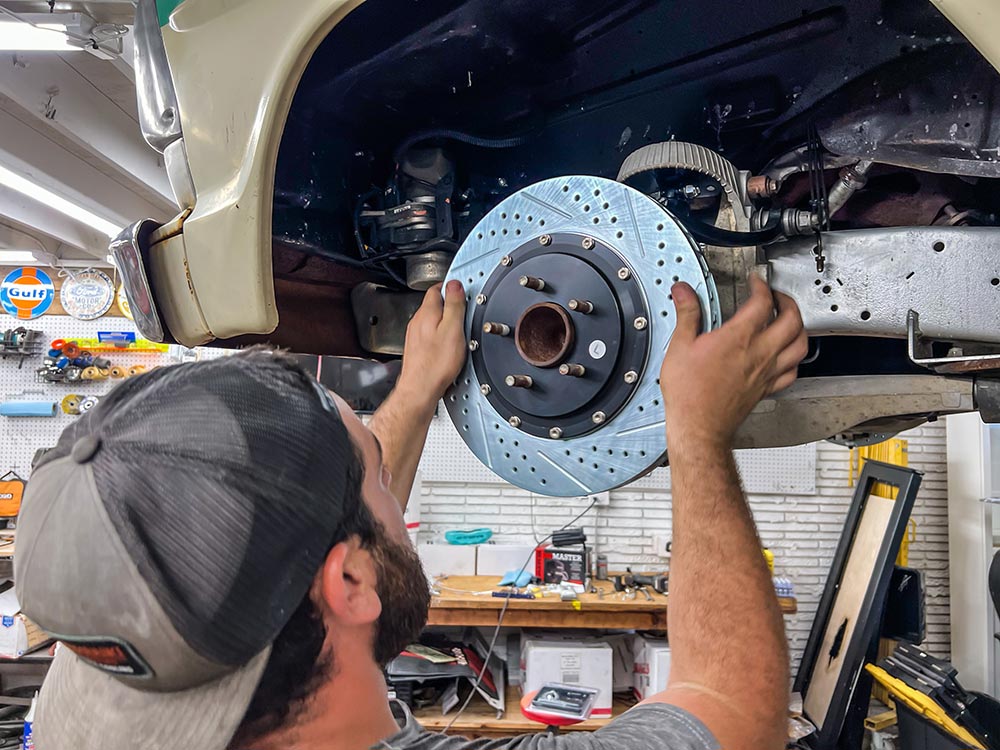
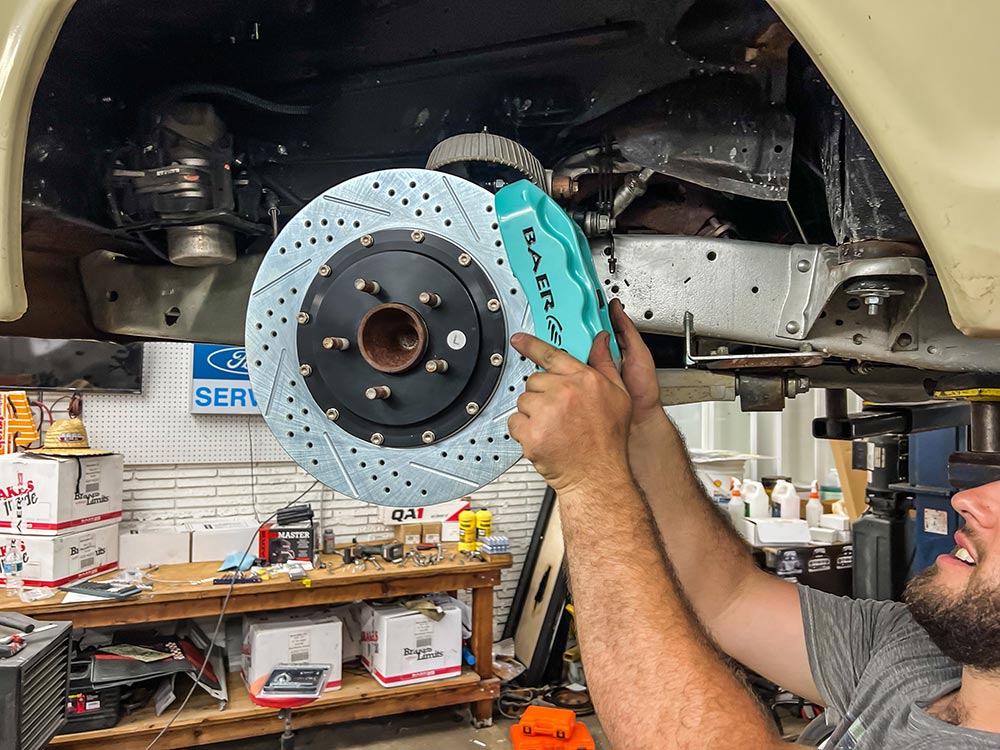
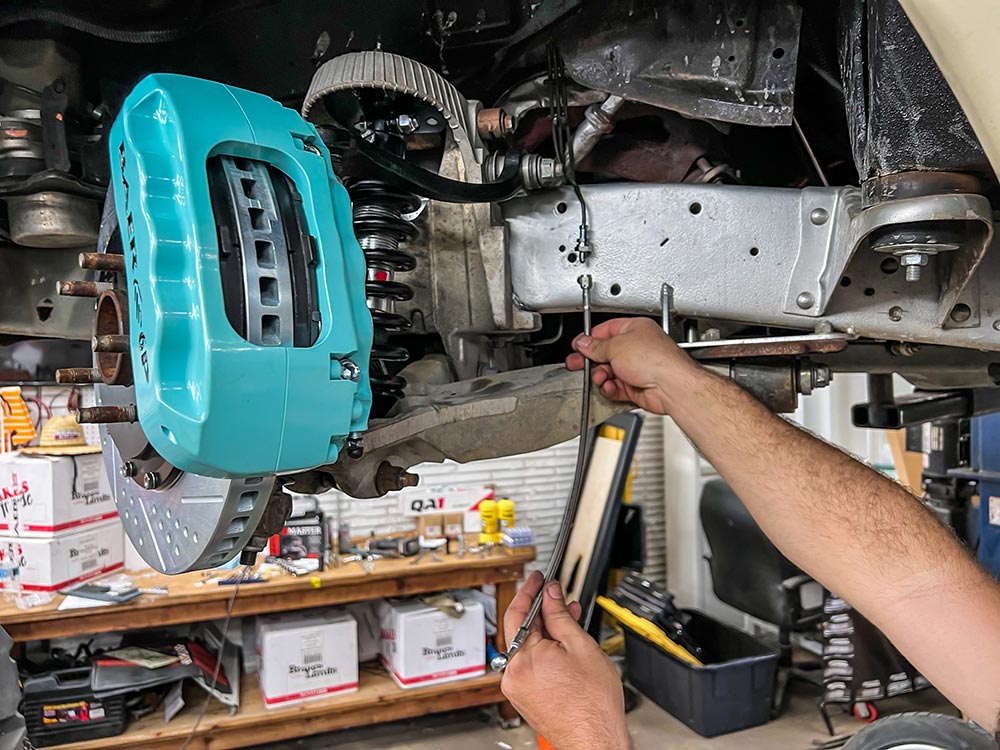
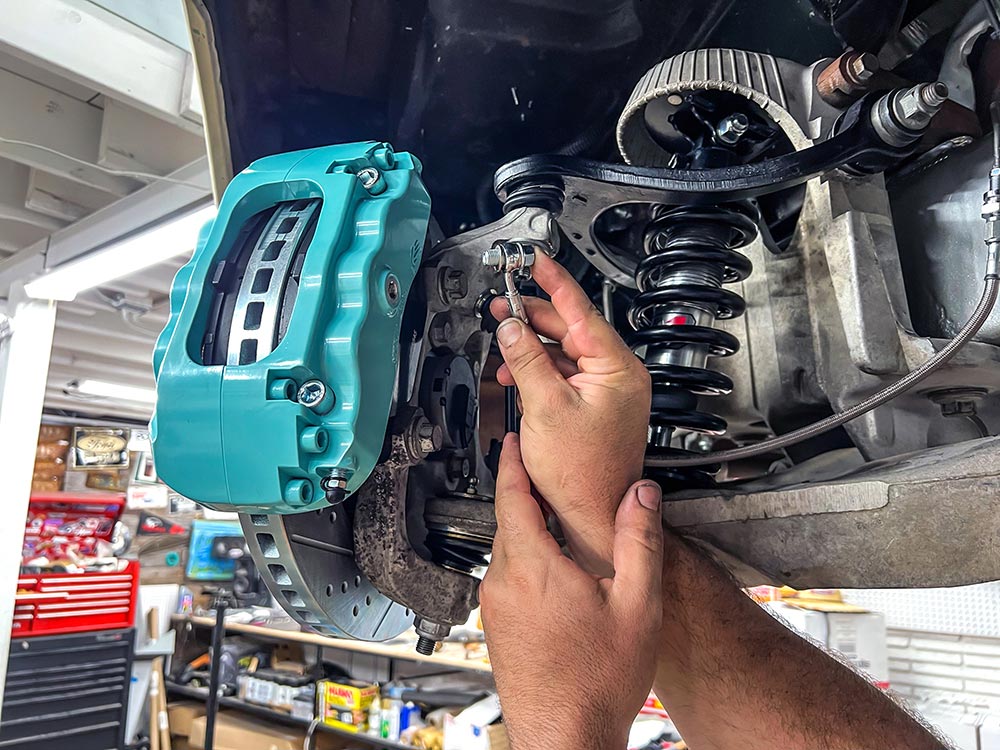
Baer Brakes has been in the industry for decades. Something that has kept the company at the top of the game was staying innovative. When the market moving toward the Panther platform (Crown Vic, Marauder, and Grand Marquis), Baer developed this kit to make it easy to upgrade your front brake system with its 14-inch drilled and slotted rotor being stopped by a massive Pro+ 6-piston caliber. The kit even comes with steel braided brake lines that work perfectly with the factory lines. The entire brake install took us about two hours.
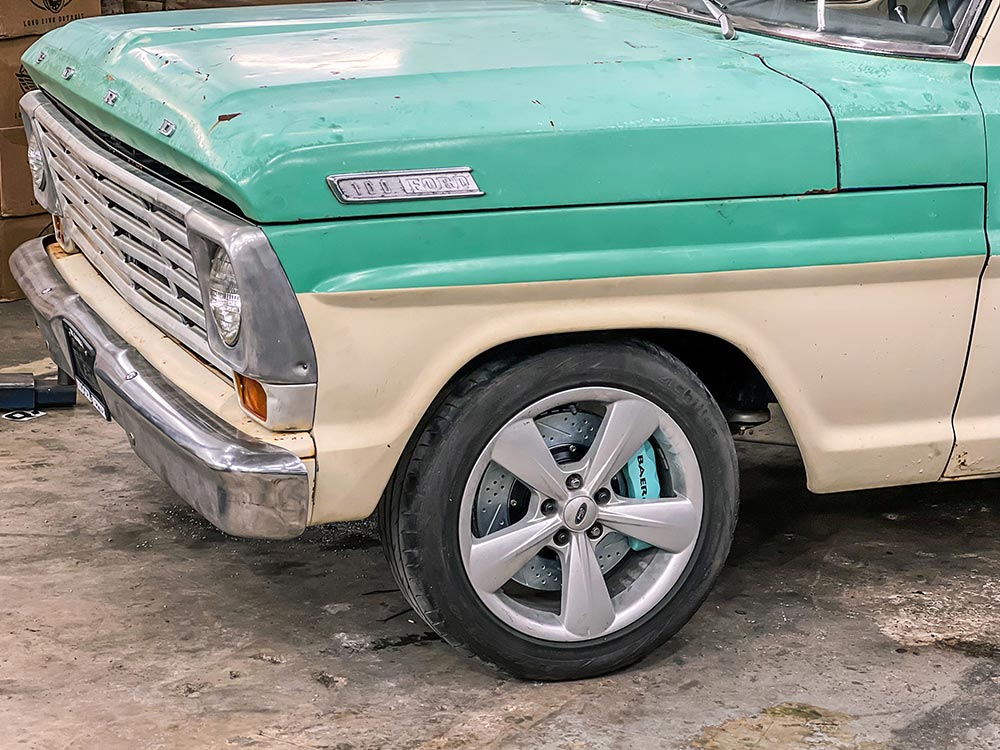
With a brake and coilover upgrade the front of our 1967 F-100, it’s now stable and adjustable so we can fine tune it exactly the way we want.
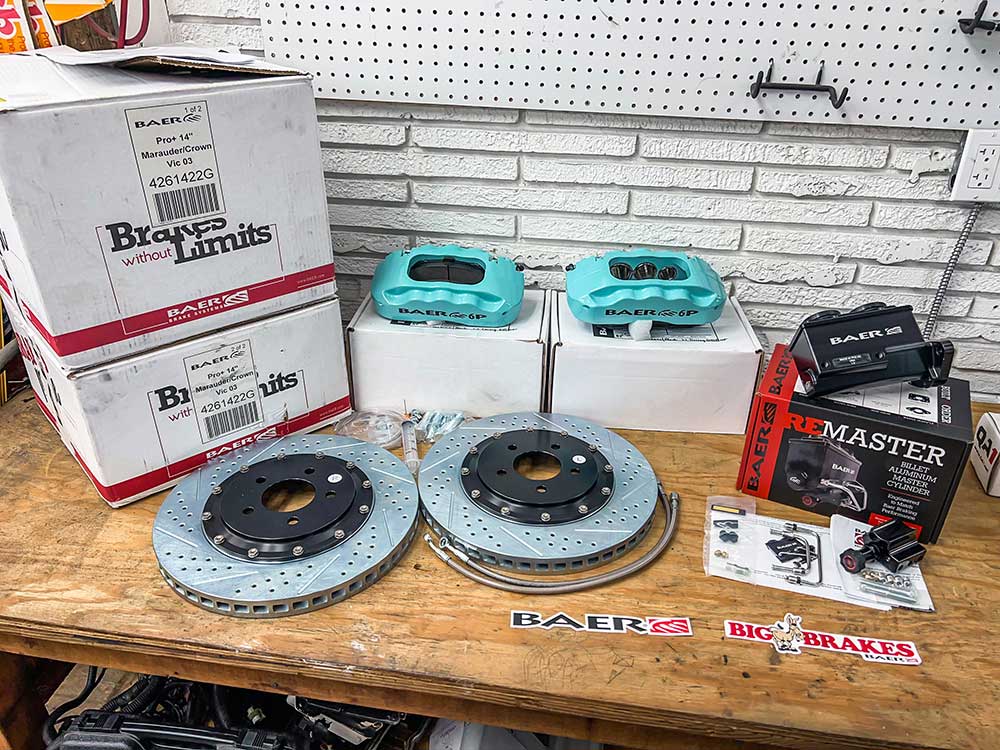
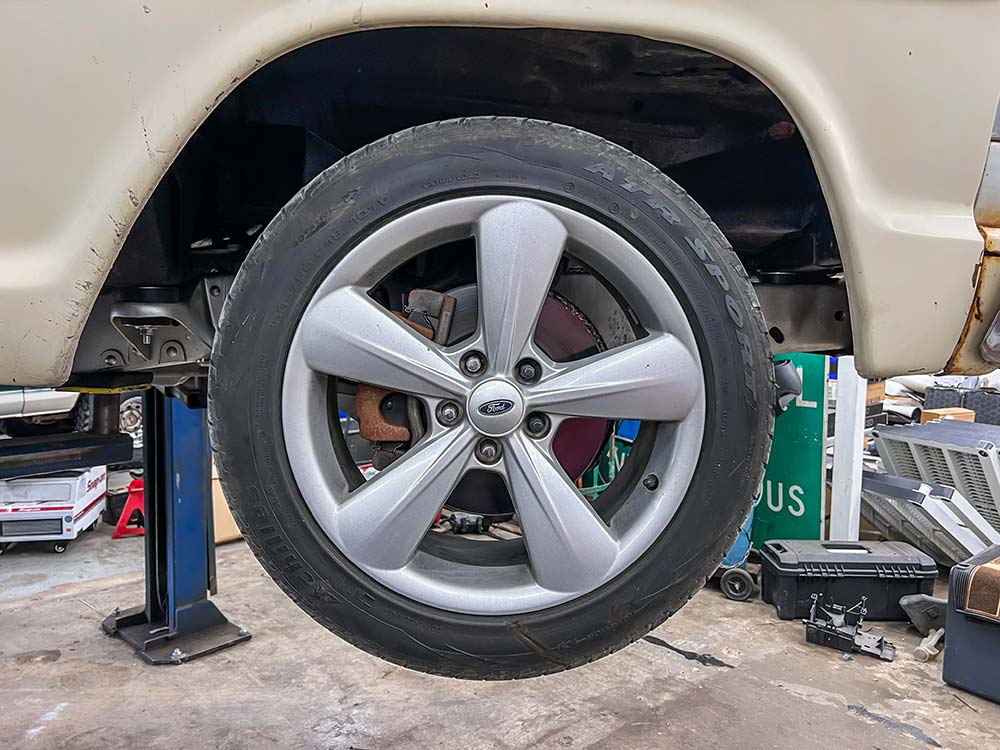


Baer Brakes
Pro+ 6 Piston 14-inch Crown Vic Brake System
Part #4261422G
www.baer.com
QA1 Motorsports
Crown Vic Front Coilover Conversion
Part #MS431-09550
www.qa1.net

F100 Builders Guide
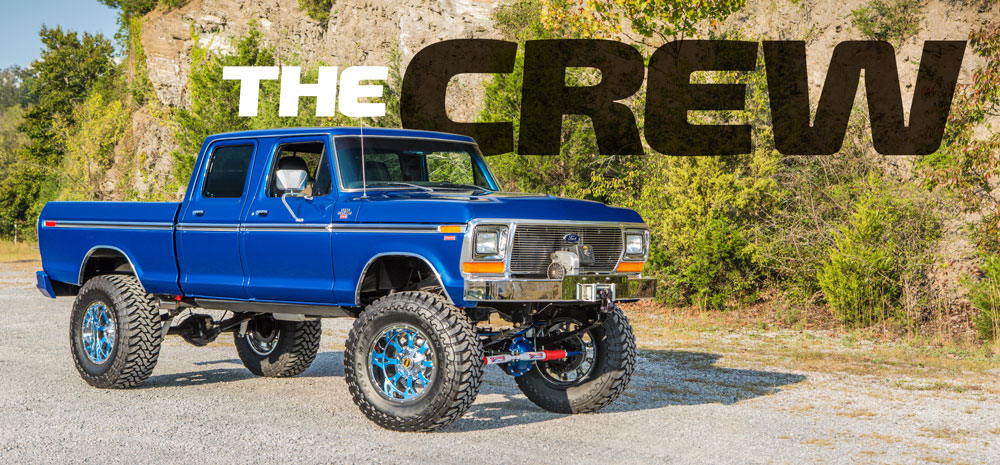
Ford Crew Cab Wonders THE FIRST CREW-CAB TRUCK introduced to the U.S. market was surprisingly not from one of the Big Three automotive corps. It… Continue reading
HUMBERTO ORTIZ . May 05, 2020
Department
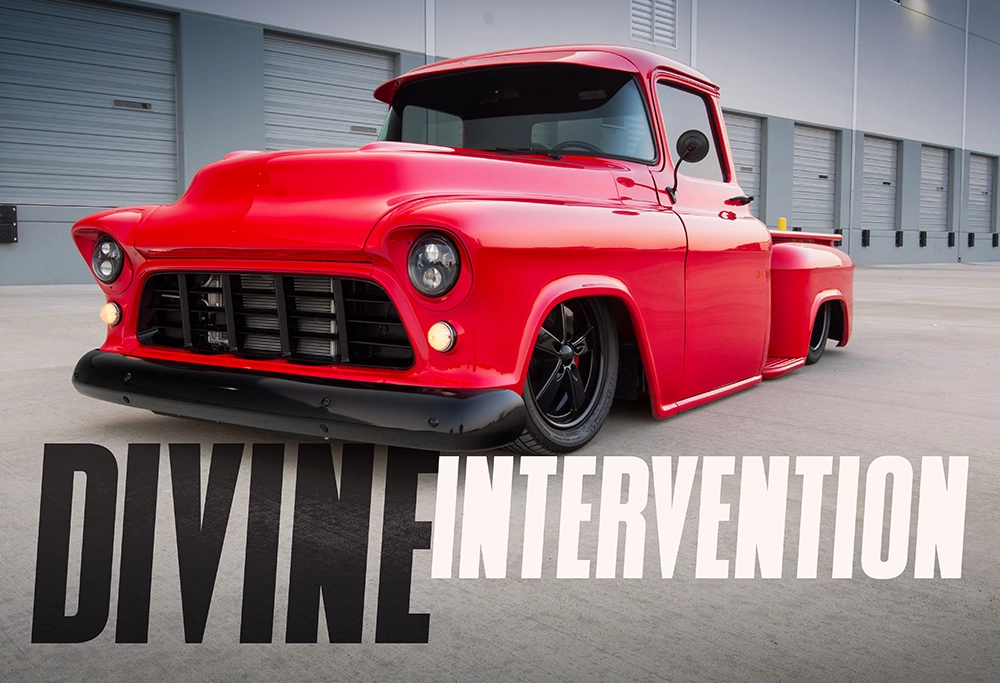
Inspired Sale of ’65 T-Bird Leads to Something Even Better Jason Thomas has always been an automotive and motorcycle enthusiast. Being a helicopter mechanic, it… Continue reading
TIM ROPER . April 15, 2023
c10
YOUR ONE-STOP C10 SHOPPING LIST Hood Brace for 1973-1980 GM Trucks These will not only reinforce the hood to help eliminate the common hood flex… Continue reading
John Mata Jr. . October 21, 2025
c10
2023 Ford F-100 Events 41st Annual Fall 4-Wheel Jamboree Nationals September 15-17 Indianapolis www.4wheeljamboree.com F-100 Supernationals September 21-23 Sevierville, TN www.f100supernationals.com Holley Intergalactic Ford Fest… Continue reading
F100 BG STAFF . October 20, 2023
c10
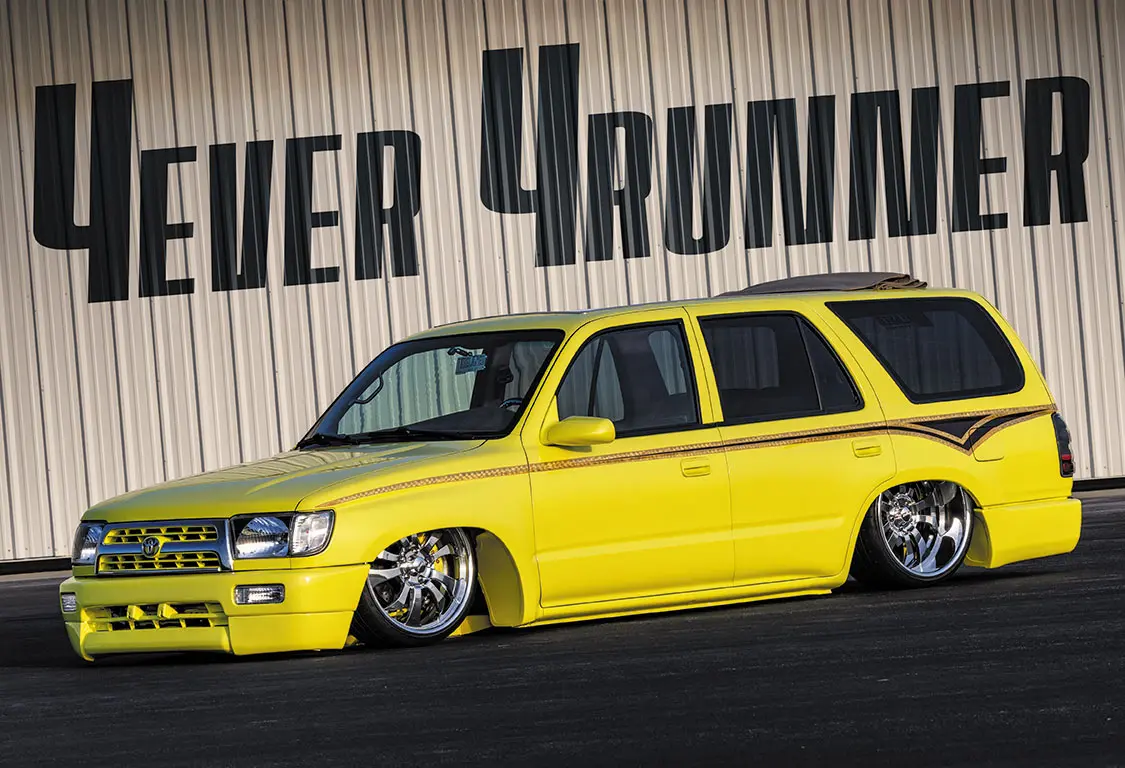
Another One Saved From the Junkyard Show-stopping, ground-scraping Toyota 4Runners are few and far between, which makes the ones that stand out much more memorable… Continue reading
John Mata Jr. . October 05, 2023

Events
Back in 1992, the Illegal Toys club was formed and together the crew put on a local car and truck show. The show became so… Continue reading
phil Gordan . November 19, 2020


Share Link