 Jon Hansen
.
September 03, 2021
.
Department
.
Jon Hansen
.
September 03, 2021
.
Department
.

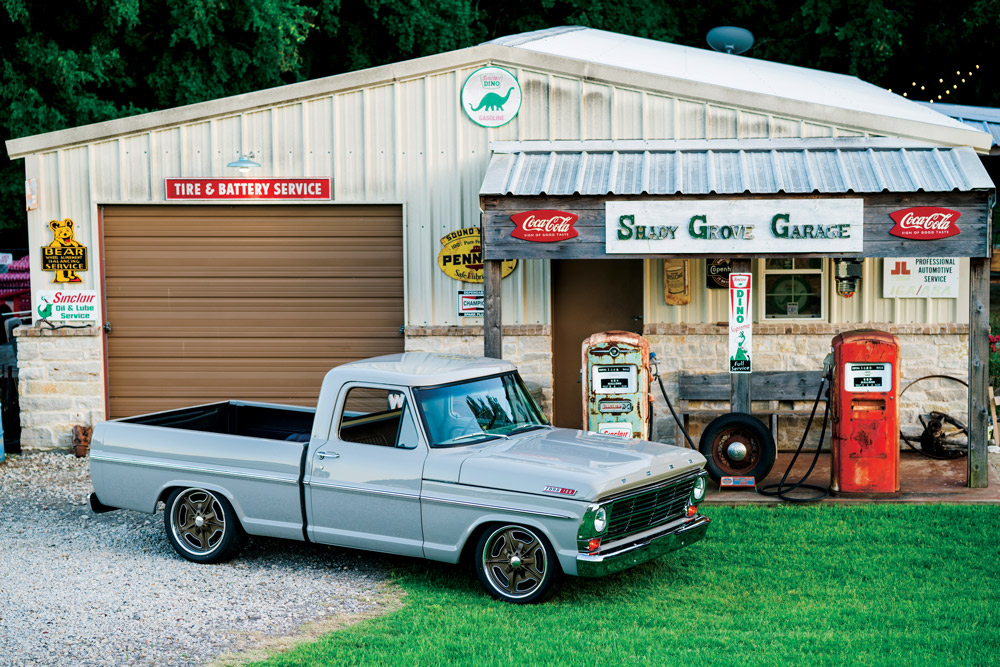
As technology advances, social media expands and shows get larger and larger, it becomes tougher to make your truck stand out from the crowd. All those “unique” touches you spent time picking for yourself over the years have been found and purchased by 20 other guys you know who are also building Ford trucks. So now what? Machined Truck Parts out of Orlando, Florida, has some new solutions for you to not only stand out from the crowd, but to also upgrade some normally not-so-special parts of your F-100’s exterior and interior.
 These parts fully made in America, and they come with a quality finish that surprised me when I first unwrapped them from their very thorough, protective packaging. Andrew from Machined Truck Parts has been machining for more than 16 years now, and he manages a machine shop that not only machines these truck parts, but prototypes parts for industries that range from aerospace to deep water oil drilling. He also has an F-100 build of his own, which helps the inspiration behind these, we’d bet.

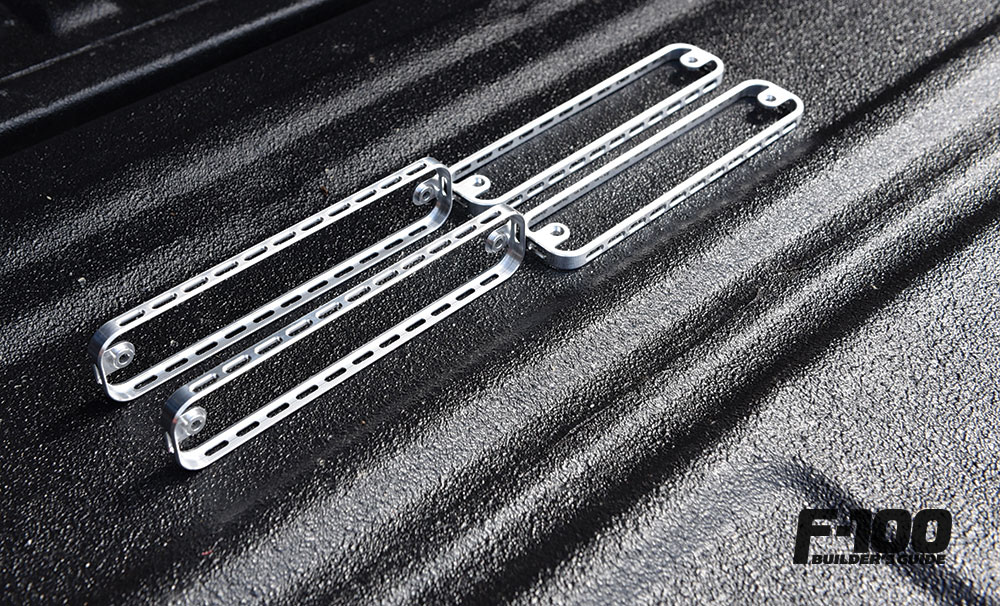
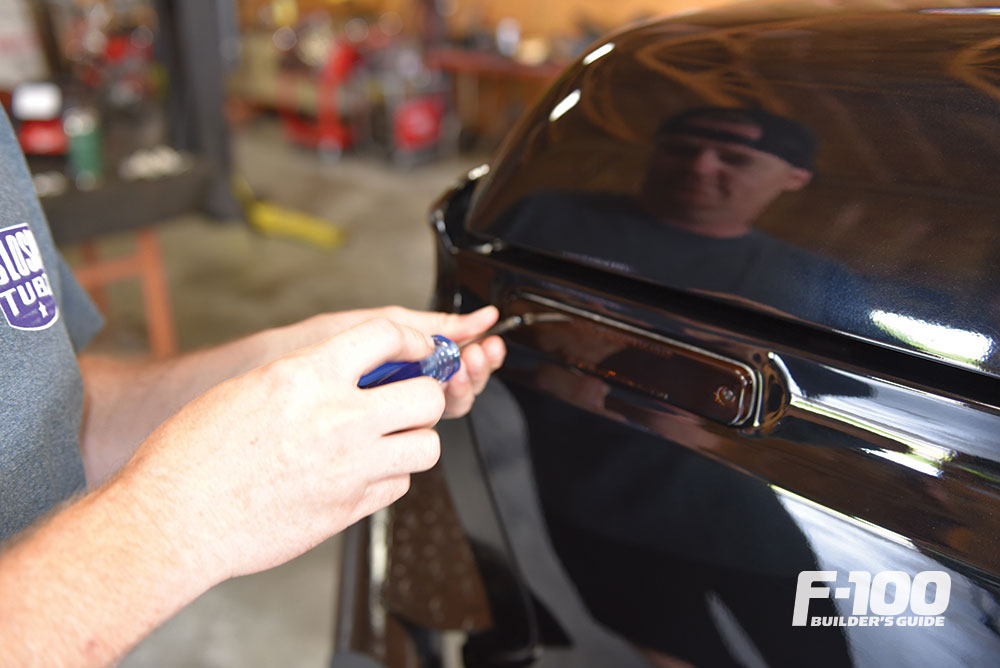
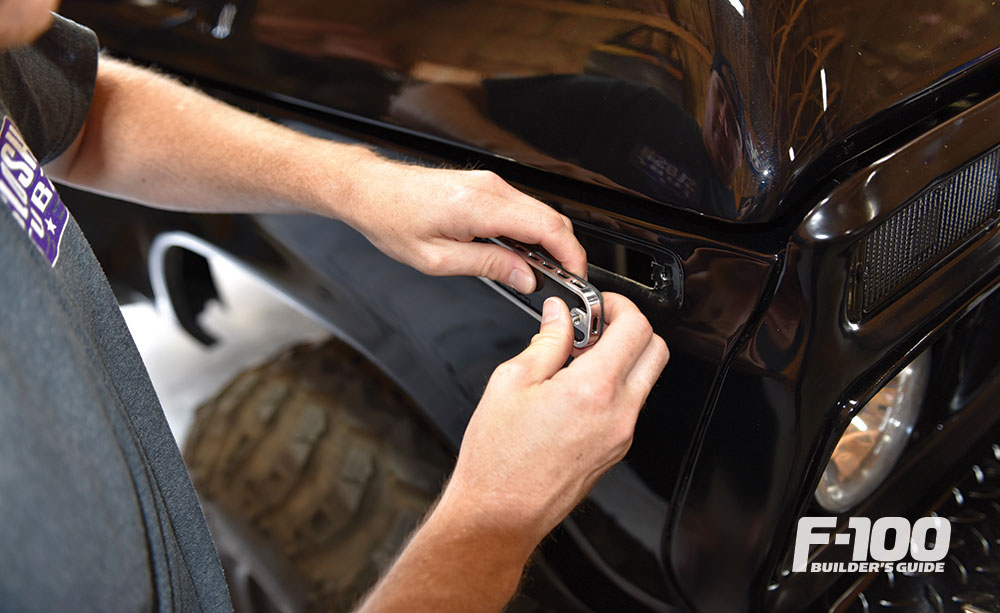
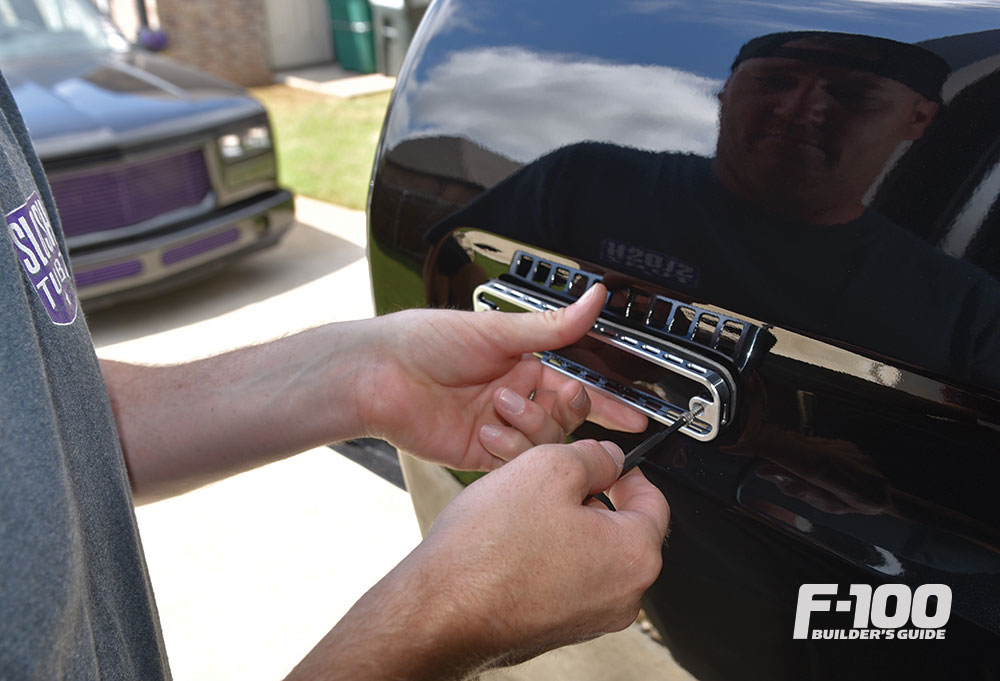
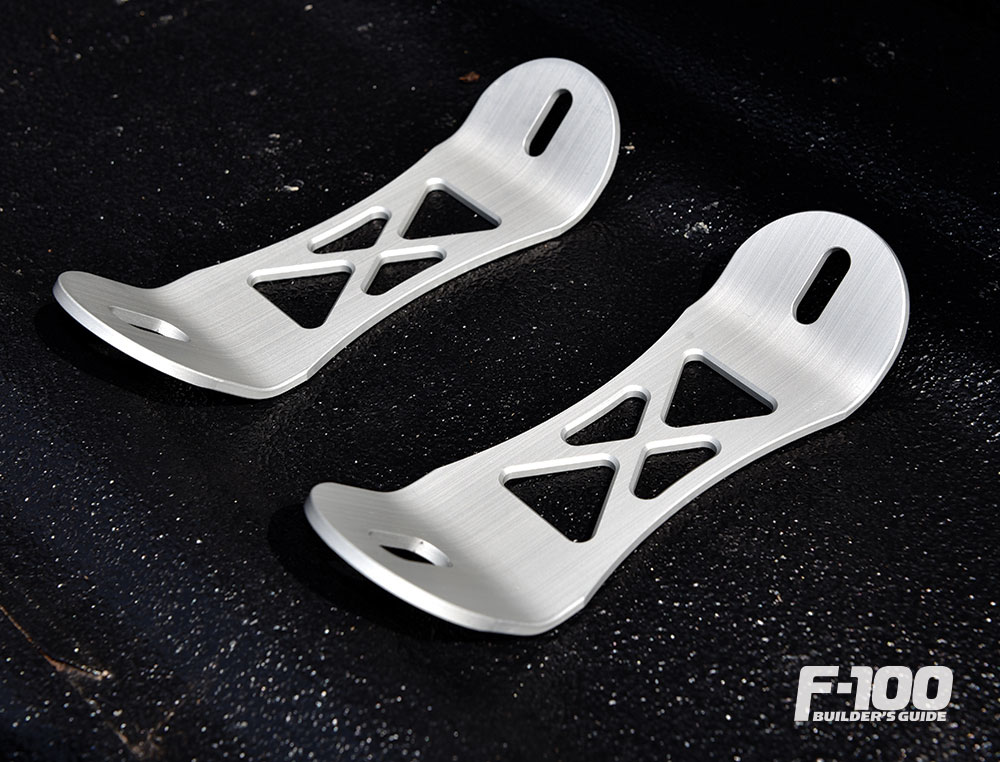
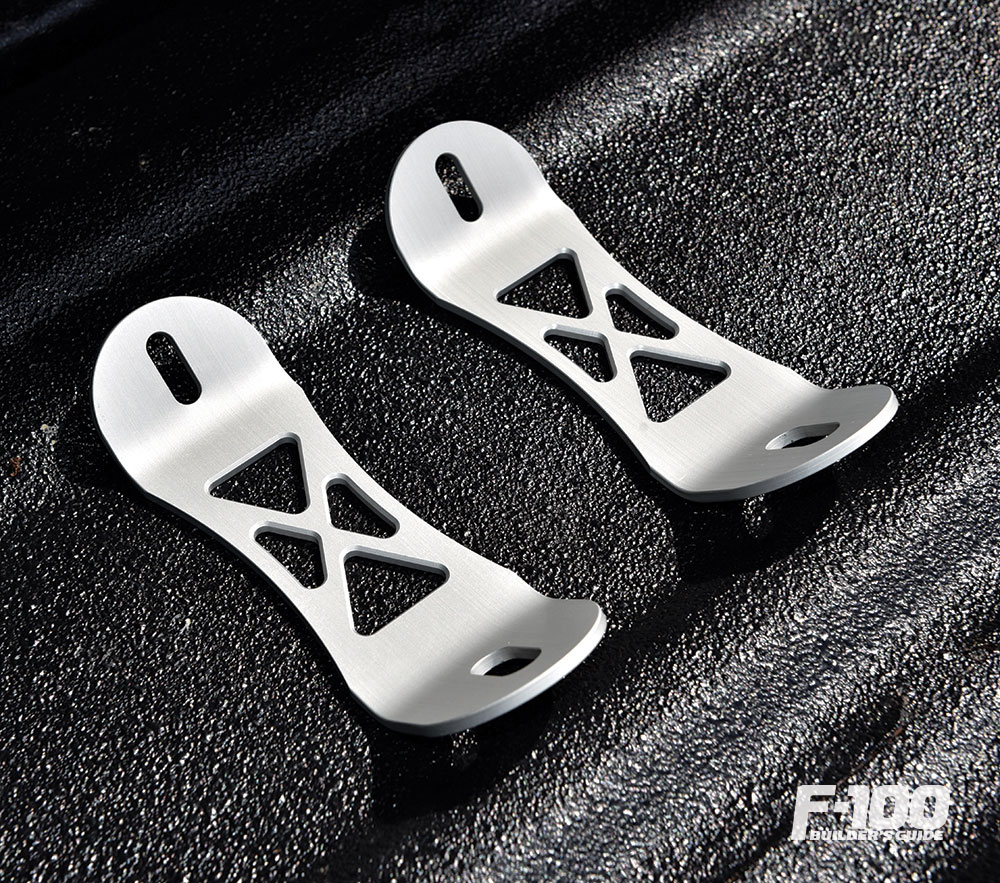
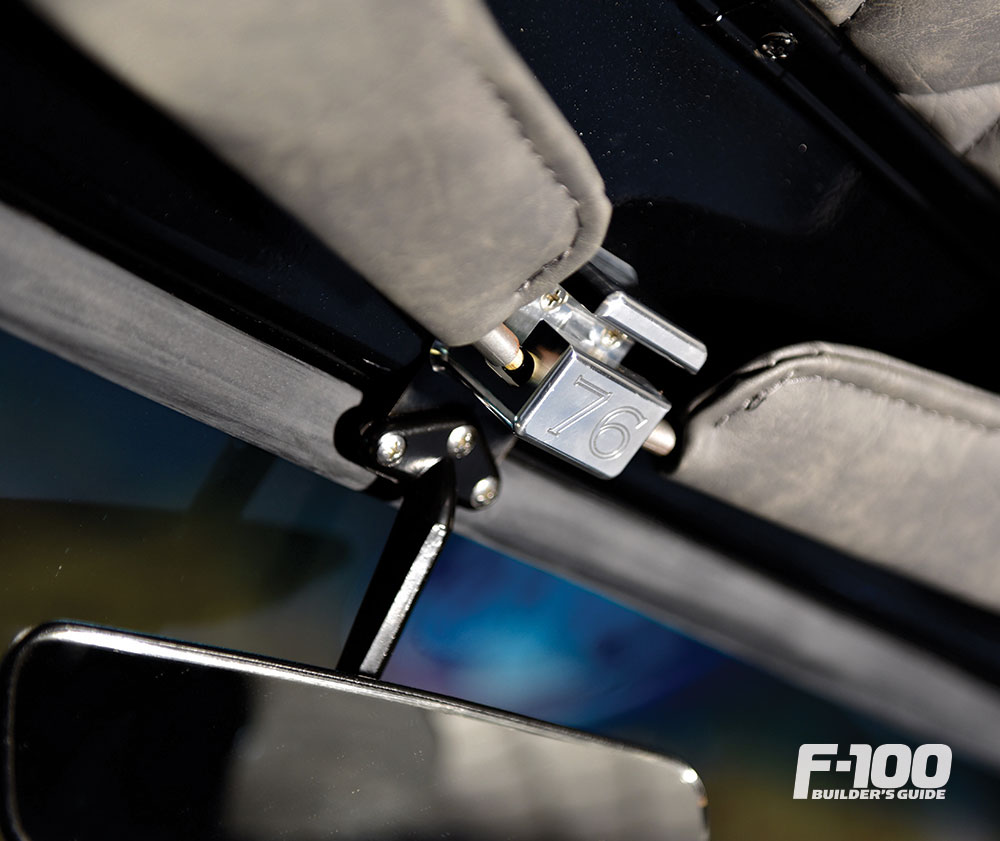
Follow along with this simple process as we install interior door pull handles, custom-engraved center sun visor mount, custom-engraved interior door release handles, four side marker light covers with side slots and the stamped steel grille supports, all of which come with beautiful new Allen-head hardware as well. (Many of these products also fit early bodied Ford Broncos as well just in case you have a few projects going at once!)
For purchasing or product details head over to Machinedtruckparts.com/shop and give them a follow on Instagram @machinedtruckparts! For more pictures of the truck in the pictures, check out Will Meador’s Instagram @billybobs_chopshop, and stay tuned for a better look at it in future issues!
 STEP 1
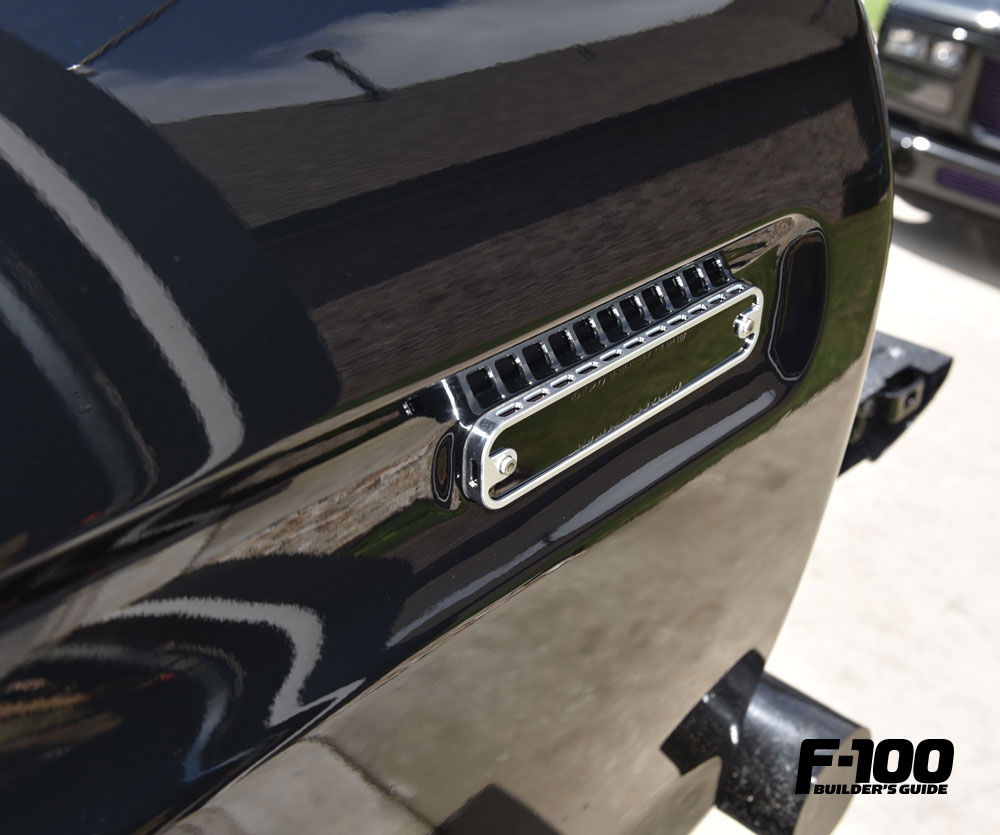
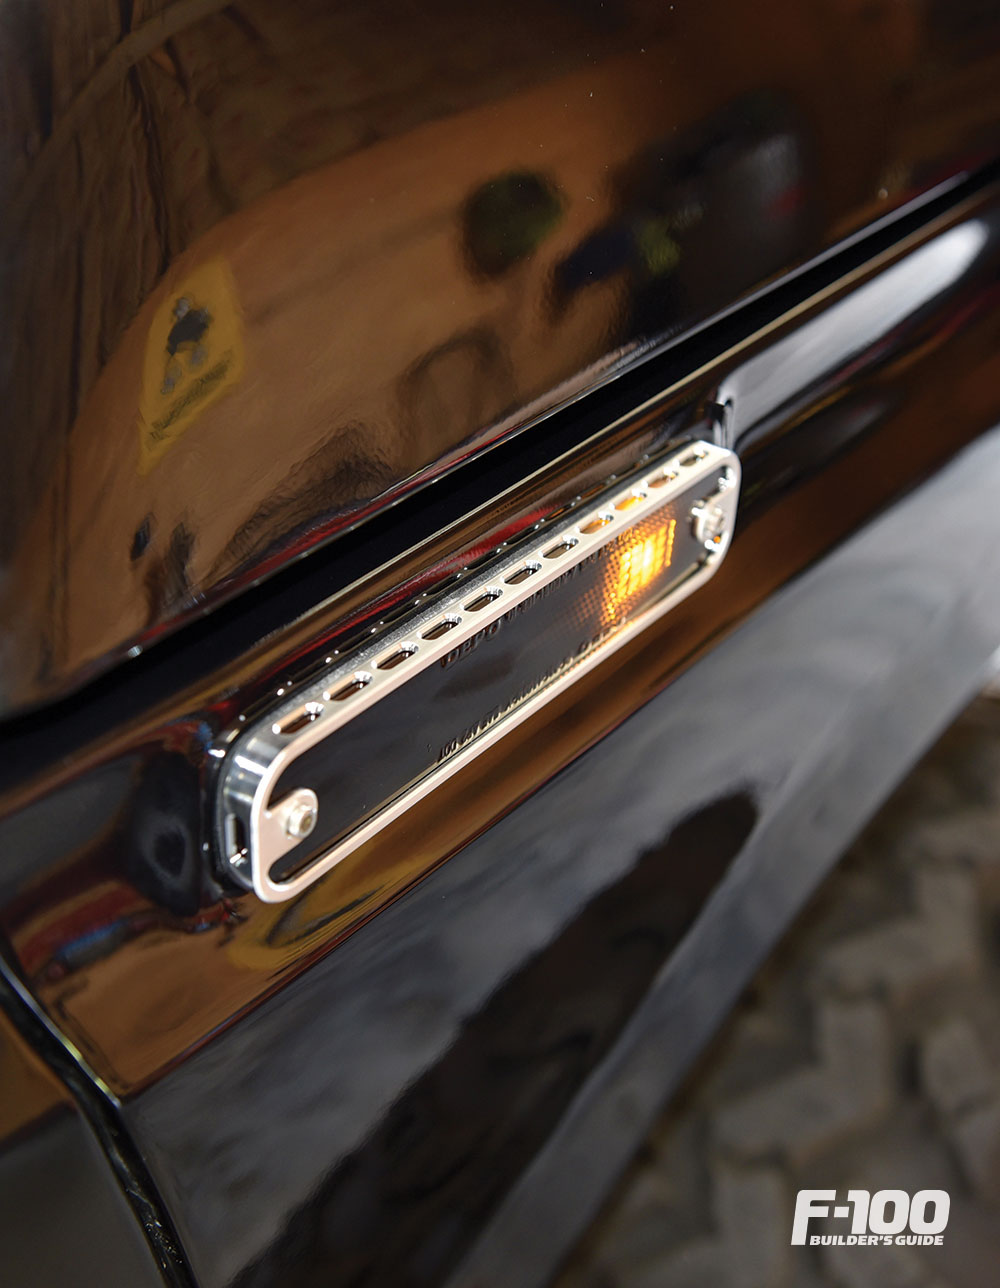
Pretty simple: Remove the stock Phillip’s-head screws holding in your front a rear side markers.
 STEP 2
Install the new marker light covers from the front side of the lens, and use the new beautiful hardware included with them to snug them back into place. You’re done!
 STEP 1
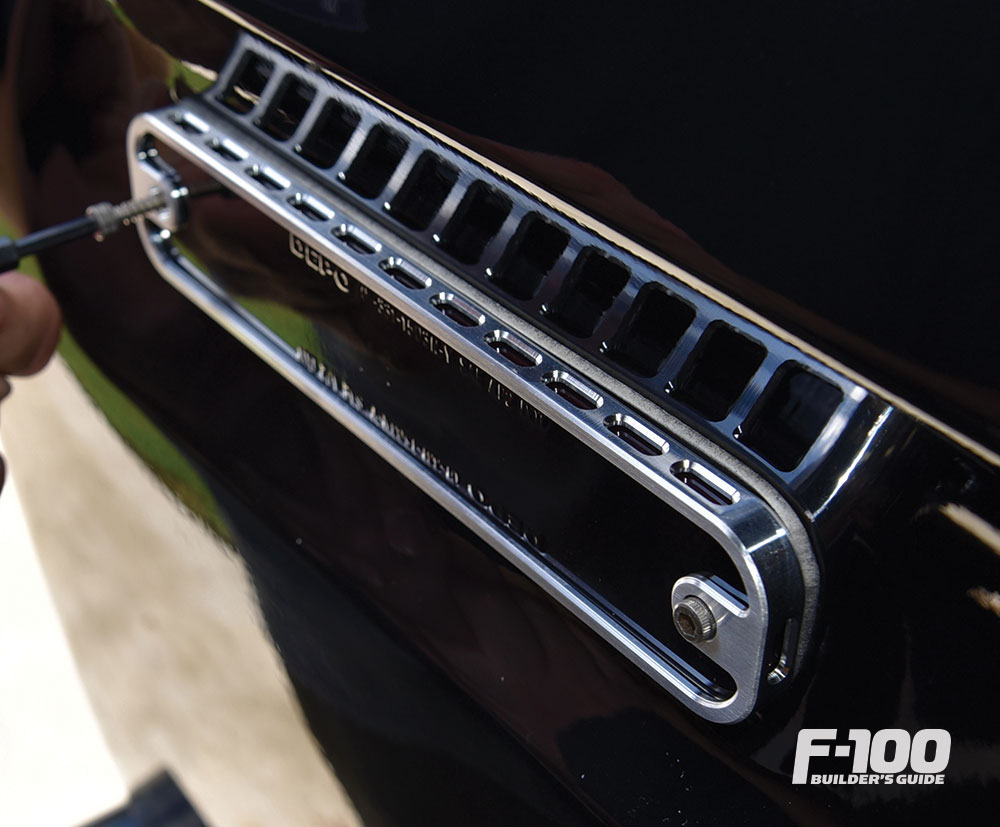
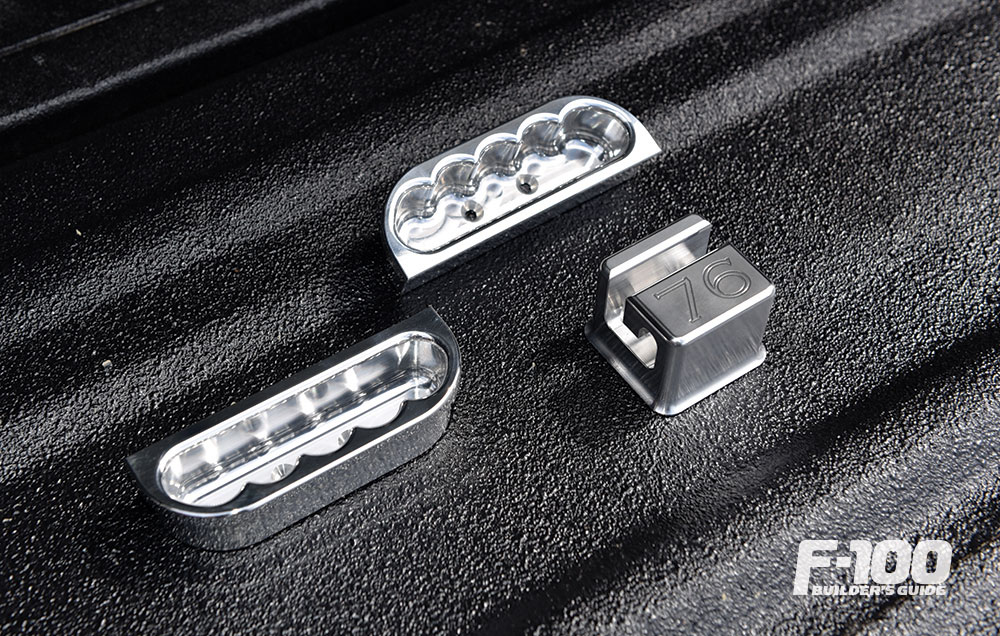
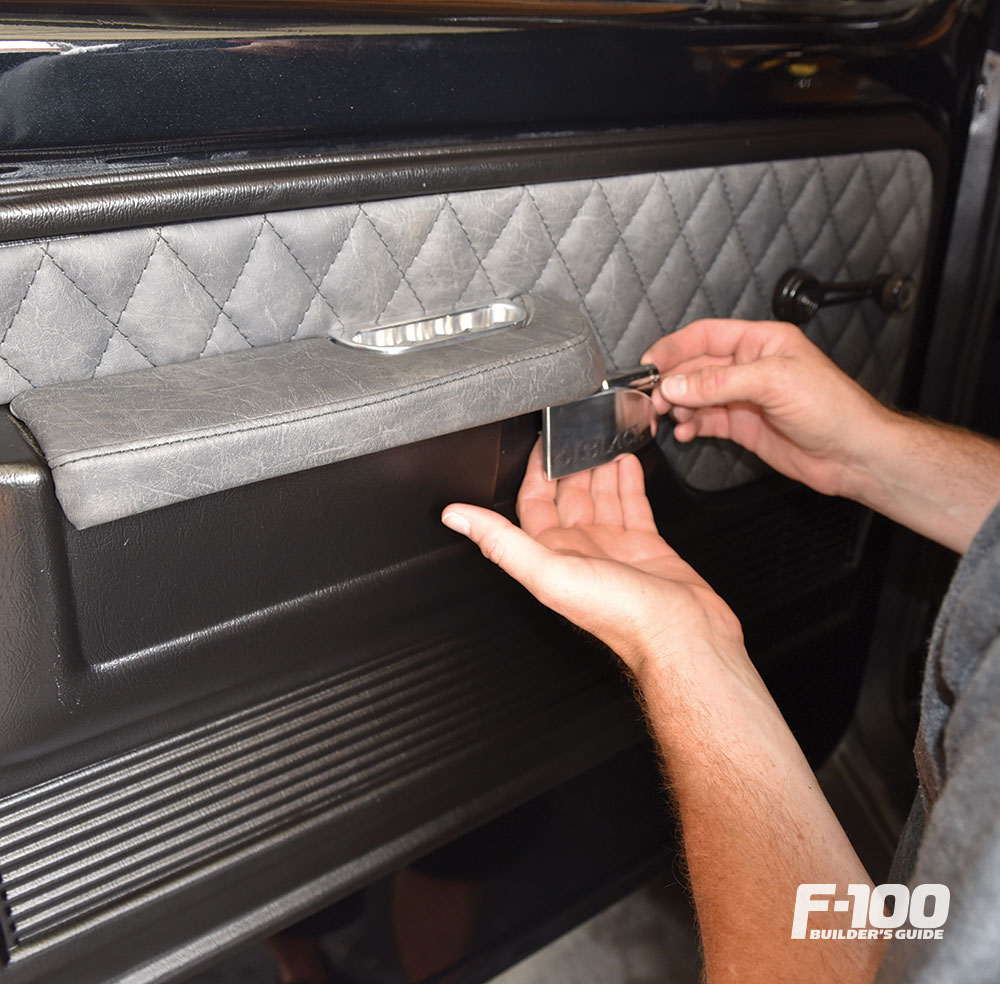
Remove your plastic or stamped metal door pull handles by removing the hardware visible to you by looking straight down into the piece. Pull them out and set them aside.
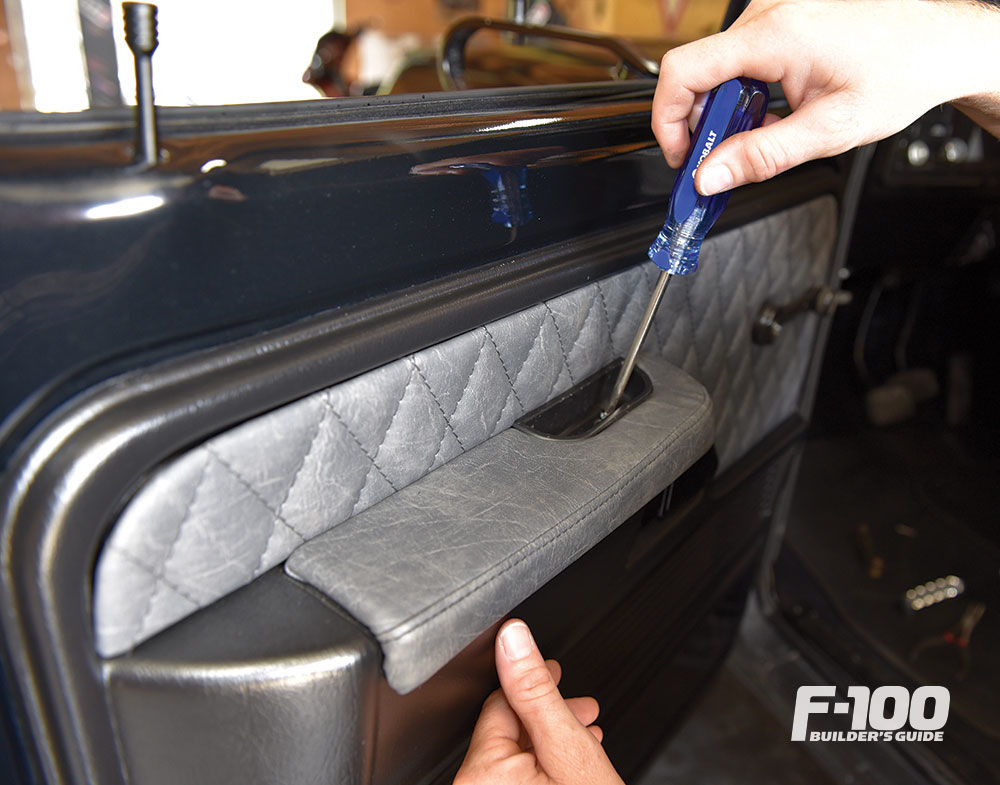
STEP 2
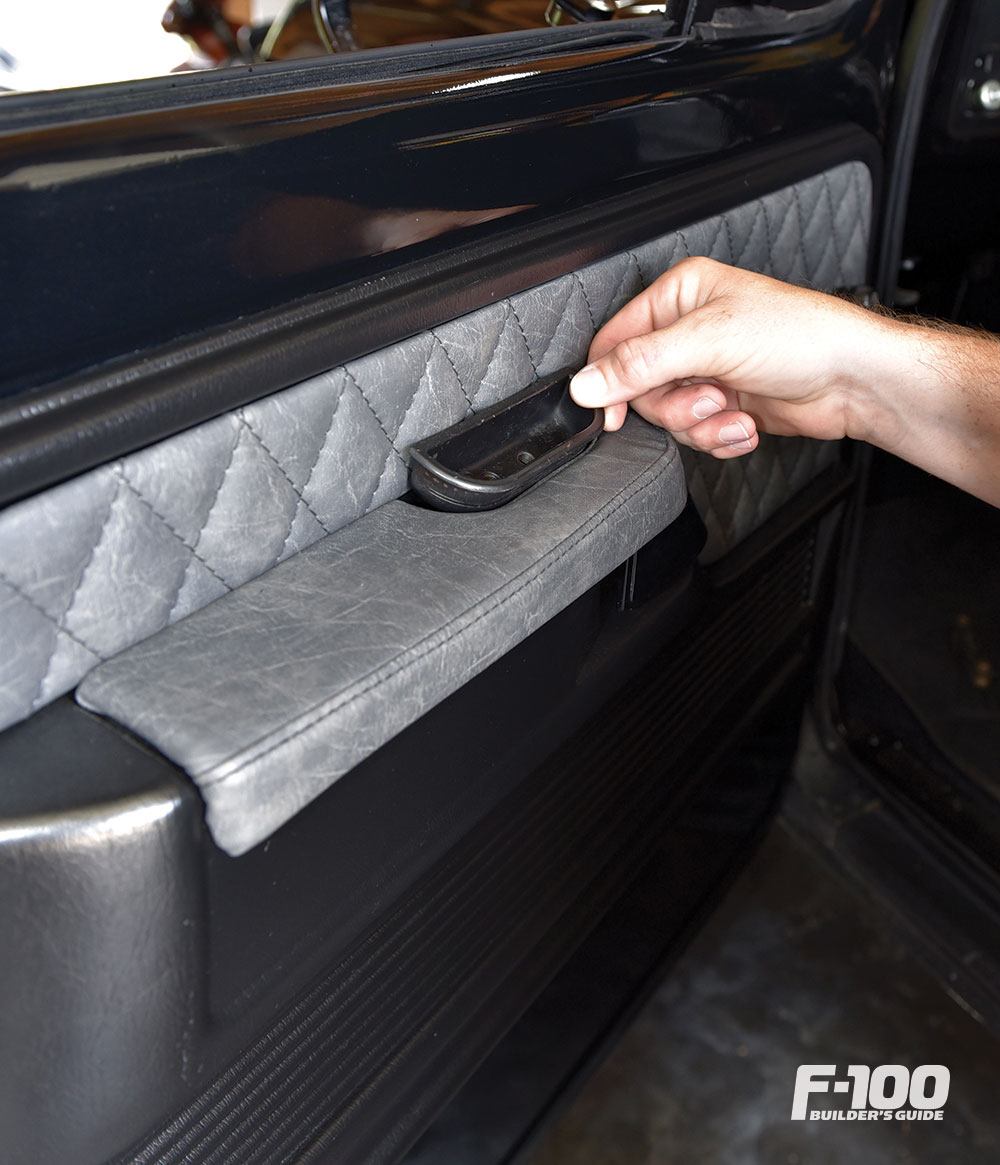
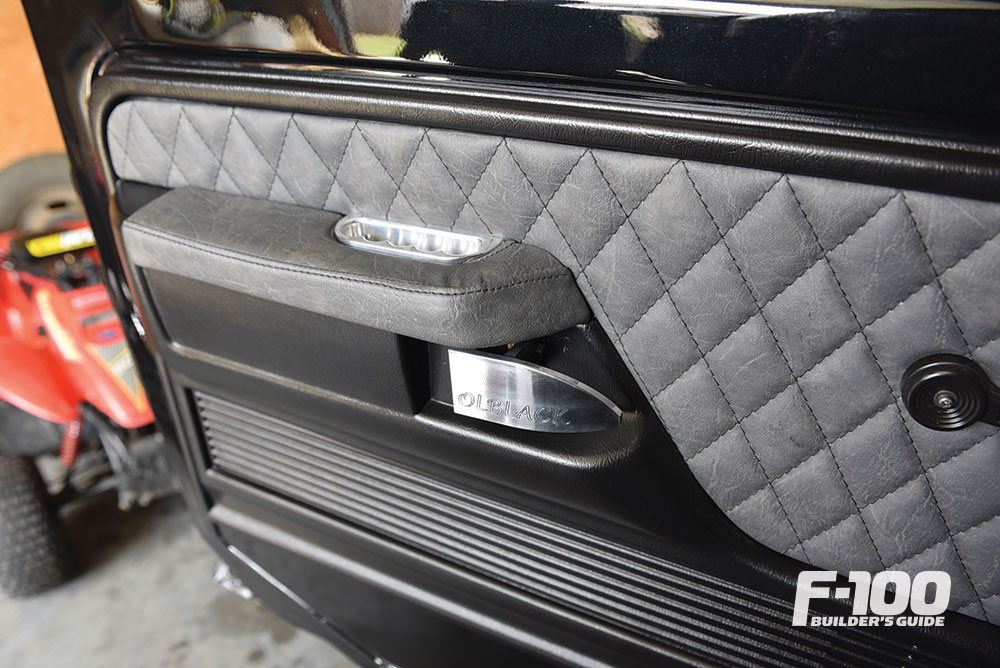
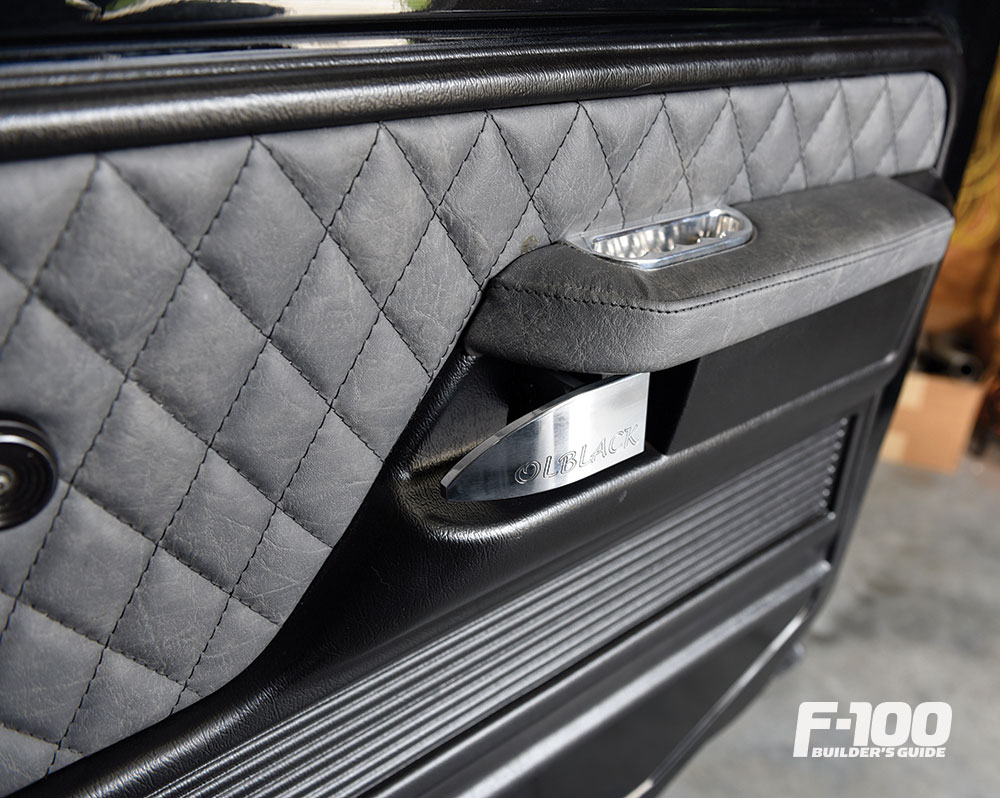
Install the new door pull handles from Machined Truck Parts using the provided new hardware to go along with them. Snuggly secure them into place and tighten Allen-head bolts. (Note: If you have custom upholstered door panels such as the ones seen in these photos, it may be a snug fit; be patient and apply some gentle even pressure. They will slide in nicely.)
STEP 3
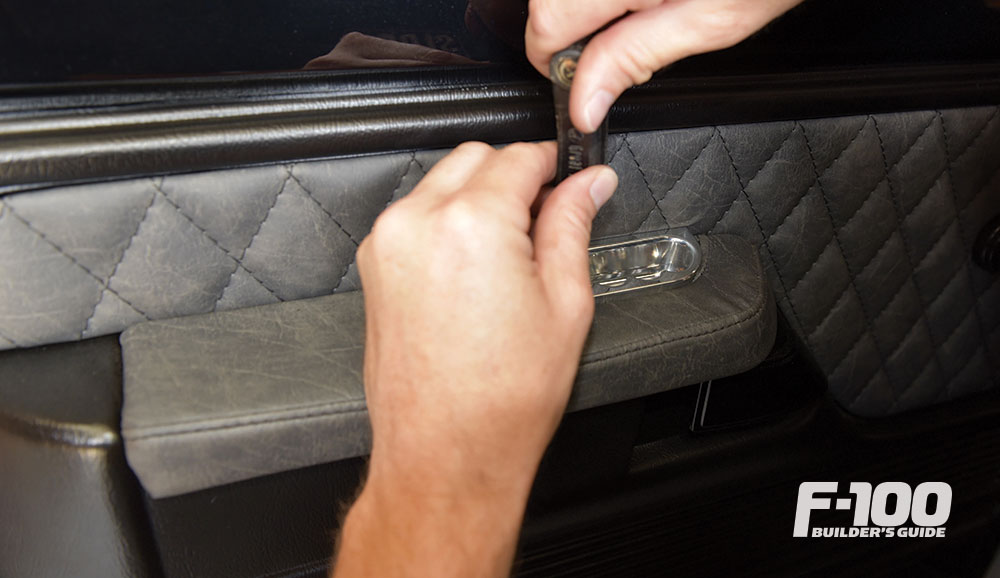
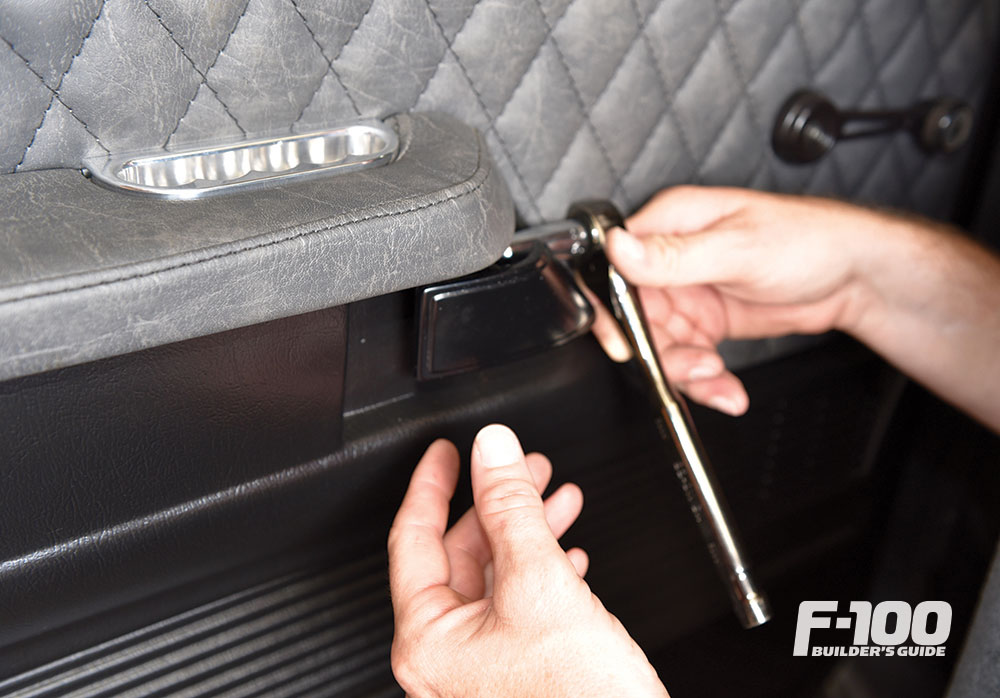
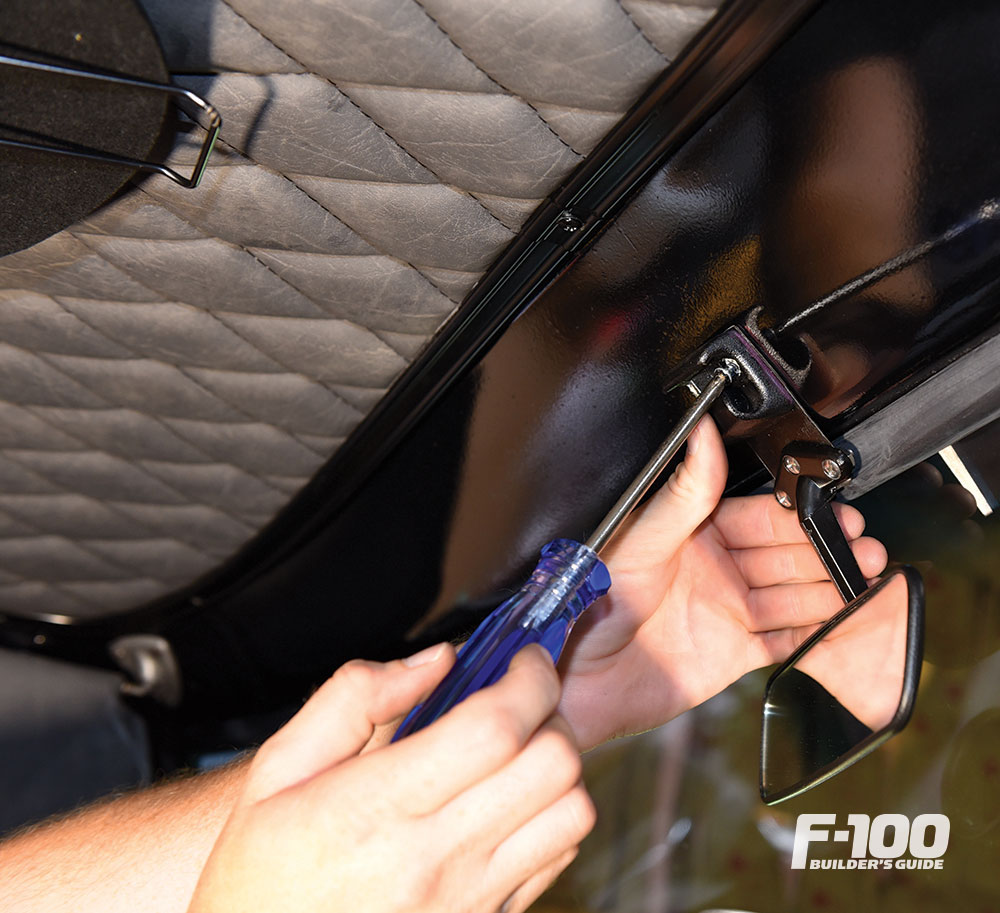
For door release handles, use the same process applied to this piece, removing the single bolt located on the back side of release handle.
 STEP 1
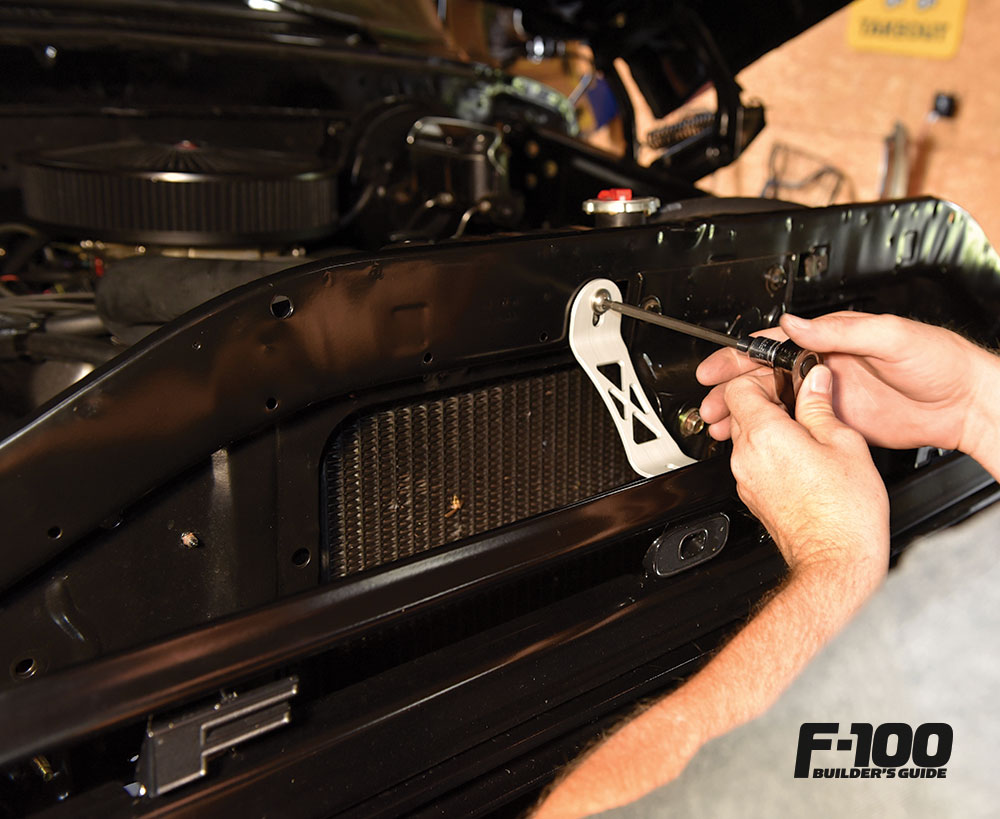
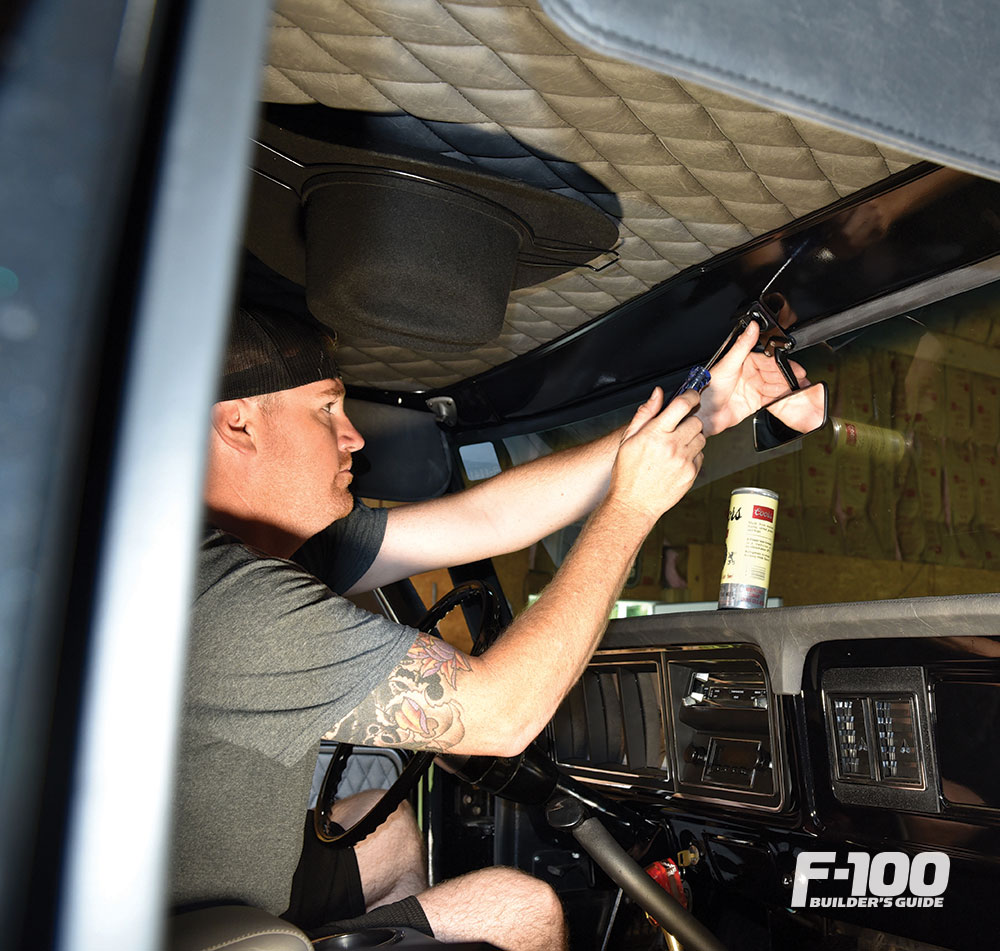
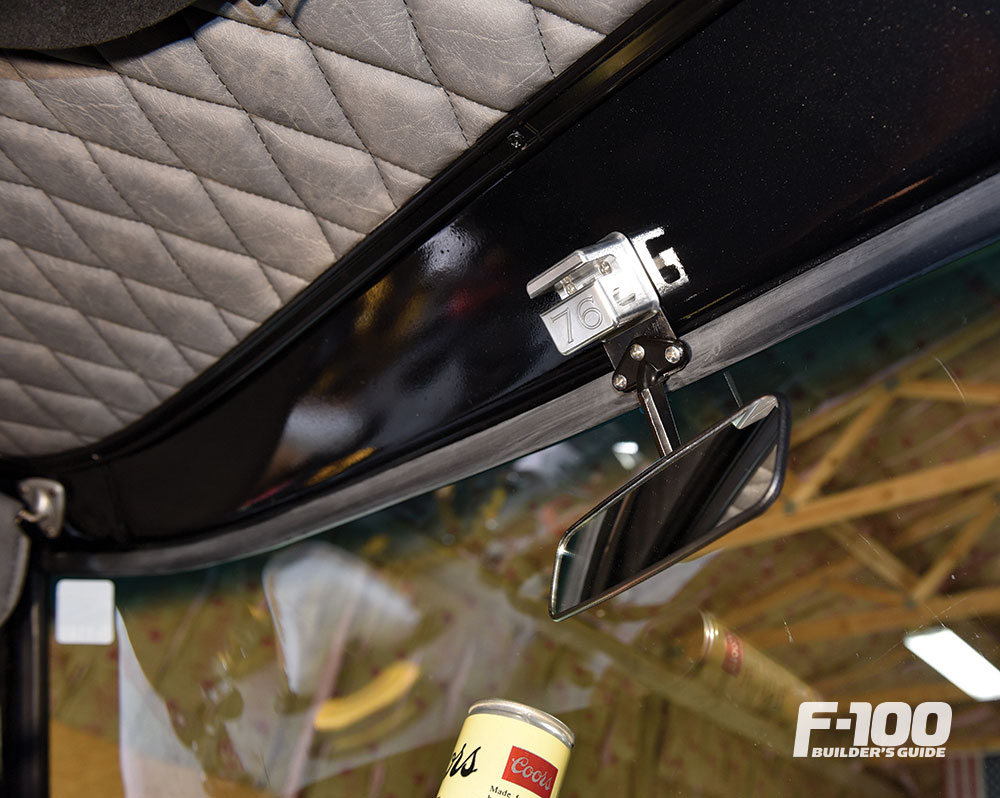
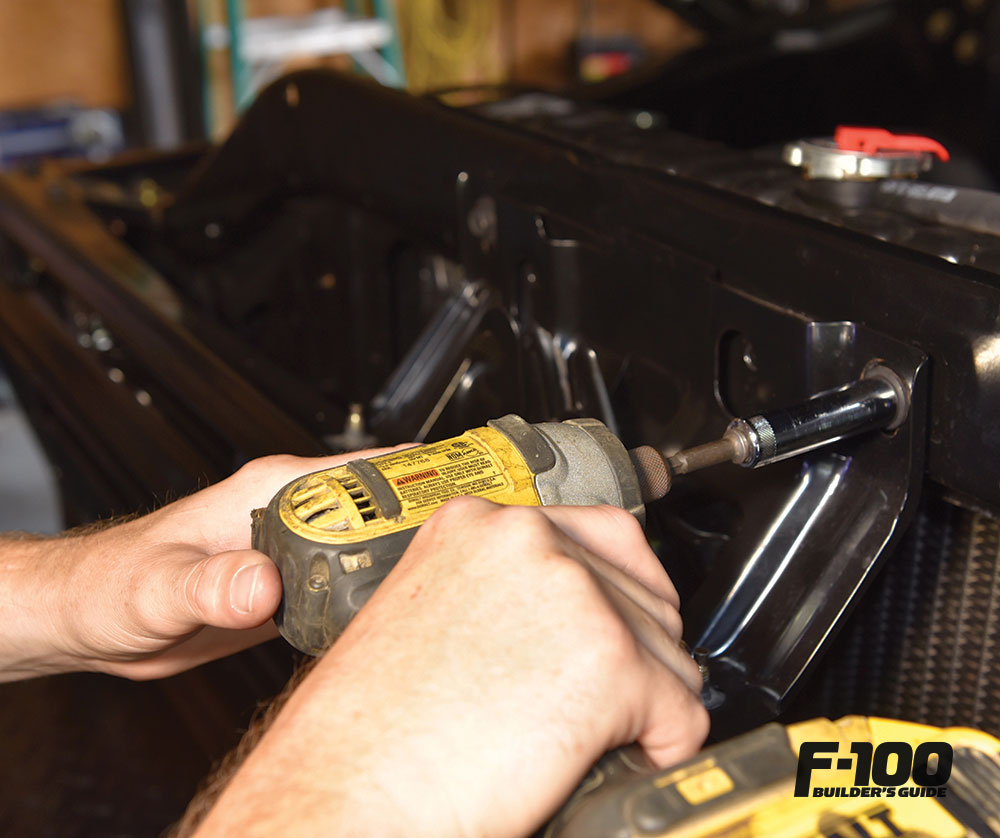
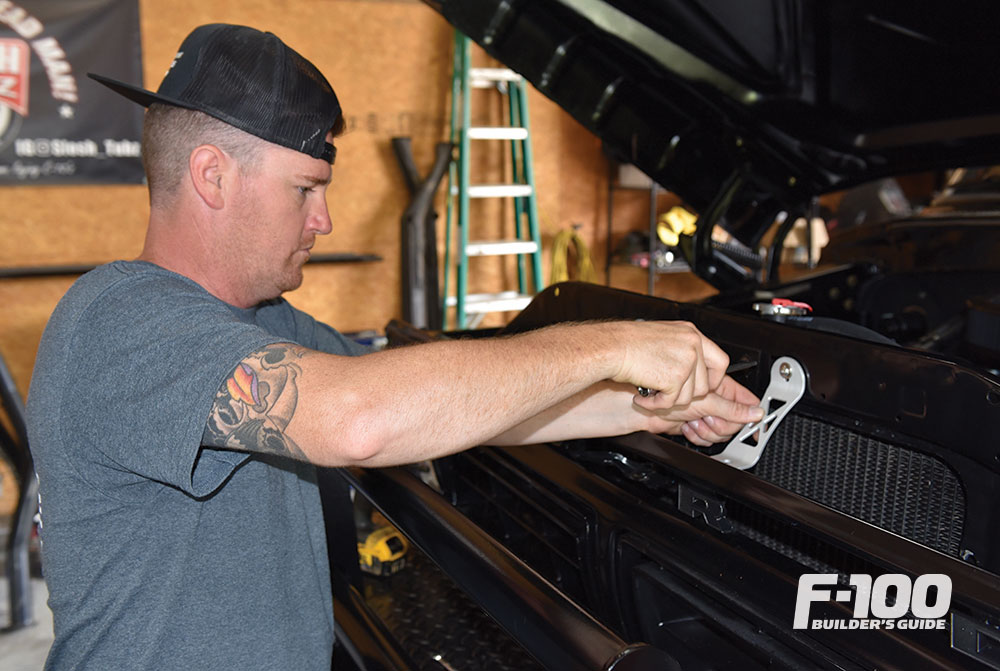
In case you aren’t catching the theme yet, it’s pretty straightforward, which rocks! For the sun visor mount, simply remove the screws, and don’t drop your mirror if you have moved it to roof mount. For the grille supports, remove the bolts/bracket off the grille support shown under the hood of your F-100.
STEP 2
Replace removed parts with your new, upgraded Machined Truck parts using, as you guessed it, the gorgeous new hardware that was provided with the new parts! (Note, if your sun visors do not align perfectly upon mount installation, you may need to slightly adjust the three outside screws on each visor to align.)


Industry News
This engine peaked at over 1,100 horses with minimal modifications Ford’s Godzilla engine needs no introduction. The automaker introduced this in the Super Duty truck… Continue reading
Logan Wade . December 18, 2020
F100 Builders
As of 2025, the Coyote/6R80 combo remains one of the most cost-effective and performance-packed swaps for classic Fords. With newer support kits and better salvage… Continue reading
Chris Hamilton . January 10, 2020
Industry News
This Ford F-350 Super Duty Drove 1.3 Million Miles In Only Eight Years Million-mile vehicles make me really excited. We’ve seen a few million-mile feats… Continue reading
Logan Wade . March 09, 2021
F100 Builders Guide
THERE ARE VERY FEW guys out there who would be able to ID the gray paint worn by the ’68 F-100 showcased on the next… Continue reading
John Mata Jr. . July 06, 2020
Industry News
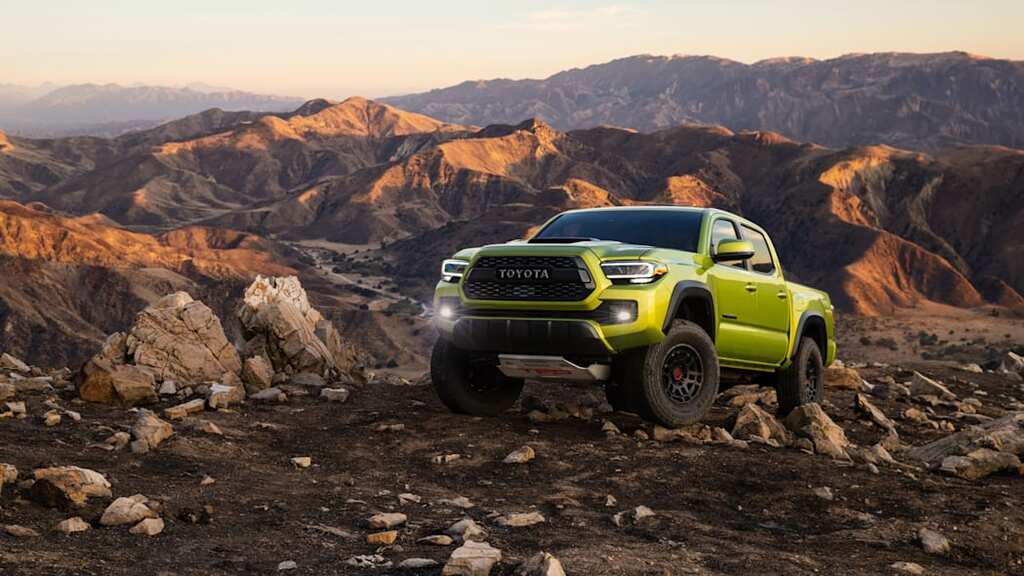
2022 Toyota Tacoma TRD Pro, Trail Edition get more off-road goodness Standing taller There’s no shortage of off-road focused Toyota Tacoma trims, and two of them are… Continue reading
Logan Wade . June 07, 2021
F100 Builders
1976 F-150 Take the High Road With Solomonson Family Heirloom the FFG Way! Brian Solomonson, like many of us crazed truck enthusiasts, fell in love… Continue reading
Mike Alexander . March 04, 2021


We use cookies to enhance your browsing experience, serve personalized ads or content, and analyze our traffic. By clicking "Accept All", you consent to our use of cookies. Visit our Cookie Policy for more info.

Share Link