 Jon Hansen
.
January 29, 2020
.
How to
Jon Hansen
.
January 29, 2020
.
How to
We have all had those moments where we spill motor oil on the floor, or over-fill coolant reservoirs to have them spill out into our garage spaces… maybe you have even painted a few different things without being too careful and over sprayed the concrete a bit. Well, over time all those stains and areas add up; and your once clean garage floor looks like a dirty gas station bathroom floor. In today’s world, we are blessed enough to have many options of how to refinish a garage floor and clean up the space, but the one I really wanted to use for this space was from a company called G Floor. G Floor is a brand run by Better Life Technology and is the leading innovator and manufacturer of top quality, polyvinyl flooring solutions in the nation. From residential to commercial spaces, B.L.T can offer you solutions for any area you may be looking to improve the flooring from big to small, inside to outside your home or business. As they themselves say, “Basically ANYPLACE you live, work and play… Better Life Technology has a polyvinyl solution.”
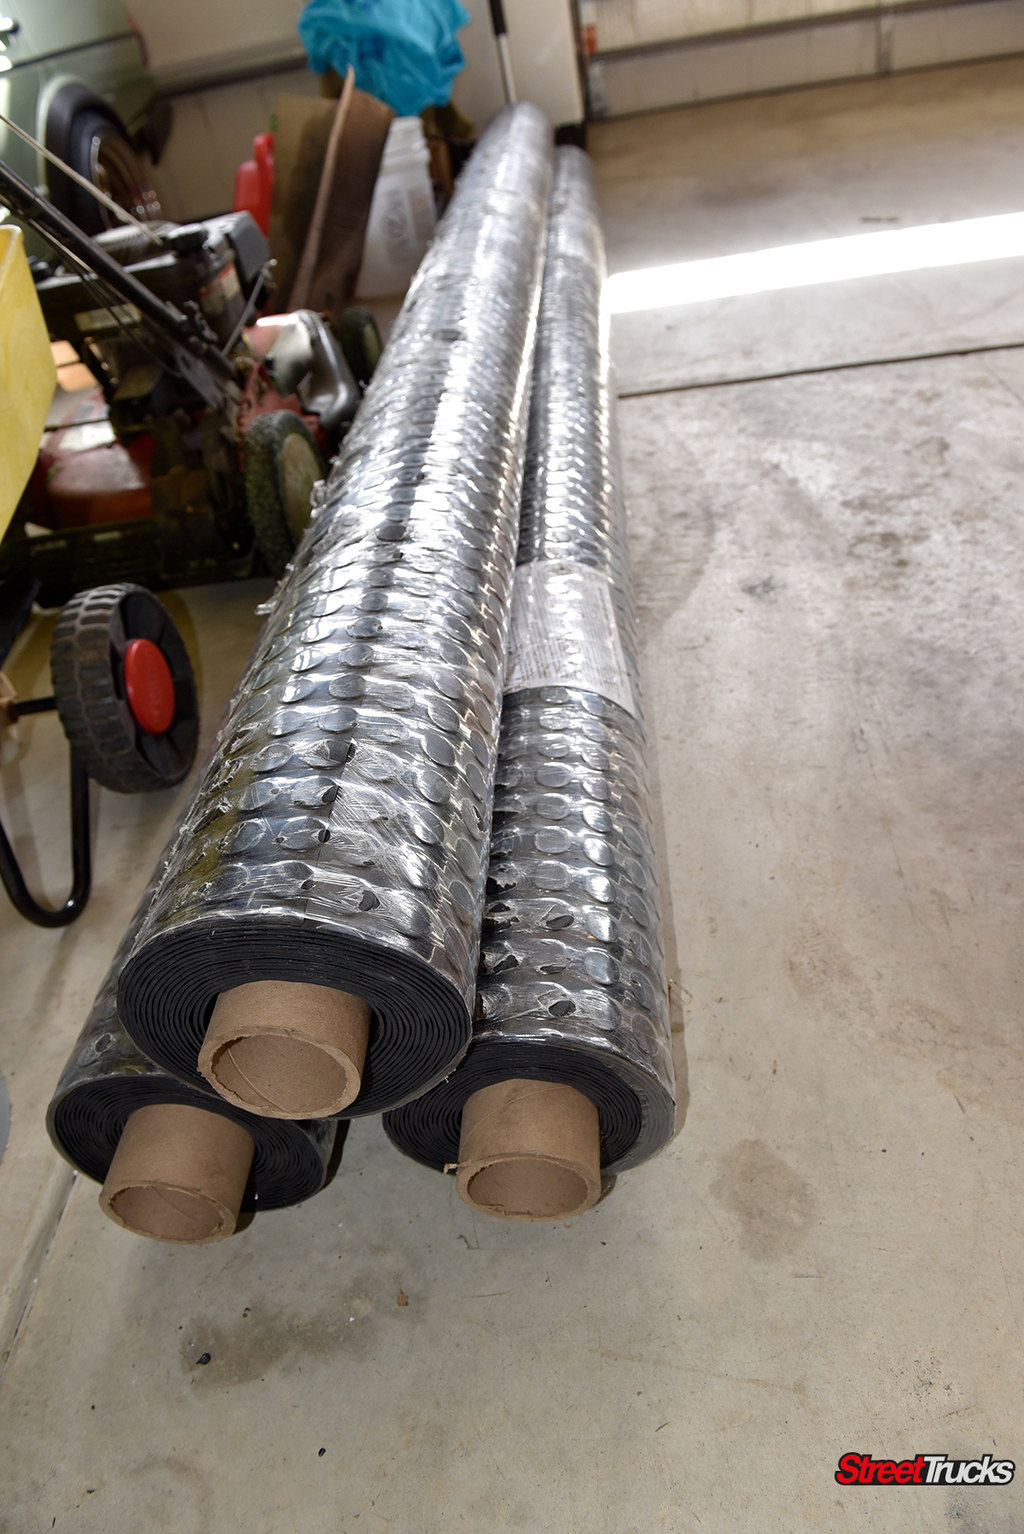
Offering flooring rolls in sizes up to 10ftx24ft, G Floor makes many options and finishes available to help accomplish whatever look you may want to aim for in your space, and with options that large if helps you install as smoothly and seamlessly as possible. Totally up the square footage of the space I wanted to do easily told me the amount of flooring I would need to get sent out. While it is possible to install it without adhesive, I wanted to make sure in my active, high movement garage my flooring would not budge at all. For that I went with the recommended adhesive from a company called Taylor. While the job required a fair amount of time to fully complete, the task was simple over all and easy to accomplish once it got rolling.
WHAT YOU NEED:
Step 1: Clean that Floor Before You Start
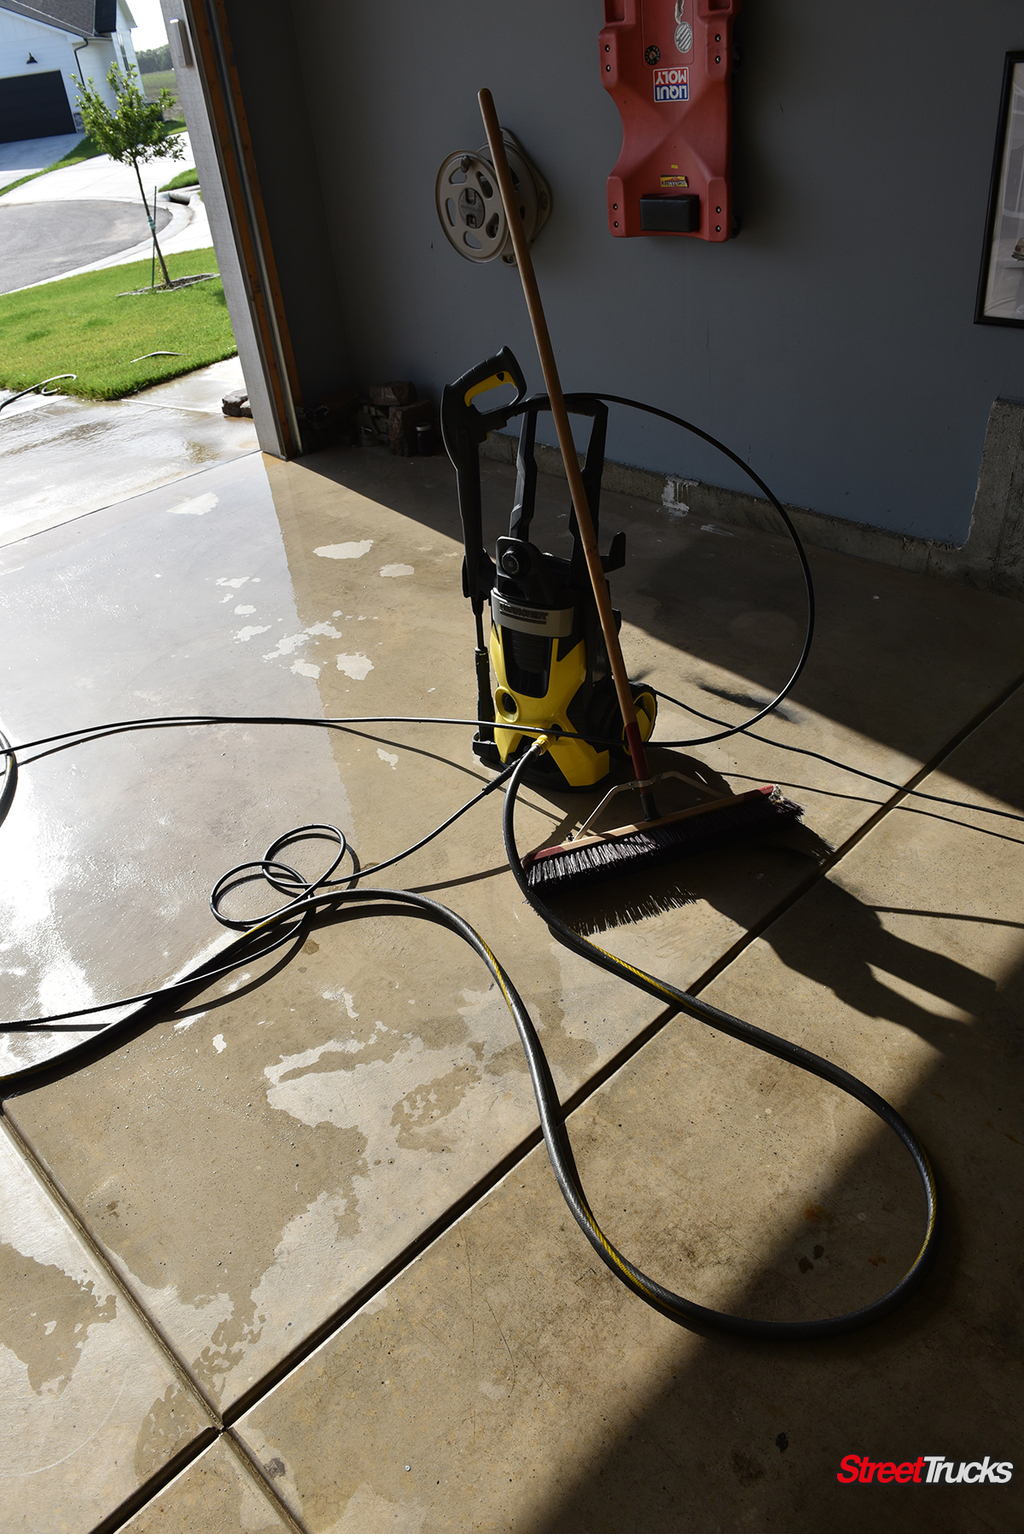
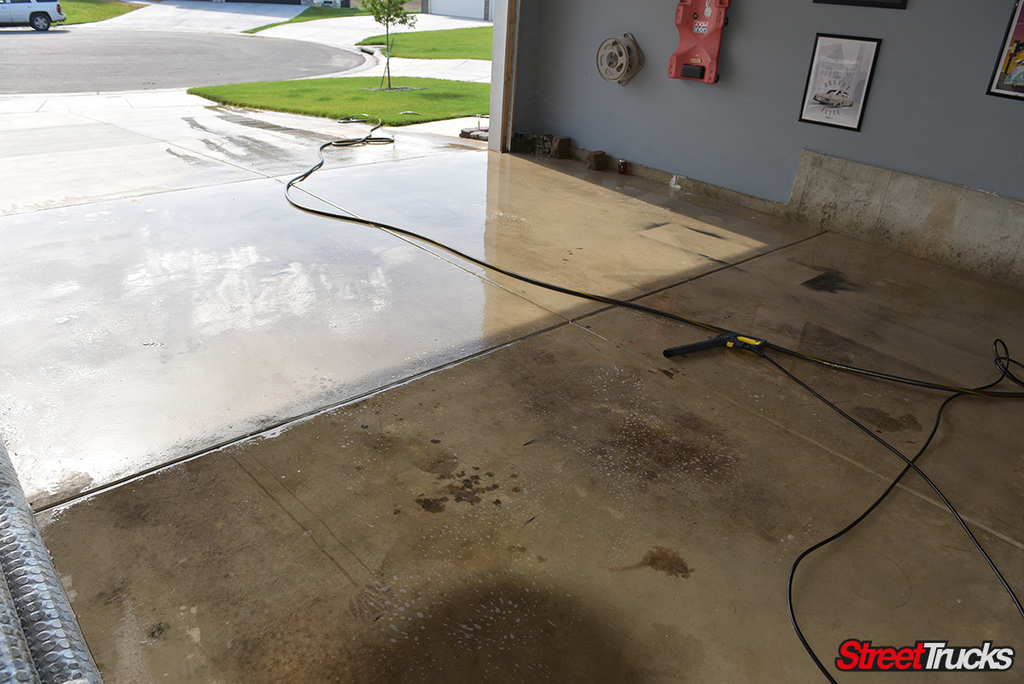
Floor must be clean, smooth, flat and dry. Remove all foreign substances such as wax, grease, dirt, construction marks and contaminants, and any substance or chemical that would interfere with a good bond. For me, I swept and power washed the garage floor surface out a 24 hours before I started the project; wanted to make sure the floor had adequate time for the water to dry out from the surface before beginning.

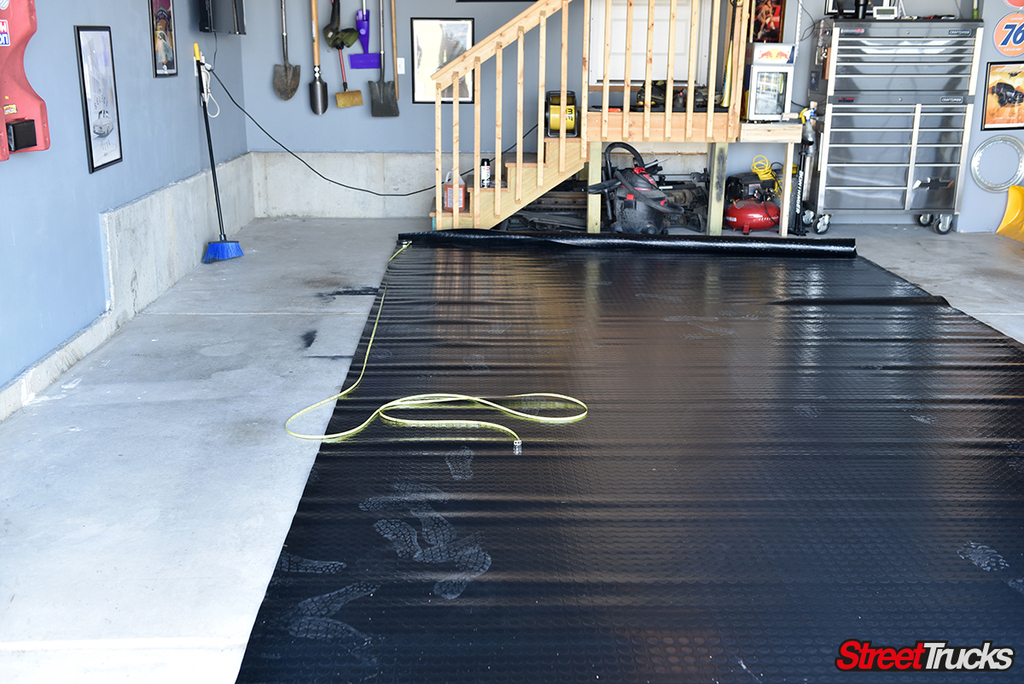
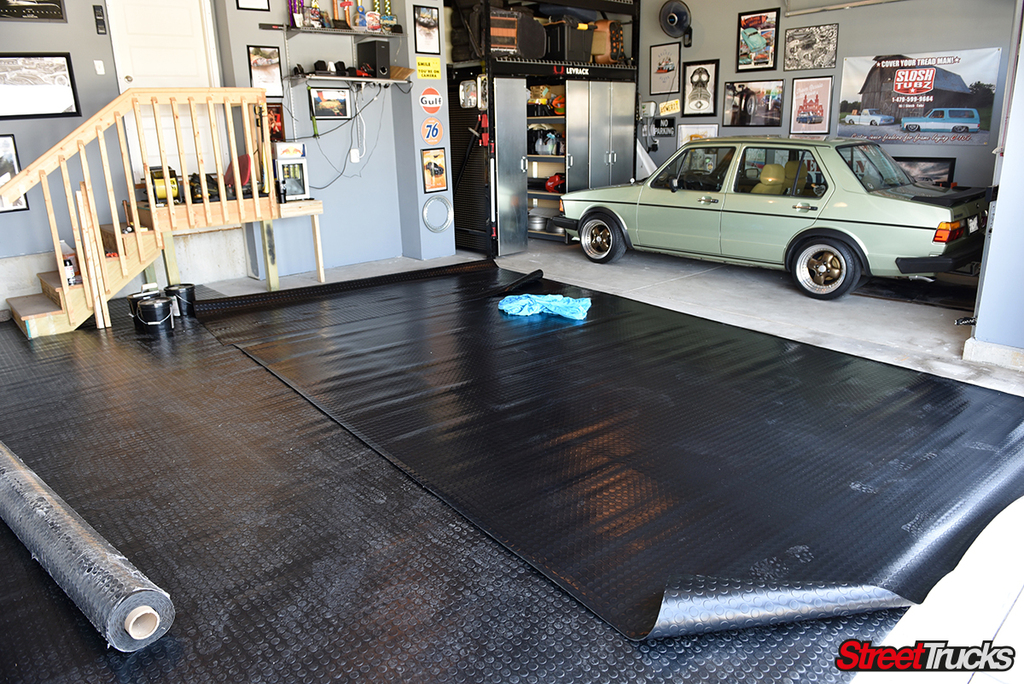
Step 2: Unrolling the Flooring and Starting to Measure the Space
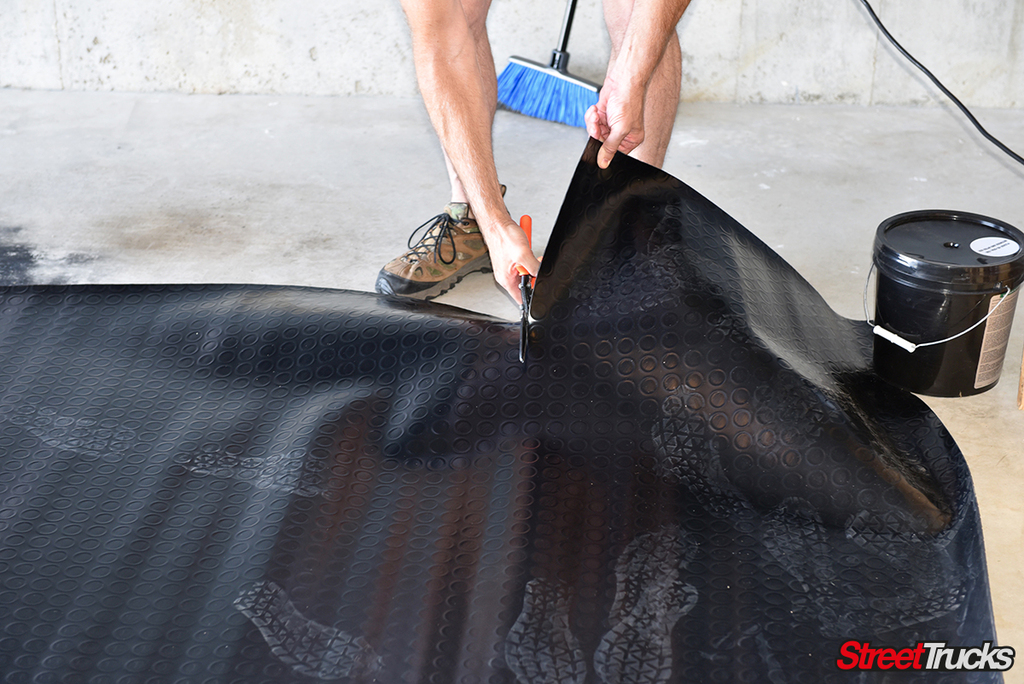
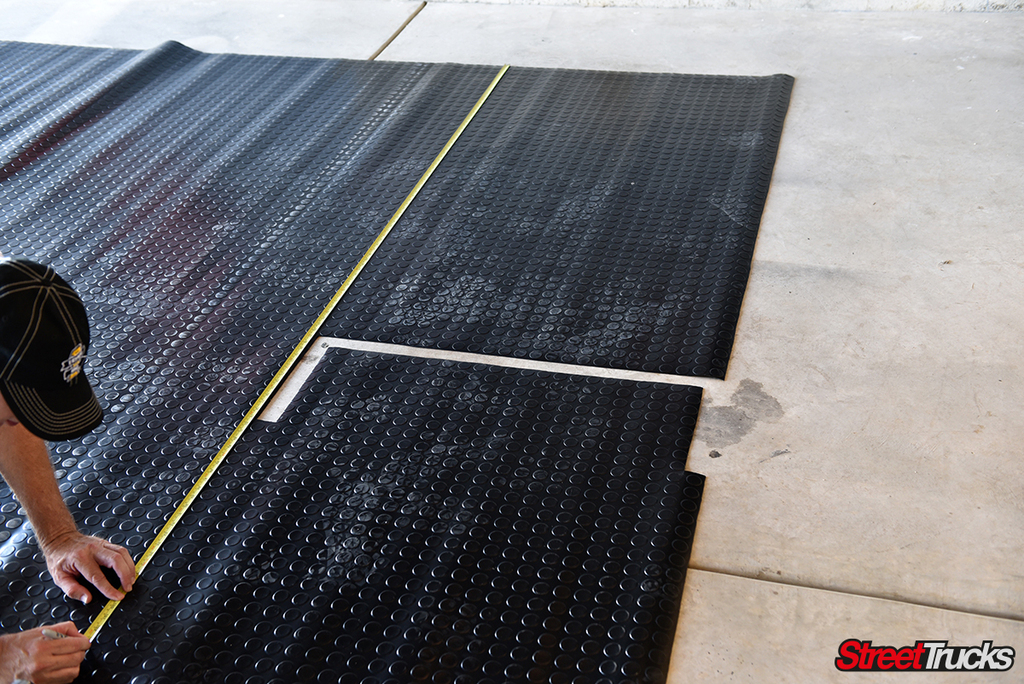
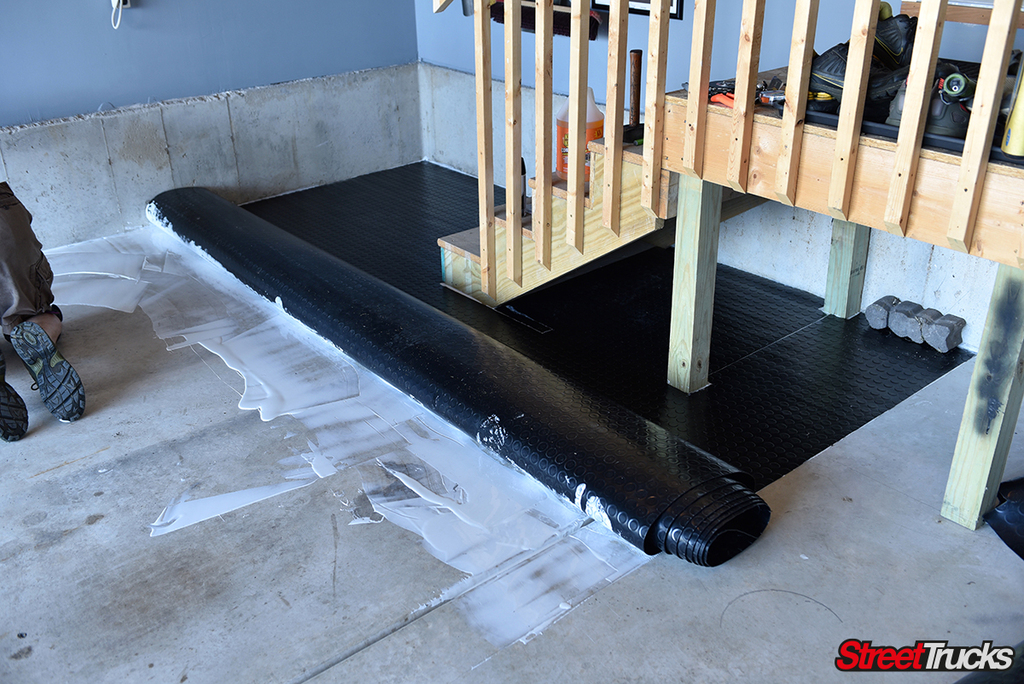
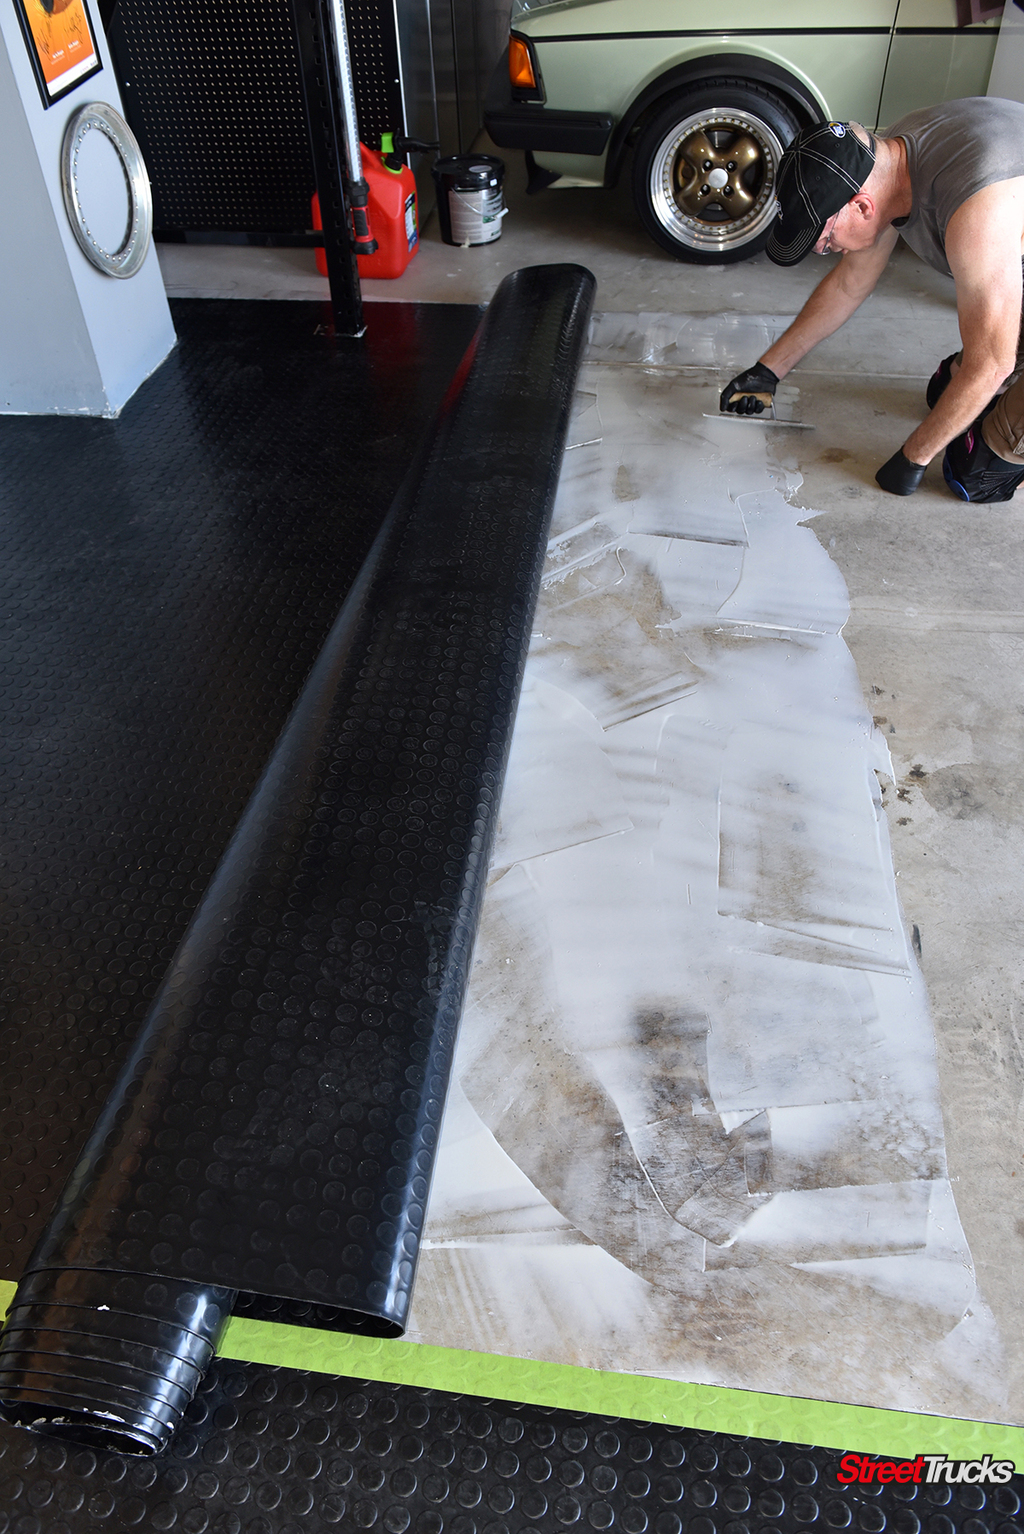
Once the floor was clean and clear, we carried the first roll of G Floor into the space and unrolled it top to bottom, with the surface you would be walking on in normal life face DOWN. This allowed us to keep that surface as contaminant and dirt-free as possible during the process. Once fully unrolled, we began to measure the flooring for any corners/obstacles in the garage it may encounter and need to fit around. MEASURE TWICE CUT ONCE. It is an old saying, but it honestly holds true. For me, it is more of a measure three or four times cut once thing. I have no urges to make mistakes you cannot go back from.
Step 3: Cut for Any Areas You May Need to Fit
Once you have made sure all your measurements are correct, no really… you triple checked that right? And took into account that the flooring is face down so everything will flip over into the correct place? Okay cool, start cutting your marks to fit the space and any obstructions you are dealing with now.
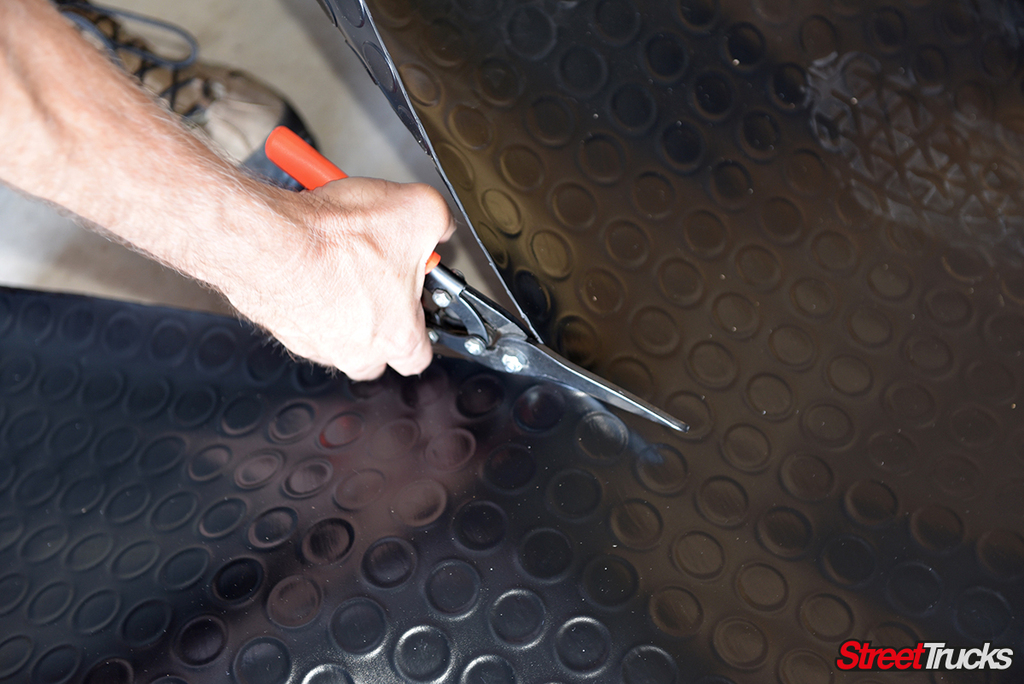
Step 4: Does it fit?
Time to make sure if your measurements were actually correct! Slide / set in all back into place and make sure any adjustments or trimming you need to do gets done before you move on further.

Step 5: Repeat for Any Other Flooring Rolls You Have & Let Sit
Repeat this step for the rest of the space if you have more flooring to unroll / cut; lay it out into place, and then let it sit 24-48 hours (warmer temperatures will flatten it out quicker.) in place to let the flooring flatten out. THE LONGER YOU LET IT FLATTEN ITSELF OUT, THE LESS YOU WILL FIGHT IT LATER.

Step 6: Start the Adhesive Process
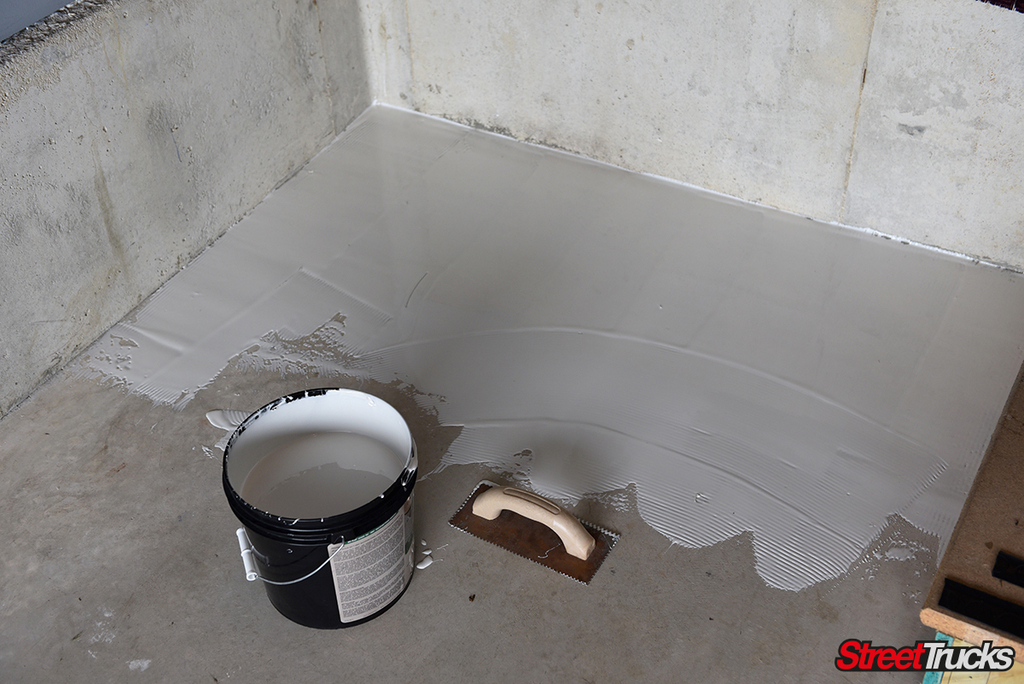
Spread adhesive covering 100% of the exposed subfloor, leaving no gaps or puddles. Keep trowel away from vinyl backing as it may scratch the flooring and show through. Maintain uniform coverage by keeping the trowel clean and properly notched. Keep the adhesive thin on the floor, you will get a feel for what you want as you go honestly.
Manufacturer Note: It is imperative to maintain the material, adhesive, and job site at a temperature between 65°F and 85°F for 48 hours before and during the installation. 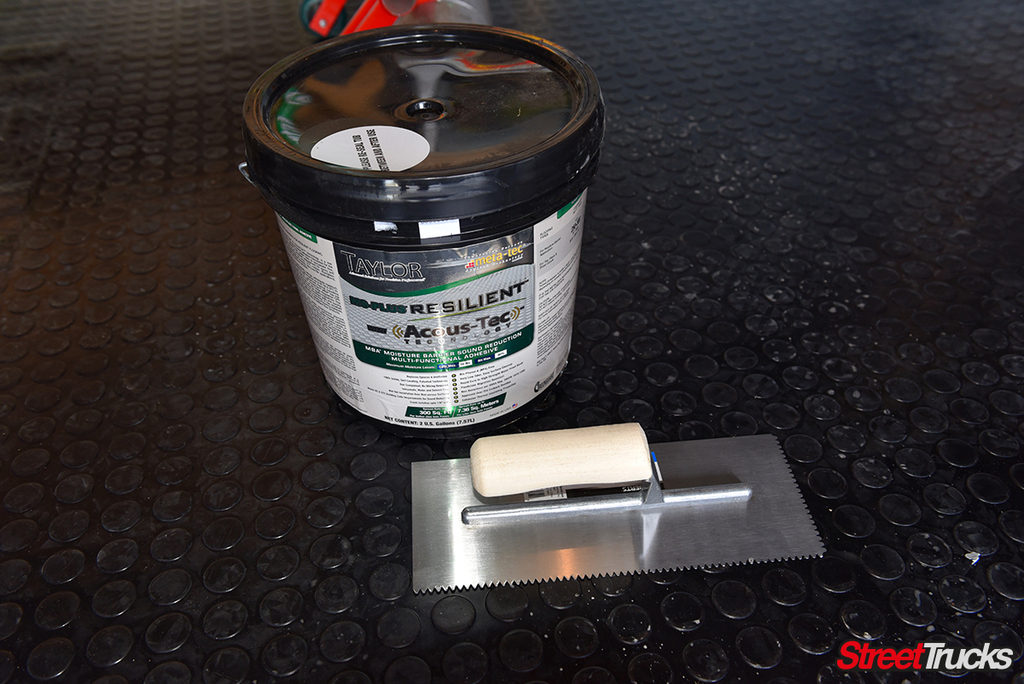
Step 7: Press Out Any Air Bubbles or Areas in Need
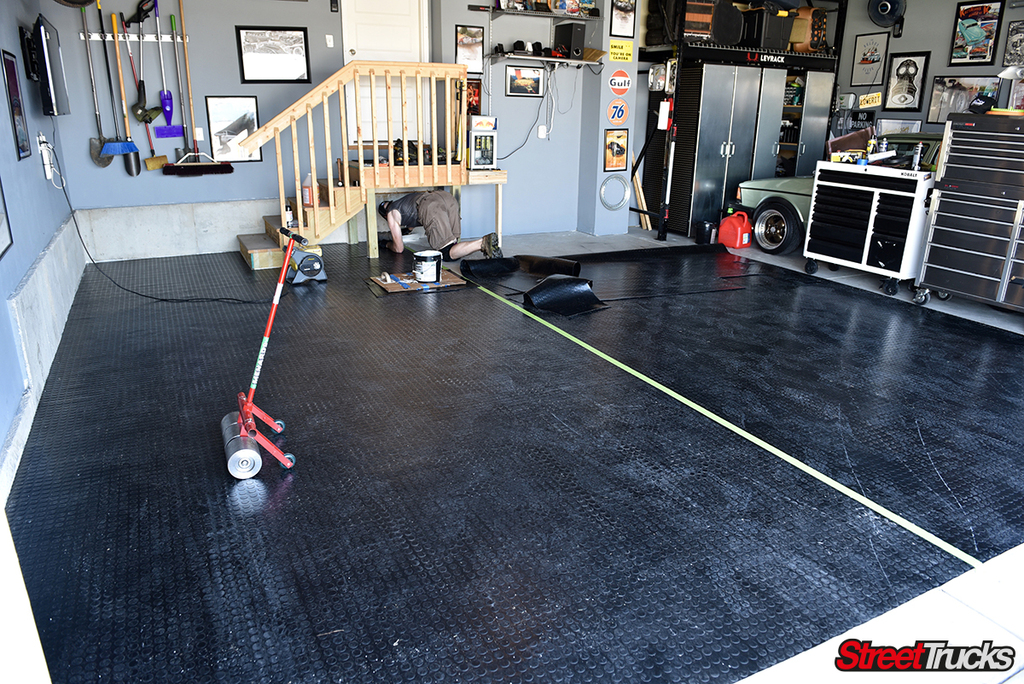
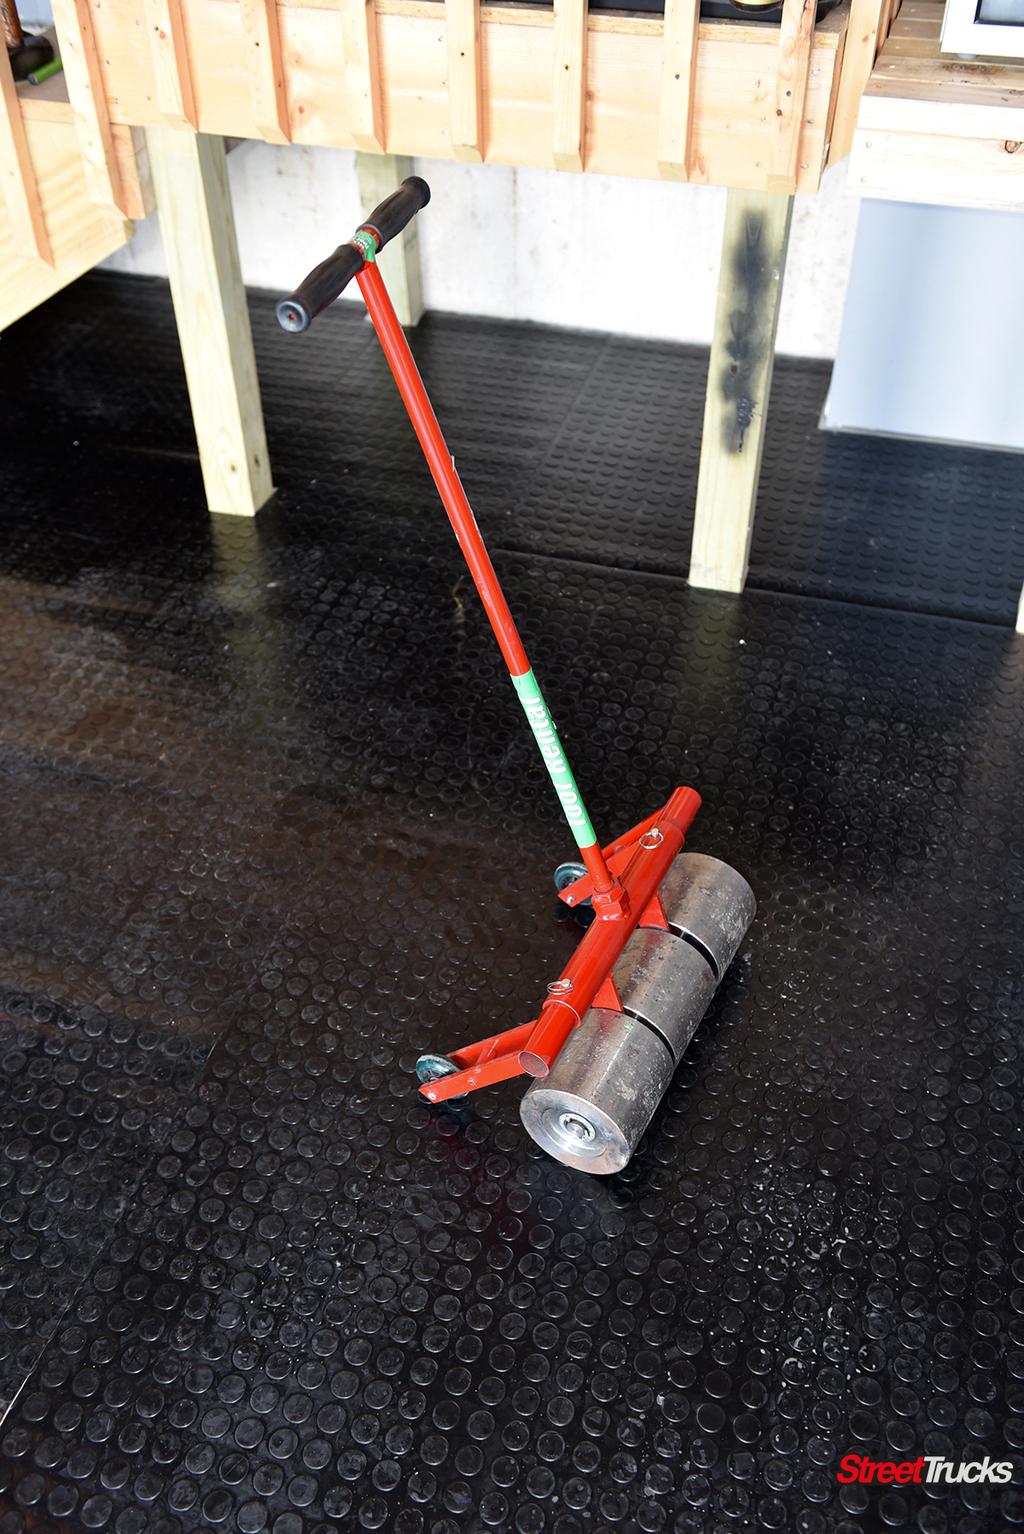 One of the smartest things I did for this entire installation, was renting a heavy / weighted linoleum roller from a nearby hardware store. I spent under $20 for an entire weekend with it and it made a significant difference on how easy pushing the bubbles out as I went was. We installed the Taylor adhesive / flooring around 1-3 feet at a time to stay on top of pressing air out of the flooring and to ensure our adhesive not drying on us as we went. (as the day went on the temperature went up so we had to do smaller areas bit by bit to make sure glue did not dry as mentioned.)
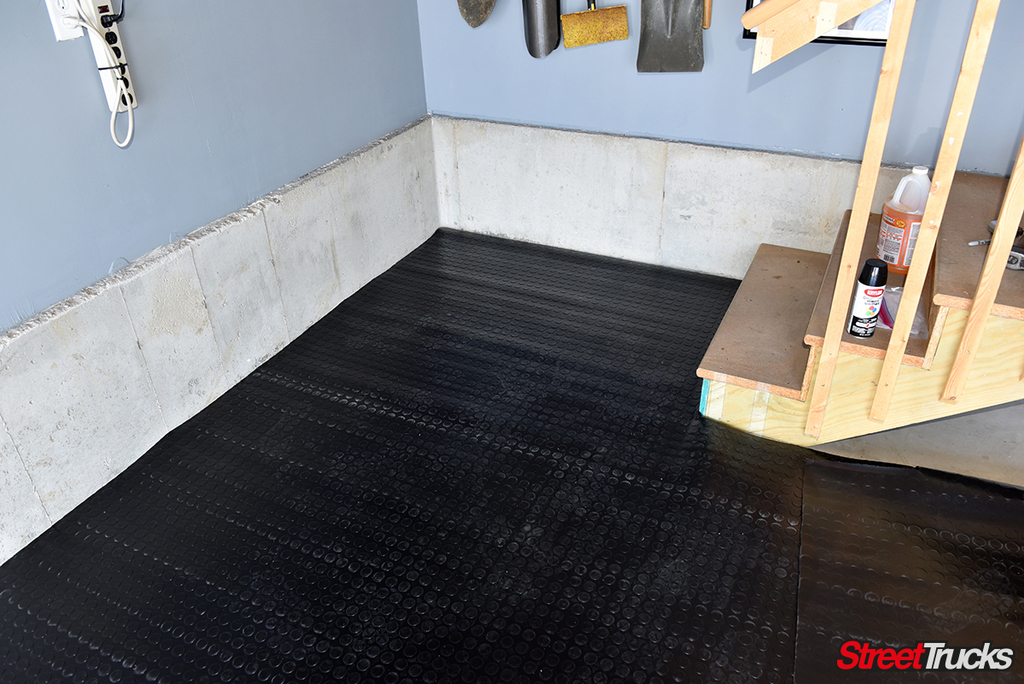
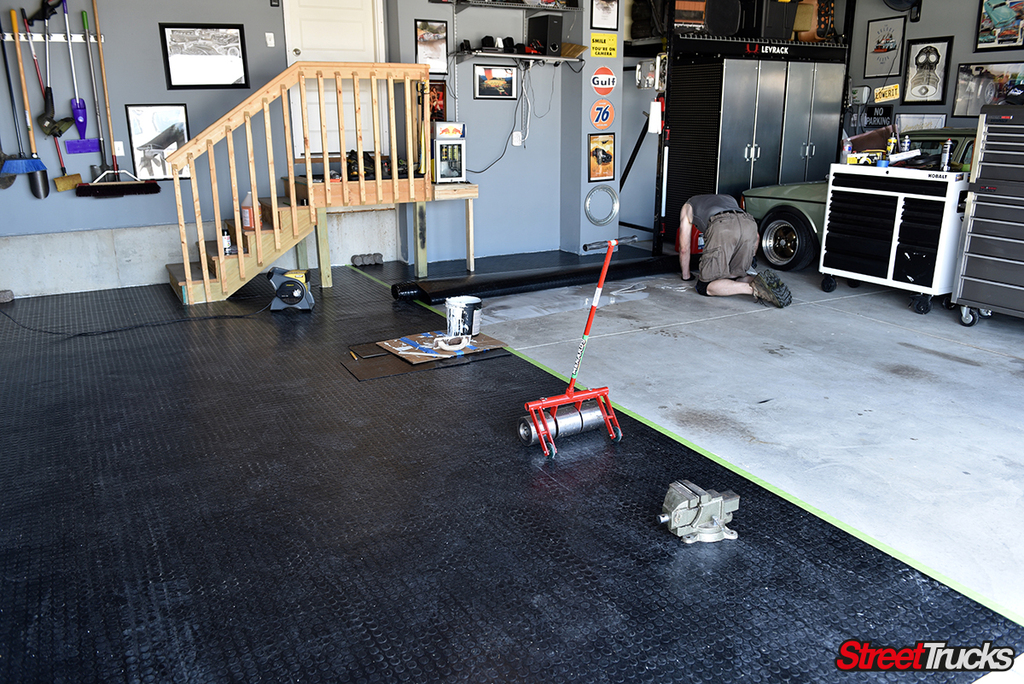
Step 8: REPEAT and Press Out
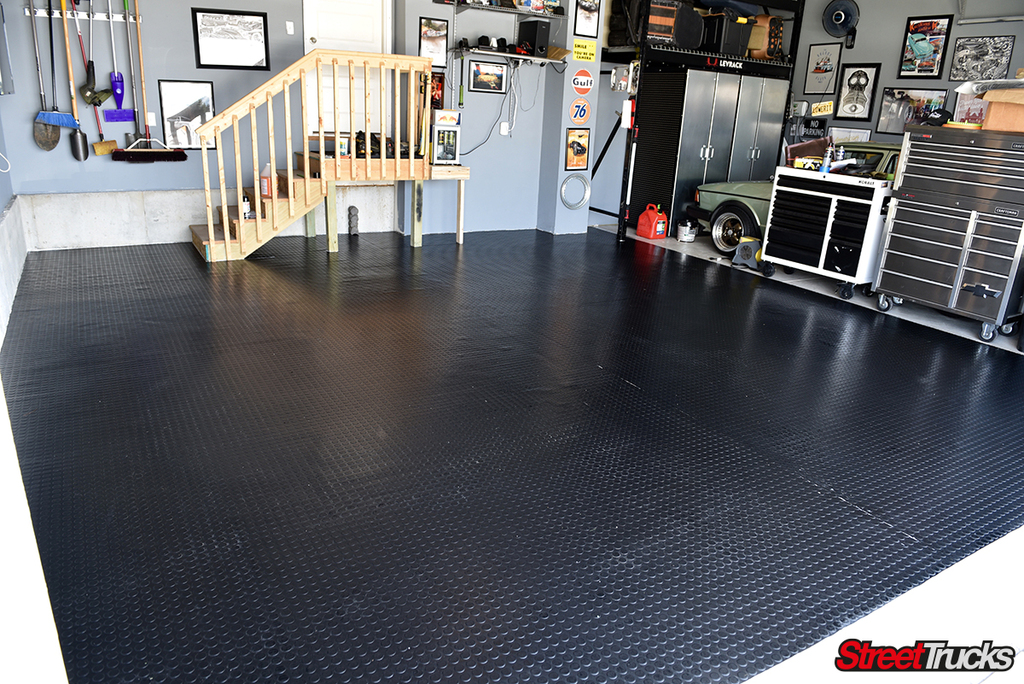
At this point, one side is already complete so you just repeat what you learned to do on the first side again and again. Also, this side will go much faster and much smoother for you as you will (just like we did) find a rhythm and method that works best for you. Once your area is finished adhesive wise, I strongly recommend taking another hour or so depending on space size, to just keep rolling over your space pressing all air pockets out and making sure you flooring it flush to exactly where it needs to be.
Step 9: ENJOY!!
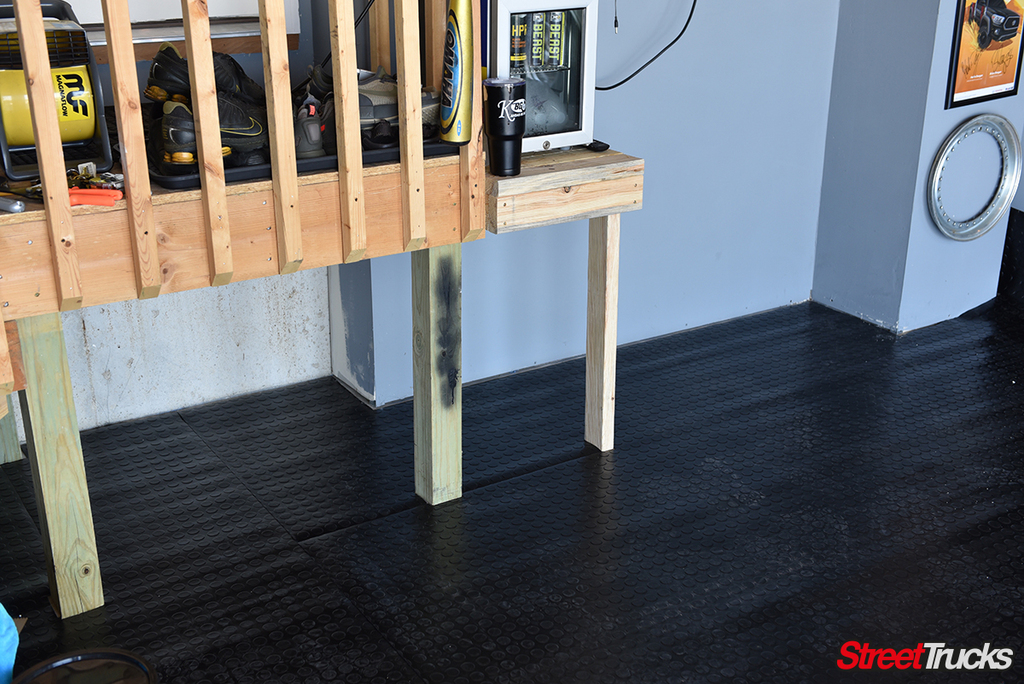
G Floor as well as myself from experience recommend you let the flooring rest without stuff / weight on it for at least 48 hours after install. The longer you wait to drive back on it etc, the nicer it will set. After that period, feel free to mop that surface off to clean, move all your tools and cars back inside, and sit back and enjoy the new look of your garage.

Completion Feedback:
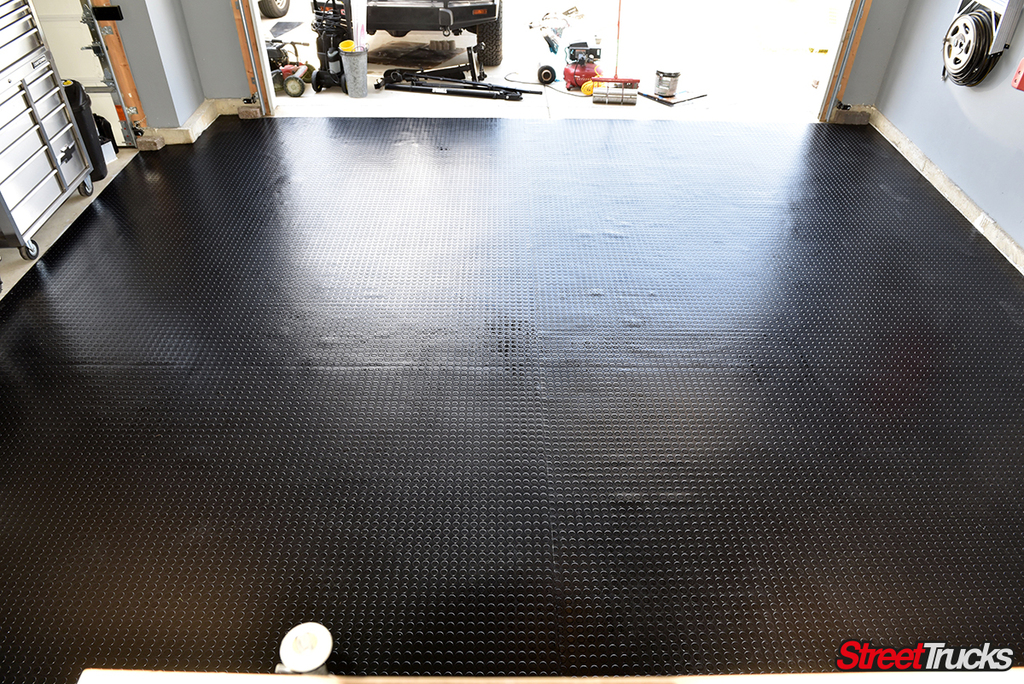
After about a month of having this flooring, I like it even more than I initially thought I would. SUPER easy to hose off and clean when needed, fantastic finish and quality, and my favorite thing about it is I do NOT worry what so ever about it flaking off or getting damaged with power washers or when I drive on / off of it daily like many Epoxy owners have had misfortune with. The only tip I would advise, is if you do not like seeing dirt or would mind cleaning the floor off often, go for a grey finish not a black. That being said, cleaning the floor was well worth the black look for me. As a quick note, THANK YOU SO MUCH to my Father for helping me with this install, it would have looked less clean without him there sweating it out with me.
For more information on G Floor or any of the Better Life Technology products check out their websites at https://www.bltllc.com/ and https://www.bltllc.com/gfloor-universal-flooring/ or their Instagram at @gfloorflooring
c10
Installing Mar-K’s Body-Side Molding on a ’77 C10! Nothing sets off an early squarebody more than a complete set of body-side moldings. A few different… Continue reading
JERRY MCFARLAND . March 16, 2021
America
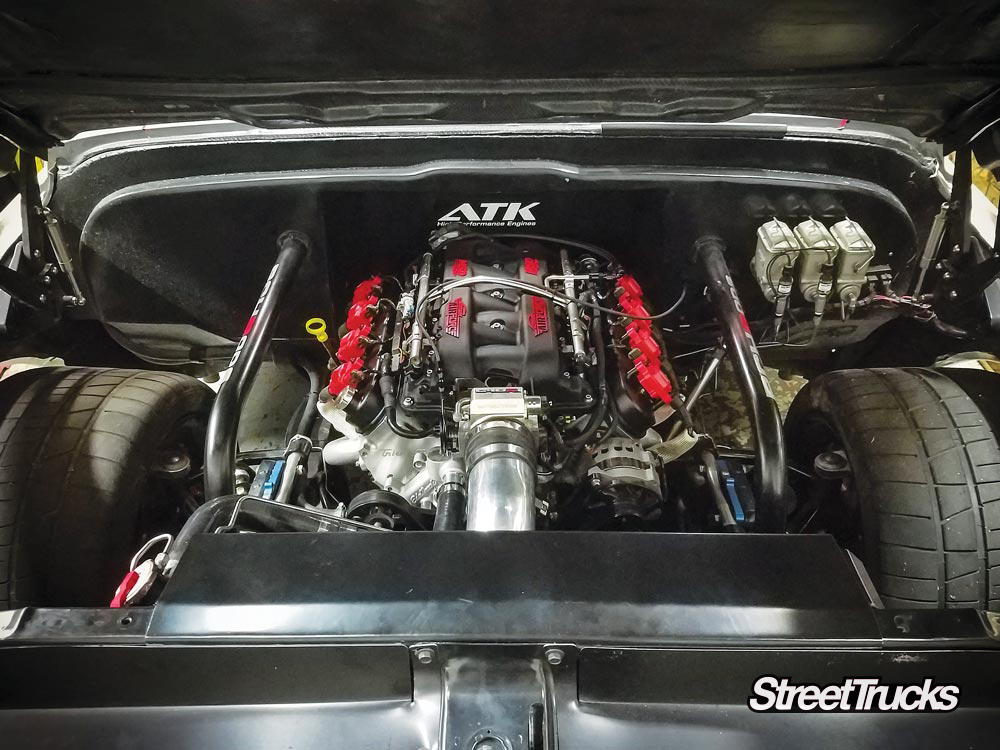
LS Engine, Building More Power in a 383 motor! If you’re interested in racing, performance upgrades are inevitable, especially with a truck that has a… Continue reading
streettrucks . February 16, 2021
COOL GEAR
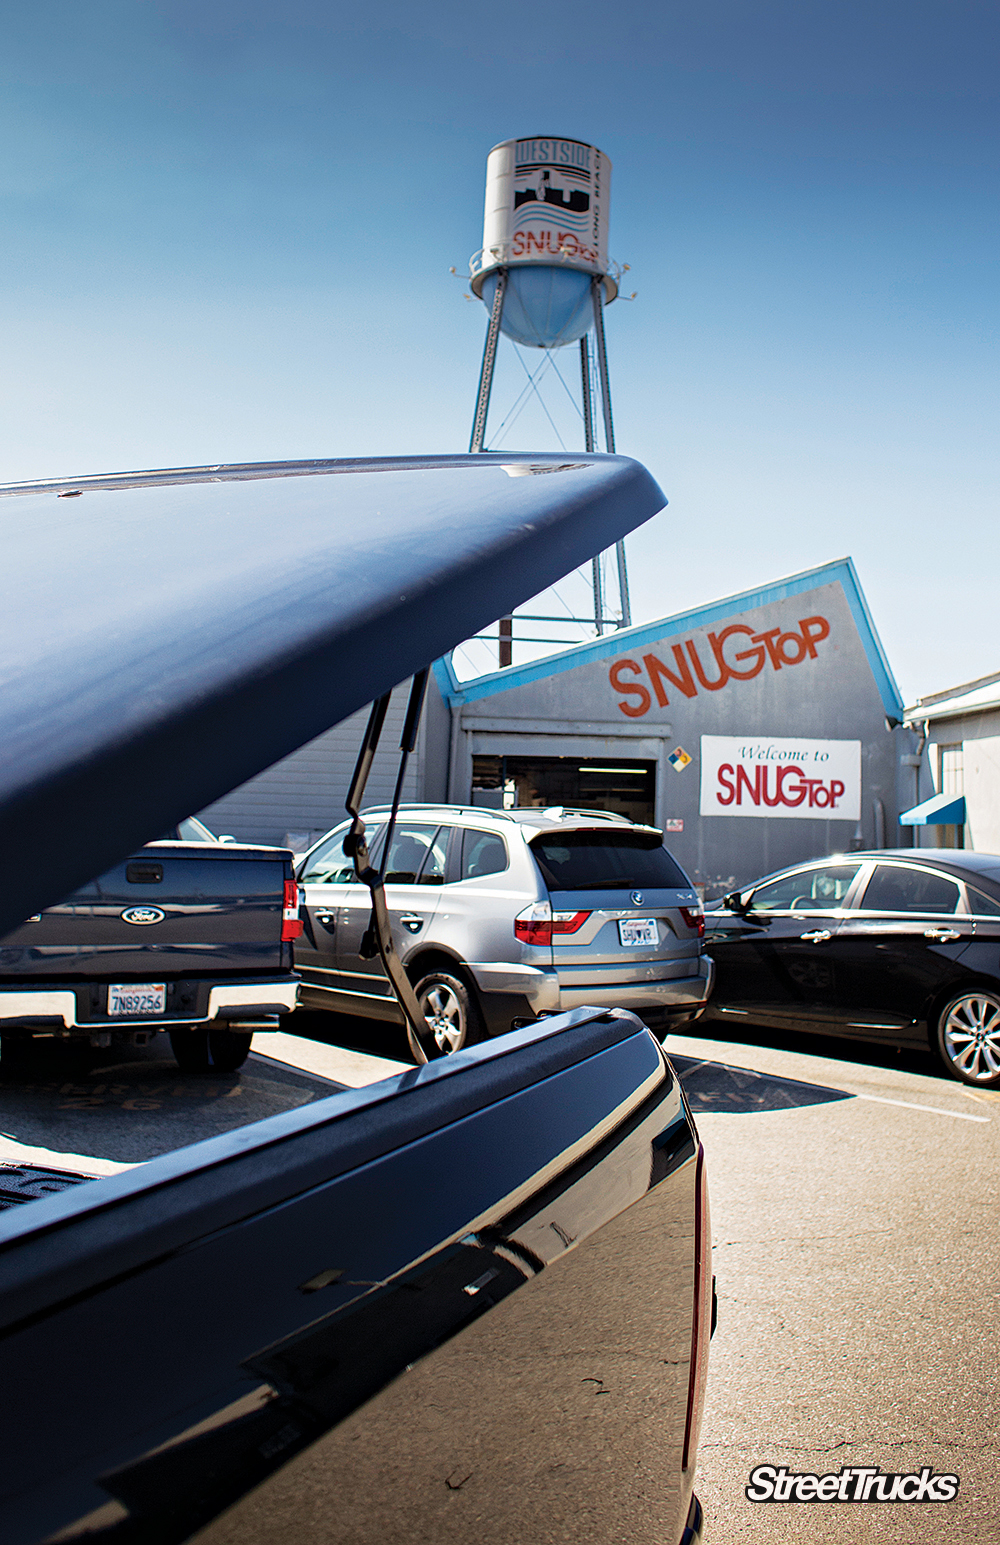
SECURING YOUR GEAR WITH A STYLISH SNUG TOP Regular cab trucks do not offer much in the way of a storage area aside from the… Continue reading
MARCO A. PATIÑO . June 29, 2021
c10
As the C-10 market continues to grow, innovation must grow with it. We have made huge leaps in the quality of our current crop of… Continue reading
Chris Hamilton . January 14, 2020
How to
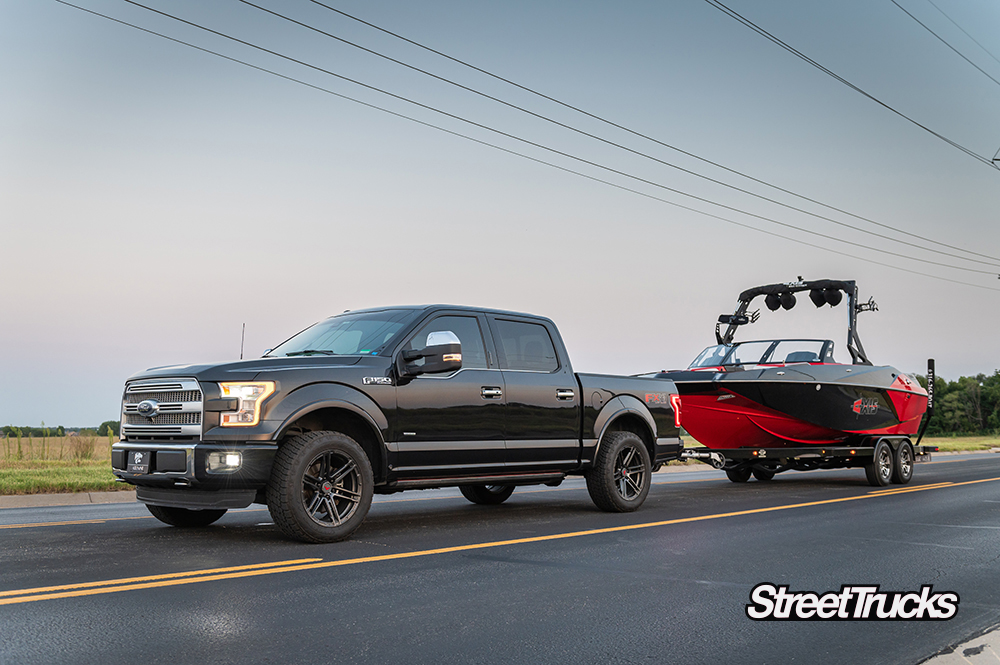
HYPERTECH’S NEWEST TUNER UNLEASHES SOME SERIOUS POWER TO THE 3.5L ECOBOOST Fellow truck owners kept asking if I had done any performance upgrades to my… Continue reading
Grant Cox . April 01, 2021
Tech
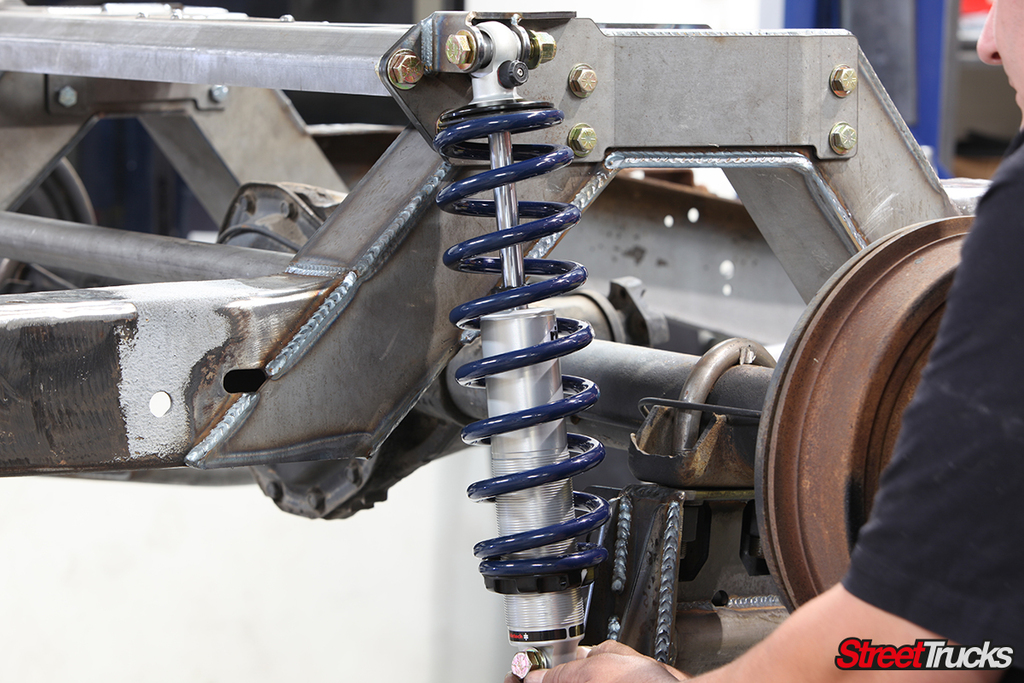
Lifting a truck comes with a lot of bonuses like added ground clearance, the ability to see over most cars and badass aesthetics. Like all modifications… Continue reading
streettrucks . October 24, 2016


Share Link