 Chris Hamilton
.
August 08, 2023
.
Department
.
Chris Hamilton
.
August 08, 2023
.
Department
.

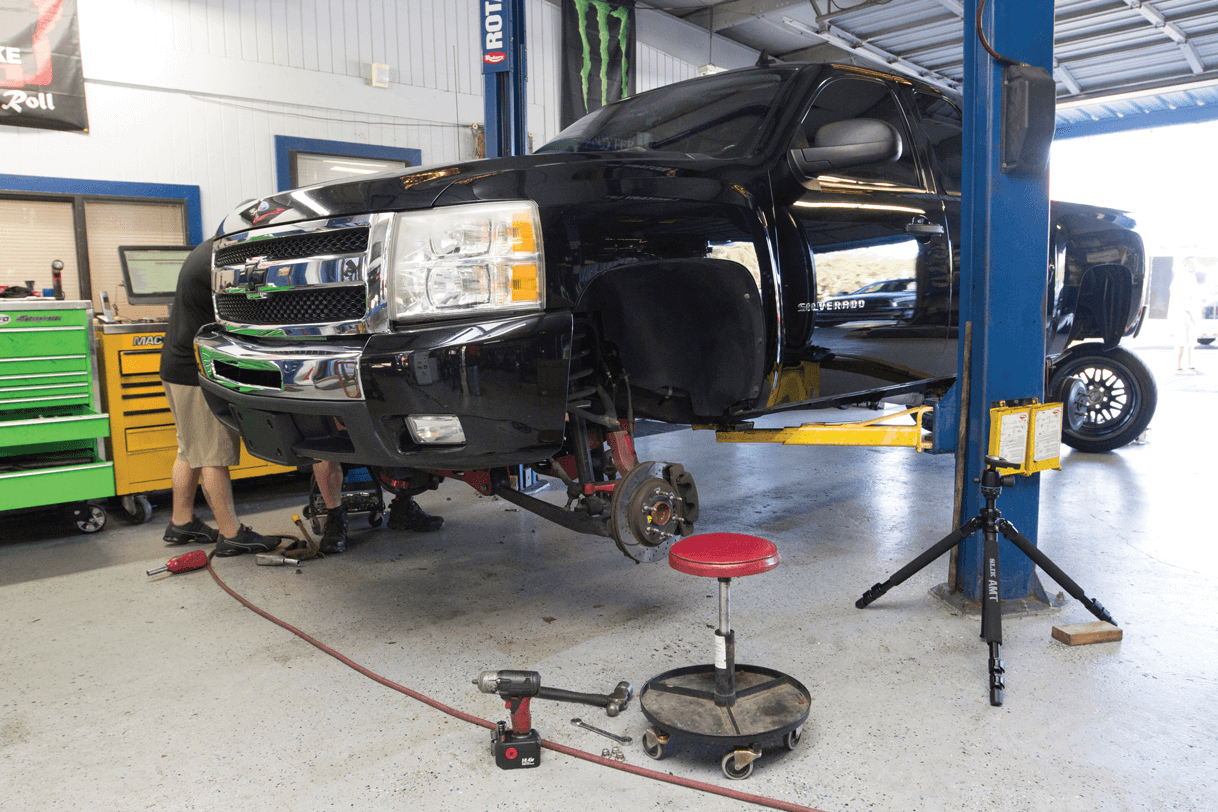
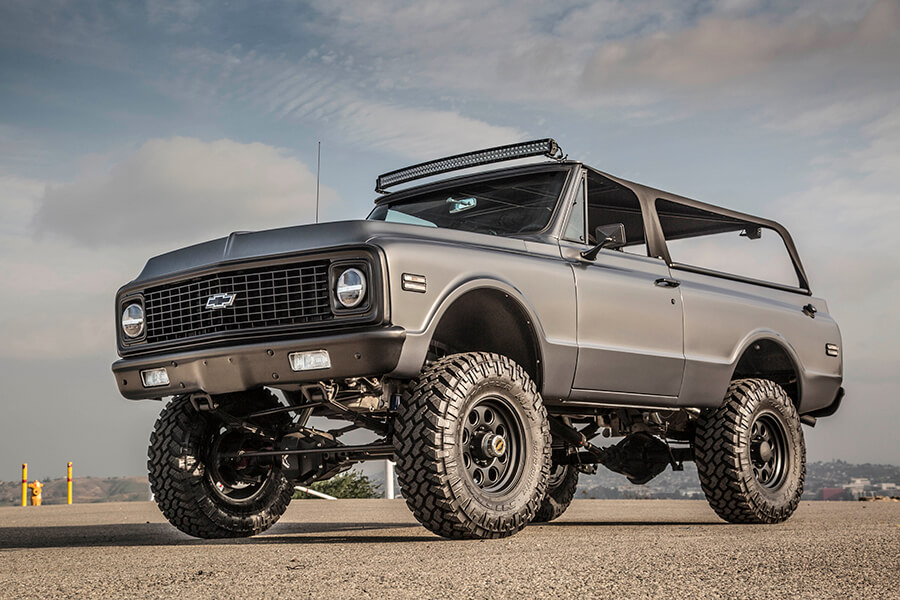
Being able to open your tailgate is a must for truck owners. Whether it’s to load a dirt bike or a stroller, if you can’t get into the back of the bed, it’s going to be a bad day.
But what do you do if you prefer a smooth-looking rear on your truck and hate the way a plain, square-looking tailgate handle looks? You order yourself a tailgate handle relocation kit, like the one from Jegs that was used in this install (Part #555-78835). With this kit, or one like it made for your specific year, make, and model truck, you can move the stock handle from the outside of the tailgate to the inside of the tailgate and still utilize all the factory internal parts to open it.

It also comes with the sheetmetal filler piece to weld on the outside of the tailgate to make the original cutout disappear from the body panel. Even though the bracket to flip the handle to the inside of the tailgate is straightforward, the art of welding the filler panel on the exterior does take quite a bit of skill. For some of our readers, this is a task well beyond their ability, but for others, it’s a simple welding job.
Of course, once the filler panel is welded in and ground smooth, there is still quite a bit of work by a body specialist to completely make it disappear once its painted. This article isn’t meant to be a “how-to” article on this modification; instead, it’s more showing our readers what goes into the process of relocating the handle the correct way.
We at Street Trucks love seeing simple body mods like this starting to come back like we saw back in the day when we were first getting into the whole custom vehicle world. As far as show vehicles go, clean, simple mods like this are what set your truck apart from the one sitting beside you at a show.
To show you guys this process, we teamed up with our friends over at Phat Phabz who are known for doing not only crazy full-frame setups on trucks, but also plenty of this type of shaving work on customers’ vehicles as well. Follow along and see what goes into relocating a tailgate handle.


Phat Phabz LLC
16092 NE 23rd
Choctaw, OK 73020
405-740-1664
phatpahabz.com

How to
Perception-to-Performance We’ve all either seen, ridden in or driven lifted-style street trucks with powder-coated suspension and big-lipped wheels. They look amazing and they generally perform… Continue reading
Chris Hamilton . March 12, 2019
Industry News
Rivian plans EV charging network with stations at remote, outdoorsy locations The network will help its SUV and truck customers get to the great outdoors… Continue reading
Logan Wade . December 16, 2020
Industry News
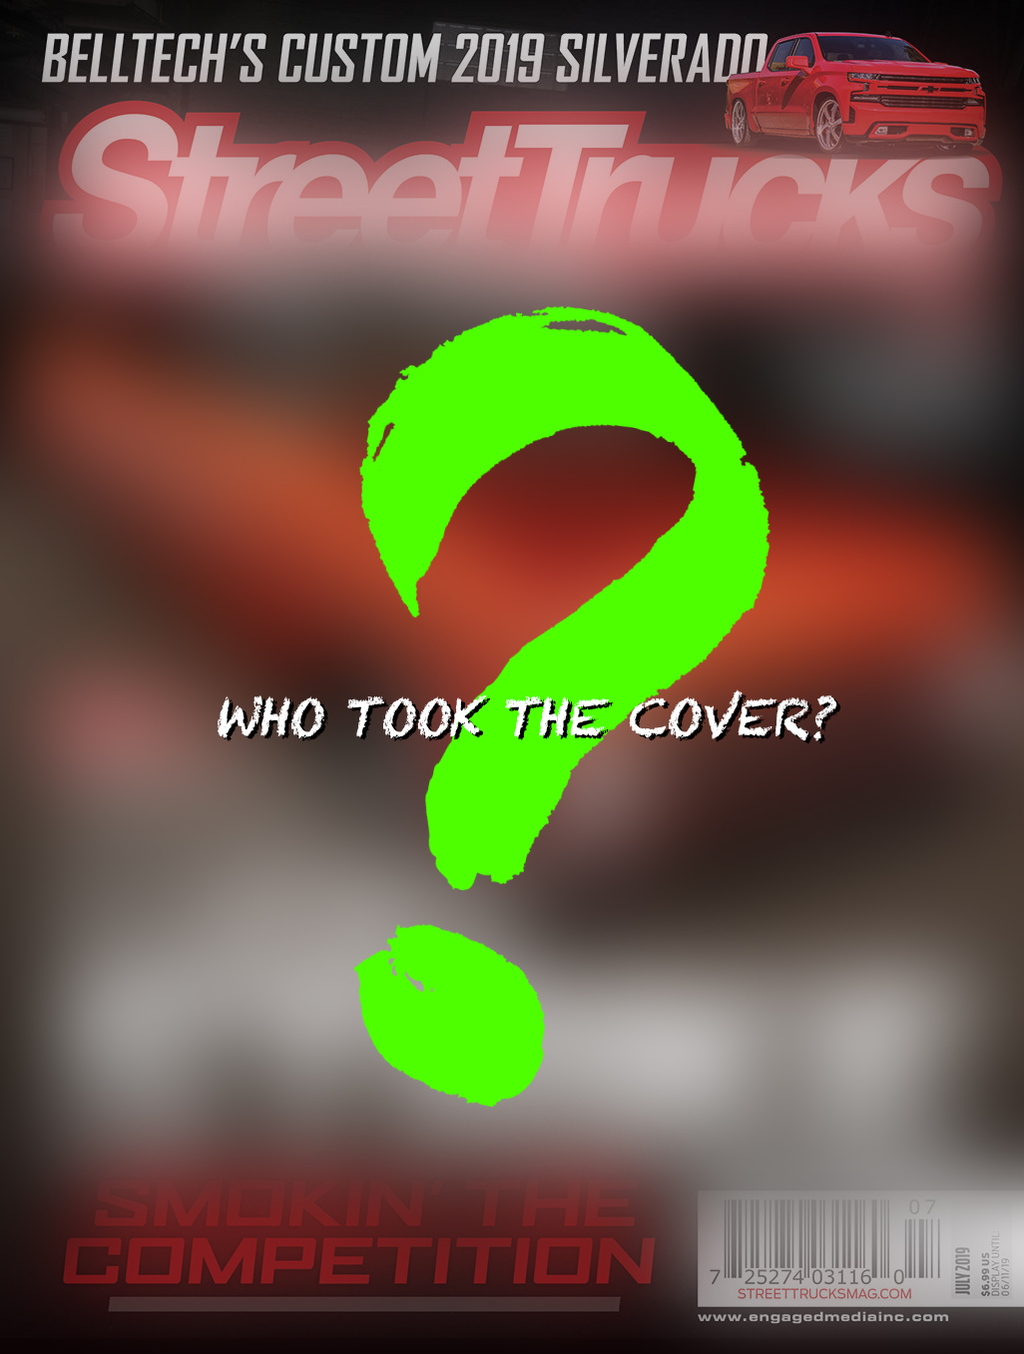
CHECK OUT WHAT’S COMING UP IN THE JULY ISSUE OF STREET TRUCKS! Subscribe to our weekly newsletter FEATURES Shadow The Art of Orange White Noise… Continue reading
Chris Hamilton . May 17, 2019
Department
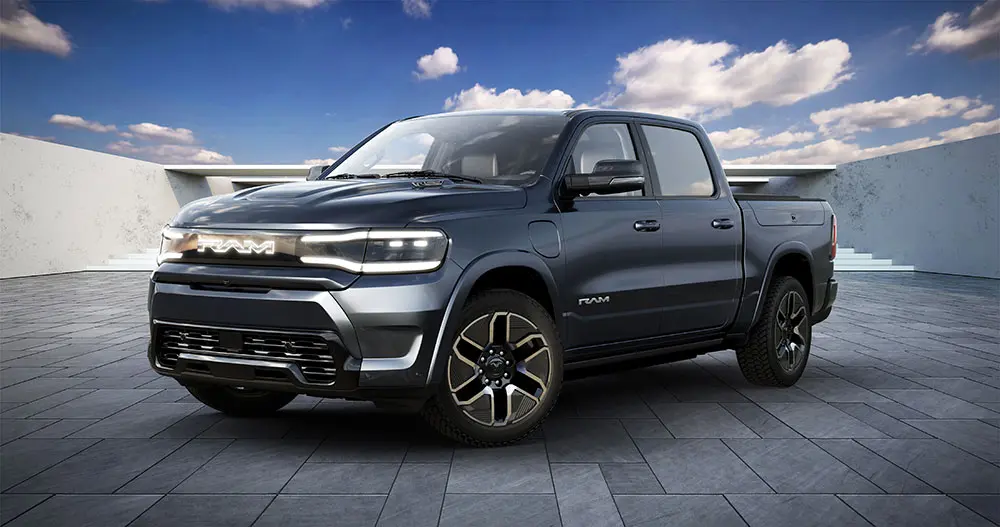
All-New, All-Electric 2025 Ram 1500 REV Unveiled at New York International Auto Show Features a Targeted Range of Up to 500 Miles The all-new, all-electric… Continue reading
Mike Self . May 31, 2023

Department
Get to know one of our Street Trucks Photographers, Victor Lopez. We had a one on one interview with him. Get to know what… Continue reading
Adam Johnson . June 07, 2022

Department
Ford Flashback JEFF Benavides’s ’40 Ford cab-over-engine (COE) is something out of a dream, staying true to Ford design and ’40s style while incorporating modern… Continue reading
Melissa Anderson . September 10, 2020


We use cookies to enhance your browsing experience, serve personalized ads or content, and analyze our traffic. By clicking "Accept All", you consent to our use of cookies. Visit our Cookie Policy for more info.


Share Link