 Jason Chandler
.
August 12, 2022
.
Department
.
Jason Chandler
.
August 12, 2022
.
Department
.
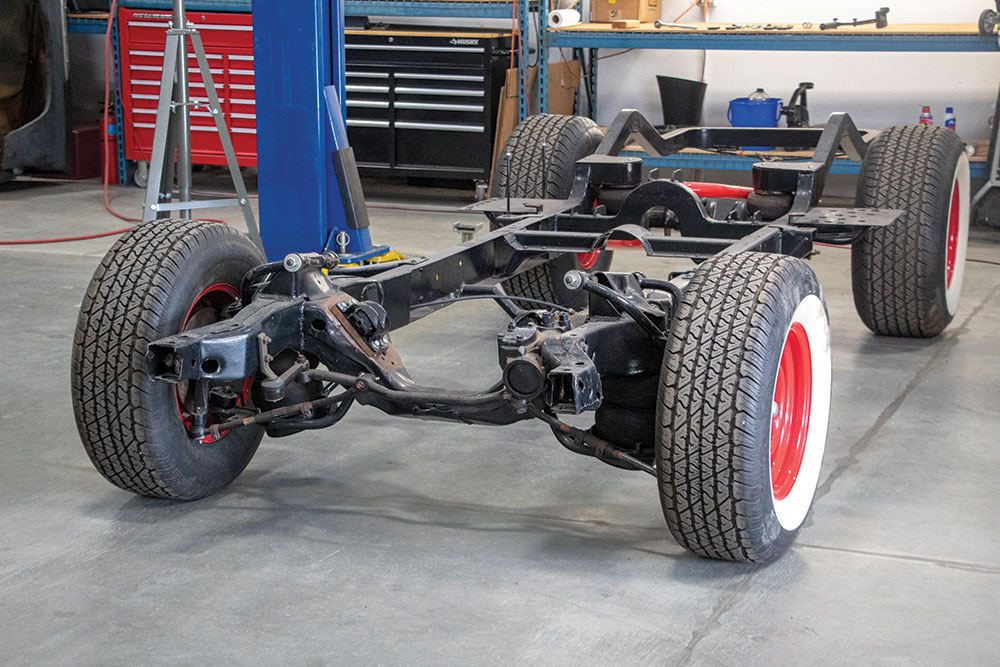
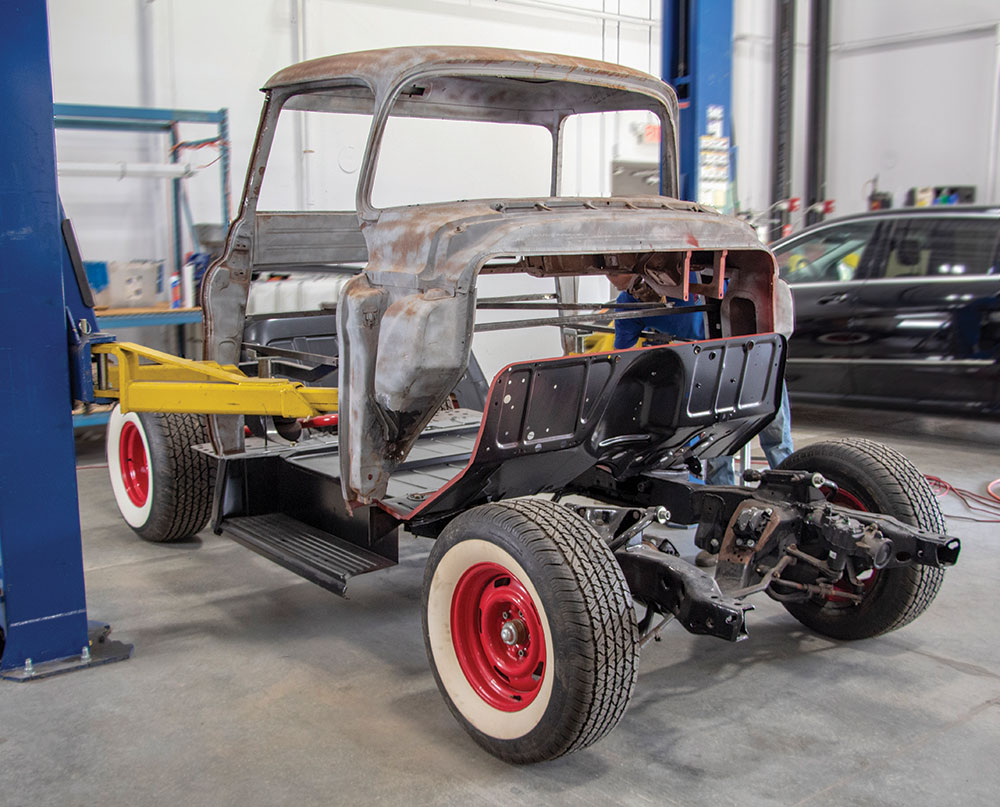
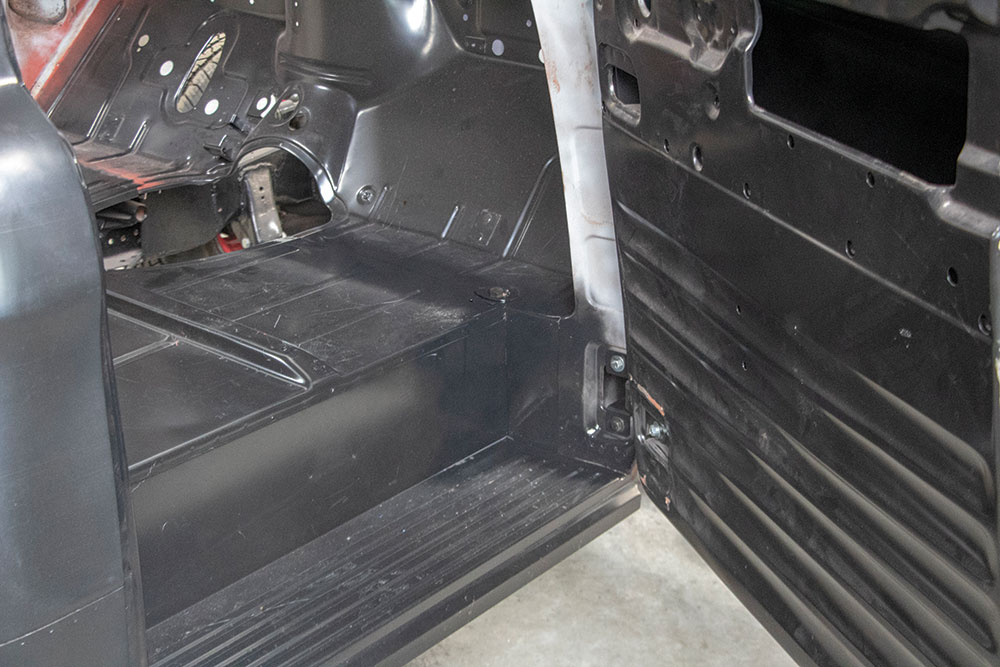
Work continues on Project Burnadebt, the ’59 Chevy Apache we’re building for Eddy Cebreco. We are back at Auto Metal Direct along with Jubee Mays of aMAYSing Metal Works. Earlier, we replaced Burnadebt’s old, worn-out, and shoddily patched firewall with fresh metal from AMD. You can see the step-by-step process in the March 2022 issue of Street Trucks.
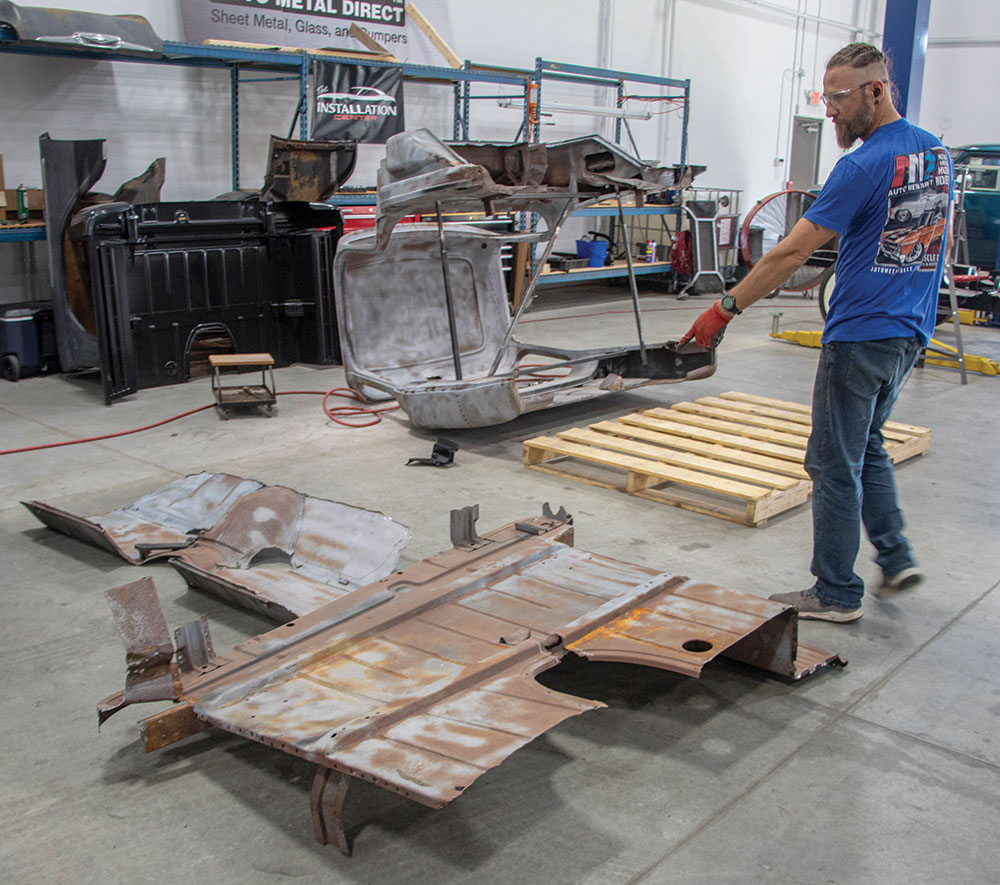

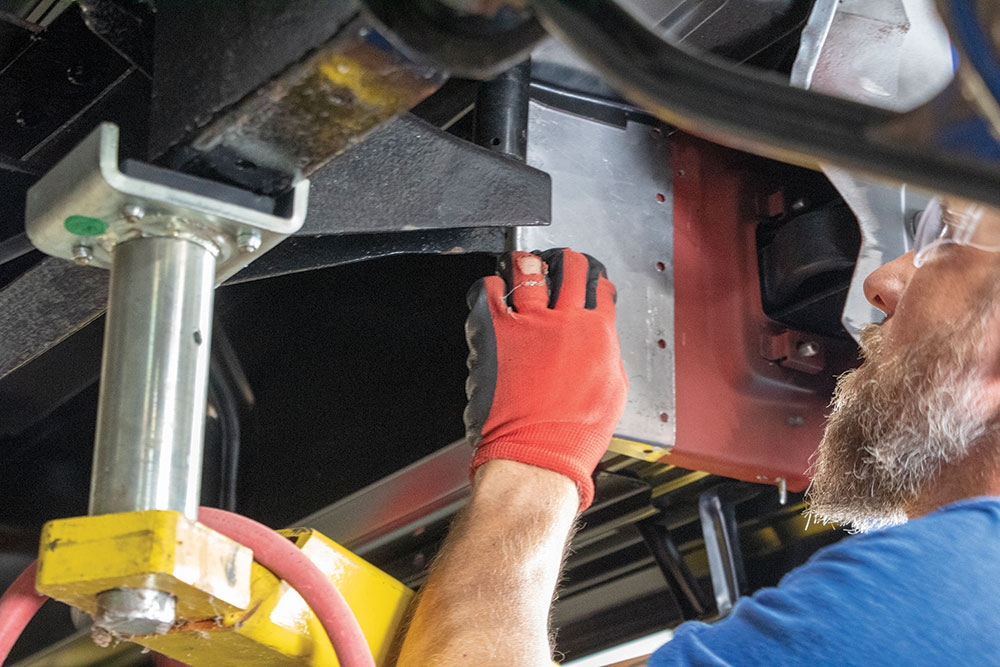
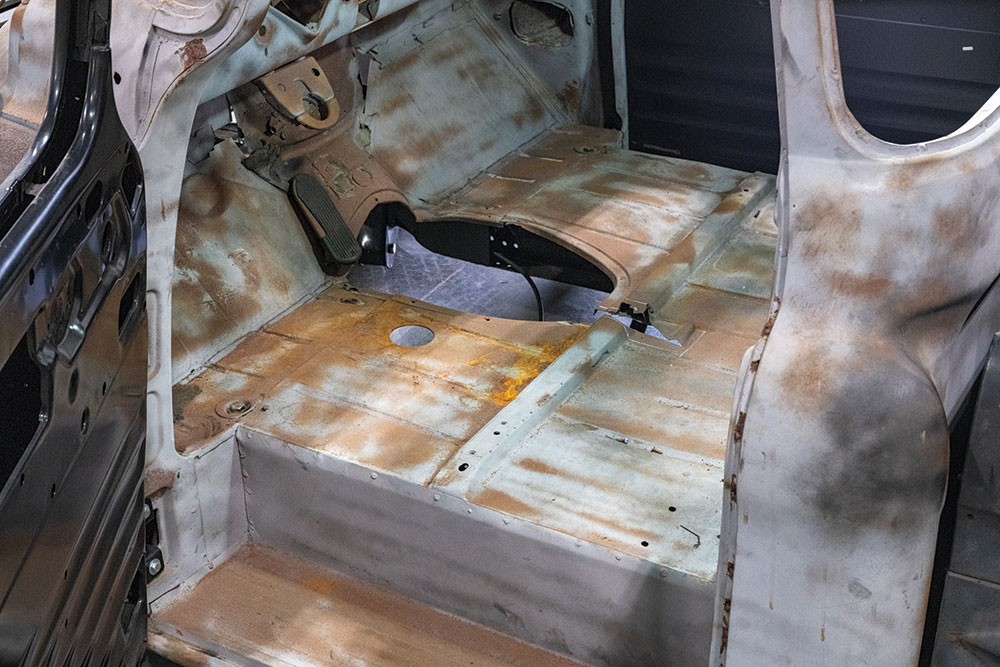
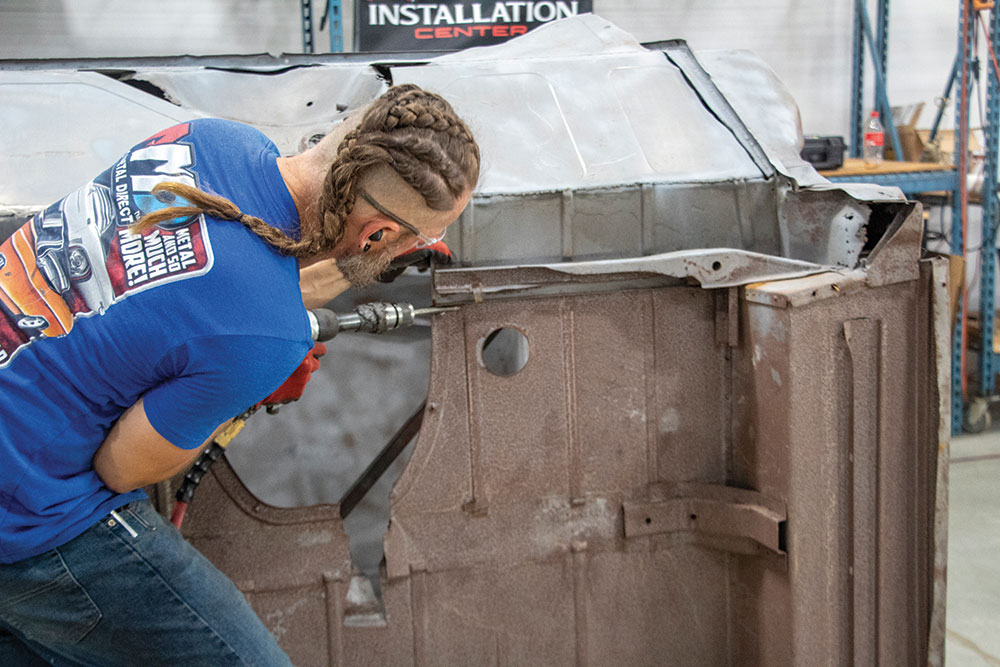
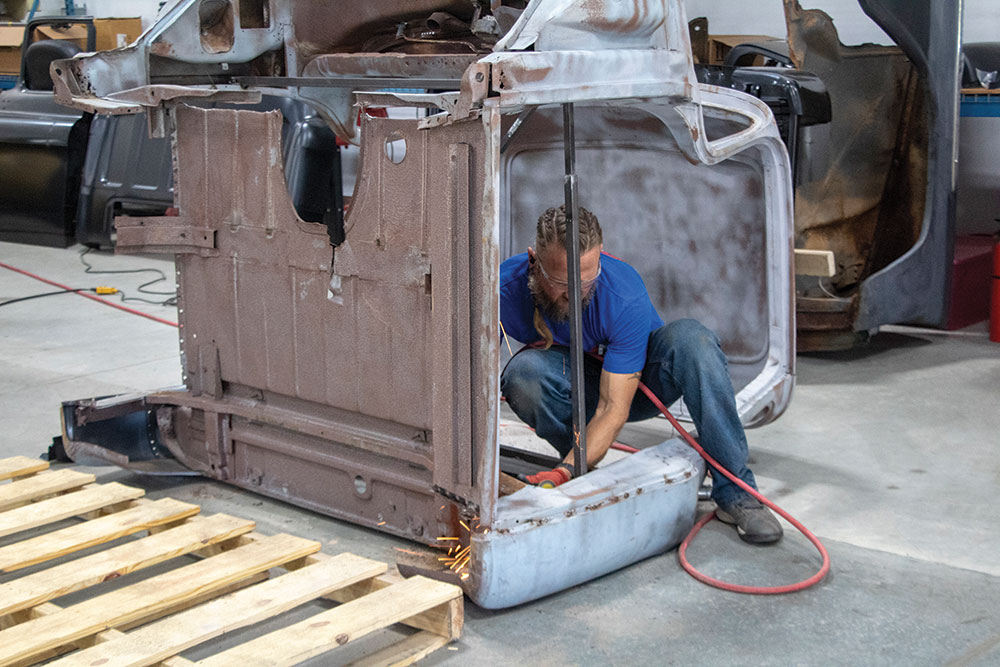
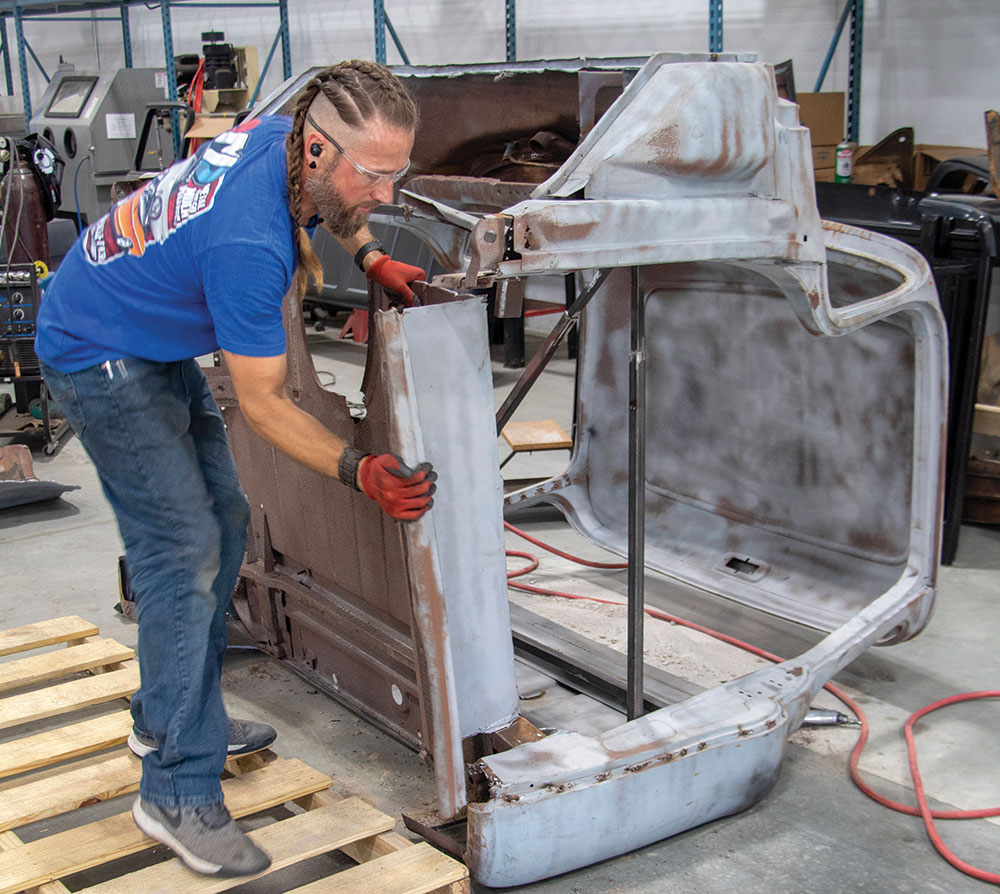
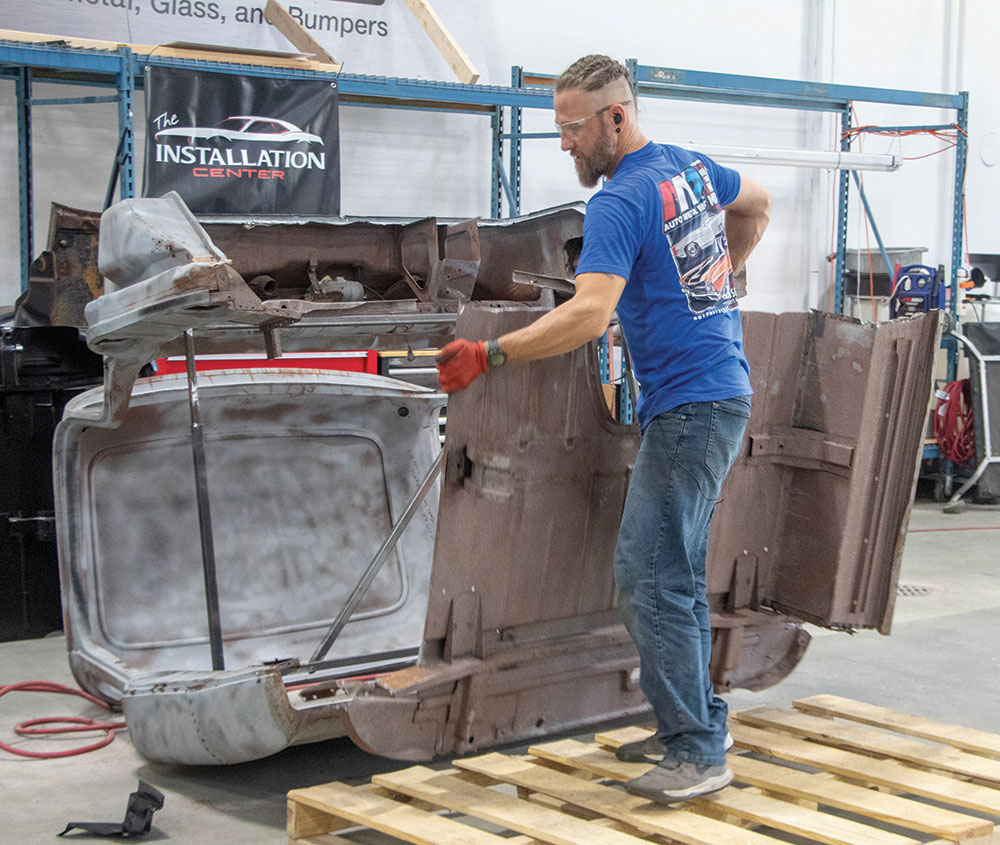
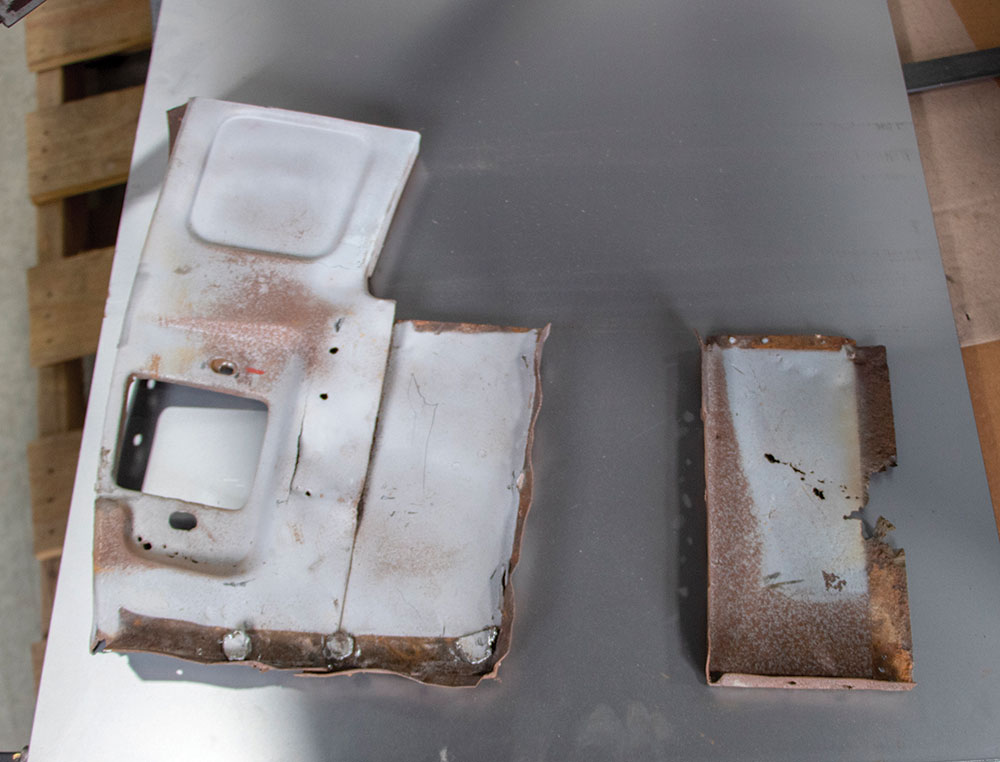
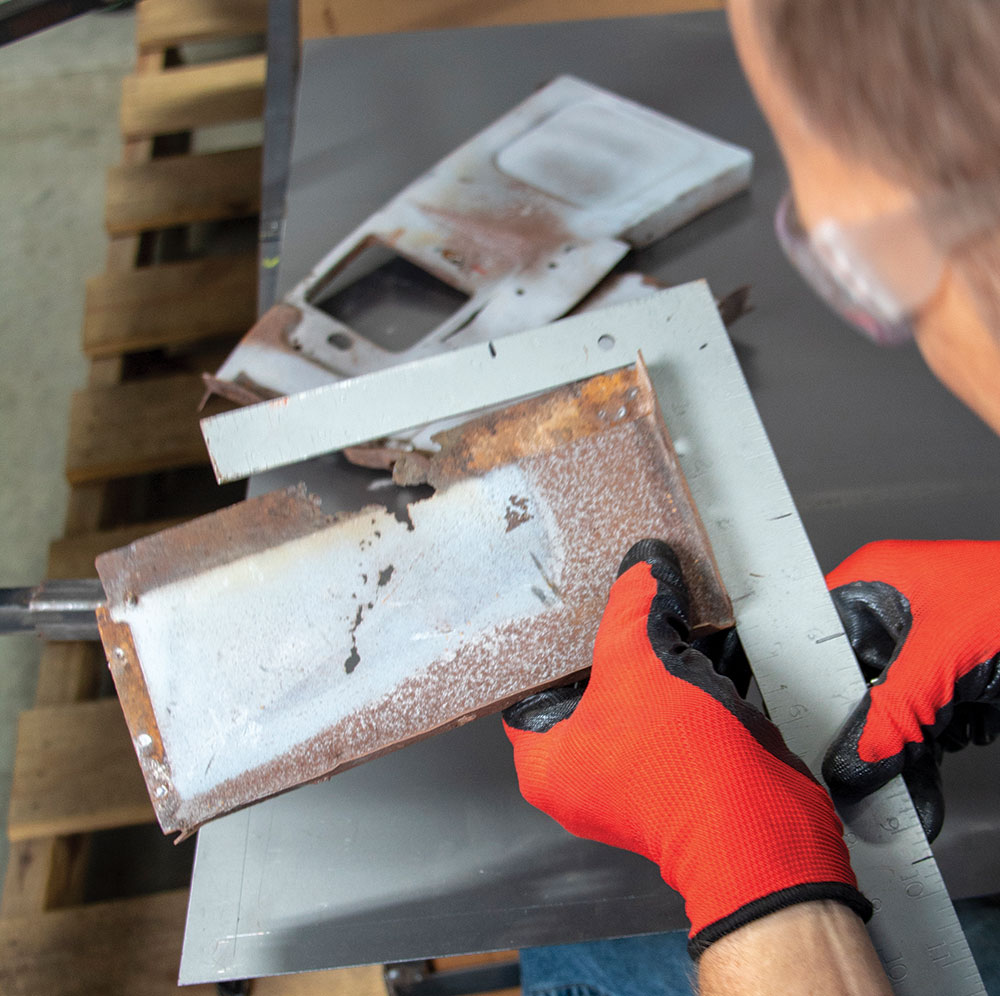
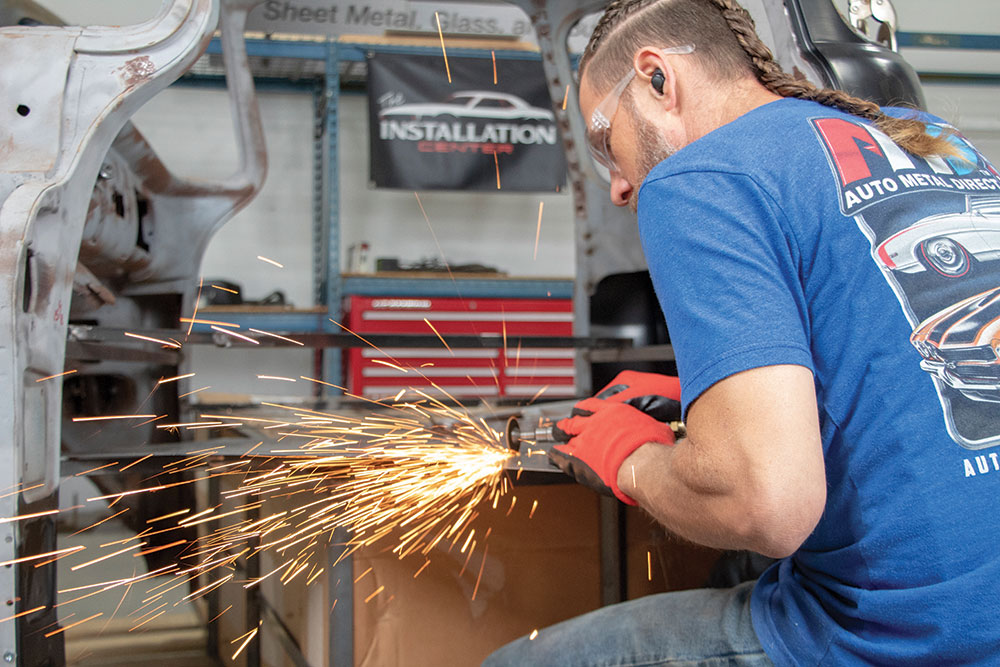
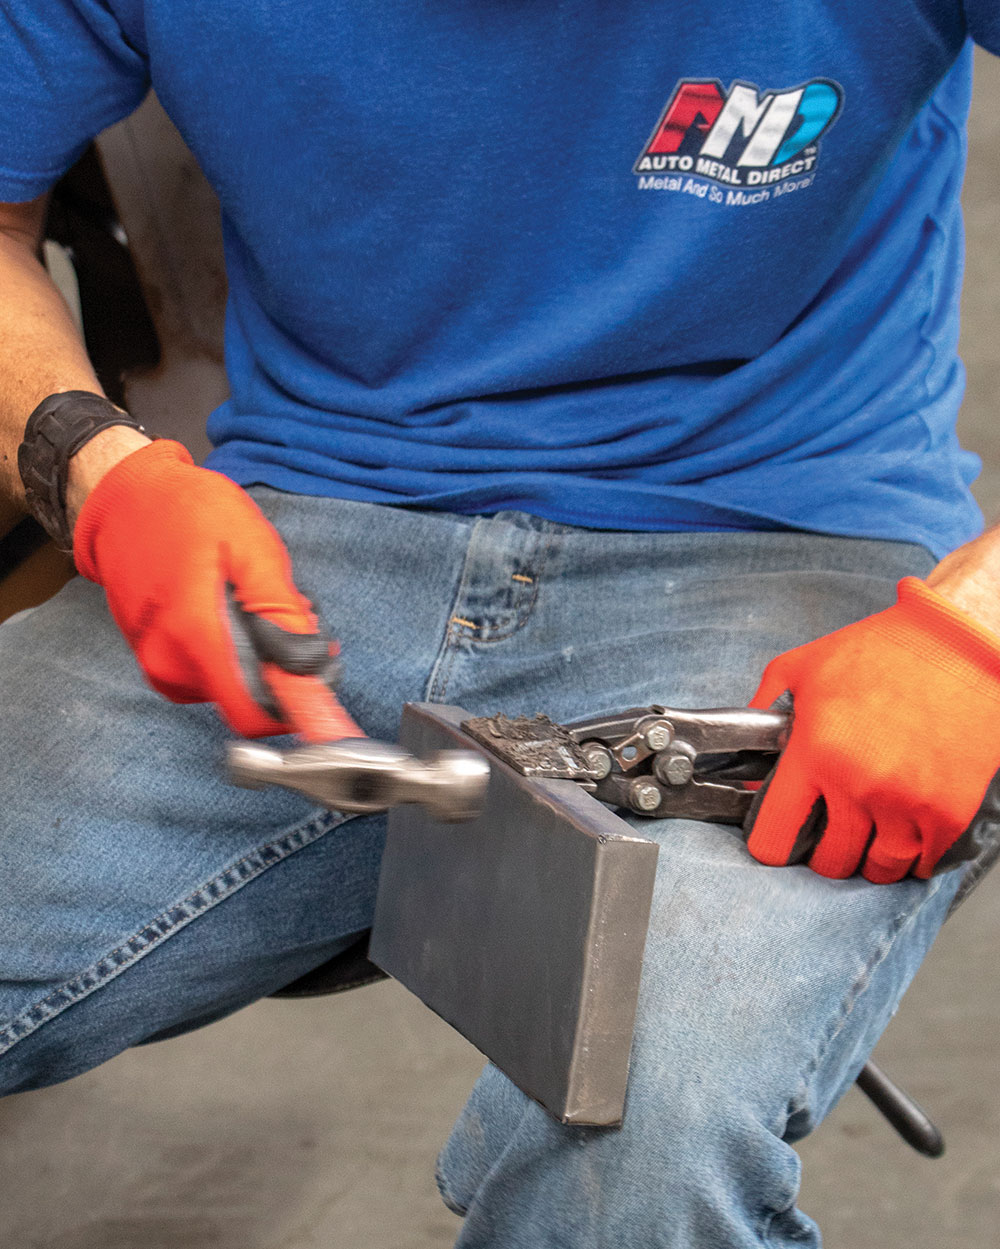
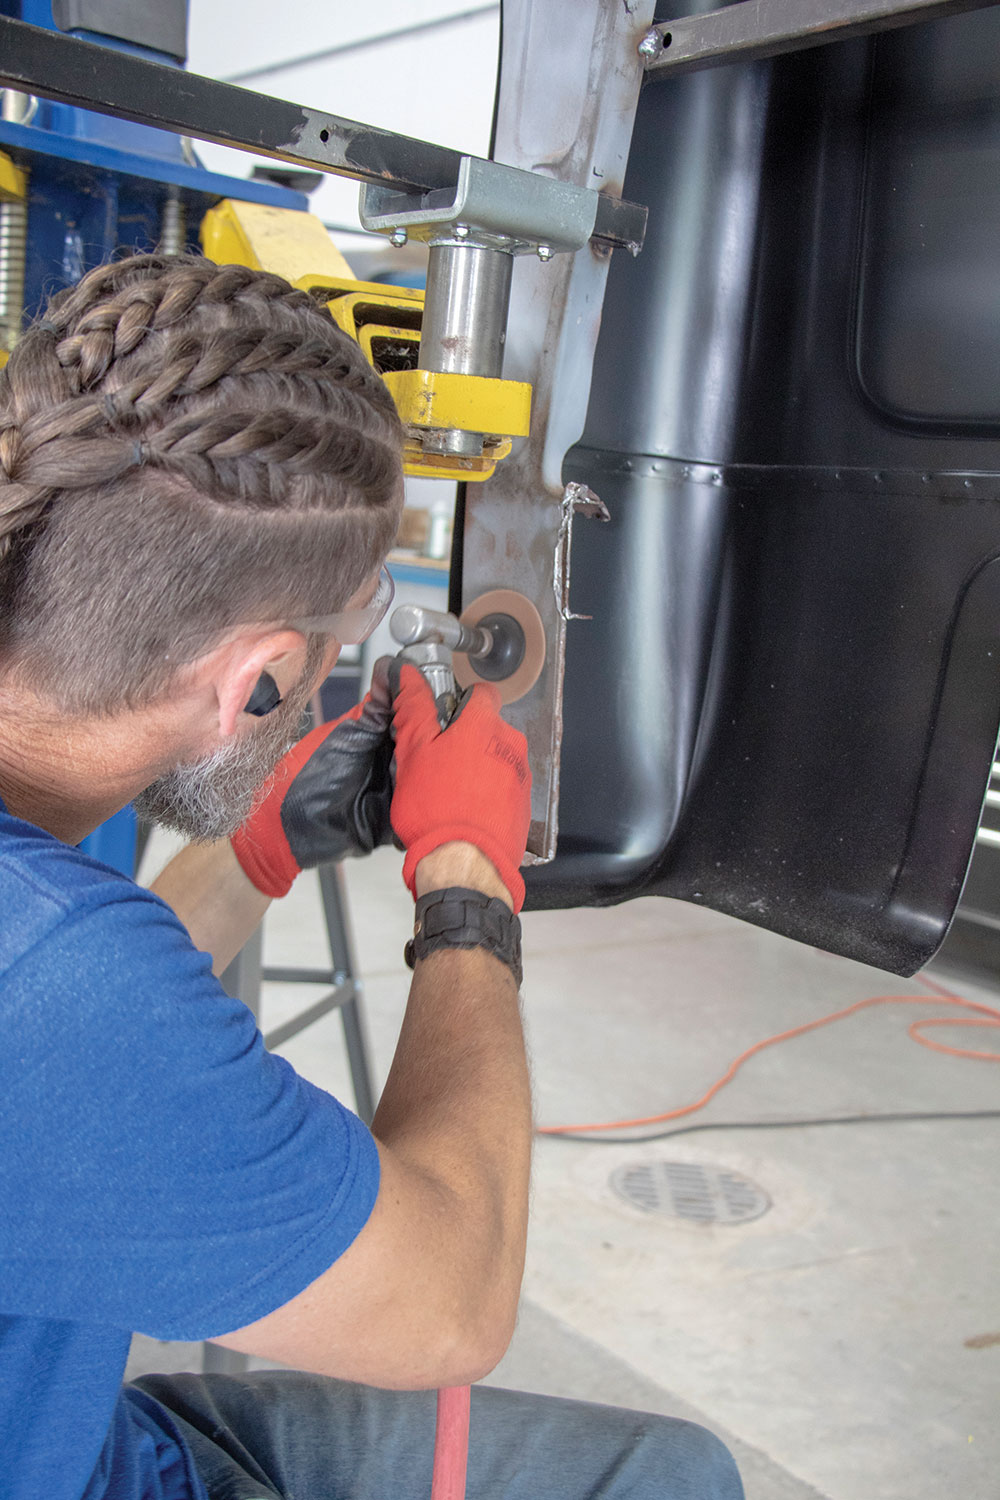
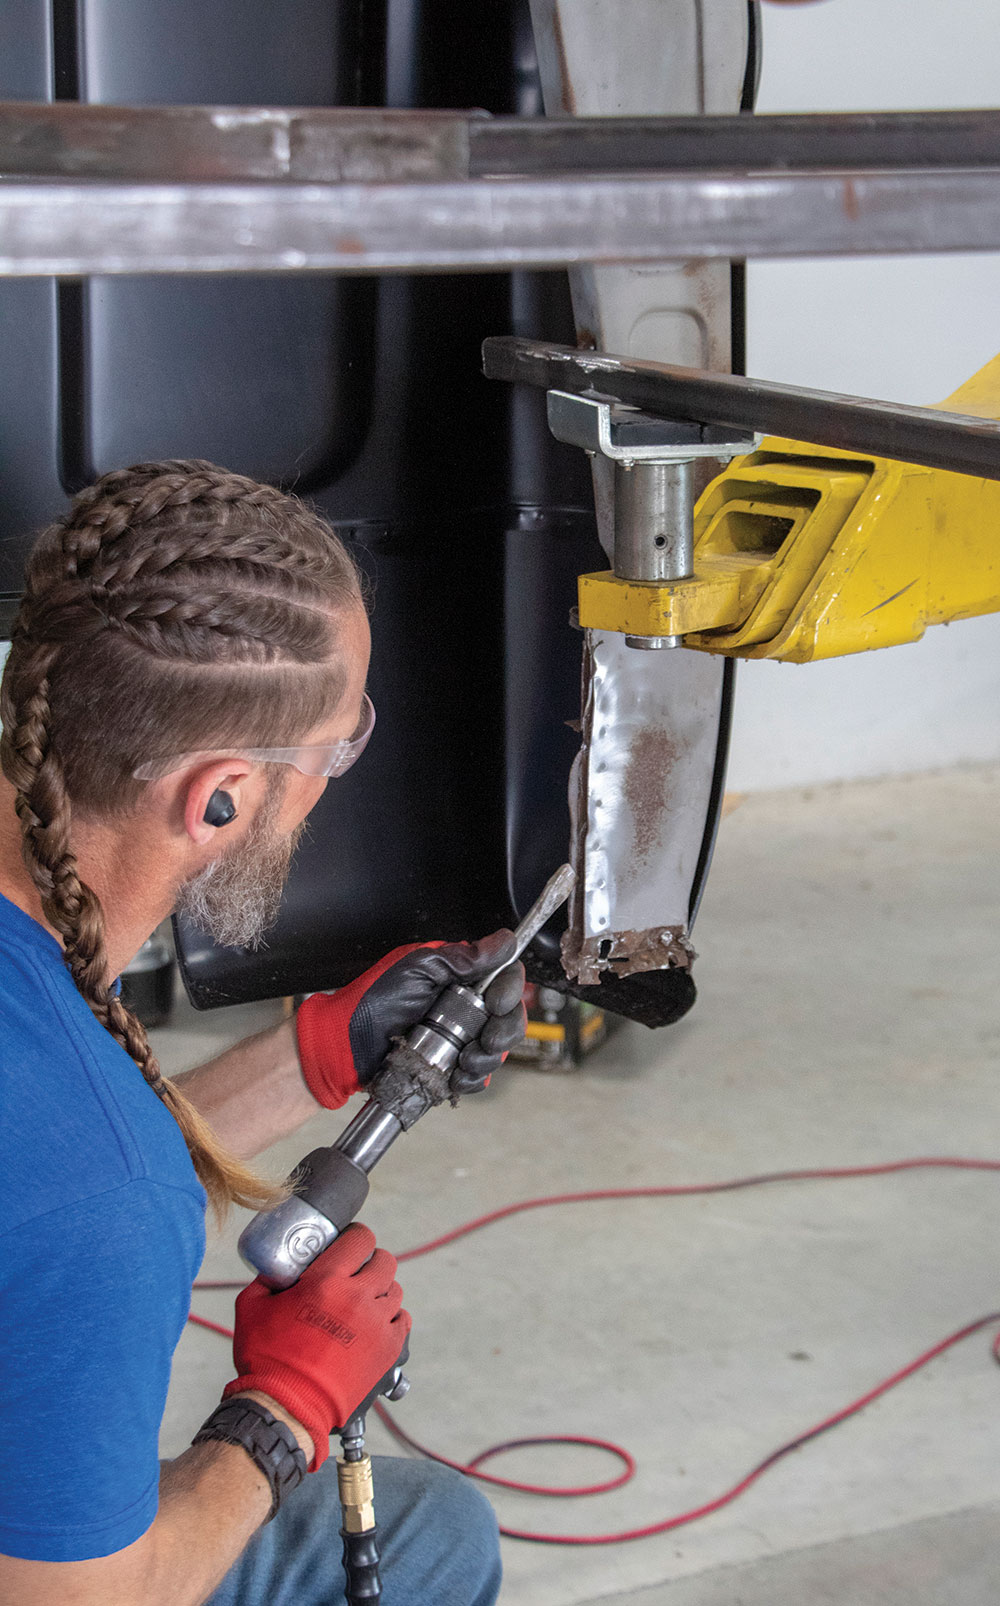
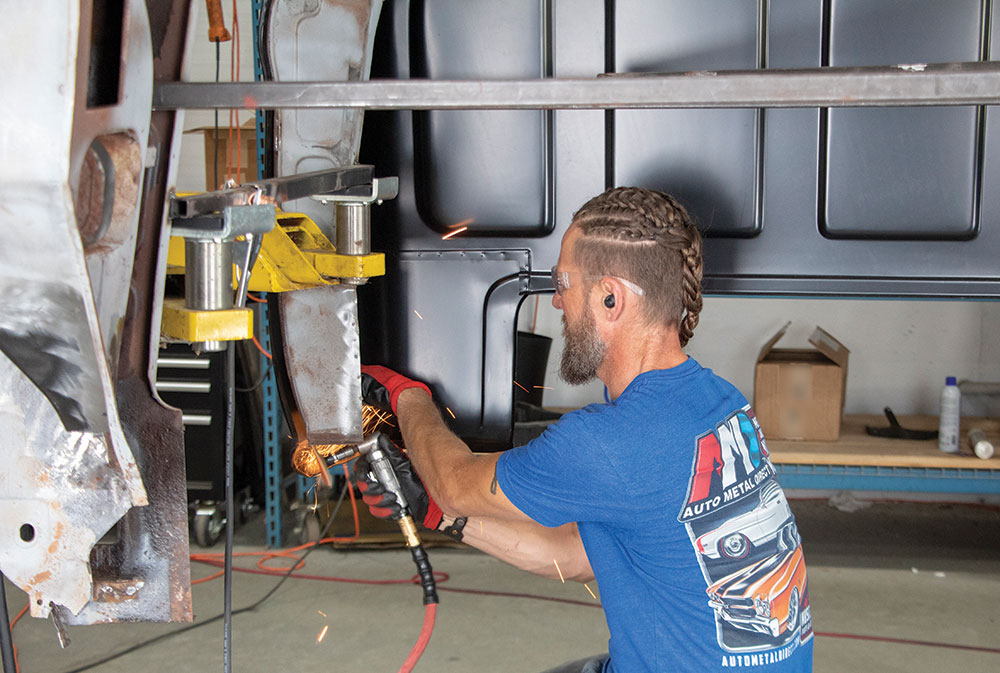
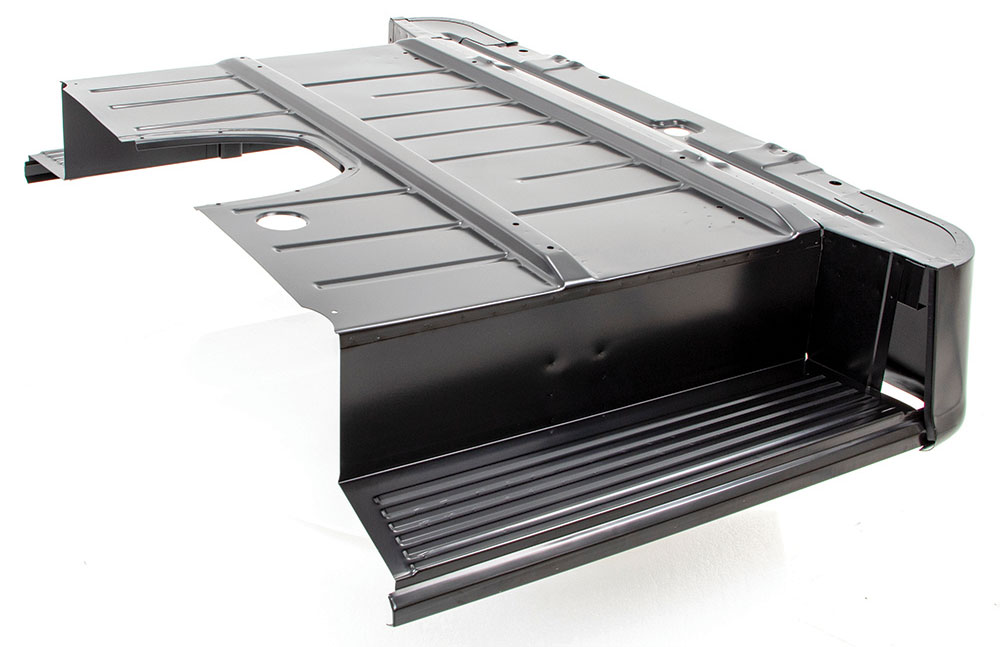
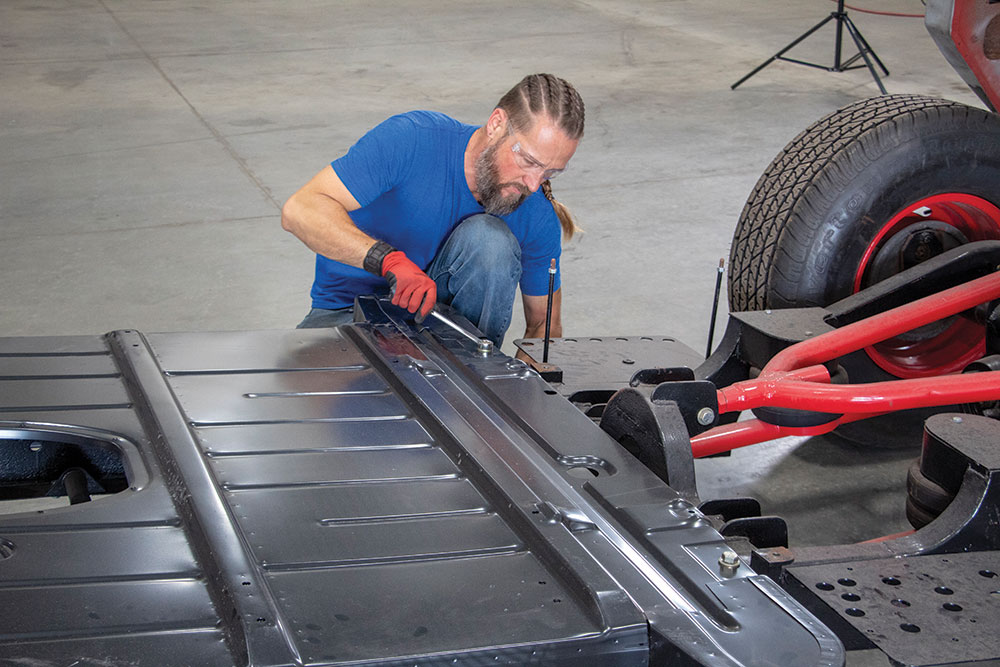
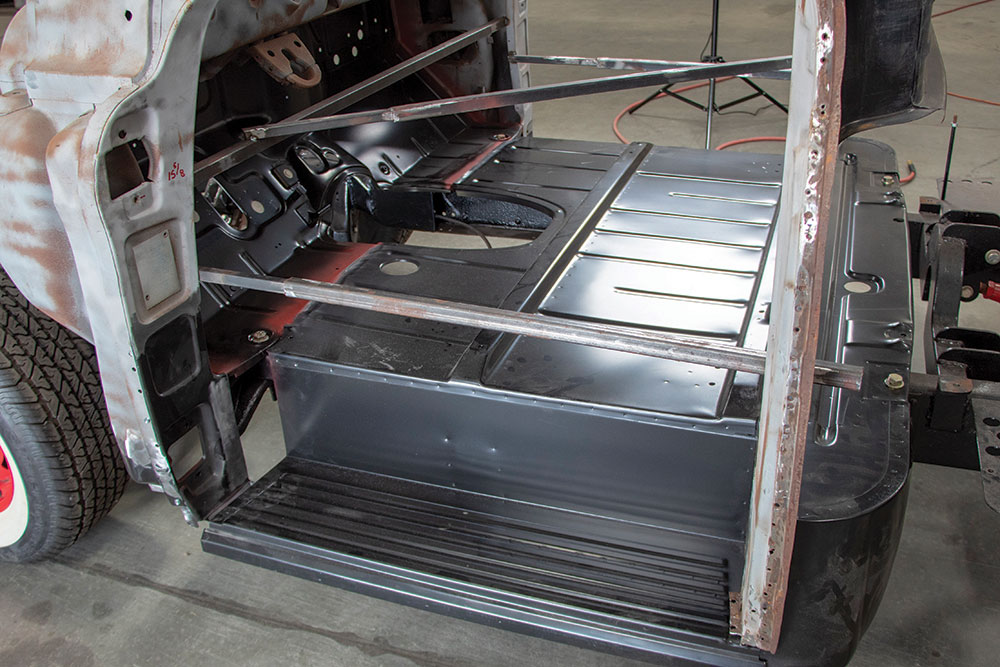
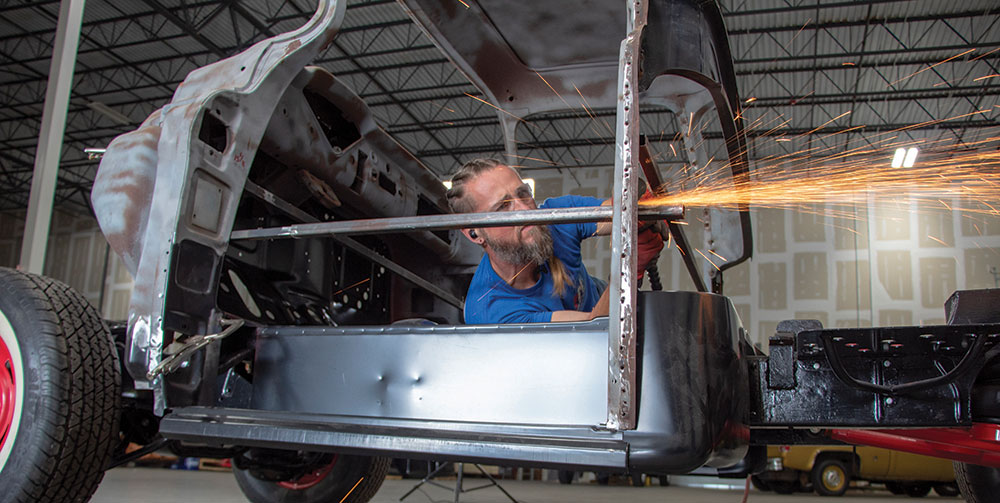
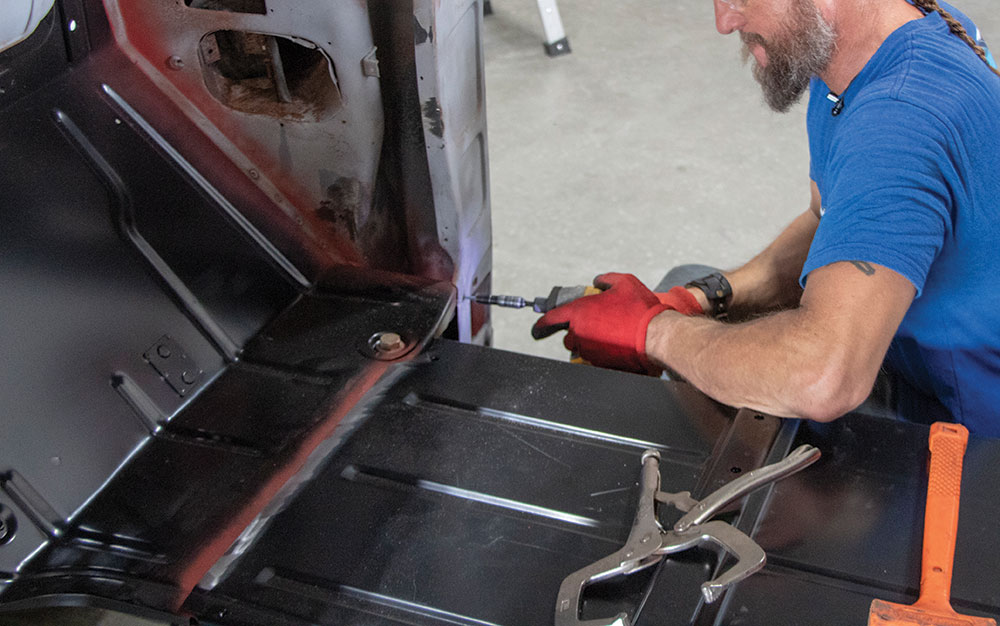
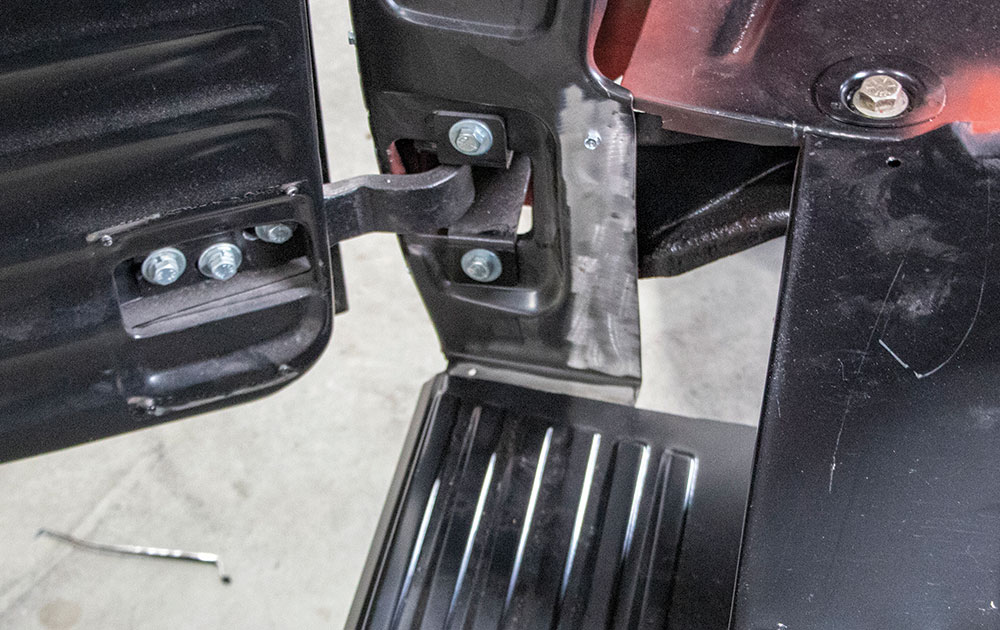
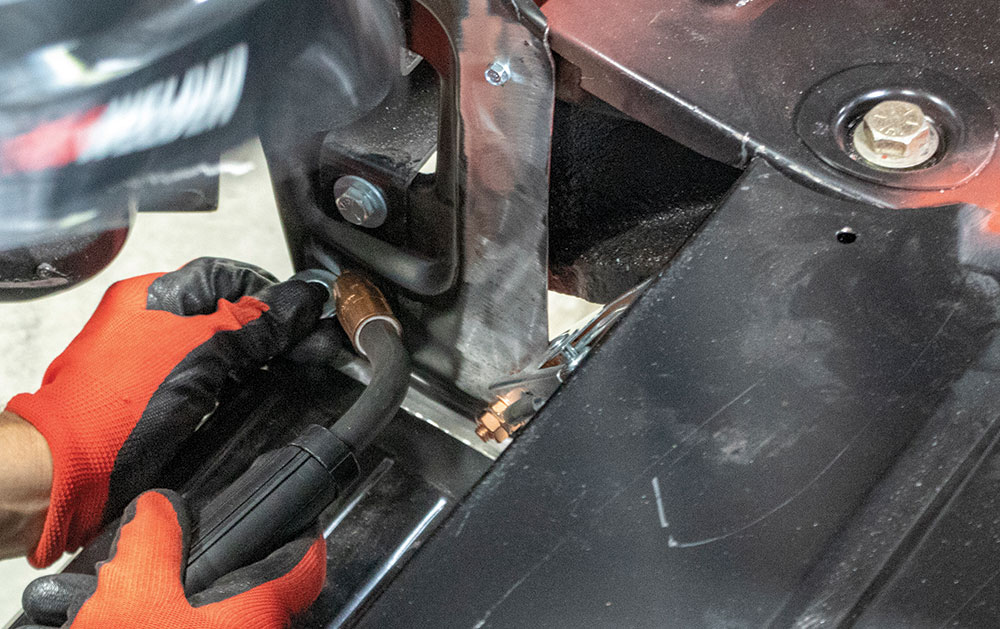
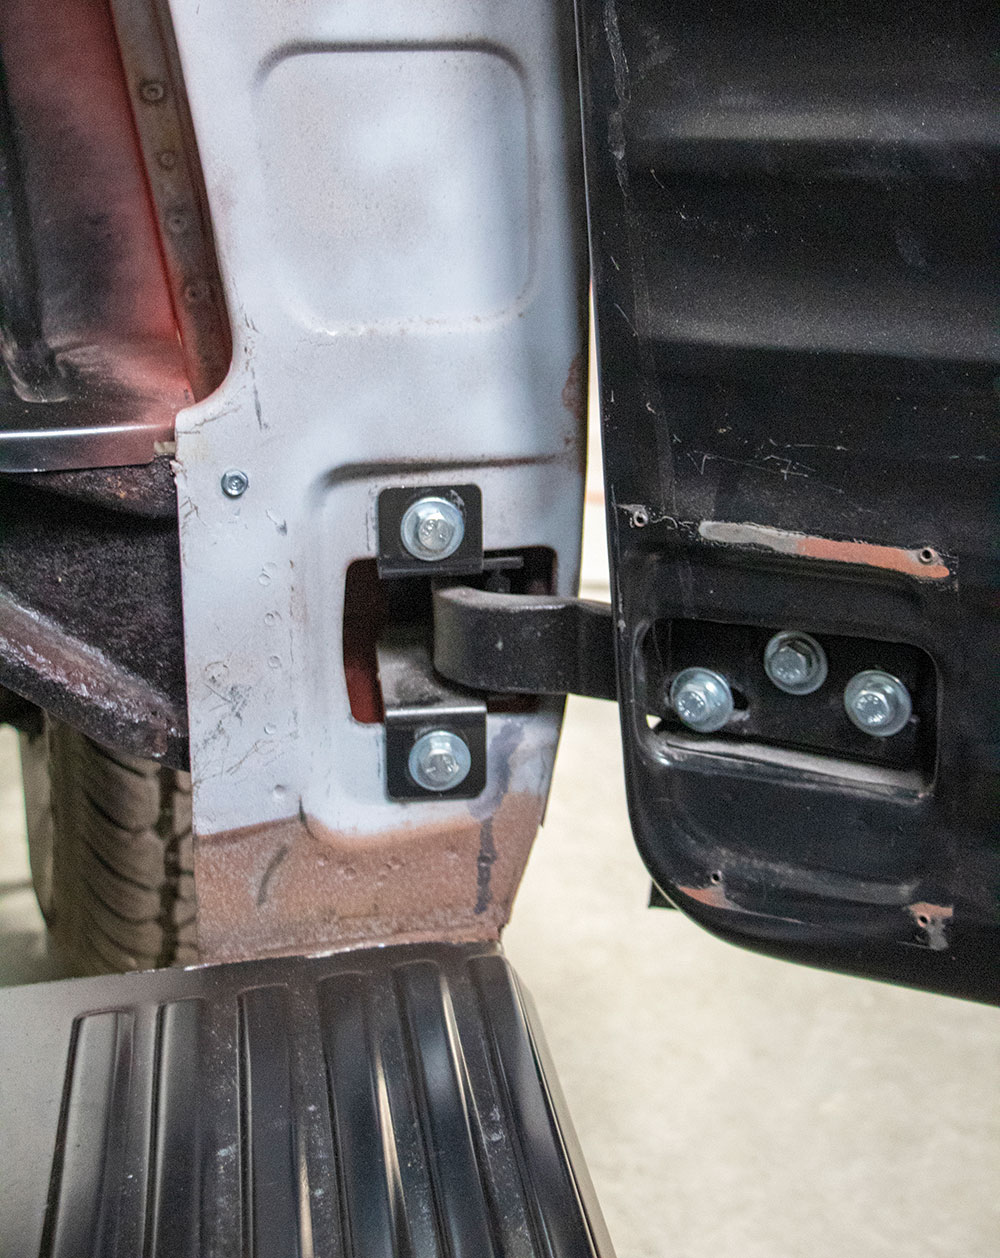
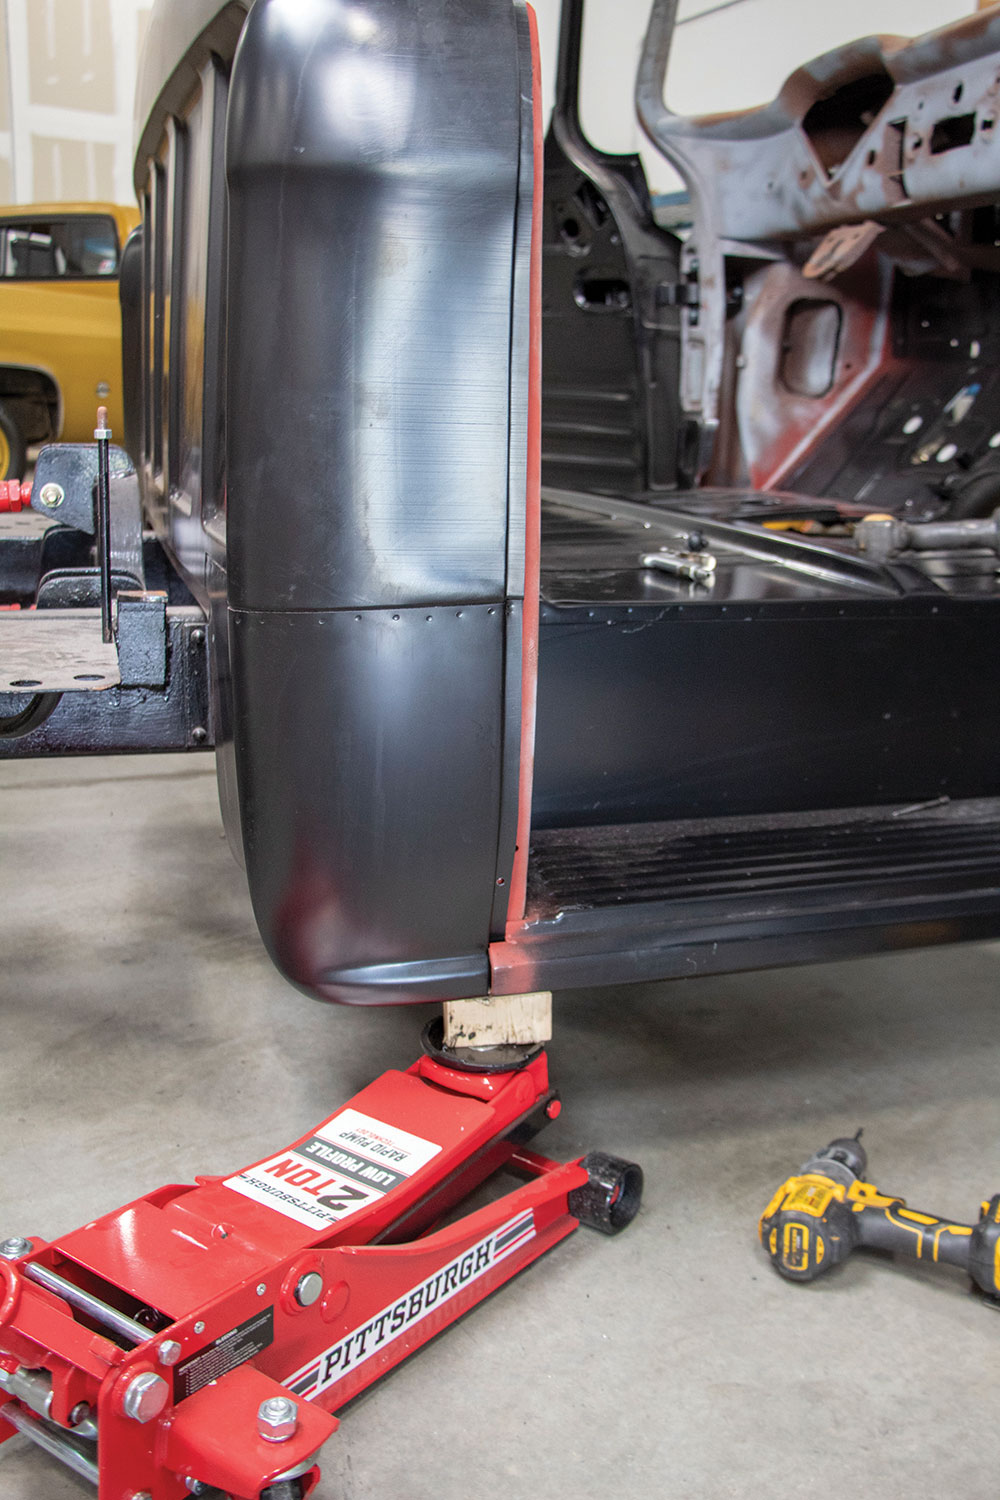
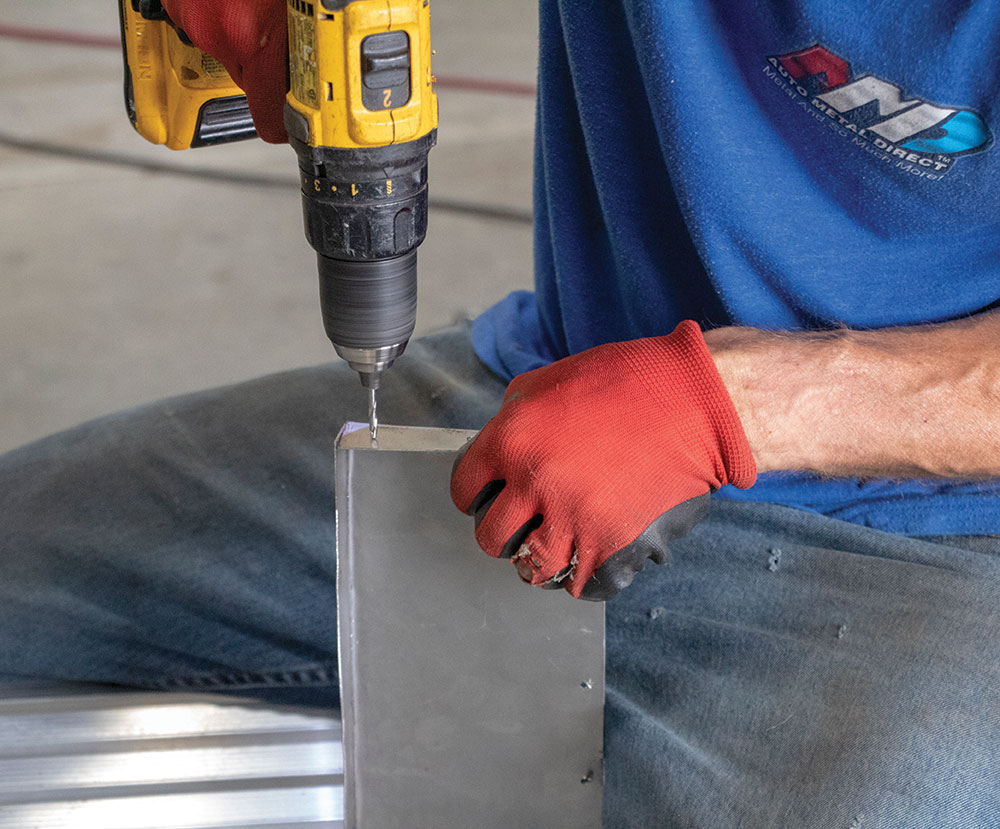
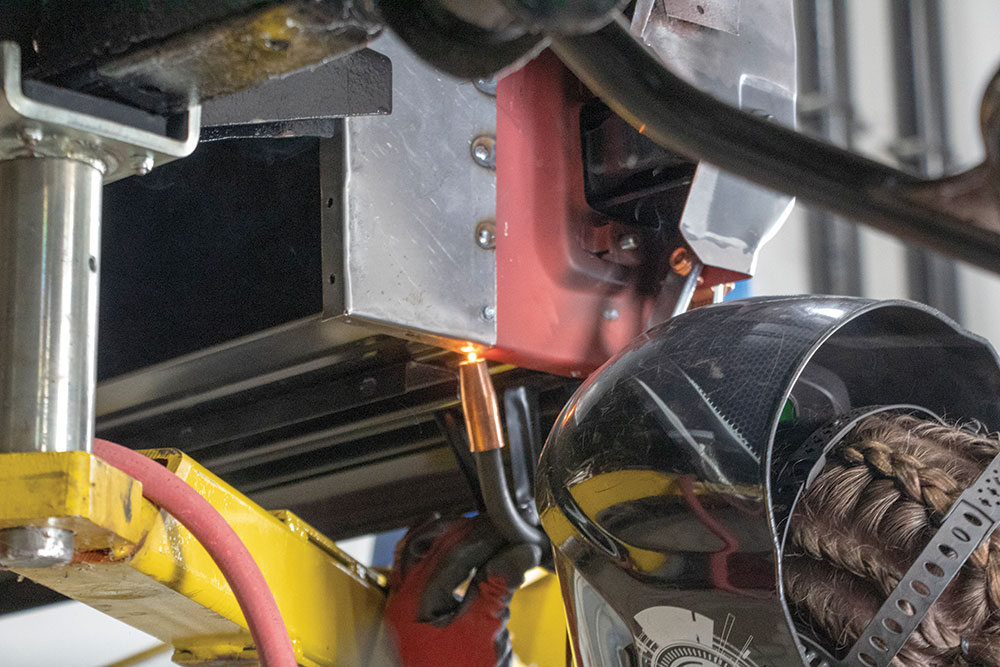
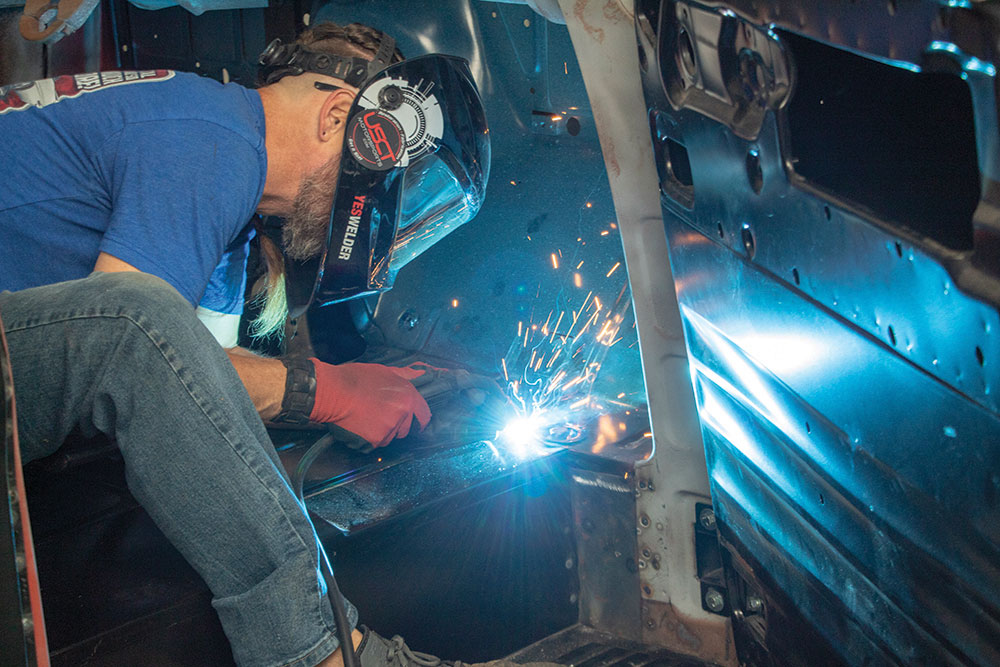
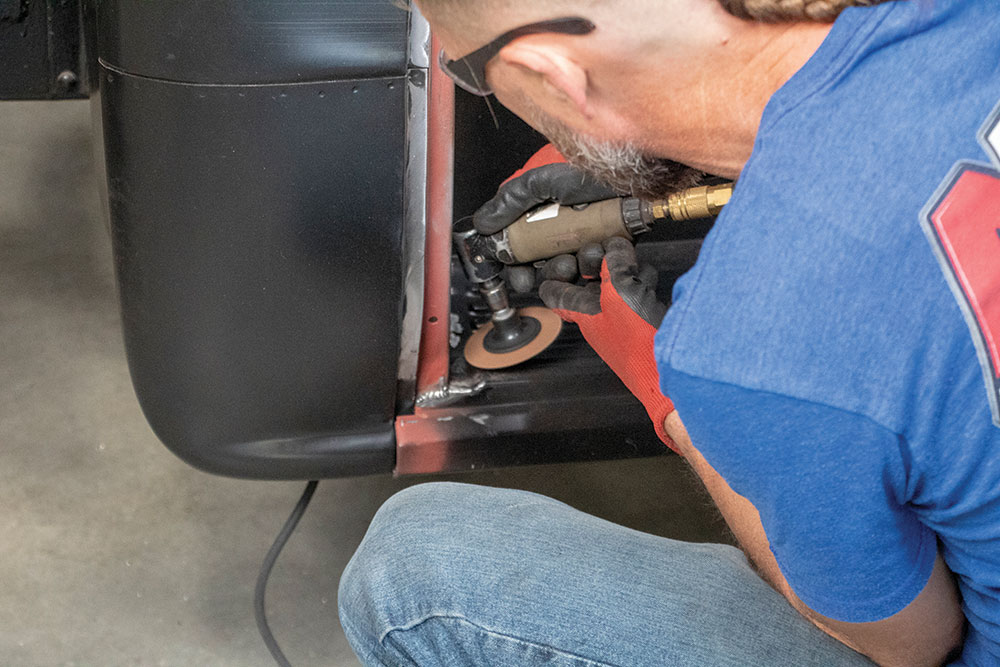
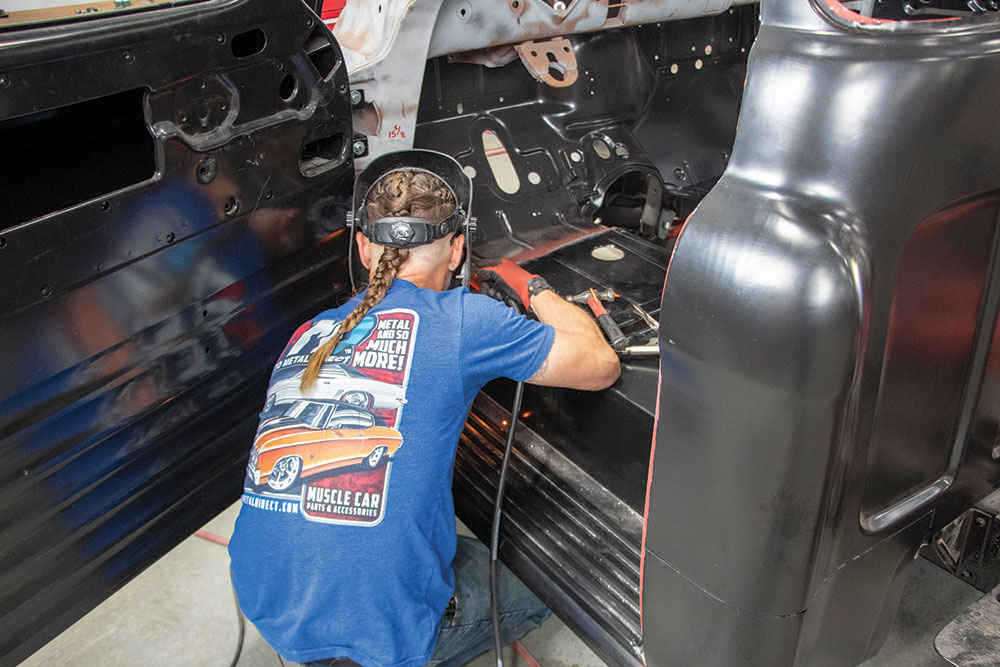
In this issue, we tackle the floorpan. It may seem like a huge job, but if you follow along, you can see that this is something you can conquer at home with help from a few friends. As you have seen, Burnadebt has had patches and repairs at various shops over the last several years with less-than-optimal results. When it comes to the floorpan, it is the same song and dance—missing brackets, misaligned gaps, rusted spots, even the step plate was missing.
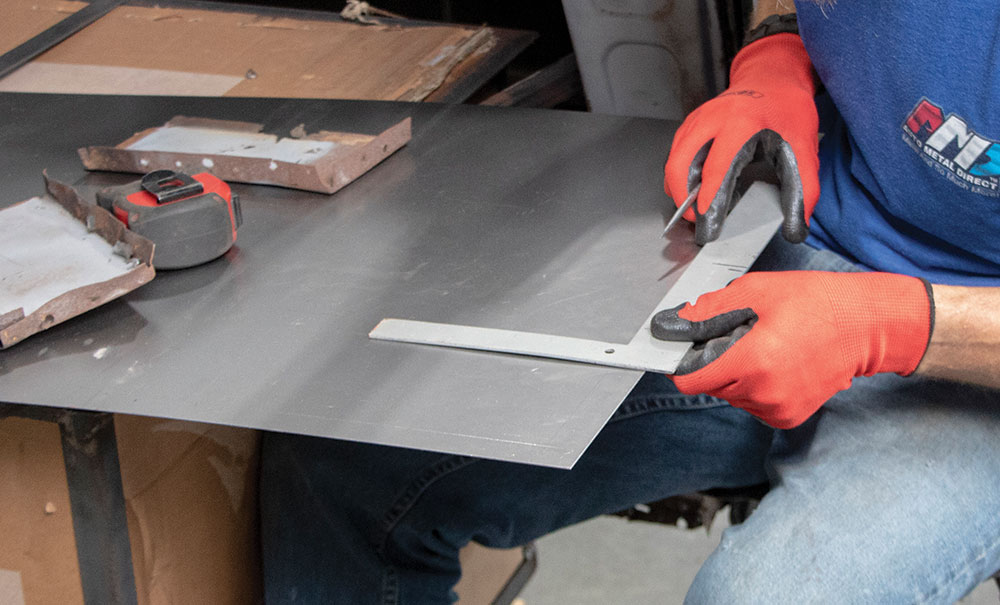
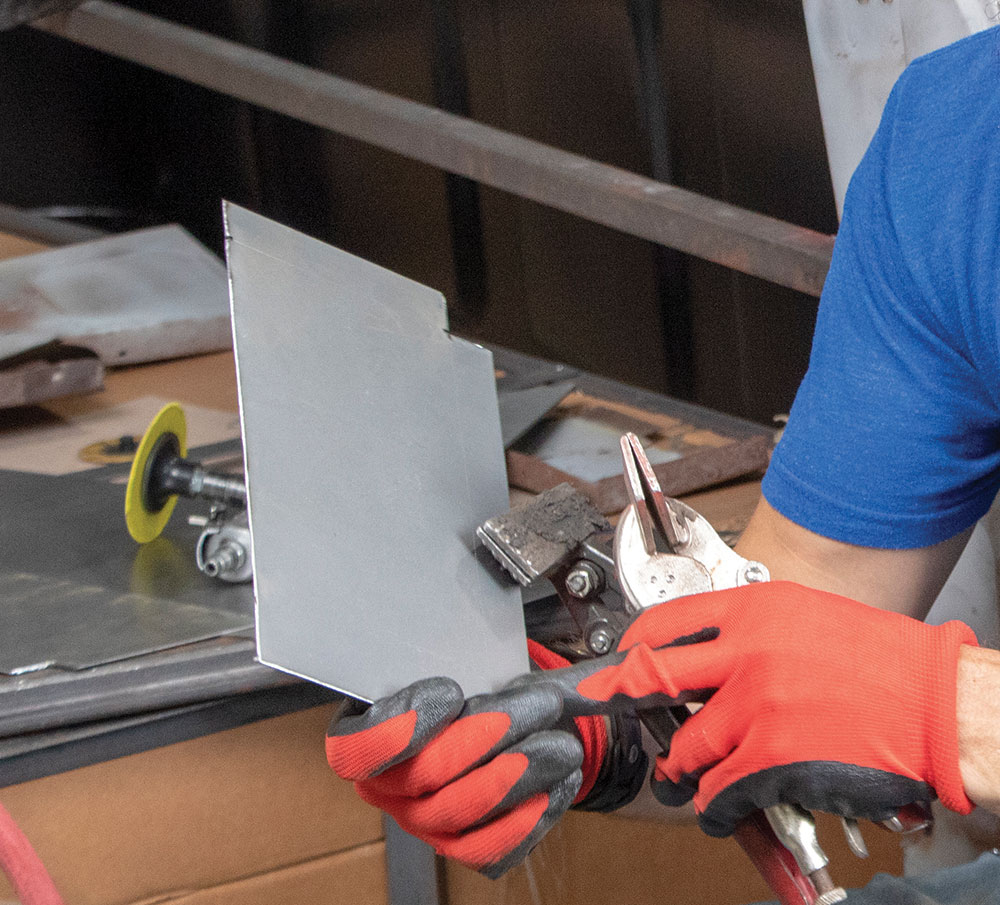
We are going to start over with a brand-new OE-style floorpan assembly from our guys at AMD. In addition to the floorpan, Burnadebt will be receiving a new back cab panel as well as new doors from AMD. You will see these parts come into play here and there. This will allow us to properly align the floorpan for installation. If you’re doing these repairs at home, don’t worry: We tie it all together right here in Street Trucks.
The floor in Burnadebt is like most classic trucks—in need of some love. The floorpan is a location where water often collects in the corners, at the toe board and near the trans cover. And, over time, these areas likely to rust out. Follow along and you too can do these repairs at home. Let’s go!


Read More: 1959 Chevy Apache Body Restoration

C10 Builders Guide
Family Fun Done Right People build their custom rides for a lot of different reasons. For some, being cool is enough. For others, the reasons… Continue reading
Mike Self . November 11, 2022

Industry News
If you’re a guy who loves classic and custom trucks, there’s nothing like watching a movie that celebrates these iconic vehicles. From classic action films… Continue reading
Chris Hamilton . April 19, 2023
Department
East Coast Town Hosts 20th Annual Event Our first trip to One Day Slam in Bristol, Pennsylvania, turned into a great weekend full of fun… Continue reading
JOHNATHAN HAWKINS . March 23, 2023
Department
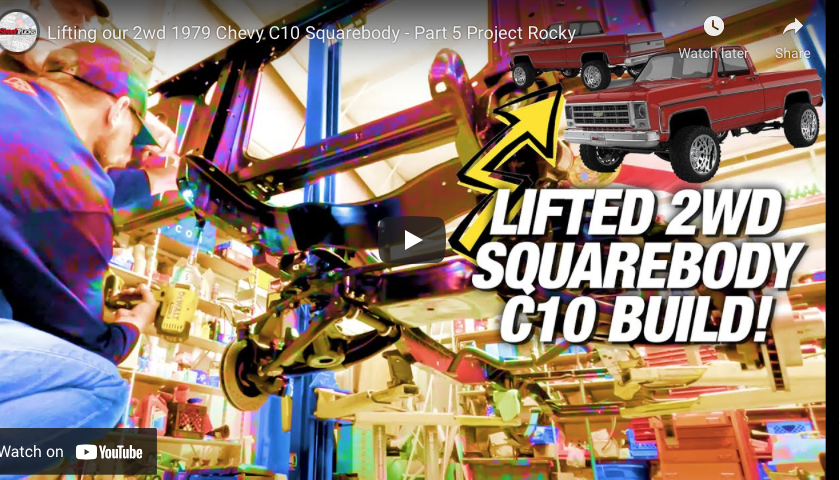
In this episode, we finish the assembly of the front suspension and brakes on Project Rocky, our 1979 Chevy C10 using parts from great companies… Continue reading
Adam Johnson . January 28, 2022
Features
We are working on a special paint issue to prove that Paint Ain’t Dead! Those wrap guys think they beat the system but the system… Continue reading
Chris Hamilton . August 01, 2023

Department
STREET TRUCKS STAFF . September 10, 2025


We use cookies to enhance your browsing experience, serve personalized ads or content, and analyze our traffic. By clicking "Accept All", you consent to our use of cookies. Visit our Cookie Policy for more info.

Share Link