 Jason Chandler
.
November 26, 2021
.
Blood Sweat and Gears
.
Jason Chandler
.
November 26, 2021
.
Blood Sweat and Gears
.
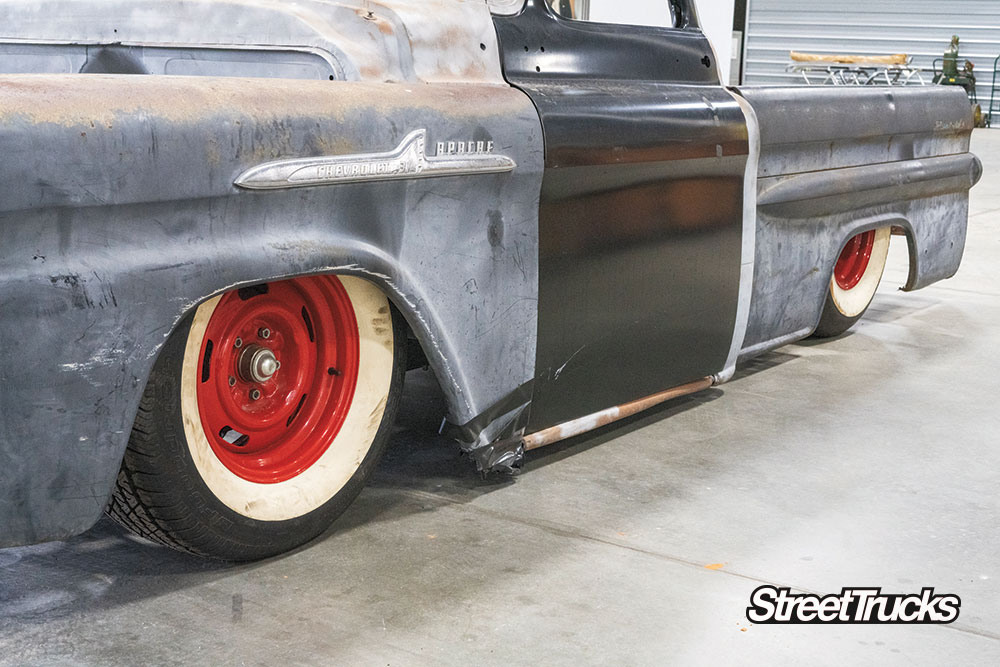
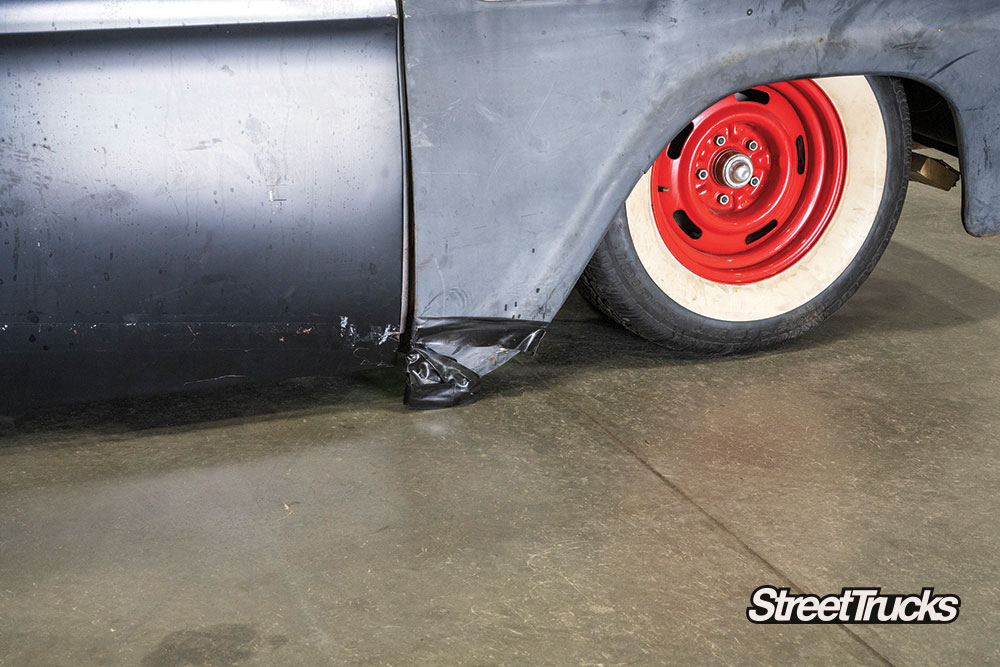
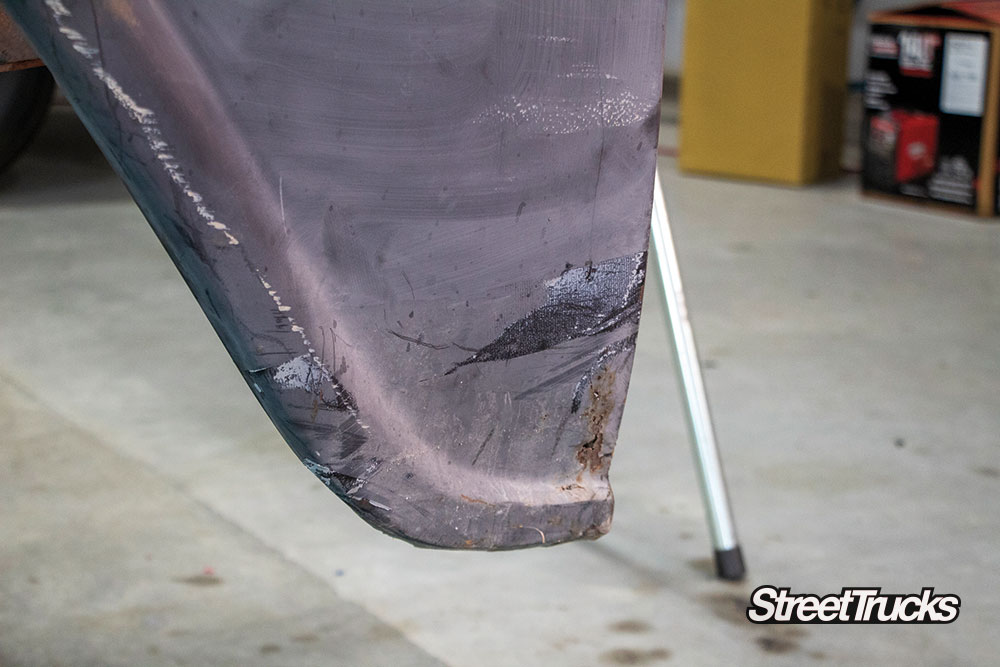
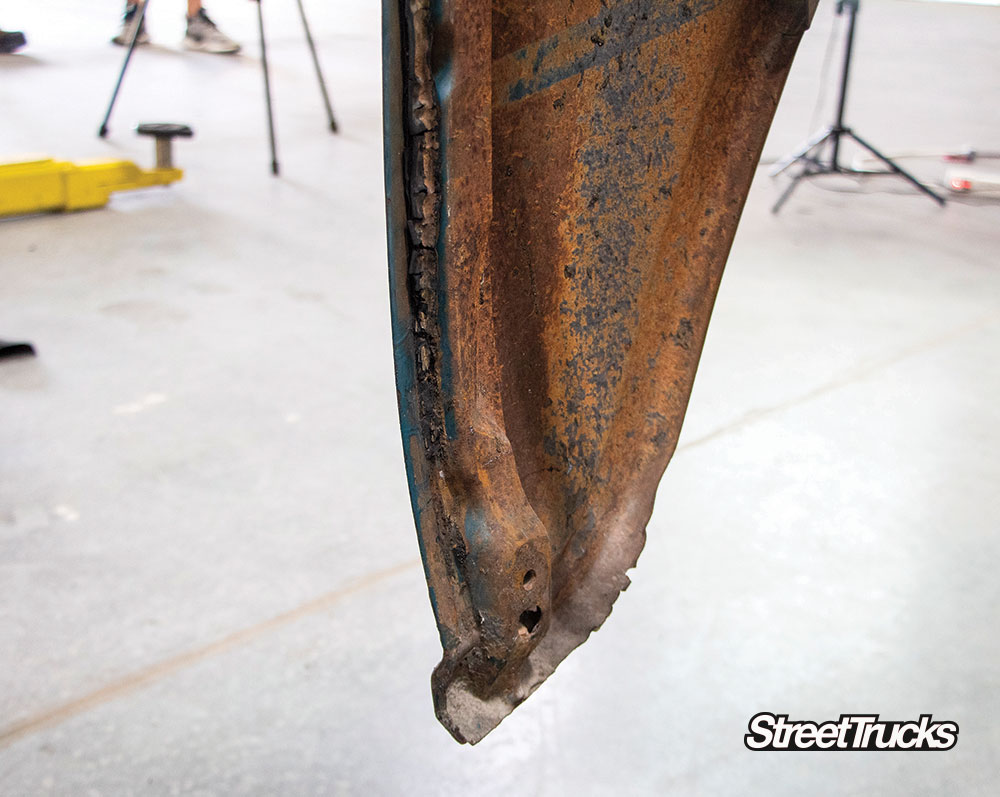
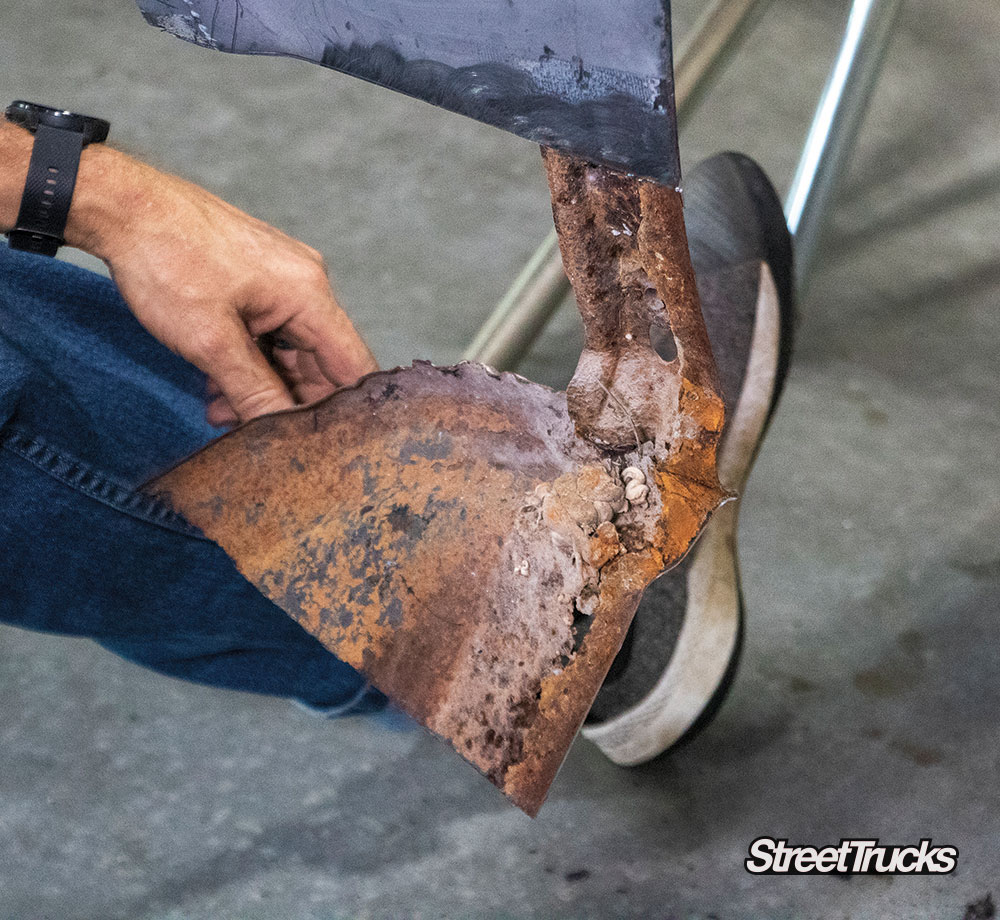
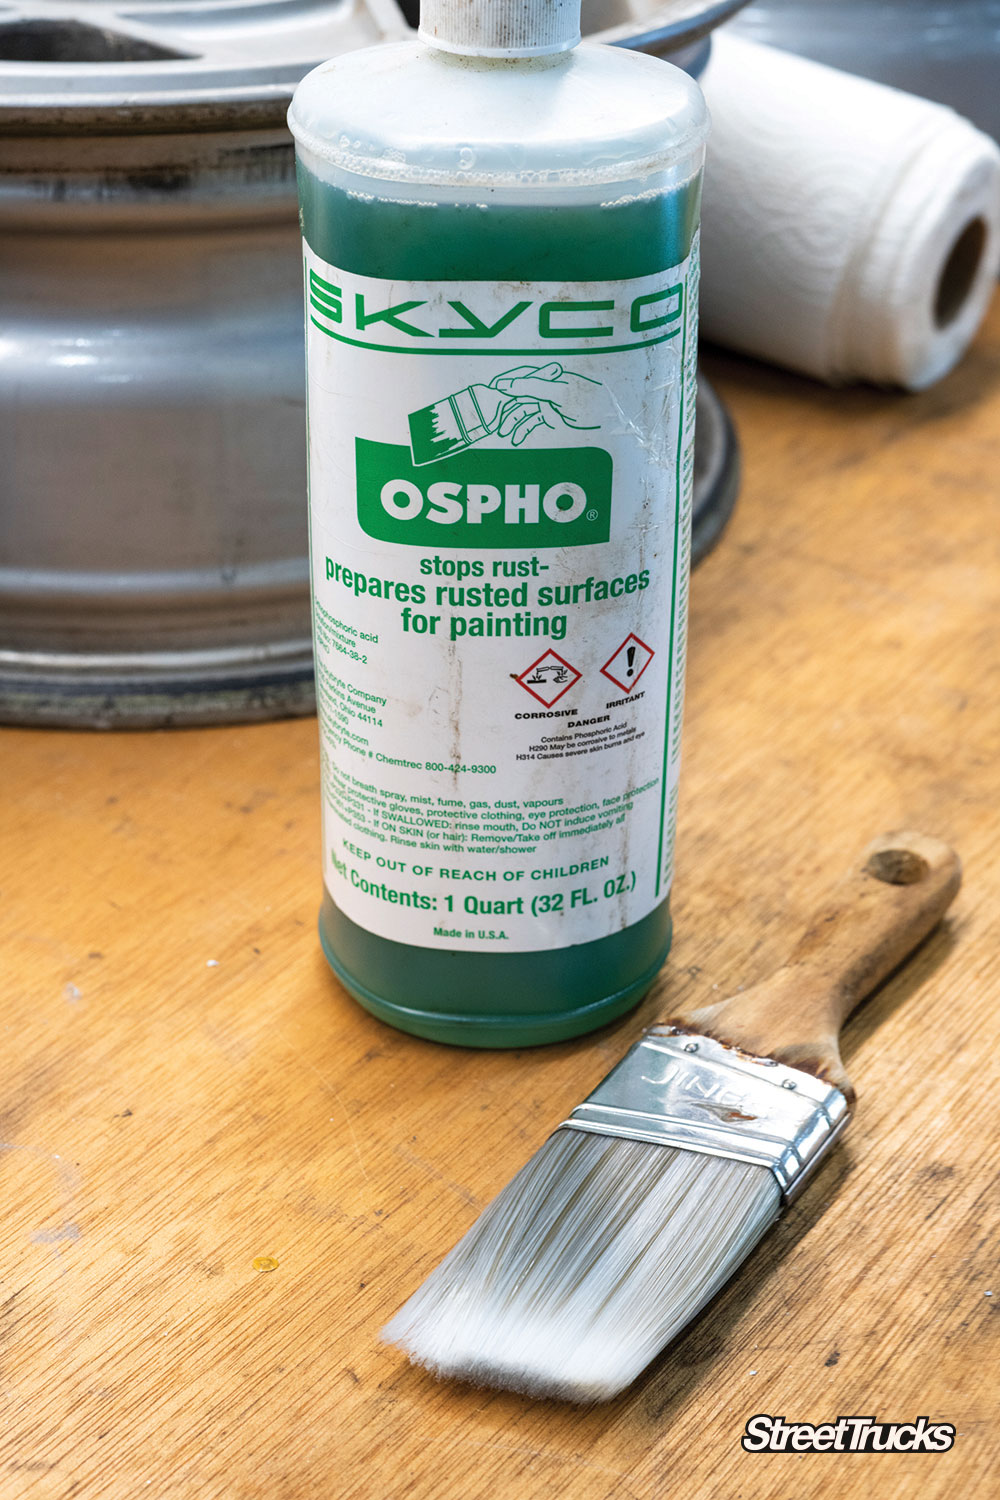
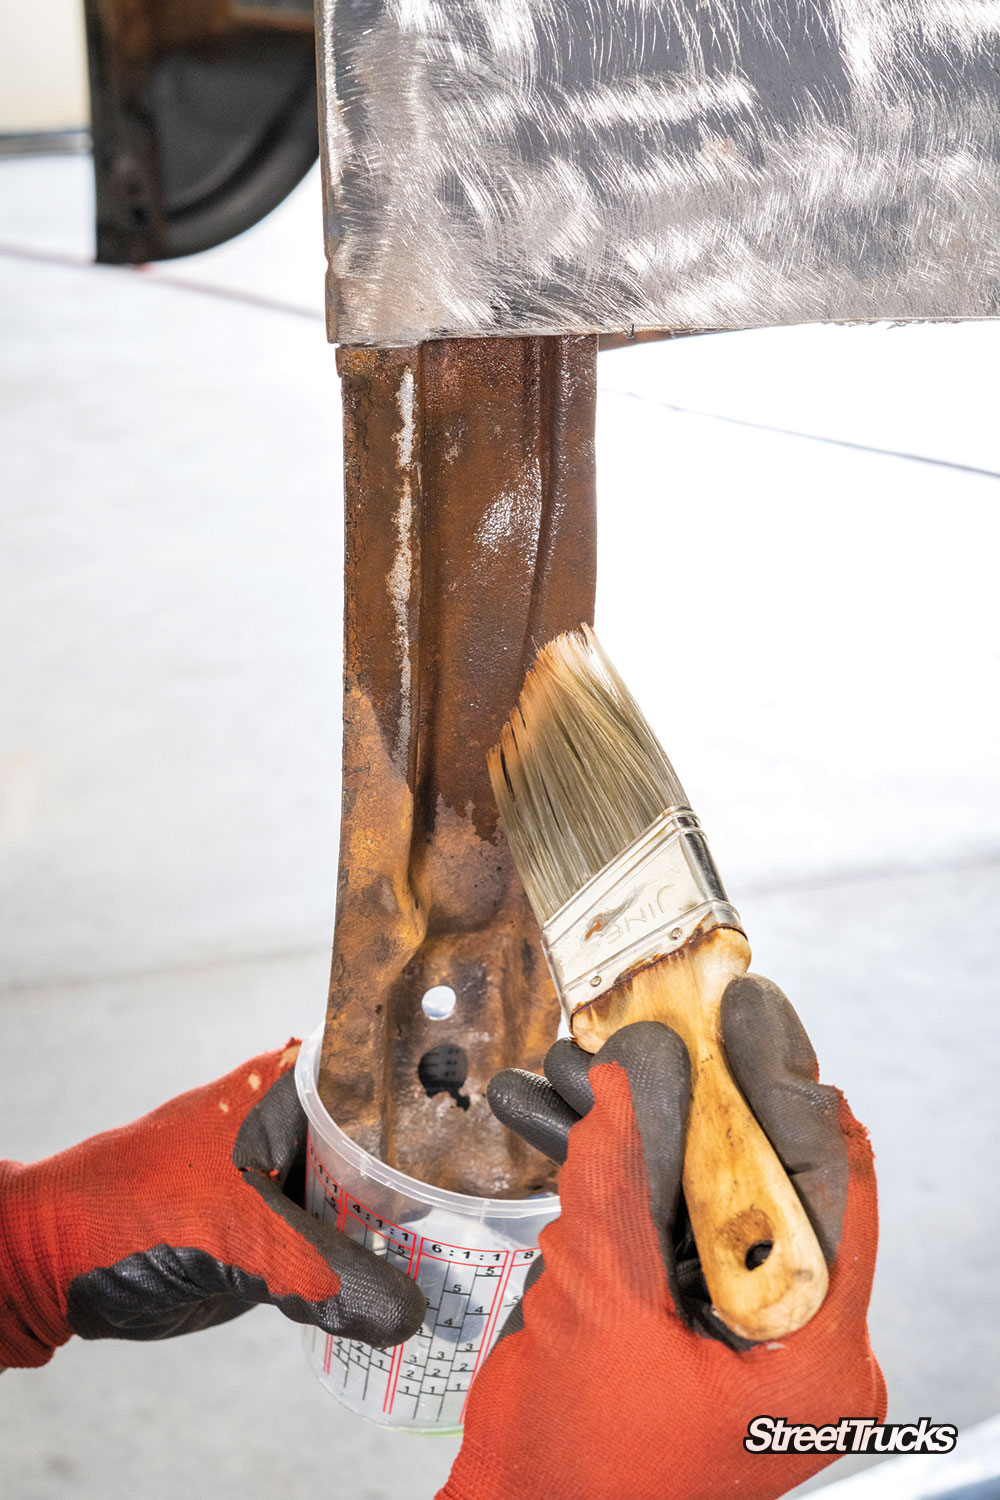
Of the numerous attributes of steel, the major component used in producing the beloved street trucks we cherish, one downside is that it will rust. And if the truck you’re driving or restoring is like most of the ones we’ve seen lately, chances are it suffers from a rust hole or two in one of the panels, cab corner or rockers. Even with the best prepped and painted truck on the road, a small chip from road debris or a little rock popping up to chip the paint on your pride and joy can lead to a rust-through on a panel if left untreated.
But don’t worry—treatment is but a click away. With the help of some of your friends, you can approach these repairs yourself at home.

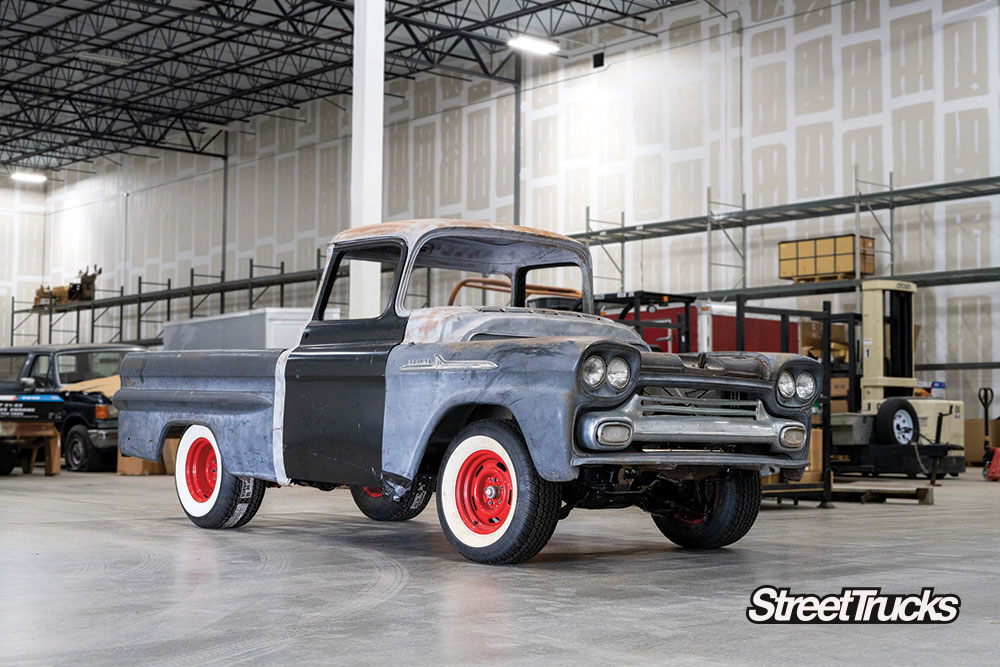
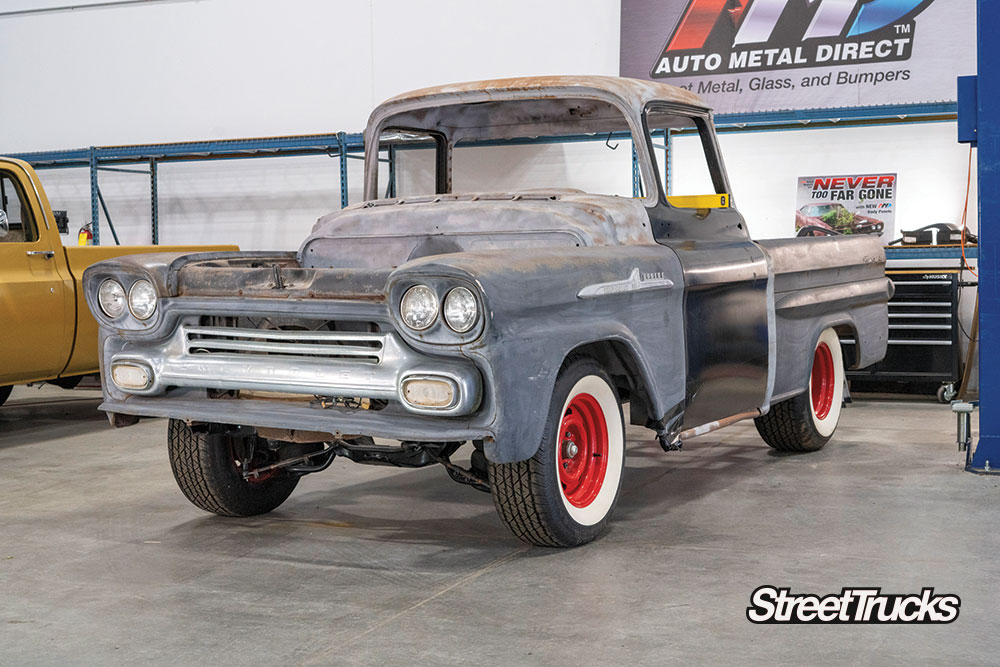
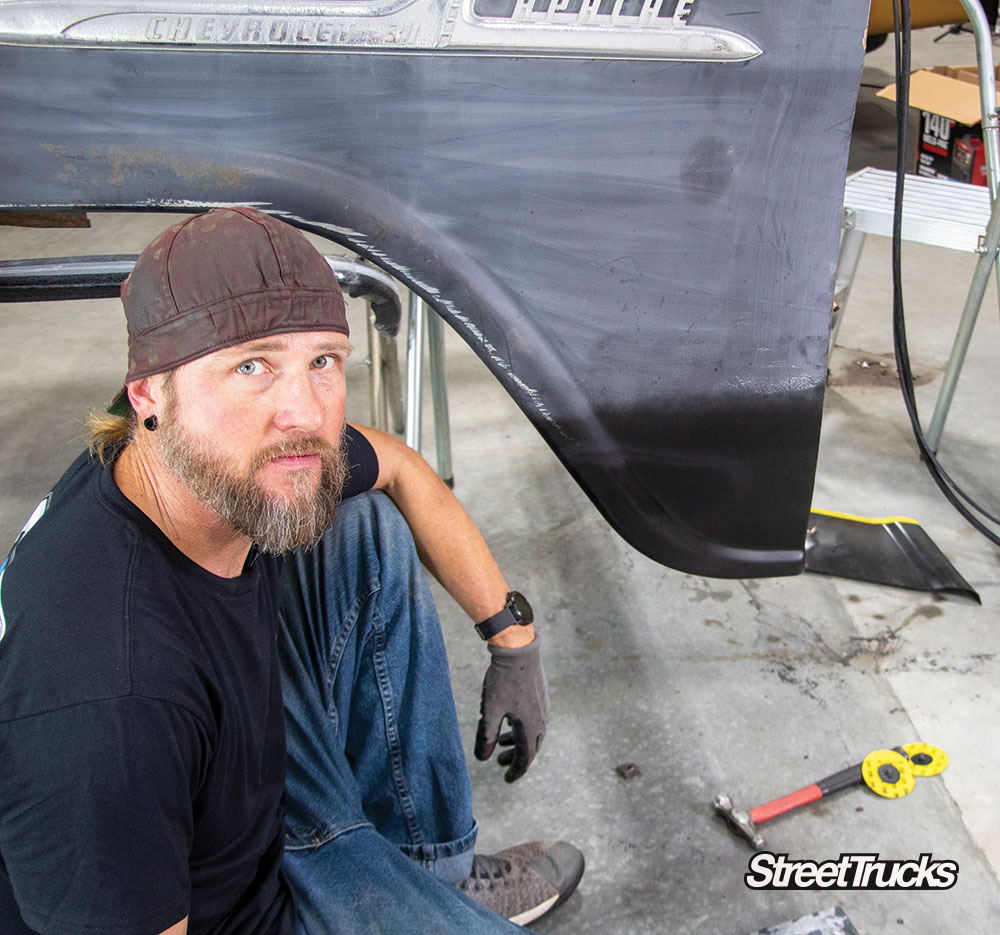
Let me introduce you to Project Burnadebt. A long-term venture of ST contributor Eddy Cebreco, this truck has seen its fair share of setbacks, project jail, and numerous shops here and there over the years. Sound familiar? Hopefully it doesn’t. But in case you have been in similar situations, we are here to hop up your hope with the resurrection of this project that we plan to see to the end.
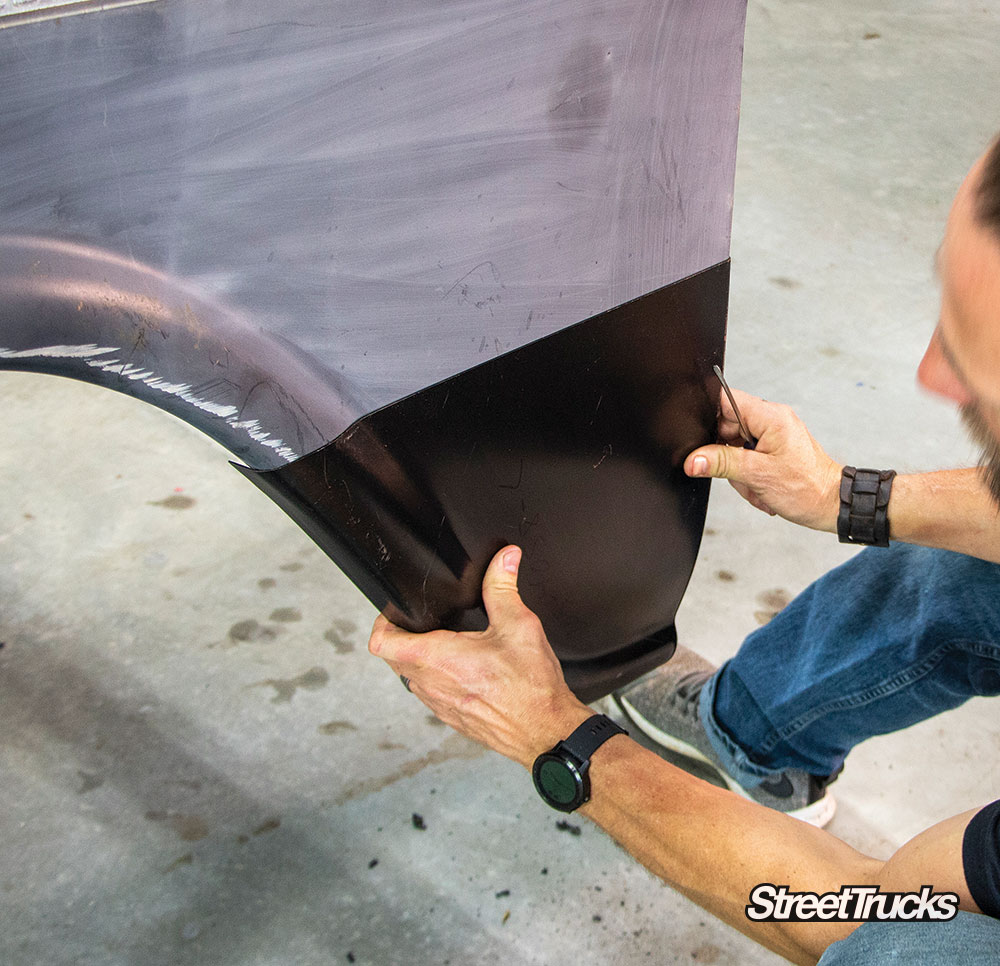
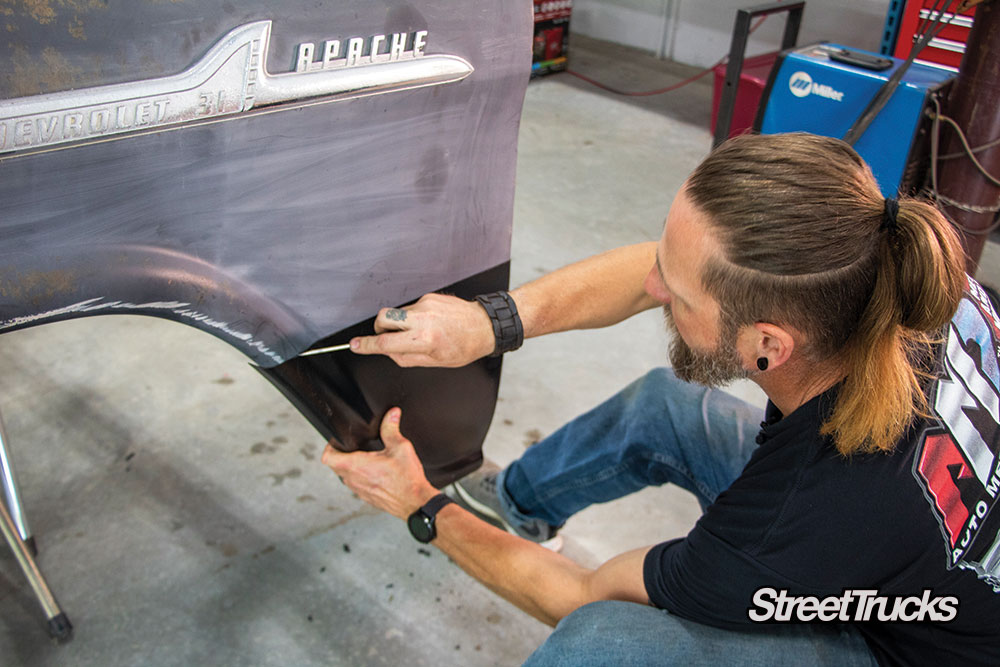
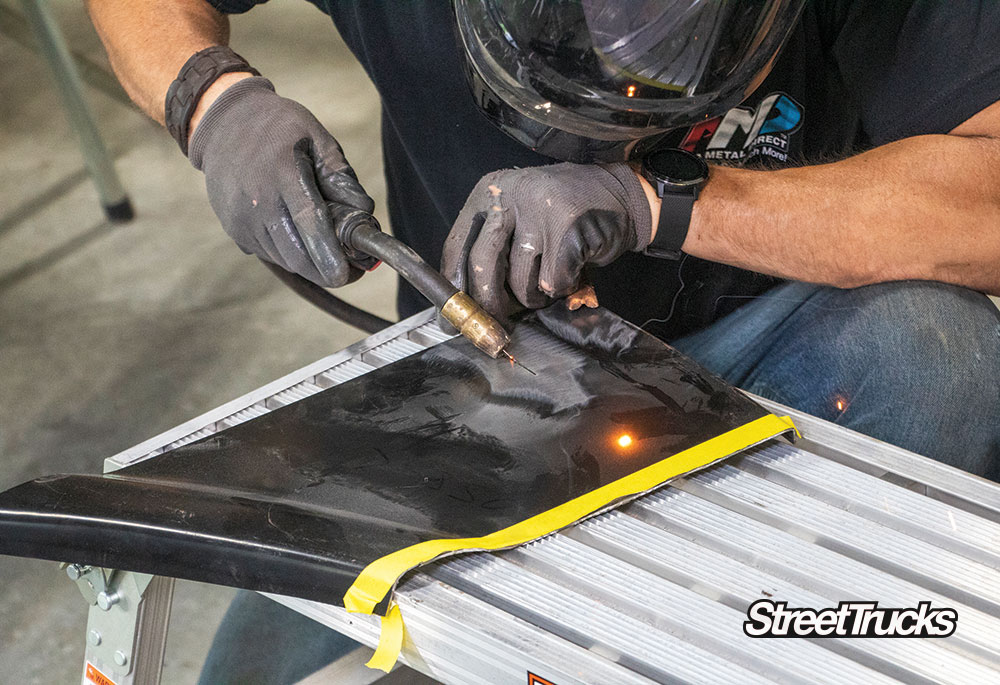
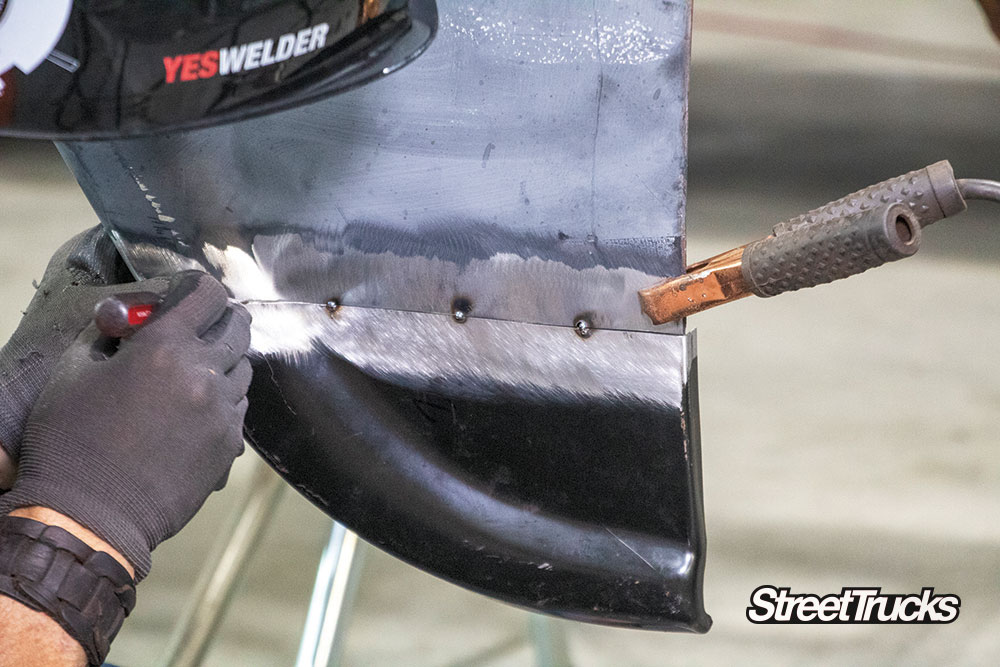
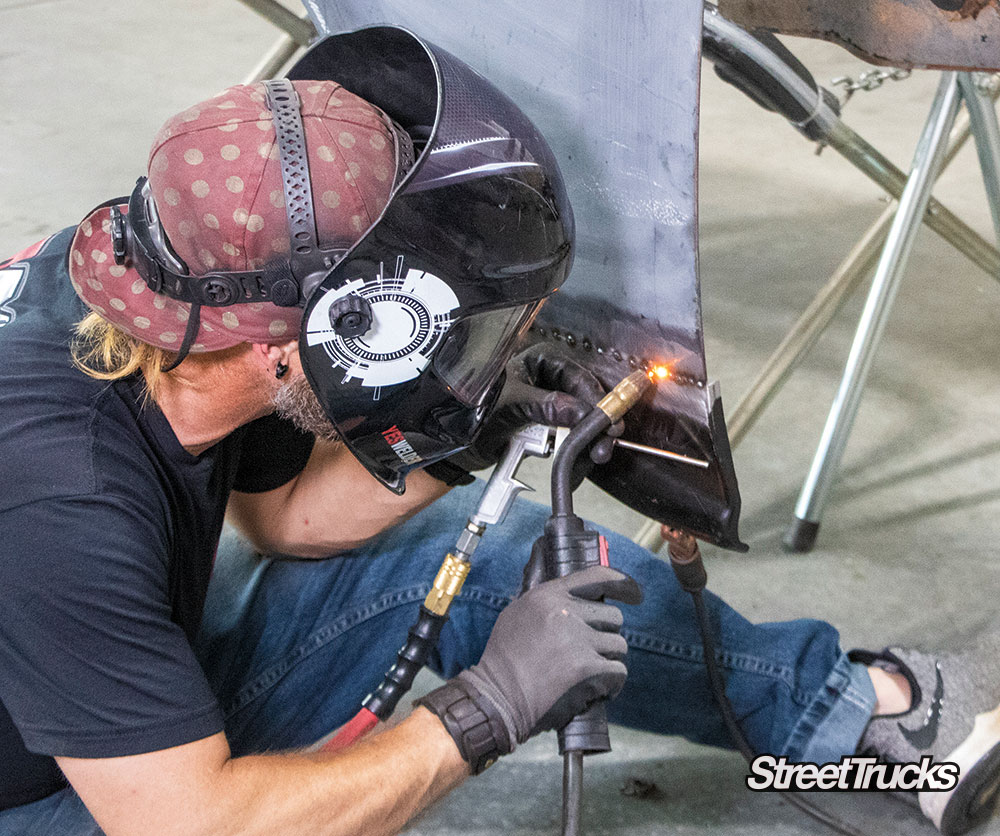
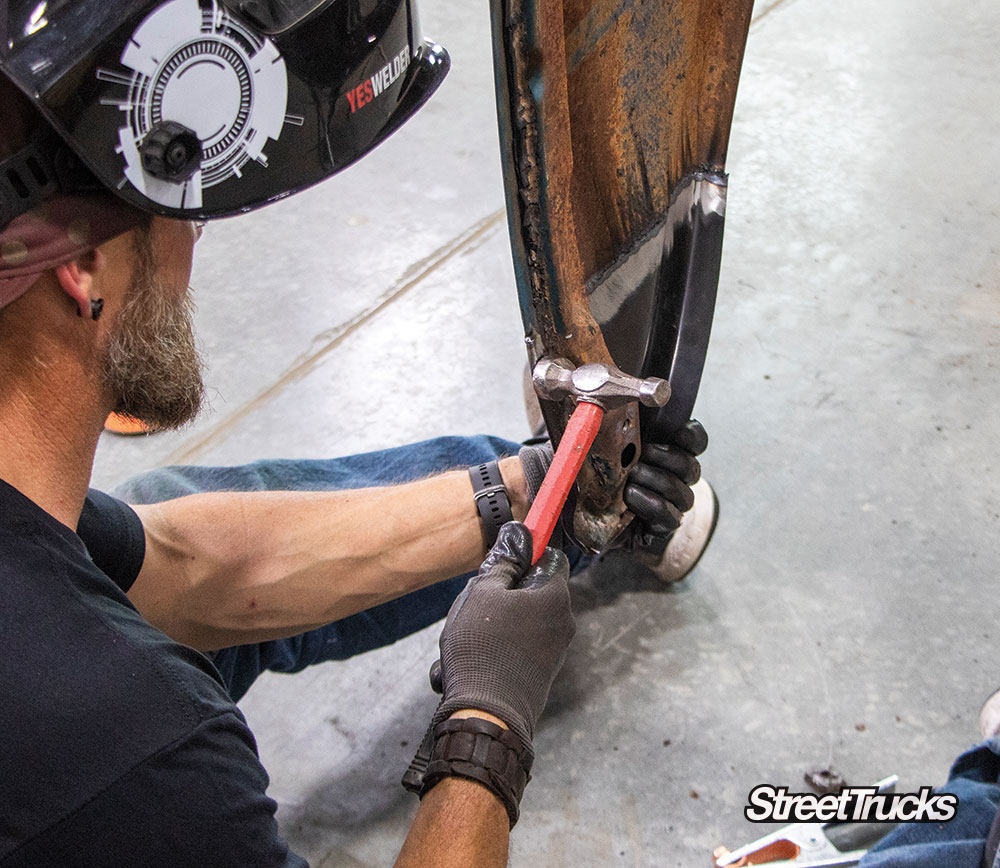
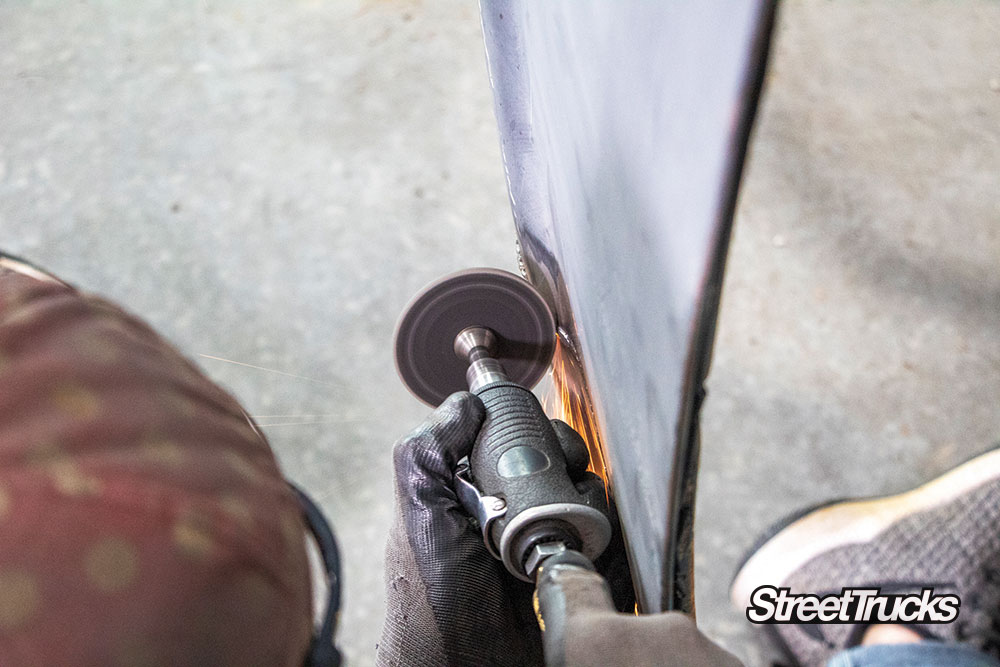
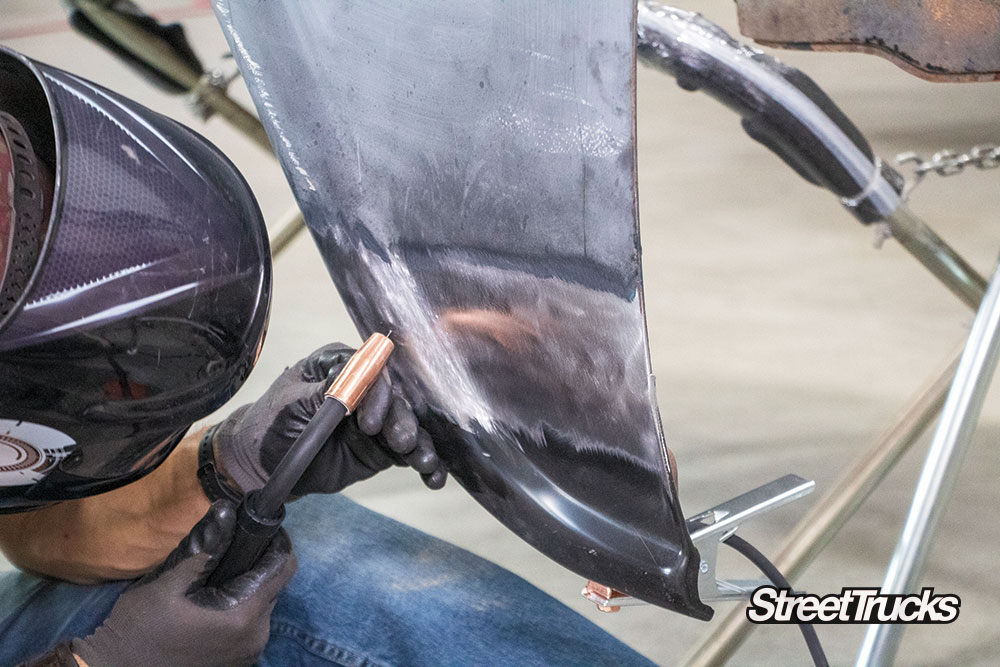
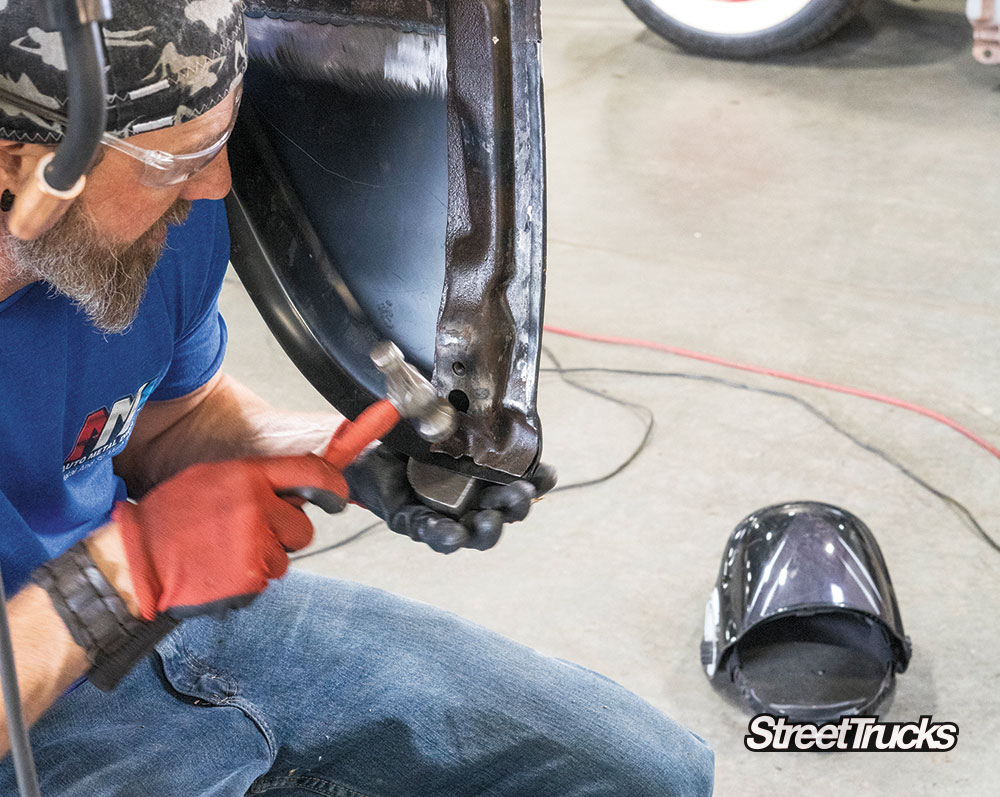
Our first stop is to get this ’59 Apache to the pros at Auto Metal Direct. And, with a ton of help of Jubee Mays of aMAYSing Metal Works, we will take you through some basic metal repairs and even get into some major surgery on this hopeful Chevy truck. So stayed tuned for future issues showing you an in-depth look at the metal repair process and how a certified muscle car and truck body repair technician approaches the repairs with the home tech in mind.
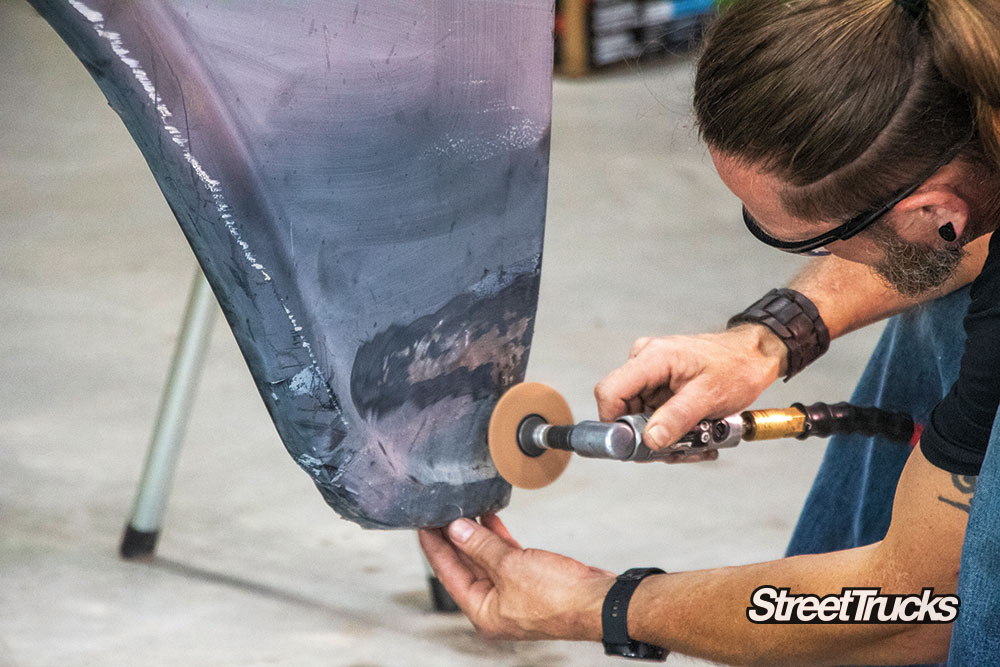
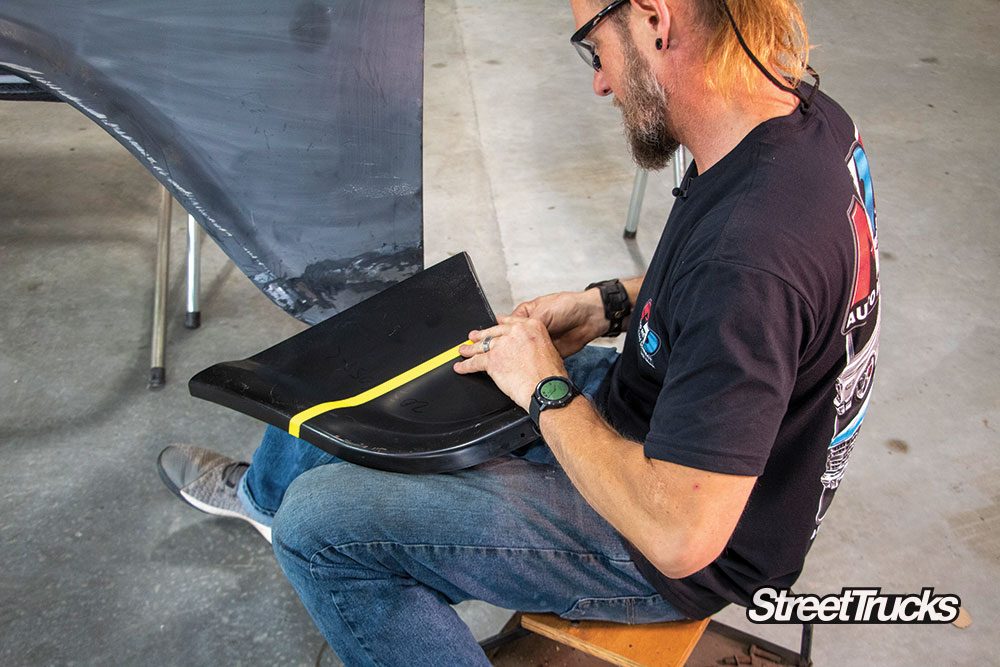
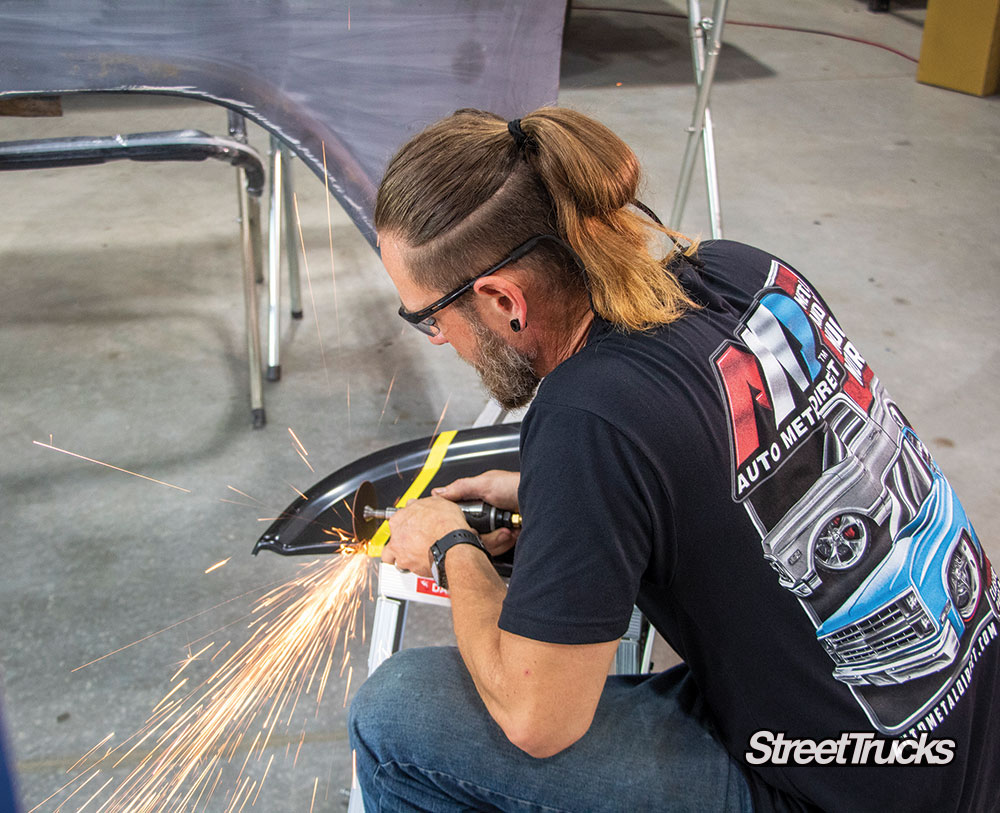
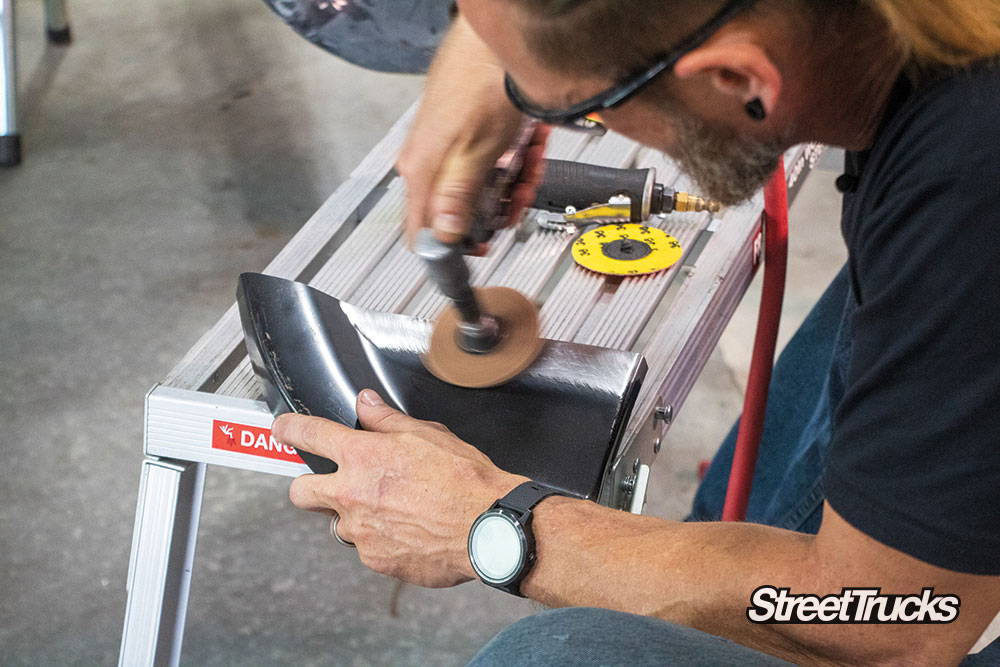
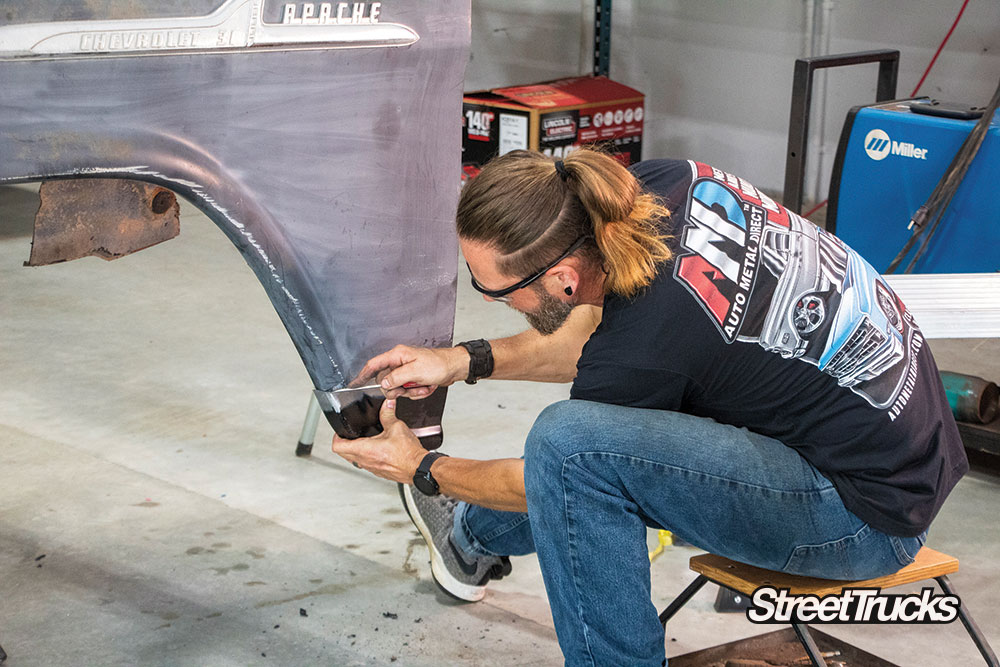
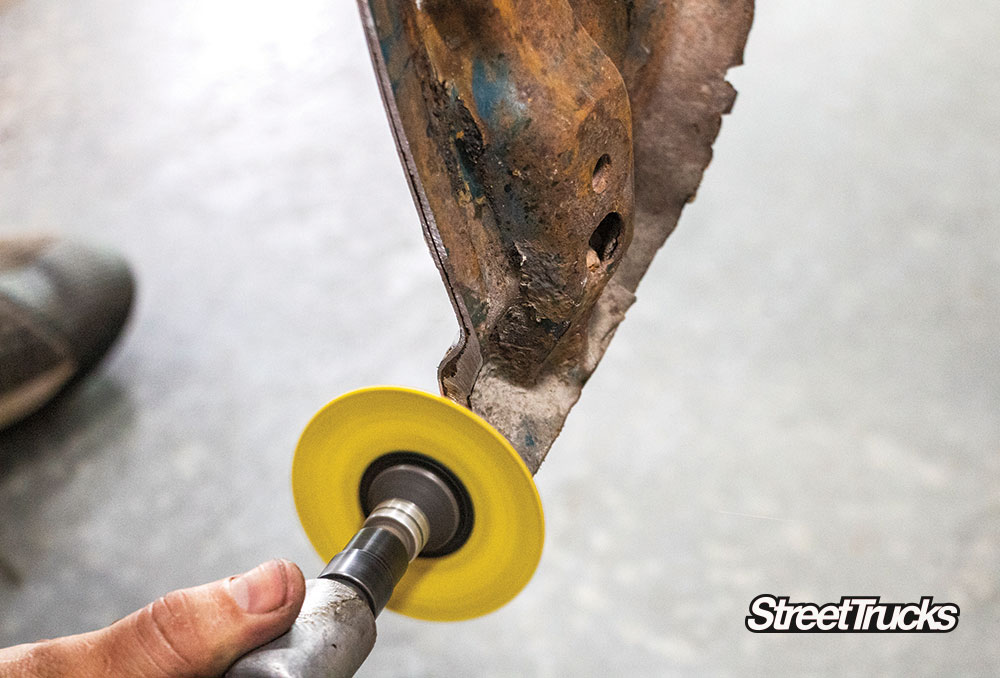
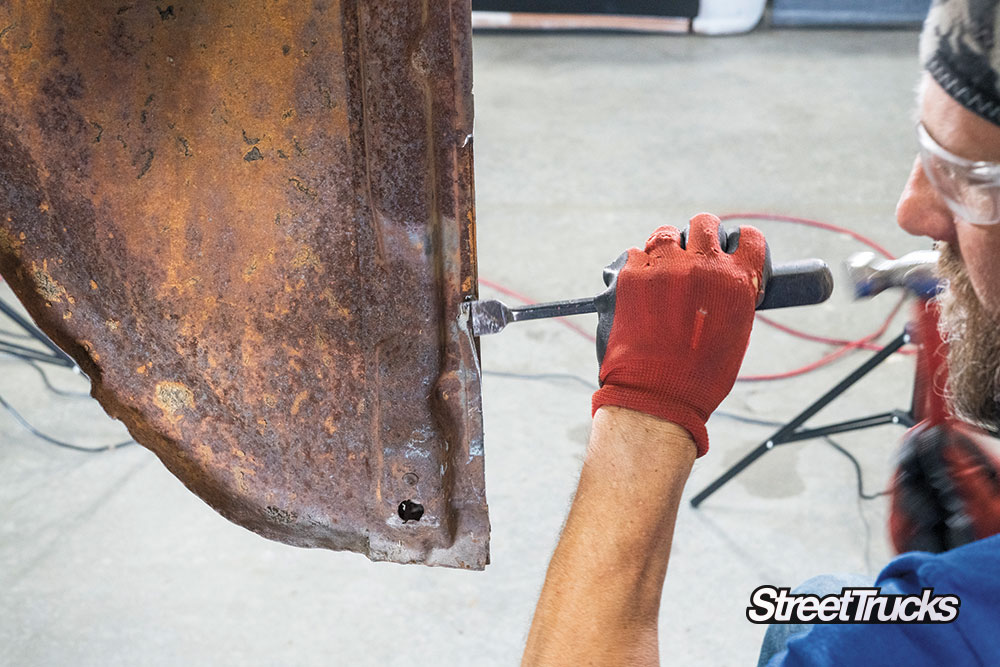
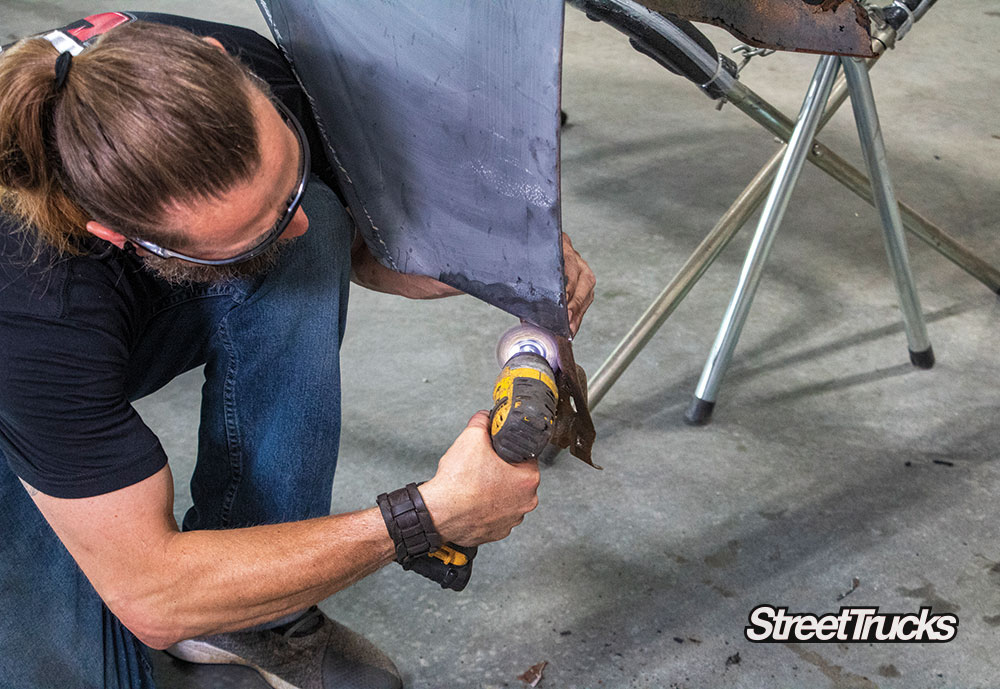
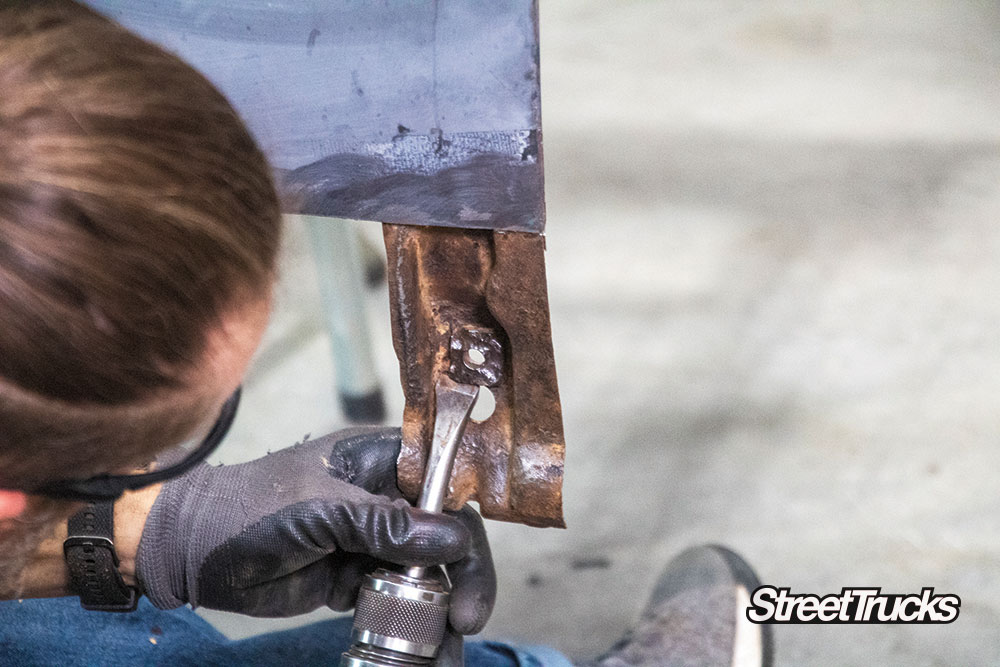
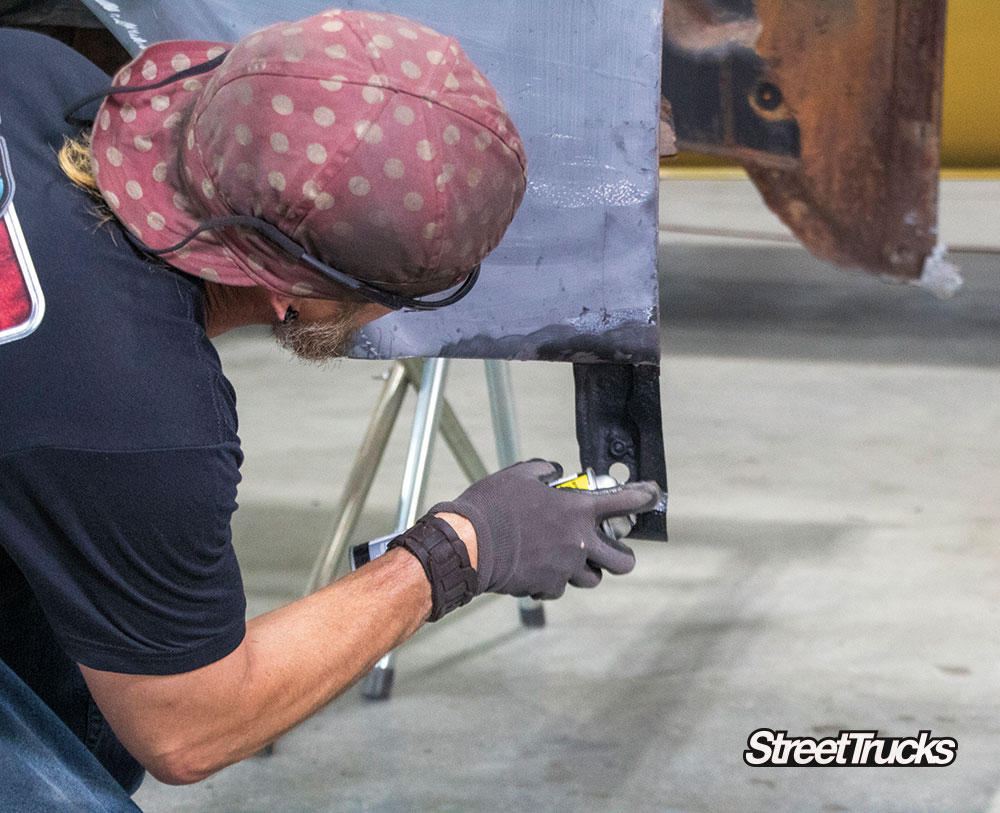
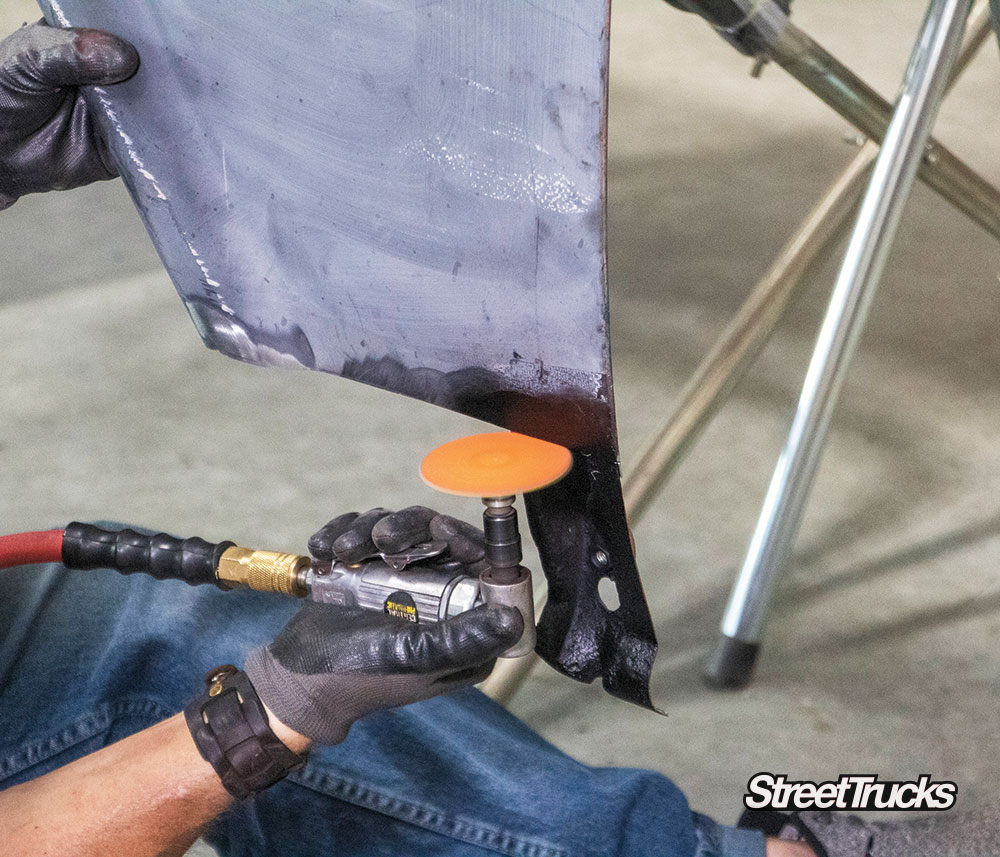
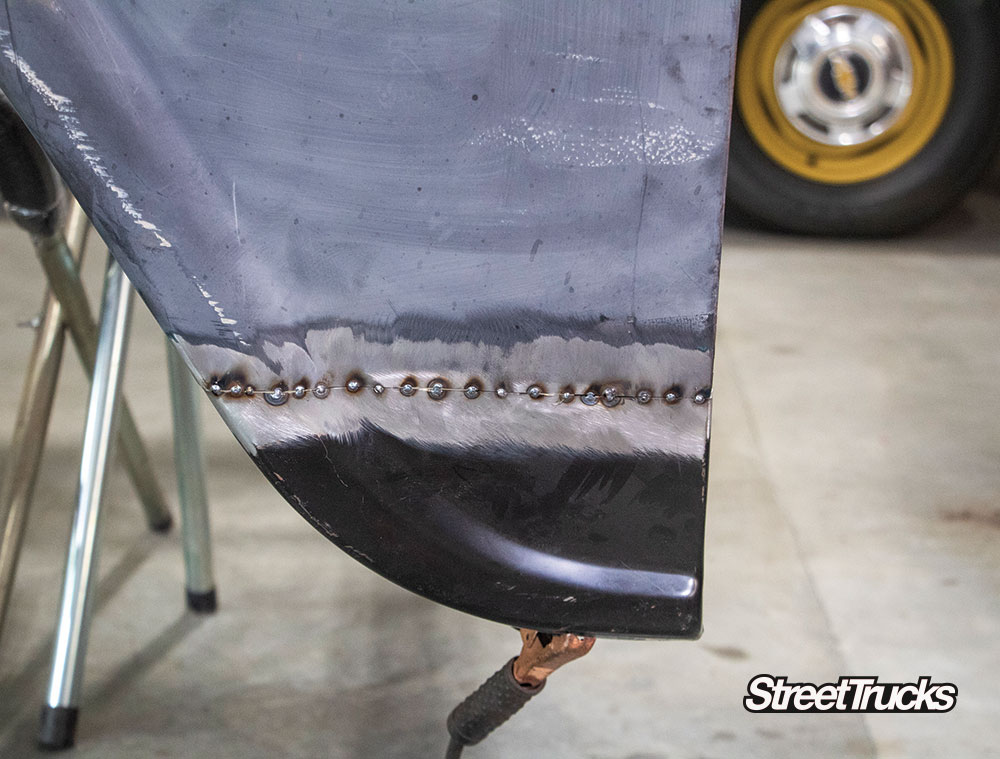
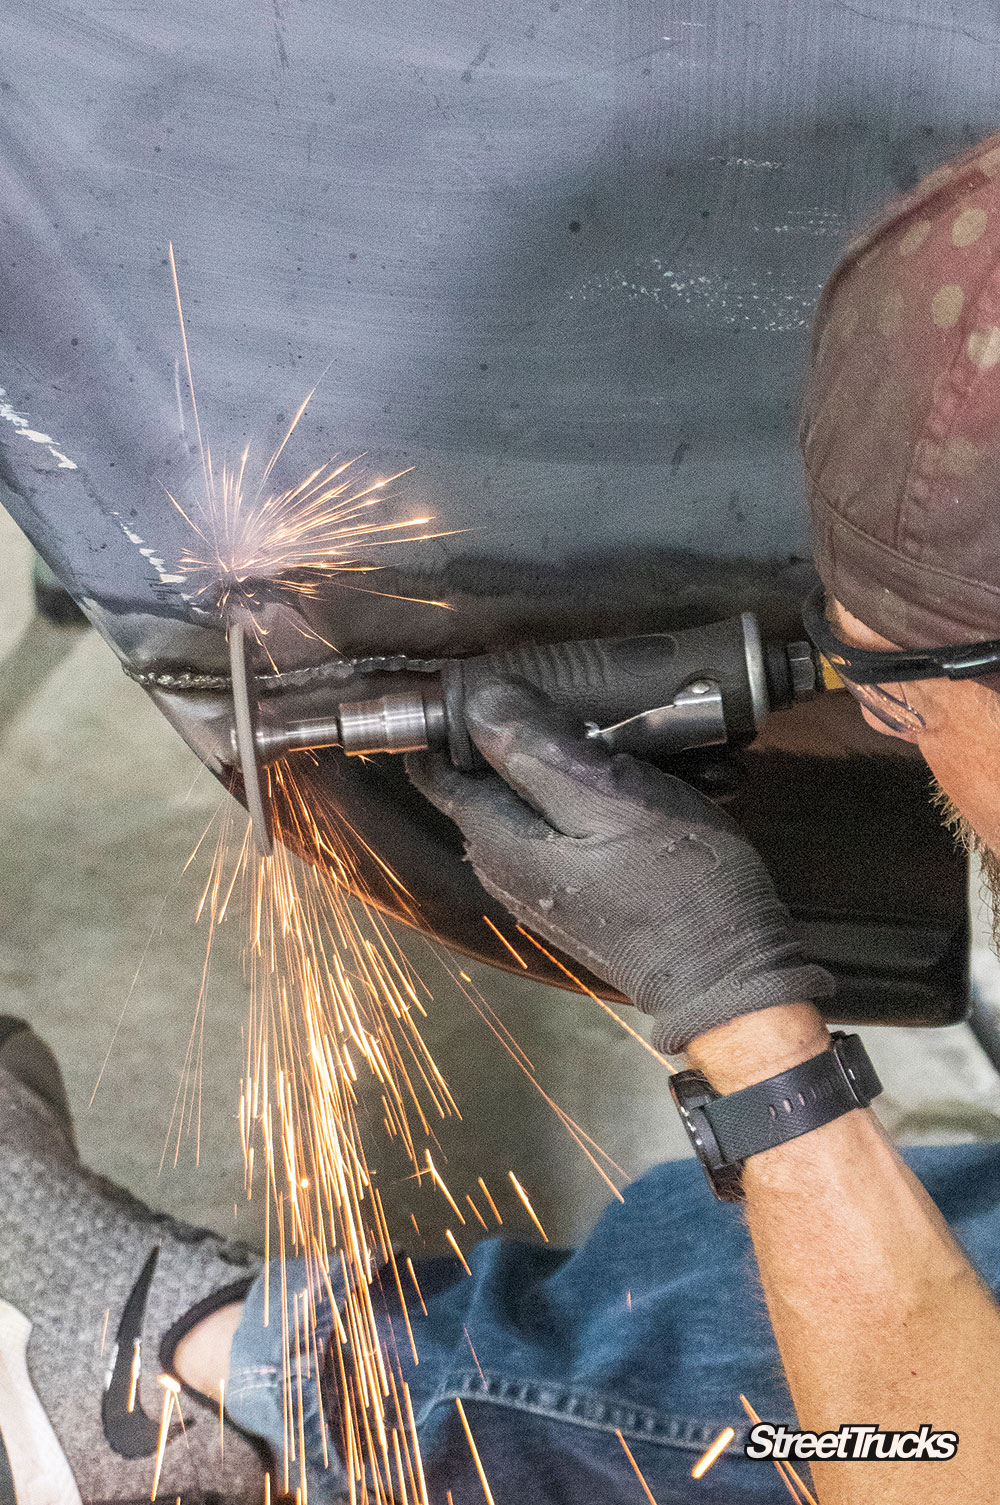
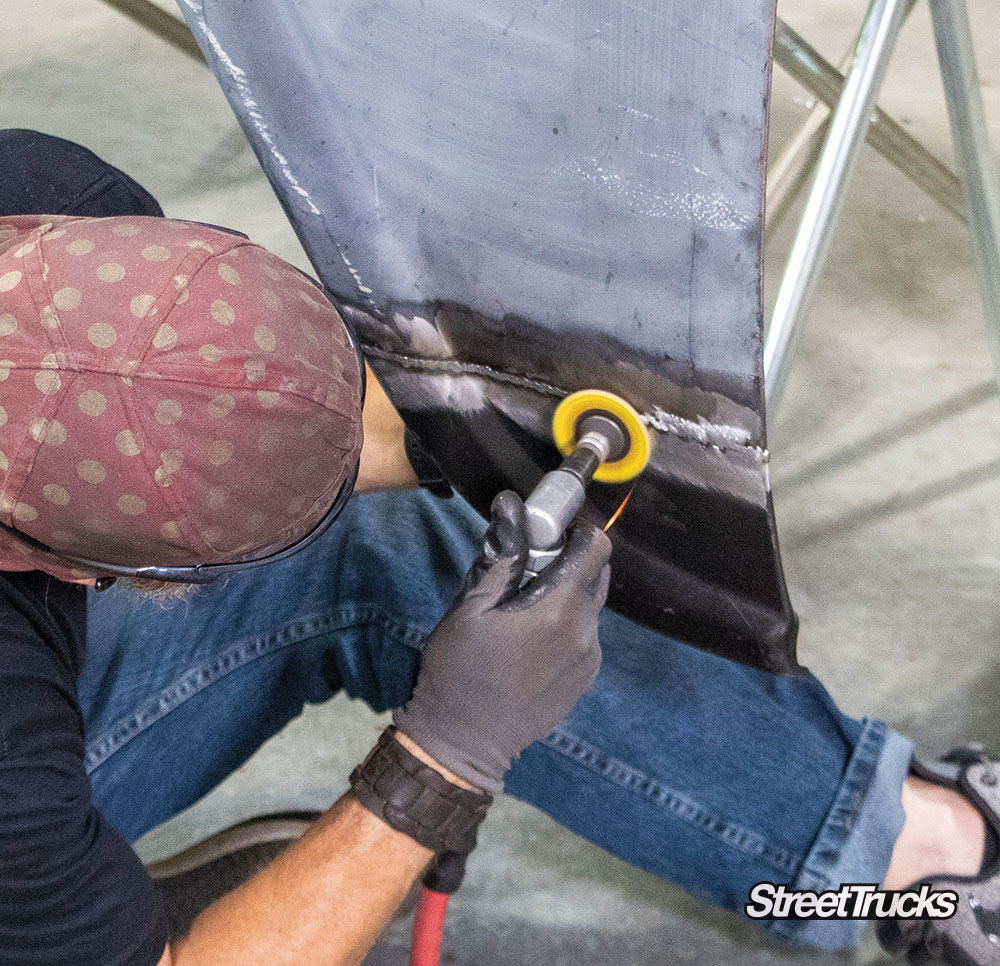
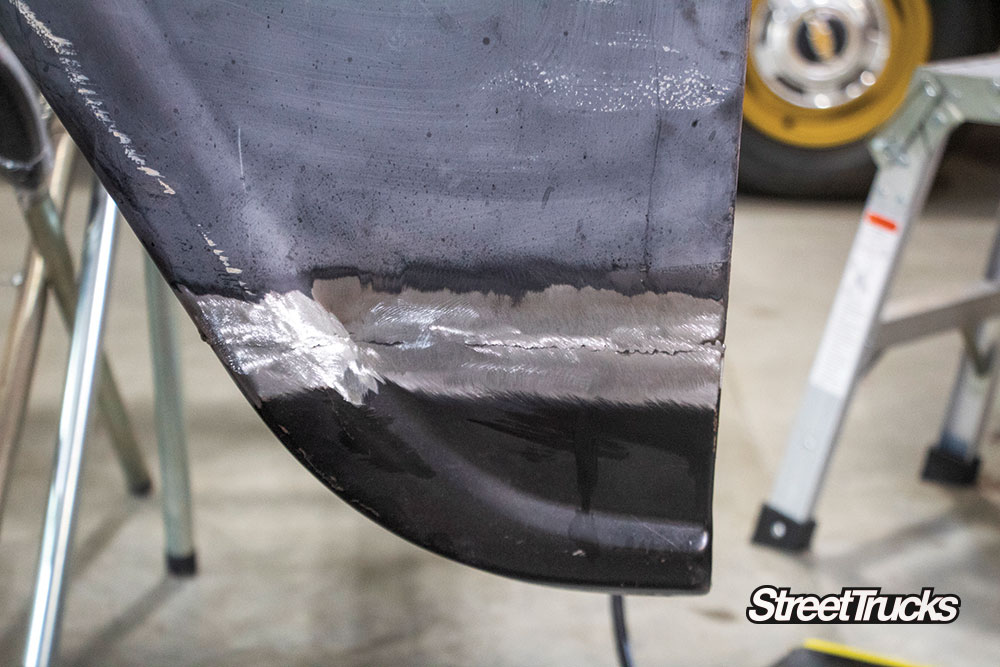
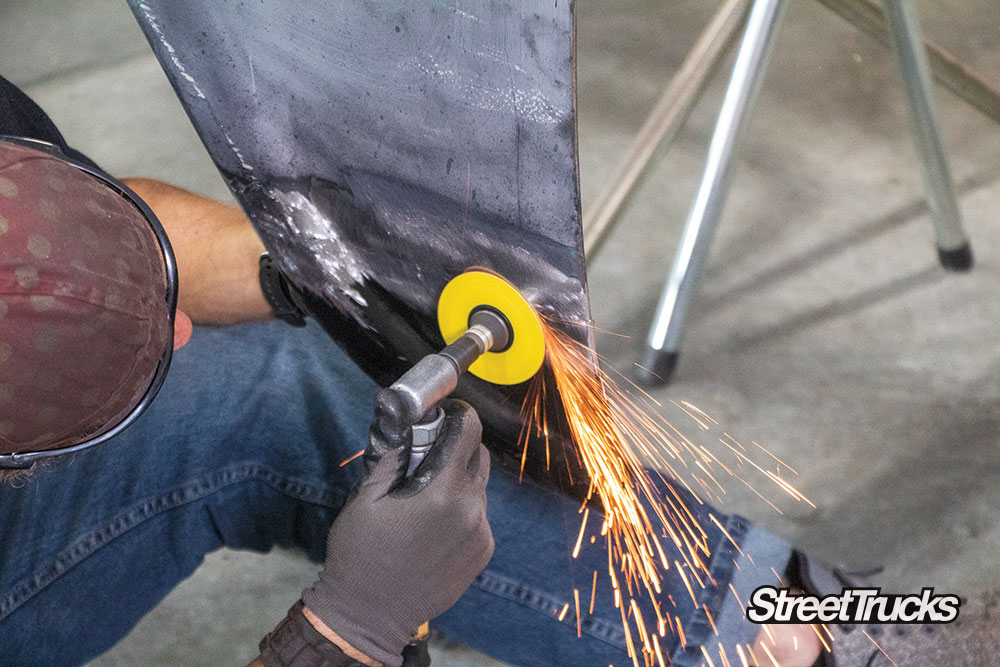
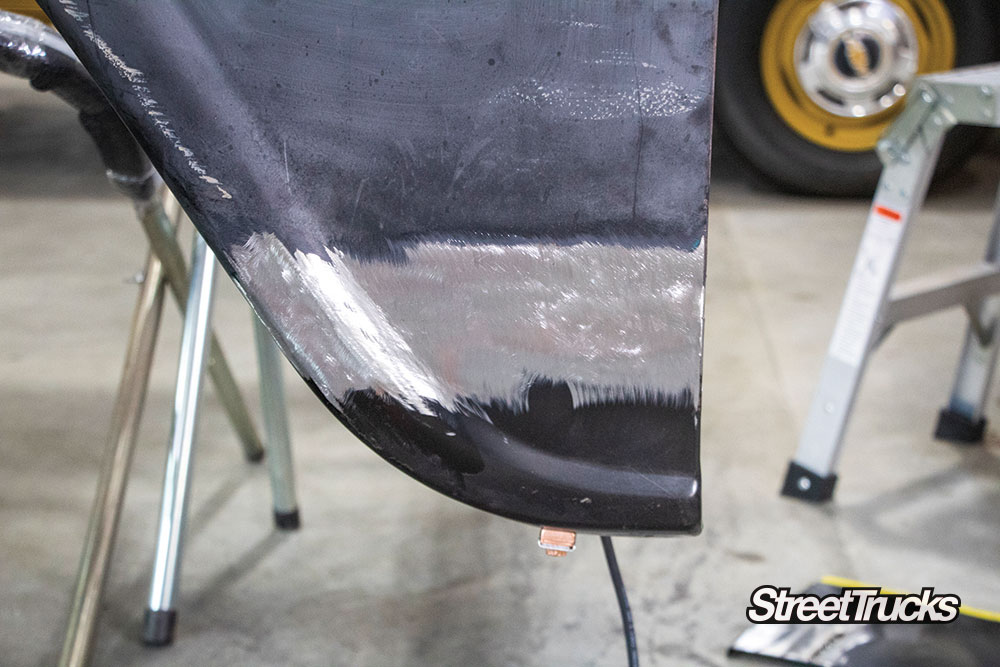
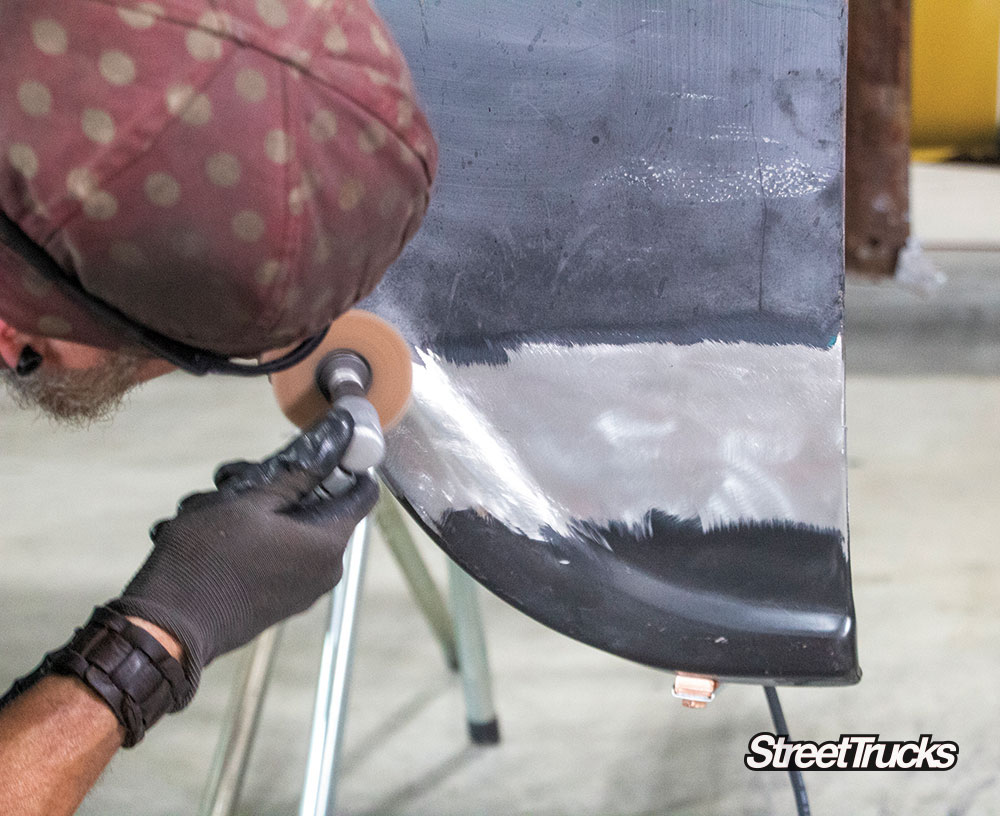
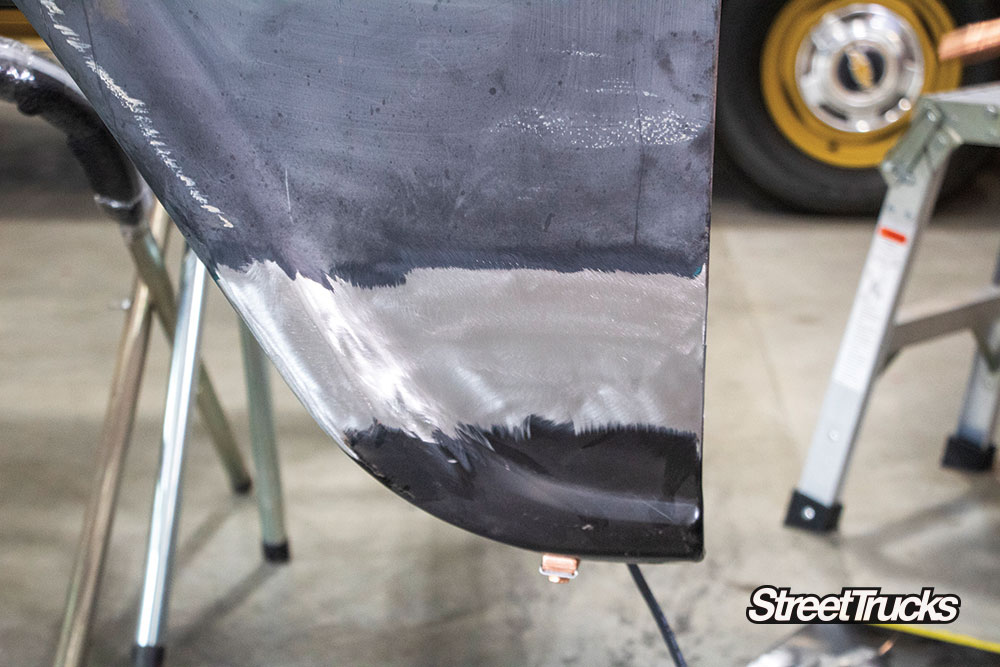
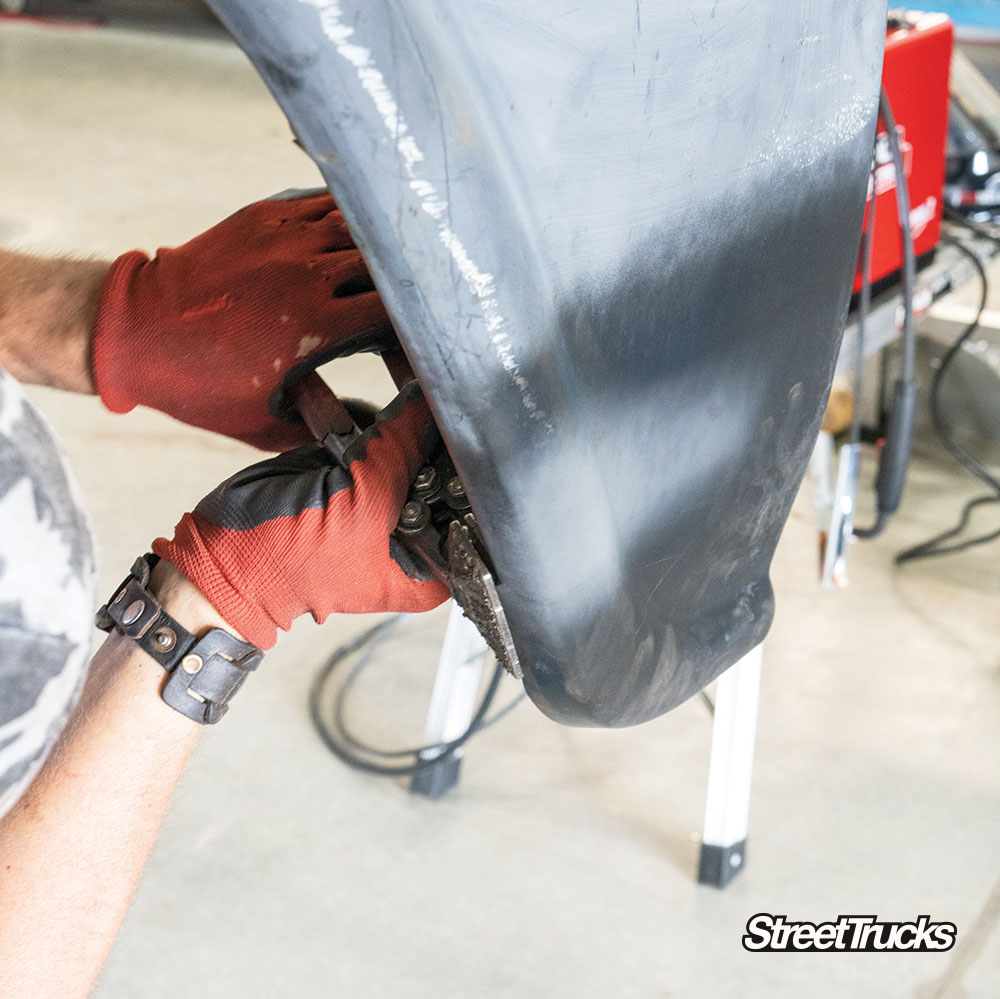
Our first task at hand is to knock out the fender rust. We decided that we would go after this area first for a couple of reasons. This is something you can repeat at home with great results. The lower fender is a common area for rust, and the repair process can easily be translated to other areas like the bedsides and cab corners. The basic repair principles cross over to other areas.
Lastly, we went with the fender repair to give us a quick feeling of accomplishment before we tackled the main area of contention: the mess of a cab with previous repairs and patches that are all in need of a desperate redo. The cab is a dumpster fire that will require major surgery. But before we head down that road, let’s tackle the fender patches and get that out of the way.


SOURCE
Auto Metal Direct
aMAYSing Metal Works

Features
Kandy-Coated Perfection WHEN BOBBY LONG DROPPED OFF HIS ’92 CHEVY C1500 AT AUTO EXTREMES IN COVINGTON, GEORGIA, FOR A FRESH PAINT JOB IN JANUARY 2015,… Continue reading
Mike Self . June 20, 2025
Features
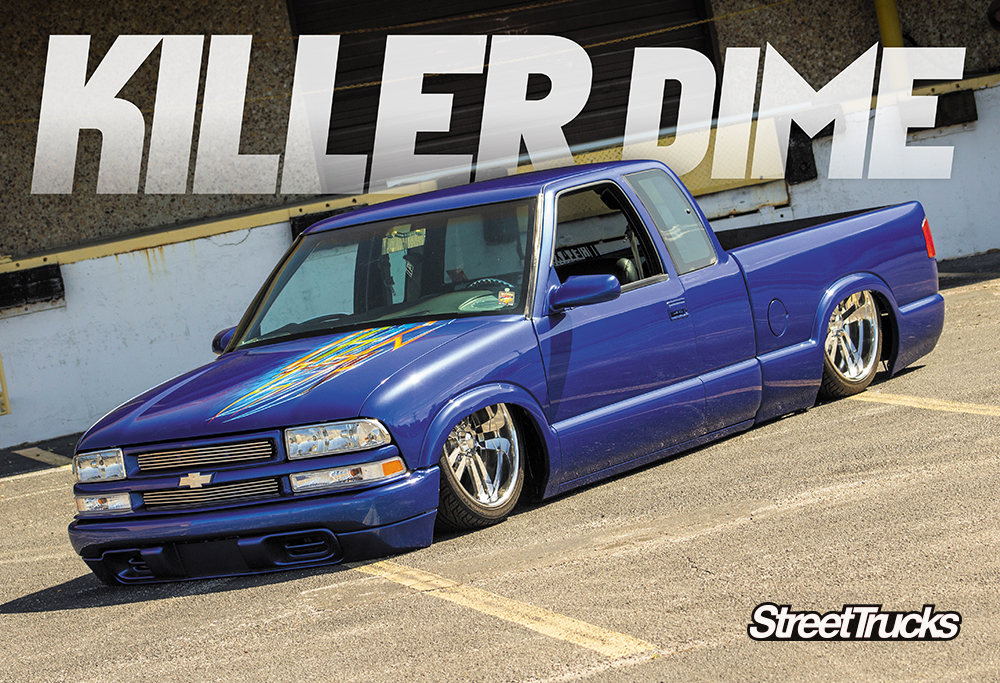
’99 Chevrolet S-10 Named KILLLER DIME. Lookin’ Hot by Keeping You Cool! Eric Mosley, the owner of this cool Chevy S-10, is no stranger to… Continue reading
JONATHAN HAWKINS . April 06, 2021

Features
Click the image to see all the pictures and the full story on each Female owned truck!
Chris Hamilton . March 19, 2020
c10
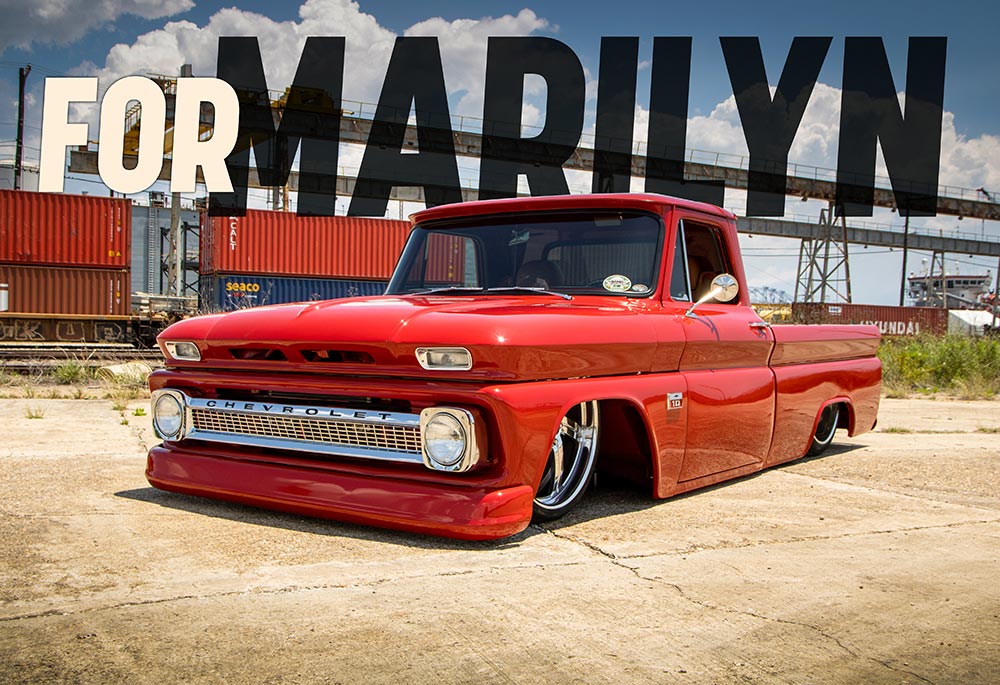
Starting a new C10 truck project is always an exciting time, but some builds are just a little more meaningful than others. Billy Lane and… Continue reading
John Mata Jr. . February 21, 2023
Features
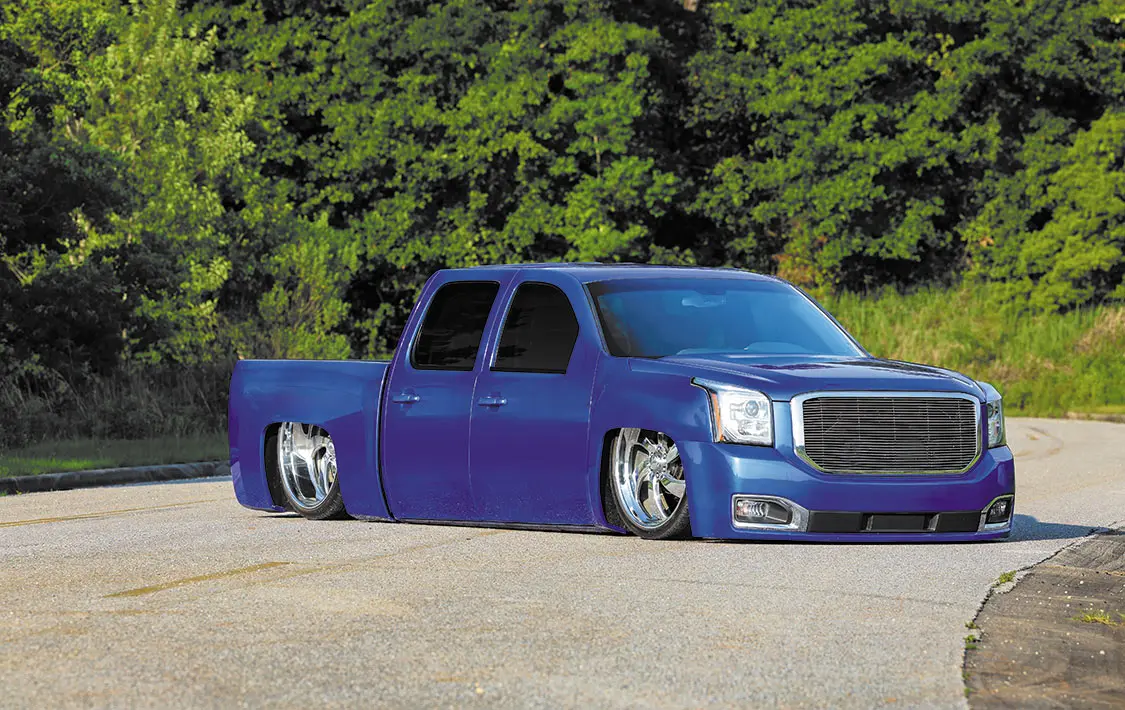
Mike Guillot’s Denali-Clipped ’07 Silverado There’s nothing more awe-inspiring than going to a custom truck show, especially if it’s one as epic as Lone Star… Continue reading
John Mata Jr. . August 14, 2025
Department
On July 11, the 10th annual Southeastern Truck Nationals (SETN)—the largest all-GM truck event east of the Mississippi—kicked off at an all-new location in Lebanon,… Continue reading
streettrucks . November 09, 2020


We use cookies to enhance your browsing experience, serve personalized ads or content, and analyze our traffic. By clicking "Accept All", you consent to our use of cookies. Visit our Cookie Policy for more info.

Share Link