 Chris Hamilton
.
January 05, 2023
.
Department
.
Chris Hamilton
.
January 05, 2023
.
Department
.

If you’ve been following Project Playboy in print and on Street Truck’s YouTube series, you are up to date with our 1988 Chevy C1500 truck’s current suspension and brakes as well as the wheels that we chose. The goal with this go-fast machine is to restore an ’80s-model vehicle with an era-correct look and a few hidden modern upgrade to make it more reliable. If you missed part one check it out HERE!
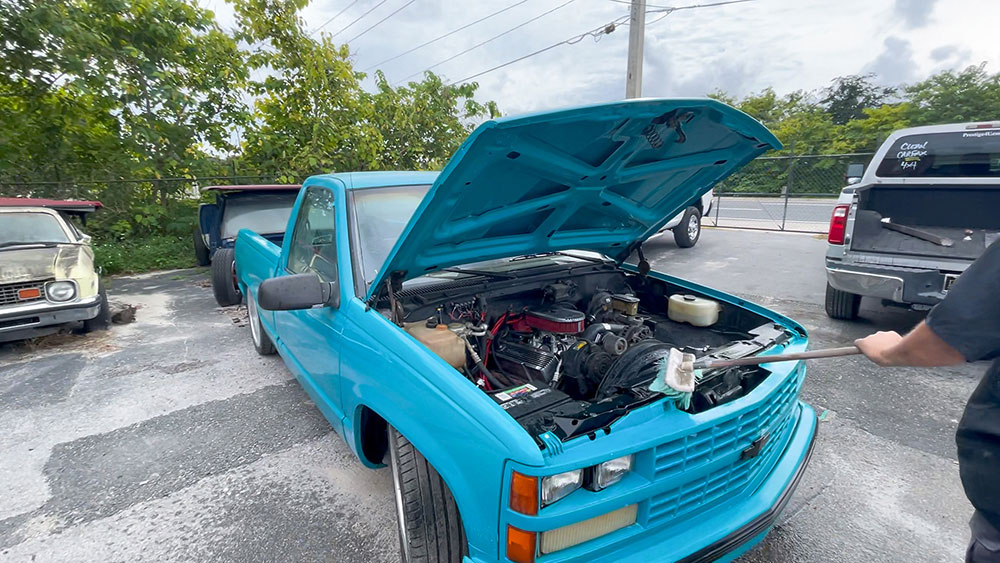
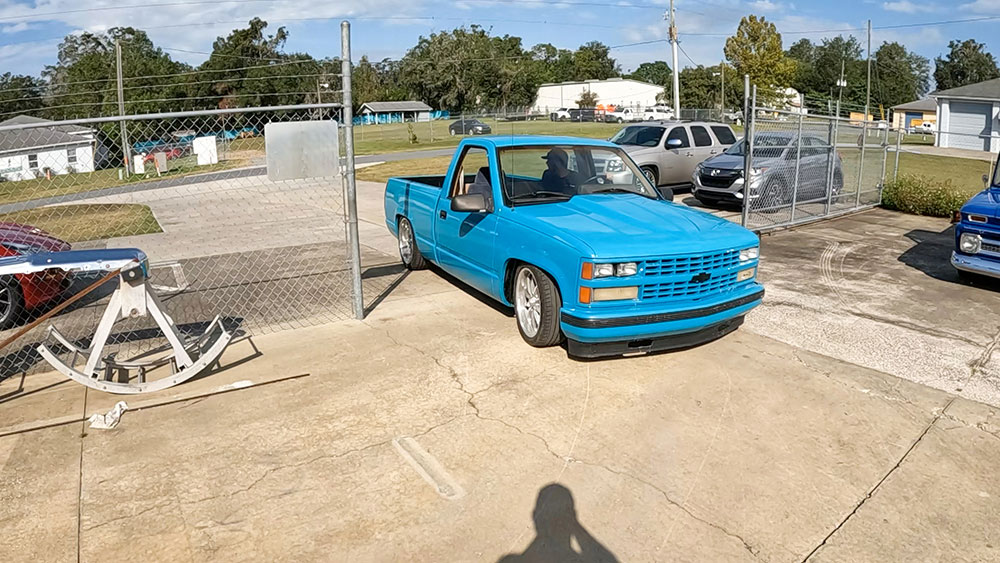
We ripped out the original suspension and installed a complete coilover conversion from Ridetech Suspension thanks to the crew over at Saltworks Fab in Myakka, Florida. With the suspension complete, we replaced all four brakes with a disc brake upgrade from Performance Online to give it the stopping power it needs. Bolted to the new disc brakes is a set of 20-inch stagger-fit wheels from Schott Wheels wrapped in Goodyear Eagle rubber. The stance was perfect, the offset was ideal, but the installed 350c.i. carbureted engine was still incredibly unreliable. The fuel pressure would not stay consistent and the air conditioning was completely unusable, which is unacceptable for a central Florida street truck.

To cure the concerns our motor was giving us, we ordered a Pro-Flo 4 fuel injection conversion kit from Edelbrock and all-new fuel system from FAST. Removing the carburetor and replacing it with this kit was a simple but scary task knowing that this conversion could get out of hand real quick. In our experience, once we start to disassemble a motor, we just keep going and replacing parts. But with this project we had one purpose, which was to complete it by the predetermined deadline. So we simply followed the instructions and installed it exactly how the company suggested, which went smoothly for us the very first time.
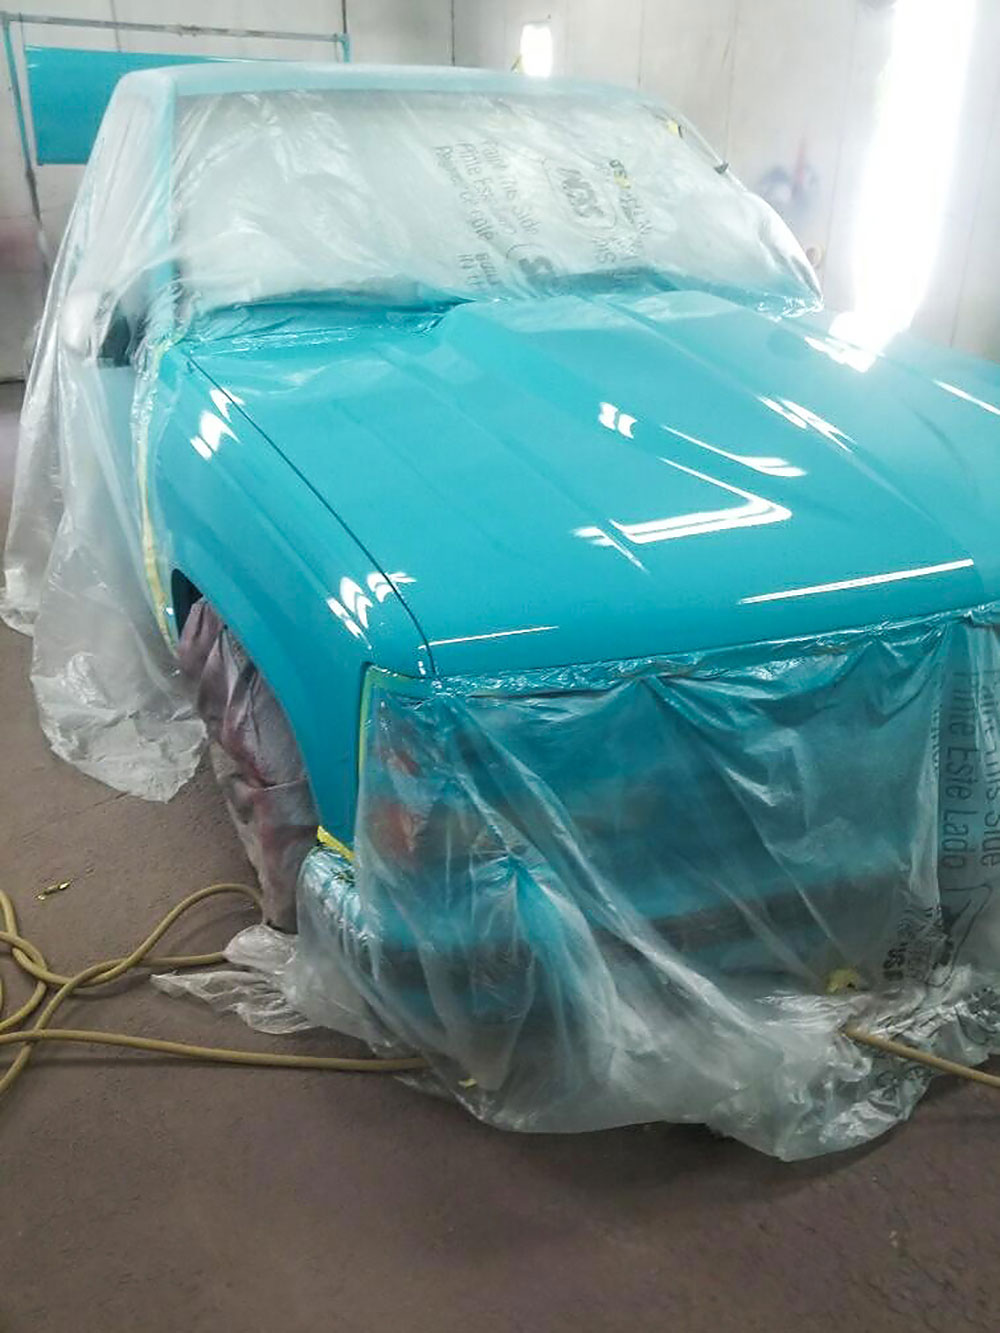
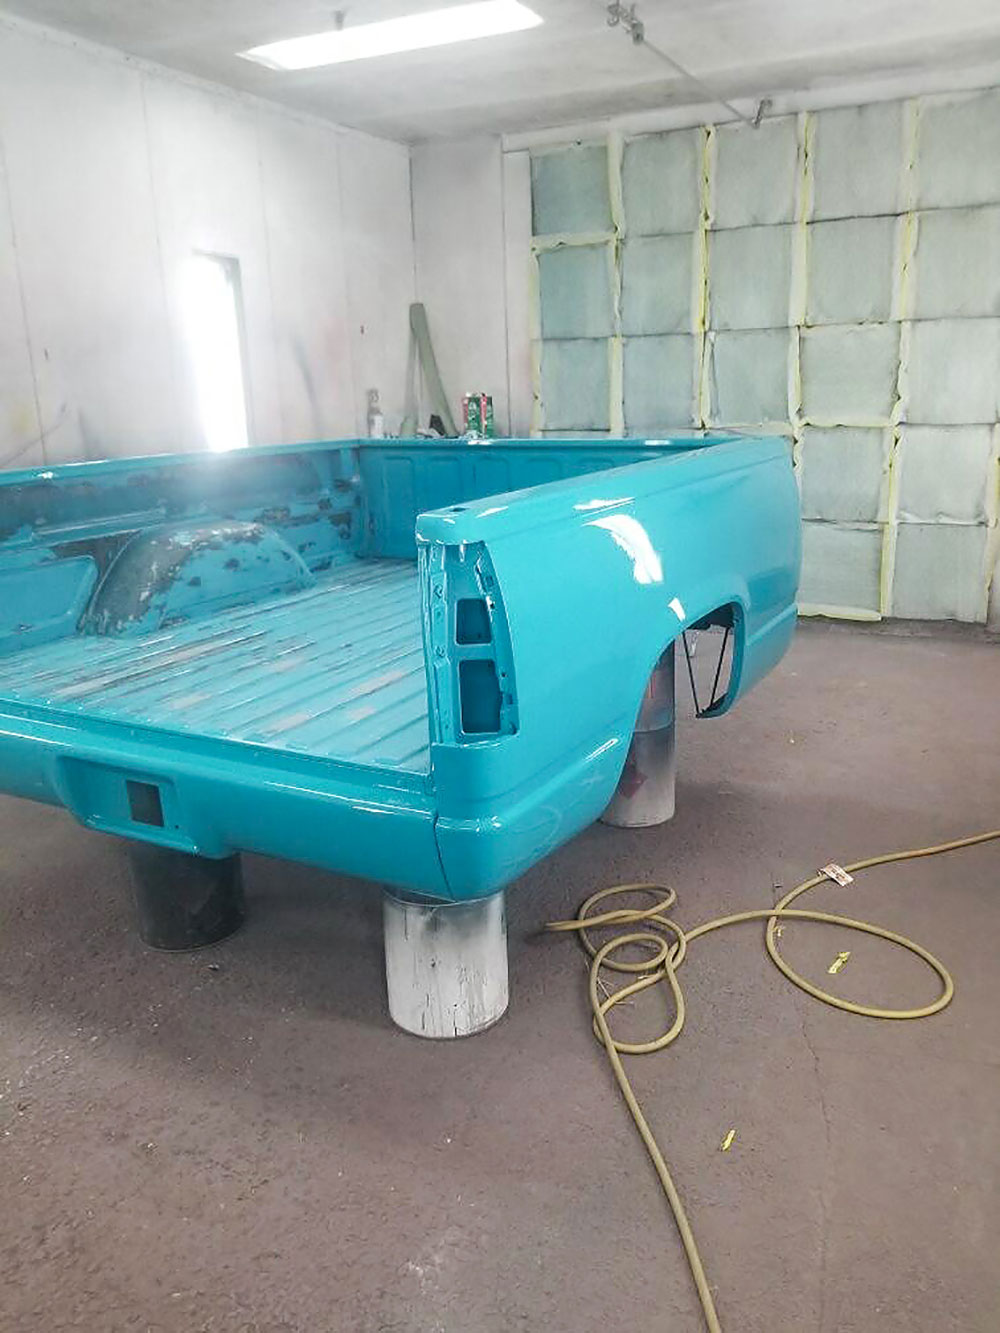
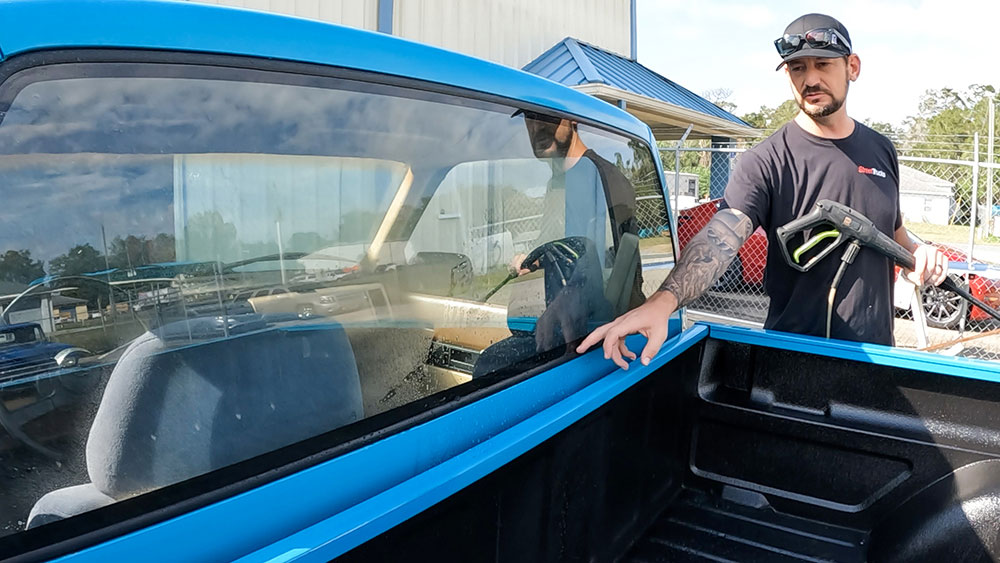
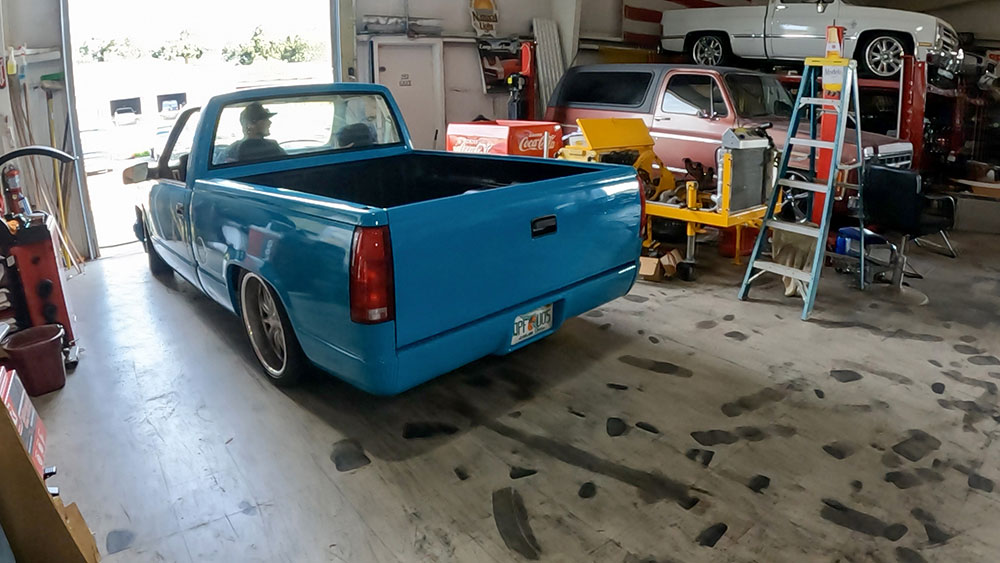
Now that the truck had the perfect stance, the best brakes, and an upgraded fuel injection system to make the motor more reliable, it was time to turn our focus to paint and interior. We dropped the truck off with Shane at Street Dreams in Ocala, Florida, for a new cowl hood and roll pan as well as a complete coating of bedliner to make the bed floor look new again.
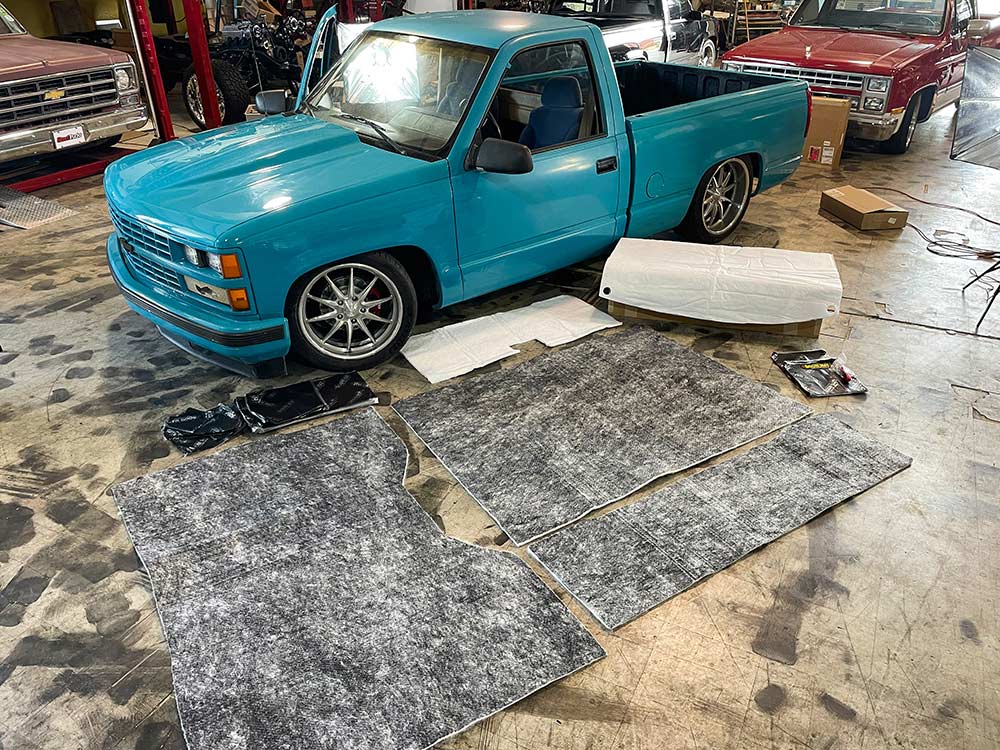
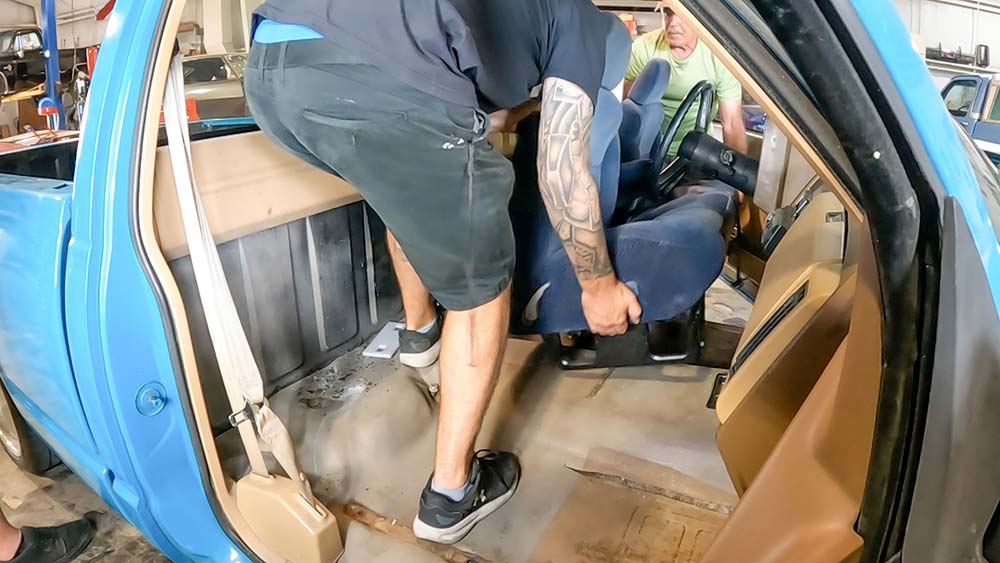
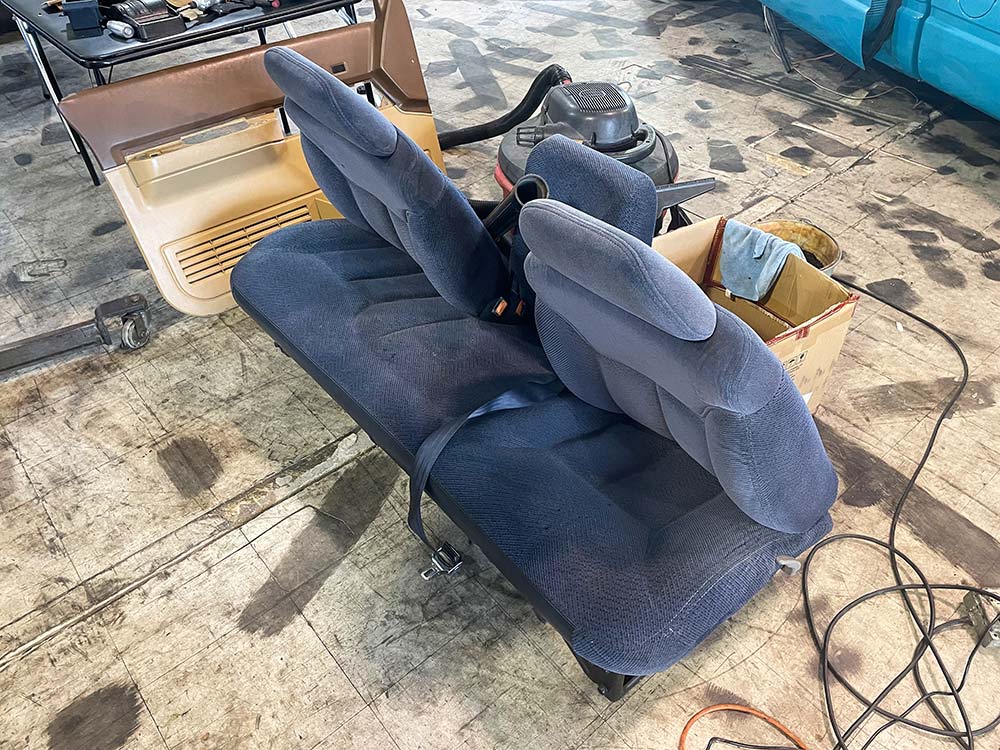
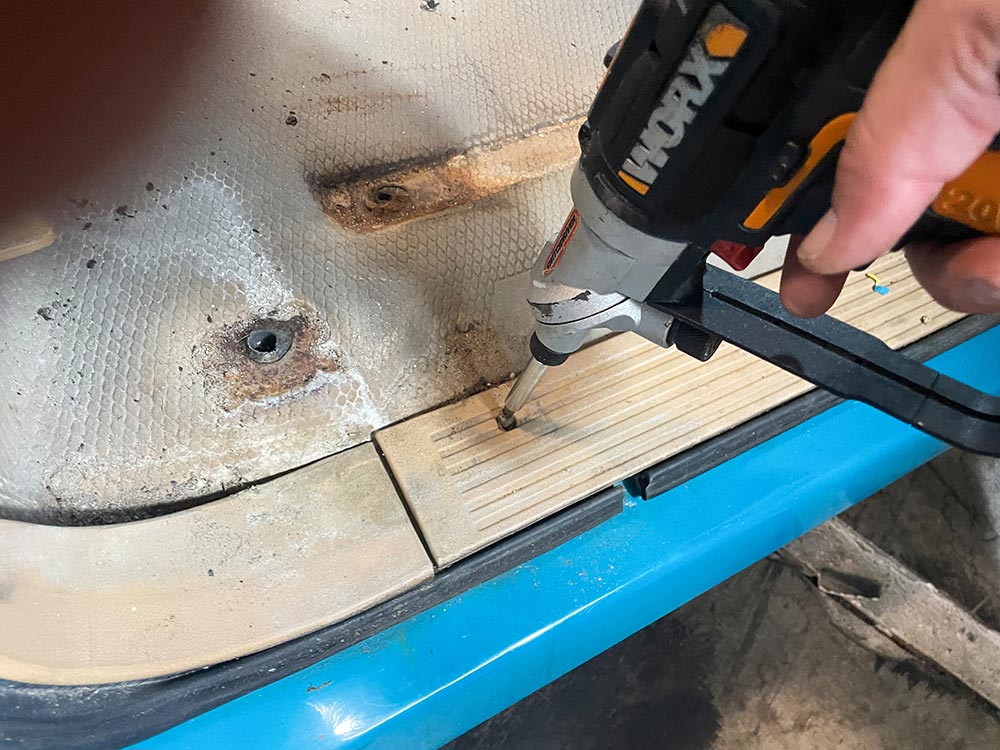
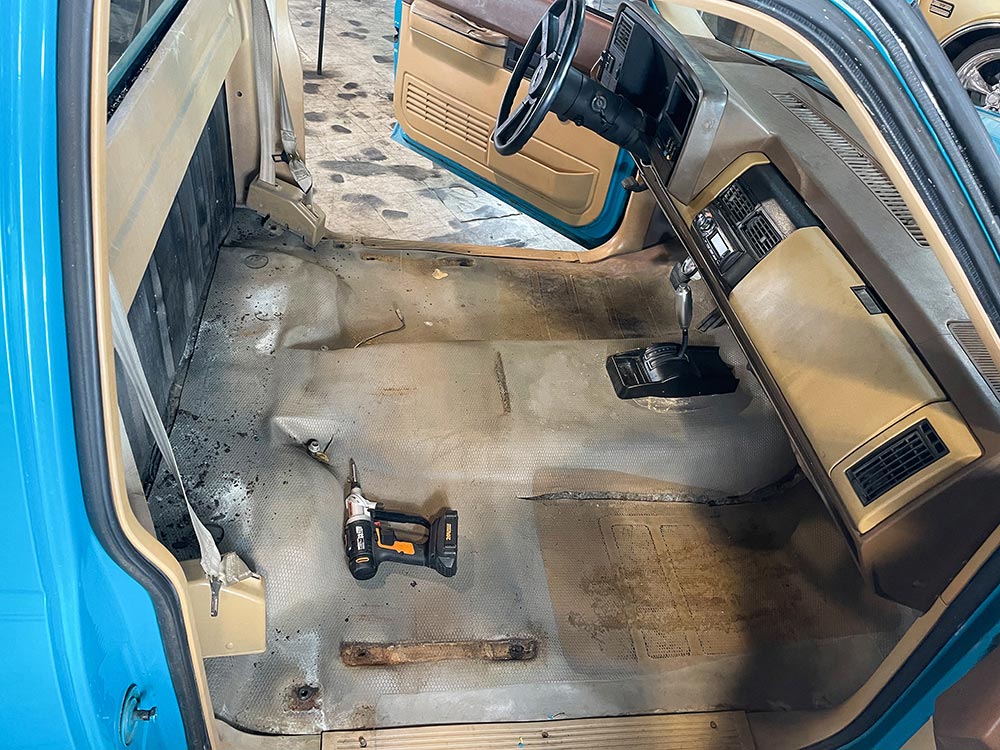
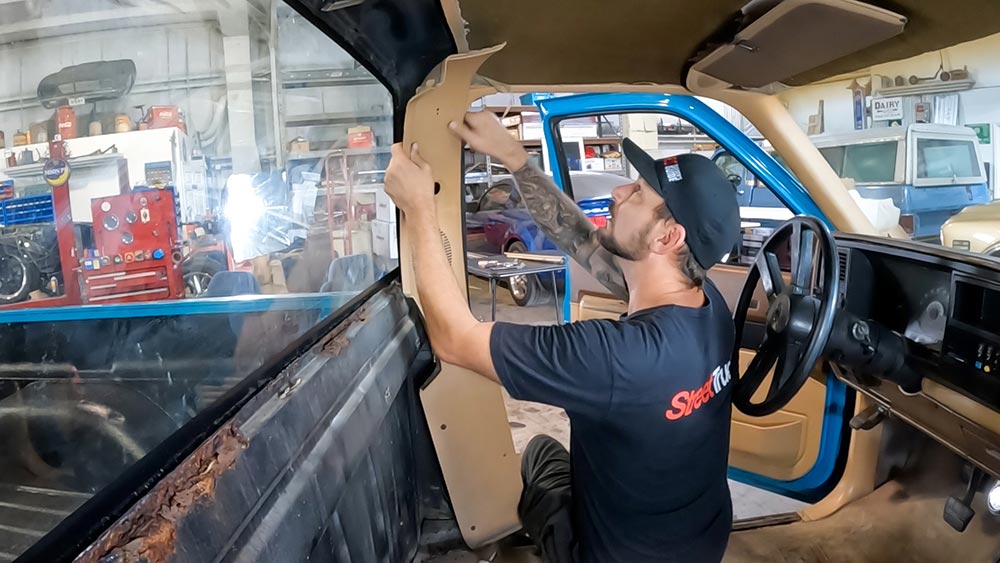
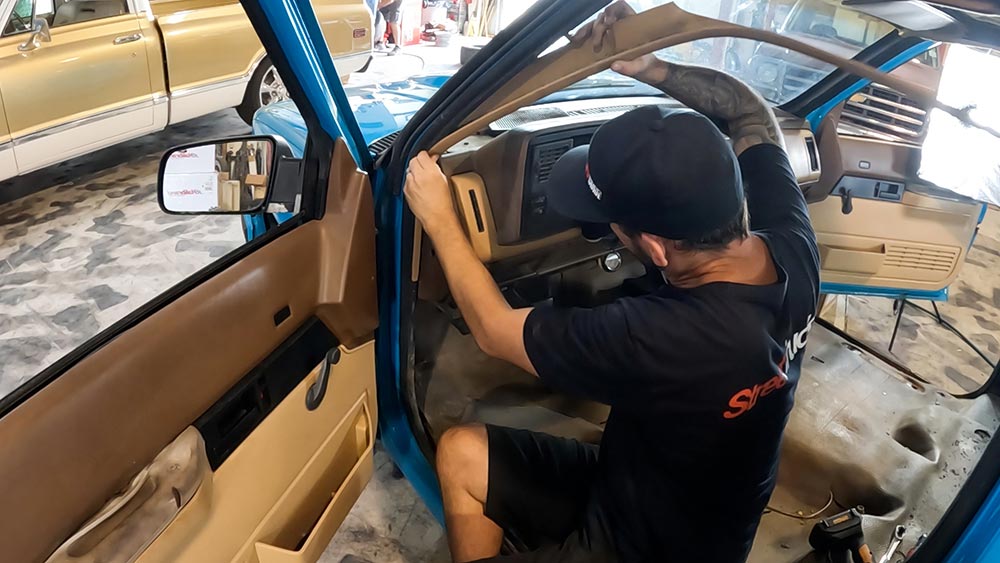
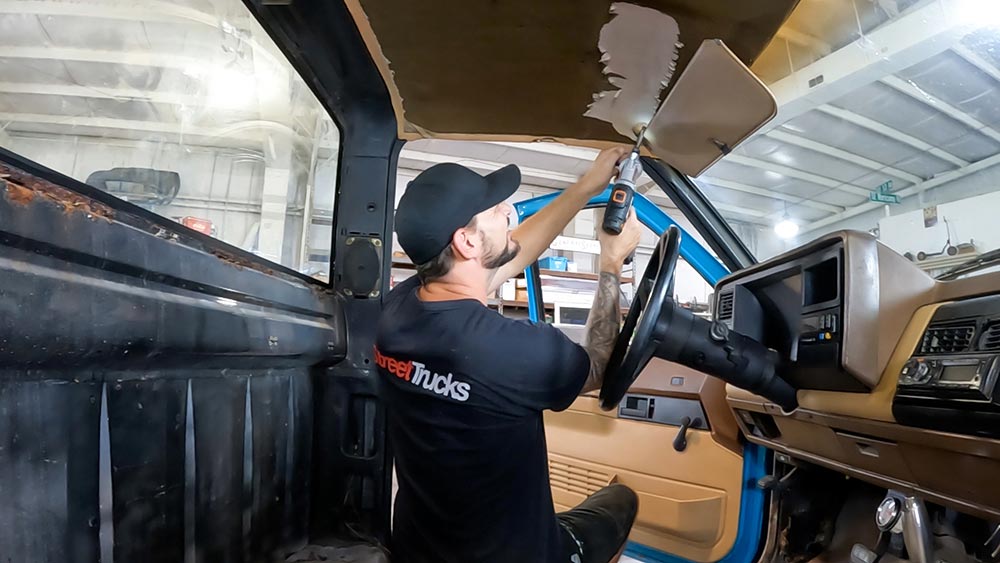
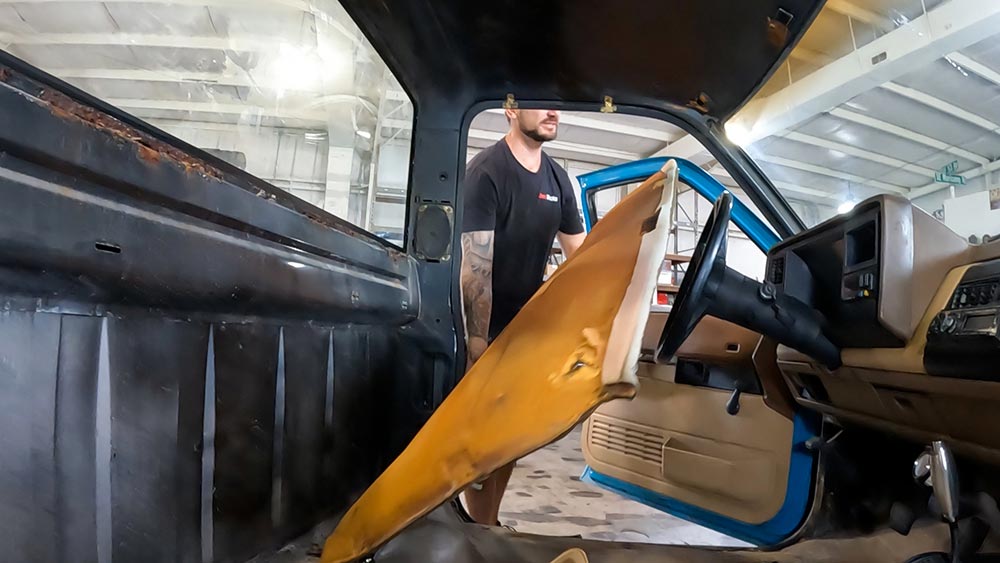
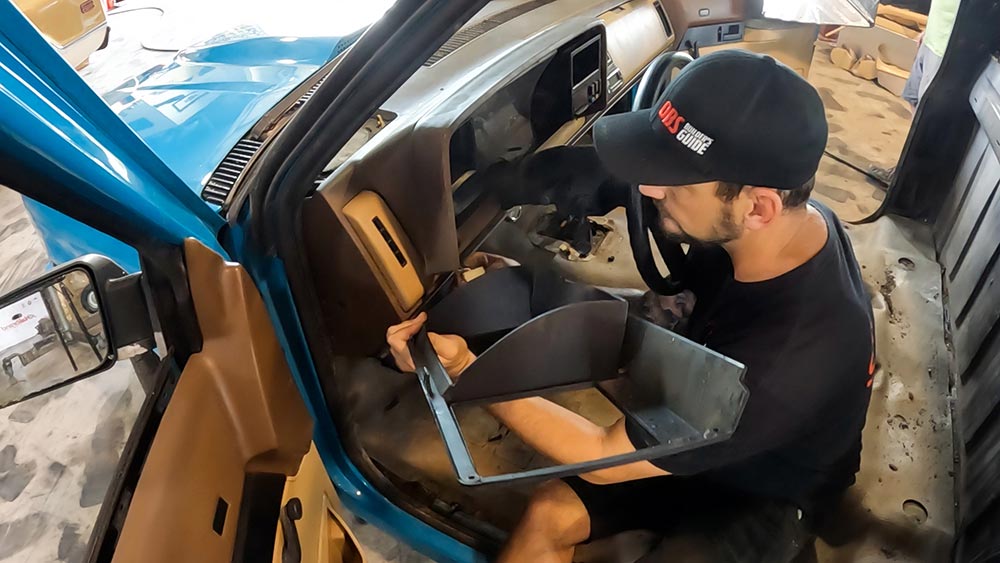
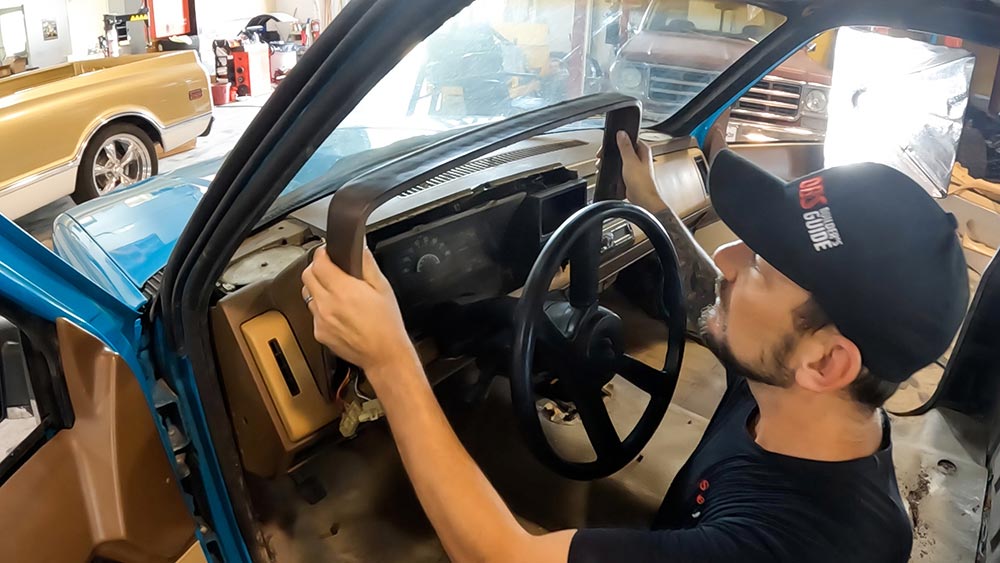
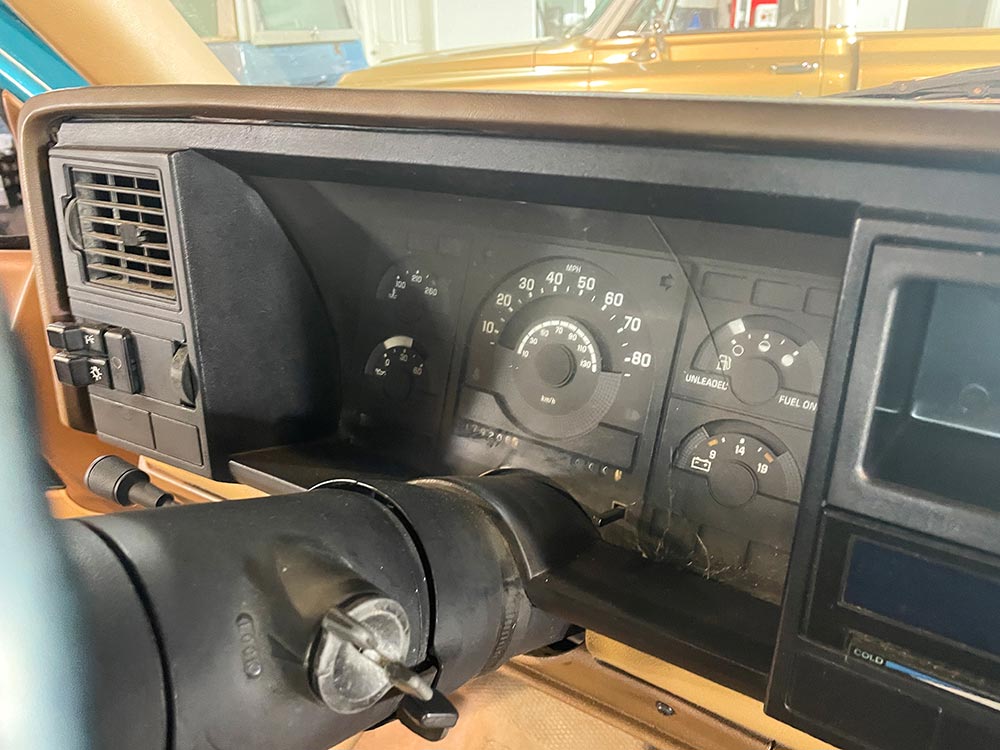
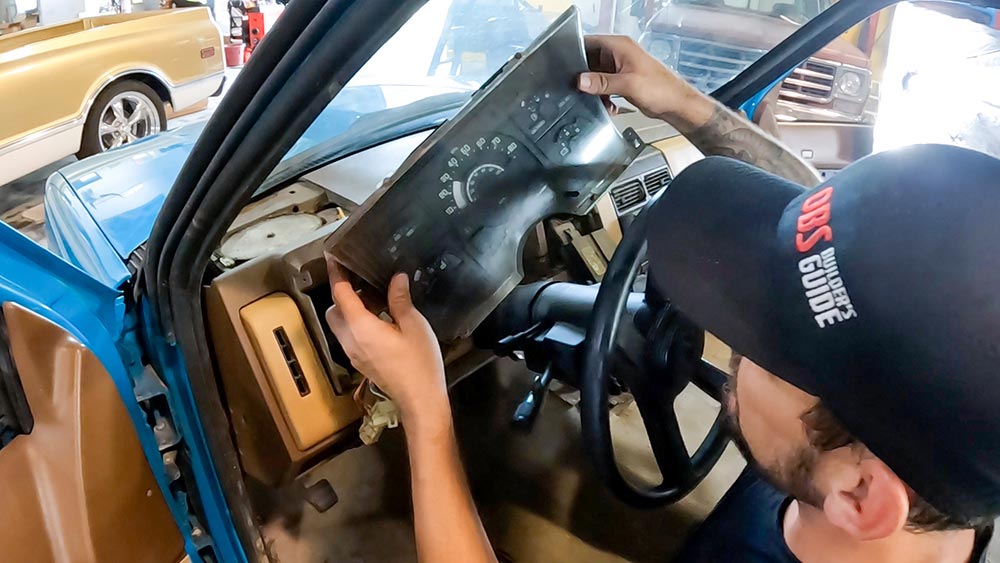
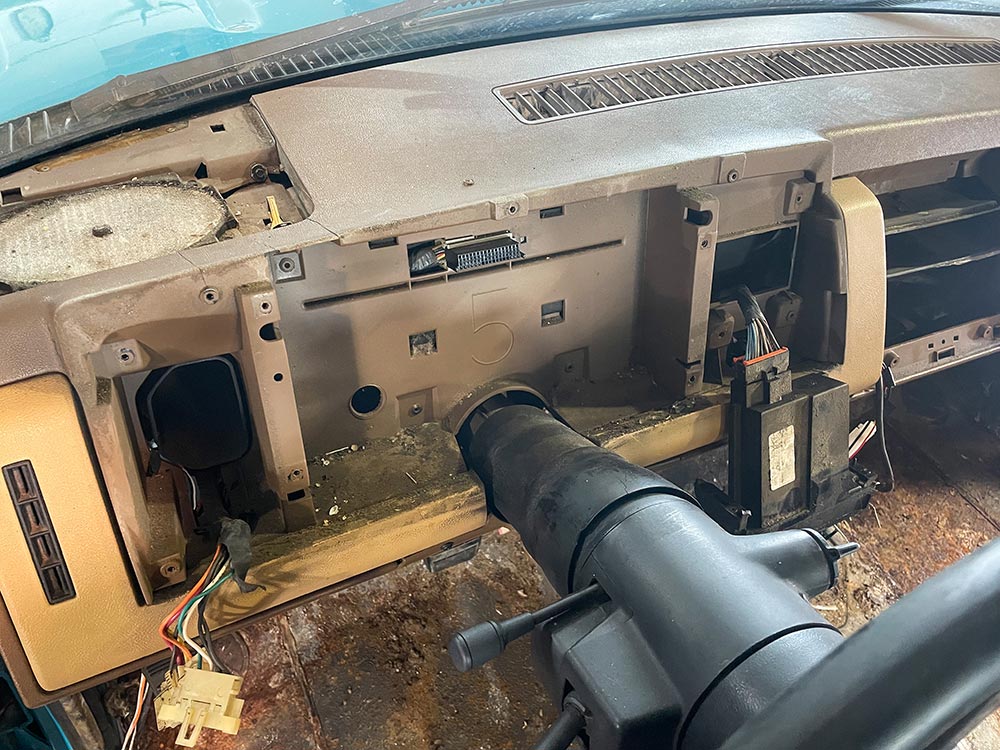
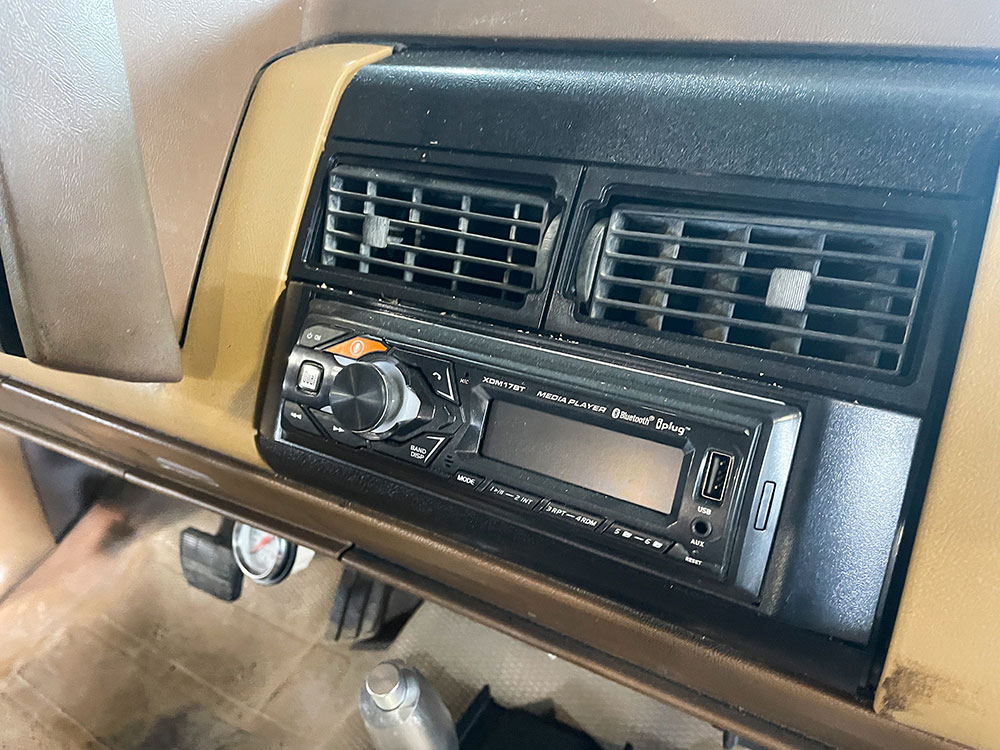
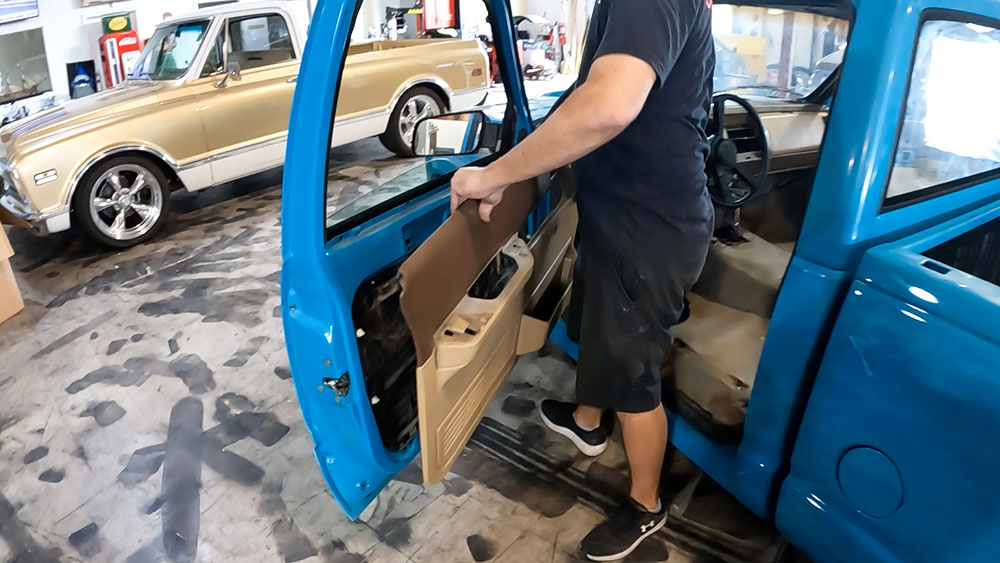
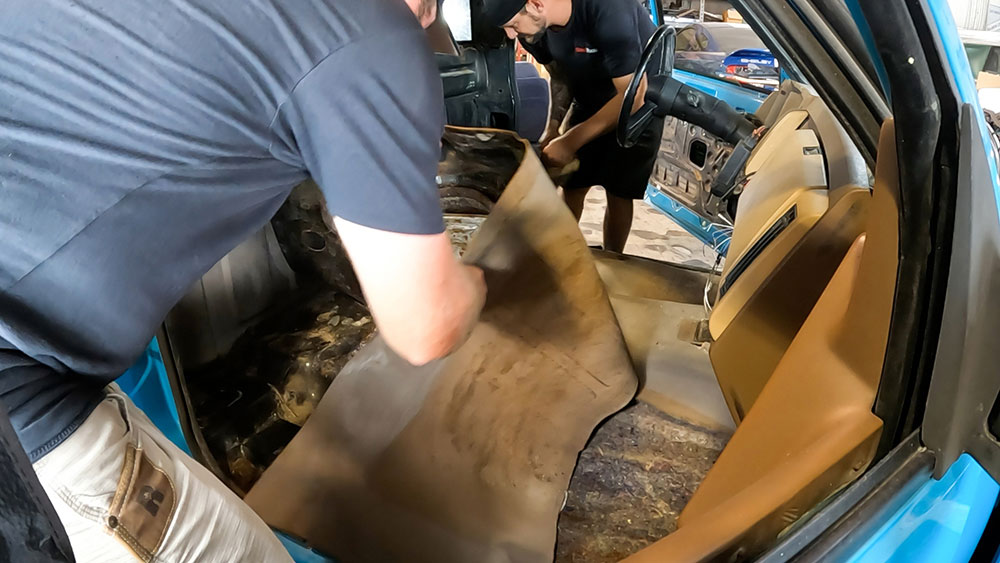
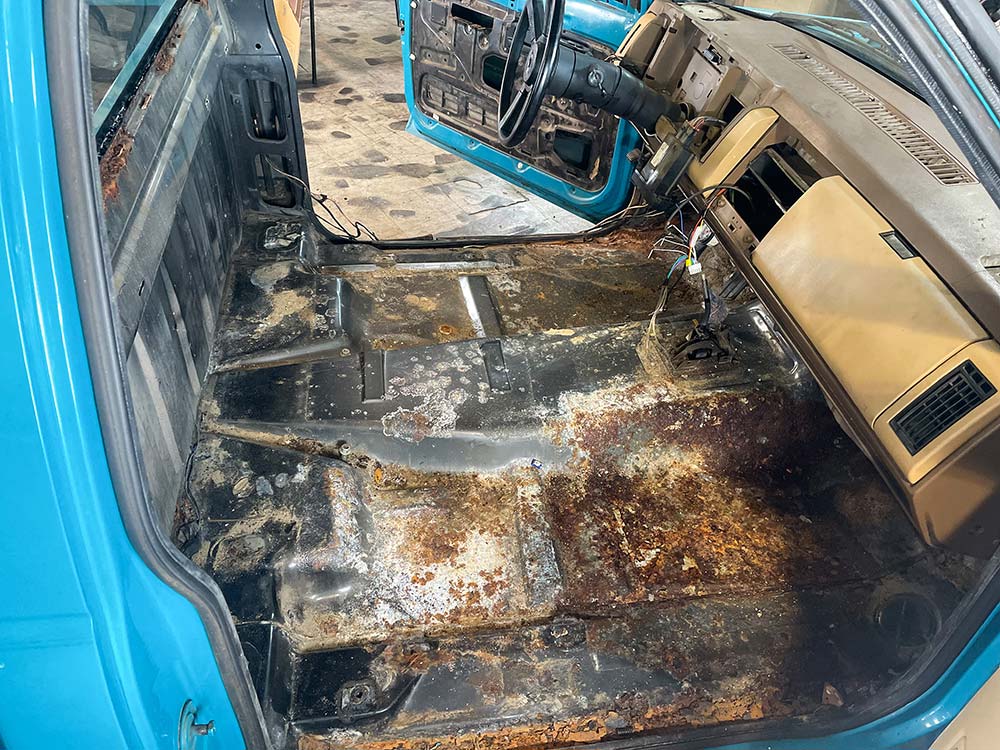
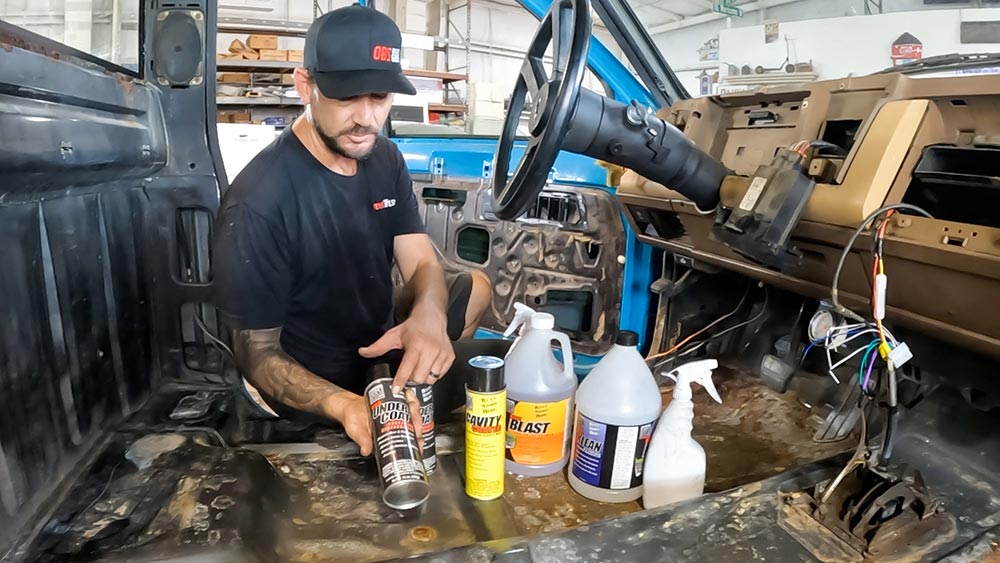
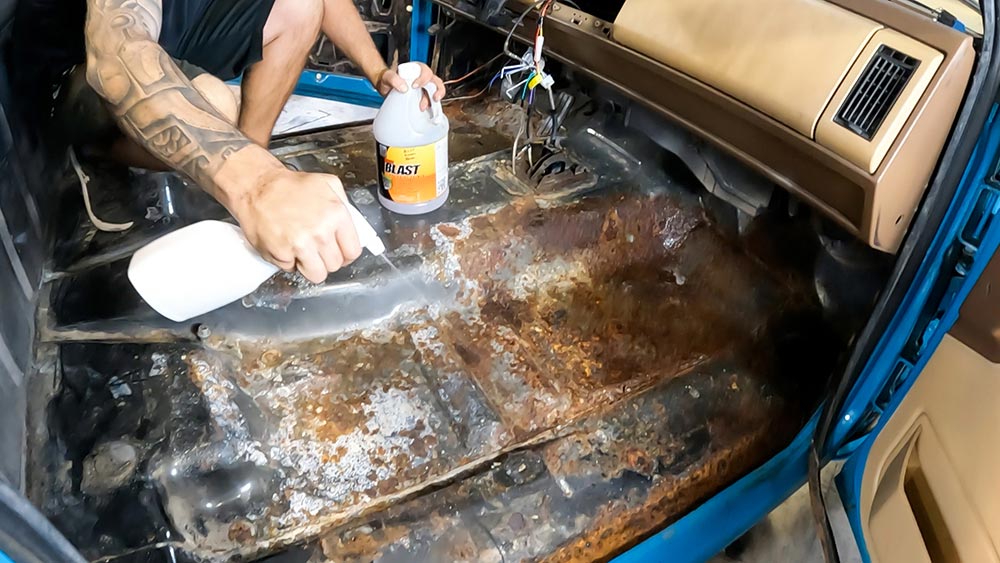
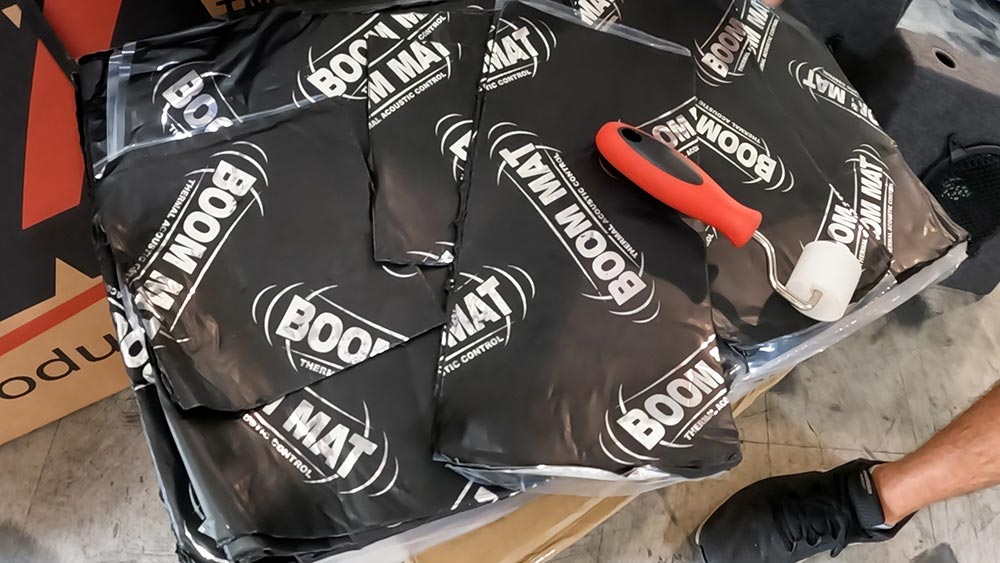
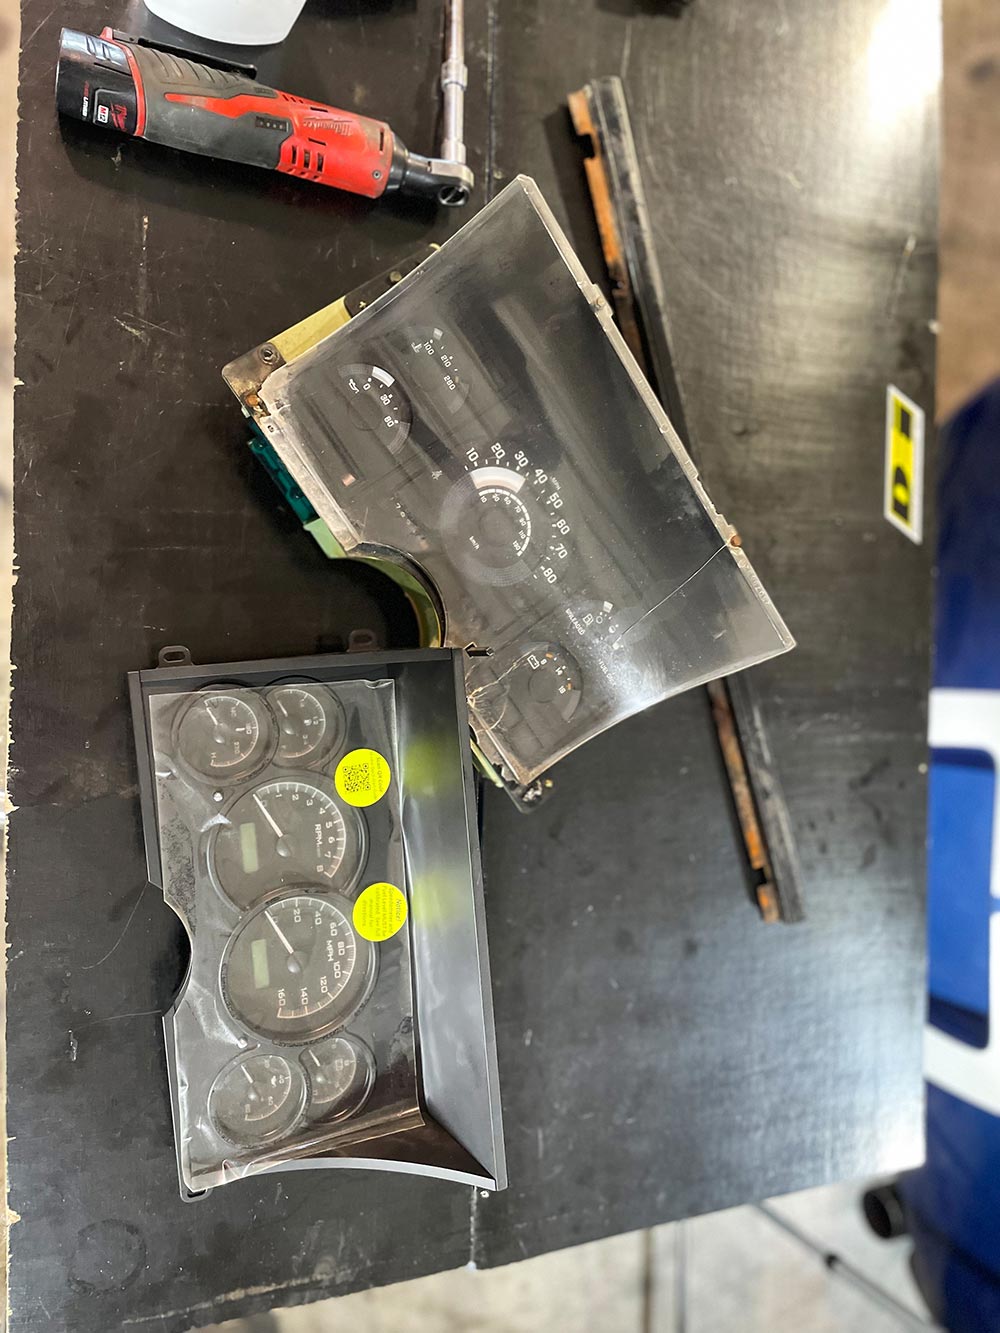
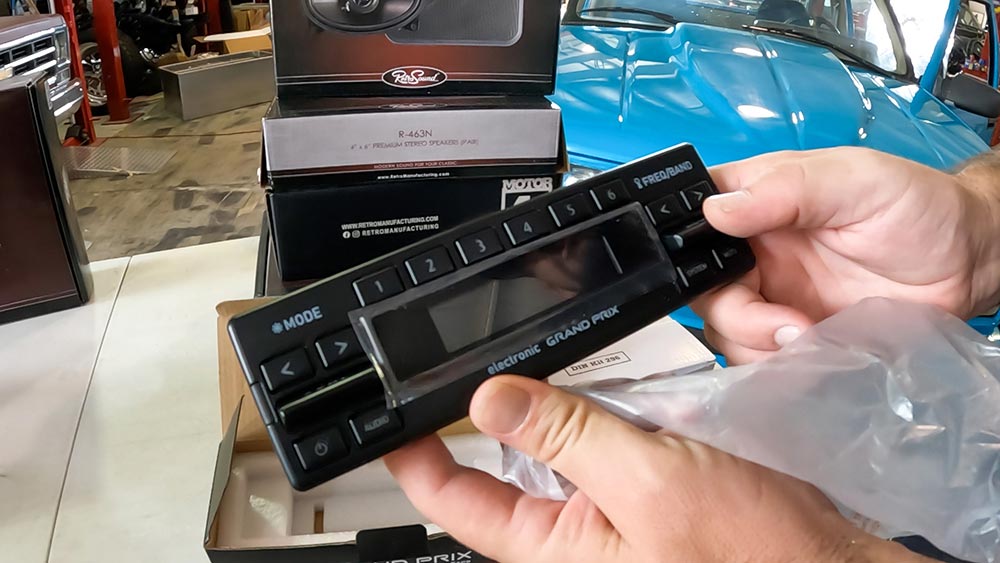
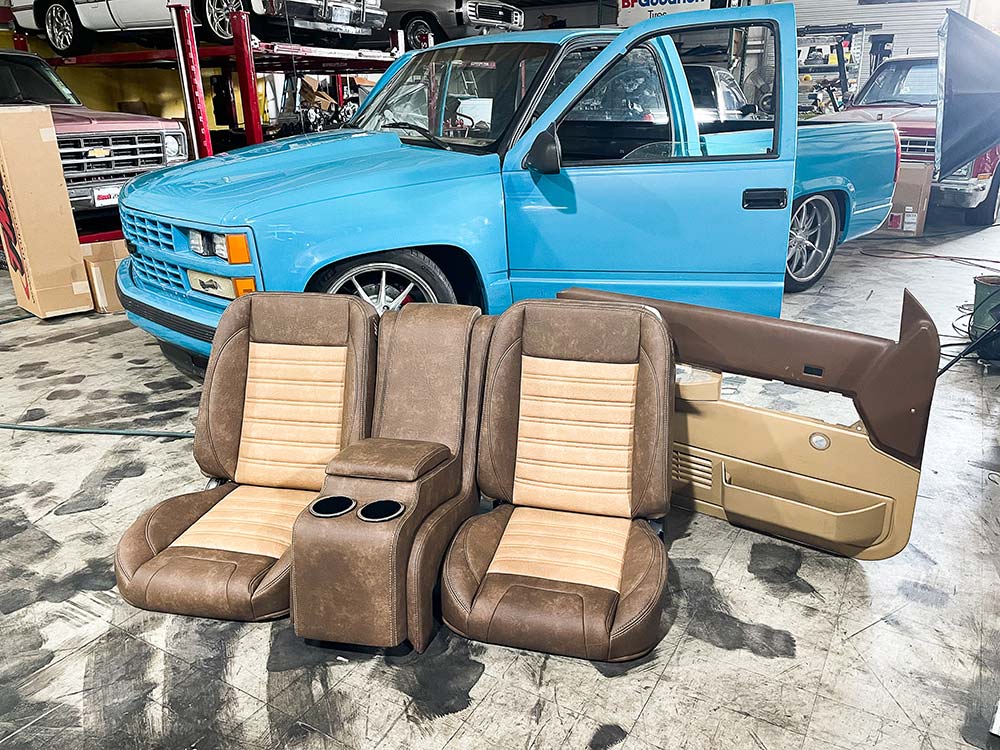
As Project Playboy leaves the paint shop in record time, we return to the Street Trucks garage for a complete interior overhaul with our partners TMI Products, Classic Industries, Dakota Digital, Retrosound, as well as heat and sound protection from Design Engineering Inc. Let’s go!


F100 Builders Guide
Get a Jump on Your Summer Projects with These New Product Releases! Scott’s Hotrods 61-66 Billet Hood Hinges These precision Hood Hinges are a 100%… Continue reading
F-Series Editorial Staff . June 11, 2025
Department
The 2022 Hummer EV Edition 1 Pickup (~$140,000 CAD, $110,295 USD) is a massive, fully electric supertruck that has been designed to conquer any off-road… Continue reading
Adam Johnson . April 12, 2022
Blood Sweat and Gears
One of the premier clothing companies on the show field all across the United States, Hammered Weekend Wear just finished up the US Tour. We… Continue reading
Adam Johnson . November 09, 2021
Blood Sweat and Gears
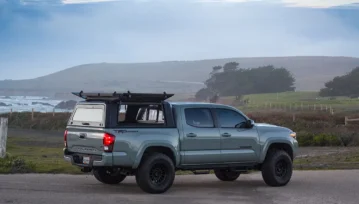
Installing SmartCap’s Modular Truck Cap System on a Third-Gen Tacoma Camper shells, toppers, caps, or covers—the terms are used interchangeably. Call them what you will,… Continue reading
John Mata Jr. . February 20, 2026
Features
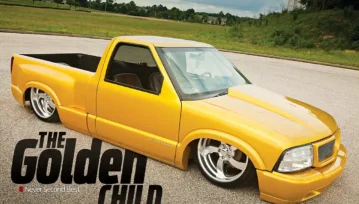
Never Second Best When 30-year-old Adam Campbell of Tennessee was growing up he wanted to build a truck worthy of the pages of Street Trucks.… Continue reading
Saul Vargas . October 16, 2025
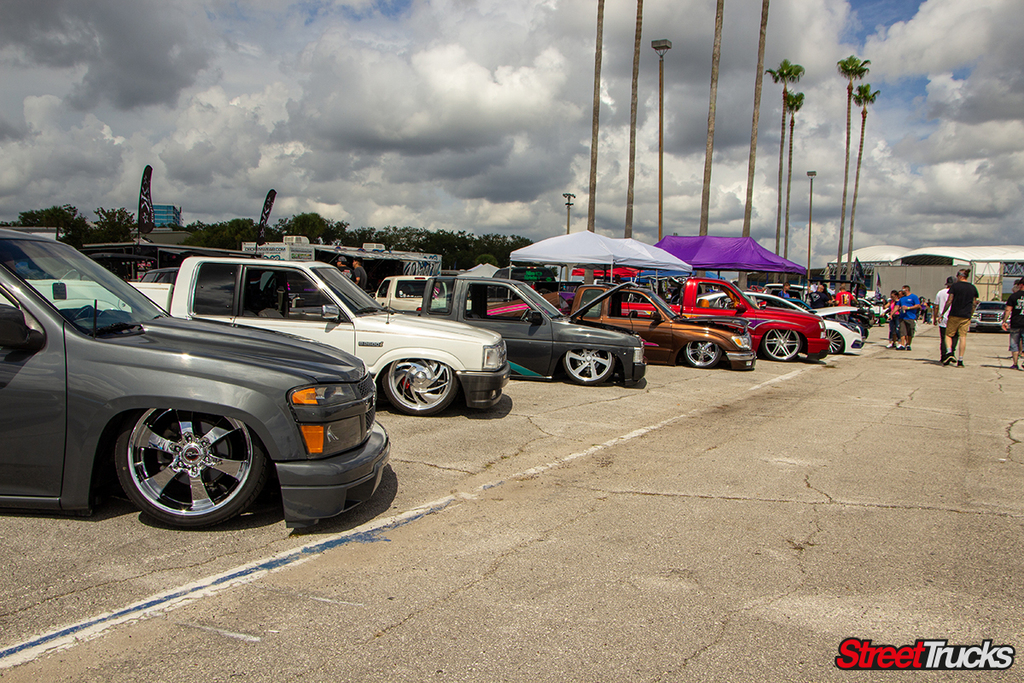
Events
Chris Hamilton . October 16, 2020


We use cookies to enhance your browsing experience, serve personalized ads or content, and analyze our traffic. By clicking "Accept All", you consent to our use of cookies. Visit our Cookie Policy for more info.

Share Link