The fun behind restoring an iconic piece of American engineering is hard to explain to someone who has never taken on the task. Yes, it’s a lot of work. Yes, you will probably spill some blood and sling some curse words now and again. But when it’s all said and done and you find yourself cruising down the interstate in a one-of-a-kind roller that everyone looks and points at, the addiction sets in and there is no escaping.
The final product is obviously the ultimate goal, and the feeling of accomplishment is something that can’t be replicated—but a lot can be said about the process before the prize, and this particular project offered up some interesting opportunities all along the way.
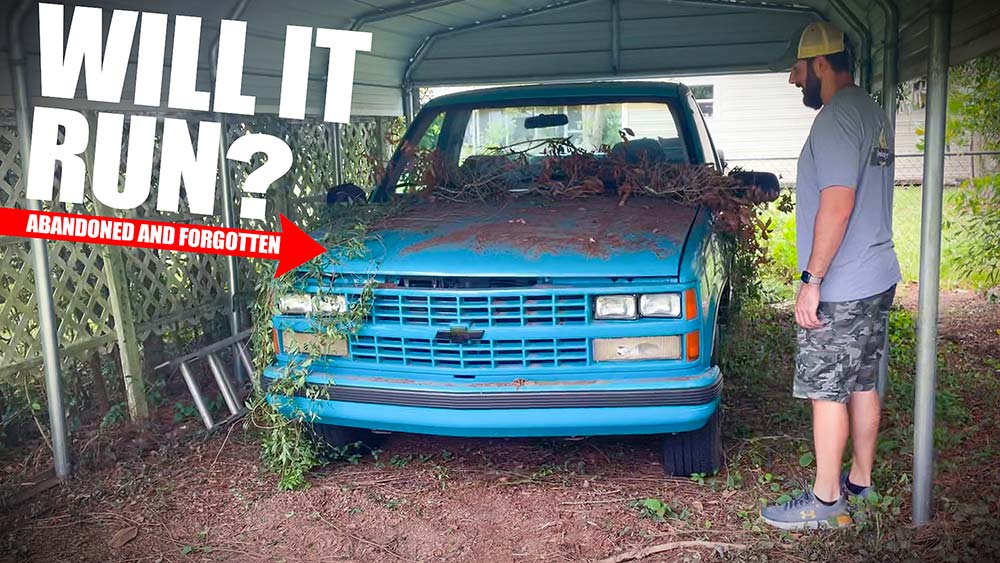
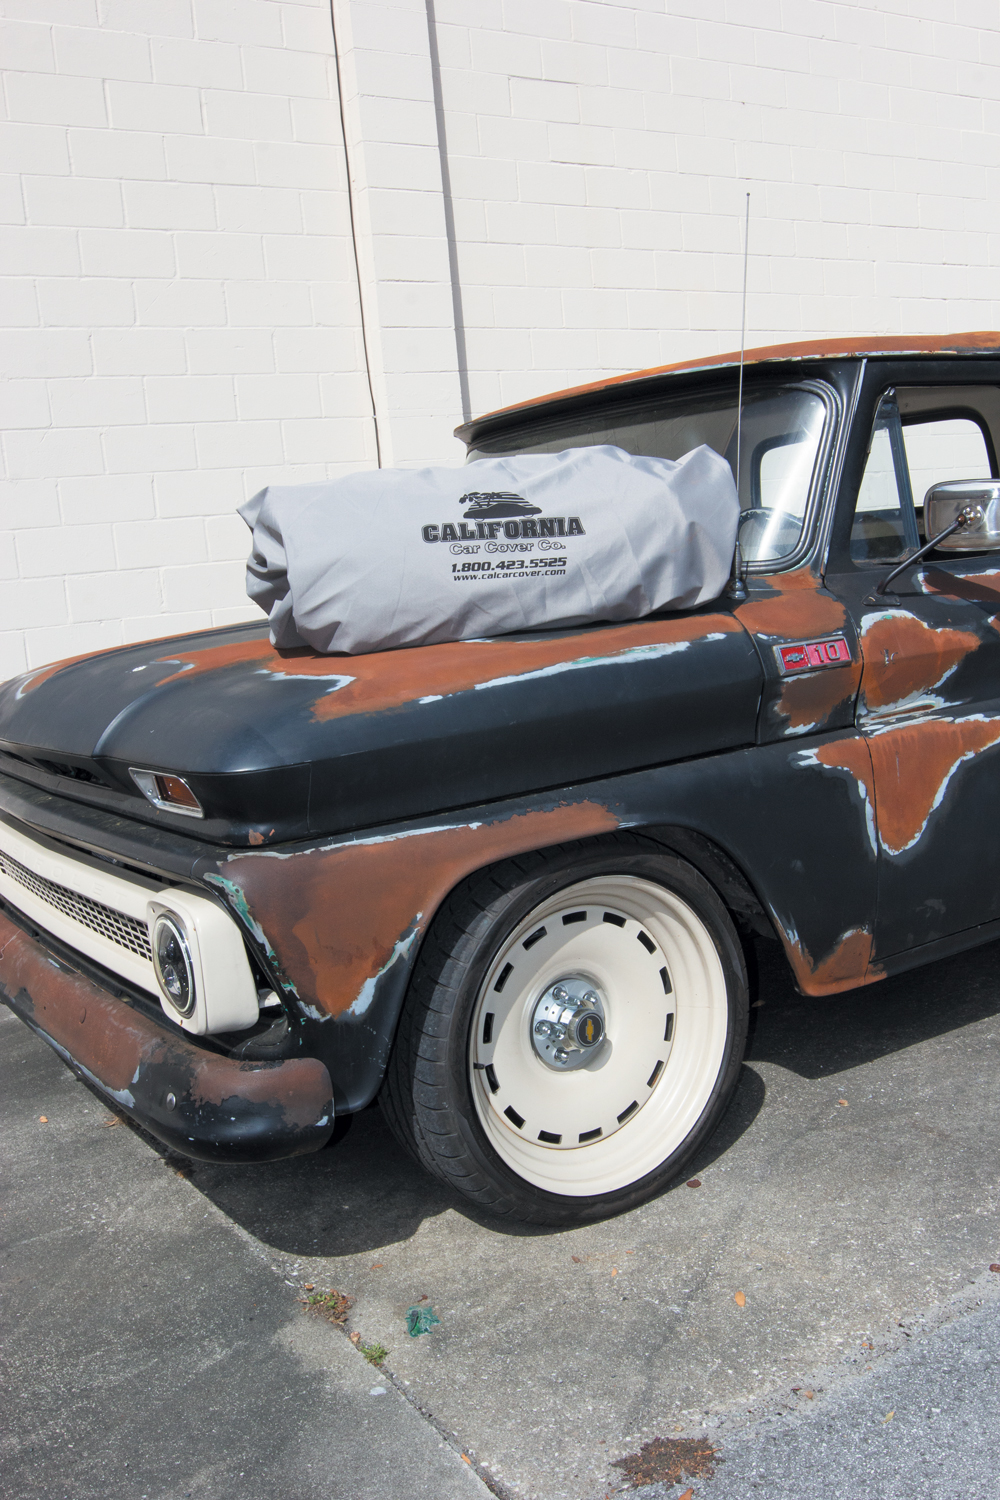
First and foremost, the state you find your fix-up is almost as interesting as the project itself. Is it a ride that the original owner still enjoys? Did you find it in a field amongst other forgotten friends, or did you have an experience like us and simply drag your truck out of the backyard of some guy that just gave up on it?
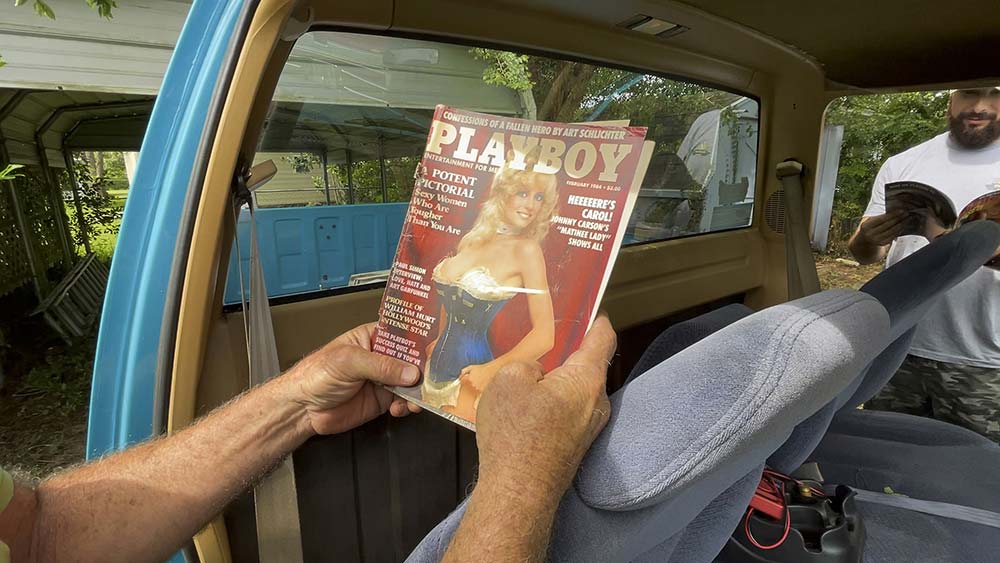
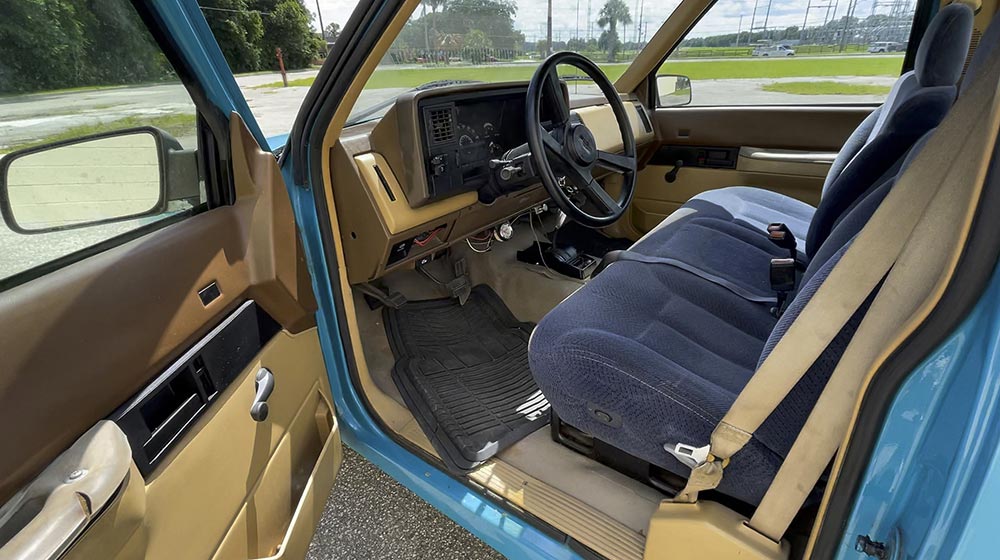
The story behind the sheet metal is almost always an interesting one, and digging through the interior can often shed some light on its last days in service. In our case, a deep dive under the dash revealed quite a few interesting items including some classic Playboy magazines full of females that were covered in more dust than denim.
After a quick flip to the rags for “research”, we set them aside and focused on getting this fixer-upper fired up. Lucky for you we created videos of our entire experience so be sure to scan the QR code with your cell phone camera to watch what actually went down during this truck turnaround.
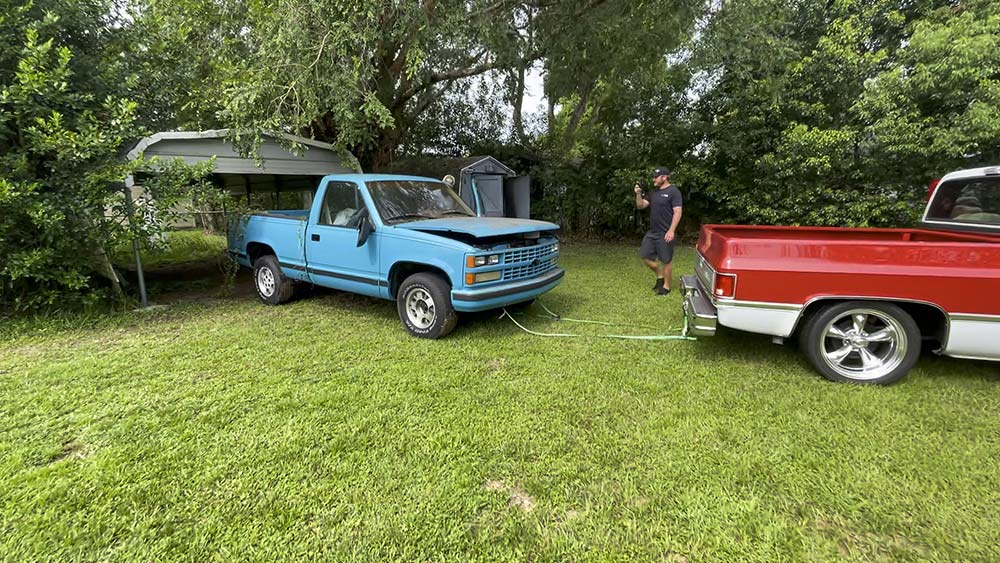
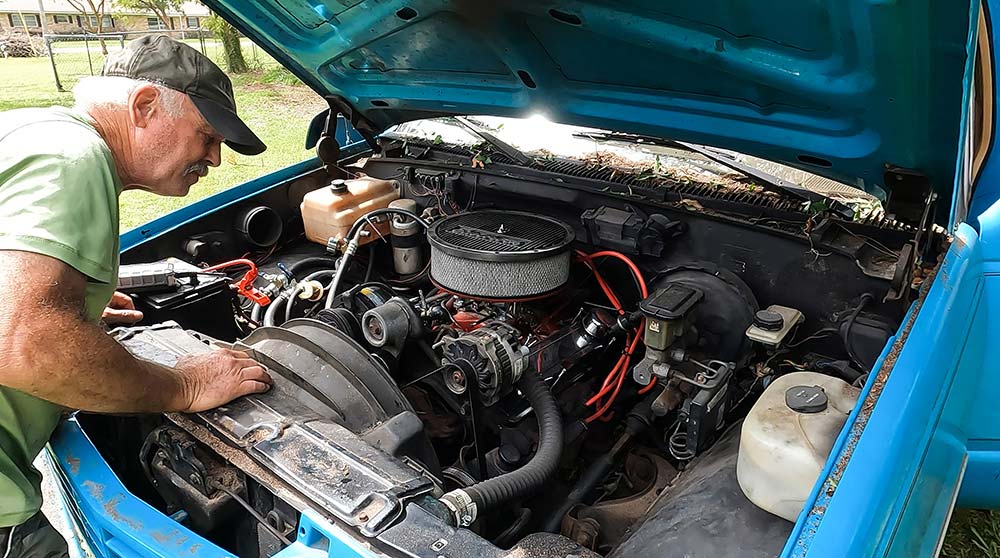
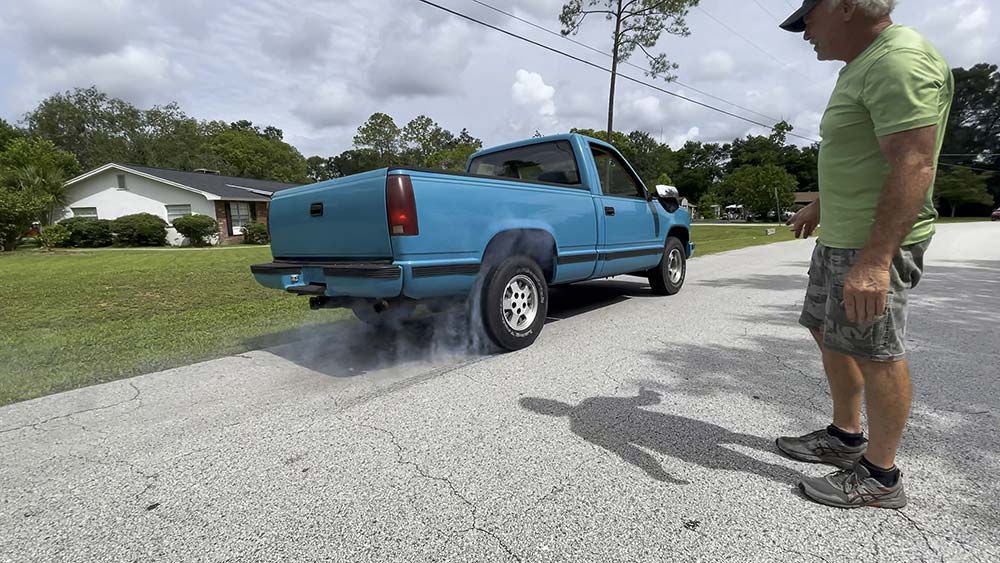
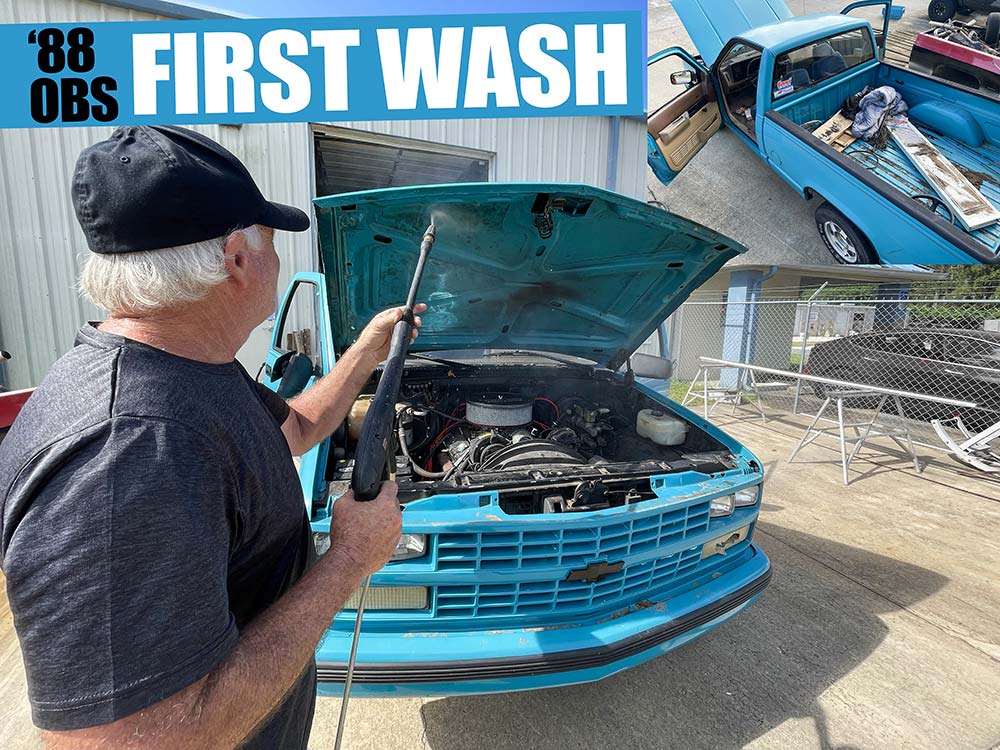
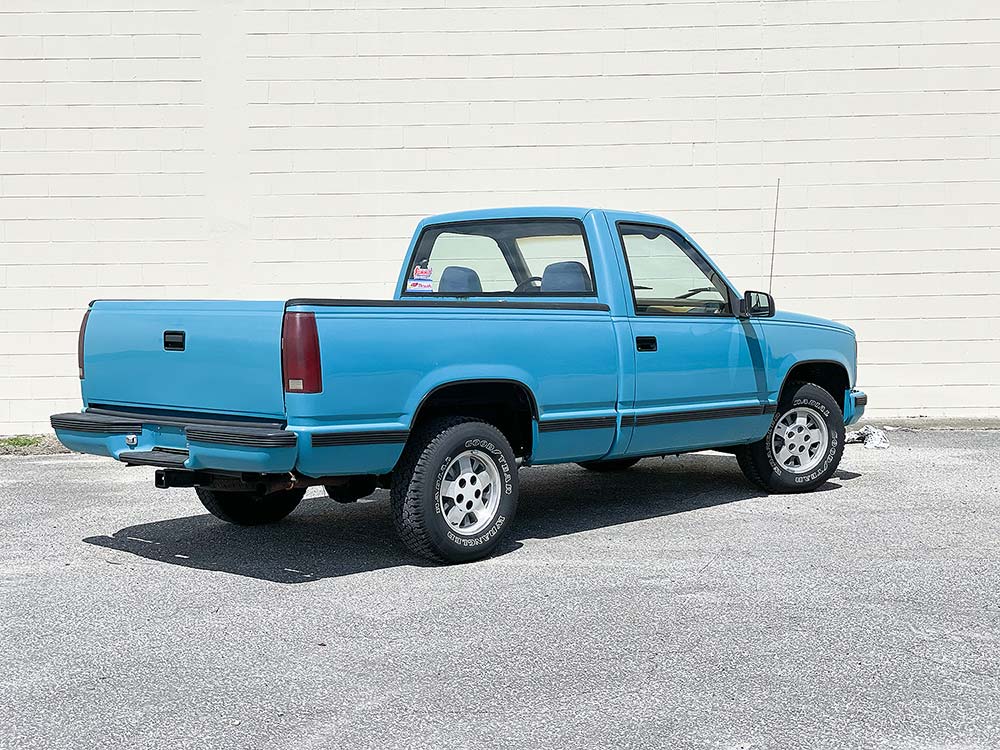
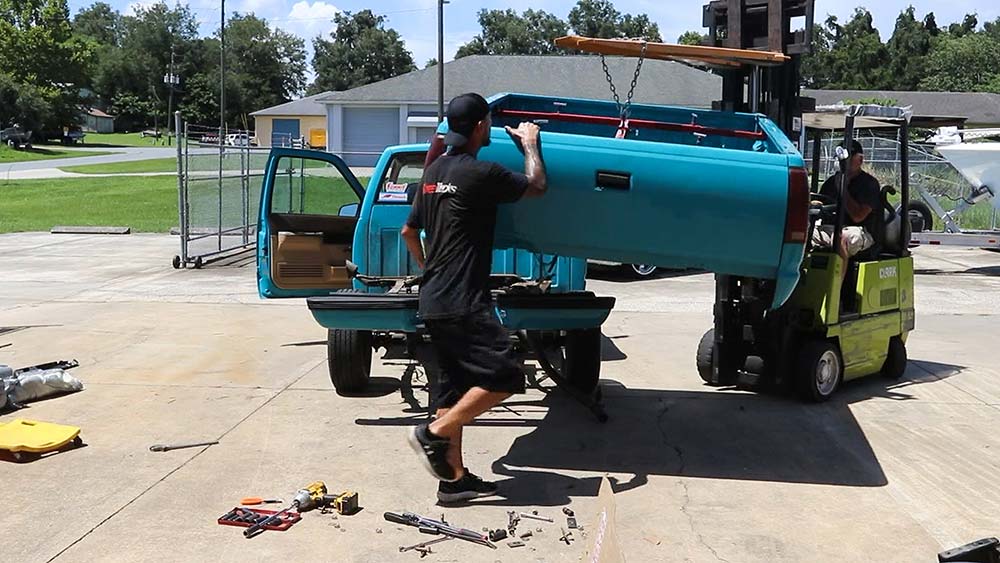
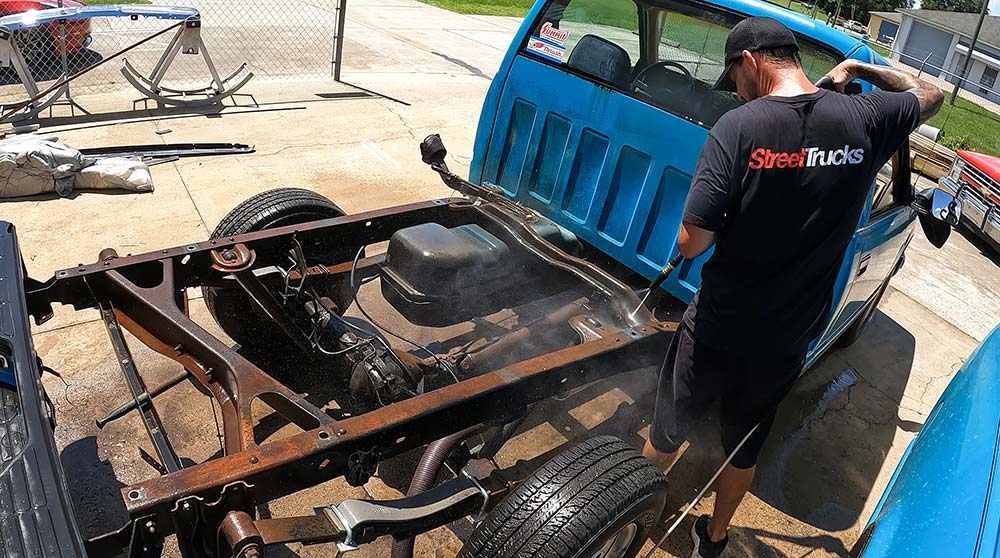
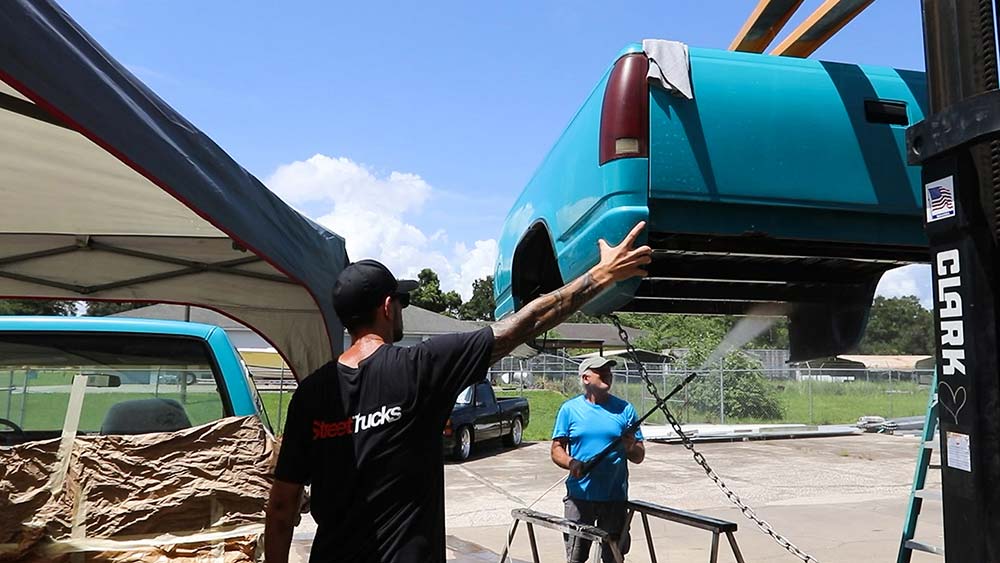
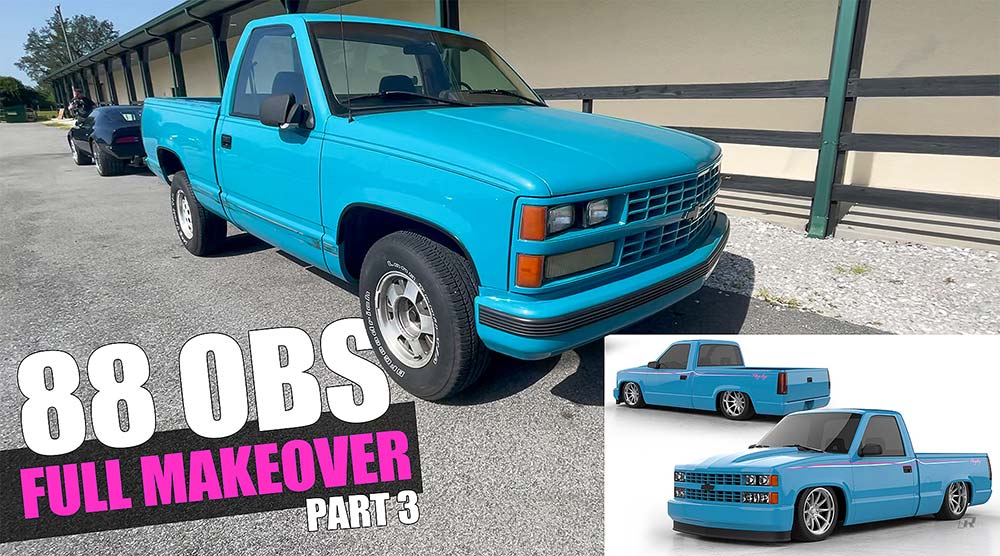
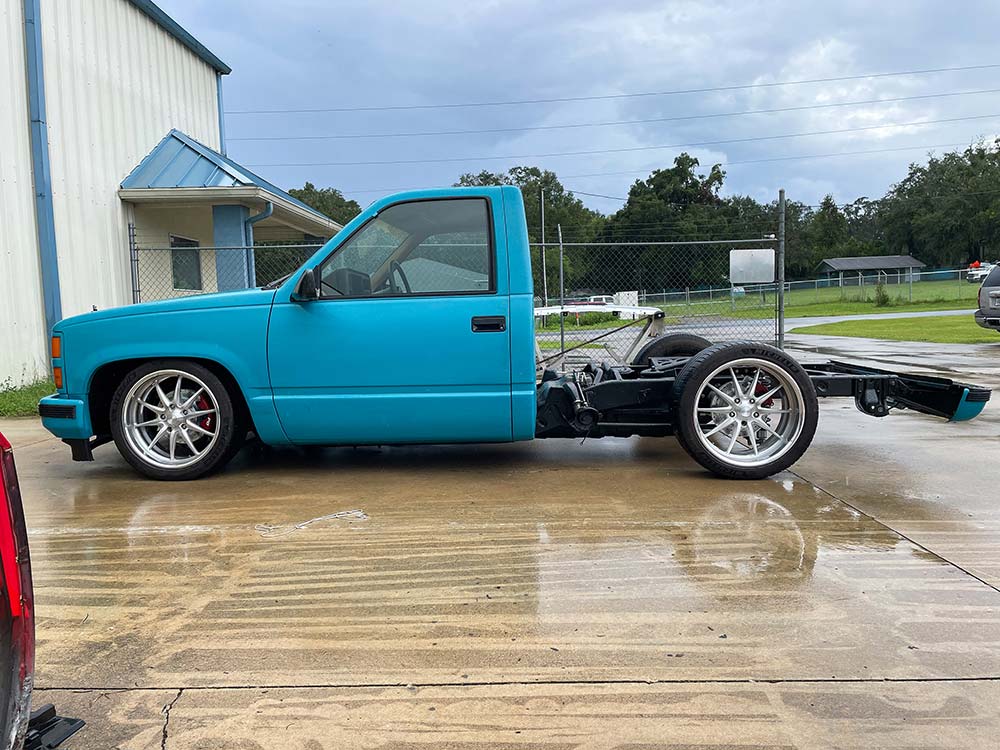
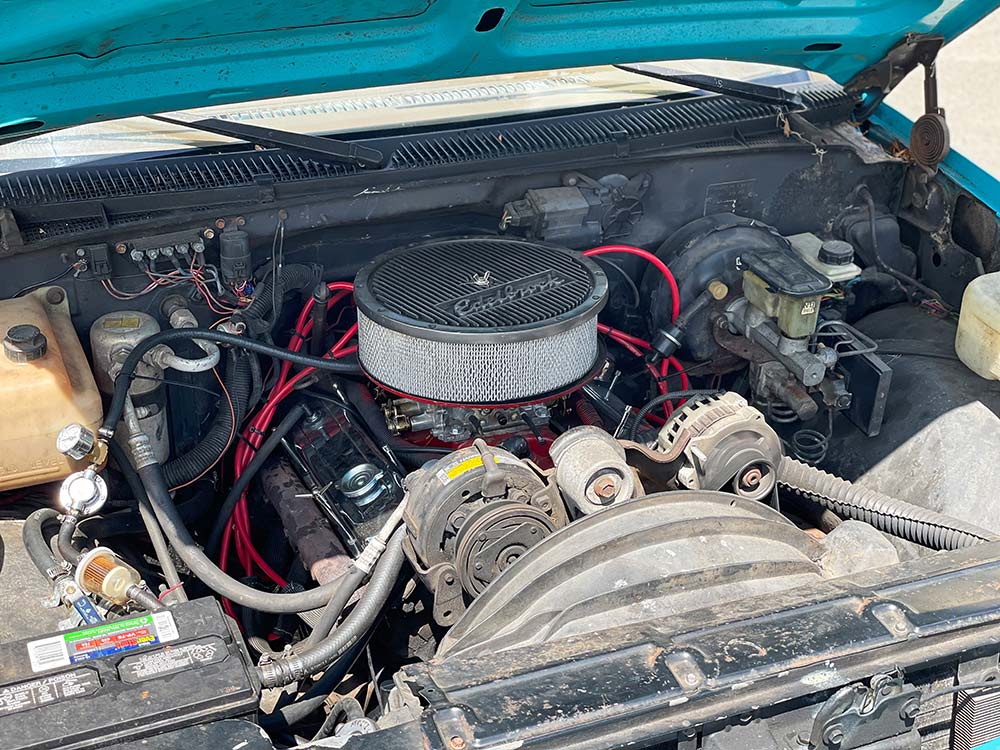
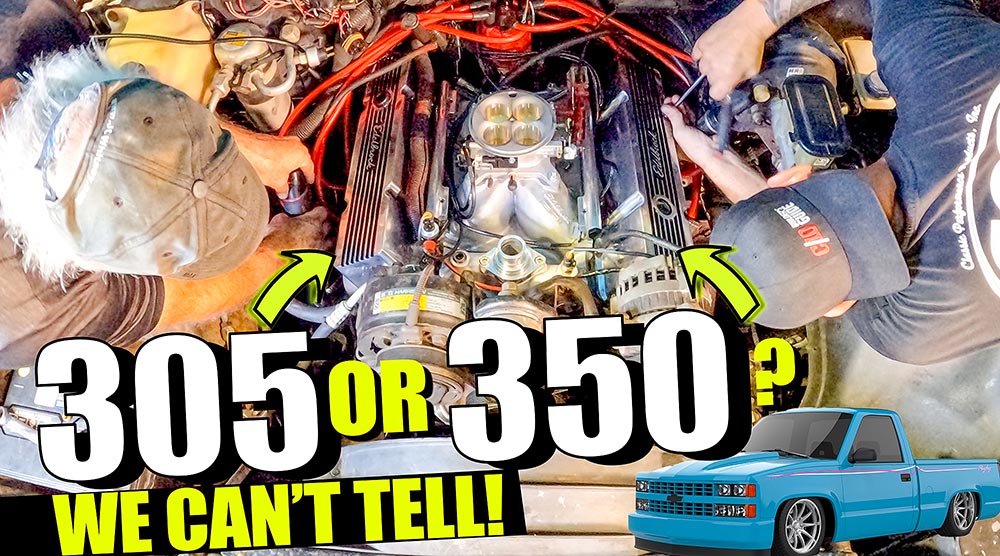
CLICK HERE TO WATCH!To fully inspect this forgotten full-size, we hooked Dave’s square body up to the truck and yanked it out of the awning. Time to work on getting it fired up!The first thing we found in this wasteland of ’90s memorabilia were some super-old Playboy magazines. Pretty cool to see them in good shape after all these years. Do you remember this issue? Now you know how we named this pickup.Under the hood we found the standard engine swap for these ’80s Bow Ties—a small block Chevy 350c.i. engine with a few accessories and a whole lot of interesting upgrades. Will it run? Watch the video to find out!After a few tweaks and a fresh new battery, we had our new pickup fired up and ripping burnouts in the road within an hour.CLICK HERE TO WATCH!A simple wash, wipe, and basic tune-up made this truck much more valuable then when we first bought it, but we’re just getting started.The suspension choice for this project is from Ridetech. This complete coilover conversion kit is specifically designed for ’88-’98 Chevrolet and GMC C1500 truck and includes everything needed to create modern driveability with an aggressive stance. The package contains front upper and lower StrongArm Tubular control arms, front and rear HQ Series coil over shocks, front sway bar, HD drop spindles, and rear Wishbone with integrated C-Notch.With the truck all cleaned up and ready for the aftermarket, first on the long list of things to do was removing the bed.The original frame is solid and straight with basically no rust so that a win. We just need to spend a few hours cleaning it and prepping the metal for a new protective coating.
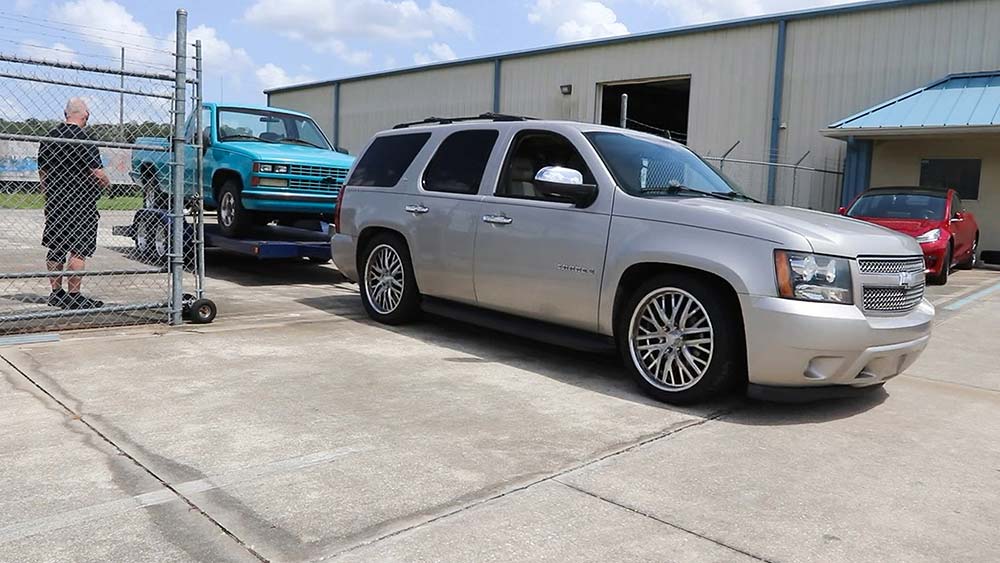
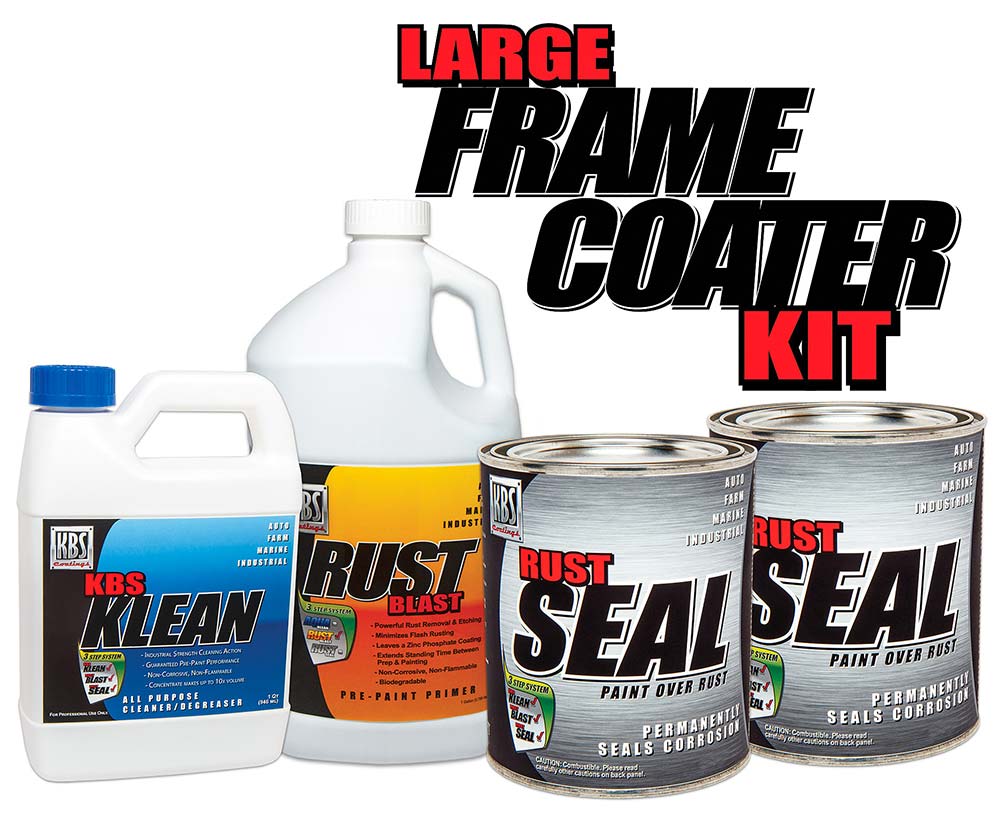
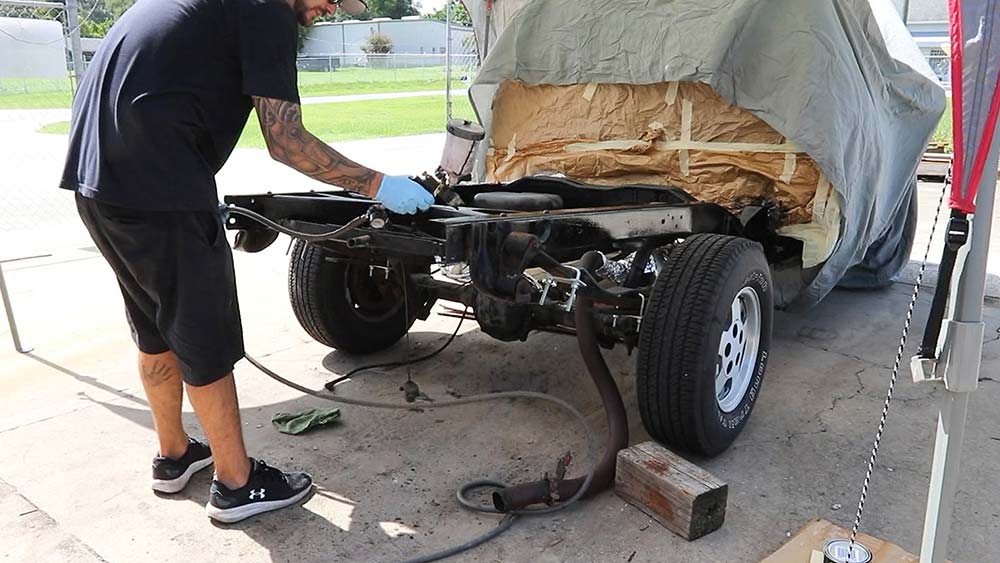
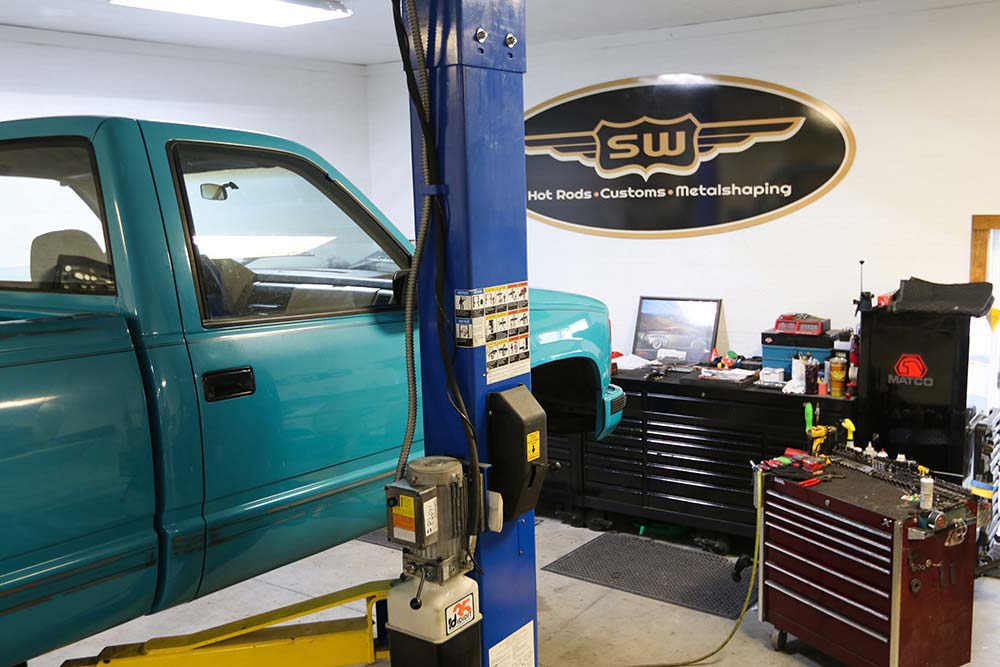
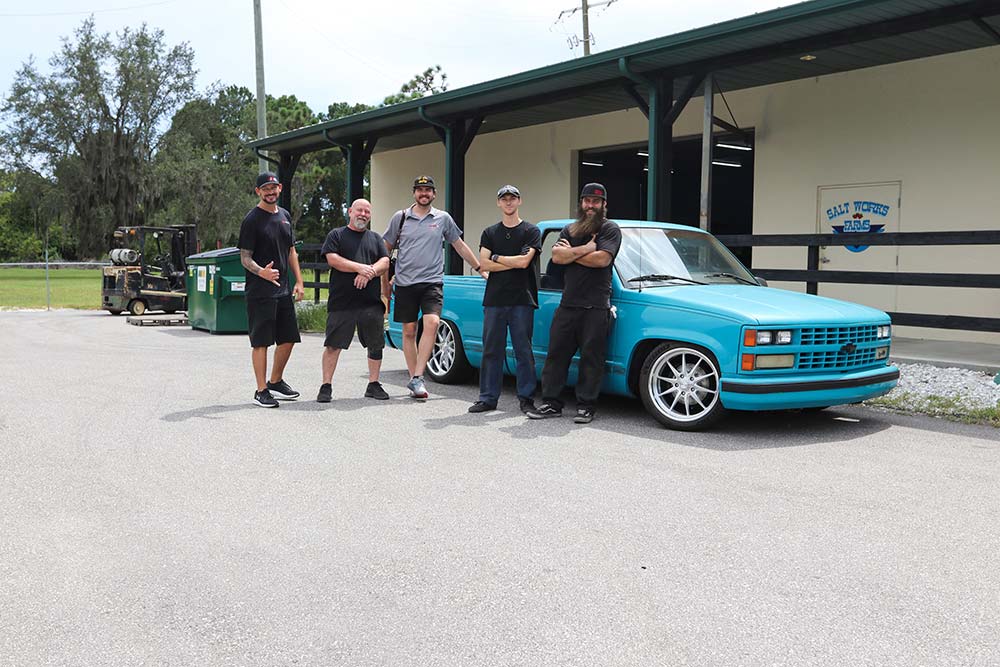
The KBS Frame Coater Kit contains everything you need to clean, prep, & apply two coats of RustSeal on up to a 50-square-foot area KBS Coatings’ 3-STEP SYSTEM of RustSeal (a rust preventive coating), KBS Klean (an industrial strength water-based cleaner/degreaser), and KBS RustBlast (a powerful rust remover/metal etch) is the most effective way to prevent rust and corrosion. We chose to spray it on using a basic automotive paint gun and it turned out great!Now the bed can be returned to its original location for transport to its next destination, SaltWorks Fab in Myakka Florida to be exact.CLICK HERE TO WATCH!The crew at Saltworks wasted no time and had our truck on the lift with the wheels off in no time. Casper and John took the lead and their experience was evident from the start.
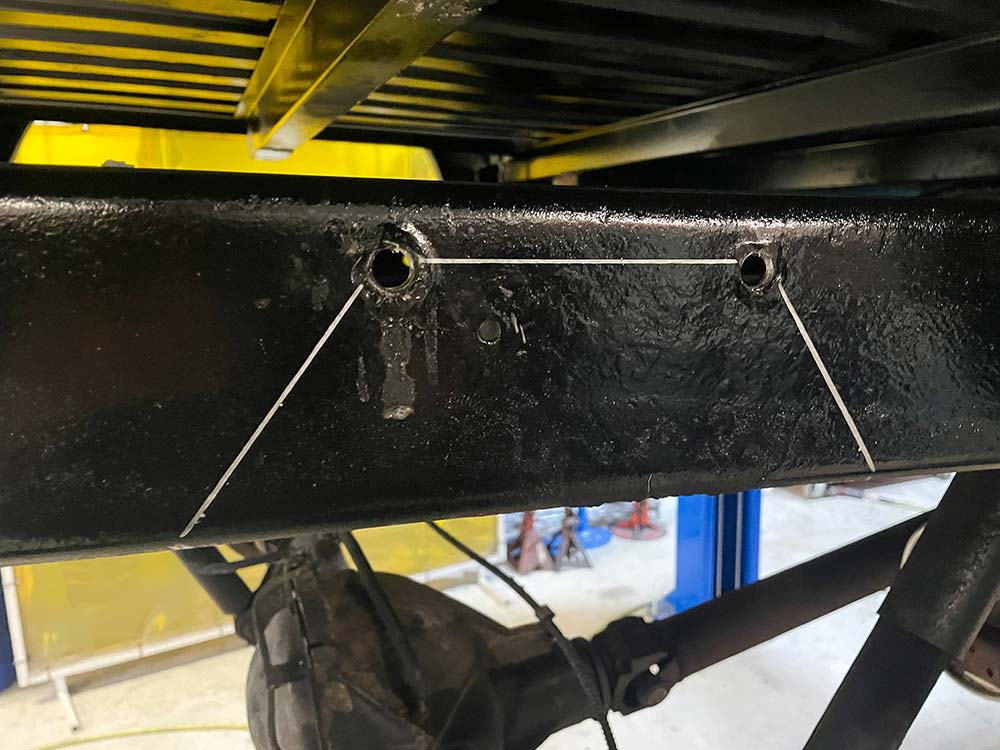
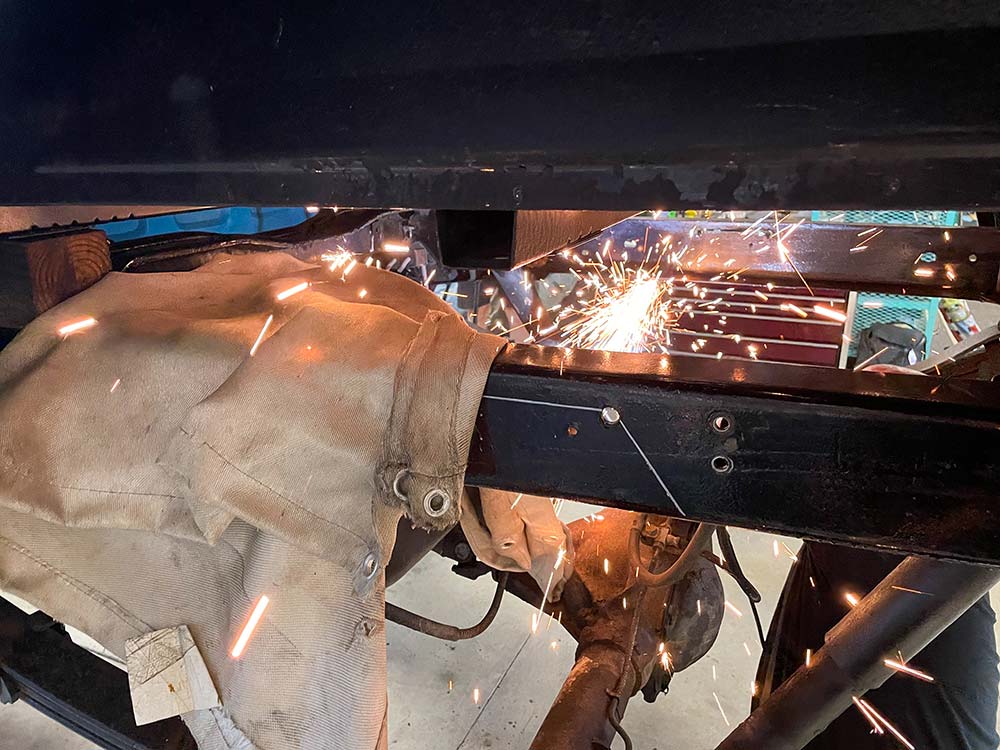
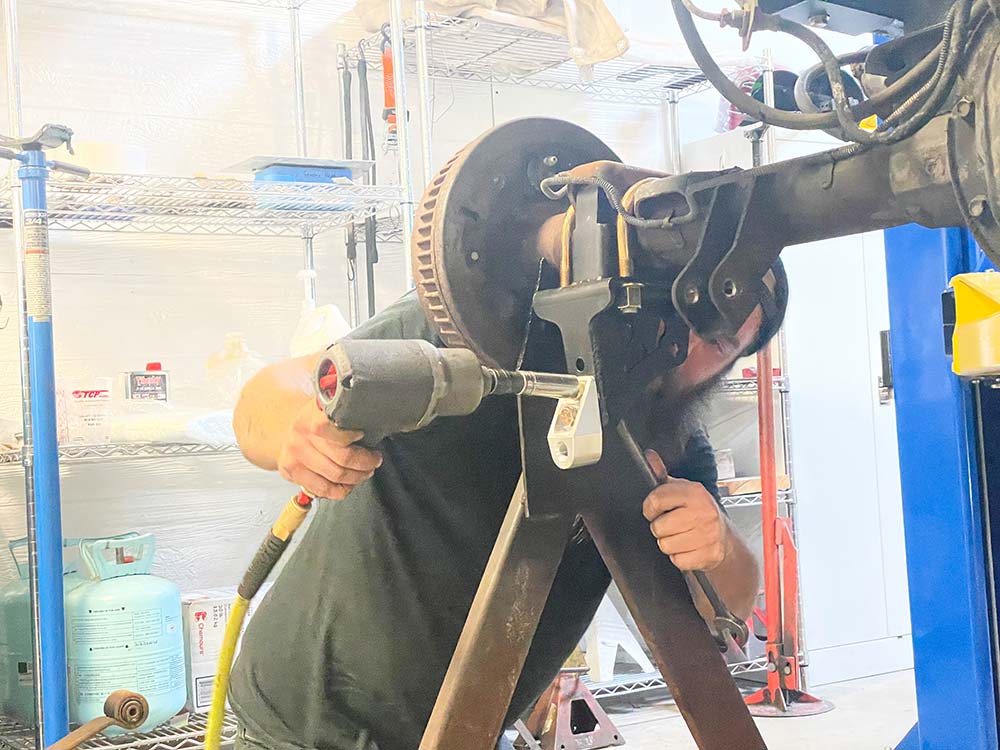
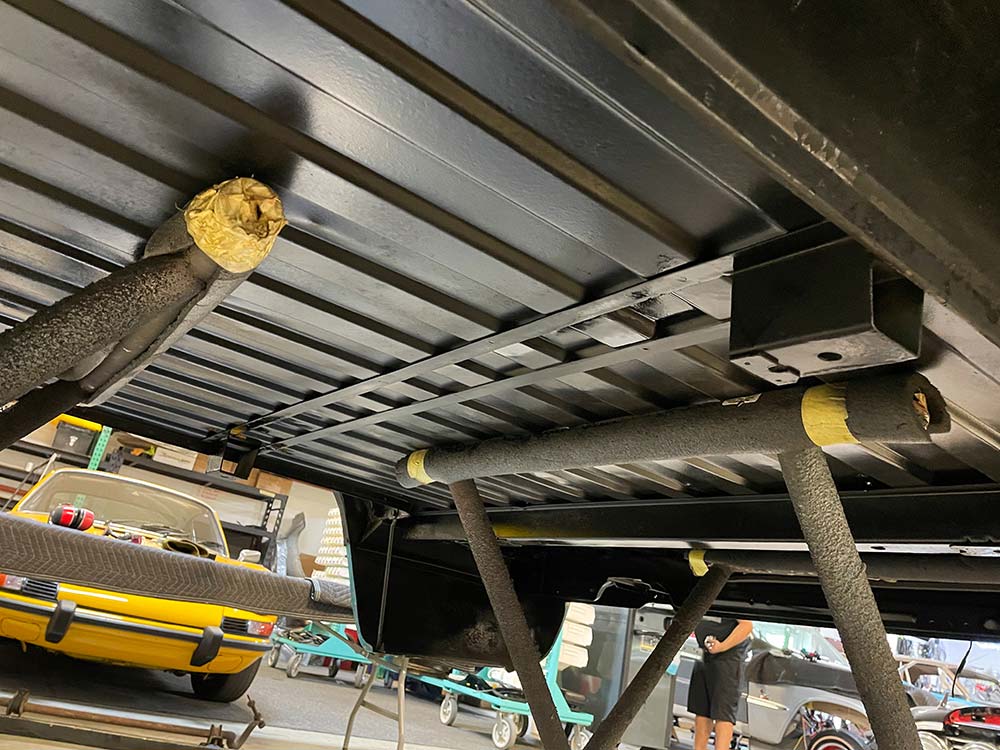
The rear c-notch is where the Saltworks Fab technicians started. Using the template provided by Ridetech, a cut line was marked and the cutoff wheel was plugged in. Notice the fireproof blanket over the gas tank? Great tip for do it yourselfers!
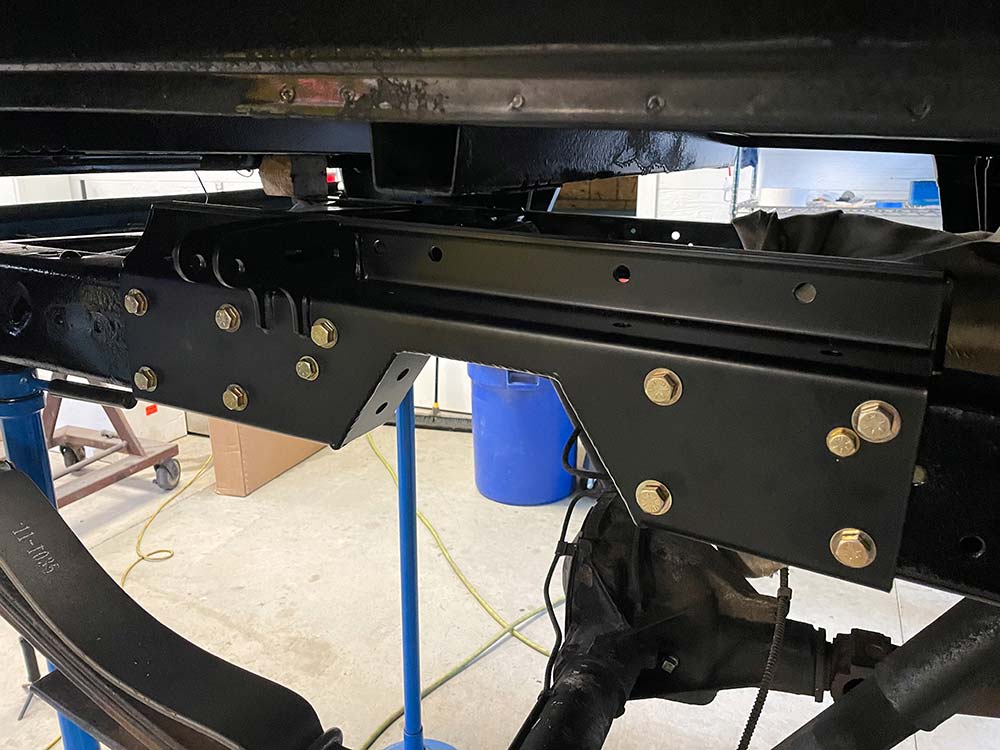
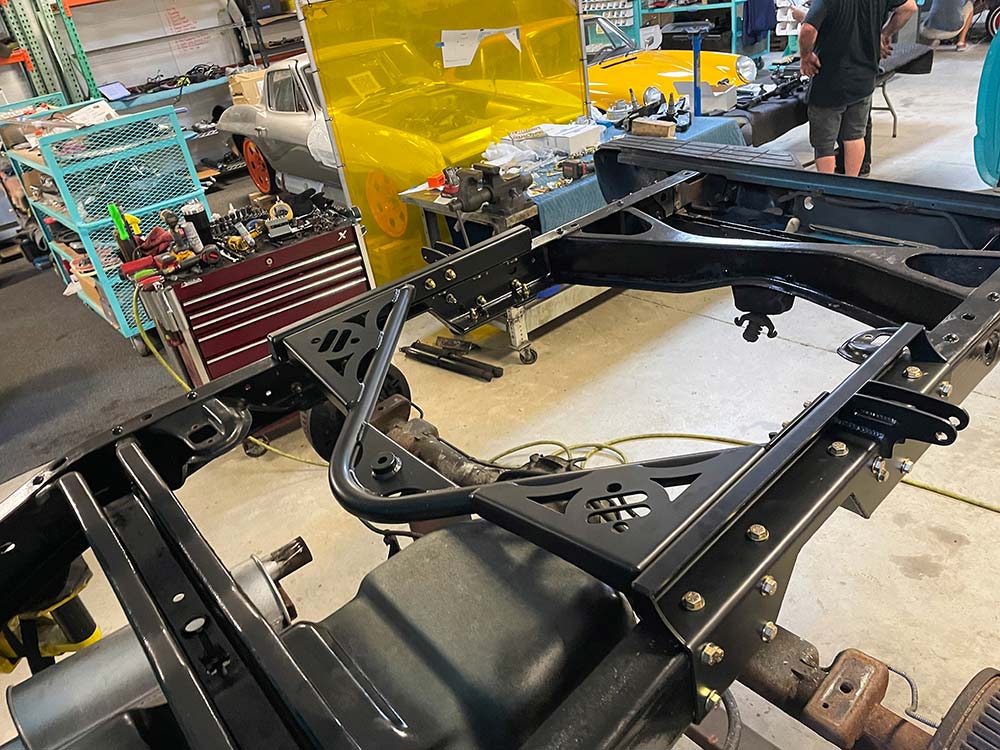
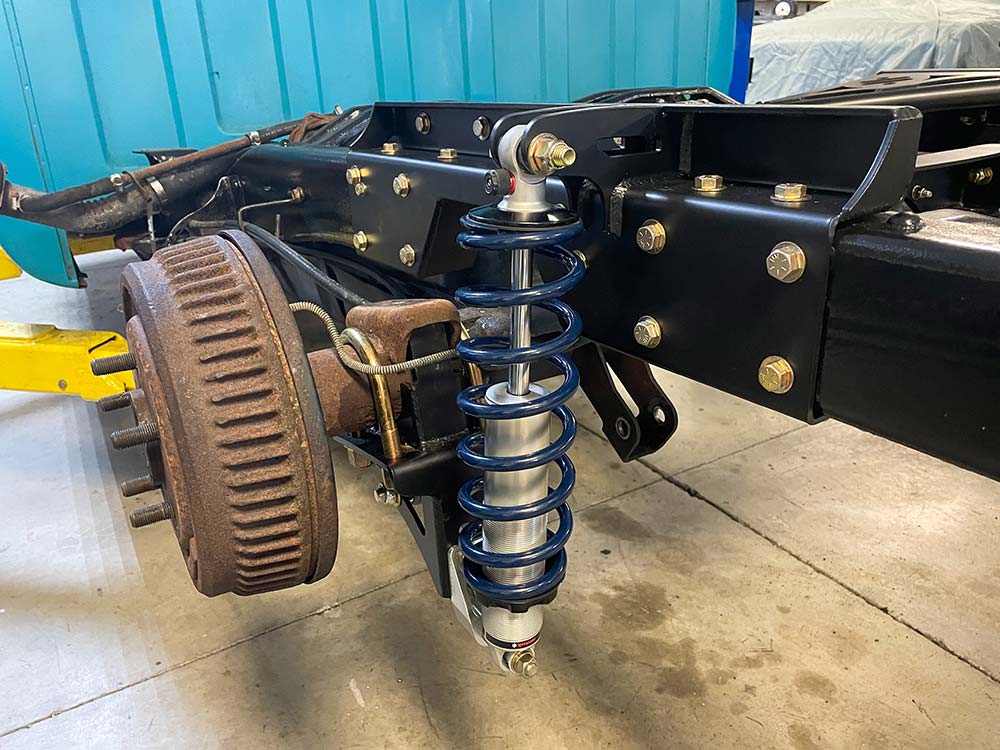
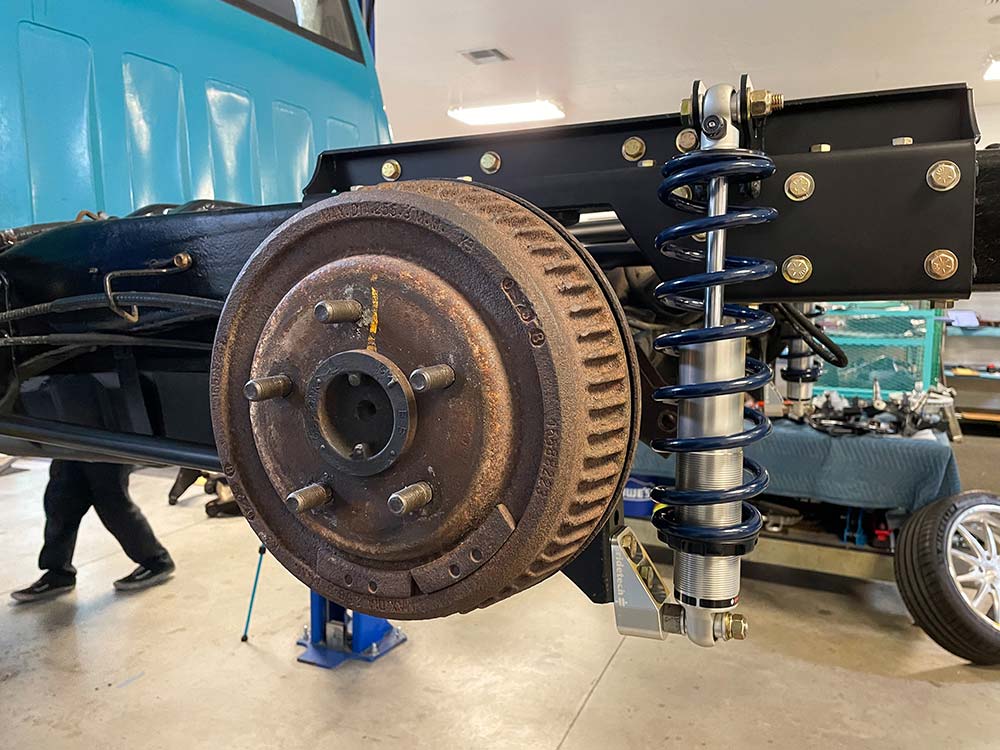
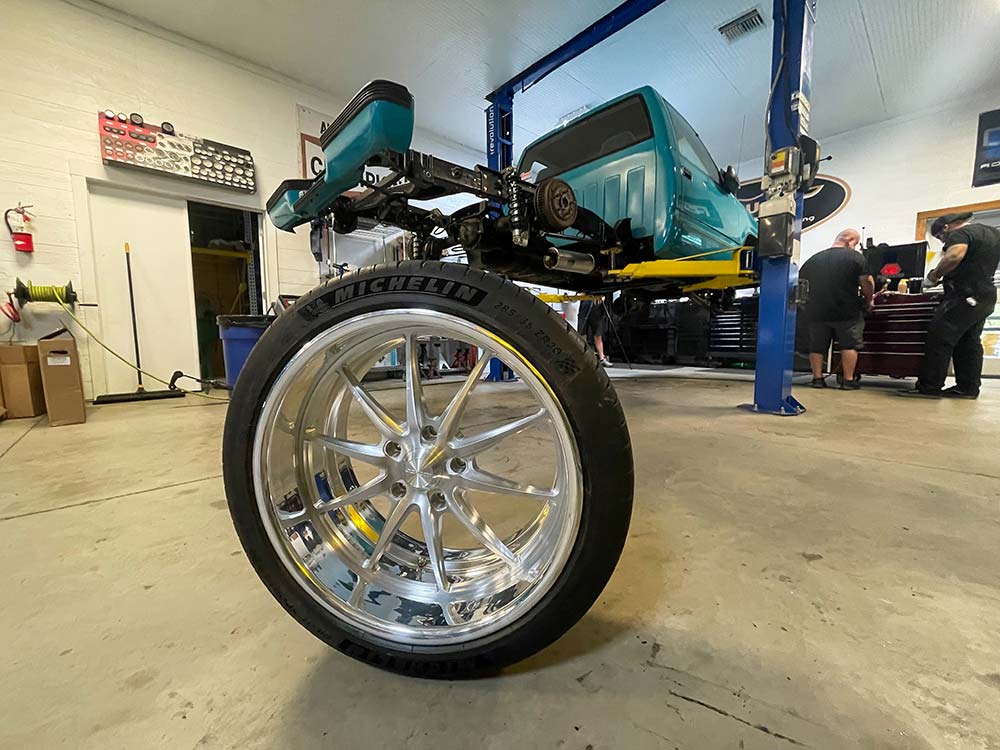
The solid built and strong c-notch cover from Ridtech fits over the cut frame perfectly, and after drilling a bunch of holes for the bolts, the new hardware can be torgued to spec.The upper wishbone bracket easily bolts to both c-notch brackets percfectly. The engineering behind this system is impressive to say the least.Now Casper can install the lower coilover mount to the C-notch bracket.Next item to be put on Playboy are the Rear HQ Series Coilovers. These remote reservoir triple adjustable coil-over shocks feature rebound adjustment along with dual stage (High Speed & Low Speed) compression adjustment.Before we bolt on our new wheels we need to do something about these ugly drumb brakes, more to come on that later!Speaking of wheels, let us introduce you to our roller of choice for Project Playboy. The Schott Wheels Vulcan EXL is a ten spoke design with a smooth lip rim to expand the center design for a larger look. Each Schott Wheel is precisely CNC machined from forged billet aluminum for lightweight strength, refined style, and meticulously hand finished to levels that are second to none. These D.Concave profile wheels are ideal for neutral to low backspaces and wide wheel applications. American Made Quality, by Design!
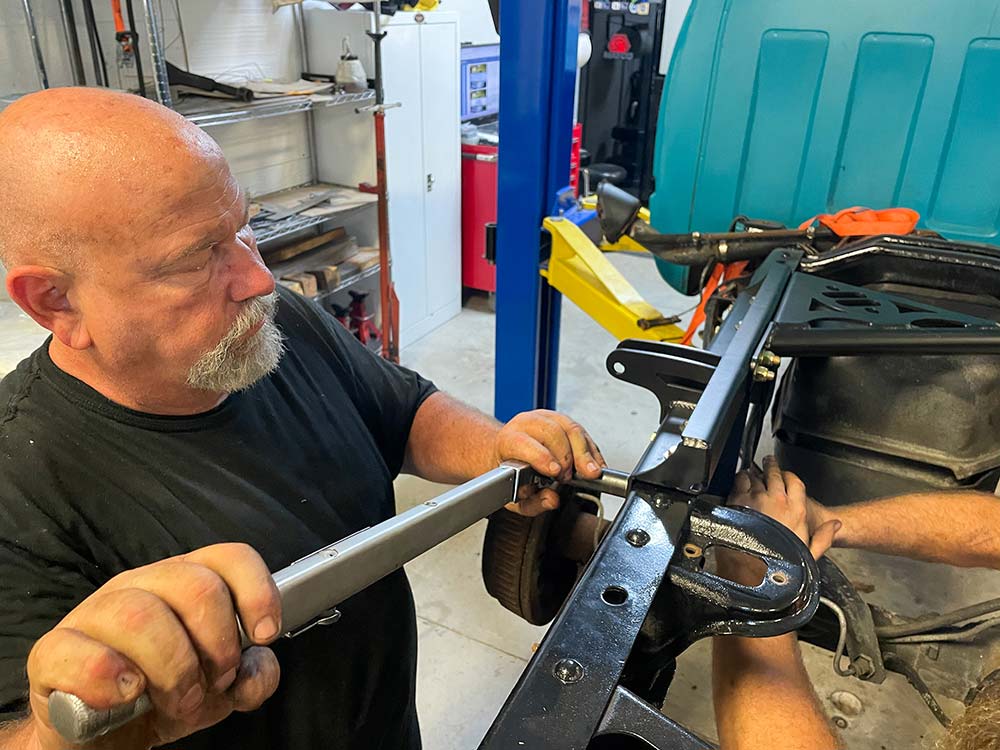
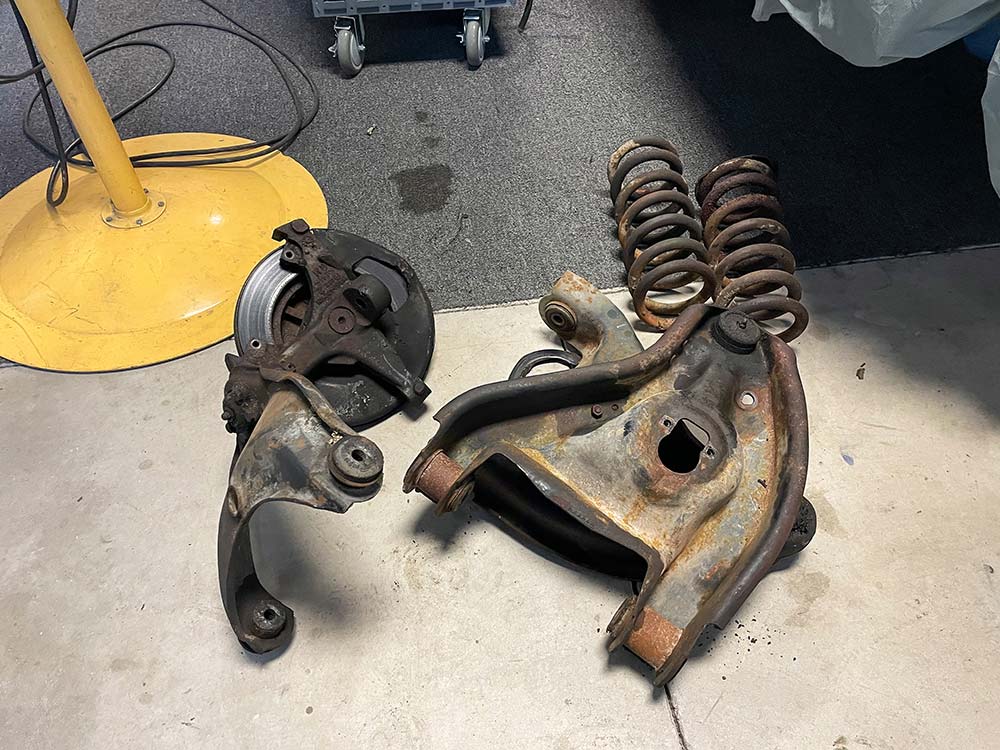
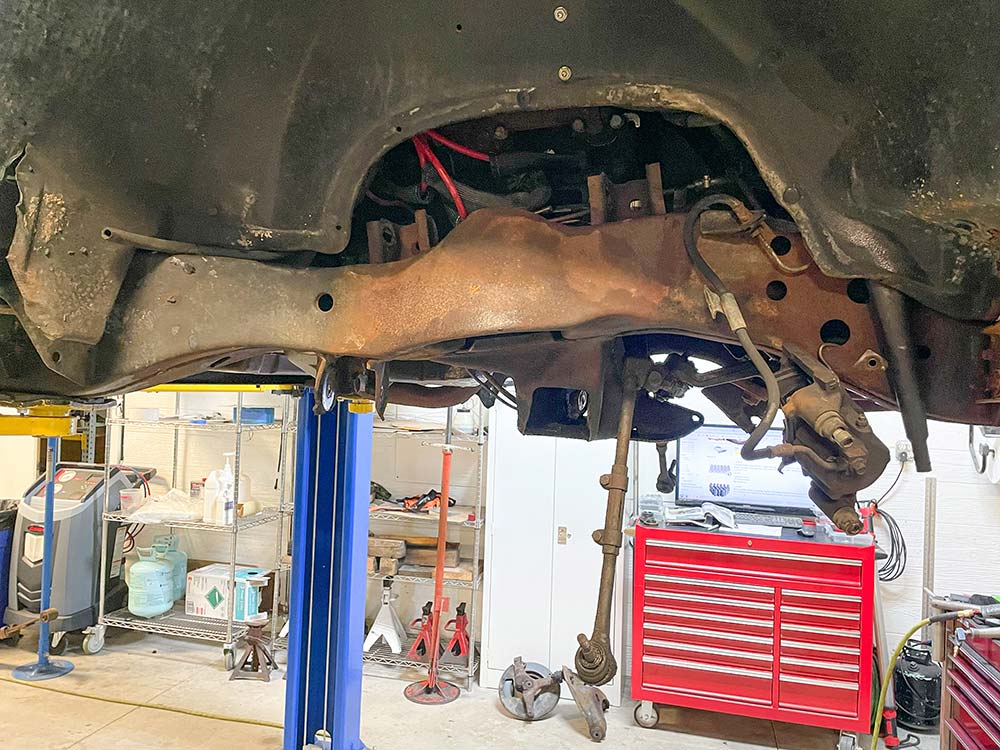
With the rear suspension completed it was time for the crew at Saltworks to focus on the front. All the factory suspension is removed and will eventually be replaced.
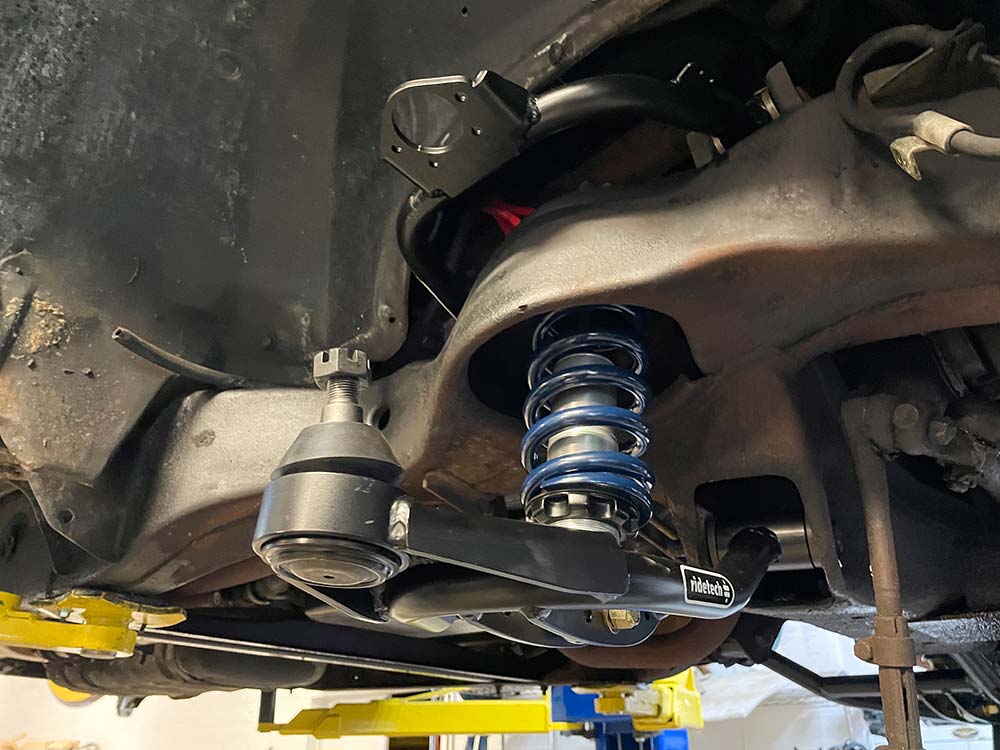
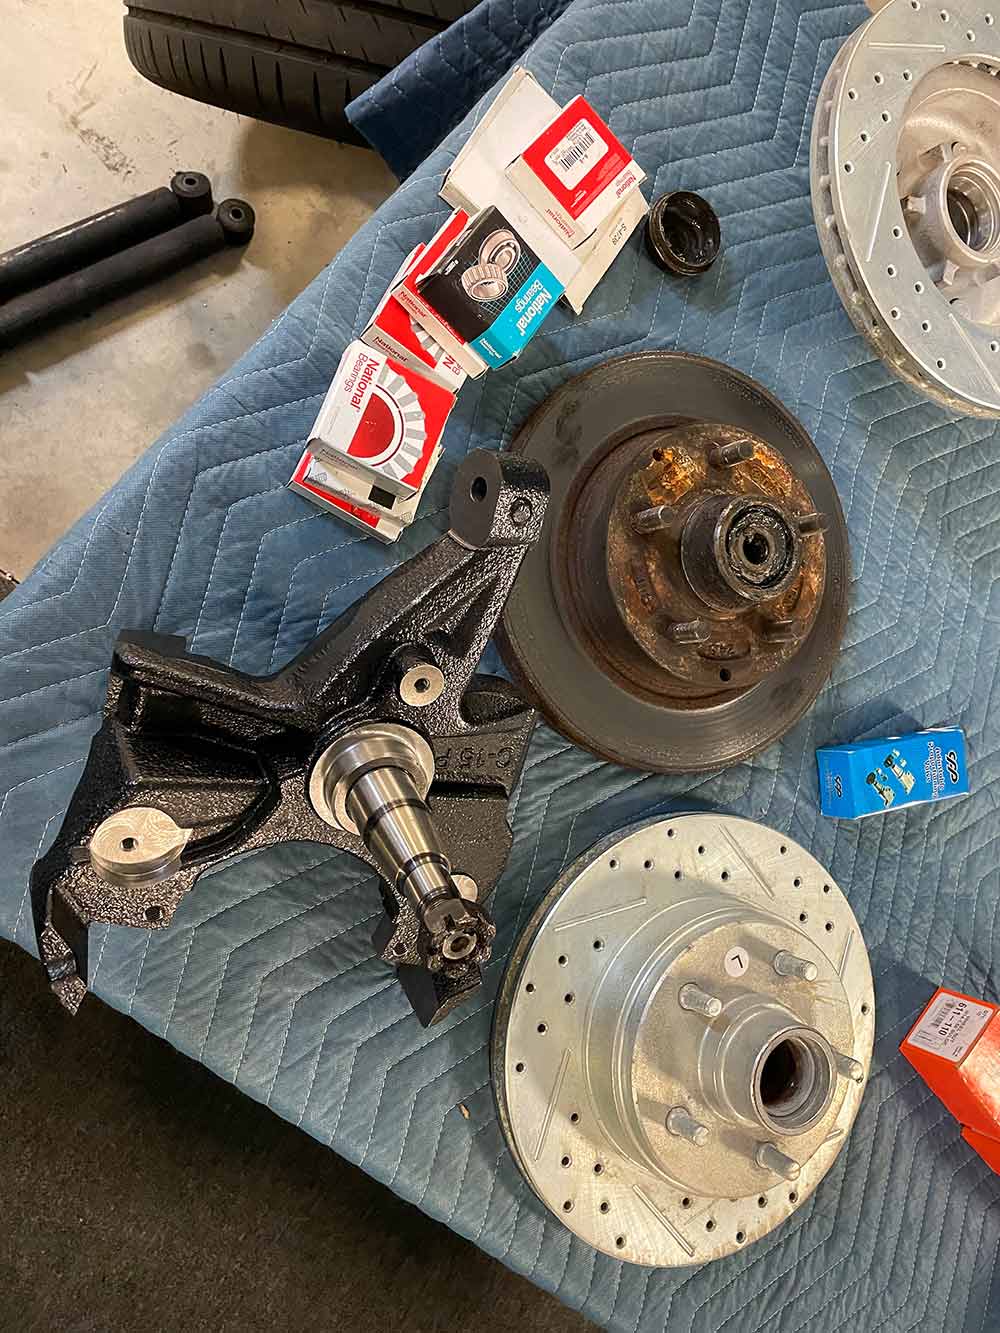
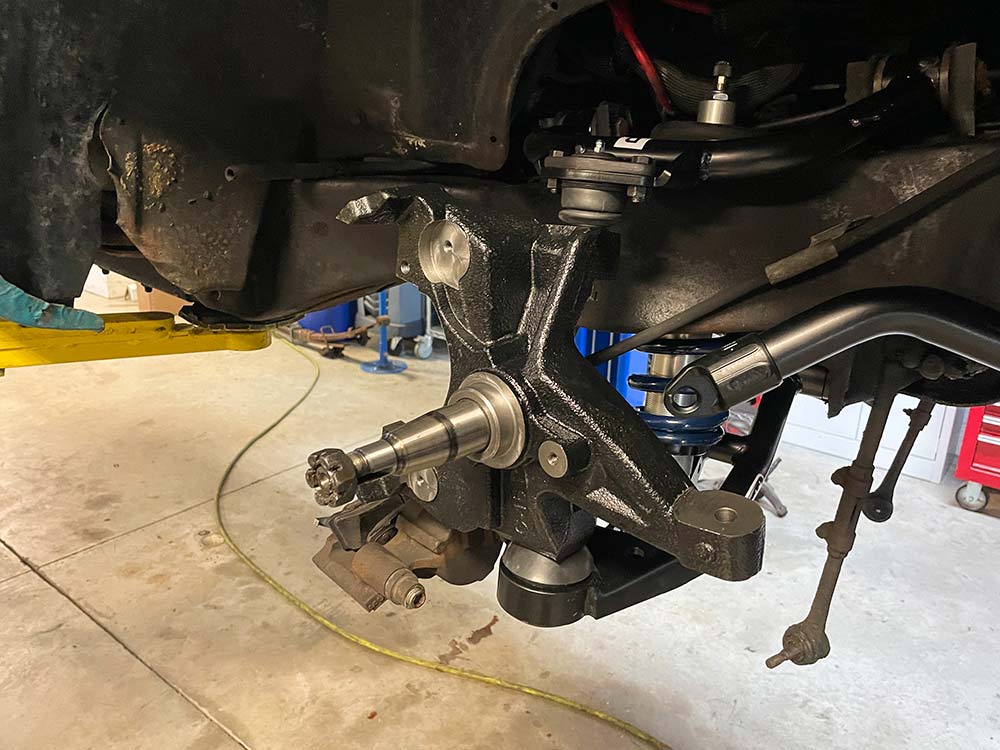
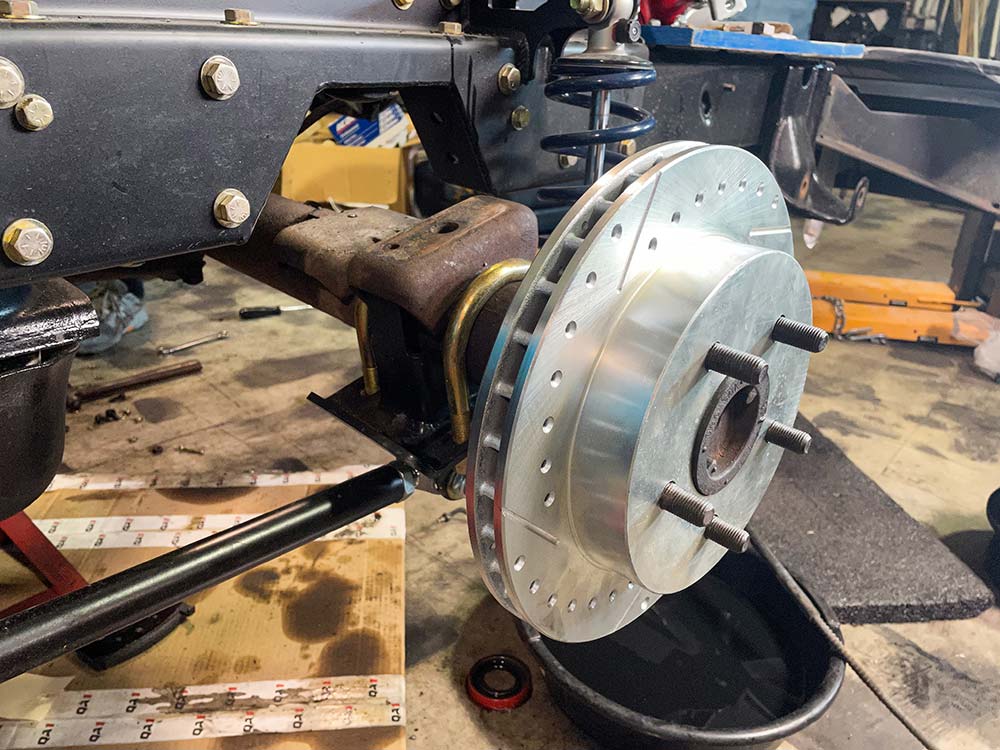
The new front copilovers from Ridetech are now installed and the controls arms can be bolted on. There is much more involved in this process so we highly recommend you watch the video above the see all the steps.New brakes will need to be installed up front as well since this spindle is designed for the Heavy Duty 1.25-inch rotors.
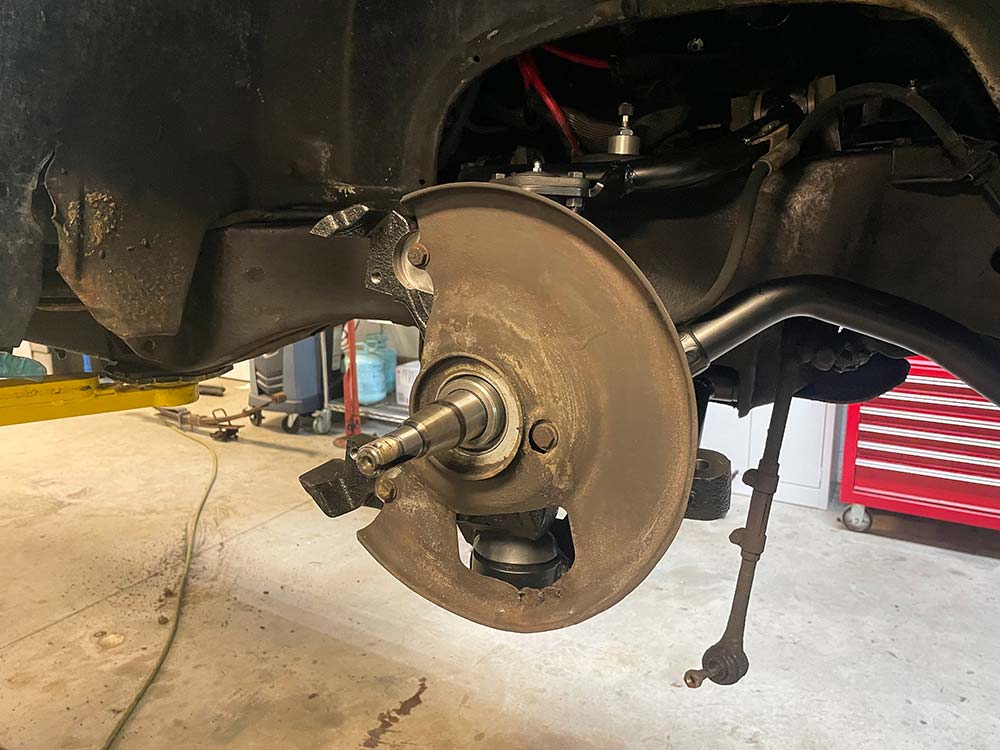
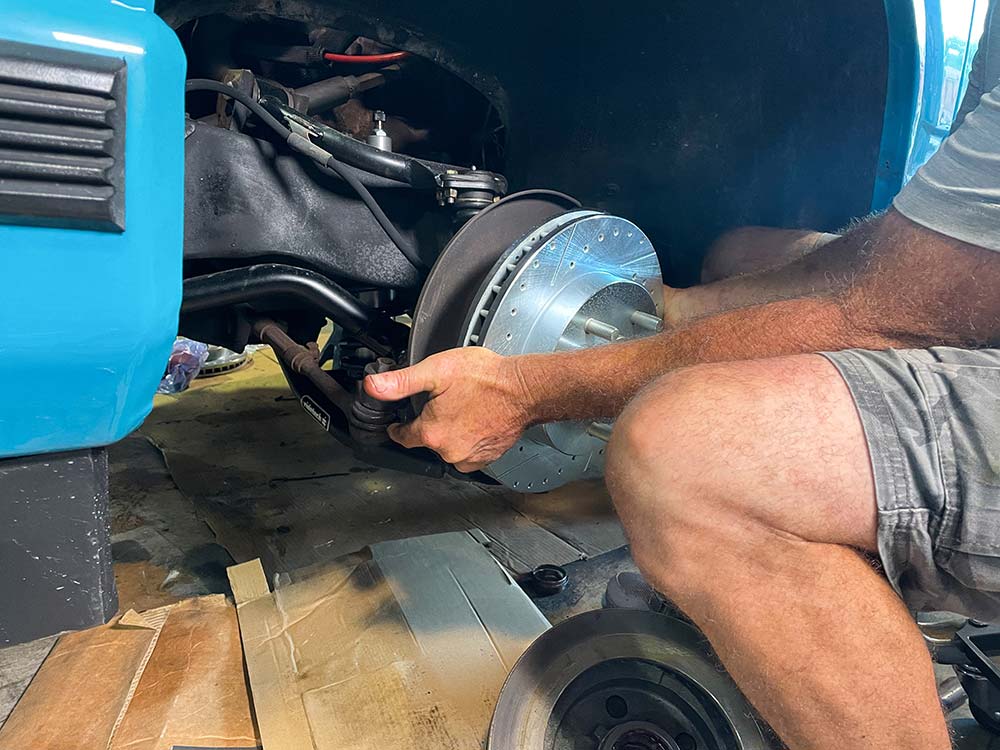
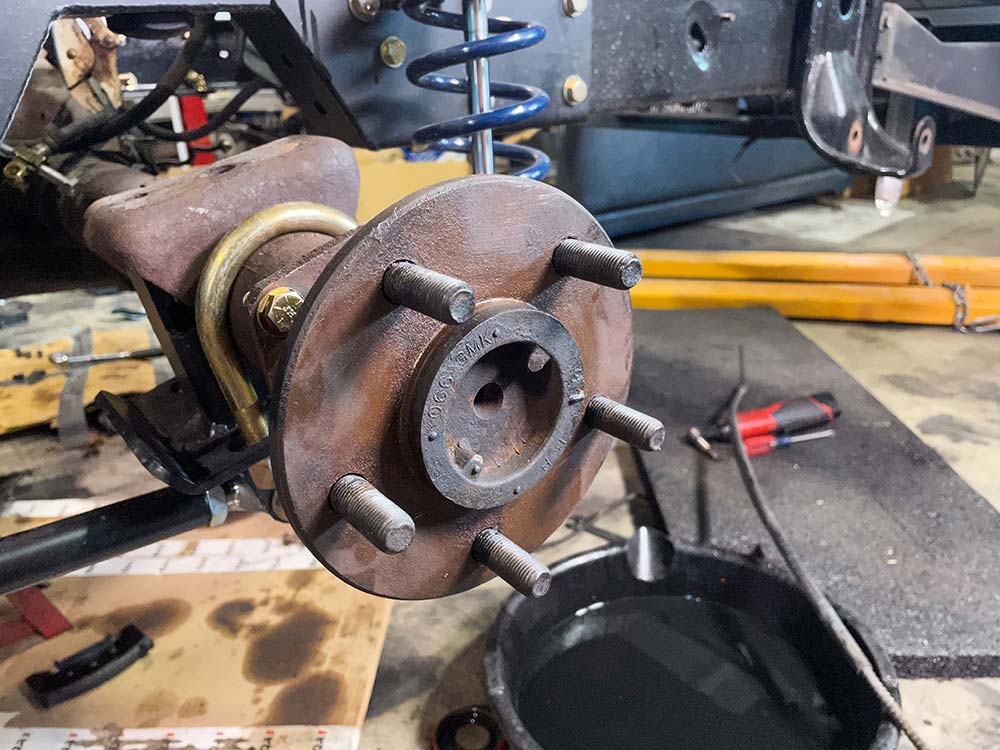
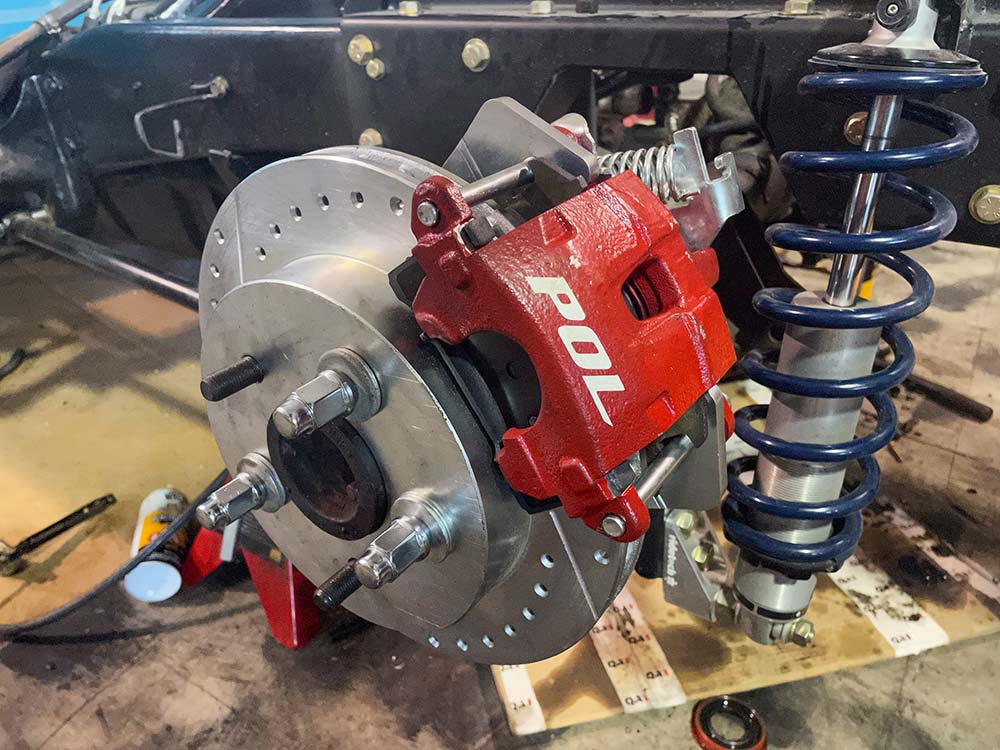
The new spindles bolt up to the controls arms as they should and the original dust shield is reinstalled.That about wraps up the front suspension, so we can now slip on the new upgraded brakes from Performance Online before jumping on the rear disc brake conversion.
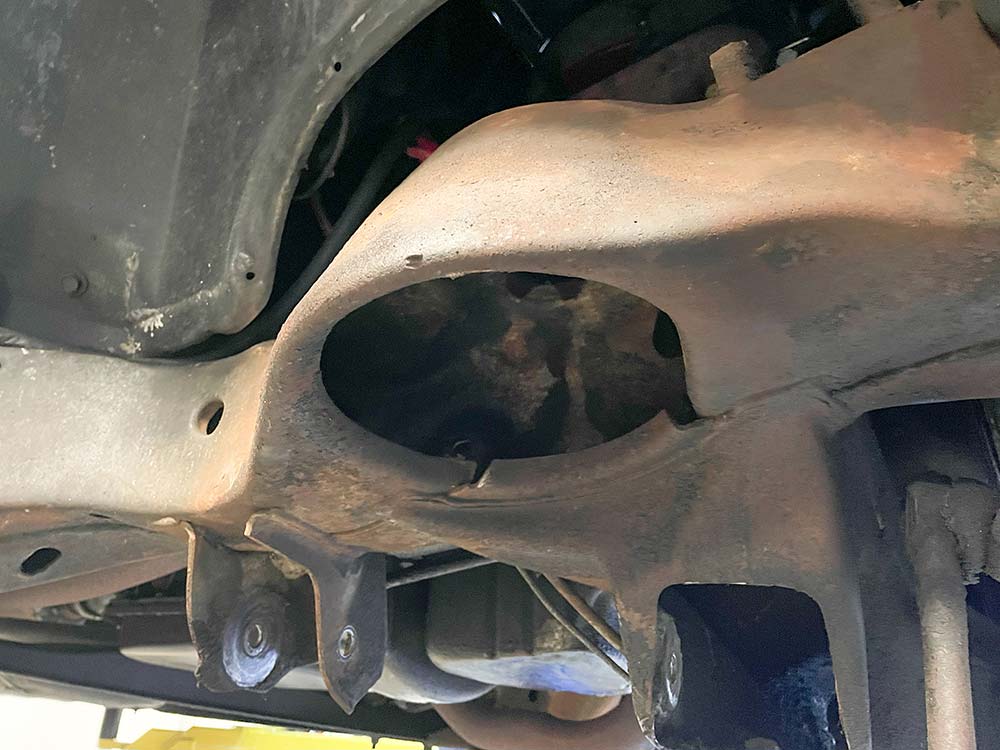
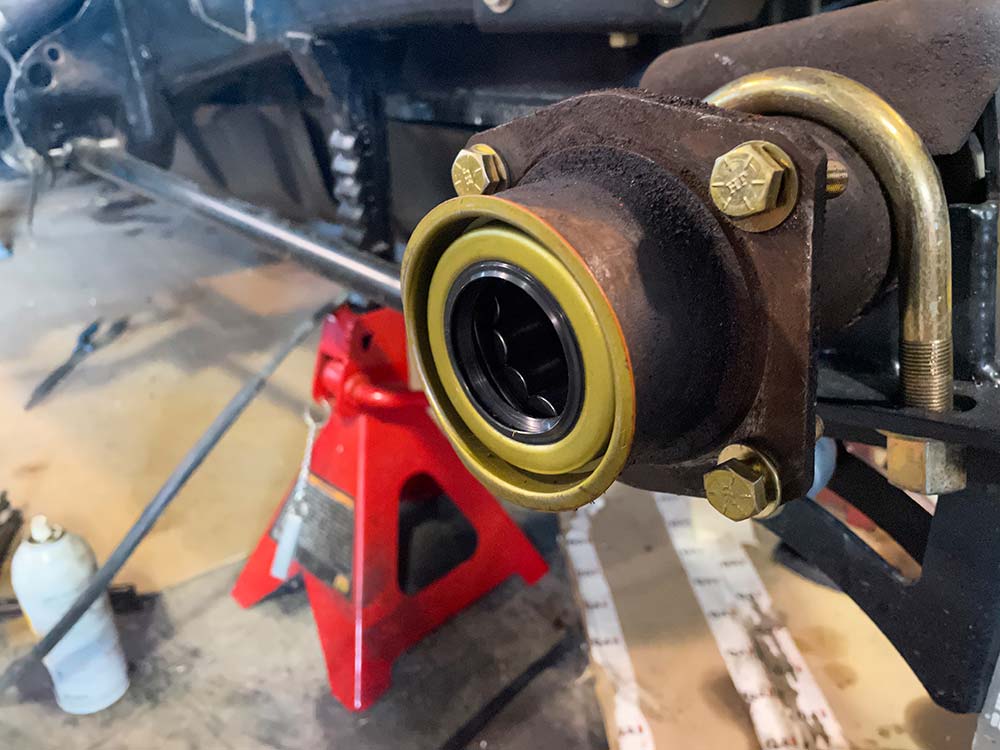
After removing the rear brake drum, we had to open up the rear axle, pull out the c-clips and slide out the axle. We needed to change the rear axle seal and bearings anyway so the process was appreciated.
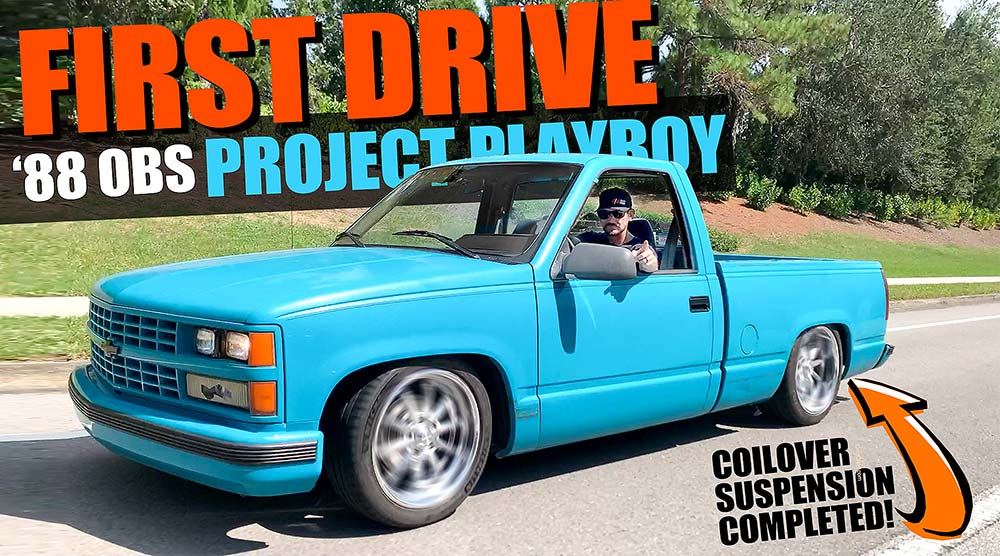
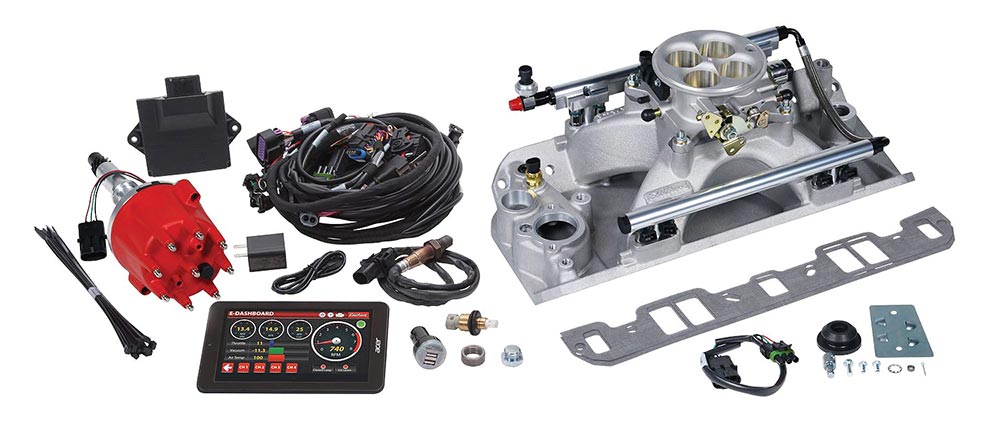
Performance Online designed this rear brake conversion kit to be easily installed by anyone willing to try. The brackets are cut to perfection and the process took less than a few hours.With the suspension and brakes complete, we pulled the truck out of the shop for one last wipe down before reinstalling the bed. Love that new stance!A quick but messy trim of the underside of the bed was needed to clear the new suspension. Casper made it look easy though and it almost looks original.We cant say enough good things about the crew at SaltWorks Fab in Myakka Florida. Professional, detailed, and on time every time.CLICK HERE TO WATCH!The final stop on the first stage of this truck makeover is to make this motor more reliable. The carburetor has to go and we cant wait to replace it with some more modern tech.CLICK HERE TO WATCH!The Edlebrock Pro-Flo 4 is not just a replacement for your carburetor, it’s a complete engineered system that provides the ultimate in performance, drivability and quality.ThePro-Flo 4 Electronic Fuel Injection also gives you the ultimate control of your engine when using the Advanced Tuning features. The E-Tuner 4 app gives you the ability to easily adjust your ignition curve specifically for your engine setup, eliminating the hassle, complexity and limitations of the standard distributor advance mechanism. Resulting in a smoother idle, faster acceleration, better peak power, improved fuel economy and the ability to control detonation, all with the touch of your finger.In the nest issue we will tackle the interior with help from our friends at Classic Parts of America, RetroSound, TMI Interior, DEI Industries, Dakota Digial and Original Air. Stay tuned!
Chris Hamilton is an automotive journalist, editor, and lifelong truck enthusiast with extensive experience covering custom truck builds, fabrication, performance upgrades, aftermarket products, and a ...
We use cookies to enhance your browsing experience, serve personalized ads or content, and analyze our traffic. By clicking "Accept All", you consent to our use of cookies. Visit our Cookie Policy for more info.


Share Link