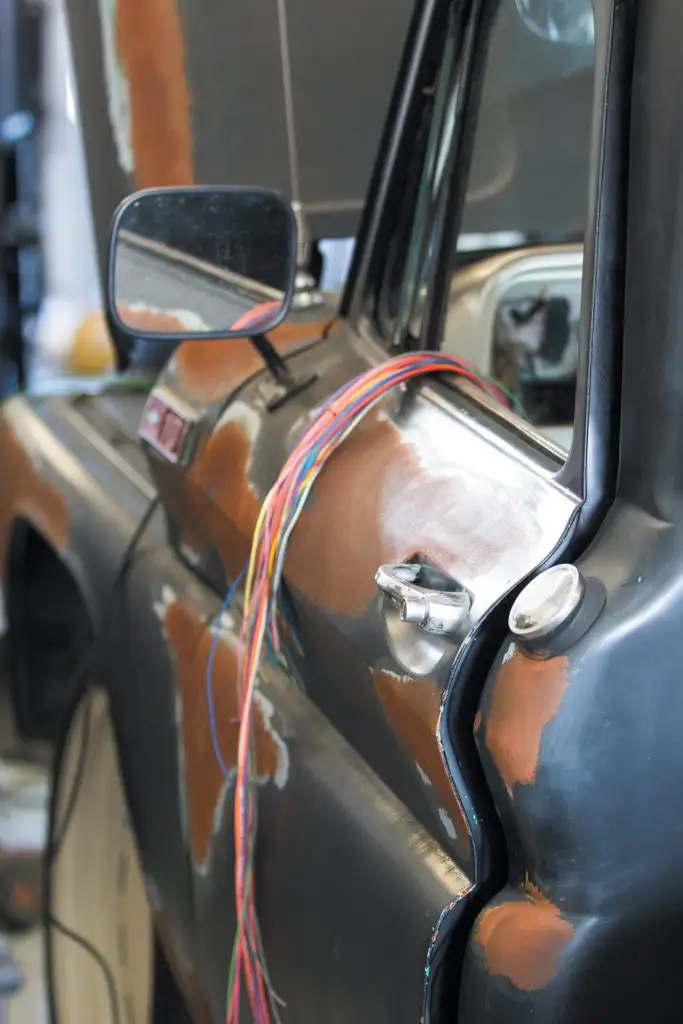
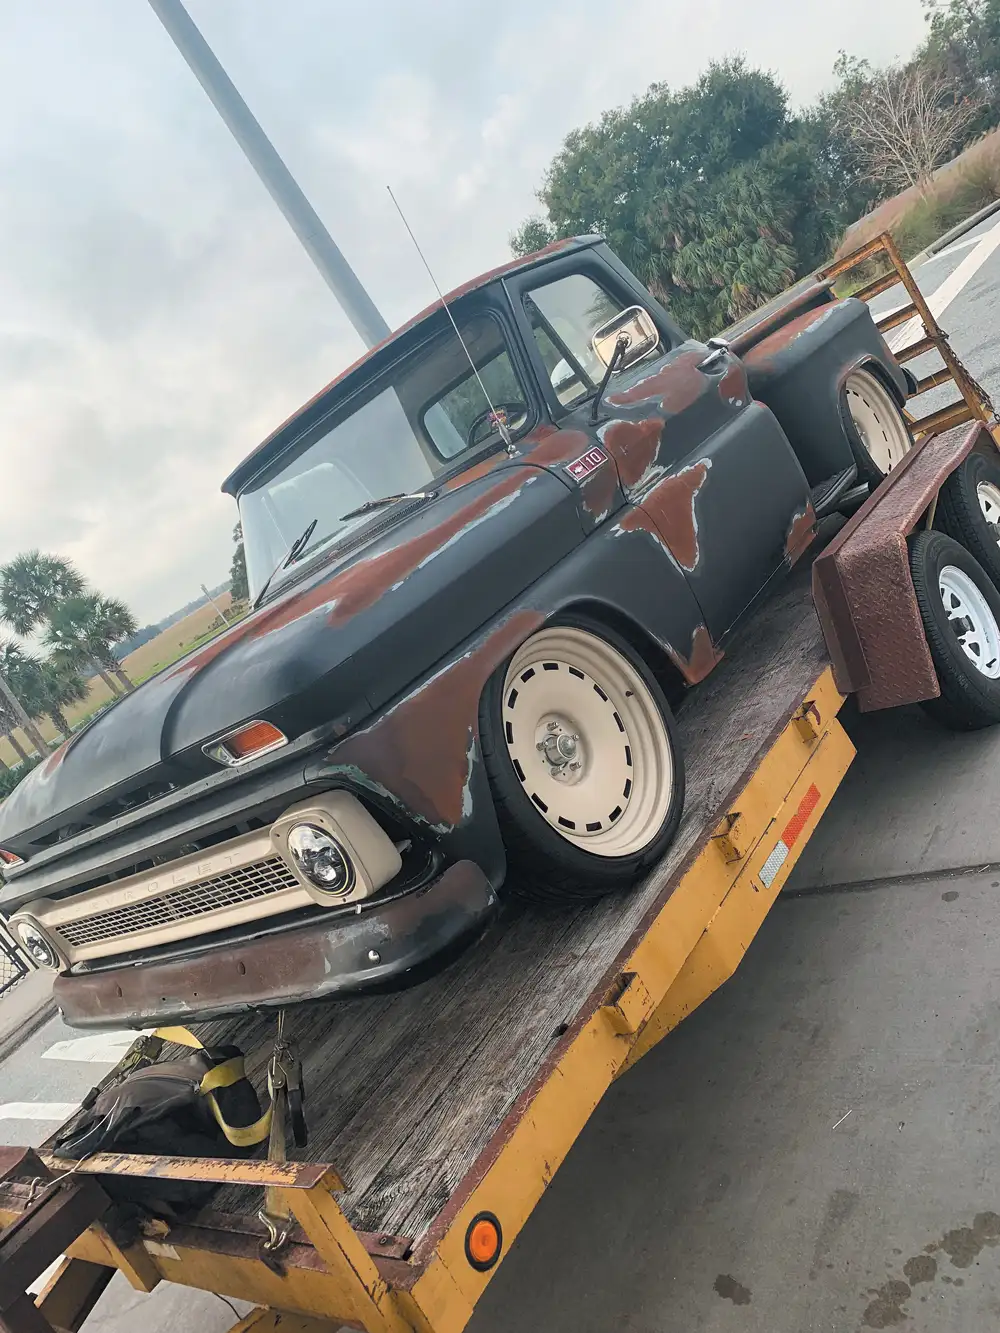
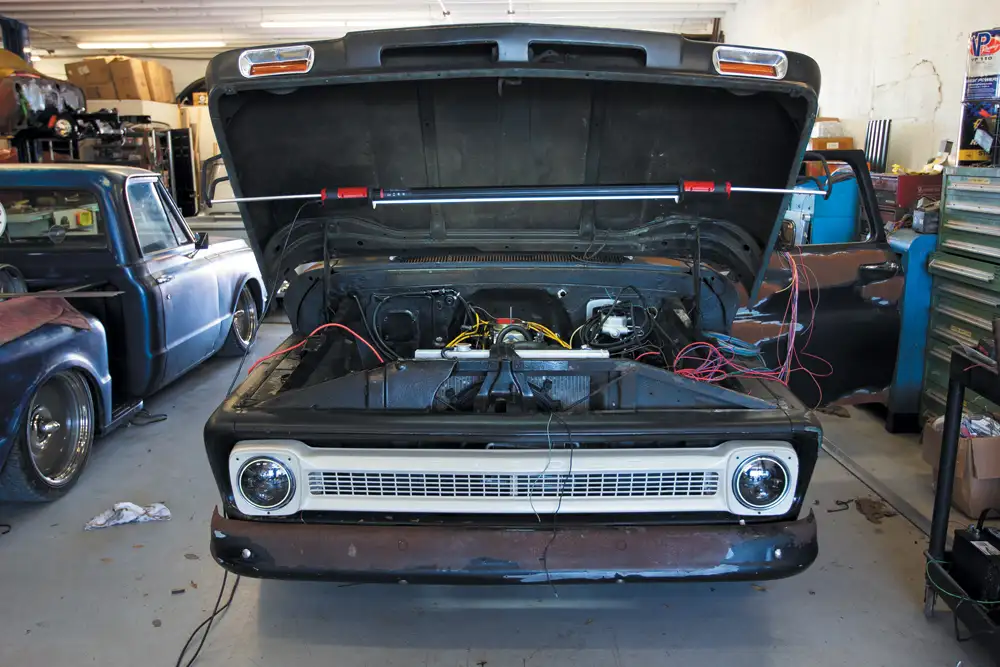
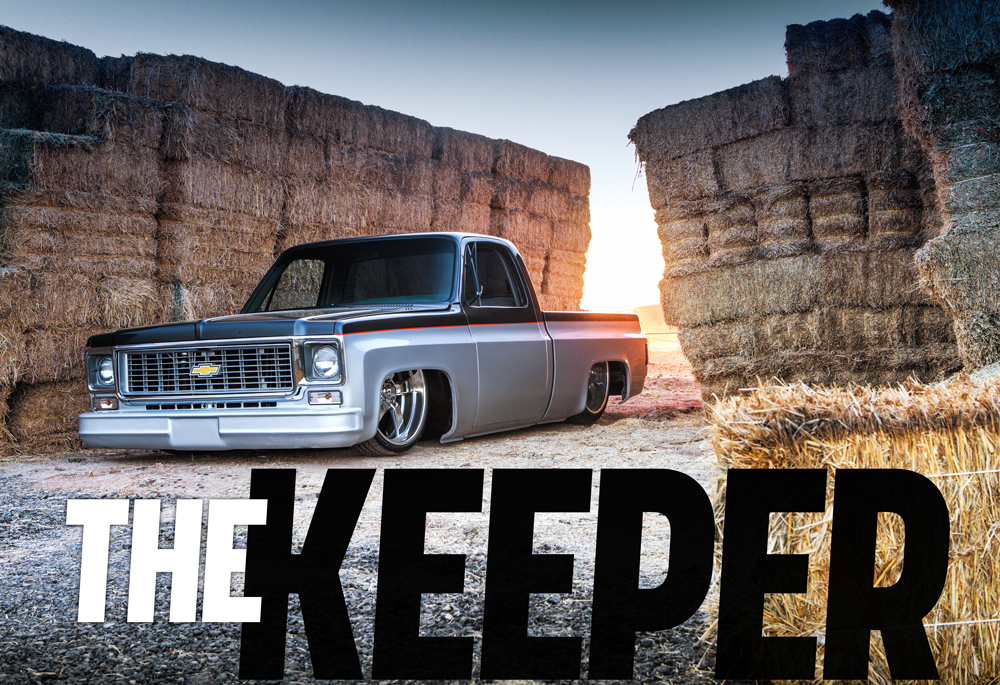
WITH THE suspension installed and the body back together, it’s time to give our 1965 Chevy C10 a new set of veins. The original electrical system in Project Raven has been cut and taped so many times we can’t tell where anything goes. New wiring and fuel injection will make the truck usable on a daily basis and as reliable as a new modern vehicle.
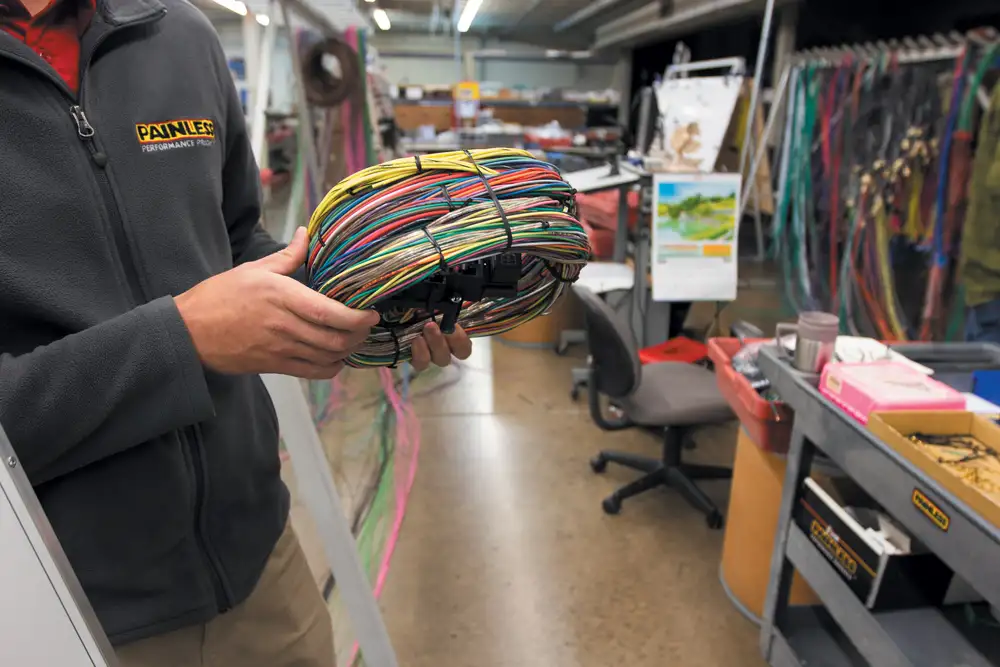
How often have you seen advertisements for wiring harnesses promising a 21-circuit kit for ridiculously low prices? Guess what you get for that great deal? Twenty-one circuits and a few yards of colored wire. Is that really all we needed to rewire our 1965 Chevy C10? And what exactly makes up a proper wiring harness anyway? Just circuits and wires? Absolutely not!
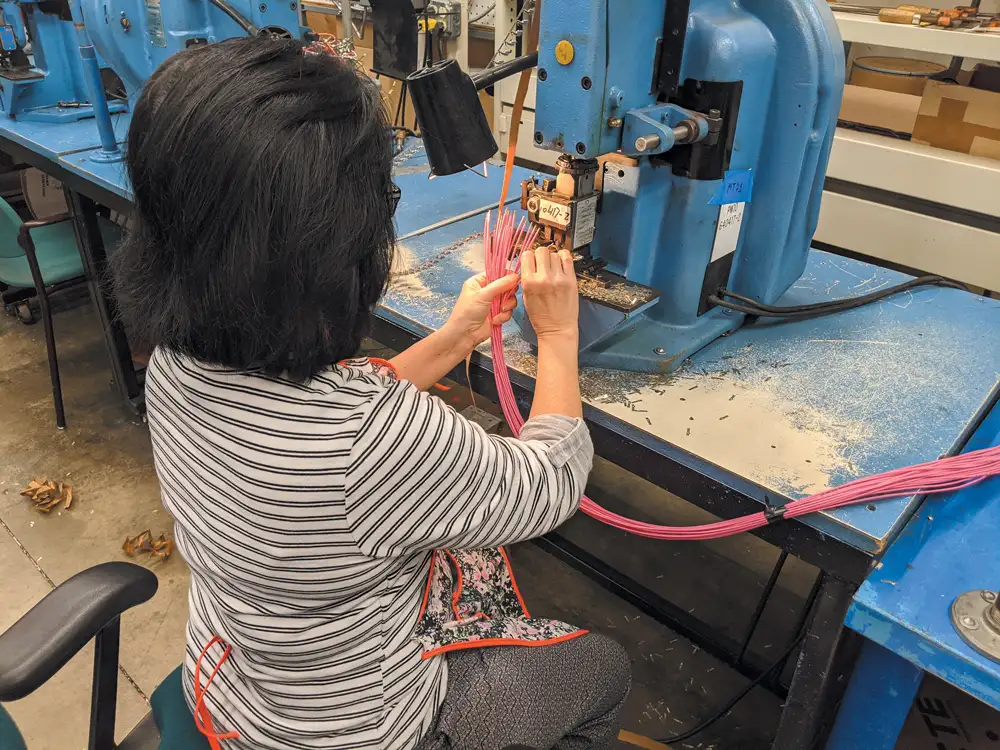
A true modern wiring harness is, first and foremost, meticulously engineered. At Painless Performance, all harnesses are designed by real engineers using the latest in diagnostic equipment. Along with using AutoCAD to ensure consistency in manufacturing, the experts there have perfected the art of accurate and easy installations. Half the work is done for you right out of the box.
When you open that box, you will instantly appreciate the time it took to properly group each wire in sections so that instead of routing 80 or 100 individual wires, you route entire sections of the vehicle at one time. This drastically reduces the amount of time it takes to install a harness and virtually eliminates routing errors.
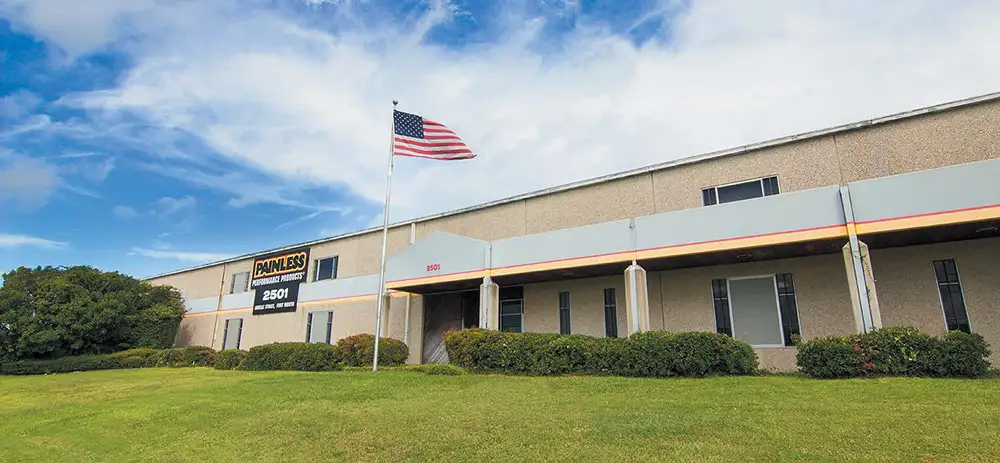
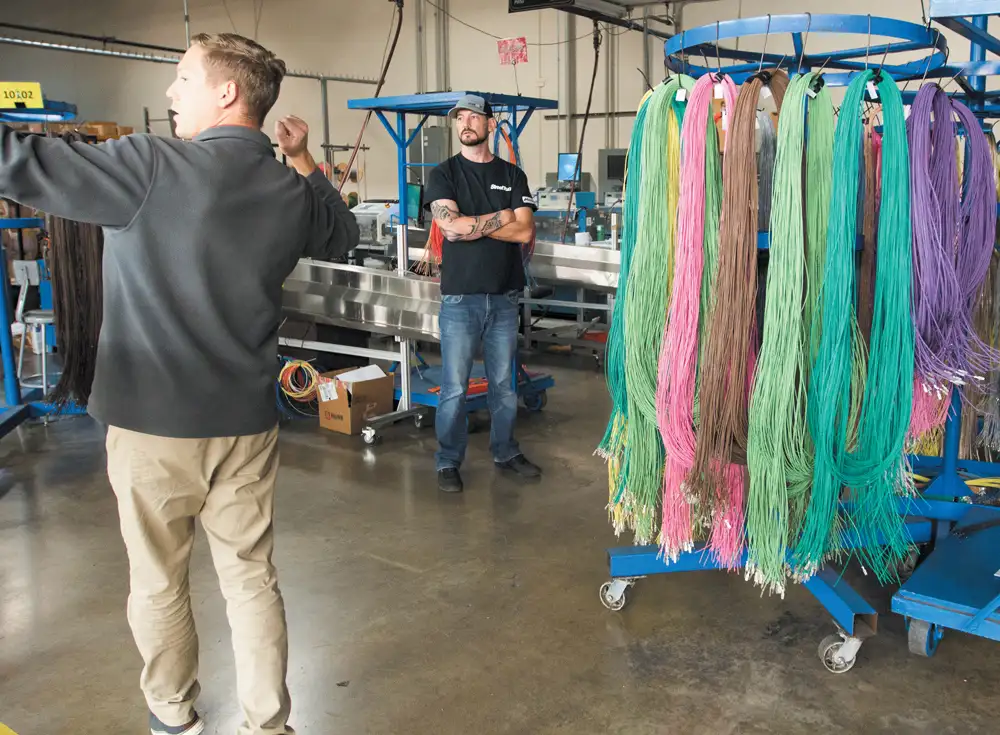
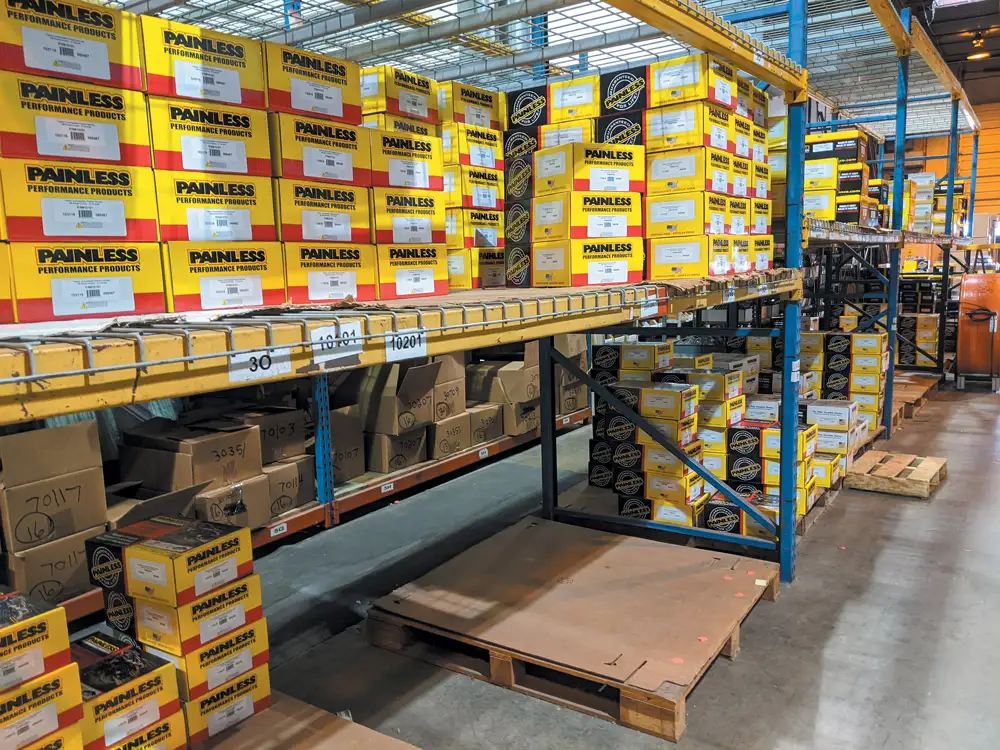
Painless has remained the leader in automotive wiring and electrical products for 30 years through engineering and innovation, not corner-cutting and imitation. What started out as a single idea about a simplified way to wire a street rod has evolved into what is today a multi-faceted company with 66 employees in a modern 45,000-square-foot facility manufacturing over 500 products for show cars, dragsters, rock crawlers and everything in between.We had the honor of receiving VIP treatment from Andrew at Painless Wiring with a behind-the-scenes tour during our Shakedown to SEMA cruise last year. Andrew pointed out all the details that make this company so special. A perfect process engineered through trial and error has brought this brand to a level that’s unstoppable. It’s truly impressive to say the least!
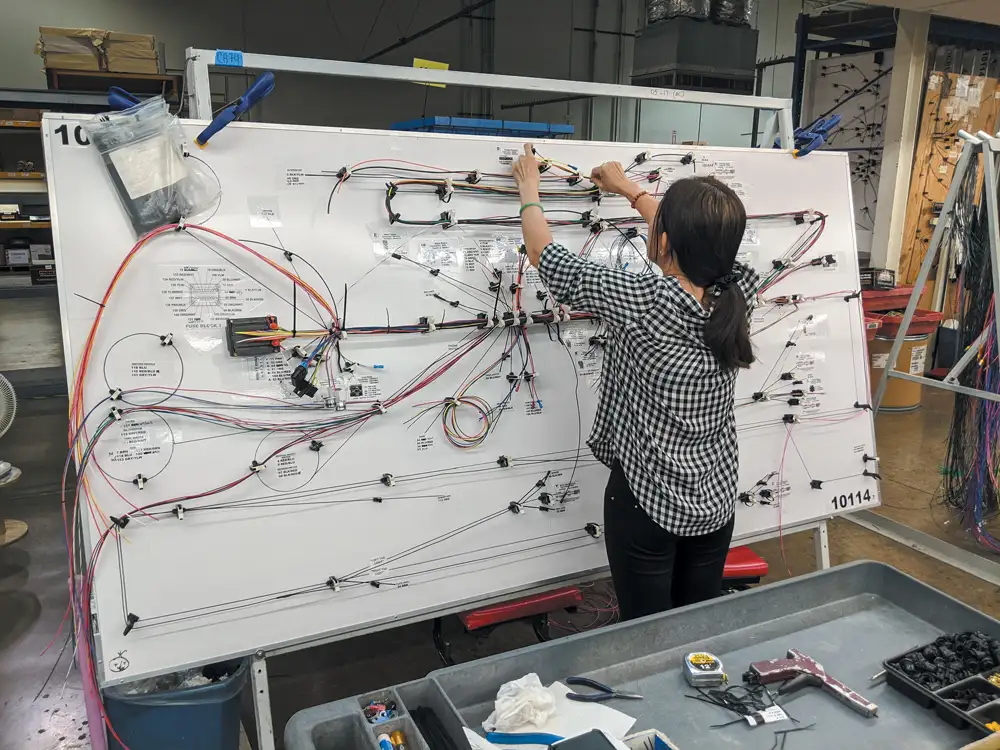
The employees who work here are the backbone to Painless’ success. Precision and practice guide the crew, and pre-engineered templates make it easy to maintain quality control. Templates for each harness make the job Painless!
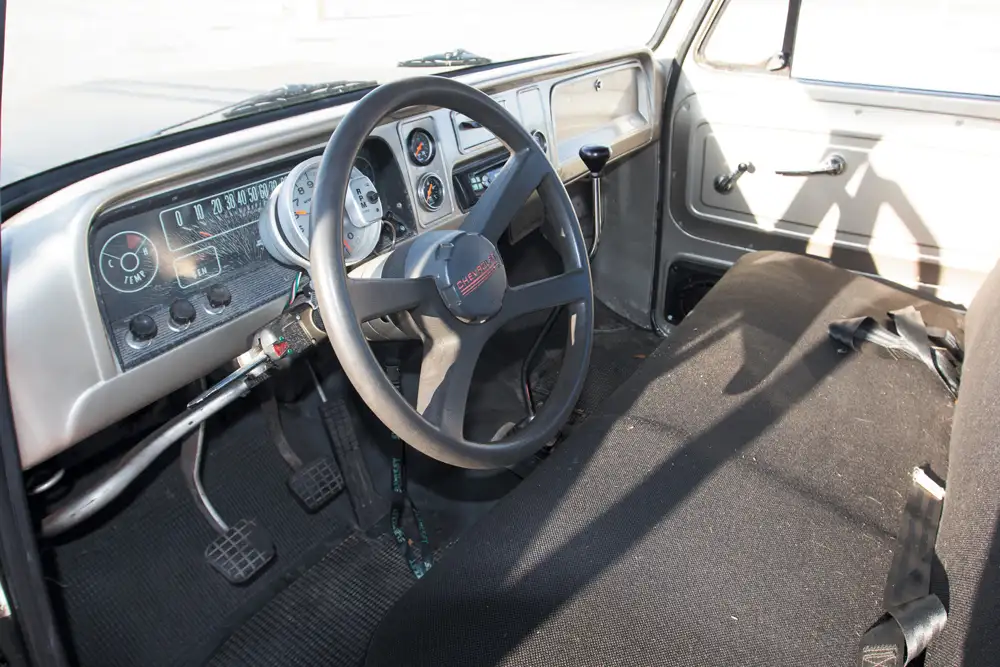
An in-house R&D department keeps Painless Wiring ahead of the curve, and a nearly perfect inventory management system ensures you get the right harness for your important project. We can’t wait to get the tech install going on our Project Raven 1965 Chevy C10.With the trailer loaded and the gas tank full, we were off to Overpower Customs in Lake Park, Florida, for the install.The interior of our C10 is all original and extremely worn out. We will be replacing the dash components, audio system, door hardware, all the wiring and interior fabric. It’s going to be a fun project!
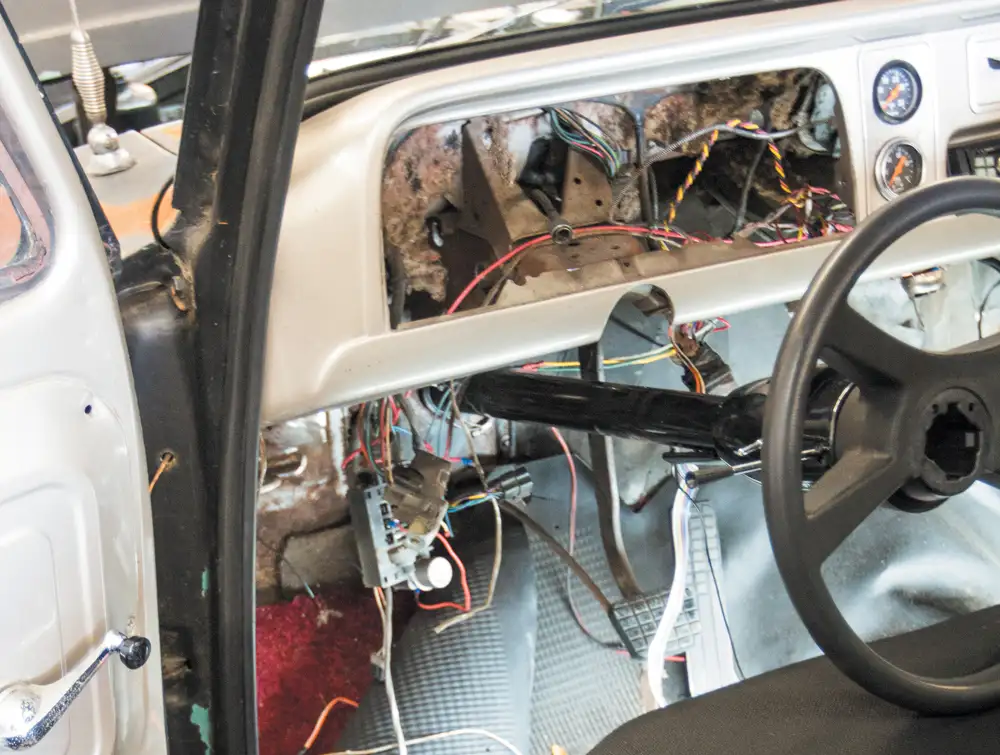
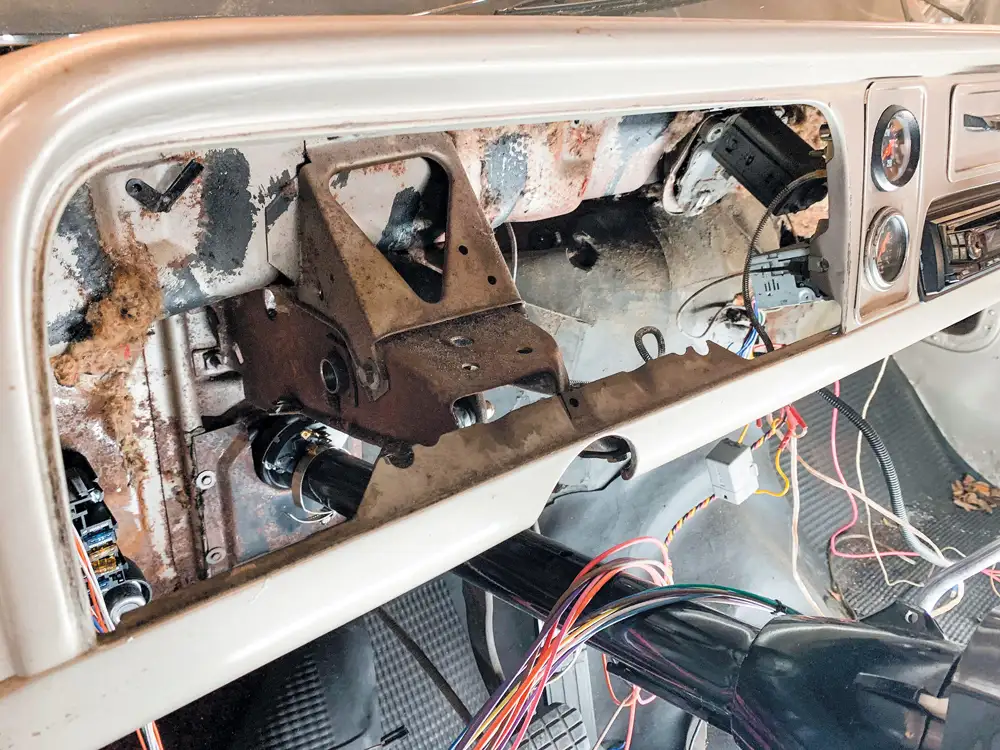
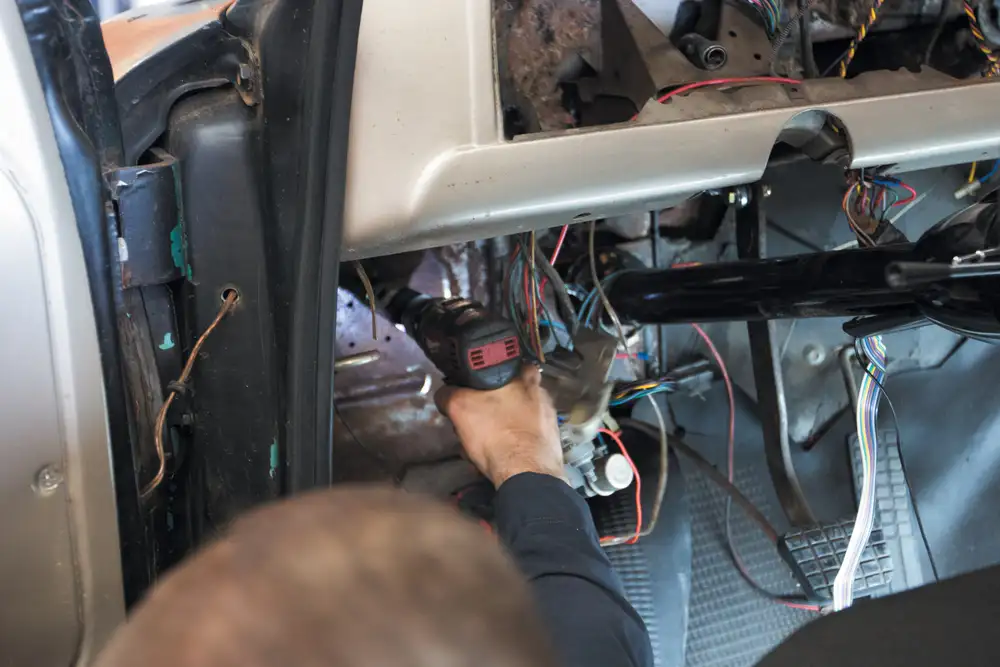
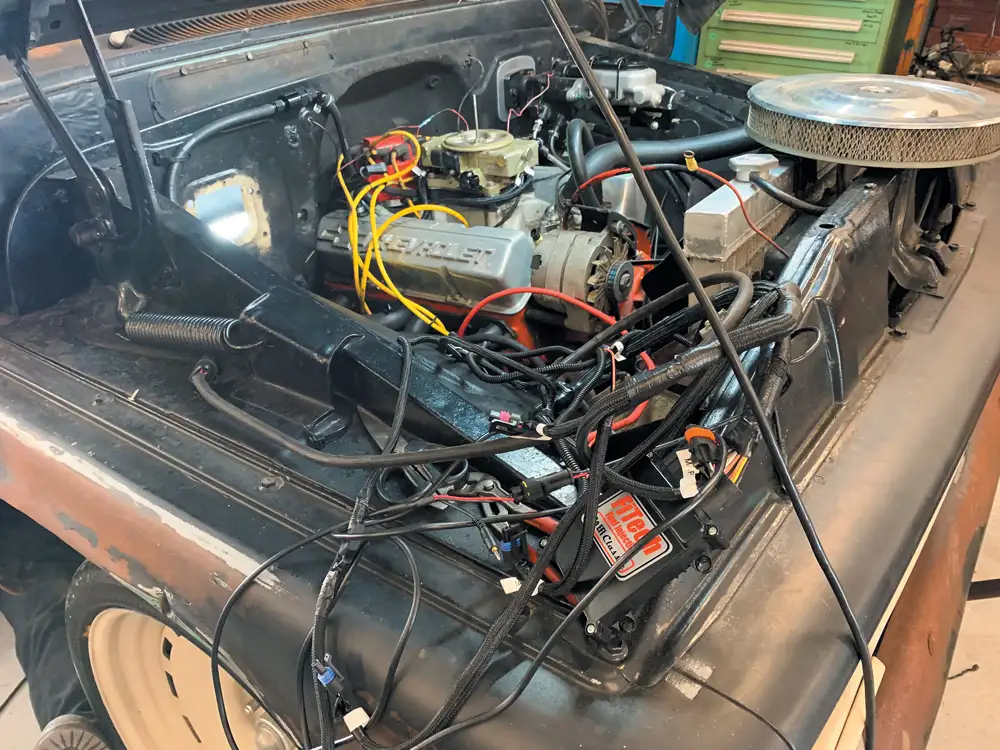
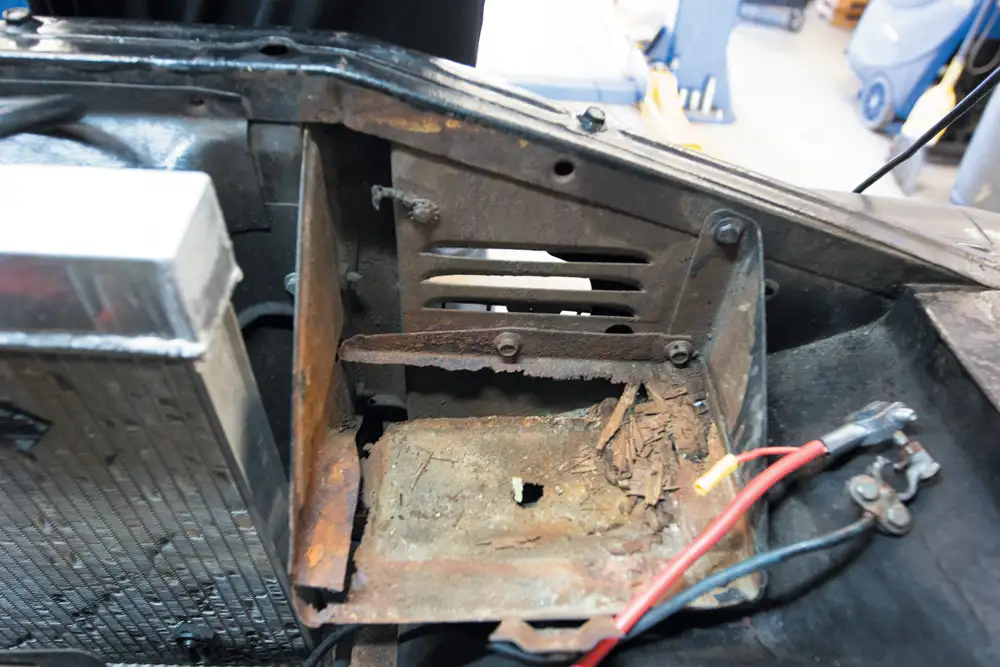
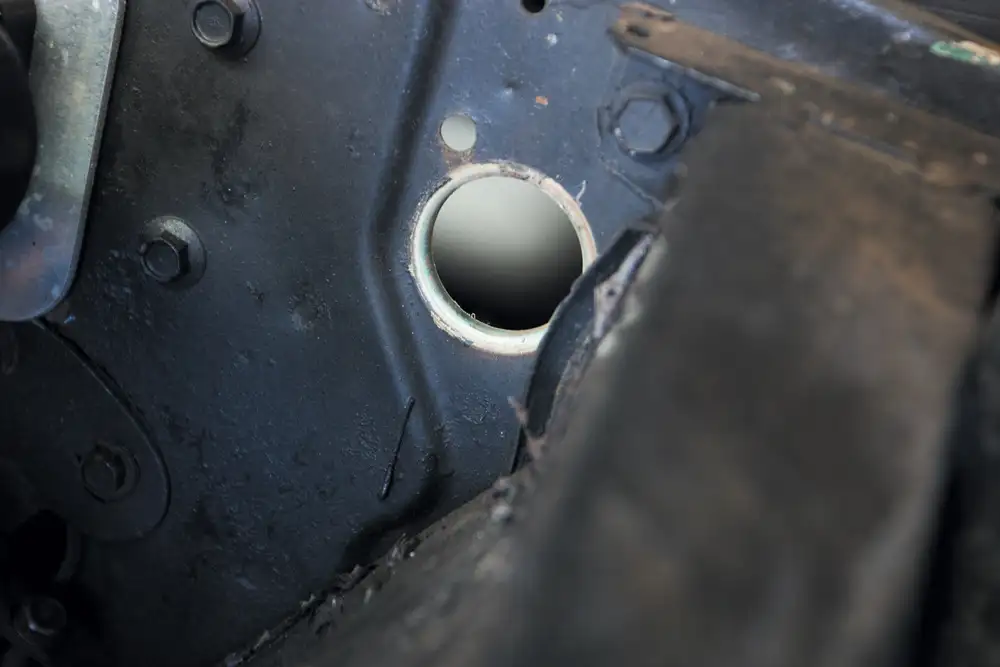
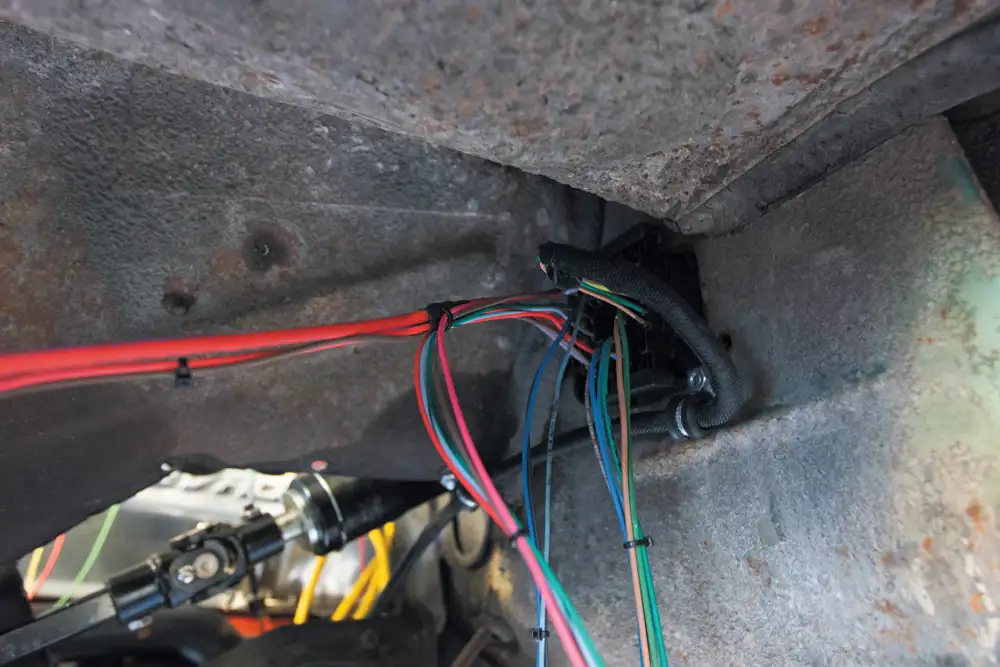
The first project on the list is to remove all the existing wiring. Everything is getting replaced, so there’s no need to be gentle here.This harness is designed with a bulkhead connector so a hole will need to be drilled into the firewall for clearance. A robber bushing will protect the wiring from getting cut on the sharp metal.What a mess! Even though we just had the FiTech fuel injection installed, it has to come out to get rerouted. Trey is going to mount the brain and wiring under the dash for a cleaner look.With all the wiring removed and out of the way, we see a few other problem areas that need to be addressed— particularly that rusted-out battery rack. We will remove and replace that for sure.
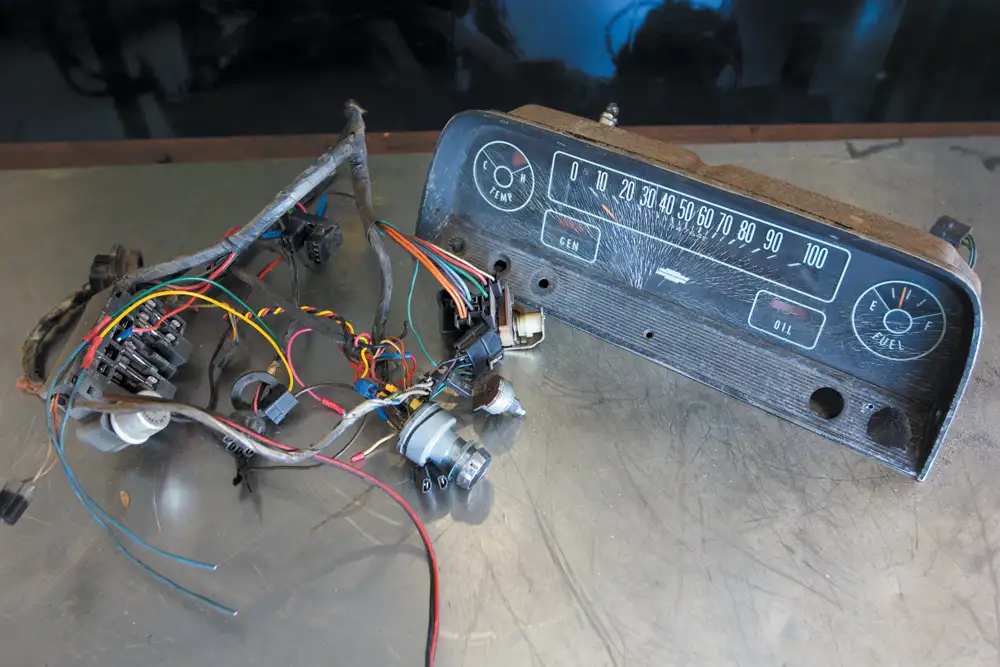
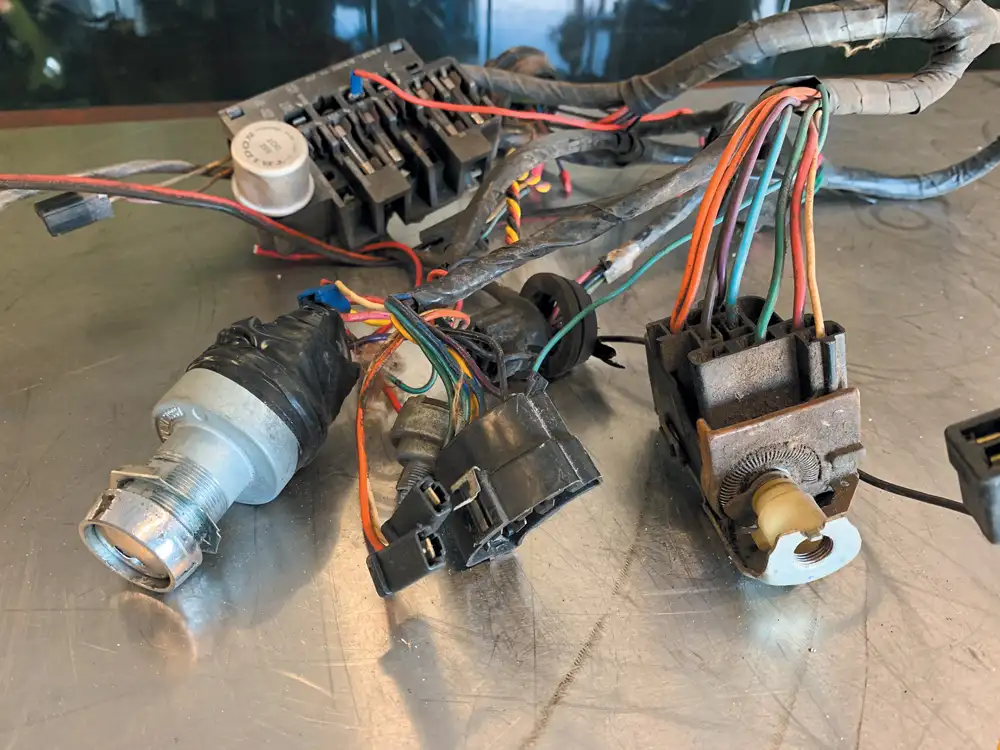
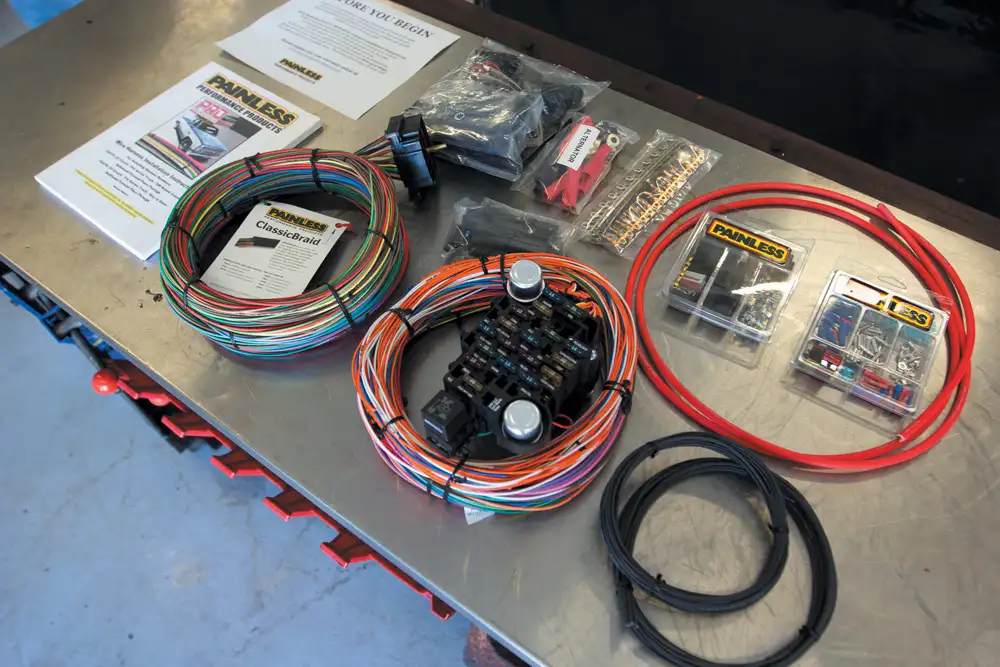
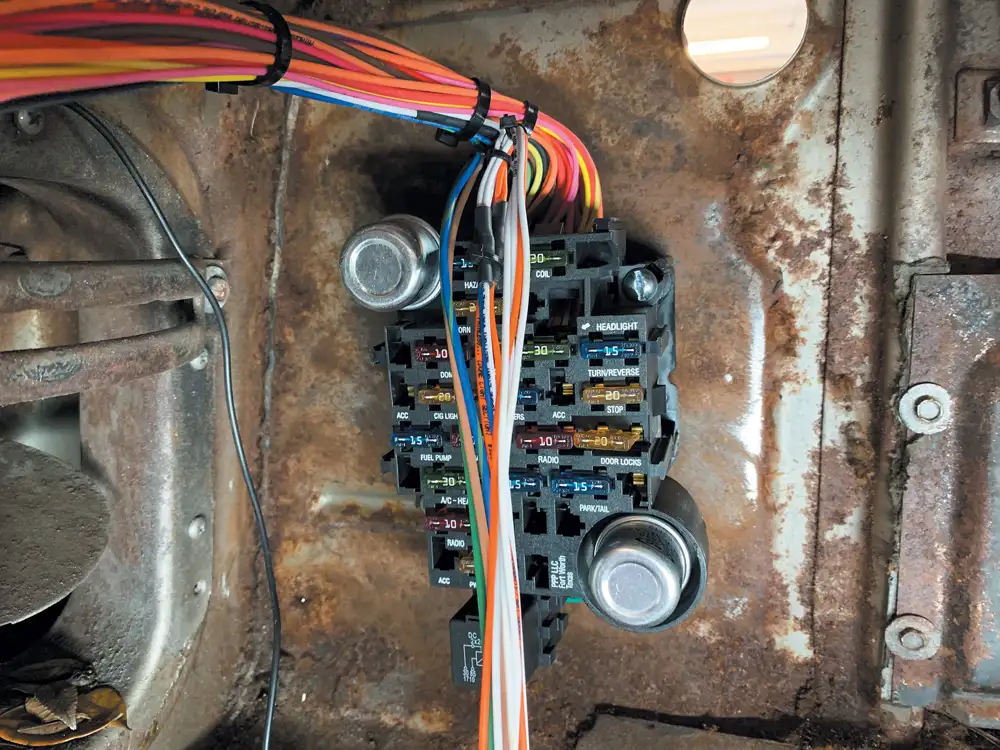
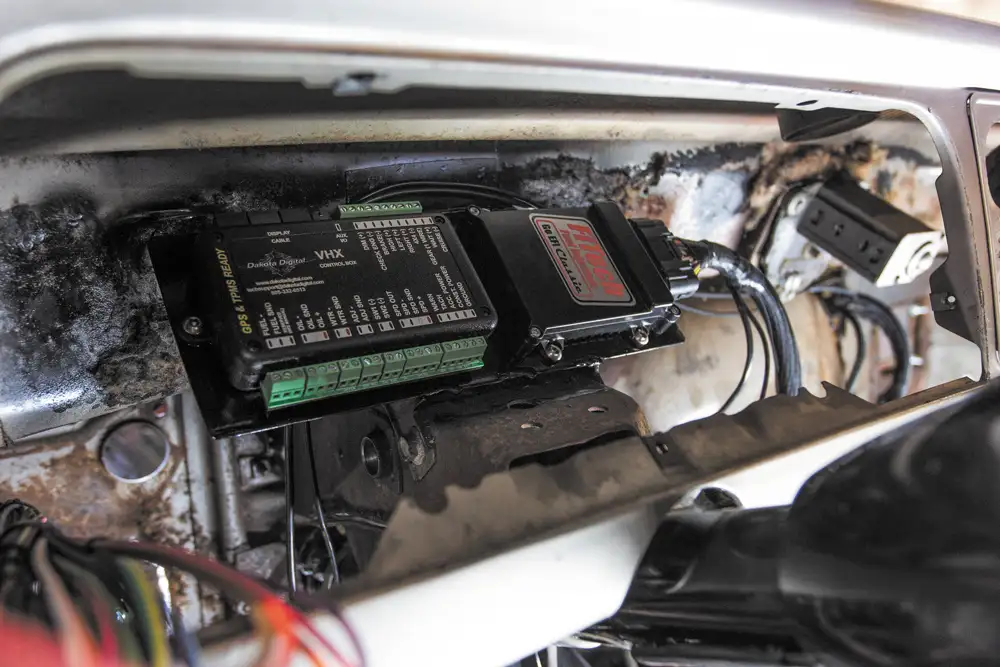
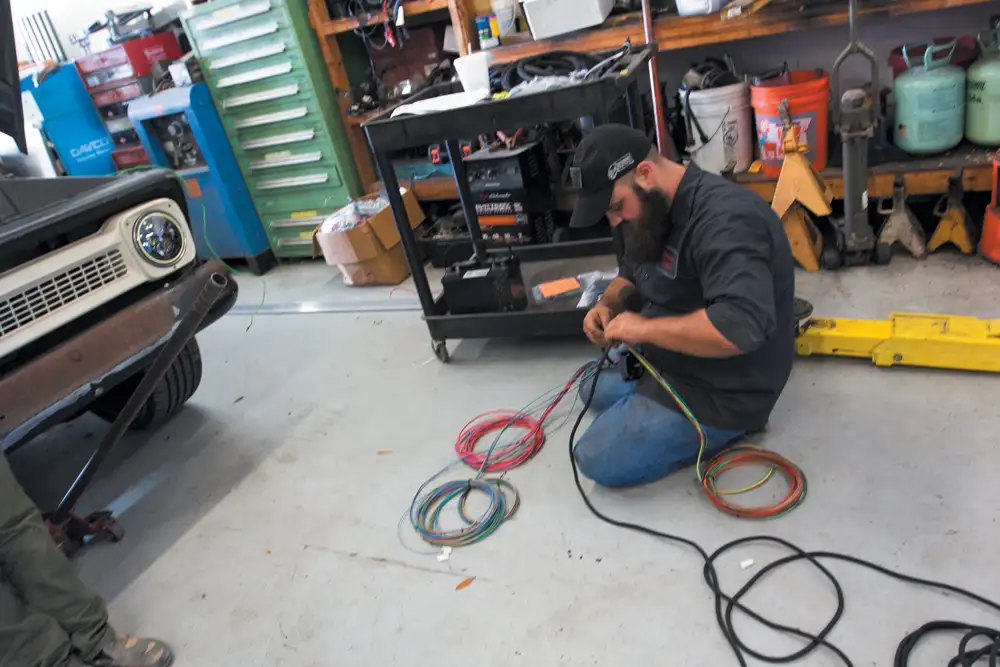
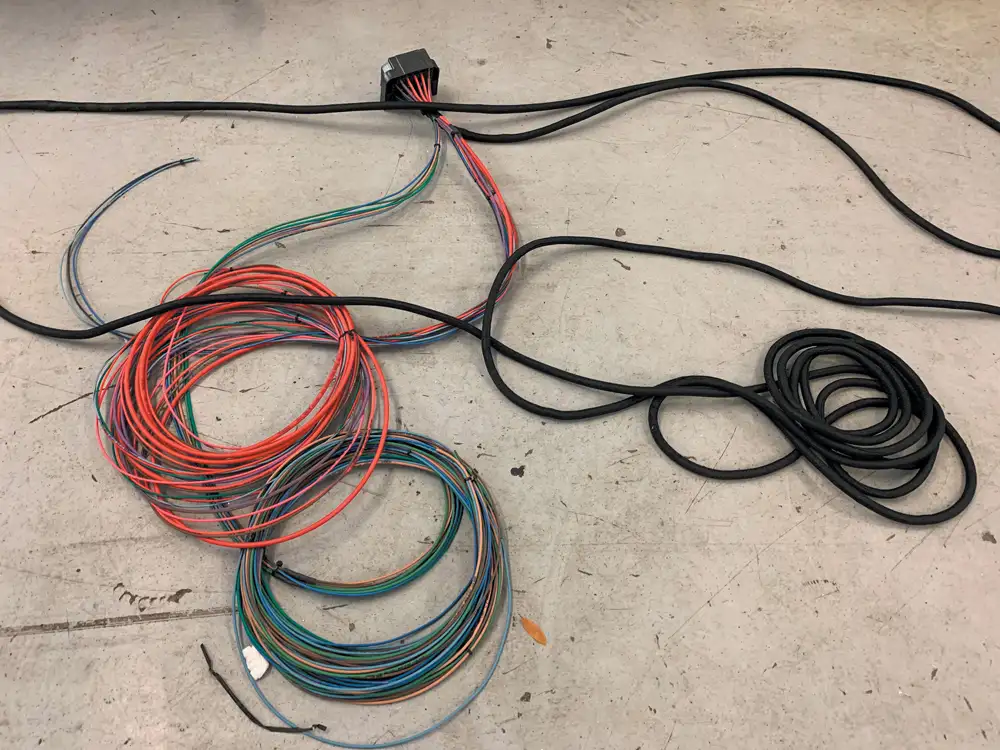
With the wiring removed and gauge cluster set aside, it’s easy to see that this old equipment had to go.Now it’s time to tackle the tough task. Sorting out the wires and stringing them throughout the truck is tedious and time consuming. If you are truly focused and free of distractions, we promise you can handle this job. We ordered the Painless Performance Pro- Series kit, which fits custom trucks a little better, but they also offer C10-specific wiring harness.Mounting the new fuse panel is priority number one. This is the center of the hourglass and an important piece of the puzzle, so follow the instructions.Next Trey decided to mount the Dakota Digital connector block and the FiTech brain behind the gauges for a super clean install.
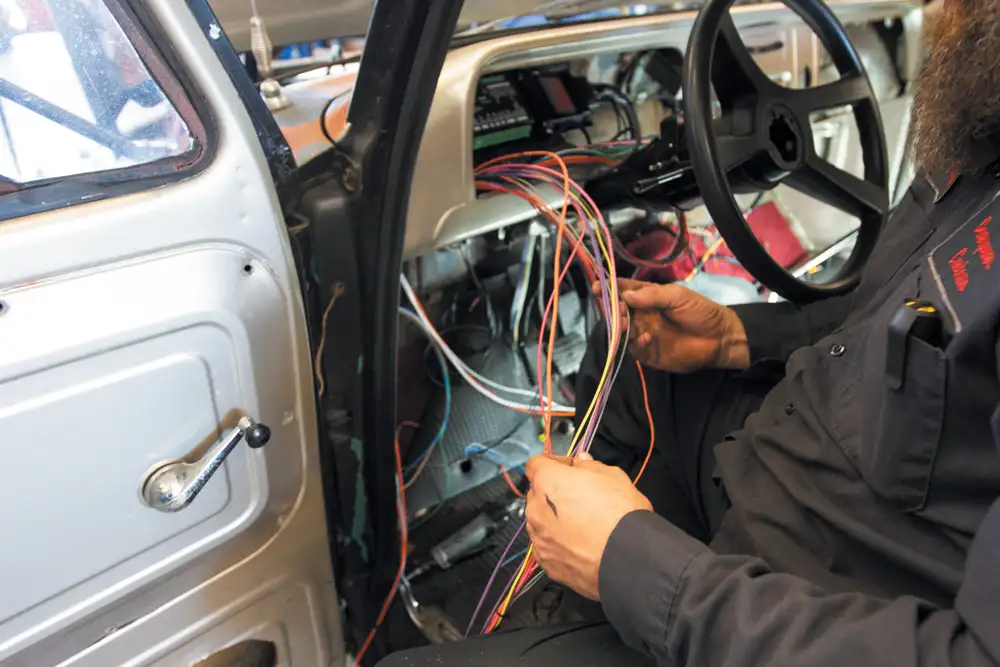
With the electronic brains installed, it was time to use the human brain: sorting the wires into groups according to where they will be going throughout the truck. At the same time, Ryan Batista was wrapping the wires that go out of the cab with Painless Wireloom.
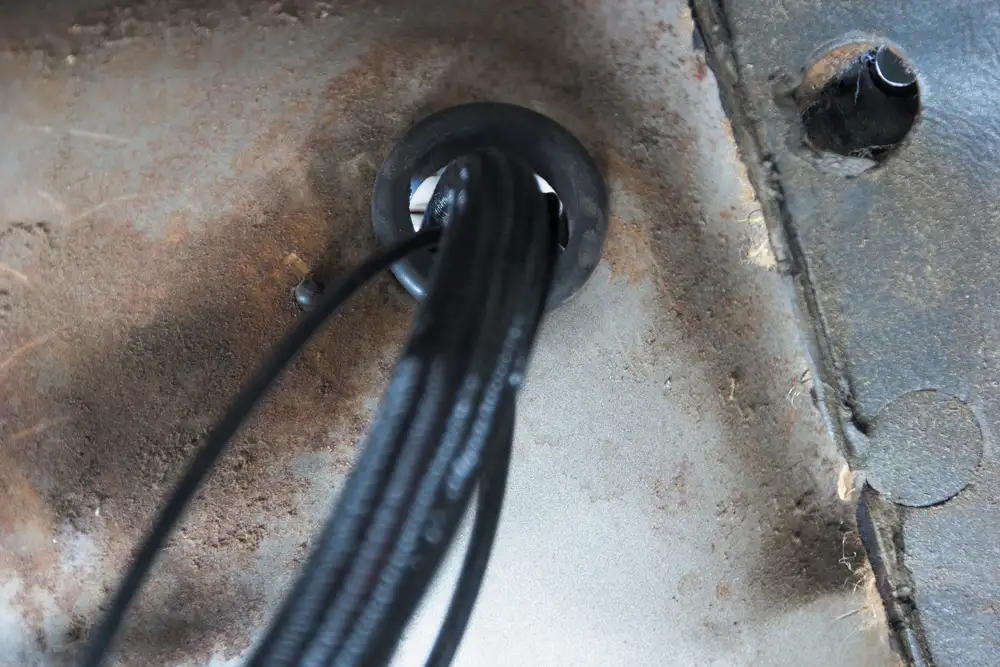
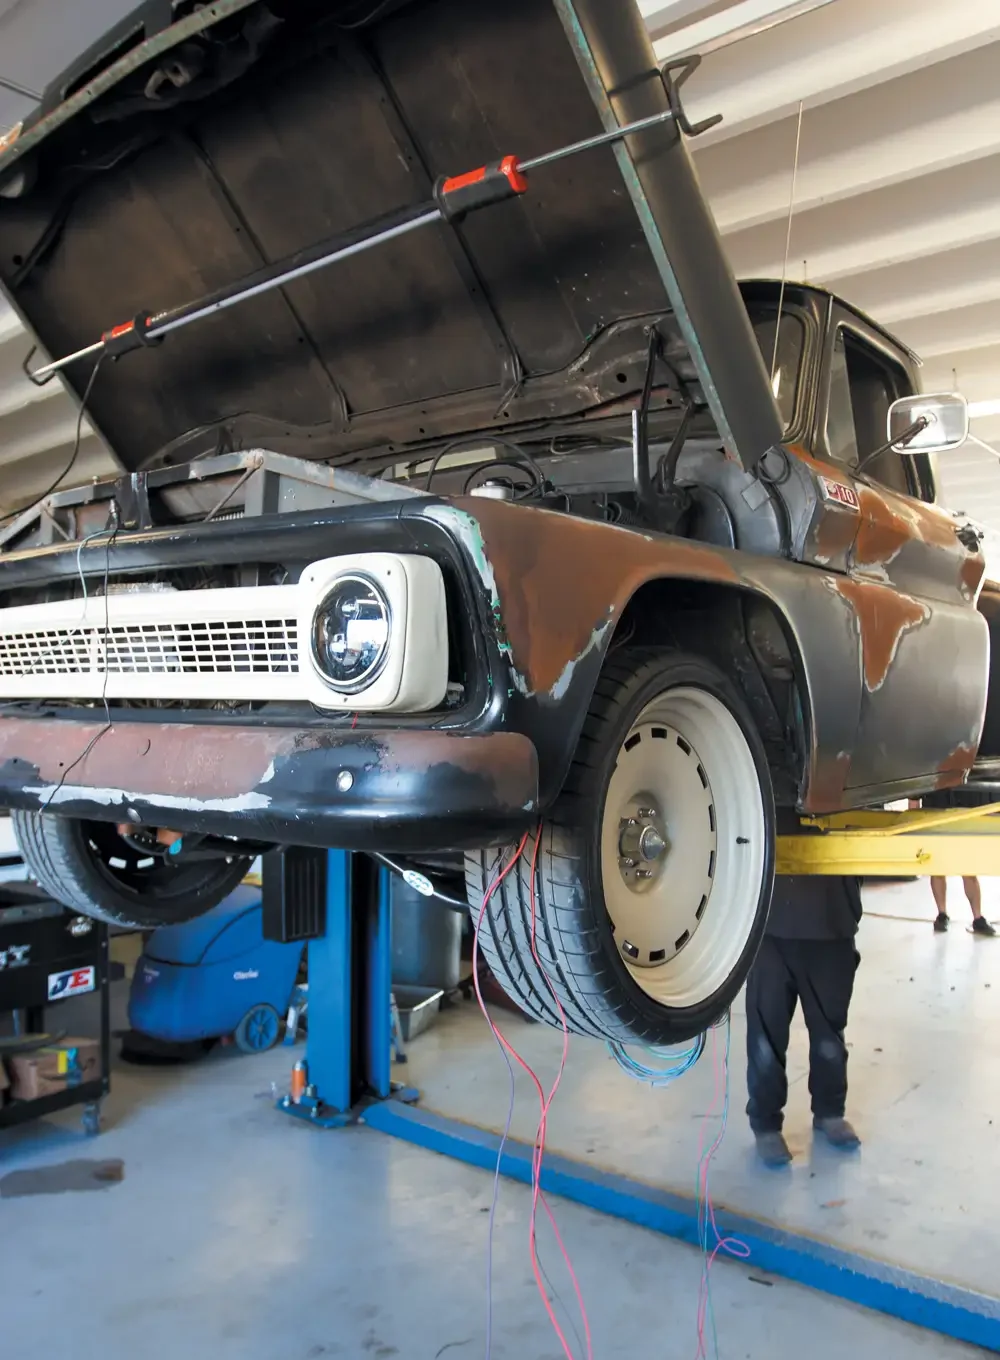
Remember that hole we drilled? Now is the time to add the rubber trim and pass the wire bundle through it.No one likes crawling on the ground, but before the truck can go in the air, they check for clearance with all the weight on the suspension.
The bulkhead connector is designed for an easy install and a clean look. Once its properly wrapped and organized, the truck can go in the air and the connector can be installed.
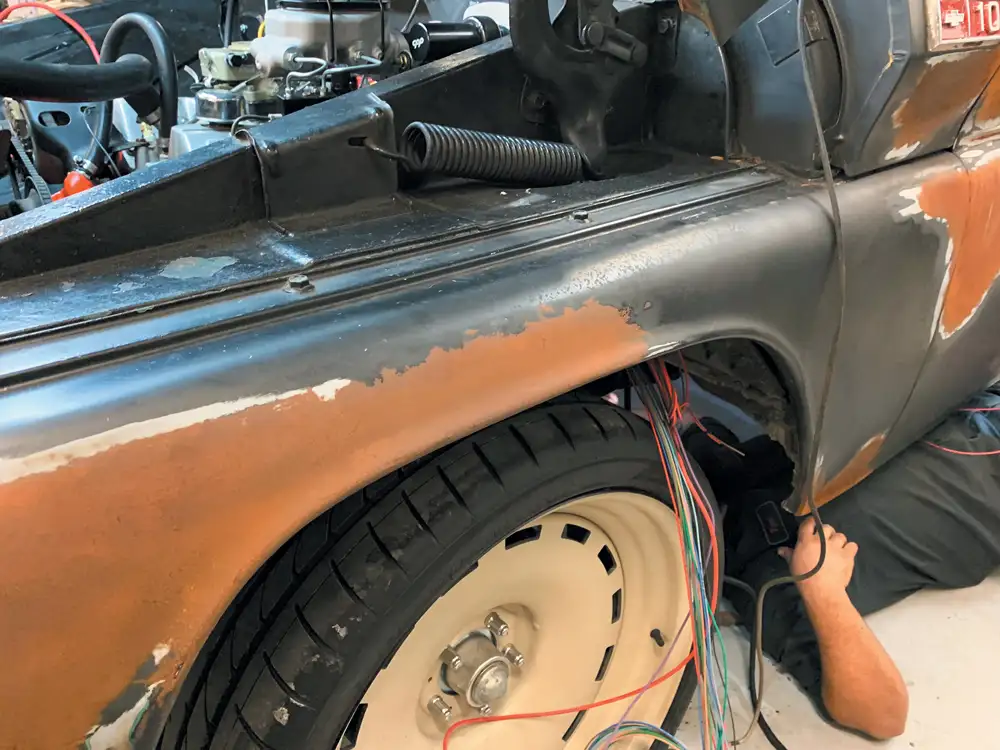
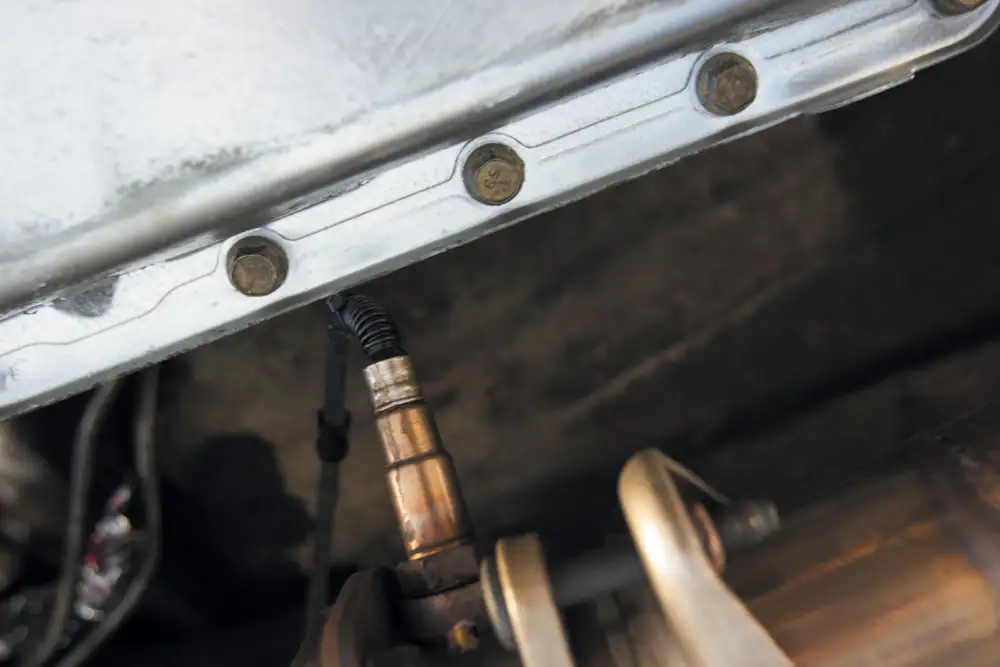
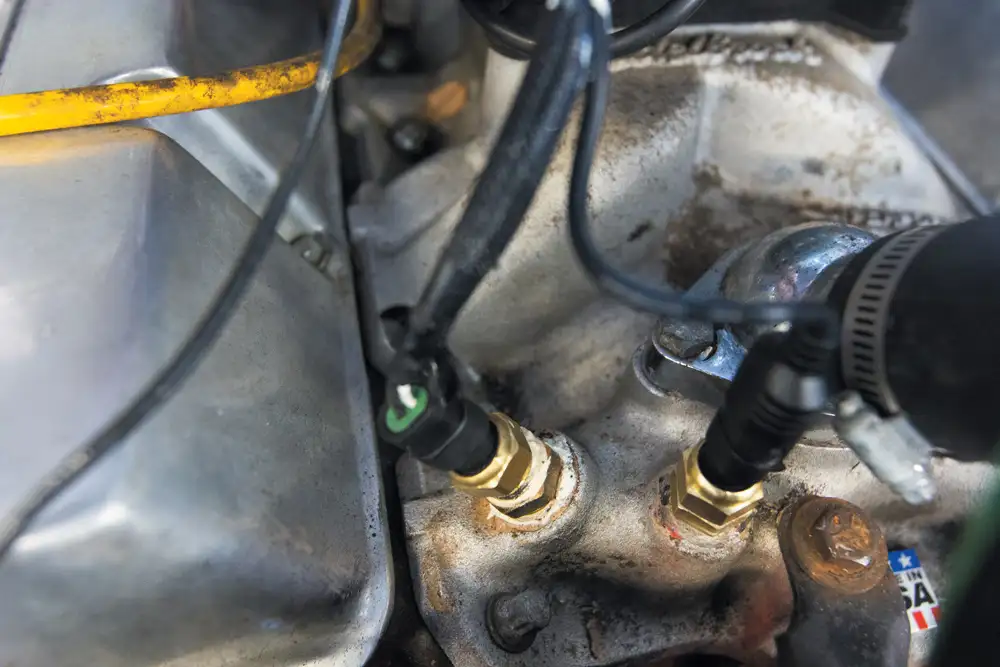
Wrapping up the wiring under the truck includes running and connecting to the oxygen sensors on the exhaust pipe, fuel pumps and fuel pressure regulator.With the truck back on the ground, it was time to tackle the engine bay.
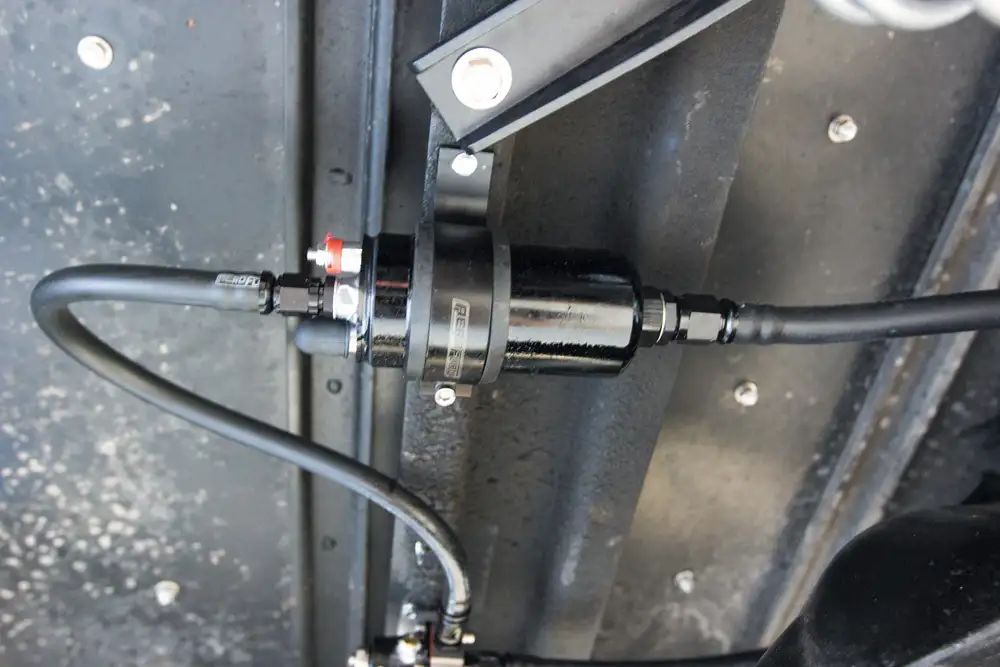
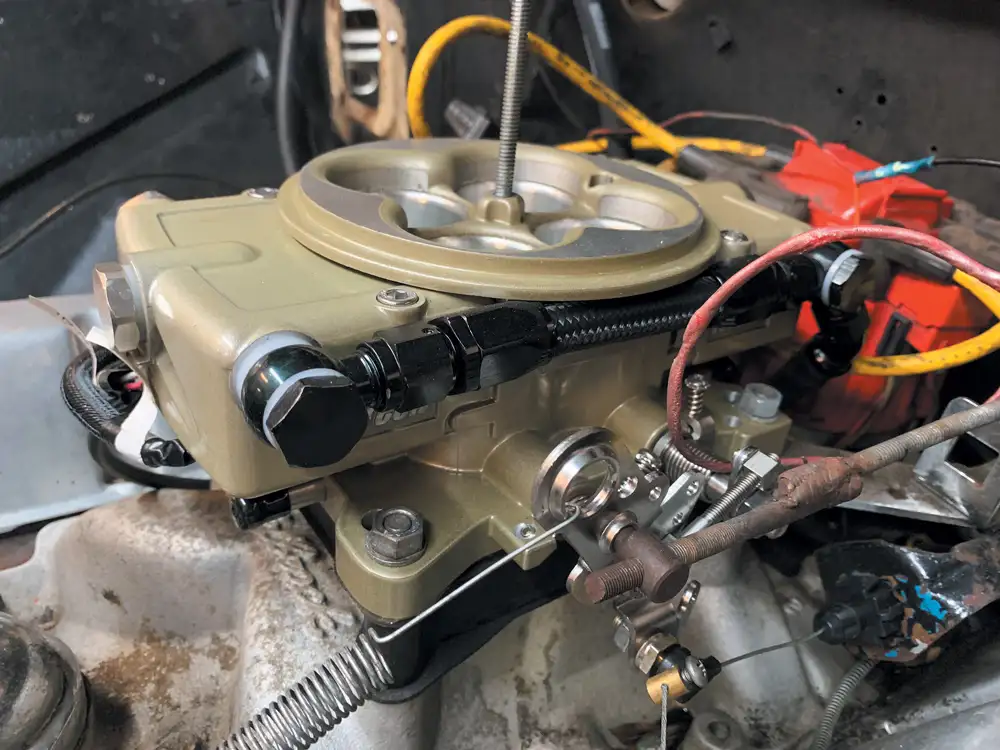
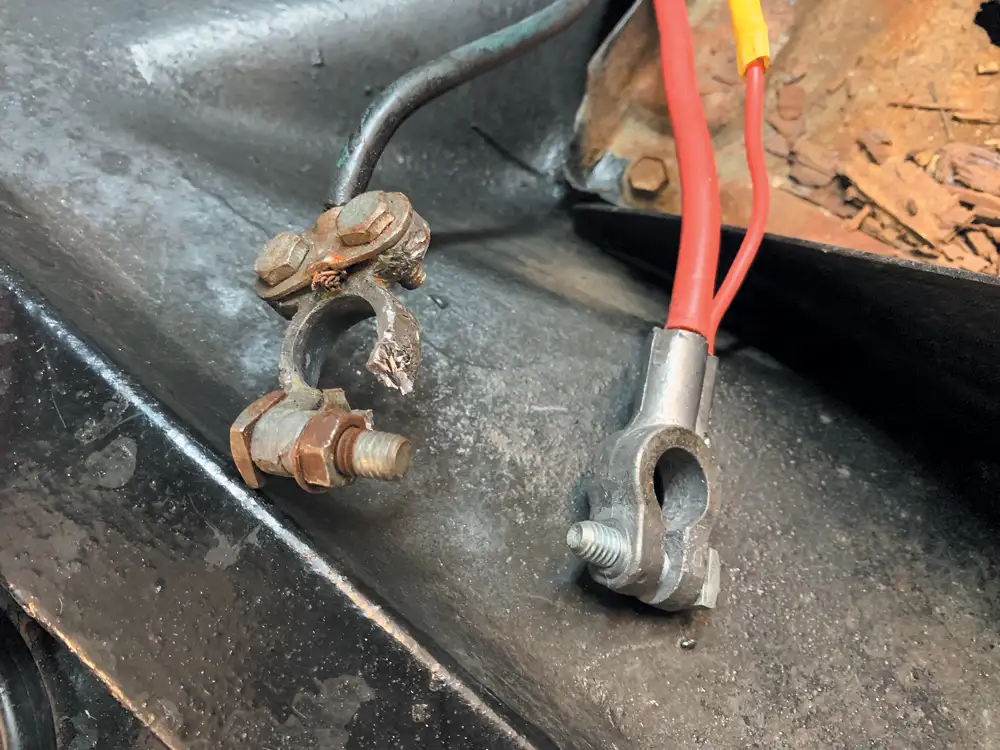
Sending wires to the FiTech fuel injection unit and the sensors took some time, but we got it complete. And don’t worry: Trey is removing those ugly yellow spark plug wires and that hacked-together throttle linkage.Painless offers multiple battery cable kits in different lengths that include new terminals, which is awesome because this truck really needs them!
COMING UP IN THE NEXT ISSUE!
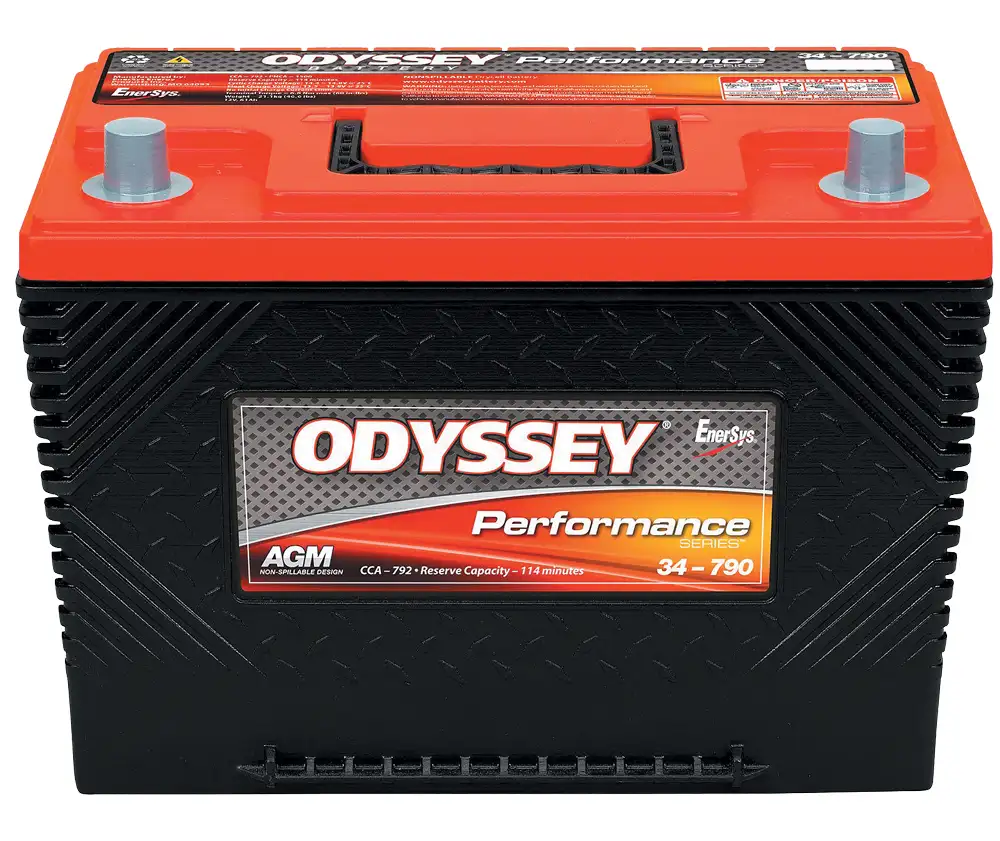
Like what you see so far? Just wait until the next issue! All this hard work will pay off when we do the final install of the goods including this Odyssey Battery 34-790. The Odyssey Performance Series batteries provide all the reliability of the Odyssey Extreme Series batteries but without the high, cold-cranking amps.
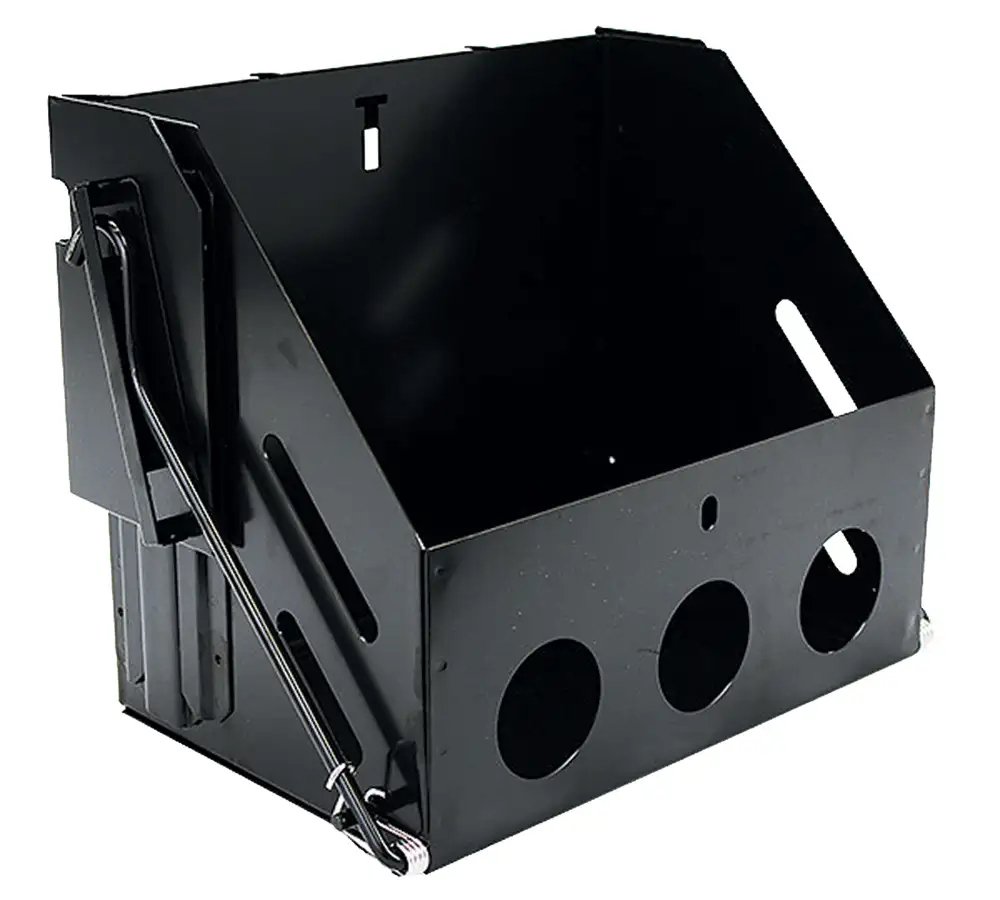
To mount the battery, we are using this battery rack from Performance Online. The company’s stainless-steel drop-down battery box is designed for Group 24 Batteries and allows you to mount your battery on the frame or replace your existing frame mount battery box. This unique rack has a drop-out bottom for easy battery maintenance.
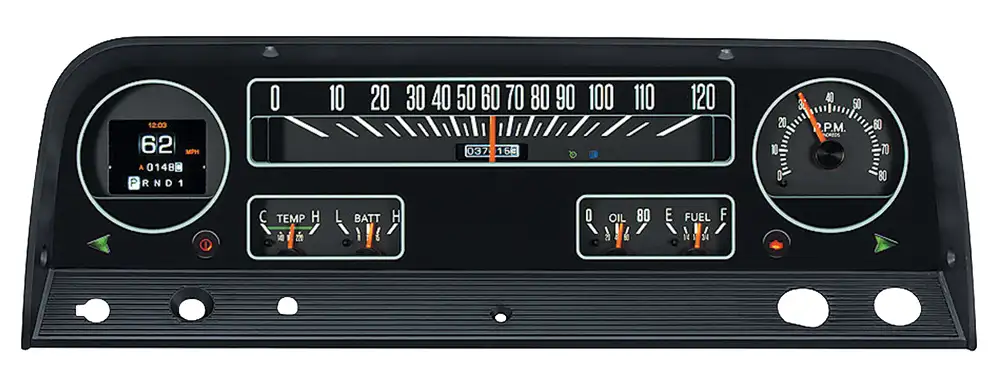
The Dakota Digital RTX-64C-PU offers a vintage look with modern capabilities. A 2.4-inch TFT message center and an analog tachometer let you keep an eye on everything. The small display in the center contains a simulated tumbler odometer, too.
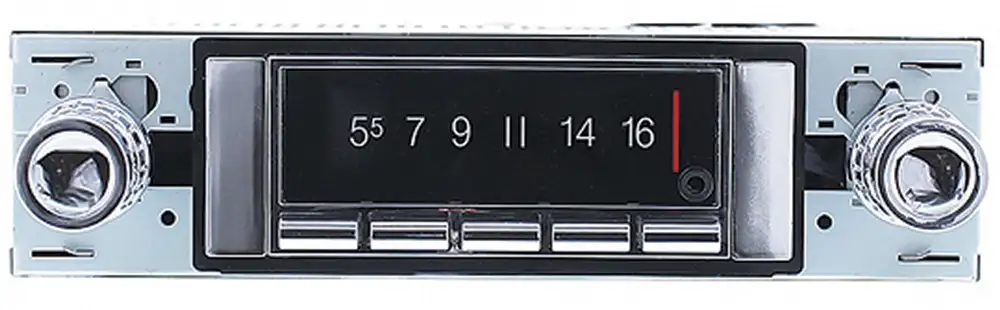
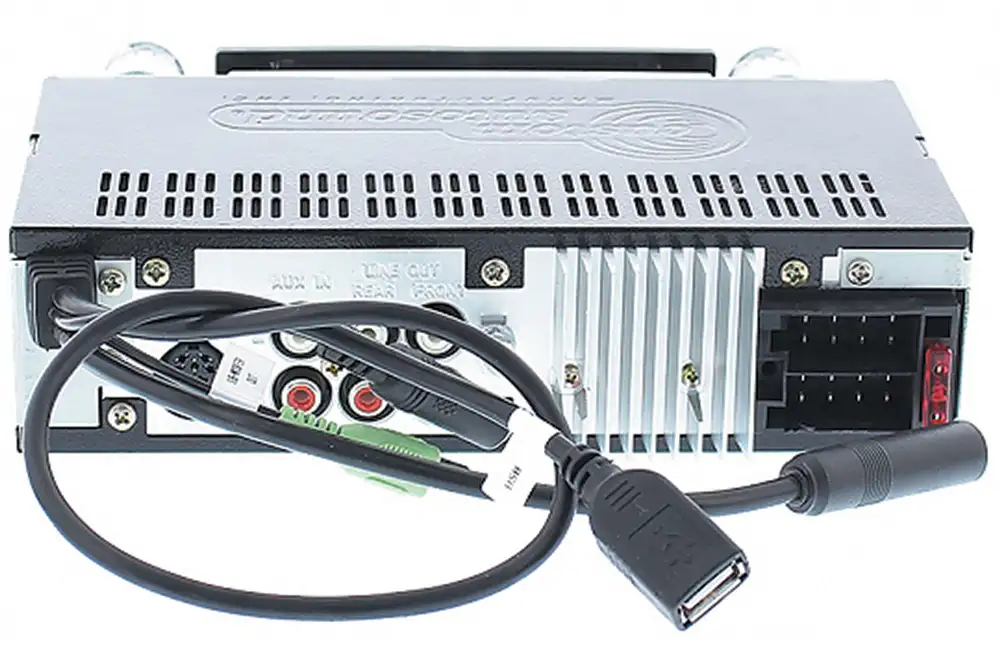
For audio on our 1965 Chevy truck, we chose a CAM-CHTK-740 radio from Custom Autosound. This head unit is an AM/FM radio that features Bluetooth built in, a USB port, two auxiliary inputs and the ability to add a CD player. This top of the line radio from Custom Autosound allows you to listen to the radio, stream music from your phone and talk hands-free without having to cut the dash.
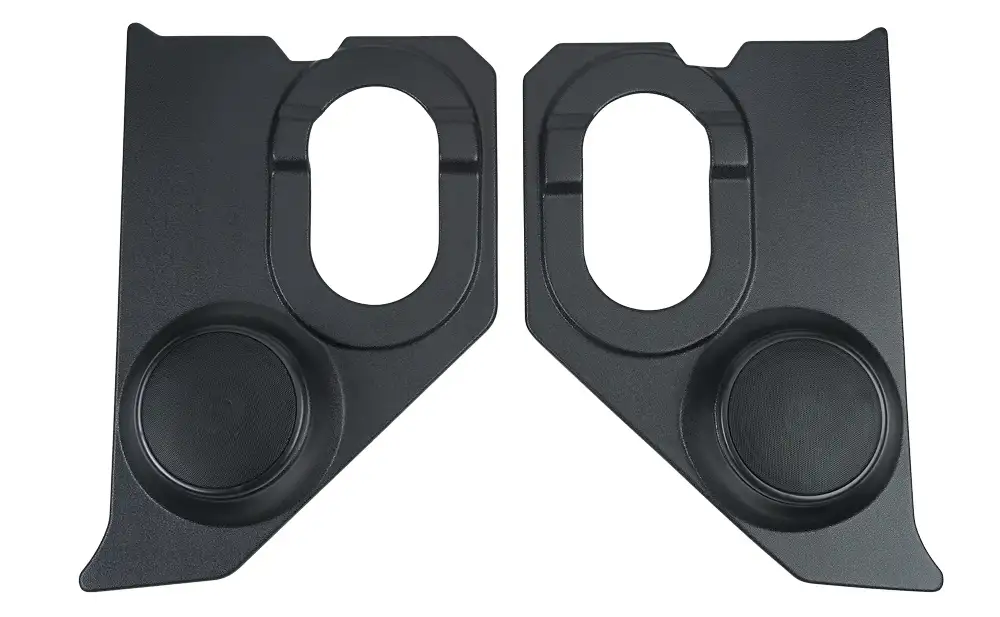
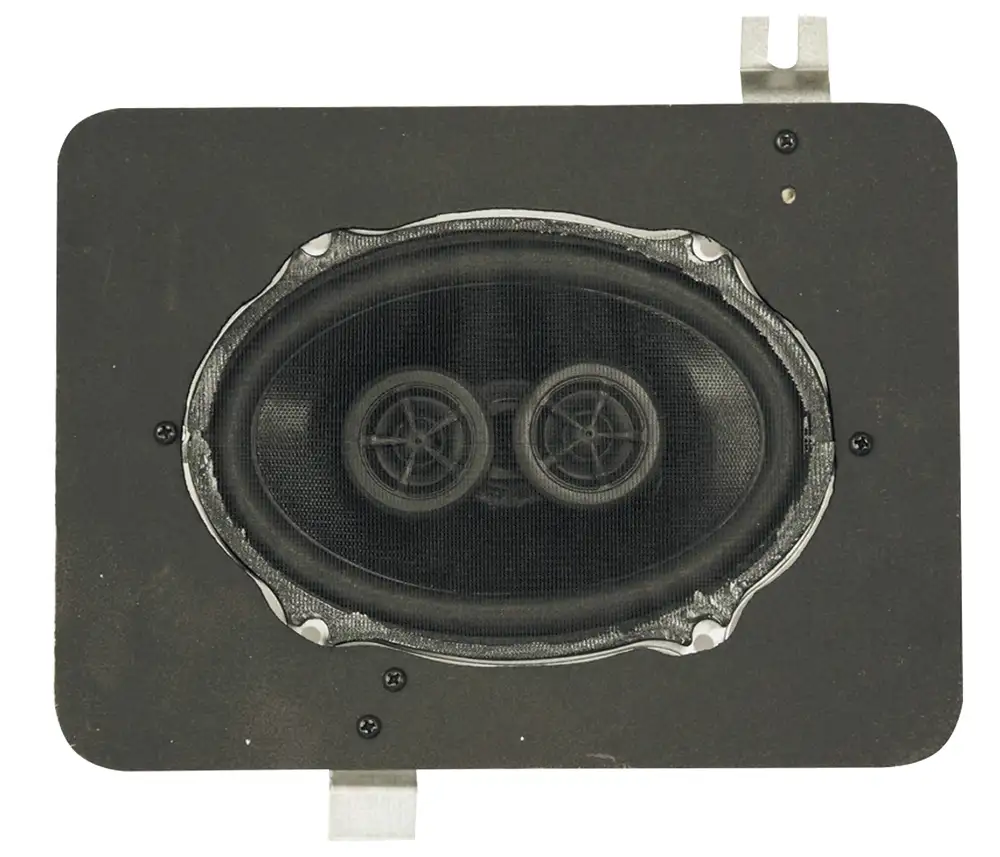
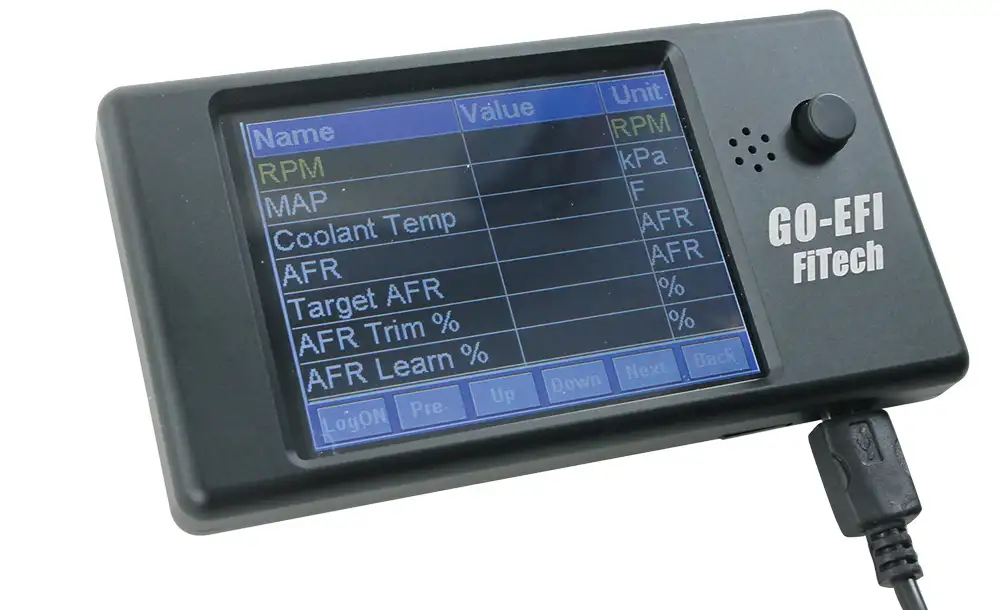
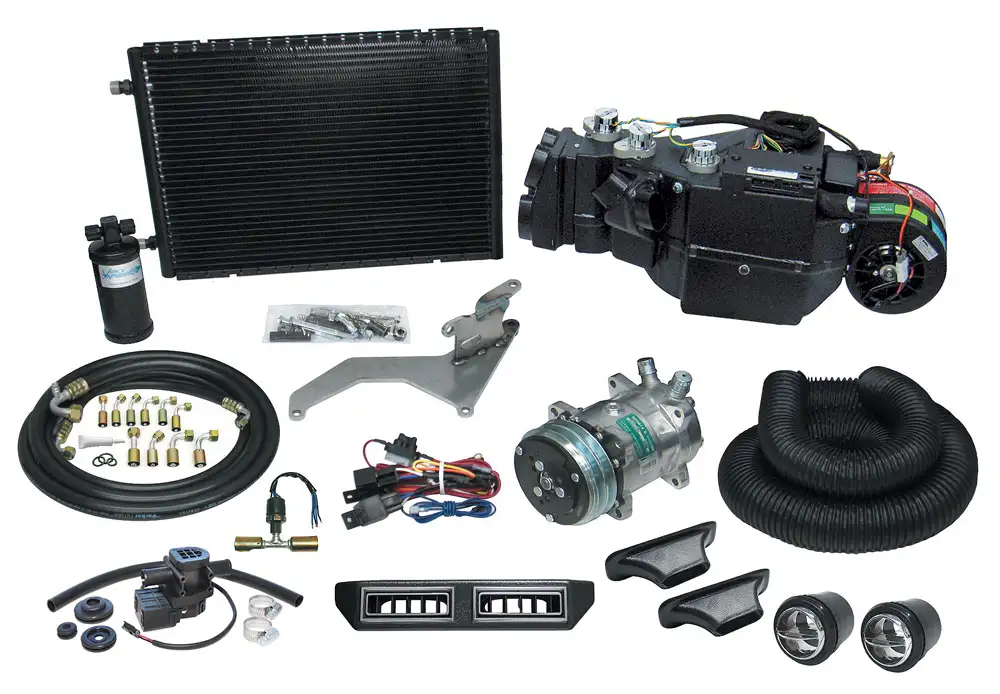
For speakers, we are installing the Custom Autosound 4012T DVC 5×7-inch, 140-watt dash speakers and KCHT-60/6 kick-panel speakers.Another item that will need to be mounted is the FiTech handheld controller. If you need to tune or diagnose an issue with the fuel injection system, the FiTech controller has you covered.Finally, the Vintage Air system needs to be installed. We will get really technical with this, so stay tuned to the next issue!
Chris Hamilton is an automotive journalist, editor, and lifelong truck enthusiast with extensive experience covering custom truck builds, fabrication, performance upgrades, aftermarket products, and a ...
We use cookies to enhance your browsing experience, serve personalized ads or content, and analyze our traffic. By clicking "Accept All", you consent to our use of cookies. Visit our Cookie Policy for more info.


Share Link