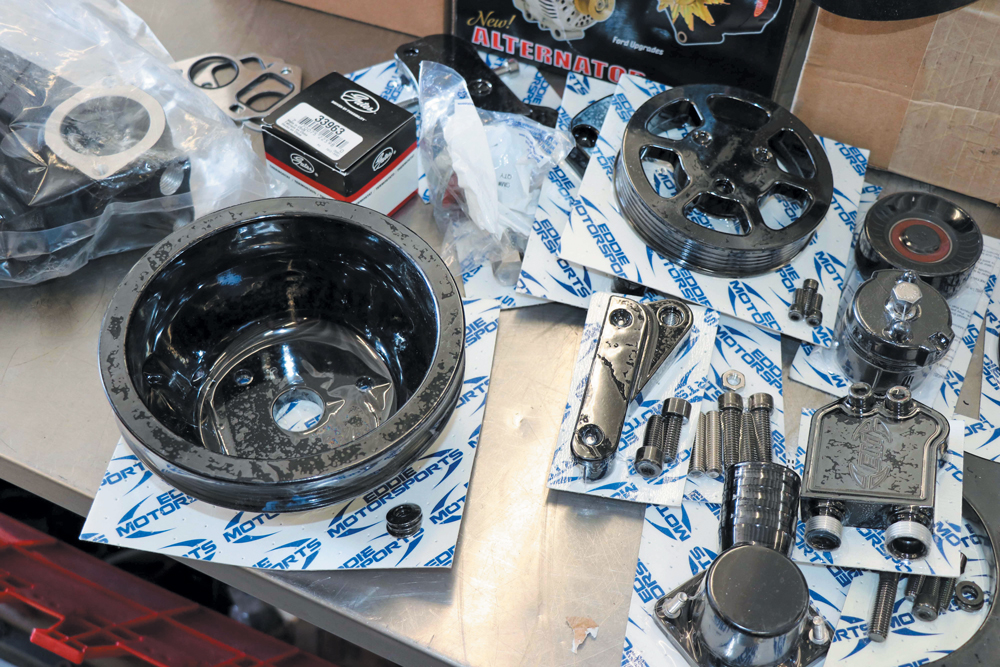
Kit contents: Billet aluminum brackets and pulleys, M8 studs, standoffs, water pump (Tuff Stuff), alternator (Powermaster), power steering pump (Maval), A/C compressor, spring-loaded belt tensioner, balancer hub and damper assembly, thermostat housing, all stainless hardware, Loctite and anti-seize included
Packaging: Individually vacuum-sealed with part numbers labeled per component
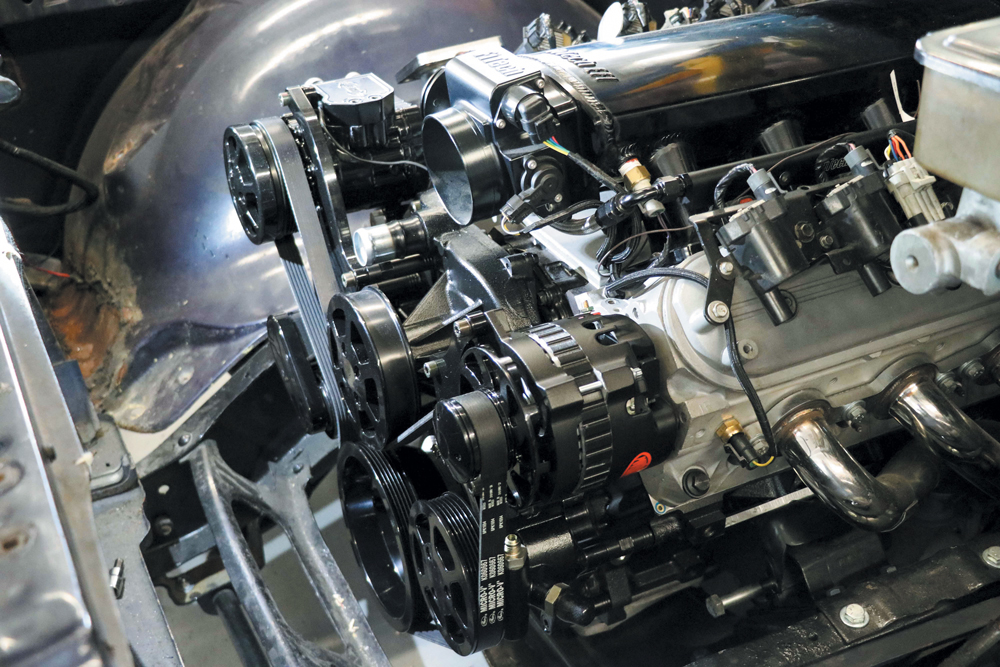
Kit variant installed in this article: Six-rib LS Raven Series, all-black anodized
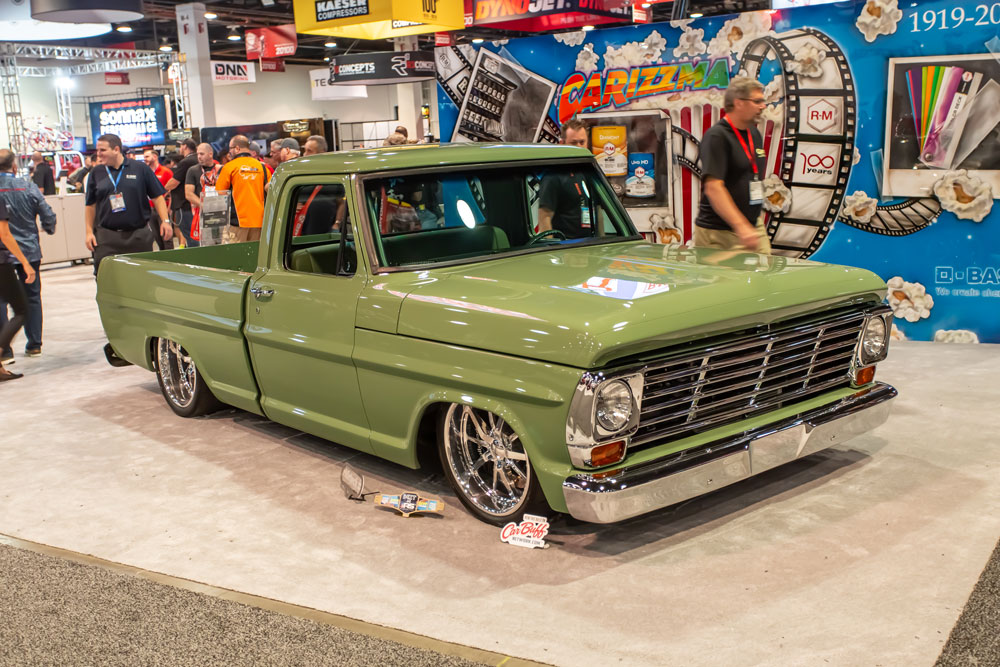
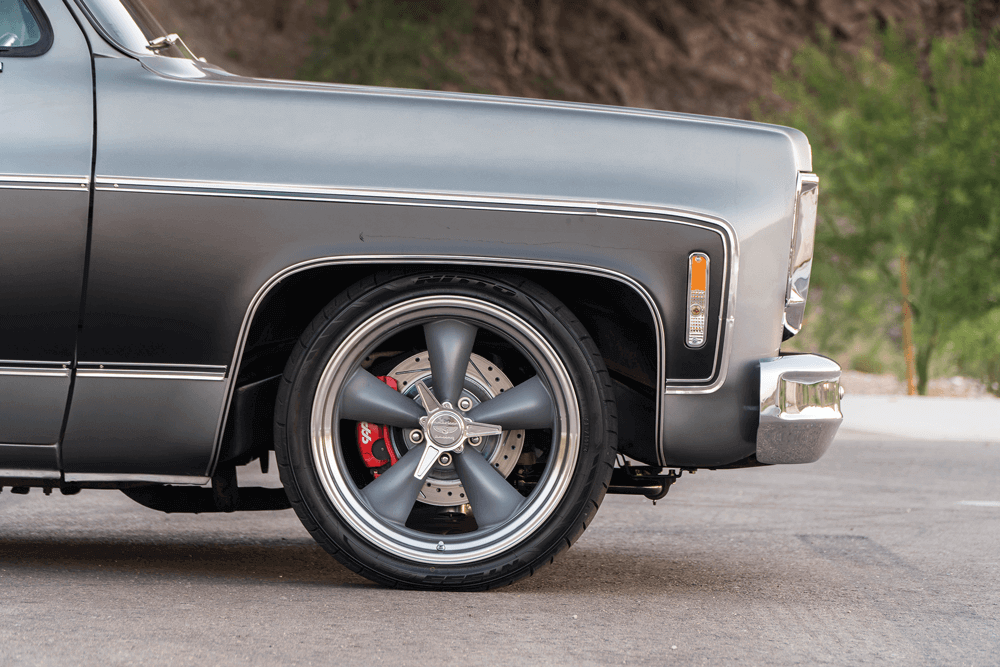
There’s no denying that a slammed custom C10 is super cool looking at local truck shows and cruise-ins, but looks can only get you so far in this speed-hungry community. That’s why we offer tech tips like these to help you gain an edge up on your custom car rivals. Sometimes you just have to spend money on upgrades that don’t add to the overall look of the truck. It may not add value to the outside appearance, but when you pop the hood or smash the gas pedal, you realize it was money well spent.
This month’s recommendation is a set of drive pulleys for your LS based engine. This upgrade will dramatically change the appearance and performance of your engine, and it’s something we think we can handle on your own if you have the time, tools and technical know-how.
Eddie Motorsports’ drive system brackets and pulleys are CNC machined with precision from high quality 6061T6 aluminum.
LS Chevy S-Drive pulley systems also include all of the necessary stainless-steel fasteners as well as the highest quality, name-brand components, including:
Tuff Stuff water pumps
Powermaster alternators
Gates belts
Maval power steering pumps
We ordered Eddie’s Raven series kit, which came in all black and was unbelievably beautiful. There is an extra charge for kits with anodized finish and even all-black components, so keep that in mind.
For the install we turned to our installers at Overpower Customs in Lake Park, Florida. The crew walked us through all the steps, and it was a super smooth install.
Let’s get into it!
Step-by-Step Installation: LS S-Drive System
For this install, the first thing we needed to do was prep the engine. Here are the steps we took.
If the engine is in your truck, disconnect the battery.
Remove your existing accessories, brackets, water pump and water pump housing.
Degrease the front of your block with brake cleaner and let it fully dry.
Clean all of the threads on your block using an 8 mm thread chaser. Do not use a tap.
Inspect the front crank seal and replace if necessary.
We ordered the six-rib LS Raven kit. Eddie Motorsports’ S-Drive serpentine pulley kits include everything to accessorize your LS Chevy engine.
Kits come complete with all of the necessary precision CNC machined billet aluminum brackets and pulleys, which are made in the USA, and include name brand components.
Each piece is individually packed and vacuum-sealed with part numbers. That’s impressive!
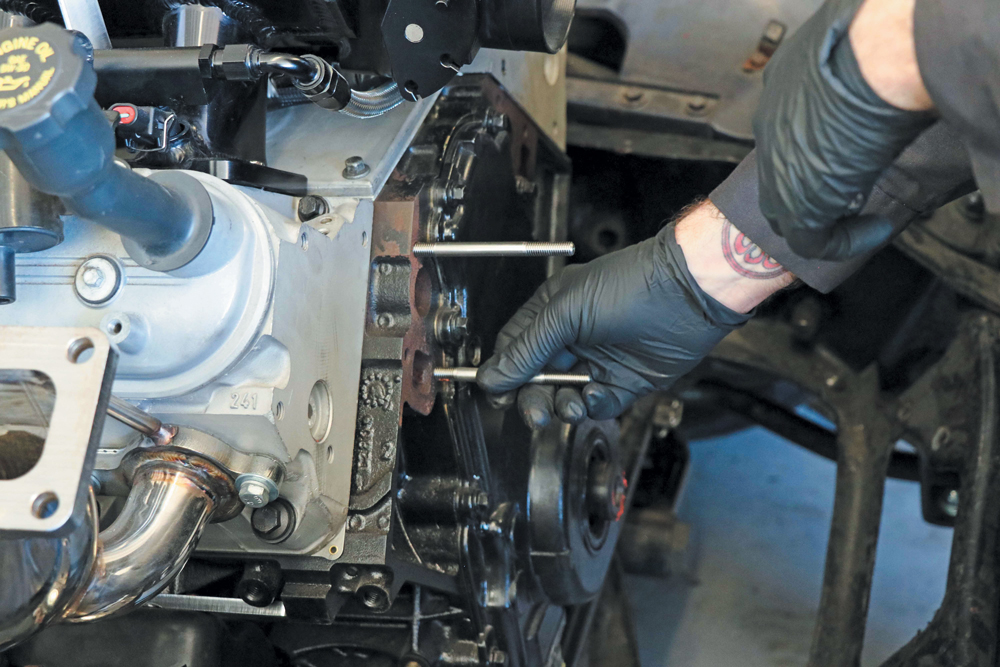
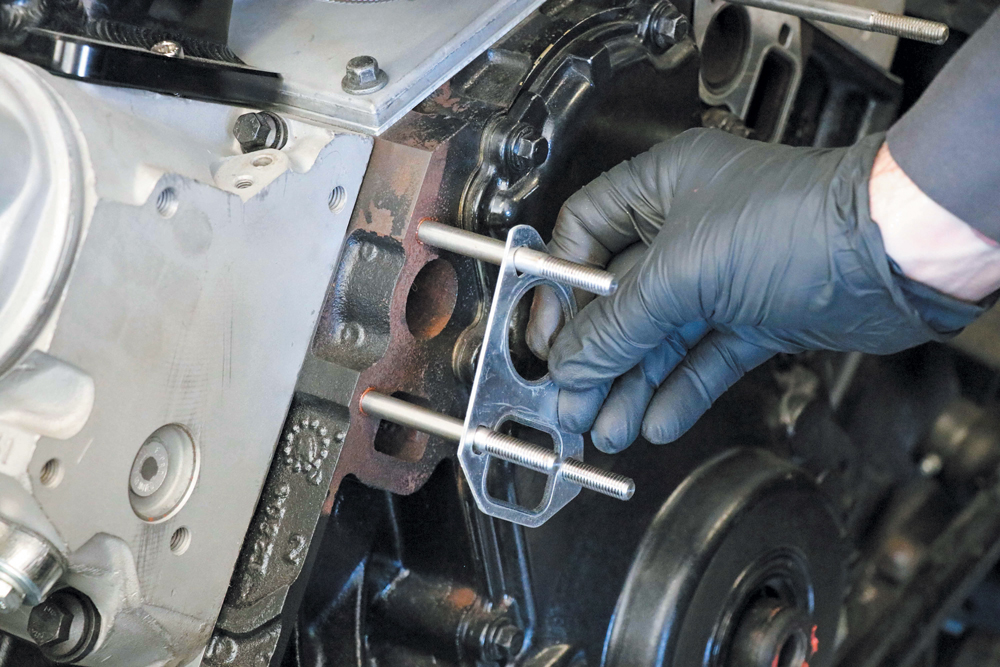
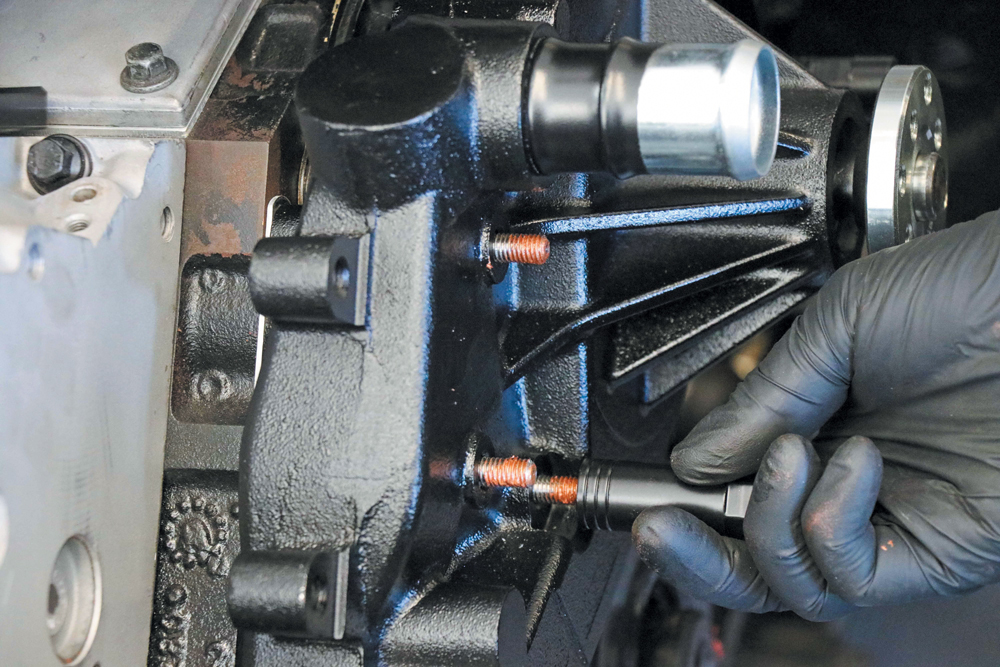
Install the provided M8 studs with anti-seize to the passenger and passenger side of the block. The driver side should stick out 3 inches, and passenger side 4 inches. Double nuts are also provided to help with the install if needed.
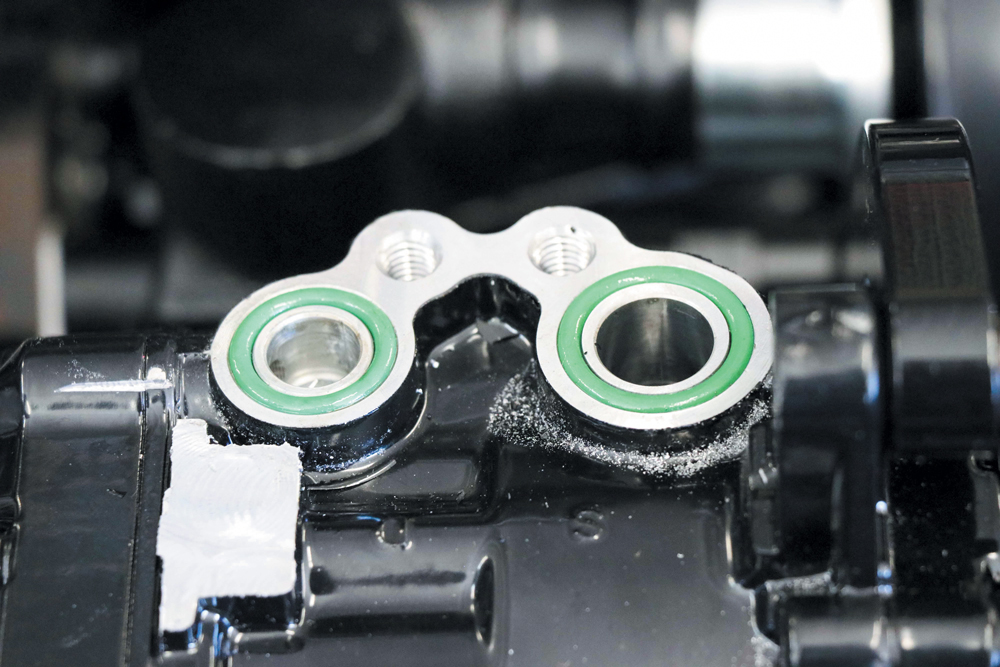
Apply a thin coat of RTV sealant to both sides of the gaskets and install them over the water pump studs. If you are using O-ring style gaskets like the ones pictured, no sealer is needed.
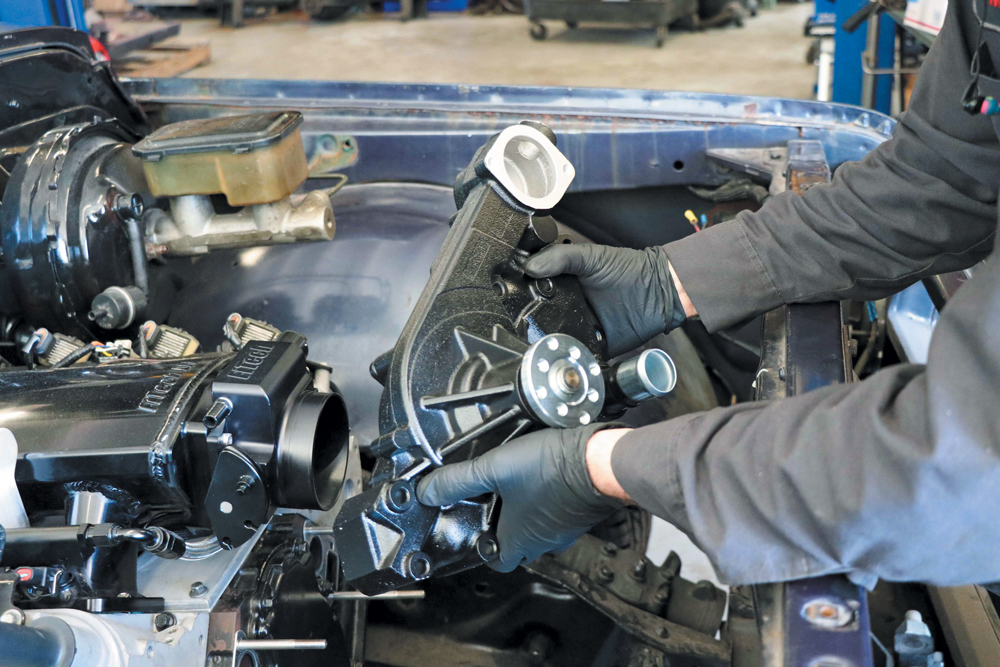
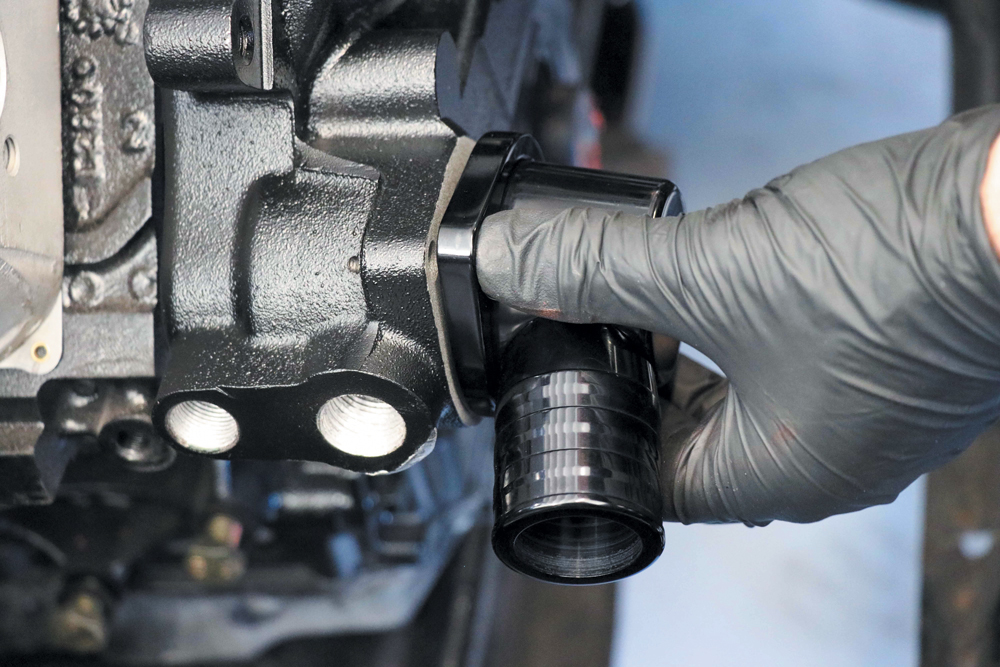
Next to install is our new Tuff Stuff water pump.
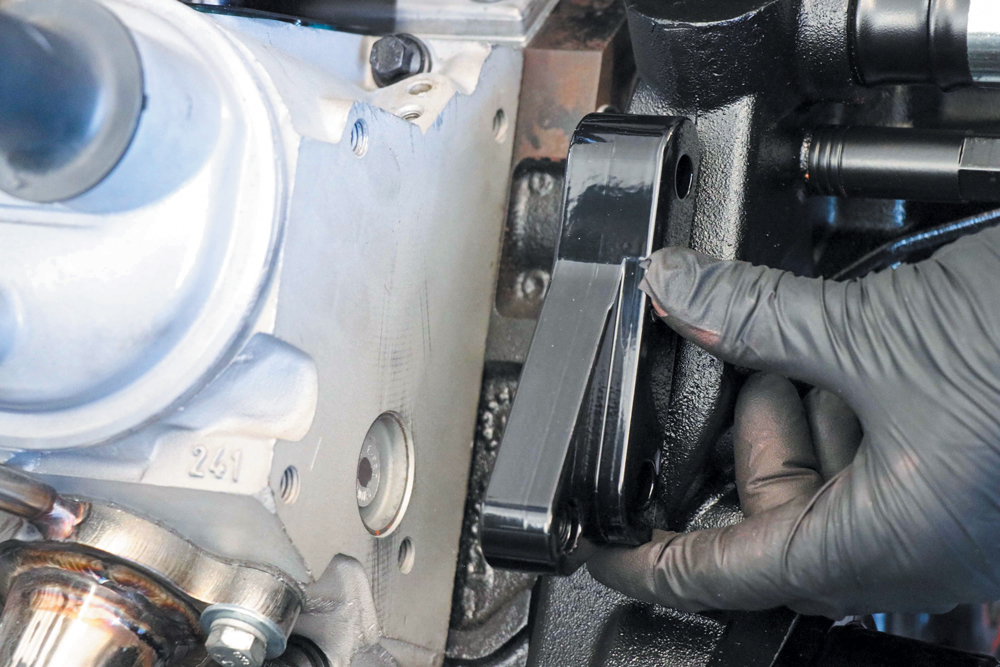
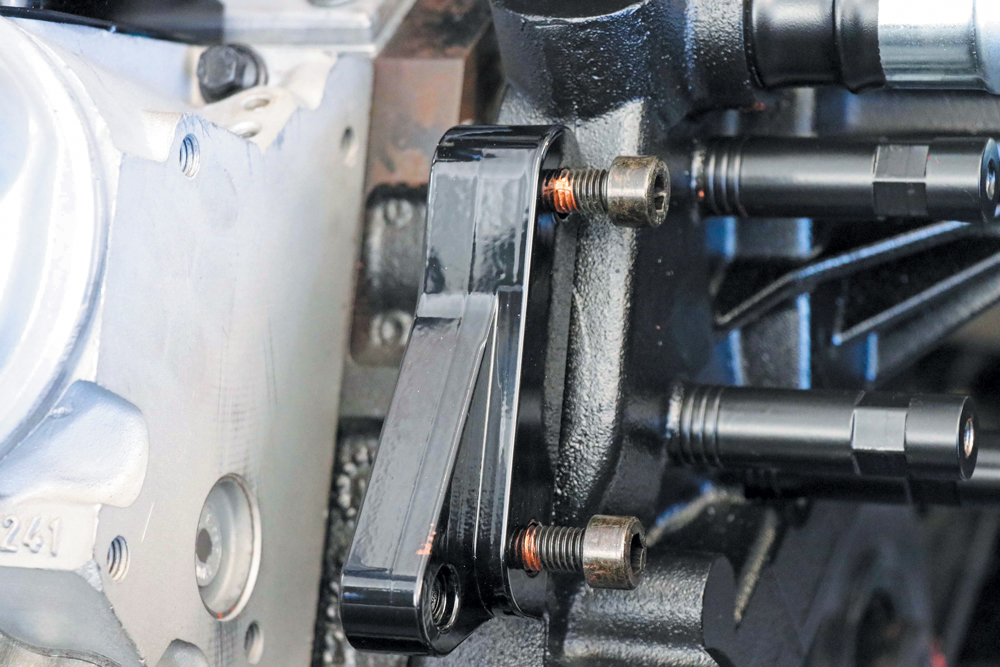
Followed by the rear alternator bracket over the driver-side studs, securing it with one M8 x 90 mm socket cap screw. Using anti-seize, install two 3/4 x 1.41 stainless steel standoffs to the driver side studs. Do not fully tighten at this time. The end of the stand-off with the hex closest to it goes AWAY from the engine.
Now the crew at Overpower can install A/C bracket stand-offs. Using anti-seize, they installed three 3/4 x 2.55 stainless steel stand-offs to the passenger side studs.
Next we can install the thermostat and housing. Place the thermostat into the housing and install onto the water pump with socket cap screws. After rotating the thermostat housing to its final installed position, it is imperative that you place the locating tab in the approximate index notch on the housing.
This will position the air bleed valve to be installed facing the 12 o’clock position. Failure to do so could cause overheating.
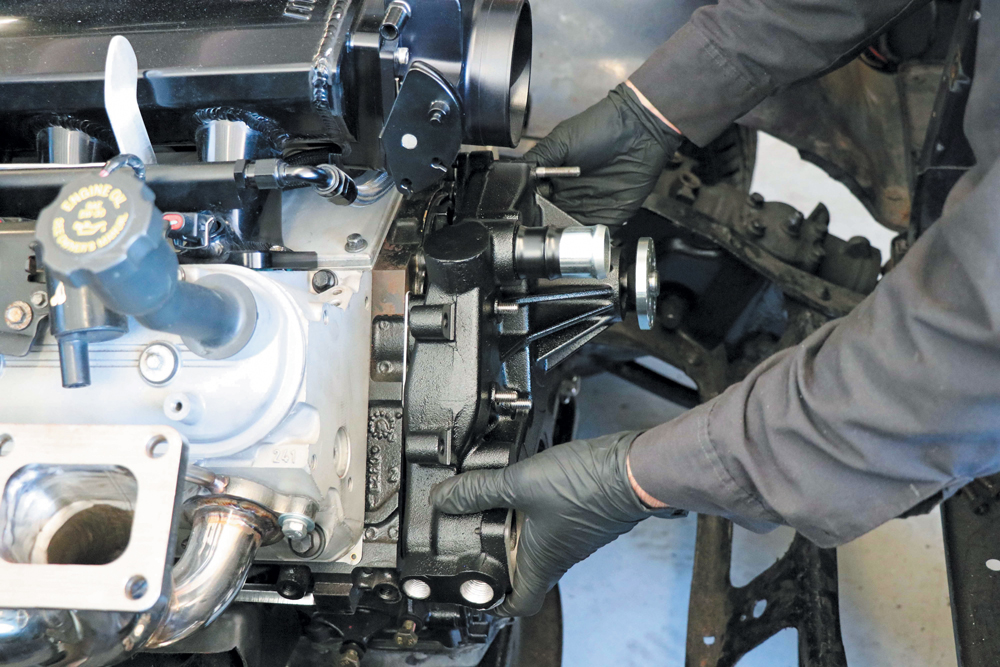
To install the rear A/C bracket, attach the rear compressor bracket to the passenger side of the water pump using two M10 x 20 mm cap screws with anti-seize.
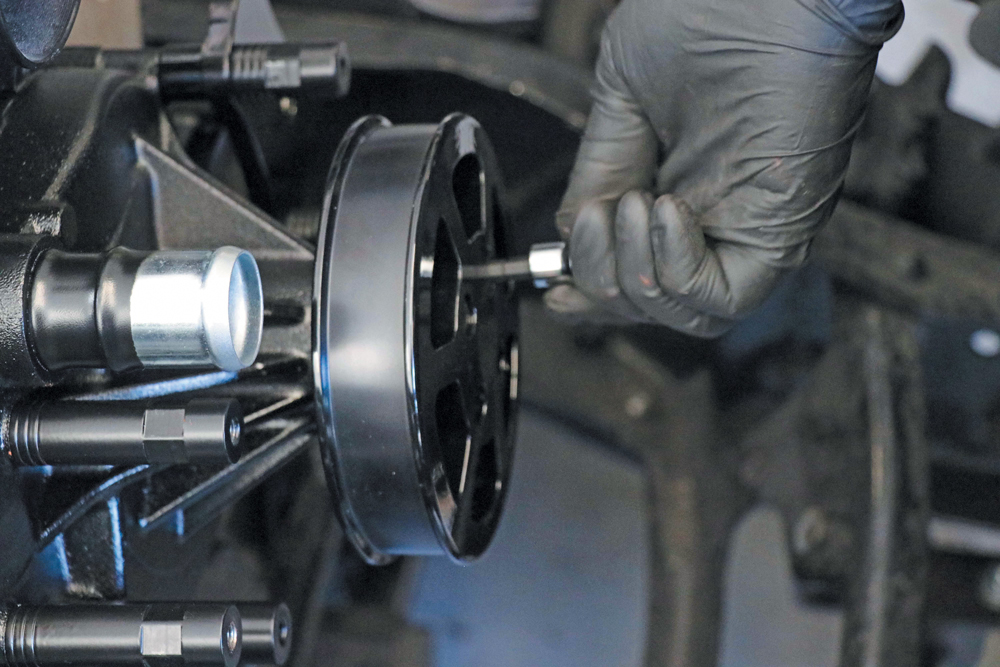
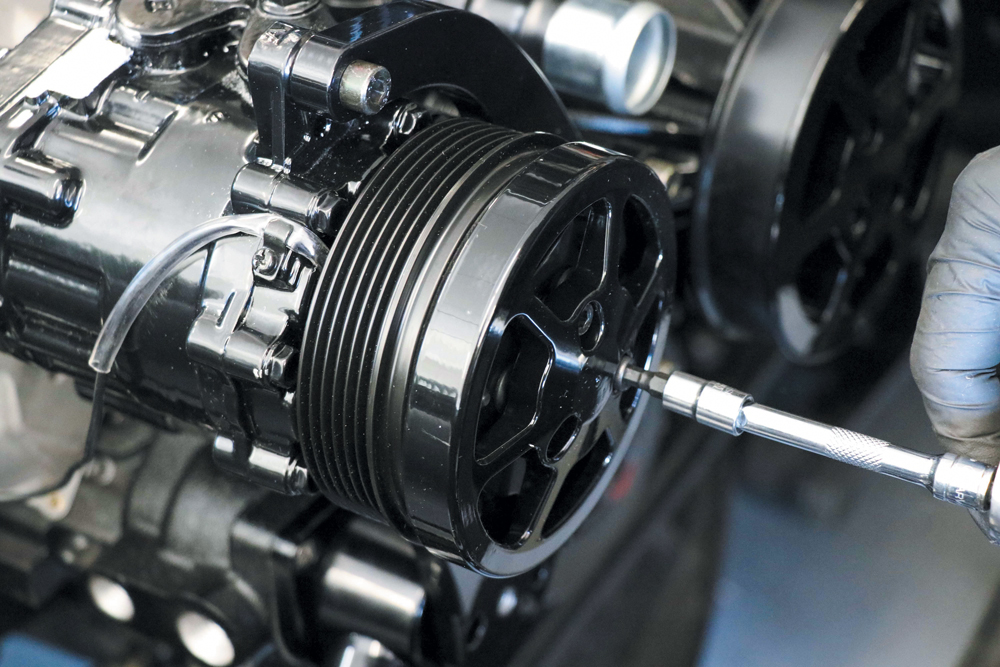
Install the water pump pulley using four 5/16-24 x 1-inch cap screws. Apply Loctite to the threads and tighten fully while using caution to prevent over torqueing.
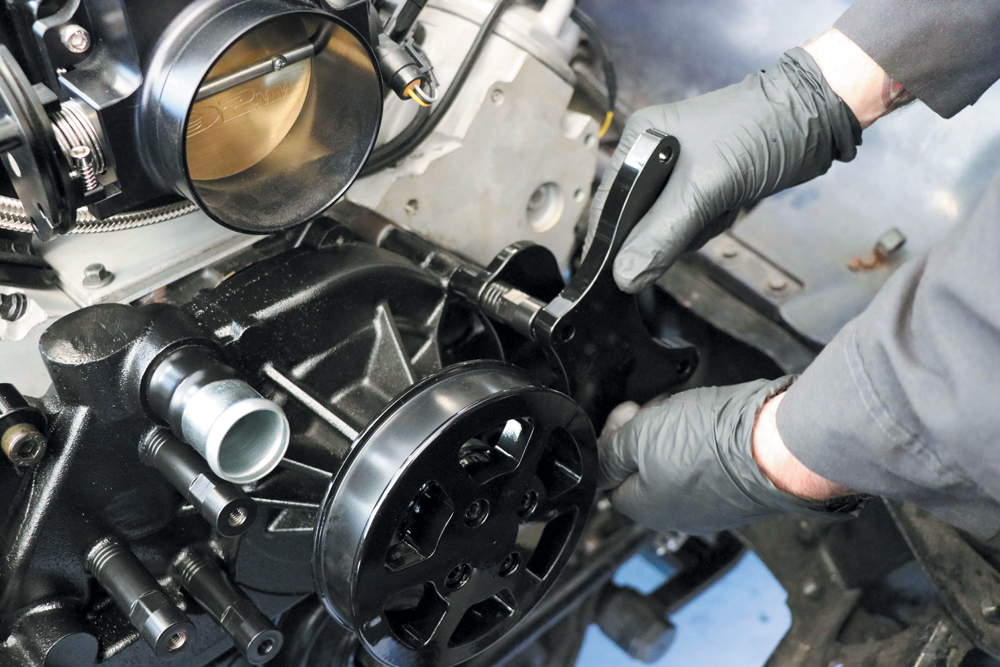
Now for the power steering bracket. Once all of the cap screws have been started, go back and fully tighten the stand-offs and then the socket cap screws.
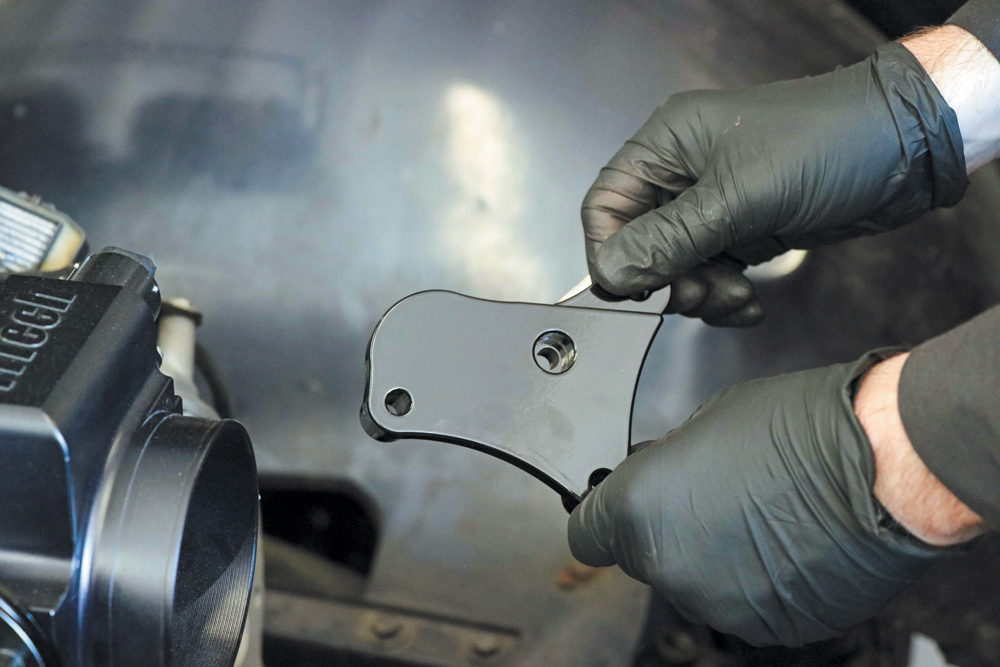
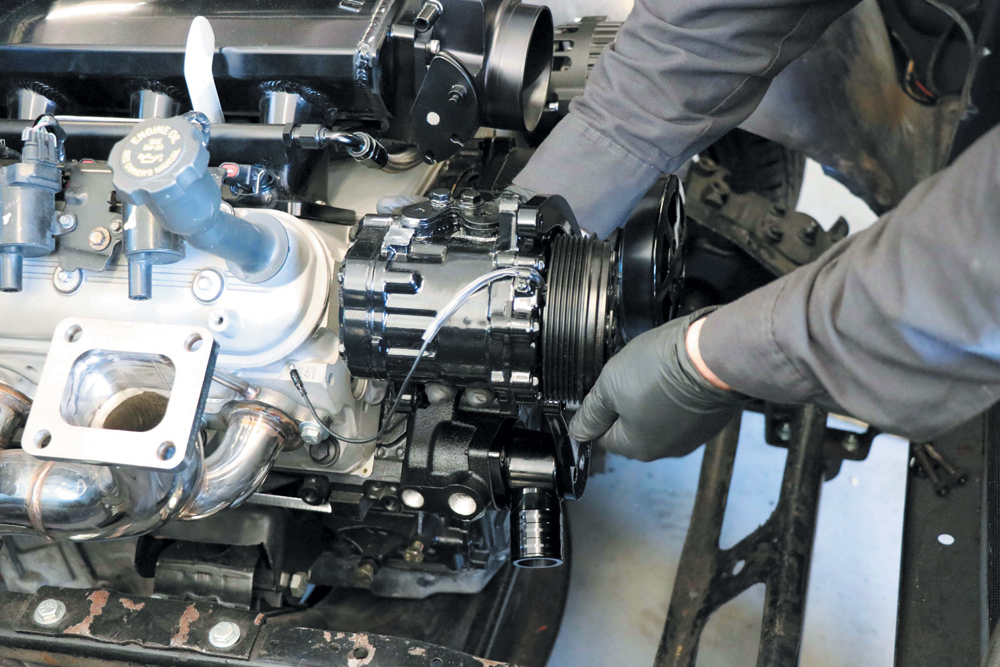
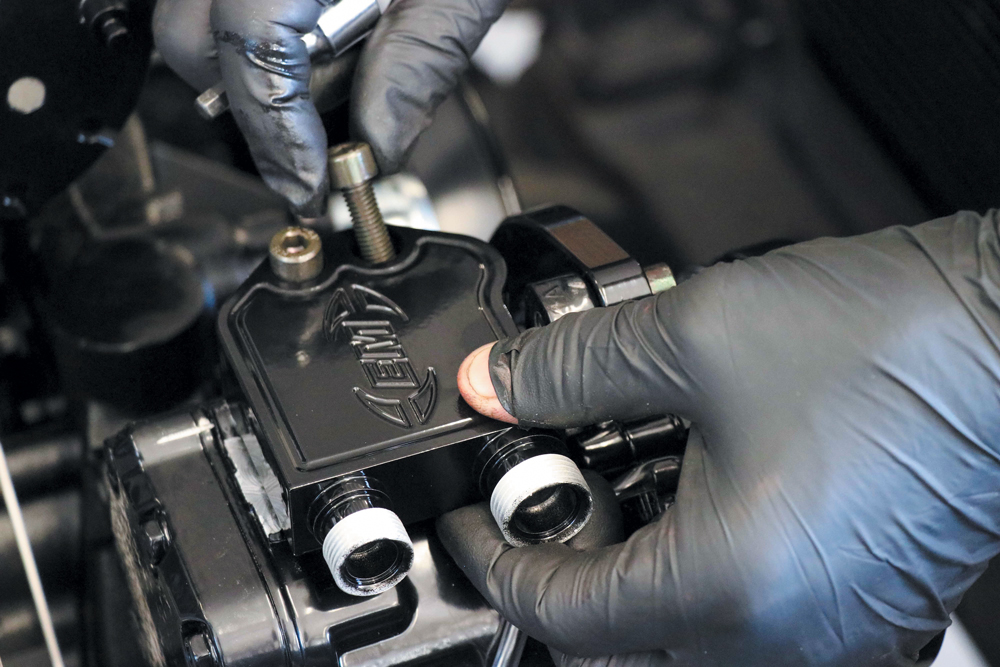
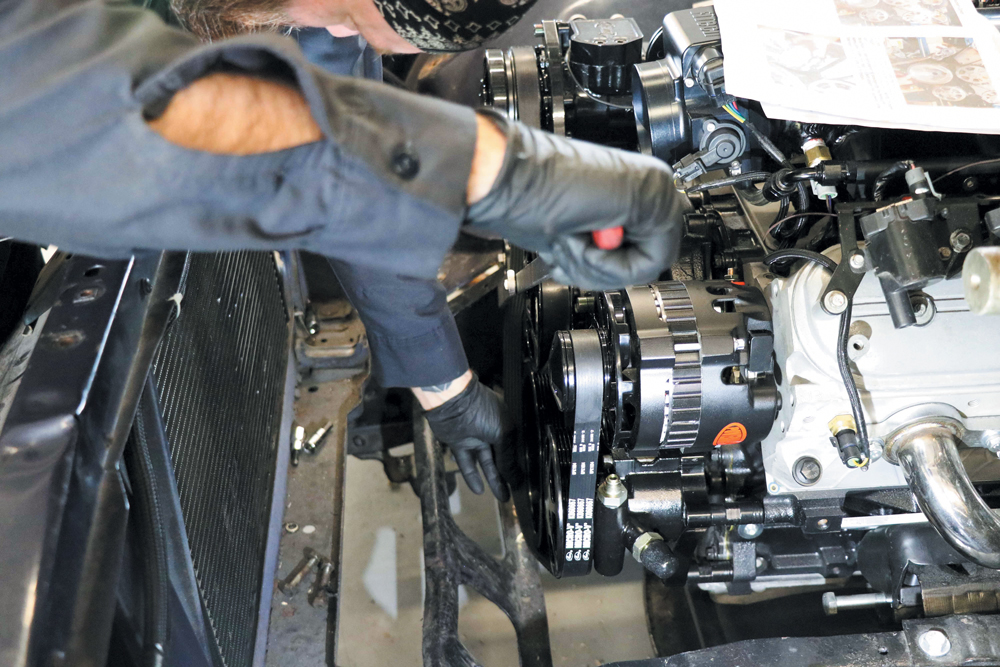
Install the A/C compressor bracket to passenger side stand-offs with two M8 x 25 mm cap screws and AN washers. Leave them finger-tight and make sure to use anti-seize on the threads. The A/C compressor is put on next.
The pulley cover for the A/C compressor is next.
Remove the plate from the top of the compressor body. The compressor is charged with nitrogen to ensure lubrication of all components during transport. You will hear the gas escaping when you loosen the fasteners.
With the plate removed, you will see the two sealing O-rings. Leave these on the compressor and be careful not to disturb them. Using caution so as not to damage the O-rings, install the compressor manifold to the compressor.
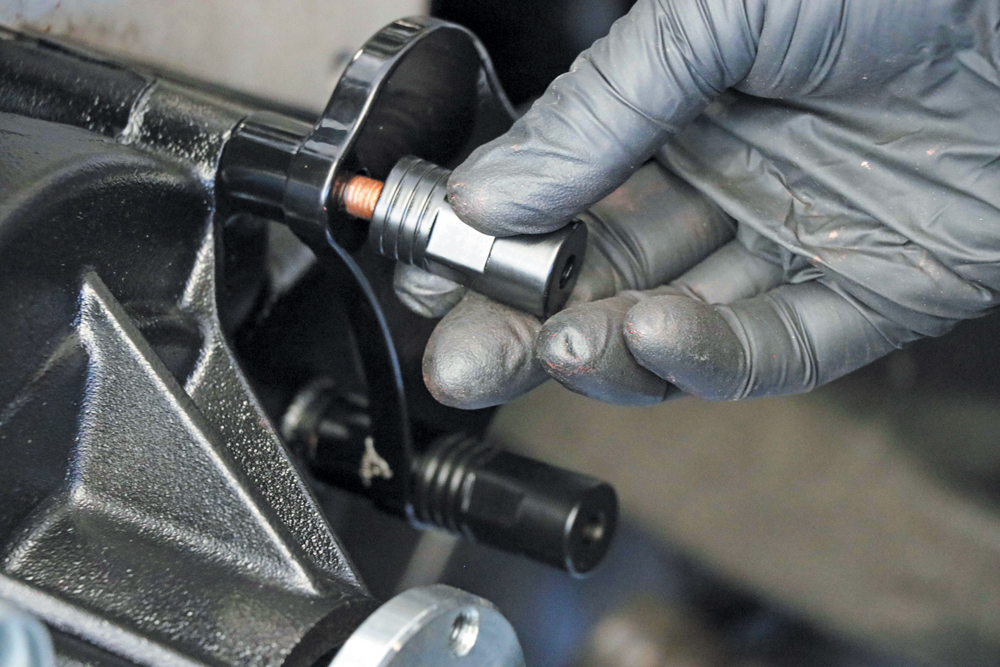
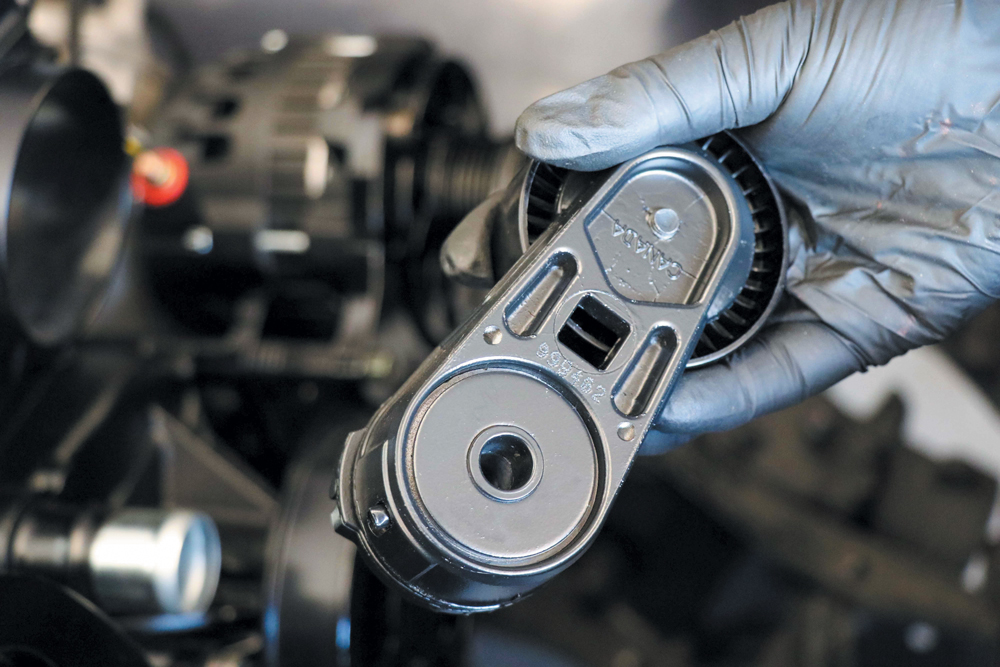
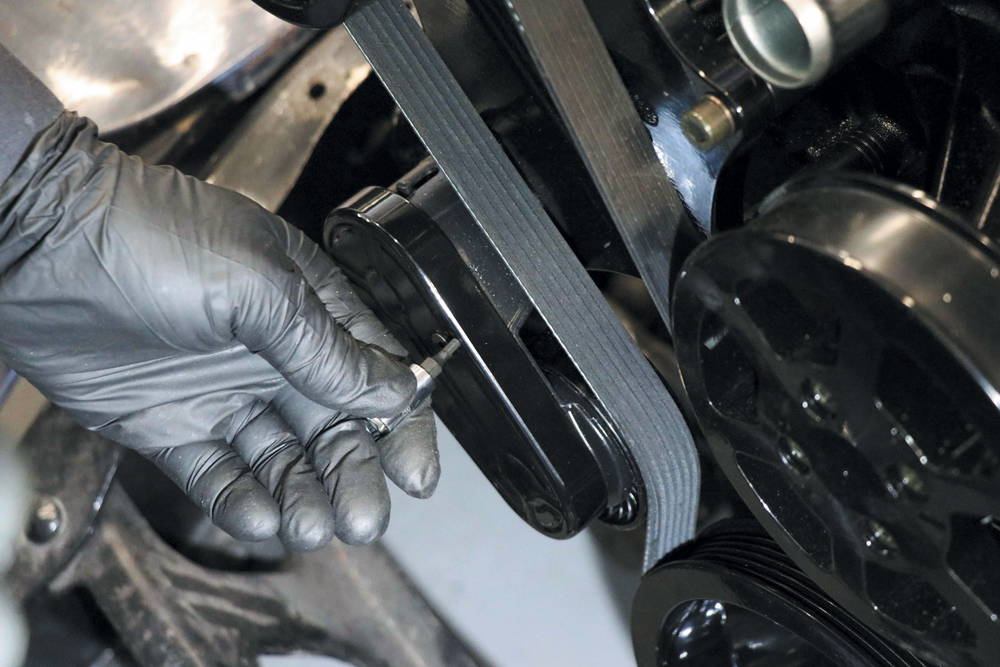
To install the spring-loaded belt tensioner, they installed the tensioner on the A/C bracket using hex-head bolts.
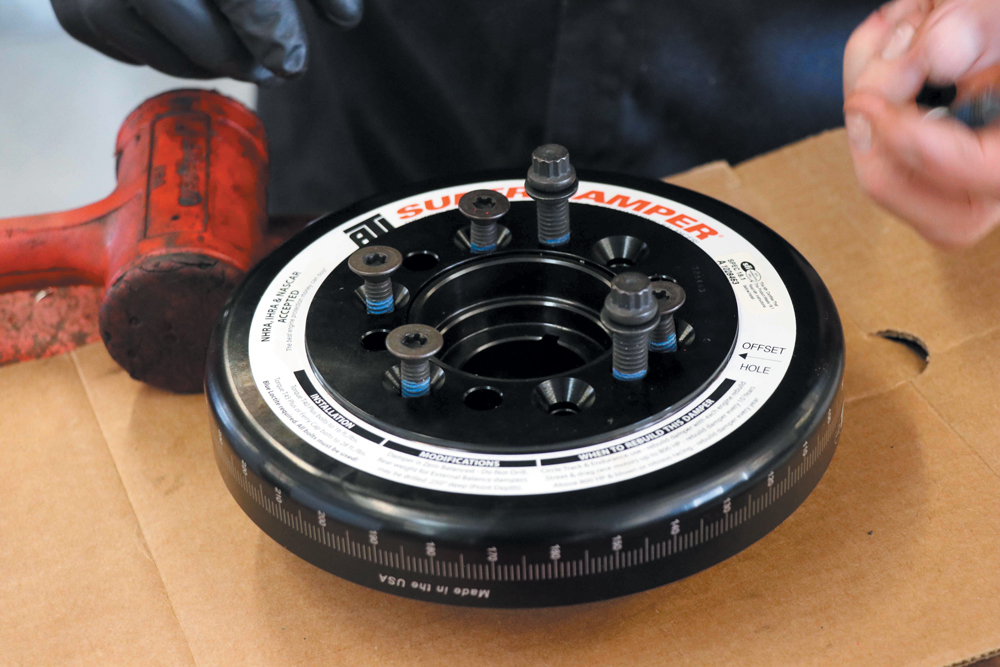
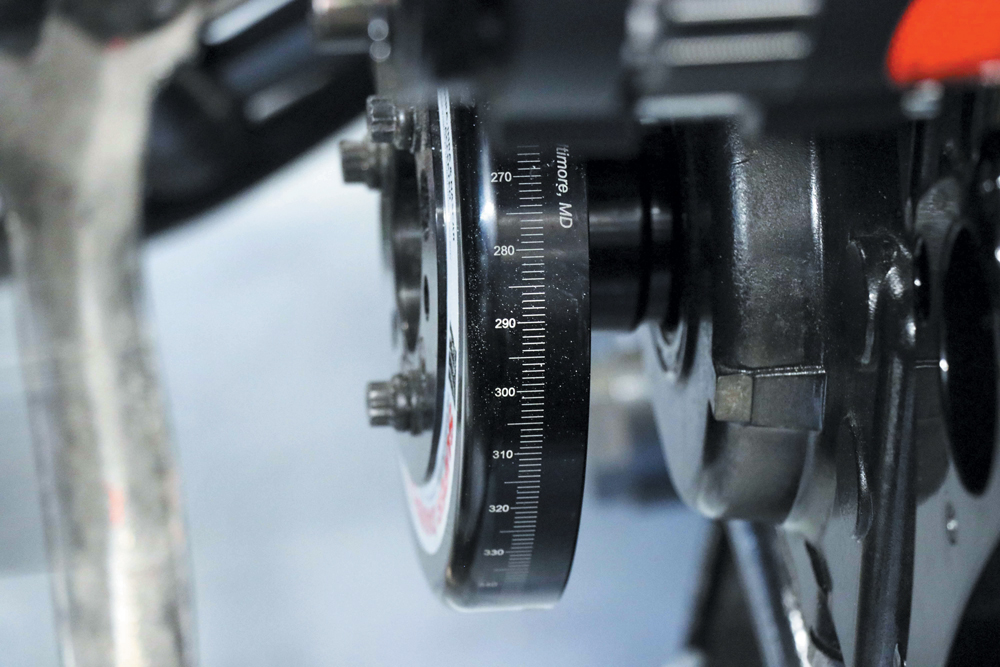
Follow the instructions from the manufacturer to correctly install the balancer hub and damper assembly that is supplied with the kit. While your crankshaft does not have a keyway, the balancer hub will.
The keyway in the hub is to be used to “pin” the crank in the case of high horsepower applications. If you are using the LS electronic ignition, once the hub and damper are correctly assembled, it does not matter what the position of the new damper and timing marks are on your crankshaft.
Route the belt onto the pulleys by installing it over the crank pulley last. Using a ?-inch drive breaker bar, rotate the tensioner down and finish installing the belt around the crank pulley. Slowly release the tensioner until it rests against the belt and tensions the system.
Install the aluminum tensioner cover using two 10-32 x ?-inch socket head flat head screws. Tighten fully while using caution to prevent over torqueing.
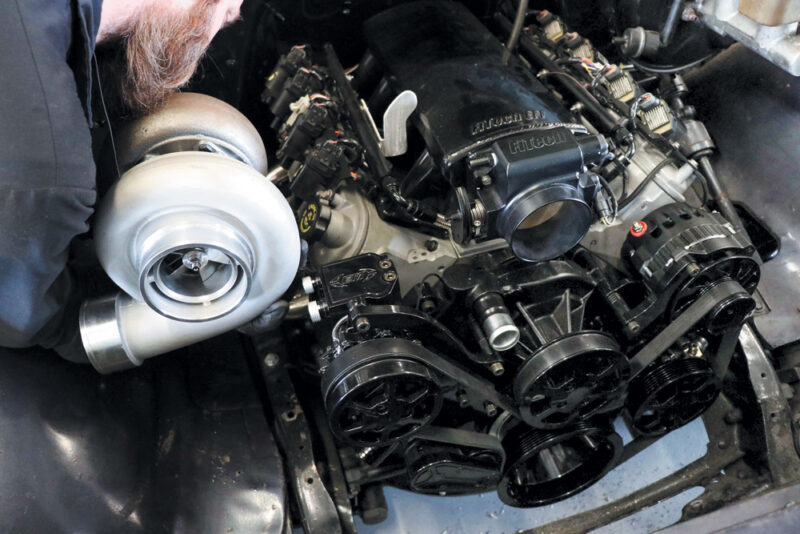
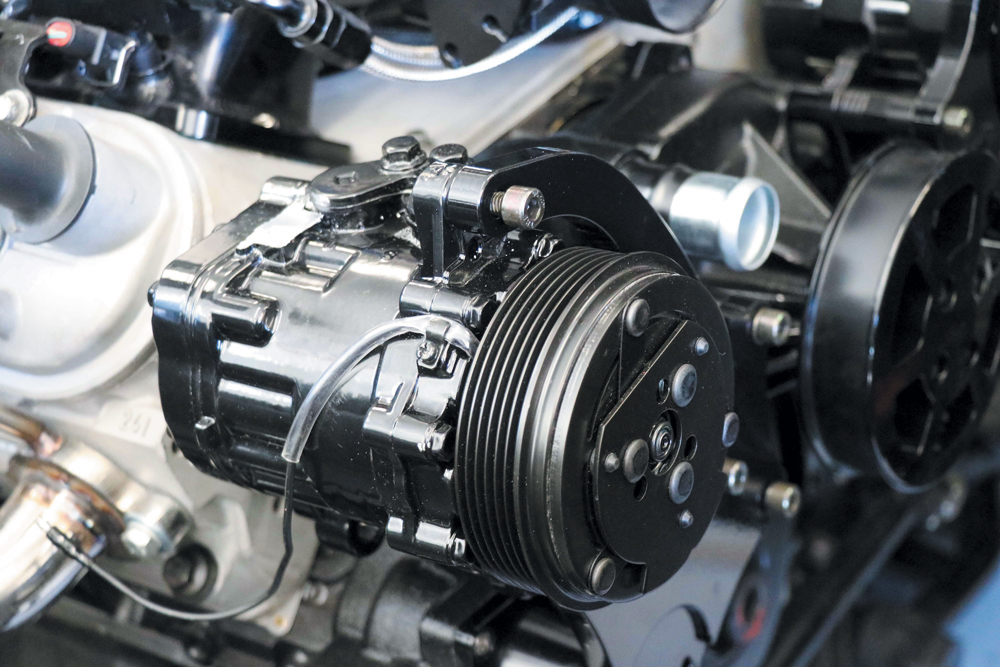
With the belt correctly installed, our project is complete! Looks amazing.
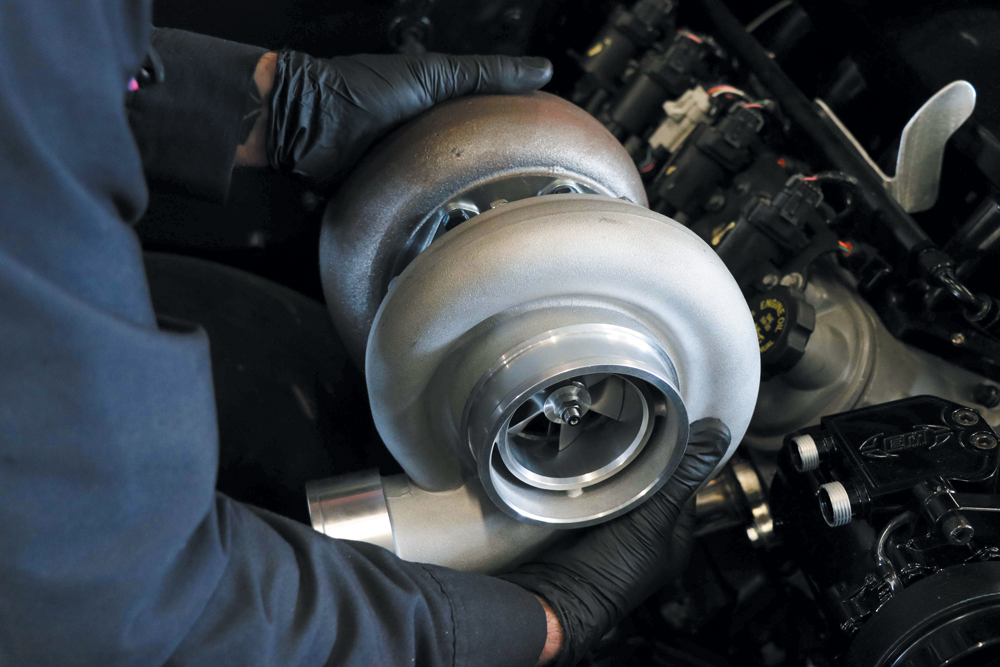
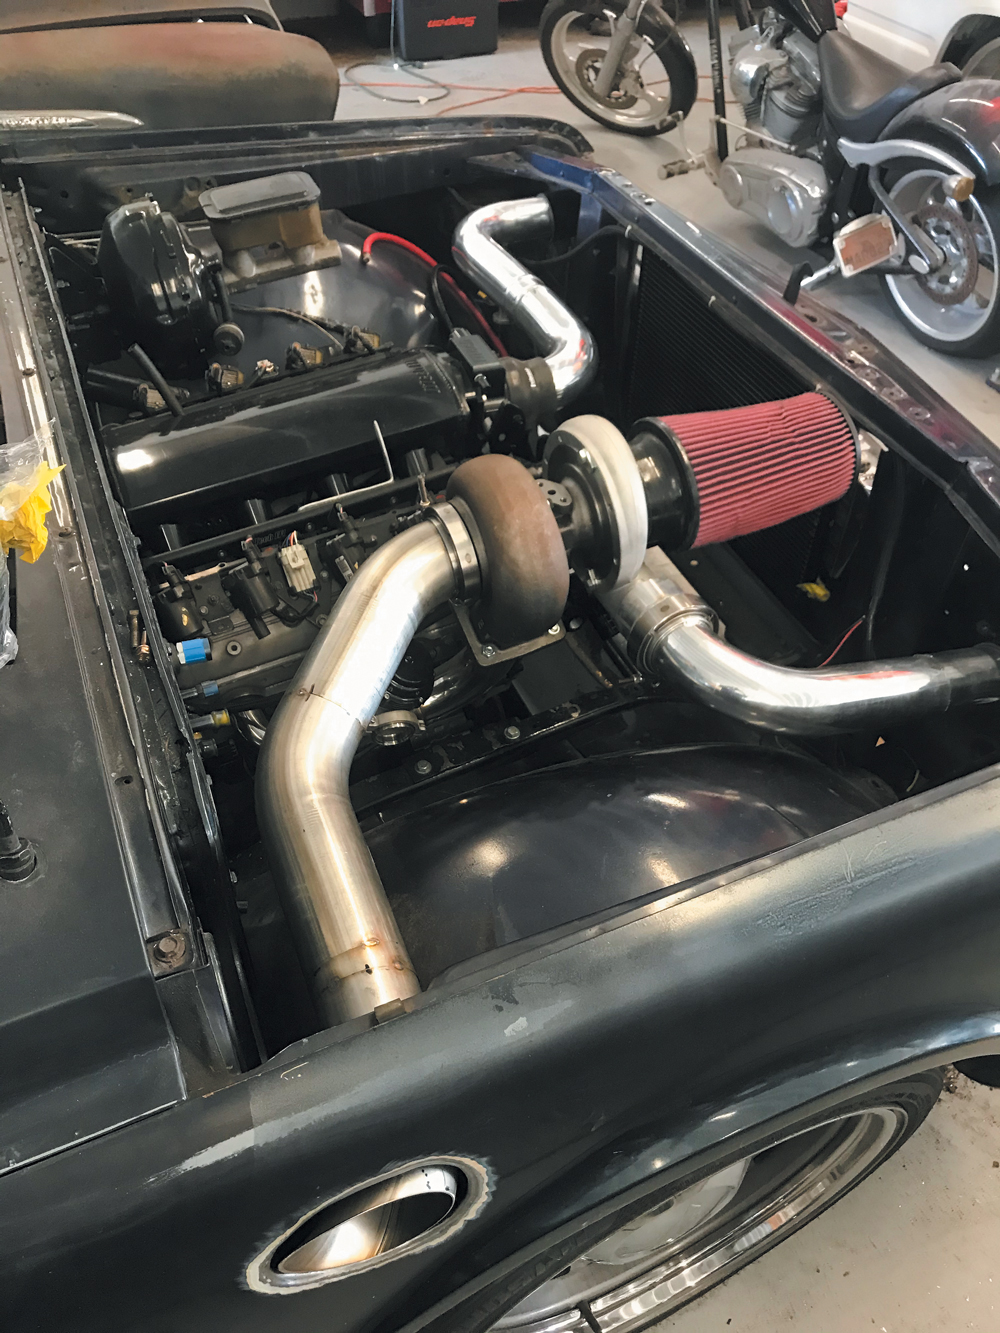
Oh, you didn’t think we were stopping there did you? To give this C10 a little more kick, the Overpower crew is adding a massive turbo charger, but that’s tech for another day.
Look at the completed install! Can’t wait to hear this monster crank up for the first time. Be sure to stay tuned to our YouTube channel and social media for the video!
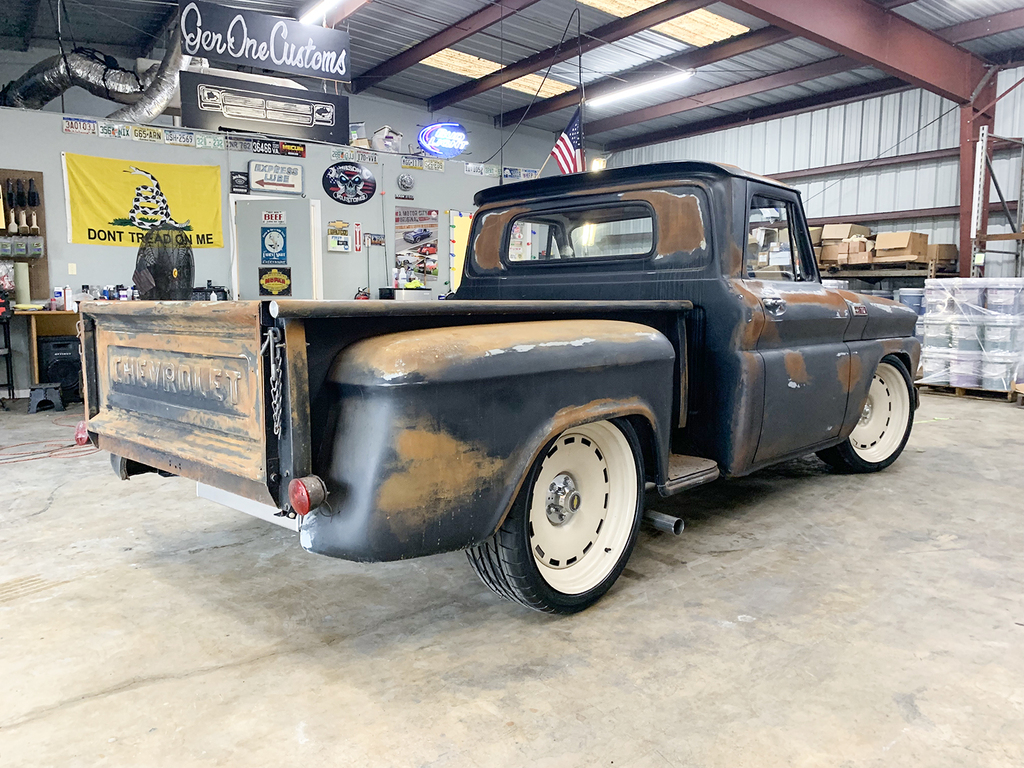
This upgrade works perfectly on projects like this LS-swapped C10
Frequently Asked Questions
What LS engines are compatible with the Eddie Motorsports Raven Series S-Drive pulley kit?
The Eddie Motorsports Raven Series S-Drive system is designed for GM LS-based engines, including the LS1, LS2, LS3, LS6, LS7, and LSX variants commonly found in C10 trucks, Camaros, Corvettes, and custom builds. Always verify compatibility with Eddie Motorsports directly for your specific application before purchasing.
How long does it take to install the Eddie Motorsports LS S-Drive pulley system?
For an experienced installer working in a professional shop environment, the installation typically takes between four and eight hours depending on whether the engine is in the vehicle or on an engine stand, and whether the engine bay requires additional cleaning or preparation.
Do I need to remove the engine to install the LS Raven Series pulley kit?
No. The kit can be installed with the engine in the vehicle, though access is easier on a stand. If installing in the vehicle, disconnect the battery first and ensure you have adequate clearance to reach all mounting points on both the driver and passenger sides of the block.
What tools are required to install the Eddie Motorsports S-Drive system?
You will need a standard socket set, an 8mm thread chaser (not a tap), a 3/8-inch drive breaker bar for belt tensioner rotation, Loctite threadlocker, anti-seize compound, RTV gasket sealant (unless using O-ring style gaskets), and brake cleaner for degreasing. Torque wrench access is strongly recommended.
Does the Eddie Motorsports kit include a power steering pump?
Yes. LS Chevy S-Drive kits include a Maval power steering pump as part of the complete accessory drive package.
What is the difference between the Raven Series and other Eddie Motorsports S-Drive kits?
The Raven Series is Eddie Motorsports’ premium offering within the S-Drive lineup, featuring an all-black anodized finish option that provides a blacked-out, high-end aesthetic in the engine bay. Other kits may be available in natural or color-anodized finishes at different price points.
Does the Eddie Motorsports Raven Series kit work with LS electronic ignition systems?
Yes. The kit includes a balancer hub and damper assembly. While the LS crankshaft may not have a keyway, the hub does. For LS engines using the factory electronic ignition, the position of the timing marks on the new damper relative to the crankshaft does not affect ignition timing performance.
Chris Hamilton is an automotive journalist, editor, and lifelong truck enthusiast with extensive experience covering custom truck builds, fabrication, performance upgrades, aftermarket products, and a ...
We use cookies to enhance your browsing experience, serve personalized ads or content, and analyze our traffic. By clicking "Accept All", you consent to our use of cookies. Visit our Cookie Policy for more info.


Share Link