 DEVAN ENCE
.
February 01, 2023
.
Department
.
DEVAN ENCE
.
February 01, 2023
.
Department
.
Words and Photos by Devan Ence
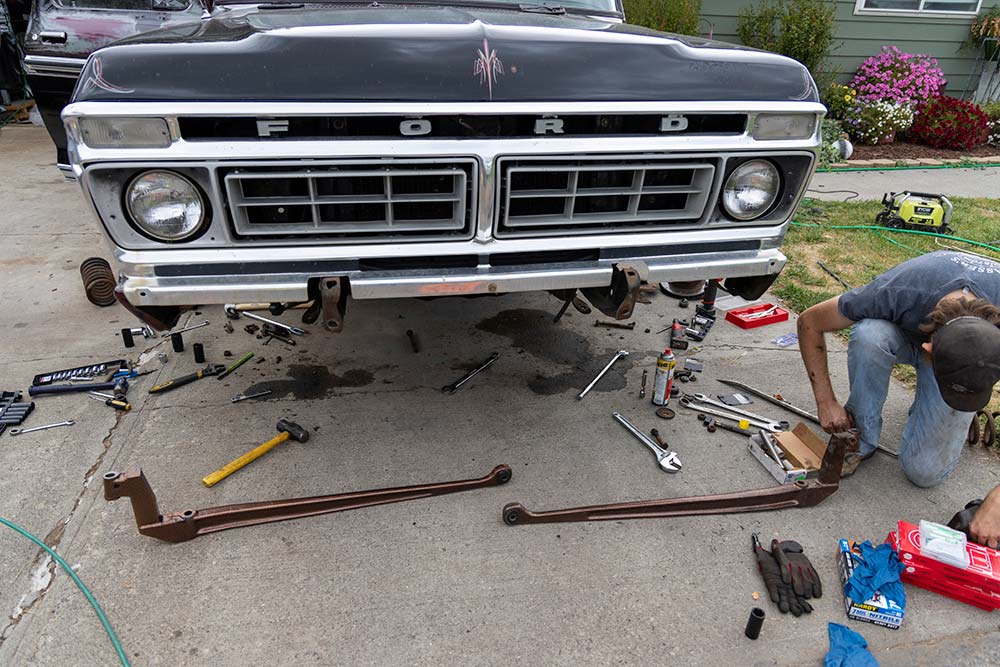
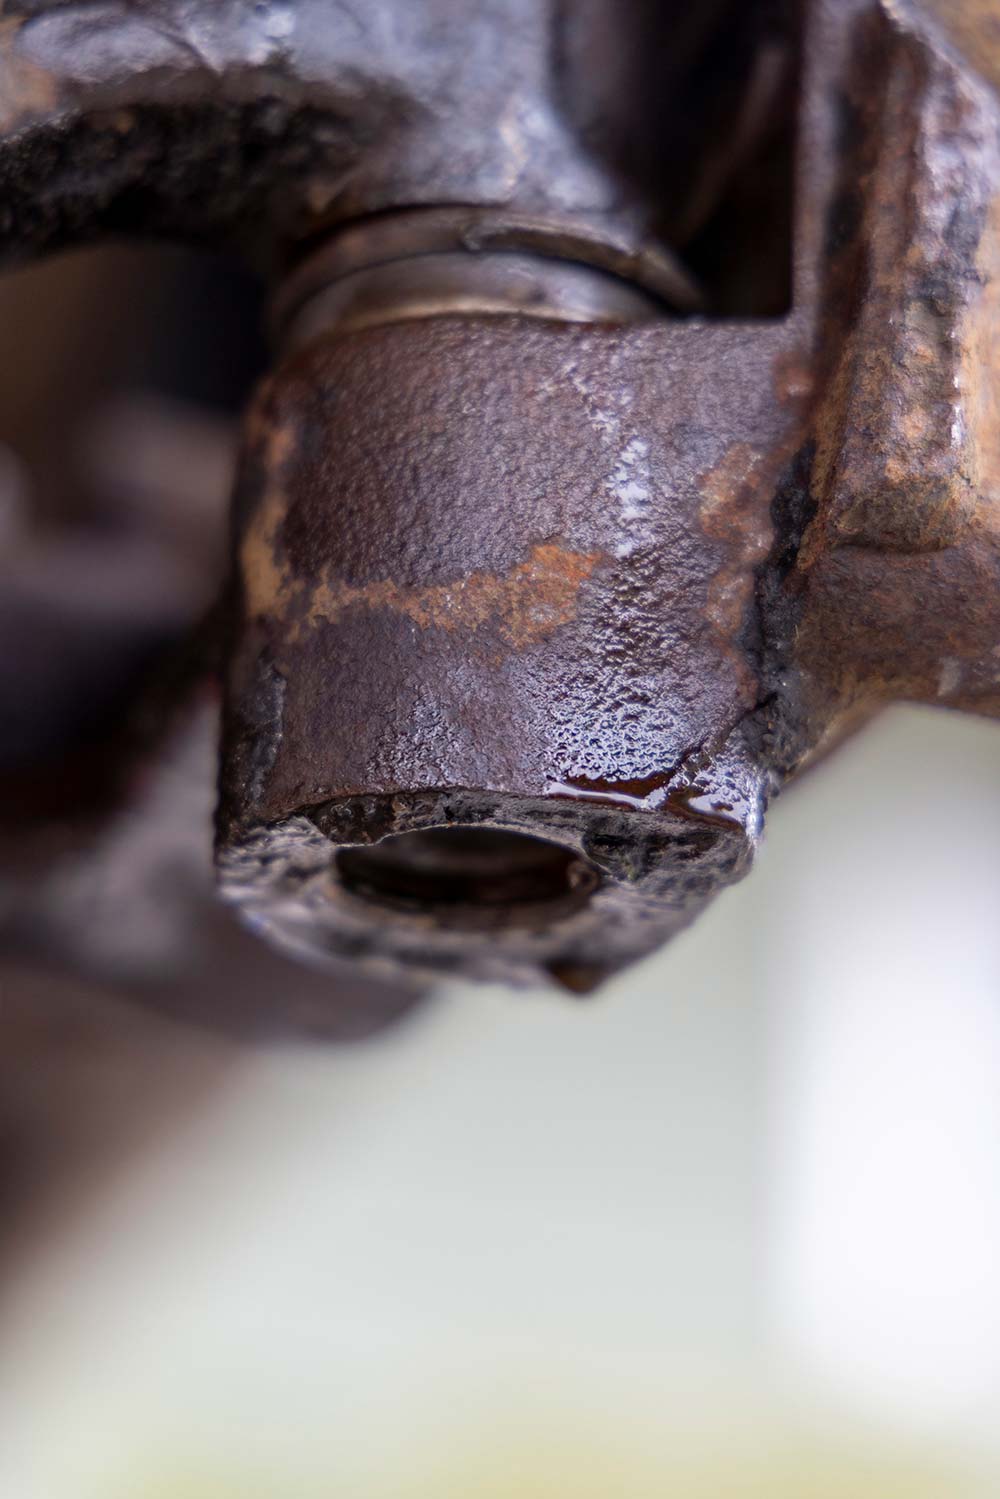
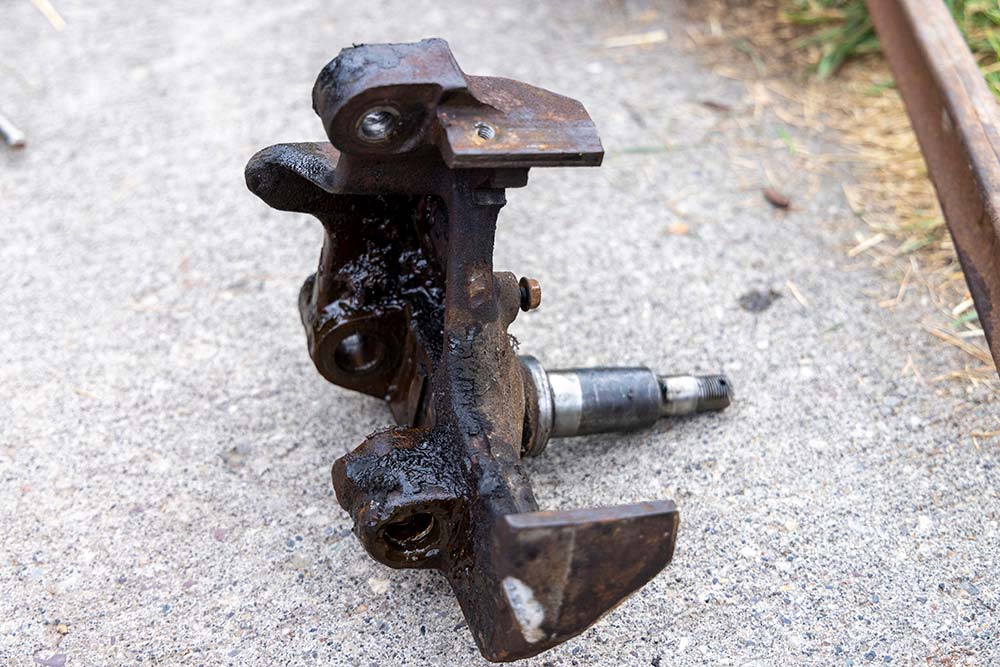
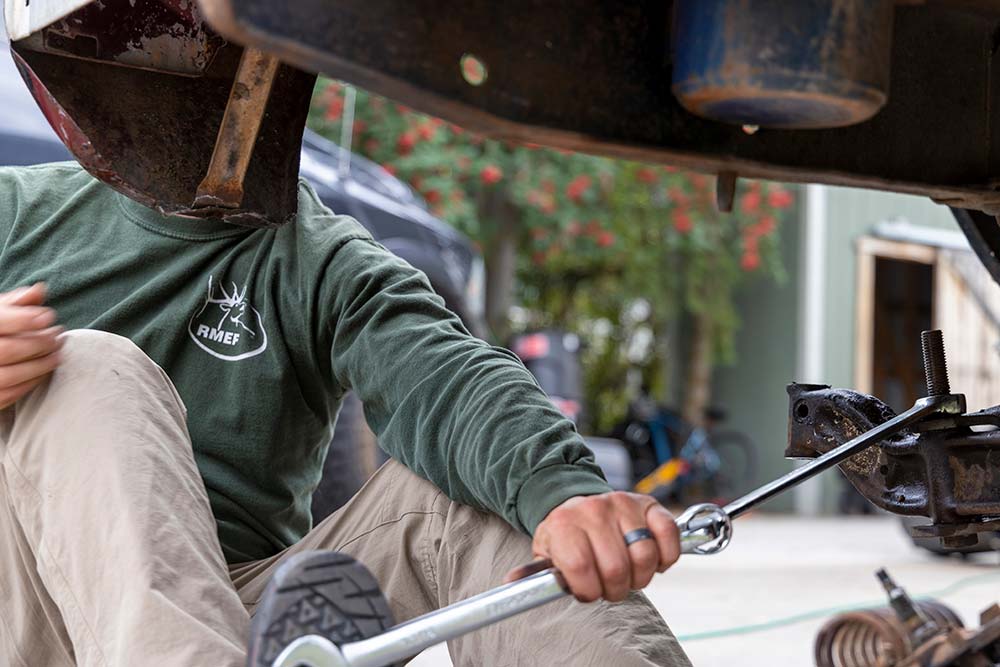
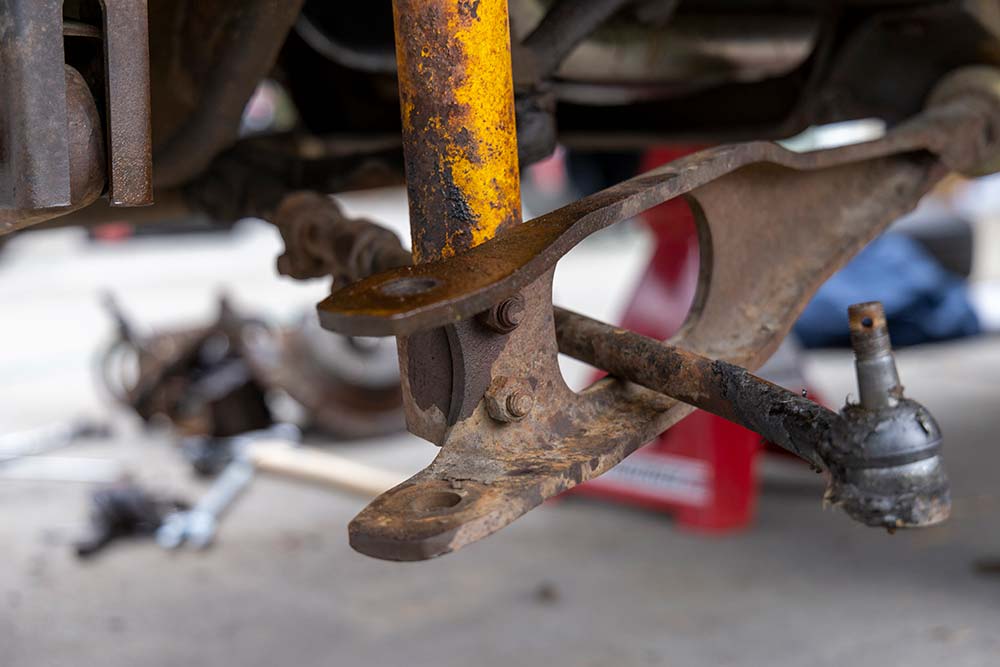
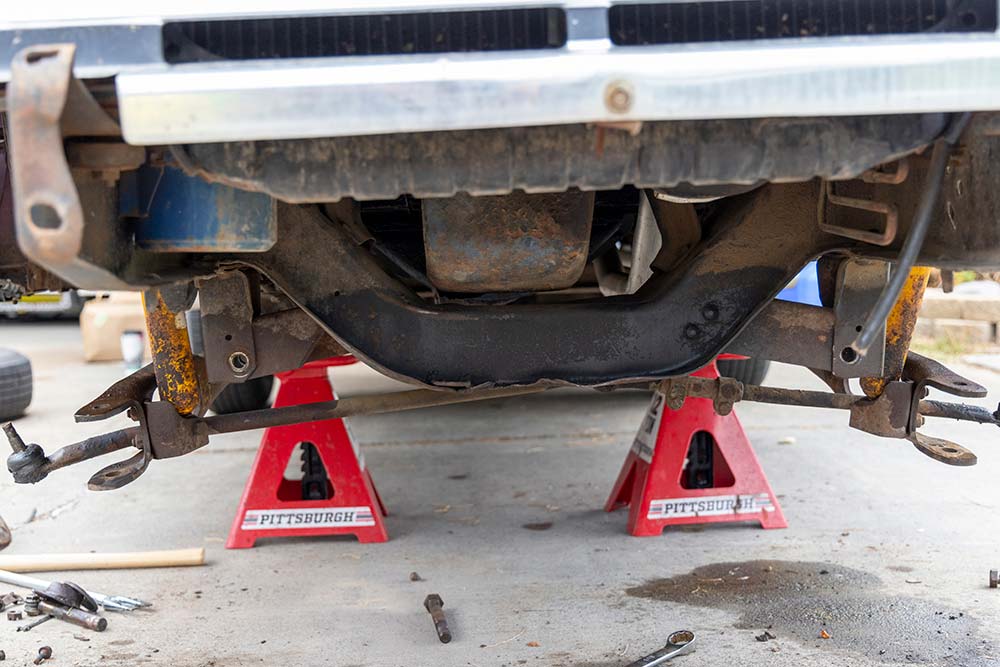
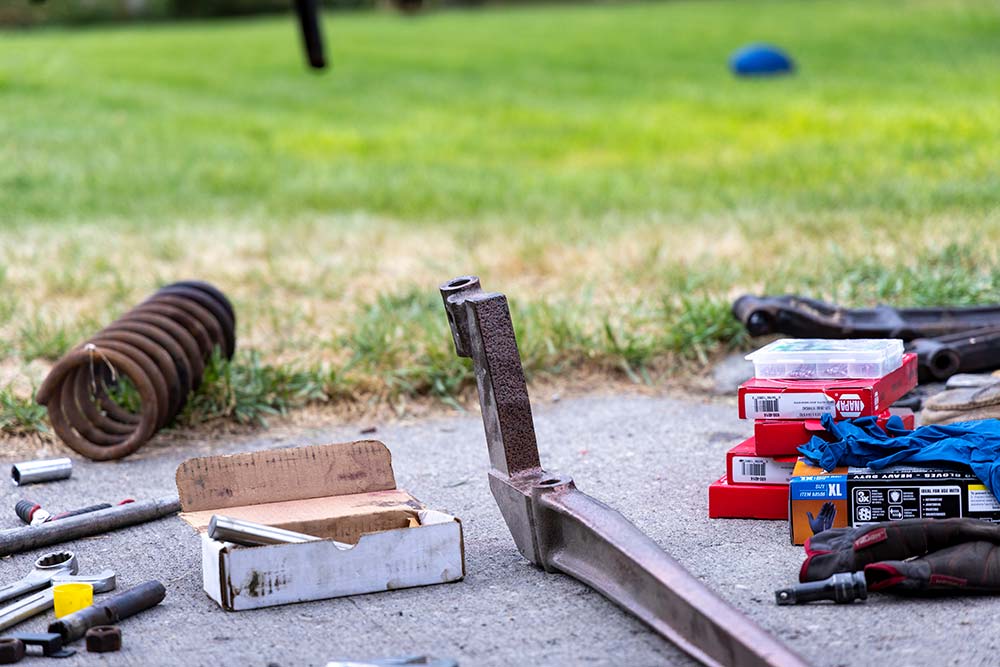
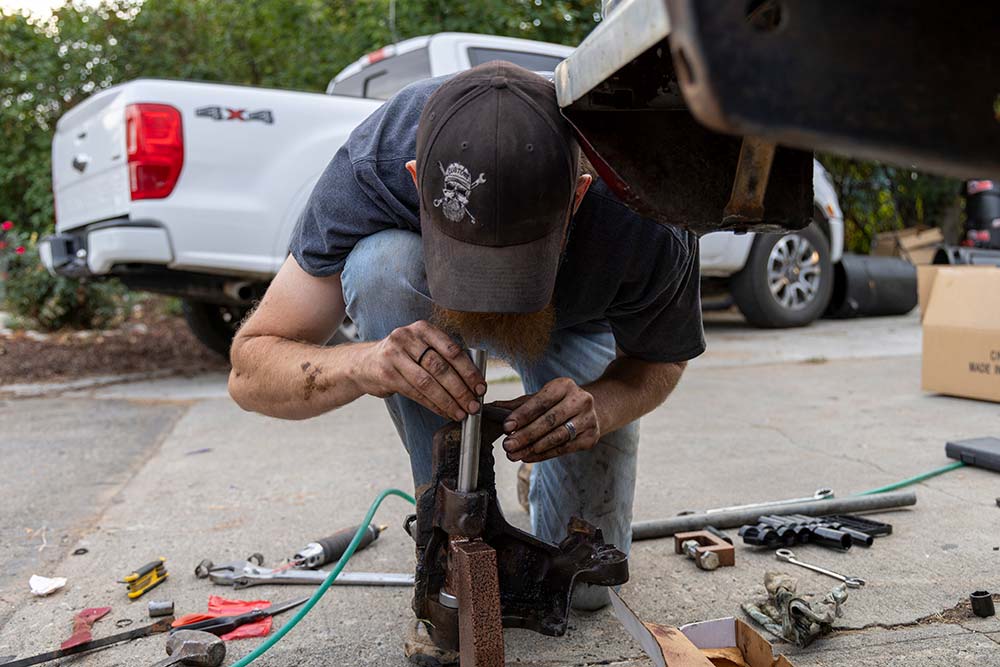
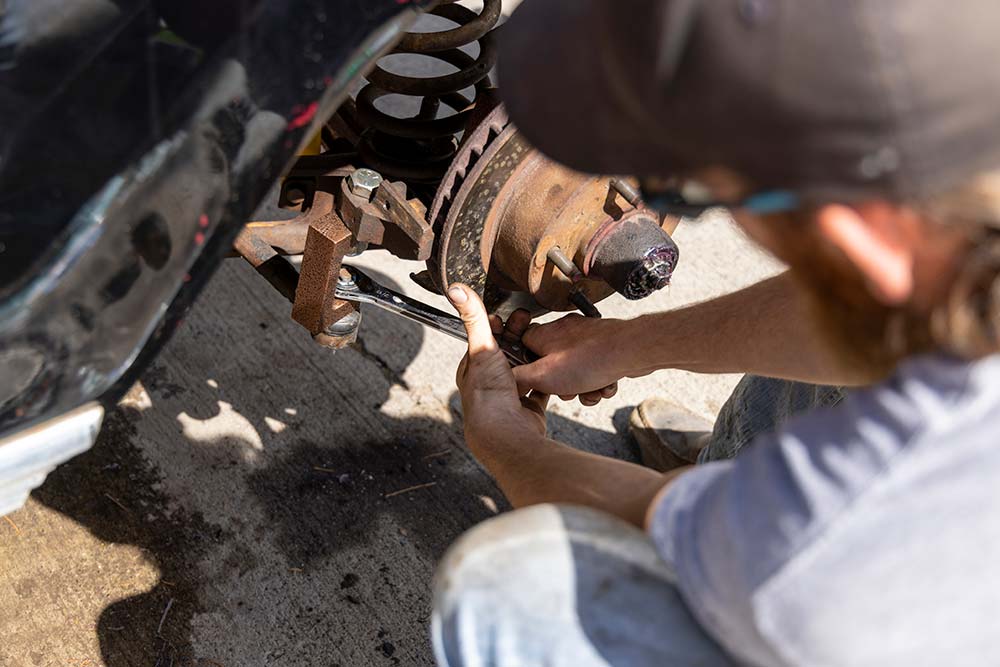
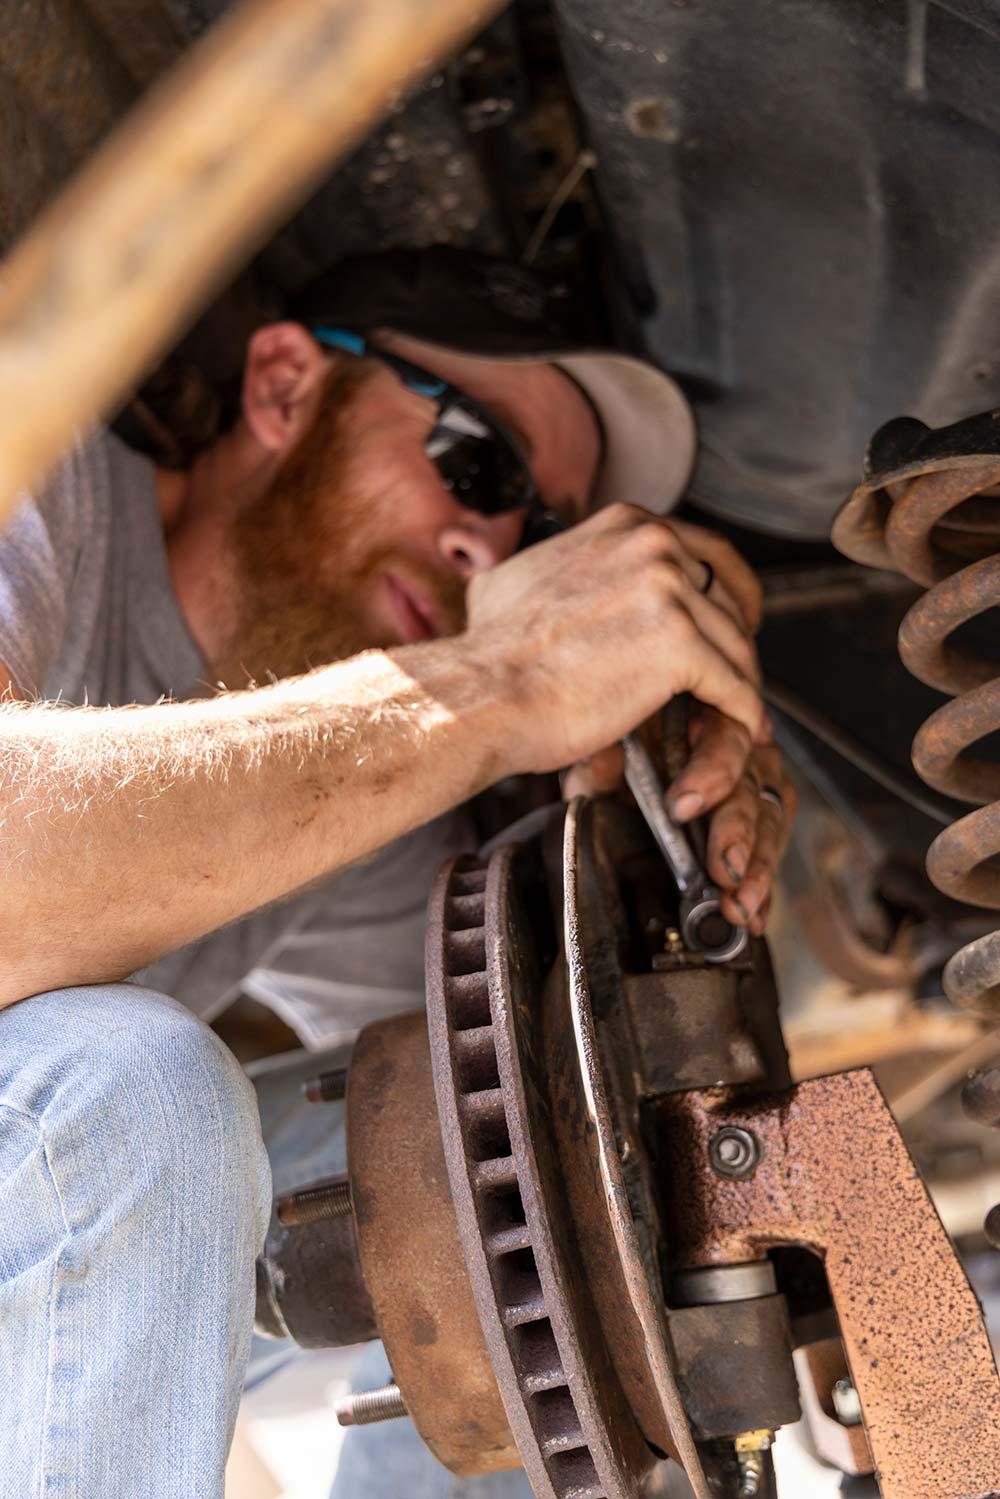
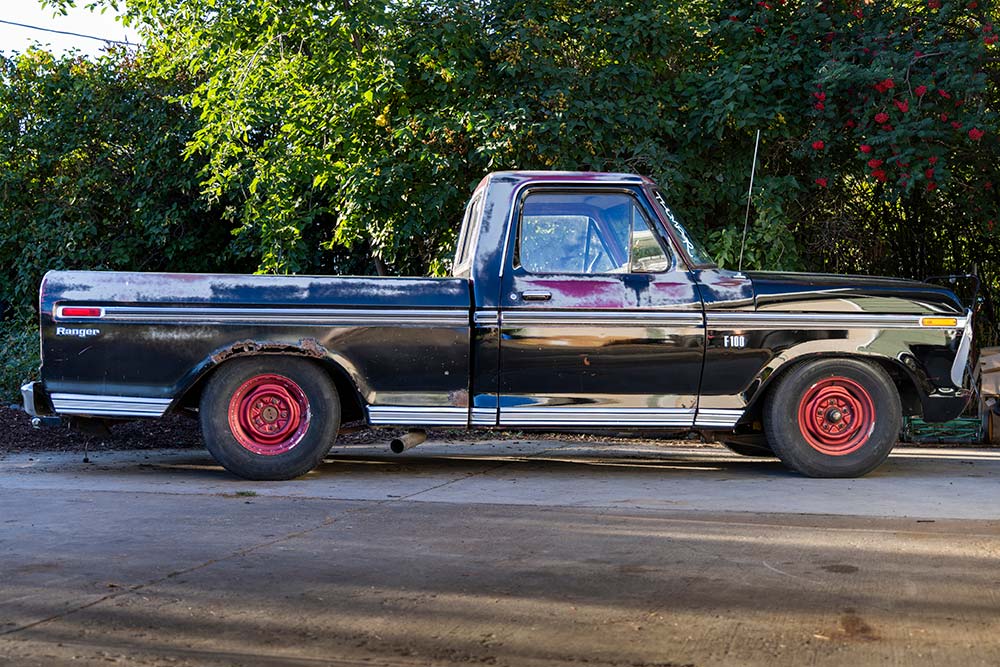
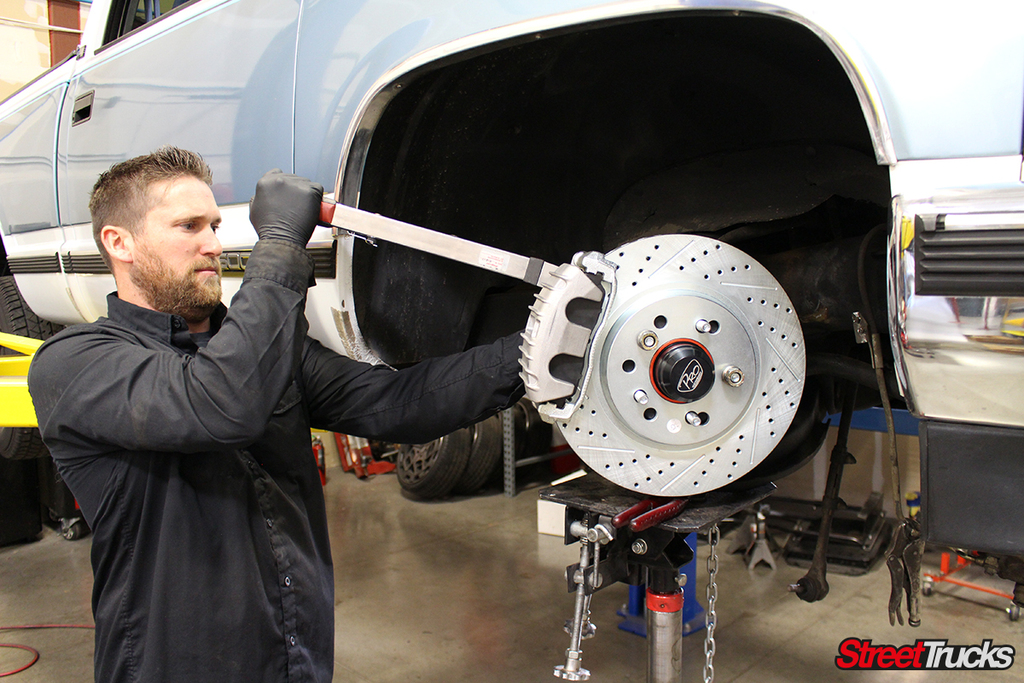
We all strive to build a truck with its own attitude. A fast way to make that adjustment is by installing a set of John Rods Drop Beams. John put a lot of thought into modifying the original beams that came with these trucks to get the perfect 4 1/2-inch drop up front.

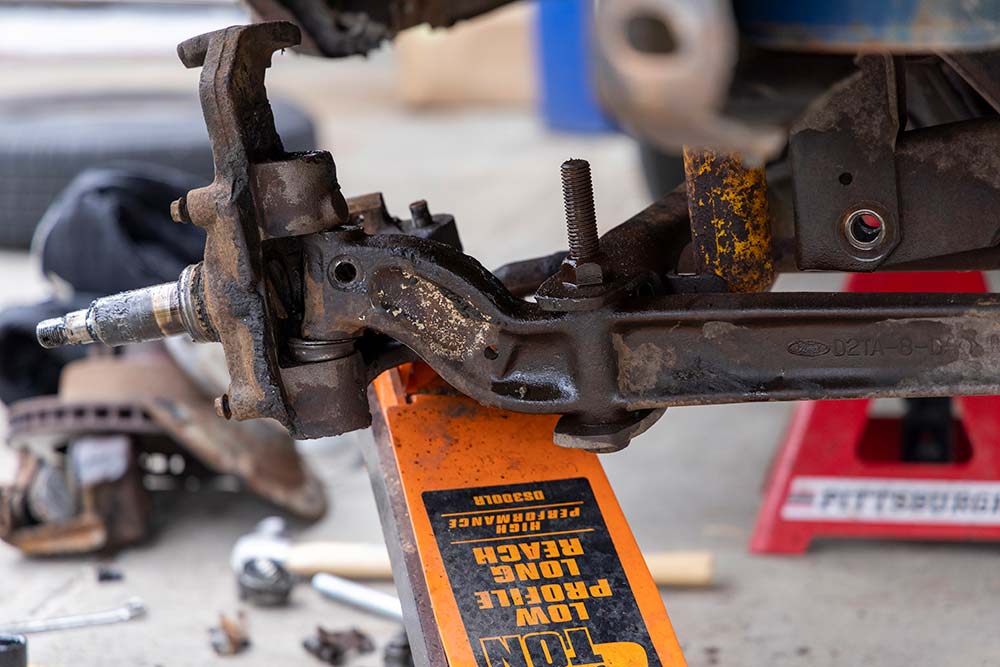
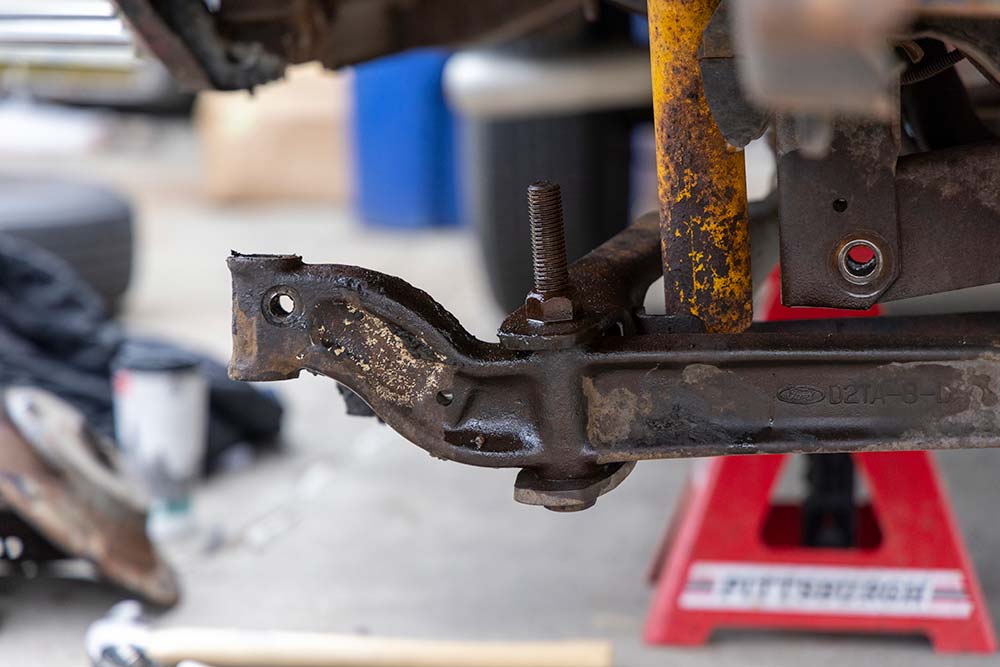
Now, you might be thinking this could be a really challenging install. However, it can be done in a few hours in a shop with all the proper tools or in your driveway over a long weekend with some friends.
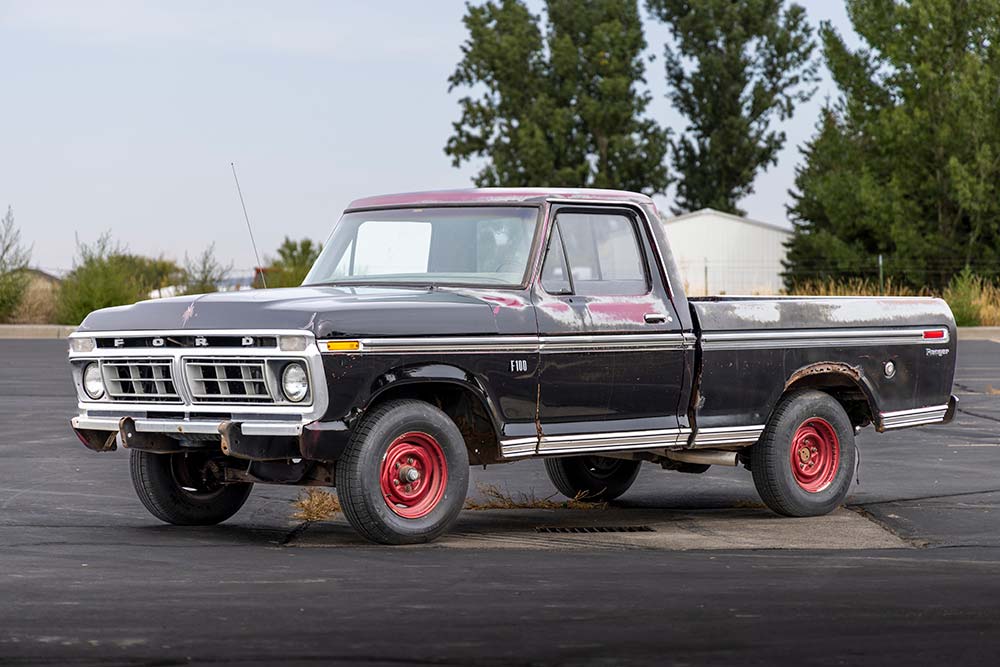
The steps below take you through the process of installing a set of the John Rods Drop Beams on a 1974 F-100. When doing the install on trucks from different years, you may come across a few differences, but all-in-all, these steps will make your install go smoothly.


Department
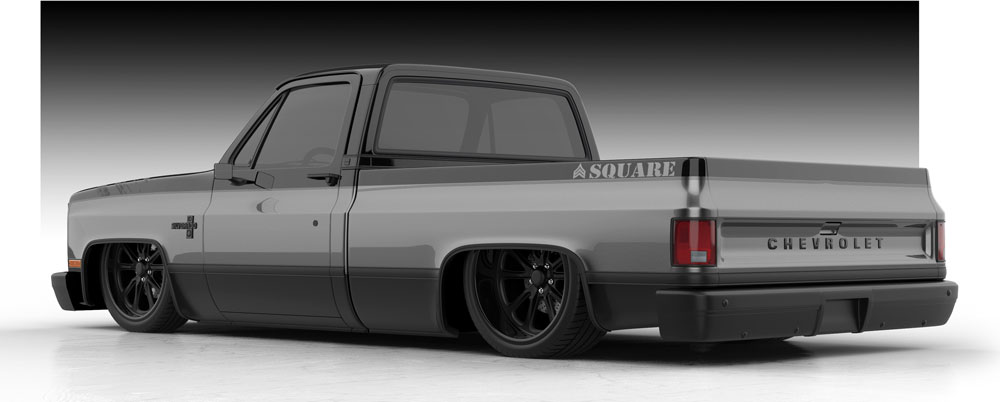
Switch Suspension, Ridetech and Pro Performance team up to turn a C/K into a slot car. Written by Kevin Whipps, Photos by Switch Suspension Lifted trucks… Continue reading
Chris Hamilton . September 23, 2019

Department
The Crown Jewel of Central Florida, A 2019 Lincoln Navigator The chances of seeing another Navigator built quite like this one are slim to none… Continue reading
John Mata Jr. . October 01, 2021

F100 Builders Guide
ON THE COVER: CA CHOW! It seems Santa has a new, cooler sleigh this year thanks to the father and daughter duo, David and Madison… Continue reading
Chris Hamilton . October 20, 2023

Department
FEATURES 22 King of Queens – Skatin’ the Streets of New York 50 Arizona Sunsets – Watching Days Go By in Classic F-100 Style… Continue reading
Chris Hamilton . December 09, 2019

Department
Exclusive Online Feature Photos By: Jonathan Hawkins Subscribe to our weekly newsletter Owner: Chris Pierce Truck: 2017 GMC Sierra Location: Lumberton, TX Club: Committed… Continue reading
Adam Johnson . May 23, 2022
Department
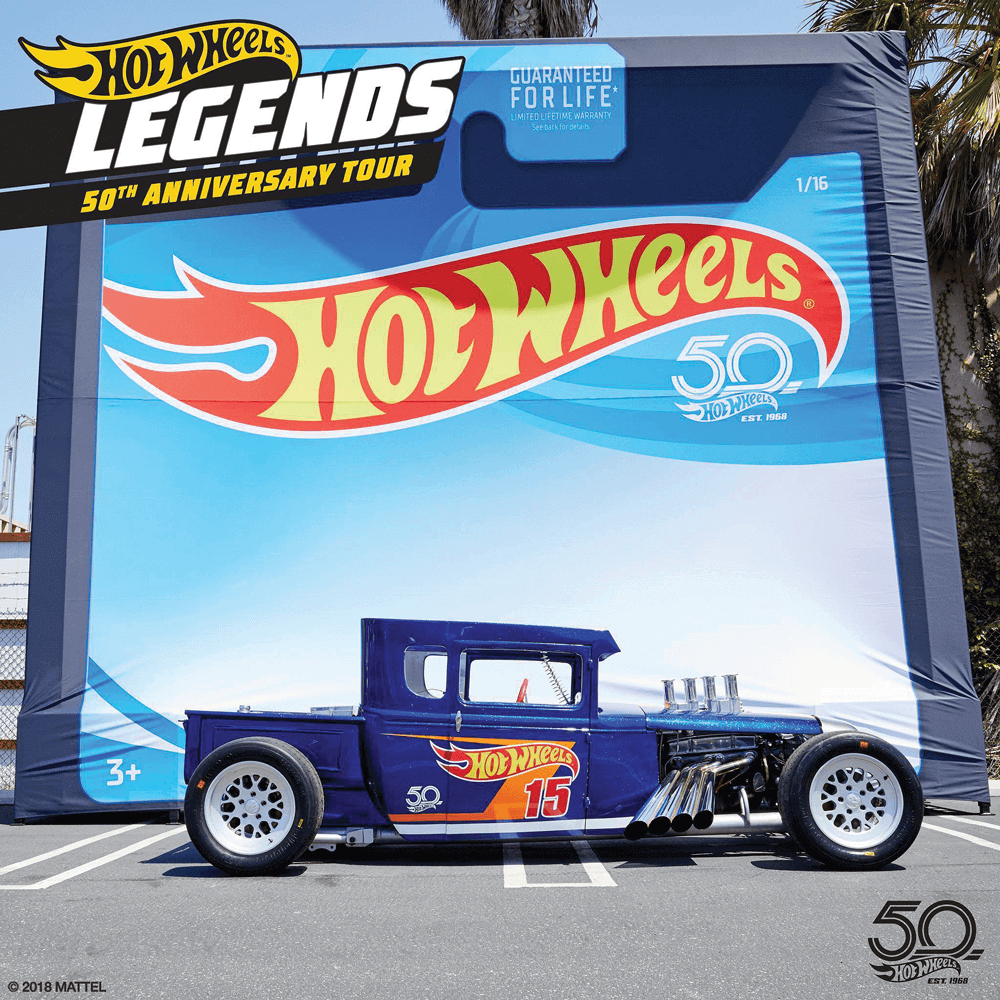
HOT WHEELS CELEBRATES 50 YEARS OF STARTIN’ ’EM YOUNG CONCEIVED IN 1968 BY AN INNOVATOR, A ROCKET SCIENTIST AND A CAR DESIGNER, HOT WHEELS 1:64TH… Continue reading
Mike Self . October 26, 2018


Share Link