 MARCEL VENABLE
.
April 29, 2021
.
How to
.
MARCEL VENABLE
.
April 29, 2021
.
How to
.
When most people see a great-looking paint job, one with deep colors and shine, they think the work stops after the last coat of clear has been sprayed. In reality, the application of the paint and clearcoat is just another prep step towards a quality paint job. Color sanding and rubbing (or buffing) will be required to obtain the high gloss, almost glass-like finish that we all crave.

Most people aren’t familiar with this finishing process, though. They don’t realize that it’s very labor intensive and demands a lot of time. There’s also a special tool required to give paint the wet look. A high-speed rotating grinder with a soft wool or sponge pad creates friction and heat to literally melt the clearcoat into a clean and even surface.
Let’s take a look at the science behind the whole color sanding and buffing process, because I’m sure to most of you it seems crazy to drag sandpaper across an entire paint job that has just been perfectly applied, and then risk burning it clean off with a large grinder or buffer.
It makes perfect sense, though, because during the curing process of the clearcoat, temperature, humidity and pressure from the clearcoat’s delivery (from either the gun or the technique of the applicator) affects the way the material lays on the vehicle.
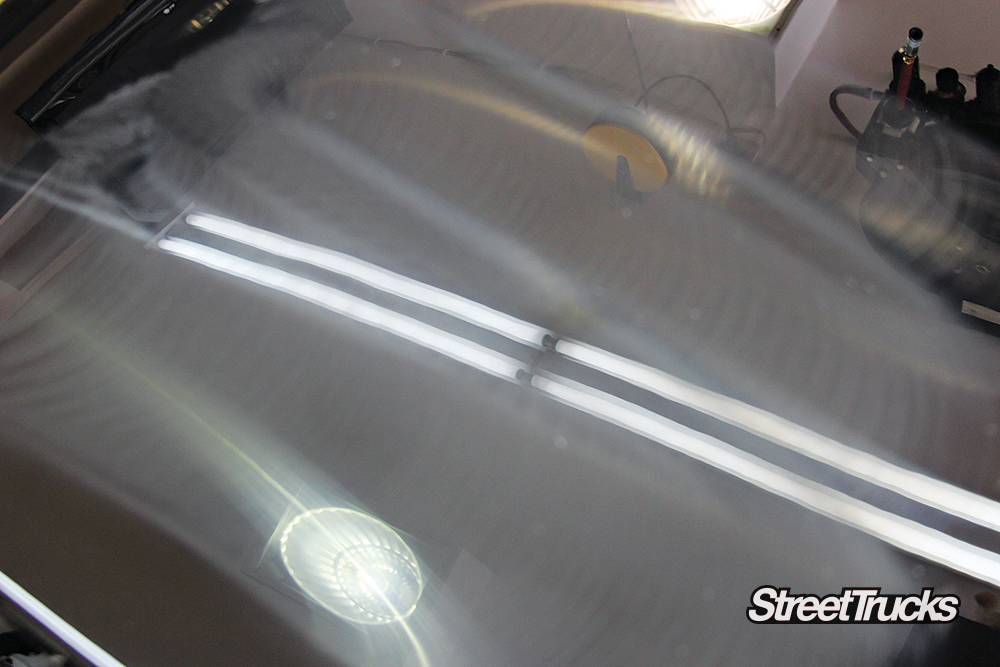
We’ve all heard the term “orange peel.” When light hits a reflective surface that’s uneven the light bends in different directions, causing it to look dull and accentuating the fact that the surface is uneven, like an orange peel. The light will even cast different, undesirable colors.
The first step in correcting this problem is to sand the surface to a flat and consistent level. This will allow light to be reflected back towards you just like a mirror. With a surface that’s flat and even, the light has no choice but to reflect back towards its source. But hold on a minute, using sandpaper on clearcoat means that the user literally scratches the paint down to a dull, flat sheen. So how do you get it to shine?
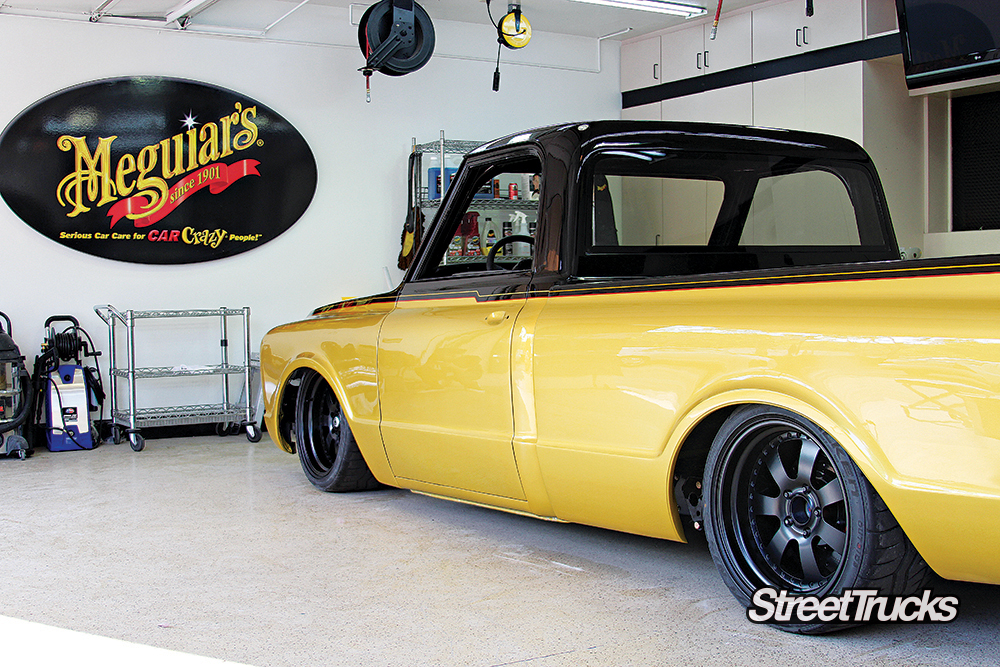
The technology of using paste abrasives and compounds dates back centuries. Jewelers used these materials, including soft buffing wheels and heat, to polish rocks into Jewels. The same idea applies to paint on vehicles. The “cut and buff” job is nothing new to the professionals at Meguiar’s Car Care Products, so we stopped in to learn from their expertise.
Meguiar’s was founded in 1901 during a time when the automobile and the automotive paint world were in their infant stage. Cutting and buffing paint was a cutting-edge technology then. Yet, the same goes for today, as constant changes in clearcoat formulas and application equipment means that one product may or may not work as well as another. So a wide range of products and applications is very important to achieve a top-notch finish.
Recently, we witnessed the completion of a paint job on an early C-10 truck that was in need of a good color-sand and buff job, so we asked the professionals at Meguiar’s to walk us through the process, giving us some tips on what to do, and what not to do.
Follow along as we share what we learned, and you too can use these steps to get your truck to look like a glistening wet sheet of glass!
Meguiar’s Unigrit line of finishing paper is the industry standard for color sanding, clearcoat and paint materials. For this project we’ll start sanding with the coarsest grit, 1,000, and work our way up the line, ending at 2,500 grit.
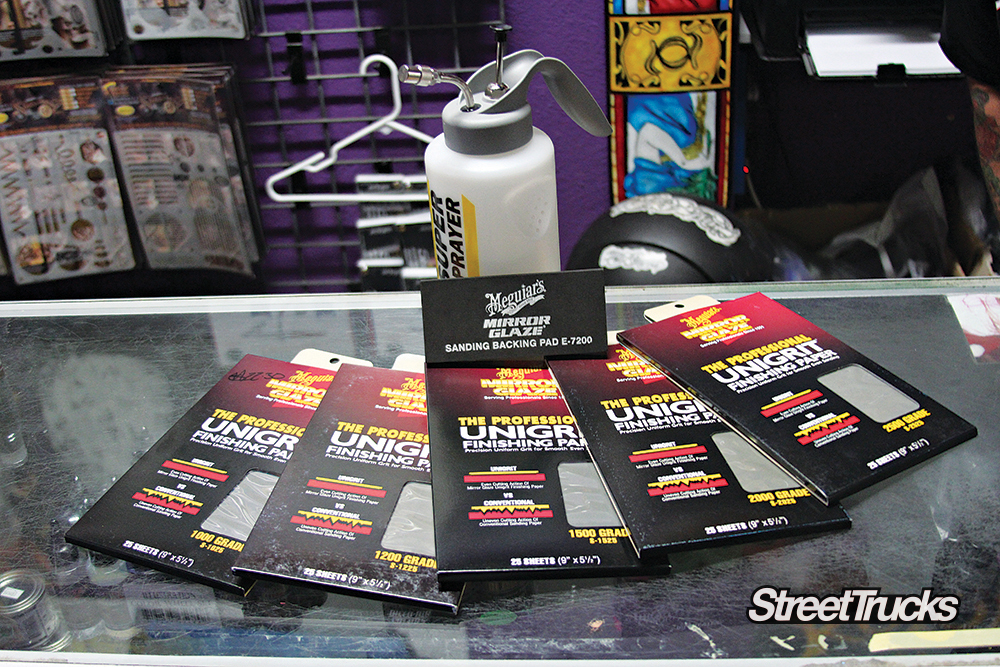
A finishing pad or block will help us sand the orange peel down to an even, flat surface, providing the perfect prep for buffing out the clearcoat shine.
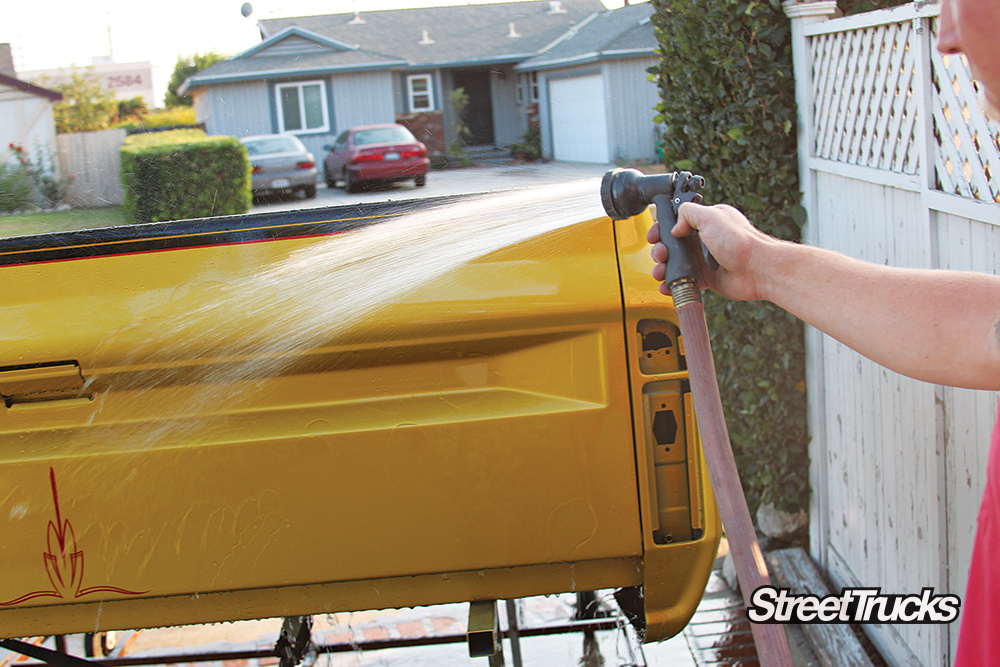
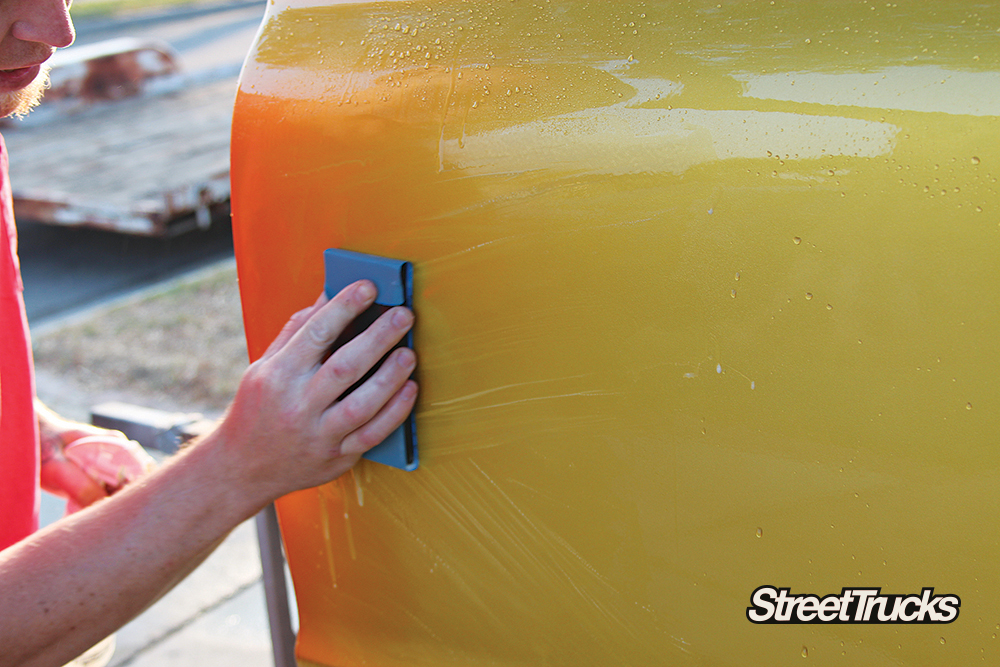
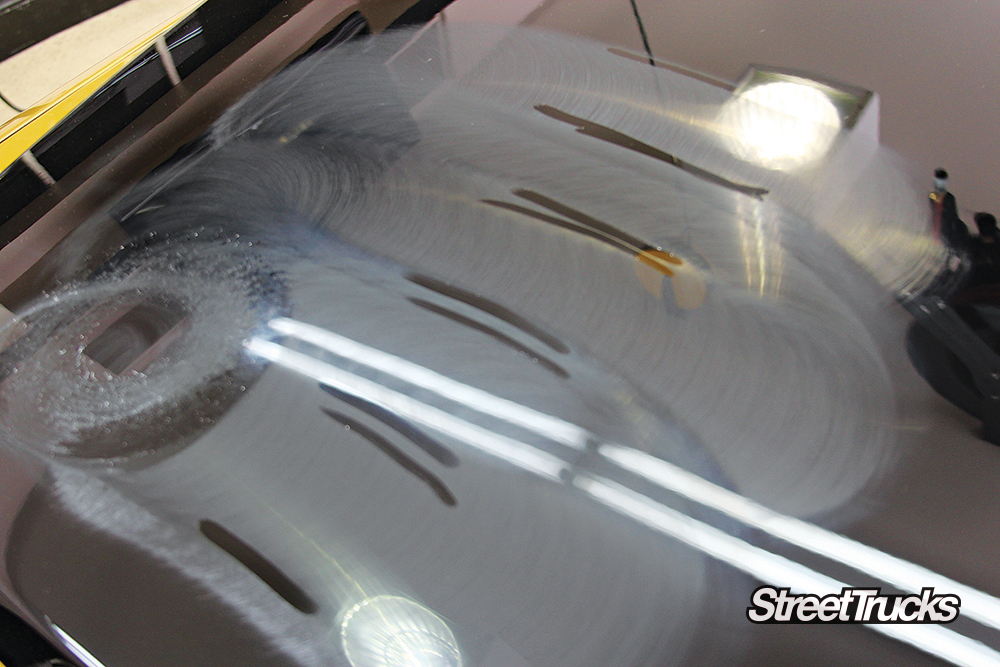
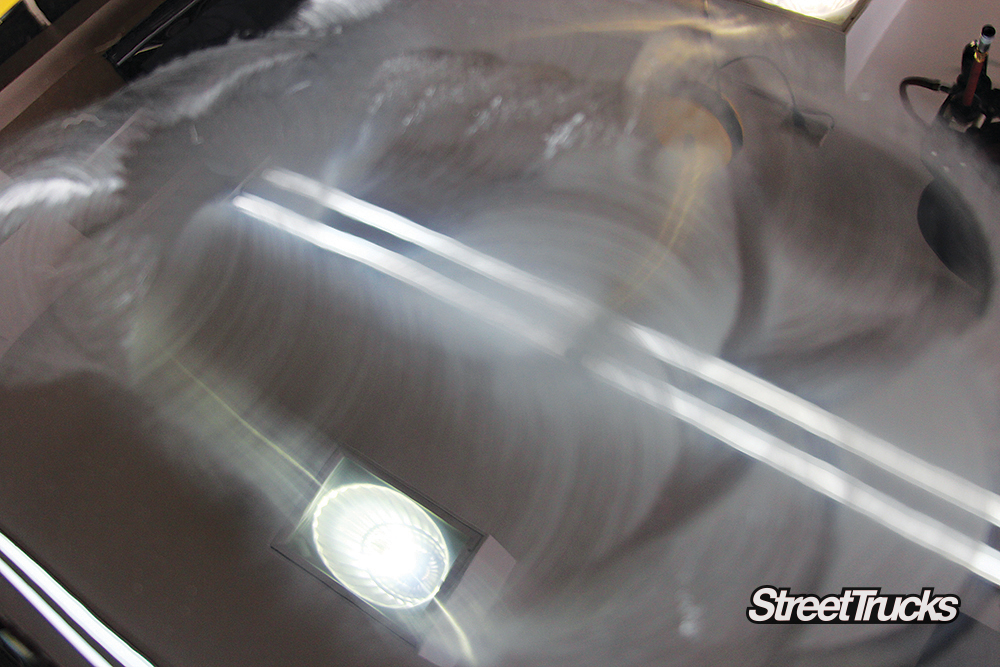
Always start with and maintain a wet surface while sanding or cutting the clearcoat. The water acts as a cooling agent as well as a lubricant for the paper to glide across the surface.
It also helps to keep dust and clearcoat particles out of the paper, which could cause scratches. Once you begin to cut open the paint, be sure to run a pad or a squeegee across the area that you are working on to clean away the loose materials and to check out your work. Be thorough and work in small sections in a crosshatch pattern before moving on to another area.
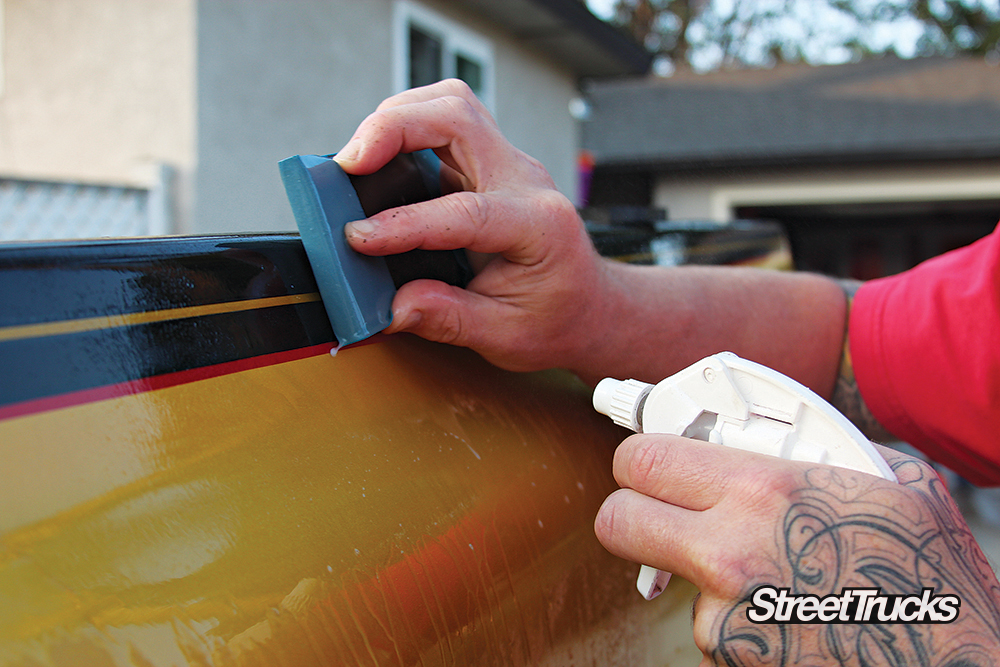

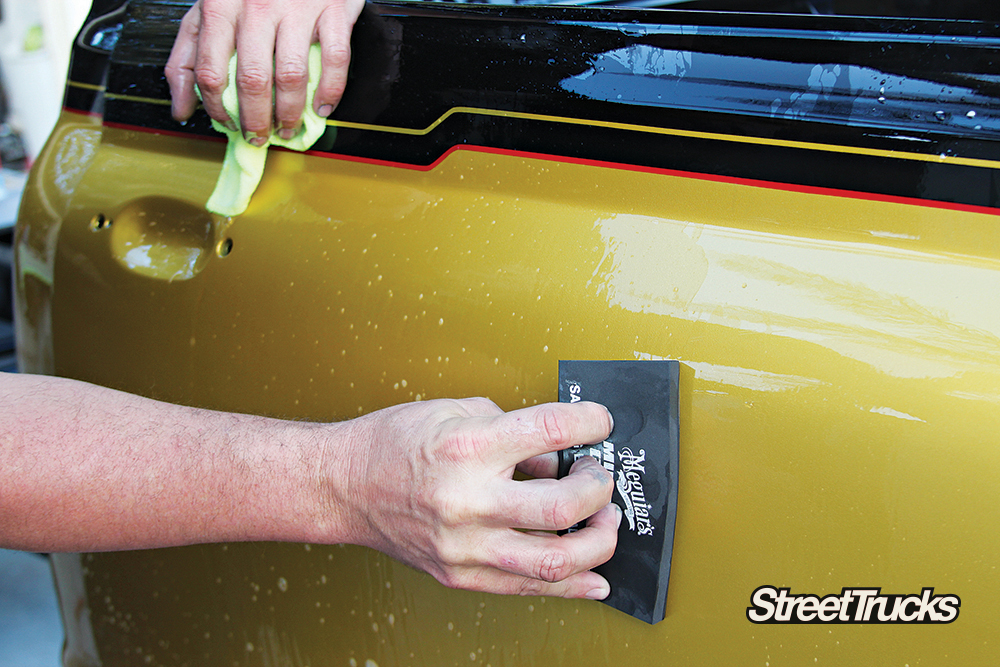
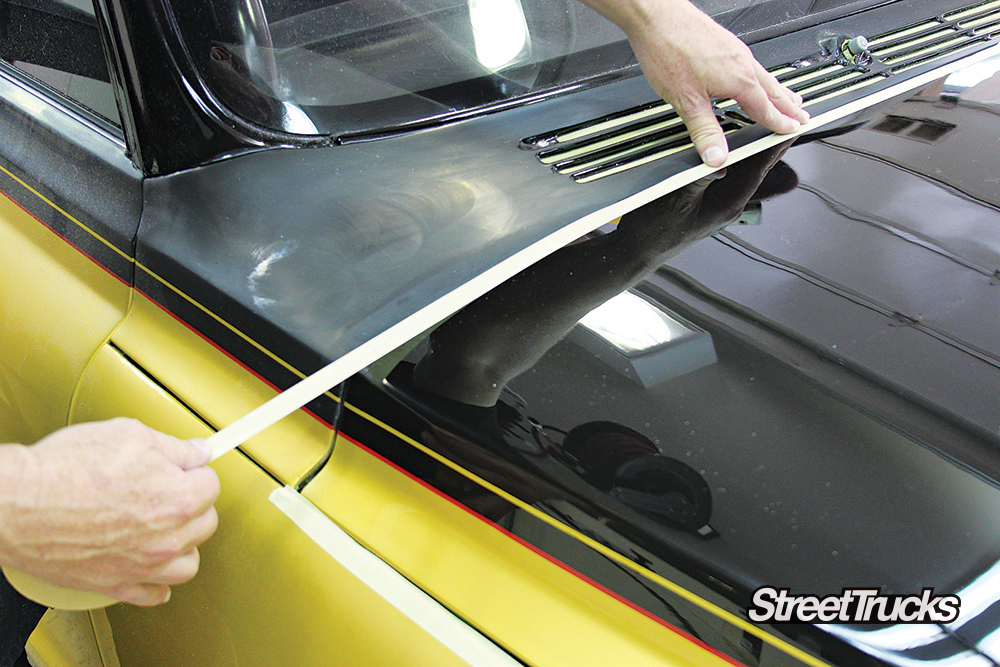
If your project has a graphic line, like this one, be sure to shoot an extra coat or two of clear over it for protection. A buried line or stripe really gets people excited about a paint job. Take your time and check often around graphics using your squeegee. Once you’ve sanded the entire truck using one level of coarse grit, move on to the next until you have sanded to the desired level, which for most clearcoats is 2,000 grit or above.
Here’s a look at some of the products plus the equipment that we will be schooled in today by the pros at Meguiar’s.
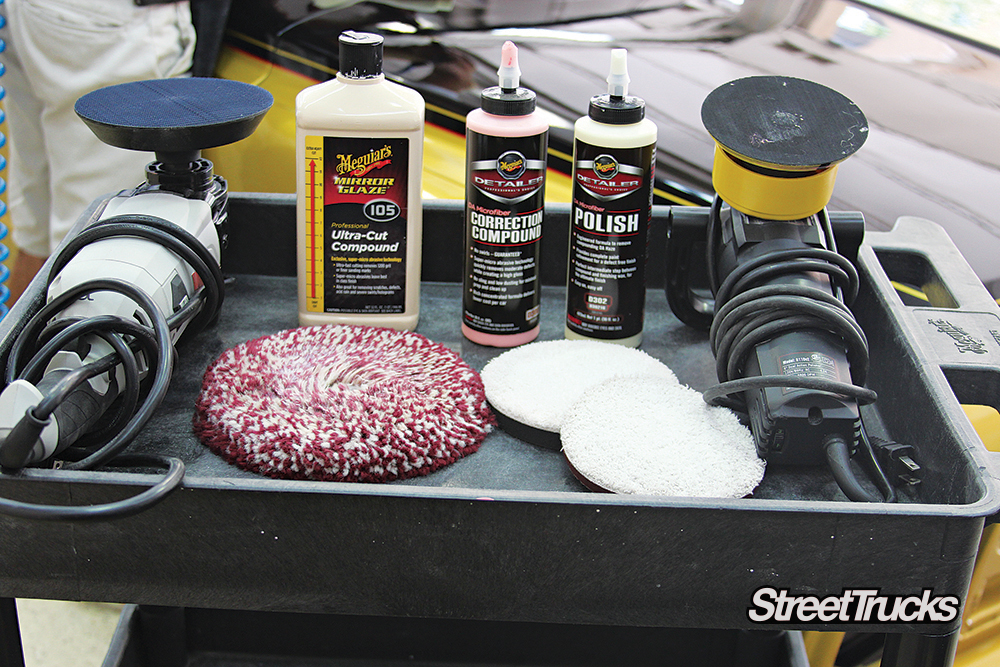
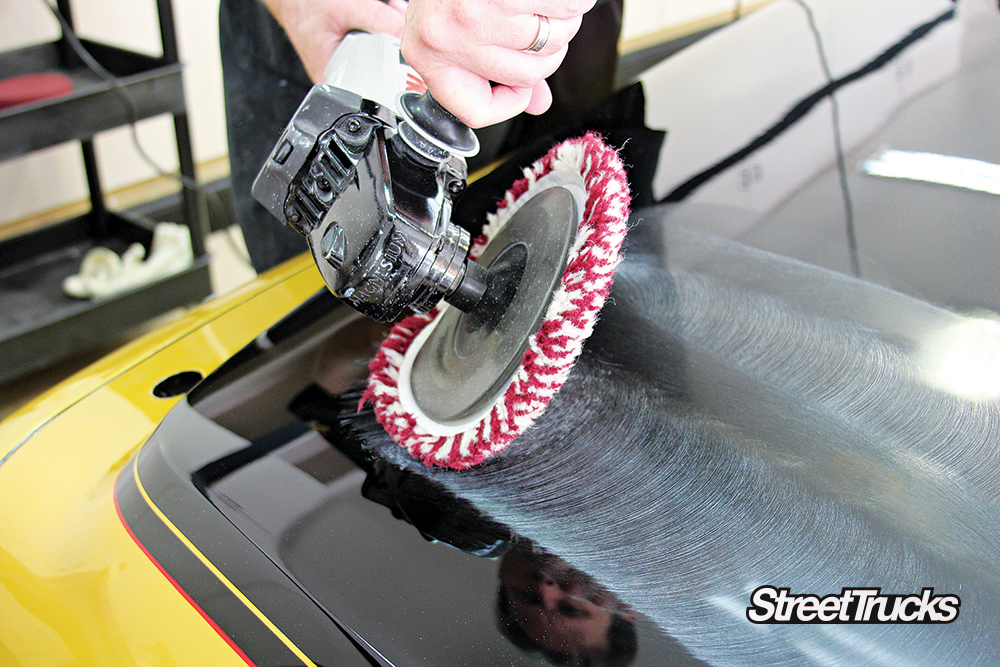
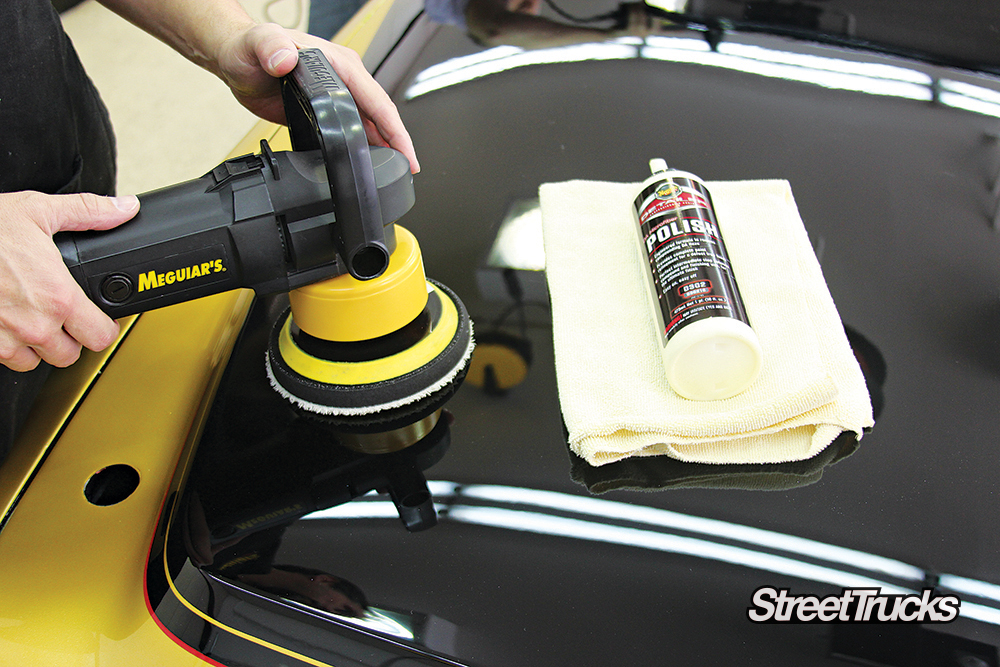
To you professionals, the rotary-style buffer that looks like a grinder and the heavy-duty wool cutting pad are nothing new, but for the average Joe it looks like a nightmare. Hey, not to worry, we’ll give you guys some tips on how to master the rotary buffer.
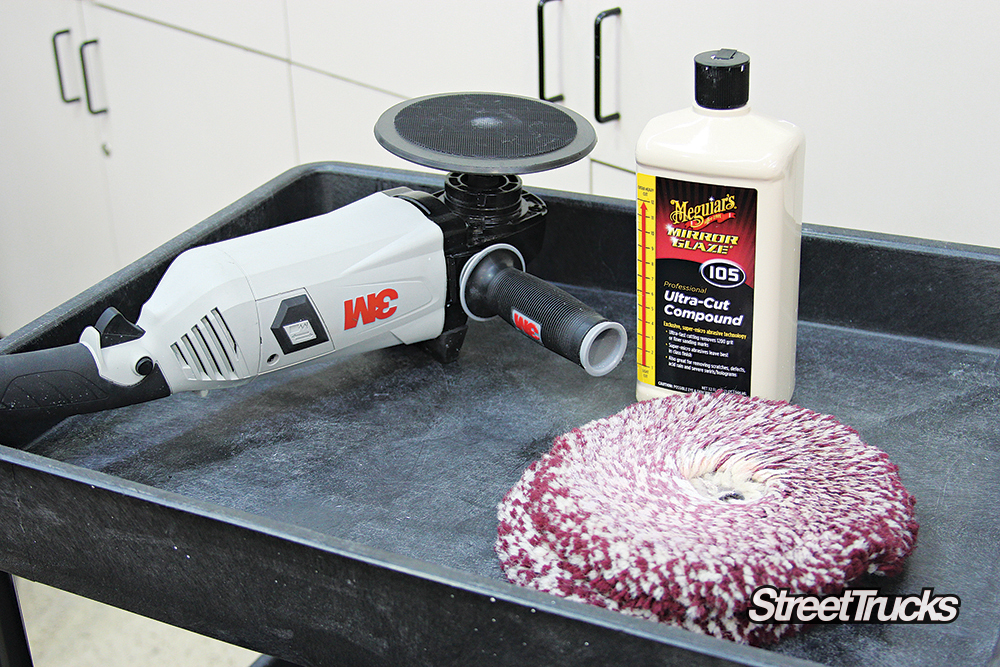
Our first compound is from Meguiar’s Professional Mirror Glaze line, referred to as 105 or Ultra Cut Compound.
This formula is one of the heaviest cutting compounds, making it a fast cutting product that produces a deep shine. Used with a rotary buffer and Meguiar’s WWHC7 solo wool pad this is the choice of the pros hands down.
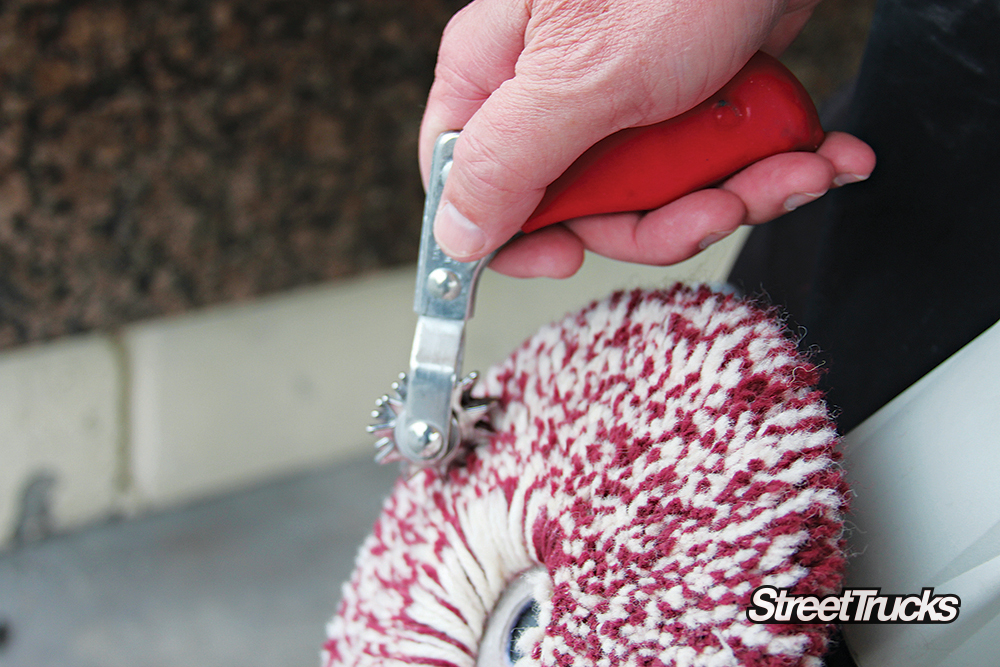
Keeping the pad clean is extremely important during the process because a fast cutting compound that contains heavy abrasives can load up on the pad, causing more harm than good.
Running a spur tool over the pad before and in between sessions is a great way to keep the pad free from old, dried-out compound.
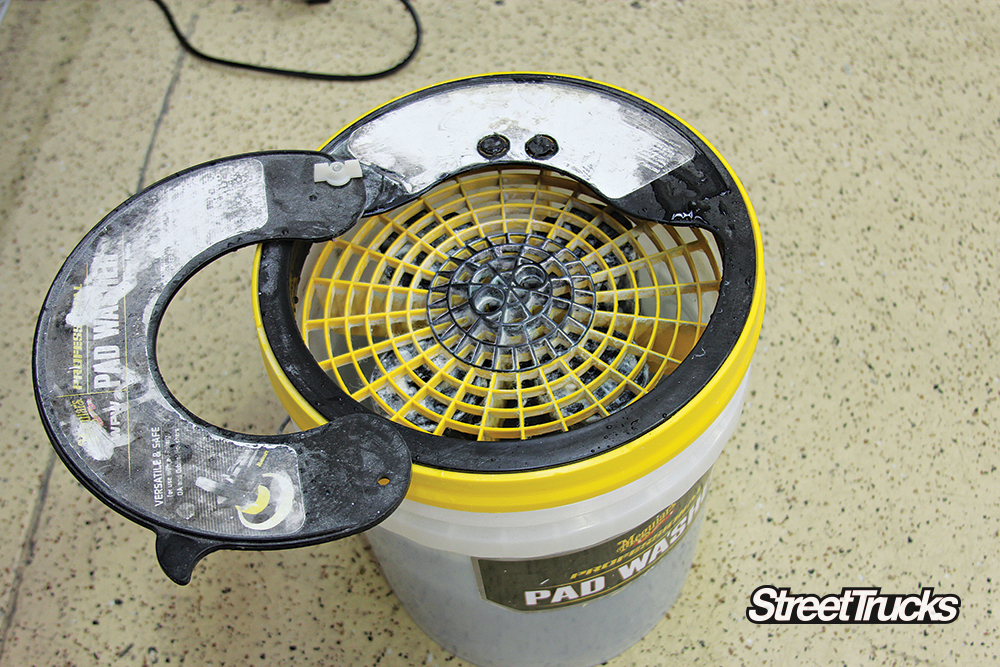
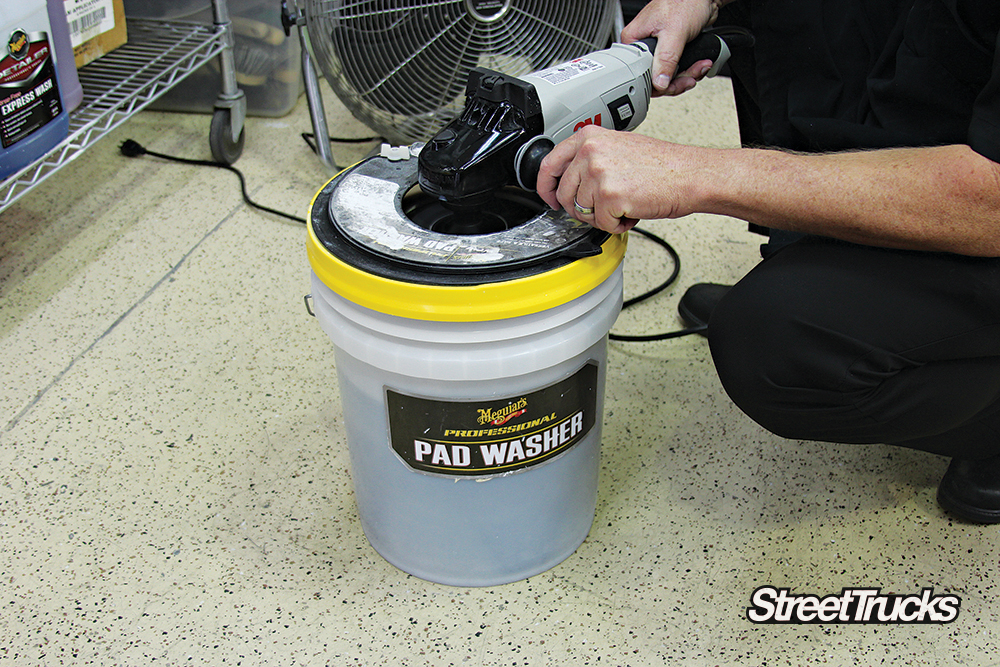
If you think you’ll be polishing your vehicle or someone else’s vehicle consistently, then you might want to look into picking up one of Meguiar’s Professional pad washers to extend the pad’s life span and bring better results to your work.
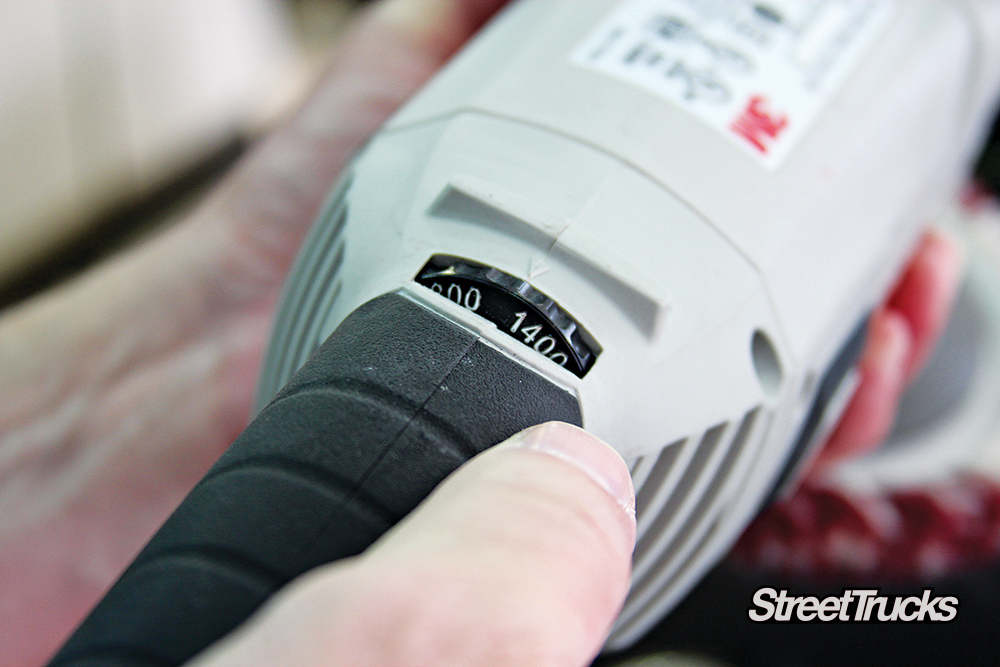
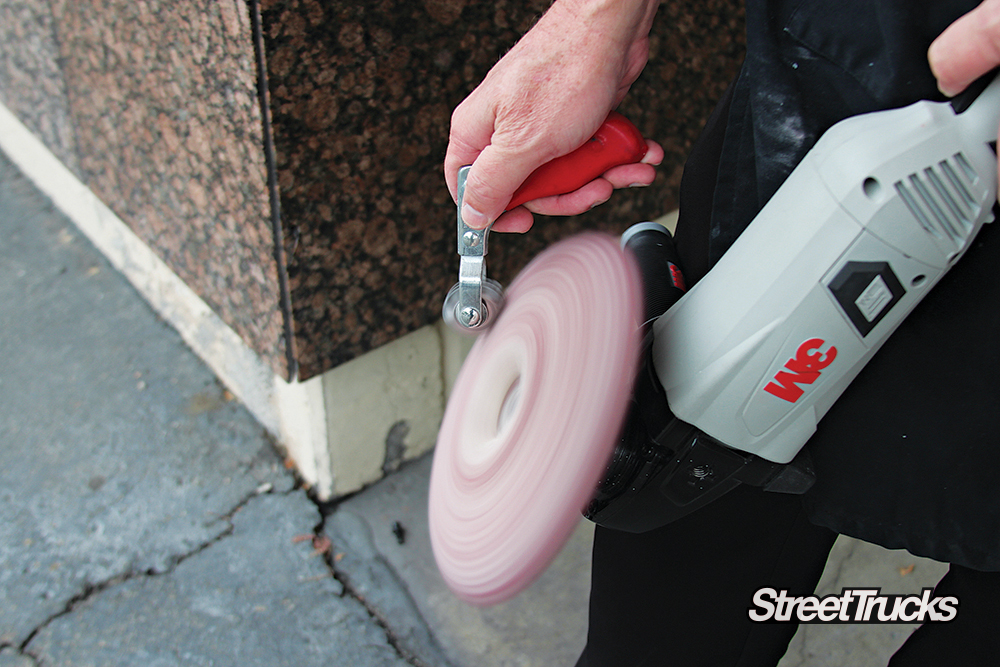
The Ultra Cut Compound calls for a rotation speed range from 1,000-2,000 rpm. Based on tips from the instructors at Meguiar’s and our skill level, we ran the buffer at 1,400 rpm with the 105 compound.
There really is a difference between a high-speed grinder and a high-speed buffer: The buffer’s speed can be controlled and a grinder’s speed is constant. If you’re not really sure how fast to spin the buffer, then check the label on the bottle or start out slow and work your way up to speed until you see results.
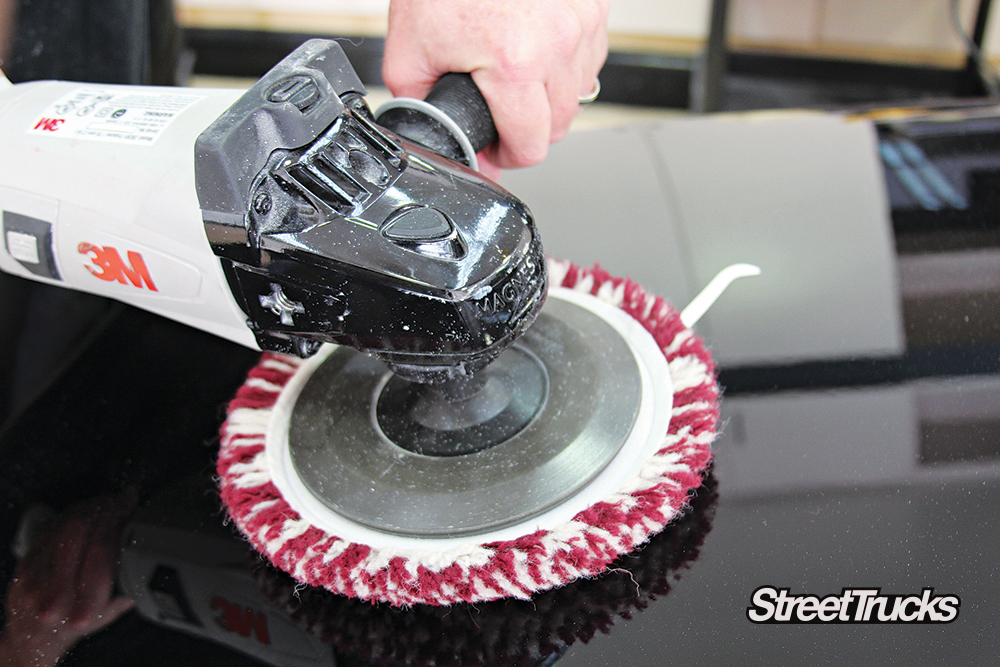

To begin, spread a line of compound on the surface, then starting from the right side of the compound line, quickly run the buffer over the compound to the left, this will load the pad without flinging material everywhere. Use steady, almost firm pressure over the pad and work in small 2 x 2-foot areas on the vehicle.
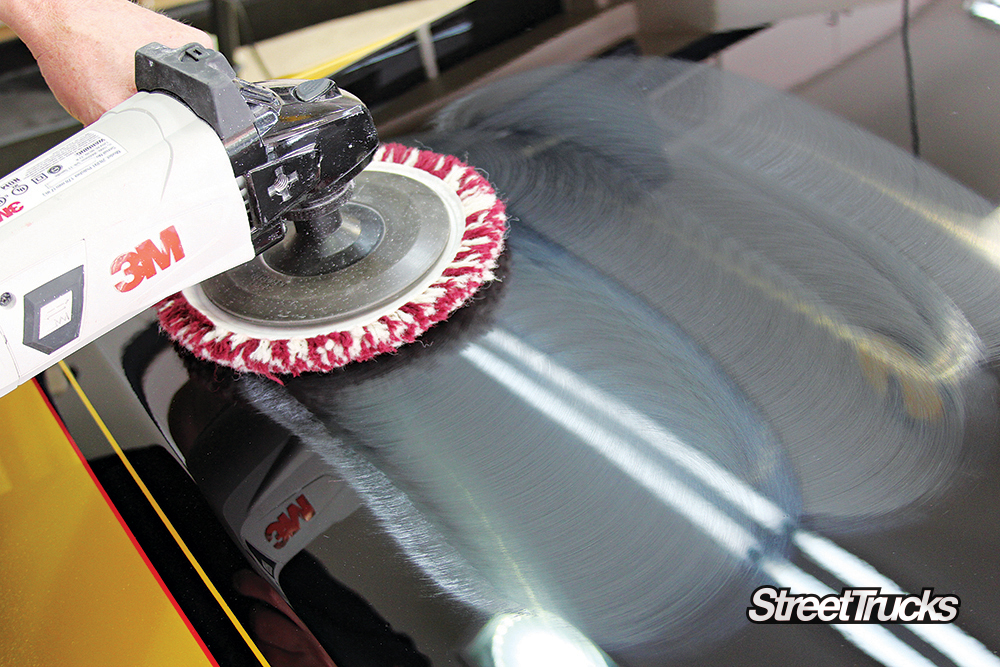
Work the compound into the paint again with firm yet even pressure in a small 2 x 2-foot area, making sure to overlap your side-to-side passes at a 50% pattern.
We ran our fingers over the compound’s leftover haze to show you how each pass overlaps the previous within the 2 x 2- foot area.
Here’s a look at what you don’t want to do. Don’t try to run the buffing wheel on the edge of the pad. The heat from the pad can concentrate in a single area, resulting in damage. Uneven pressure on the pad will leave you with this type of pattern and an uneven shine.
Here’s a tip that we picked up from the Meguiar’s guys: If the buffer starts to hop around, use your grip hand (the one in the back holding the trigger) and point it towards the 10 o’clock position.
This should right the buffer back into balance, allowing you to regain control and apply even pressure to the pad. Try to see the buffer as your friend, not your enemy.
Even the best in the business need to play it on the safe side, and one of the greatest ways to prevent burnt edges is to run a layer of masking tape on an opposing edge to prevent the buffing wheel from running over it.
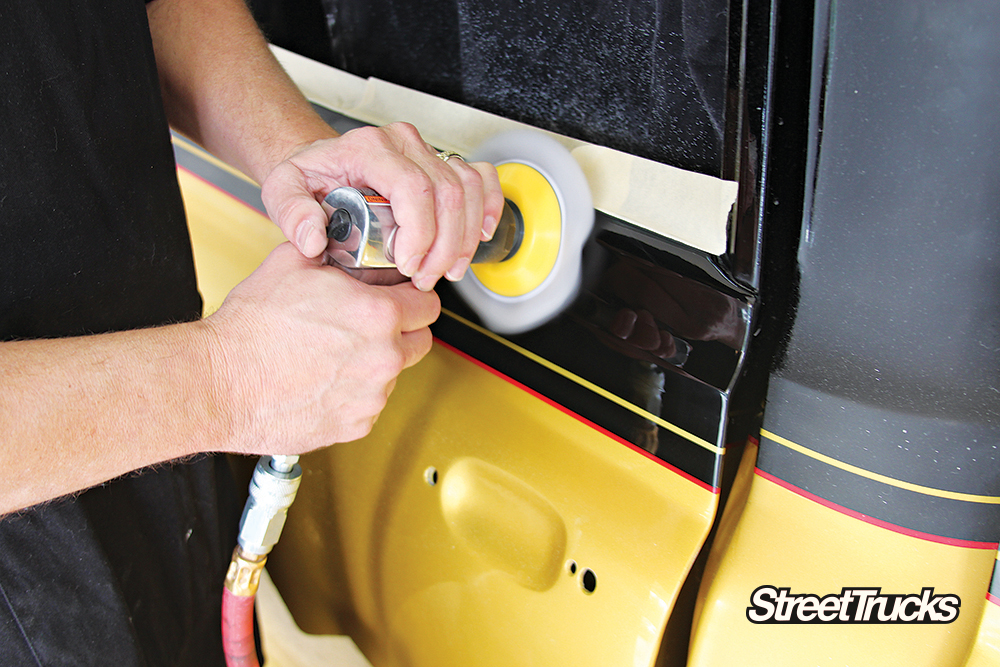
Remember that there’s a tool for everything. A big wool pad won’t allow you to get into small detailed areas like the top edge of the doors or even around windows.
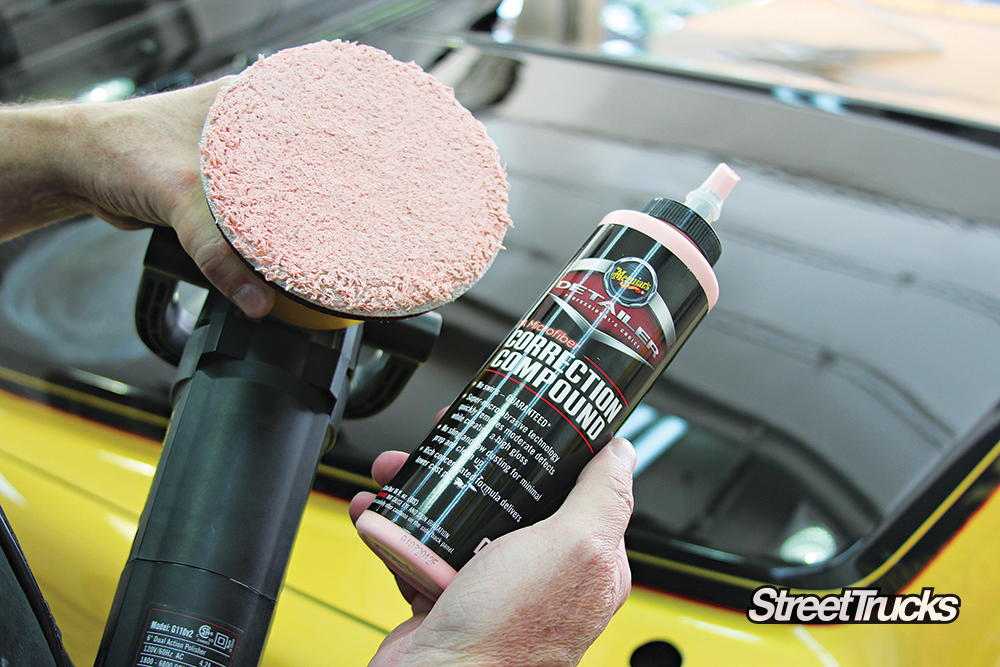
After we finished cutting the surface of the clearcoat, it was time to move on to another form of compound that’s a little less invasive yet just as effective when used in concert with other Meguiar’s products.
Correction Compound bridges the gap between the rotary buffer and DA or Dual Action polisher. A DA polisher is much safer than using a rotary. It’s not as effective for cutting, but it does wonders with polishing.
Dual Action rotation is much tighter than the rotary-style buffer, which means fewer swirl marks leftover from the cutting action of the heavy compound.
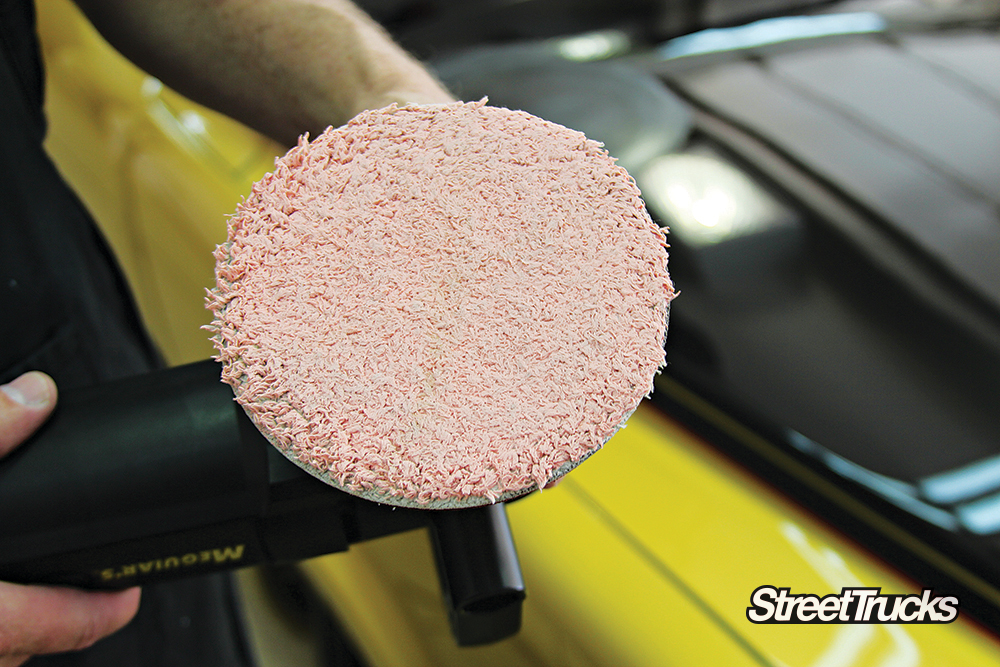
The Correction Compound works best with one of Meguiar’s microfiber polishing pads. Make sure that you clean the pad in between the application of the Correction Compound as often as possible, however, don’t use a spur tool to clean this pad or it may tear, just use some compressed air and blow it clean before putting more of the compound onto the pad. Again, work in 2 x 2-foot sections using moderate to firm pressure.
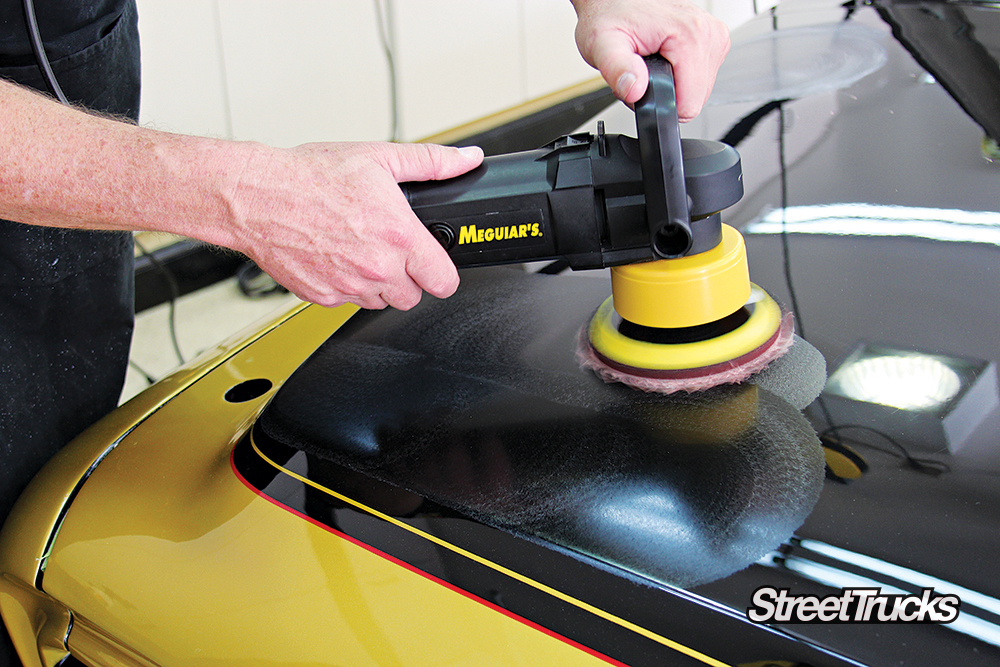
Now that we have cut the clearcoat using two different levels of cutting compounds, it’s time to polish the clearcoat to bring out the glass-like finish we’re looking for.
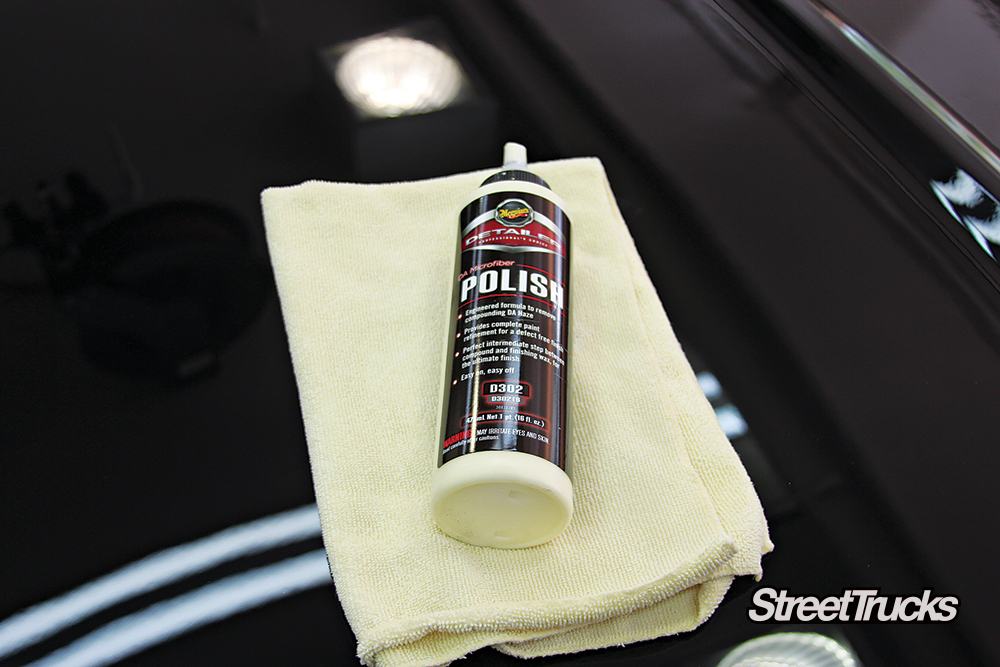
Meguiar’s new polish is D-302. Use this formula the same way you did the Correction Compound, except with the new formula you will use a different microfiber polishing pad that has more of a sponge-like backing pad.
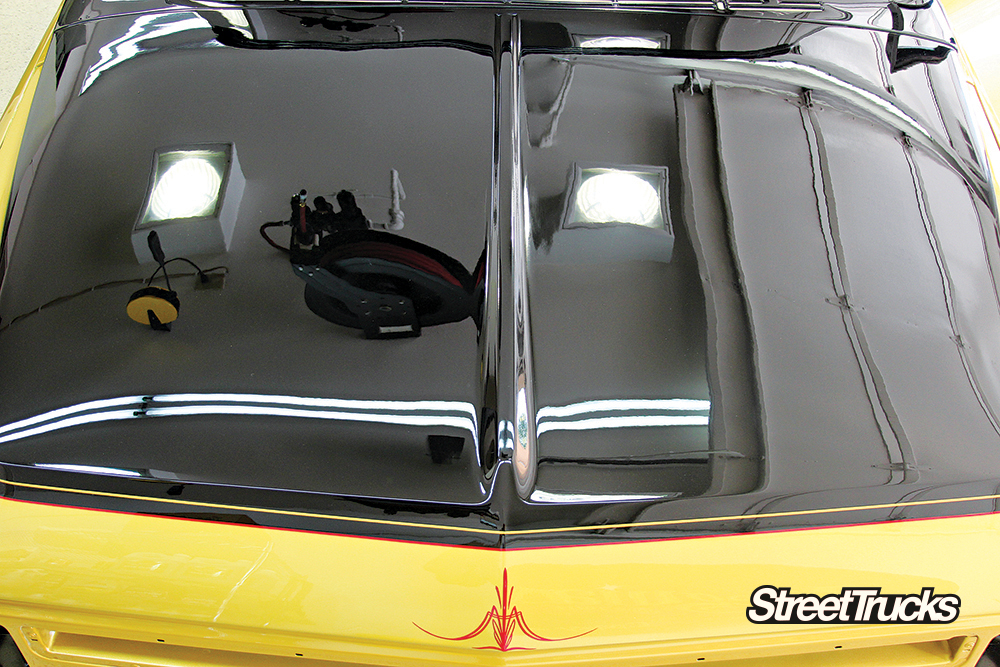
After a few passes you should start to see a mirror-like finish. Unfortunately, we’ve had no luck taking a picture of the result without catching the reflection of the equipment mounted to the ceiling.
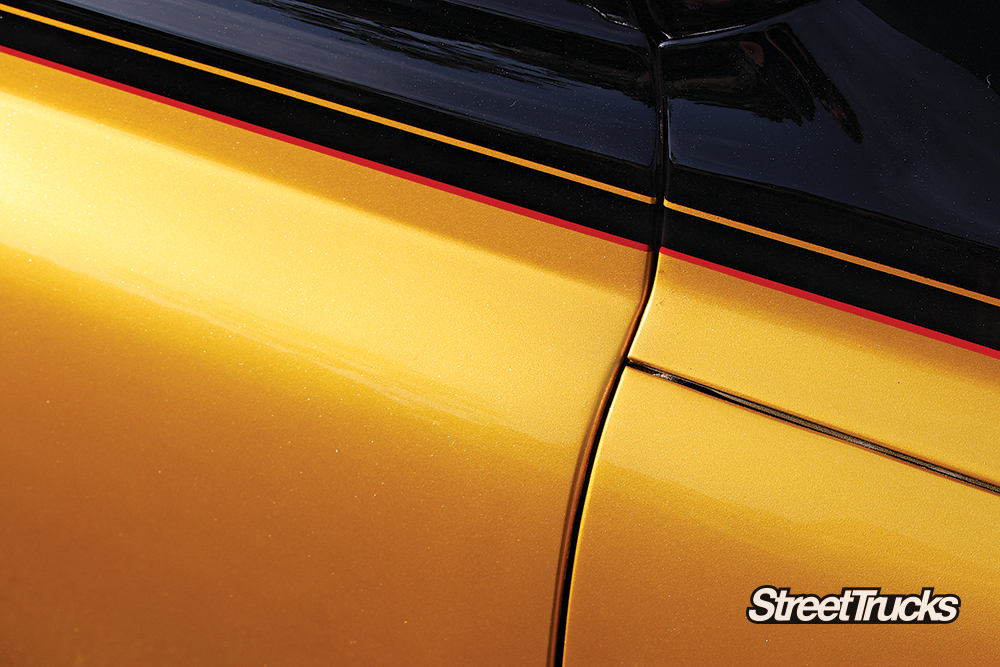
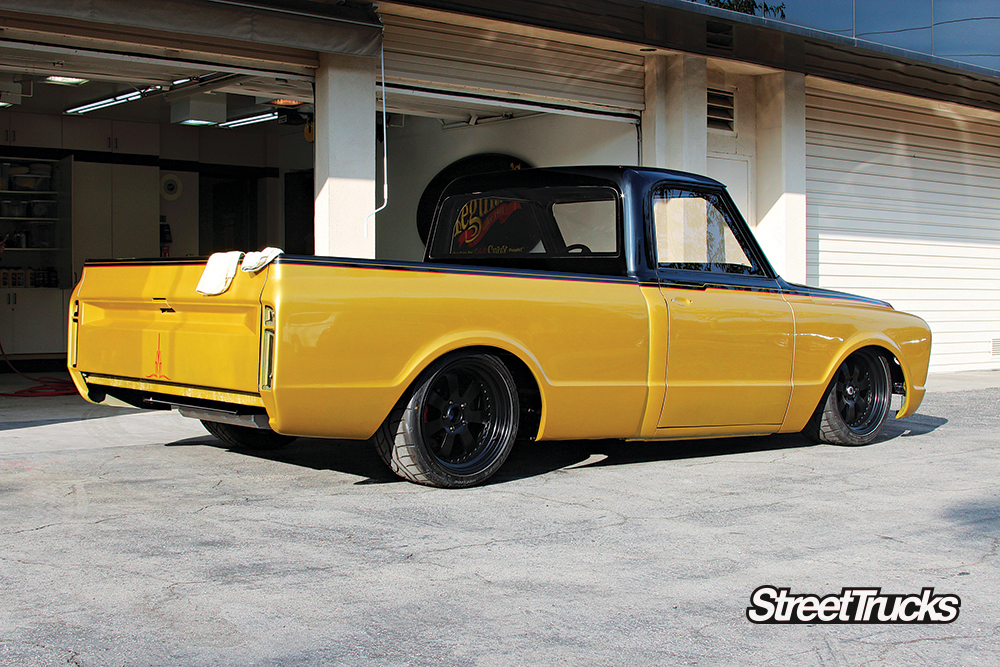
Here’s a look at what we came up with as the truck glowed in the sun with a blinding shine.
This took the better part of a day and really should have taken a few days if it hadn’t been for help and guidance from the crew at Meguiar’s. Of course, the best results come from practice, and if you’re not comfortable with this type of work, but want to learn how to do it, go to a wreaking yard near you and pick up a fender or door and give it a shot.
You’ll learn a lot on panels that don’t matter, and you’ll be happier with the job on your personal truck after a few practice sessions on old junk.
Read More: Perfecting the Paint: A Step-by-Step Guide to Detailing Project Green Giant
When embarking on a wet sanding project, the choice and sequential use of sandpapers are critical for achieving a smooth, high-quality finish. Here’s a step-by-step guide on how to effectively use 1000-grit and 1200-grit sandpapers:
Starting with 1000-Grit Sandpaper:
Transition to 1200-Grit Sandpaper:
Monitoring and Adjustments:
Tips for a Flawless Finish:
Utilizing this technique will equip you with a smoother, more polished surface, setting a great foundation for subsequent detailing and finishing steps.
Recommended Sandpaper for Initial Wet Sanding
For the initial stages of wet sanding, it is advisable to use sandpaper with a uniform grit size and distribution. This helps to minimize the risk of tracers, which are larger, random scratches that can mar the surface.
Step-by-Step Grit Selection:
Utilizing these types of sandpaper will set a solid foundation for achieving a smooth, professional finish.
When polishing an average-sized car, you can expect to use approximately 8 to 12 ounces of polishing compound. This range ensures that you have enough product to cover the entire vehicle while achieving a consistent, high-quality finish.
Consider these points when determining the amount:
By using the right amount, you’ll ensure your car’s paintwork looks its best without wasting product.
Precautions for Sanding and Polishing Near Edges and Corners:
When working on edges and corners, sanding and polishing require extra caution to avoid damaging the surface. Here are some important tips to keep in mind:
Following these guidelines will help you achieve a smooth, uniform finish while protecting the integrity of your paint job.
The use of 3,000-grit foam discs in the final wet sanding step serves a crucial purpose. These ultra-fine discs help to refine the surface, smoothing out any remaining imperfections from previous sanding steps.
Key Benefits:
Process Overview:
In summary, 3,000-grit foam discs are instrumental in the final wet sanding stage, setting the foundation for a flawless, professional finish.
Sanding and polishing are essential because even the best paint jobs will have some texture or “orange peel” in the surface. Sanding removes this texture to create a flat surface, while polishing restores the shine and adds depth, resulting in a glass-like, high-gloss finish.
Once you begin to cut open the paint, be sure to run a pad or a squeegee across the area that you are working on to clean away the loose materials and to check out your work. Be thorough and work in small sections in a crosshatch pattern before moving on to another area.
It’s important to dry the surface occasionally to check progress. You know you are done with this step when the surface is starting to look polished but still has a slight haze to it. This drying allows you to see the true state of the surface without the interference of water, ensuring you don’t miss any imperfections.
By combining these techniques, you can ensure a more accurate and refined finish. Remember:
This methodical approach will help you achieve professional-level results.


c10
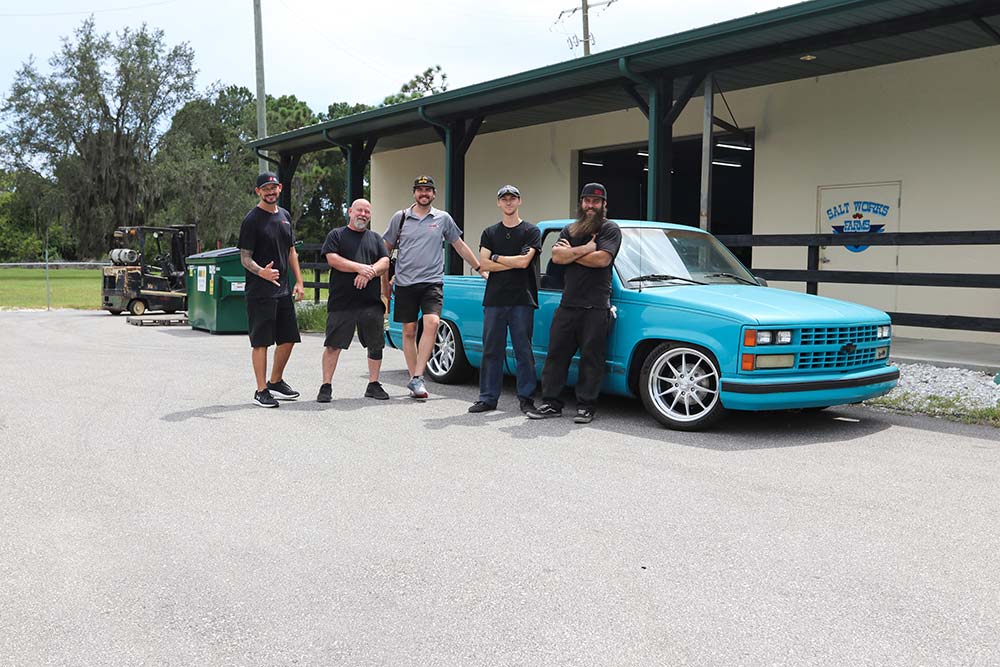
They build amazing trucks and document the process! Kyle from Salvage to Savage shot this month’s cover on his own, great work! Subscribe to our… Continue reading
Chris Hamilton . August 19, 2021
c10
CONNECT KIT PACKAGE ACCUAIR’S e+ The world of electronics as a whole is an exciting place to geek out, but it has one inevitable downfall—important… Continue reading
John Mata Jr. . April 18, 2023
Department
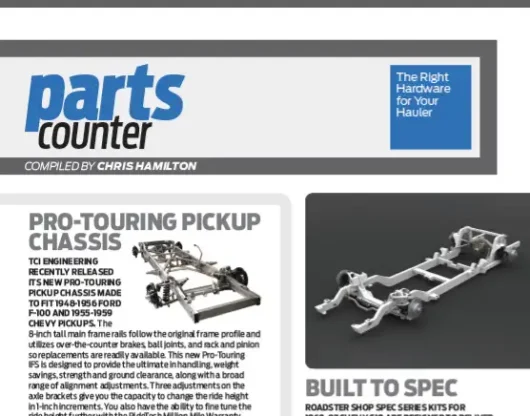
Built To Spec Roadster Shop SPEC Series kits for 1960-87 Chevy C10 are designed to deliver an aggressive 4.5 to 5 inch ride height—no need… Continue reading
Chris Hamilton . December 30, 2019
Department
The fun behind restoring an iconic piece of American engineering is hard to explain to someone who has never taken on the task. Yes, it’s… Continue reading
Chris Hamilton . December 22, 2022
How to
Change Styles Easily with 3M Vinyl Wraps The quickest way to completely change the entire look of any truck’s exterior is a vehicle wrap. Vehicle… Continue reading
JEREMY RICE . September 05, 2025
C10 Builders Guide
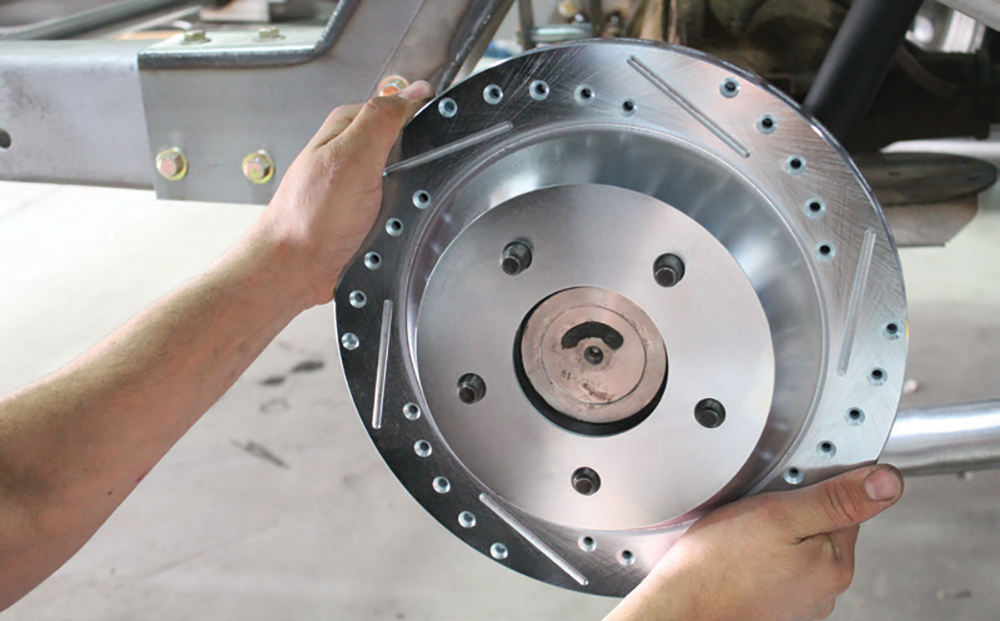
BRAKE AND STEERING UPGRADES WITH CLASSIC PERFORMANCE PRODUCTS WHEN IT COMES TO CLASSIC STREET TRUCK PARTS, CLASSIC PERFORMANCE PRODUCTS IS A NAME THAT IS VERY… Continue reading
JEREMY RICE . August 16, 2019


We use cookies to enhance your browsing experience, serve personalized ads or content, and analyze our traffic. By clicking "Accept All", you consent to our use of cookies. Visit our Cookie Policy for more info.


Share Link