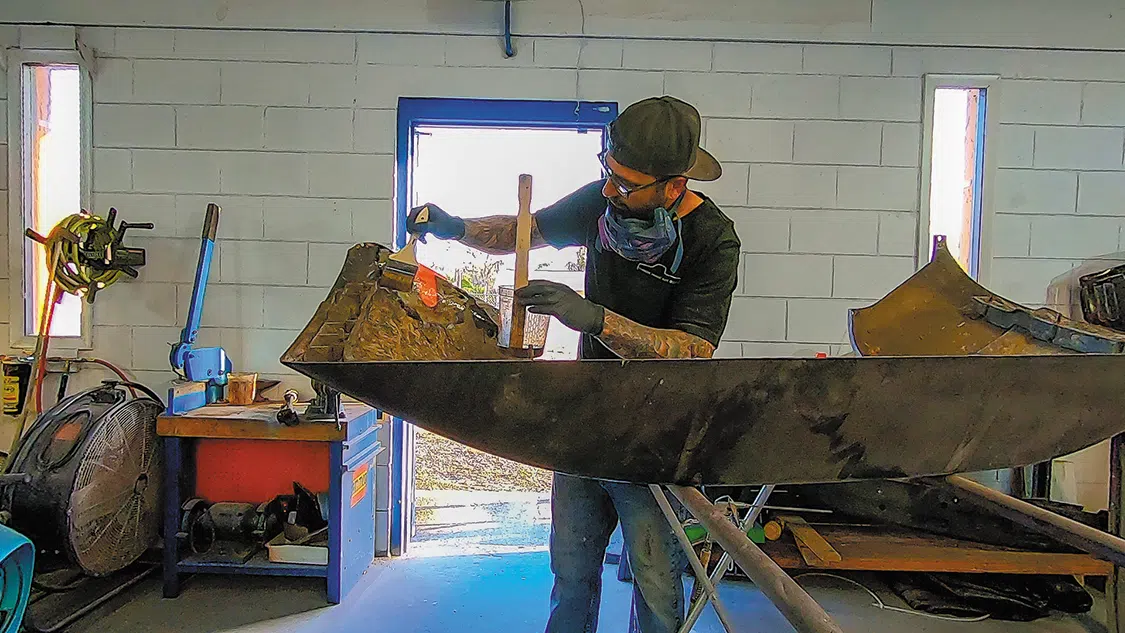
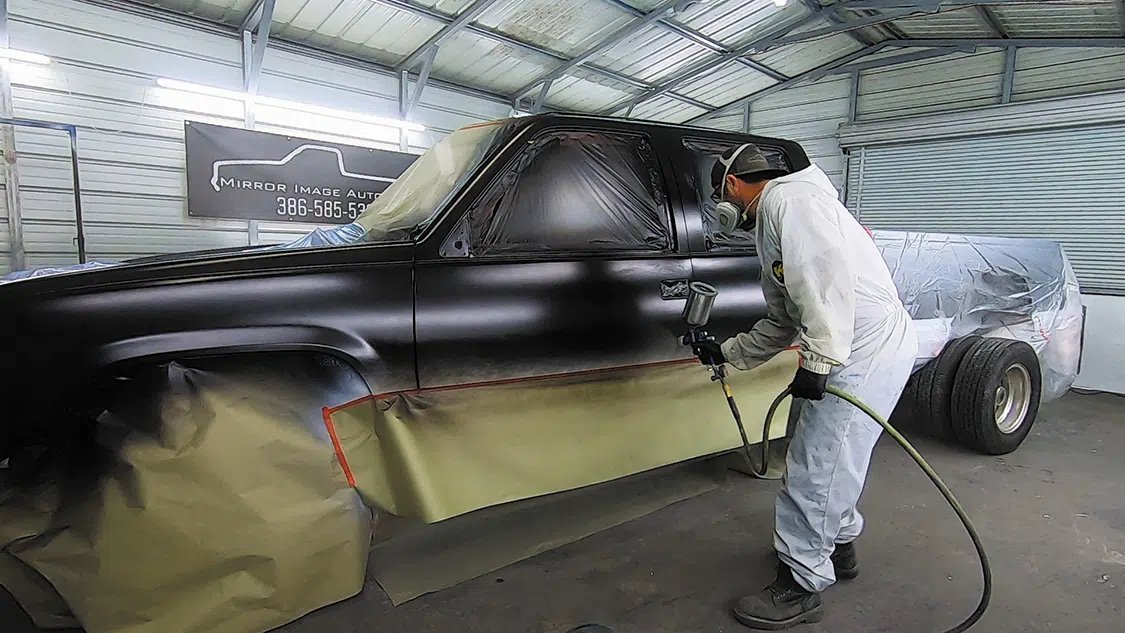
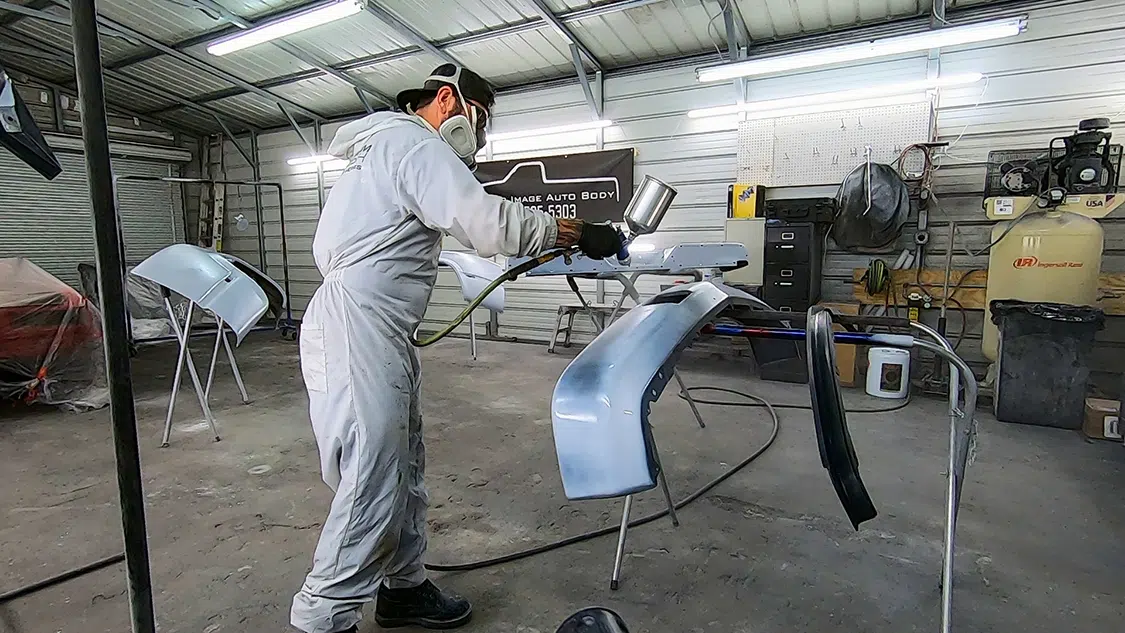
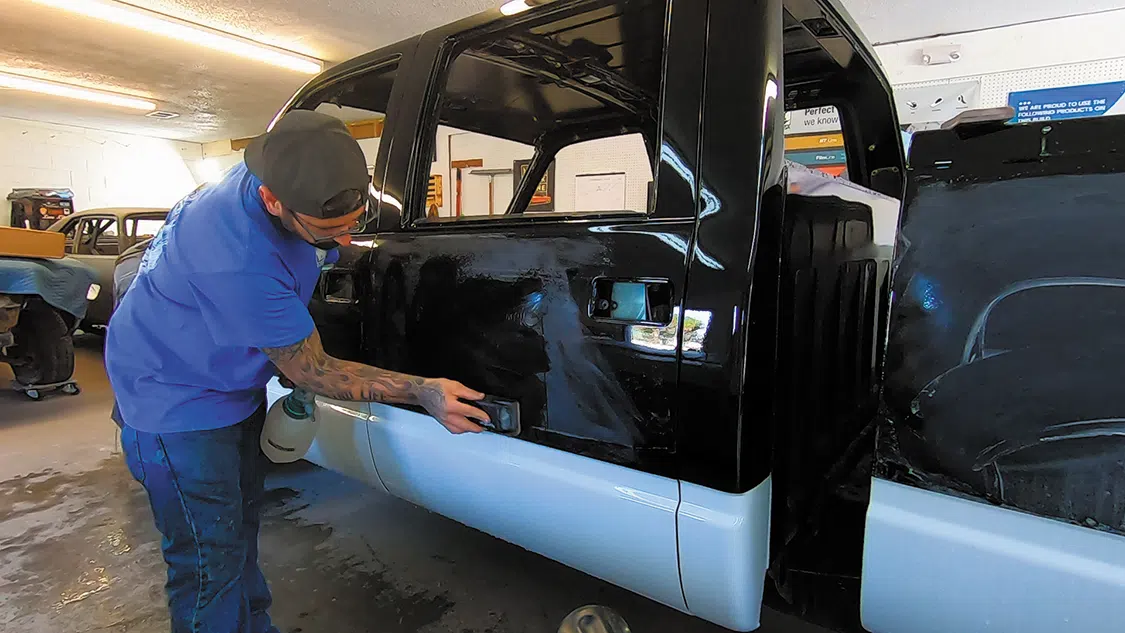
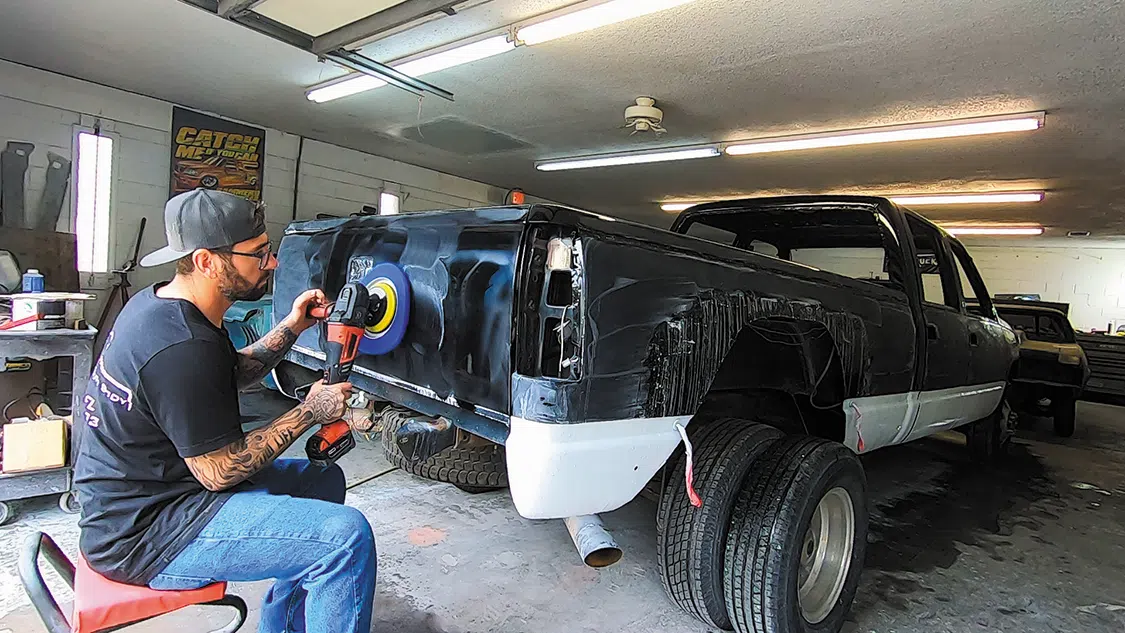
FULL BUILD! INDY 500 DUALLY PACE TRUCK: PROJECT SHE THIC

GETTING STARTED ON THE 1993 SILVERADO C3500 DUALLY

I have always wanted a cool tow rig for my projects, and I have always wanted an OBS Silverado. When the opportunity arose to purchase a black 1993 Chevrolet C3500 Crew Cab dually, I jumped on it. My dad and I drove seven hours north to Gainesville, Georgia, to make the deal happen. Even though I lucked out on a clean and very solid dually, I felt like I hit the lottery. Before I found this truck in July of 2022, I knew I wanted to build an Indy 500 dually pace truck. Not only did the dually I find have the right motor, the right body color, and the right interior, but it was also the right year for my idea.


1. This year marks the 30th anniversary of the iconic ’93 Indy pace truck. GM only produced 1,534 of these trucks, and it only made them in a regular cab shortbed configuration. With its classic graphic design and colorful visualization lines that make the truck look like it’s in a wind tunnel, there had always been something special about this truck to me.
1a
2. The plan for this build is to keep the stock 454 TBI with the 4L80e transmission and 4.11 gears, lay down a fresh coat of paint, refresh the interior, slam the truck on the ground with a static drop, and throw on some 22-inch Alcoa wheels in time for the 2023 Hot Rod Power Tour in June.
2a
3. The first thing I did for this build was reach out to Rendered Rides and have someone there draw up my vision. From here, I was able to share this rendering and my idea for the build with some great companies that really wanted to support the project. Special thanks to our sponsors and partners on this build. Without these companies this build would not be possible:
Auto Aura Coatings
AZA Auto Wheel
Belltech Suspension
CSI – Clearcoat Solutions LLC
Dakota Digital
Florida Paint Supply
INDASA Abrasives
LMC Truck
Low Boy Motor Sports
Mirror Image Auto Body
The Dually Shop
The Window Tint Shoppe
4. To cut down on the time the truck was going to be at Mirror Image Auto Body, I started by stripping as much as I could from the interior and exterior. Lucky for me the body color of the truck was black, so only the exterior had to be painted, and we didn’t have to worry about painting the firewall or door jambs, which saves us some time. For the exterior, I removed the trim, badges, mirrors, rear bumper, and taillights.
4a
5. Then I began to strip the interior and take out everything but the steering column.
6. After I gave the engine bay a good cleaning, I loaded up the truck up and took to Steven and Megan at Mirror Image Auto Body in Bunnell, Florida.

7. Mirror Image Auto Body got right to work doing the final disassembly, filling the holes in the bed from the old gooseneck hitch, making a fiberglass repair to the dually fender, and sanding down all the surface rust on the roof.
7a
7b
8. Cindy over at Florida Paint Supply stopped by the shop to drop off all the materials that will be used for this paintjob, including Auto Aura Coatings, INDASA Abrasives, and CSI – Clearcoat Solutions LLC.
9. After prepping the entire body, Steven laid down Auto Aura epoxy primer to all bare metal and four coats of Auto Aura 2k high build primer. He then started the long process of block-sanding the entire truck.
10. Steven then laid down three coats of Auto Aura BCZ basecoat and used the factory black and white paint codes. After all of the body panels and small parts had sufficient coverage with the basecoat, Steven laid down five coats of Auto Aura 2:1 high solids clear.
10a
10b
11. Next, Steven wet-sanded the entire truck with INDASA Abrasives and did a 2 Step polish with CSI Cream-X Polish and D1 Polish/ Enhancer. Mirror Image Auto Body really lived up to its name on the final product. Steven was able to polish the truck to a mirror finish, and this paintwork brings this truck to the next level. They had roughly 250 hours in this paintjob! Special thank you to Mirror Image Auto Body, Florida Paint Supply, Auto Aura Coatings, INDASA Abrasives, CSI – Clearcoat Solutions LLC for making this quality paintwork possible.
11a
11b
12. The Dually Shop sent me its oversized fuel-filler door. The company’s door is larger and fits much tighter than the stock fuel-filler door. Send Bryan an email to ask about this product and tell him Street Trucks sent you.
bryan@bnrestorations.com
13. While the truck was over at Mirror Image Auto Body, I started working on the interior. LMC Truck is a huge sponsor of this build. It has an extensive selection of parts for your truck and provided a new dash, speaker covers, and gauge bezel for the interior. I reused the original dash and interior components and dyed them all to match.
13a
13b
13c
14. As soon as I got the truck back at my house, I started reassembly with a new tailgate band, tailgate latch rebuild kit, taillights, and cab lights, all from LMC Truck. The original Indy pace truck does not have a tailgate band, but in my opinion the tailgate looks a little bland without it.
14a
15. I was able to get a local glass company out to install the windshield and rear glass. Once that was complete, I did a water test to make sure the cab had no leaks. I was able to start putting the interior back together, beginning with laying down a layer of 80-mil sound deadener.
15a
15b
16. Next, I laid down and fit the new ultra-plush carpet with mass backing, refinished and installed the headliner, and installed new door weatherstripping from LMC Truck.
16a
16b
17. Now that I have a comfortable work area on the carpet, it was time to put in the new LMC Truck dash. I kept the original dash and reused all the clips, fasteners, and A/C duct work for the installation. I was able to set the dash in position on my own and slowly work it into place.
18. The dash fits well and is very solid once all of the fasteners are installed. I used some metal duct tape to close the gap between the A/C box and the A/C duct work and began to reassemble the rest of the dash. All of the components snapped right into place. If your original dash is beyond repair like my original dash was, I highly recommend getting one of these to replace it.
18a
19. I got a new set of pedal covers from—you guessed it—LMC Truck. The freshly dyed interior parts combined with the new pedal covers already make this interior feel brand new.

20. Now that the dash in place, I installed a set of Dakota Digital’s HDX instruments with its gear shift sending unit. The first step was to cut the connector off the original harness and pull the gauge harness to the bottom of the dash. I then cut the mounting clip on the dash for the original gauge connector.
20a
21. Once the instrument cluster is in place, I can wire the control box. It’s best to have a wiring diagram for the original gauges from the vehicle you’re working on so you can label any wires that will go to the Dakota Digital control box, like your signal lights, fuel gauge, and tach. You will need to locate a ground, constant power, and ignition power source. The kit comes with a coolant temp sensor, oil pressure sensor, and speed sensor.
22. After I wired the control box, it was time to install the gear shift sending unit. Mounting the sensor can be a little tricky, but the fasteners and brackets provided with the kit make it much easier.
23. Once the sensor is mounted, you connect the gear selector to the sensor and run the sensor wire to a separate control box. The gear selector control box is then wired to the main selector control box. You can program the gauges to read the proper gear selection through a very simple process.


You May Also Like