







Close

Don’t Rebuild It Yet! Your Engine Might Just Need a Refresh

DEVAN ENCE . October 12, 2026 . How to . Devan Ence
Save ArticleLogin to save it

AS SEEN IN OUR F-SERIES BUILDERS GUIDE WINTER 2026 ISSUE – Buy Now!

Diving Into the Unknown

We all want our trucks to have a solid, reliable heartbeat. Diving into a new build, there are all kinds of unknowns, and one of the biggest can definitely be the engine. In this tech article we are going to dive into a Ford 400 and see if it needs to head to the machine shop for a full rebuild or if a solid refresh will do the trick. With that said, this logic can apply to most of the engines in your trucks and is not specific to the 400. Fortunately, this engine only needed a refresh, and we wanted to share some tips on how we go about doing that and things that will help make the process smooth so you can have a solid running engine that you can count on. This is a slightly above-stock rebuild, so we were able to pick up most of the parts locally, and it looked like the engine had been in the machine shop not too long before it was pulled out. It had already been bored .040 over, and all of the bearings still had babbitts on them. I want to give a big thanks to my buddy, Trent Gasser, for helping knock this refresh out and for sharing his knowledge with me.
Engine
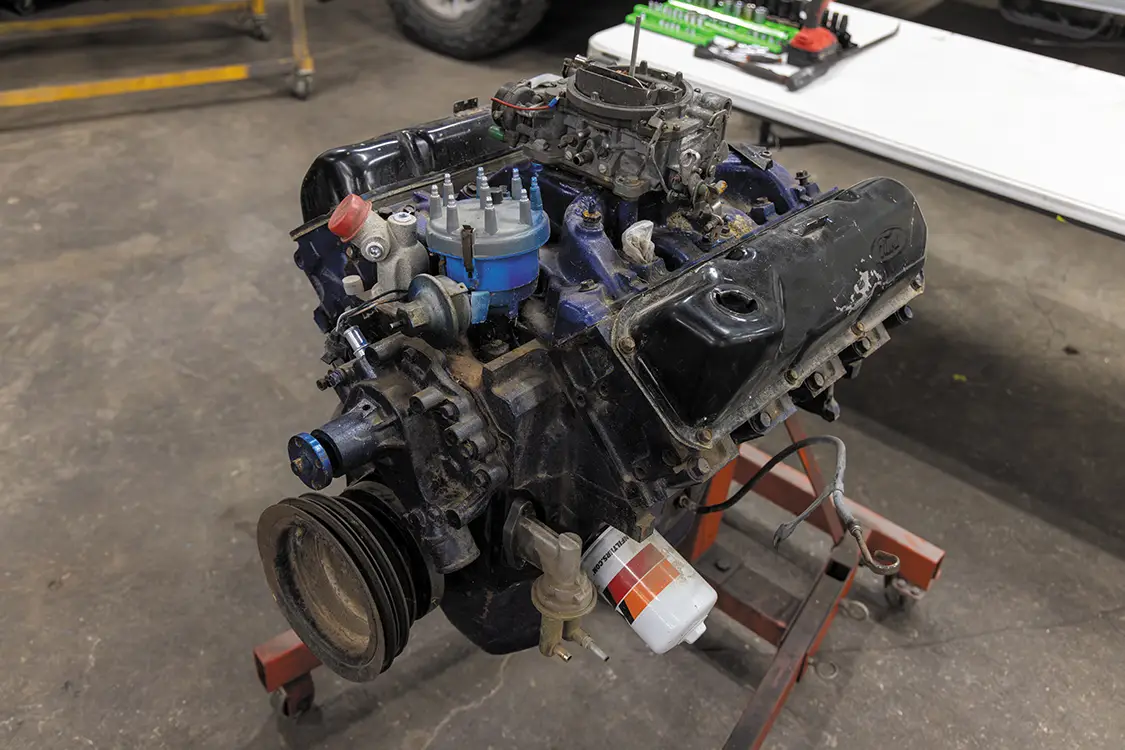
We put the engine on a stand so the process can begin.
Engine
Begin the teardown process and assess the parts as they come out of the engine. Make notes of things that may be a concern or things that need to be addressed.
Engine
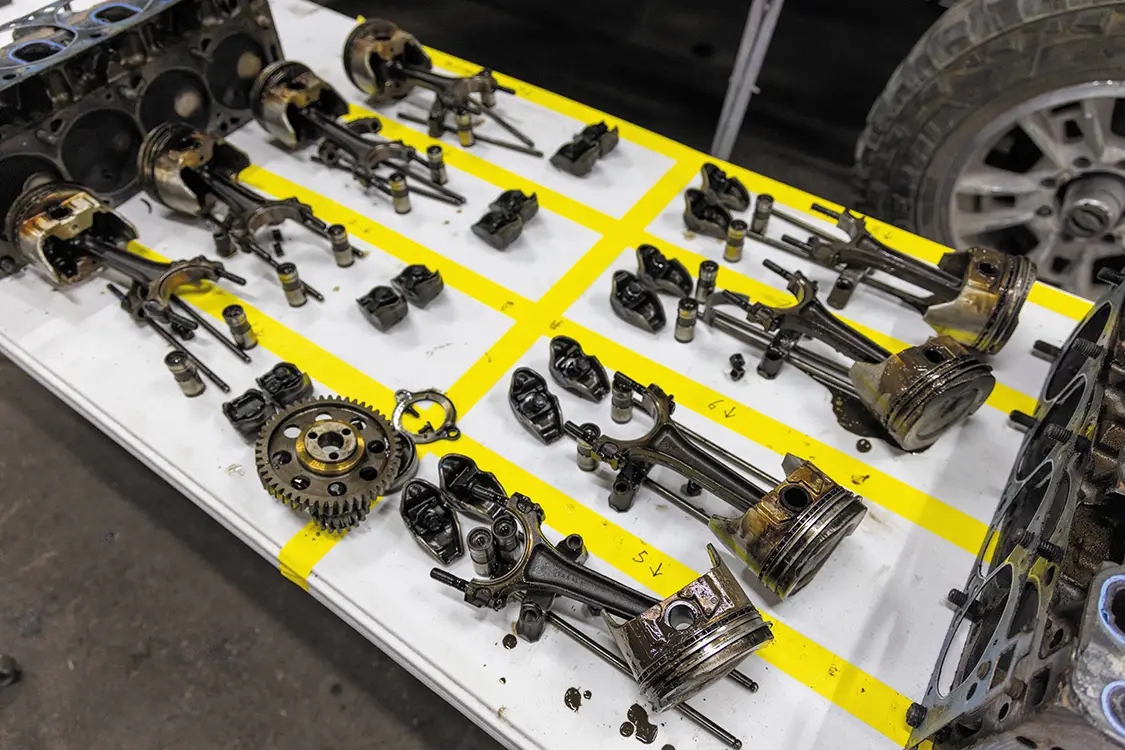
Something that we did to keep track of where parts go is lay out a grid on a table and write on the tape where things came from so they can go back into that correct place during the assembly.
Engine
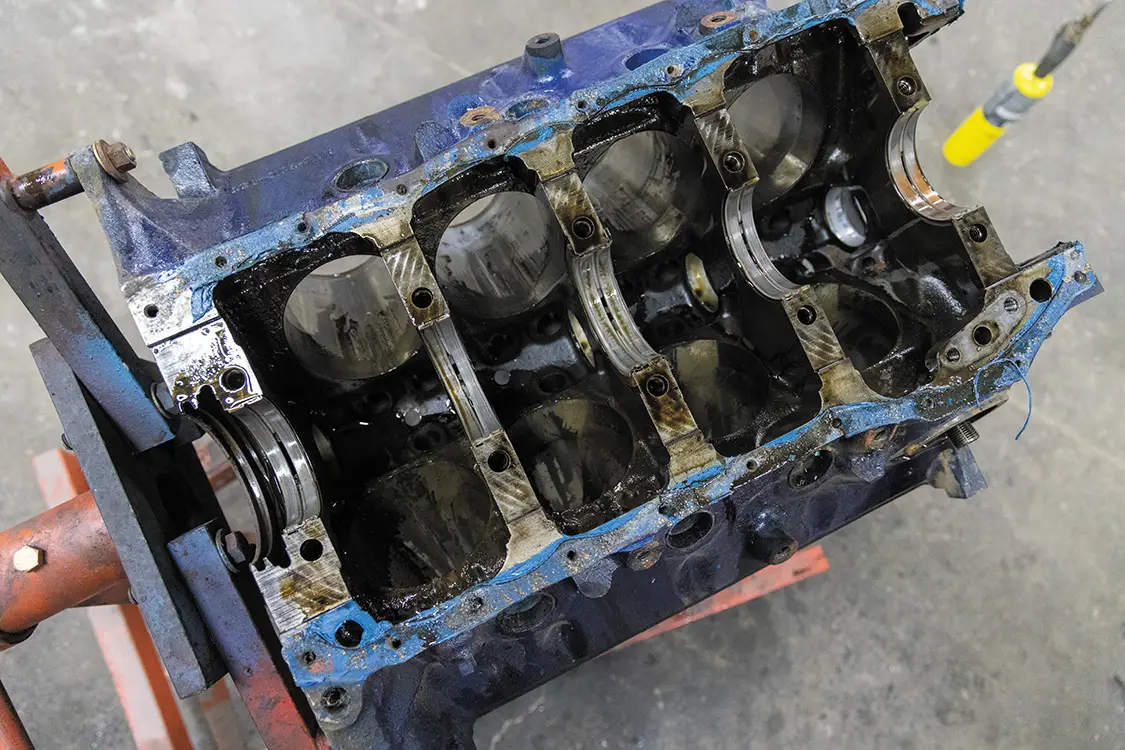
Once the engine is down to the bare block, look it over with a flashlight and see if there are any minor/major problems that need to be addressed. If you are unsure of what you are looking for, you can take the block and heads to a machine shop and have them magnafluxed.
Engine
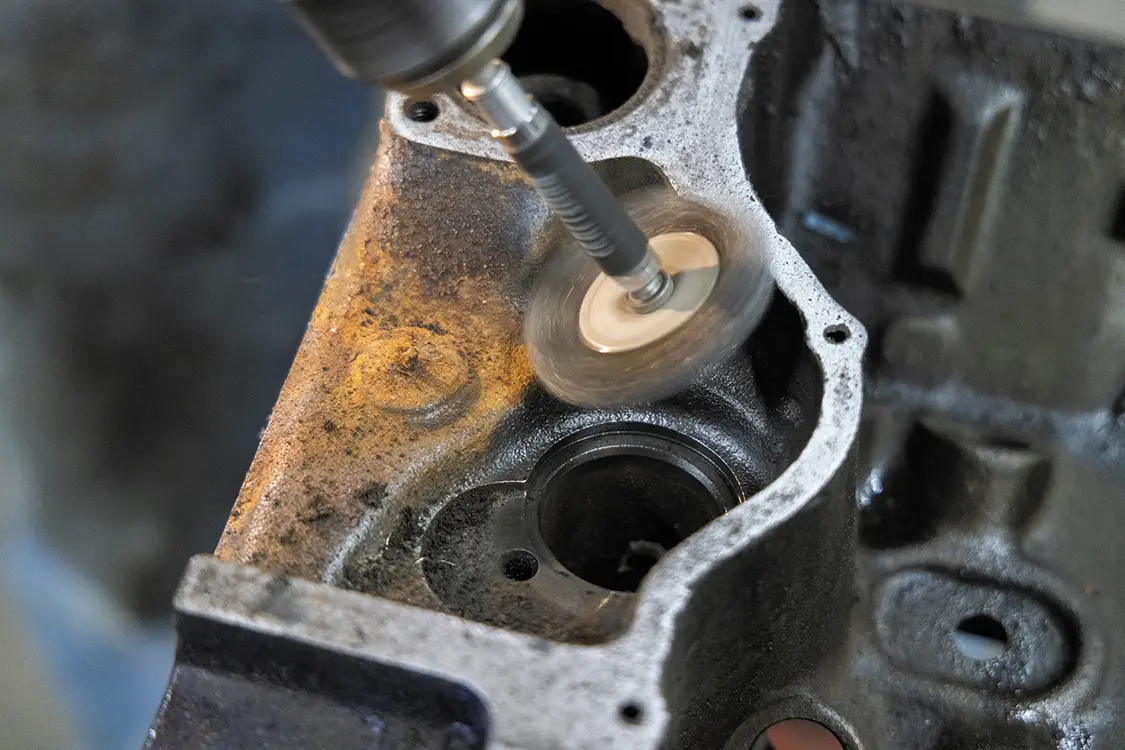
Take some time and clean up the block with a wire wheel if you are planning on painting it when you are done. This can save you a fair amount of time in the future, and it will make it look solid.
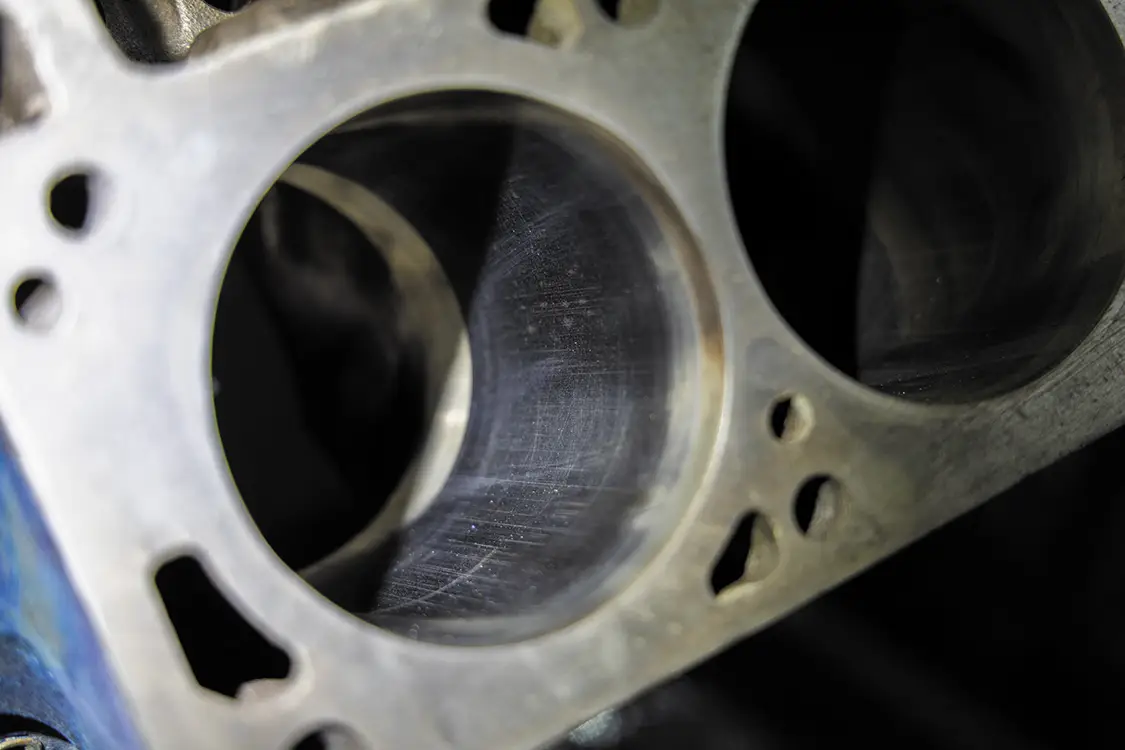
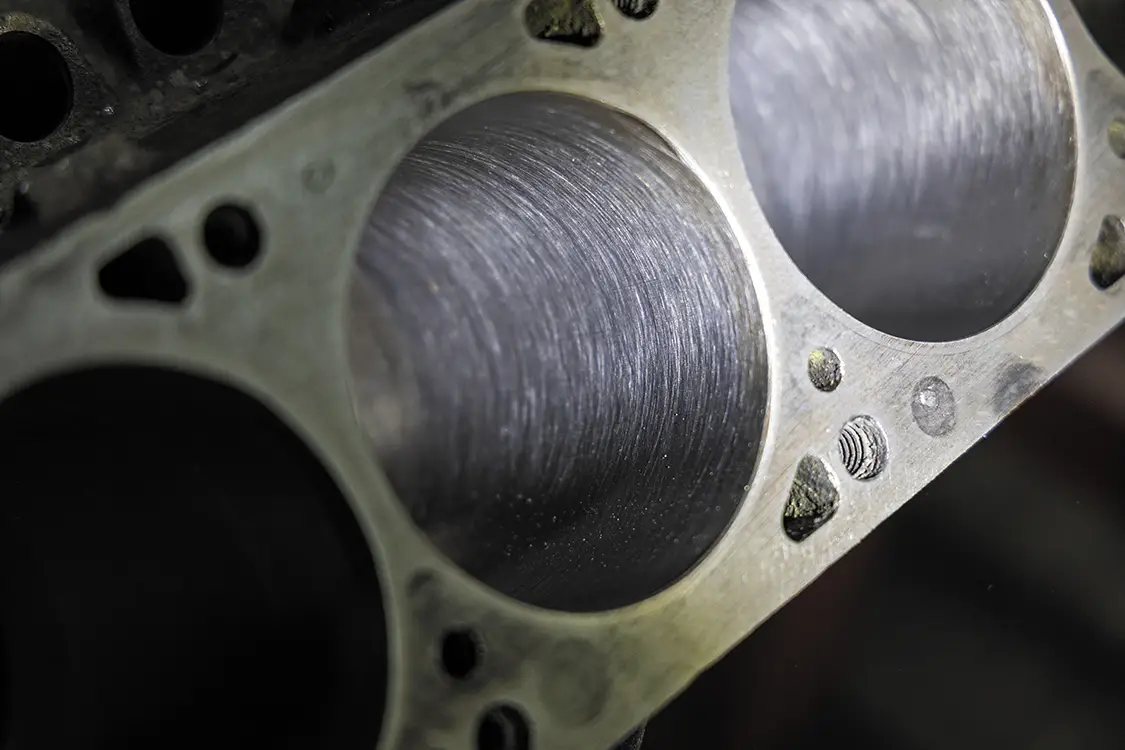
Take a look at the cylinders and see if you can still see the crosshatching from the last time it was in the machine shop or if there is any scarring on the walls.
Engine
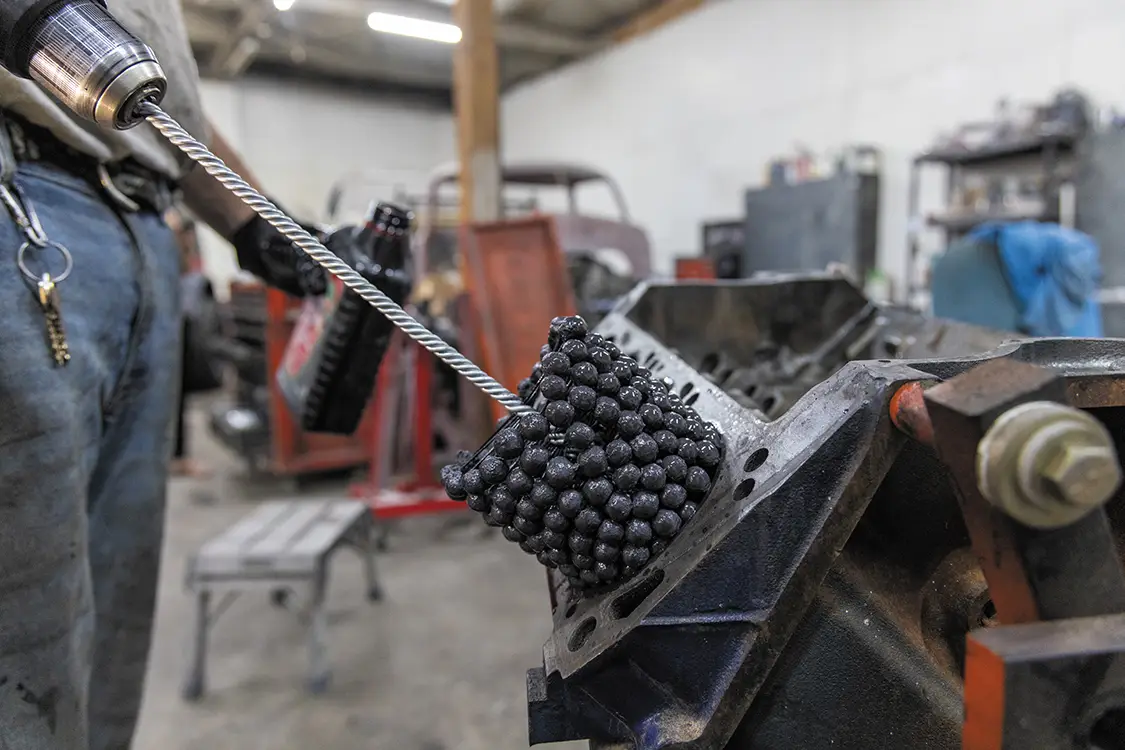
If the cylinders aren’t too bad and don’t need to be machined, you can use a ball hone to clean up the walls. Be sure to use a lubricant (ATF or thin engine oil) of some kind as you do this.
Engine
Here is a look at the cylinders after we ran the hone in them. The hone works quickly, so take it easy and don’t overdo it.
Engine
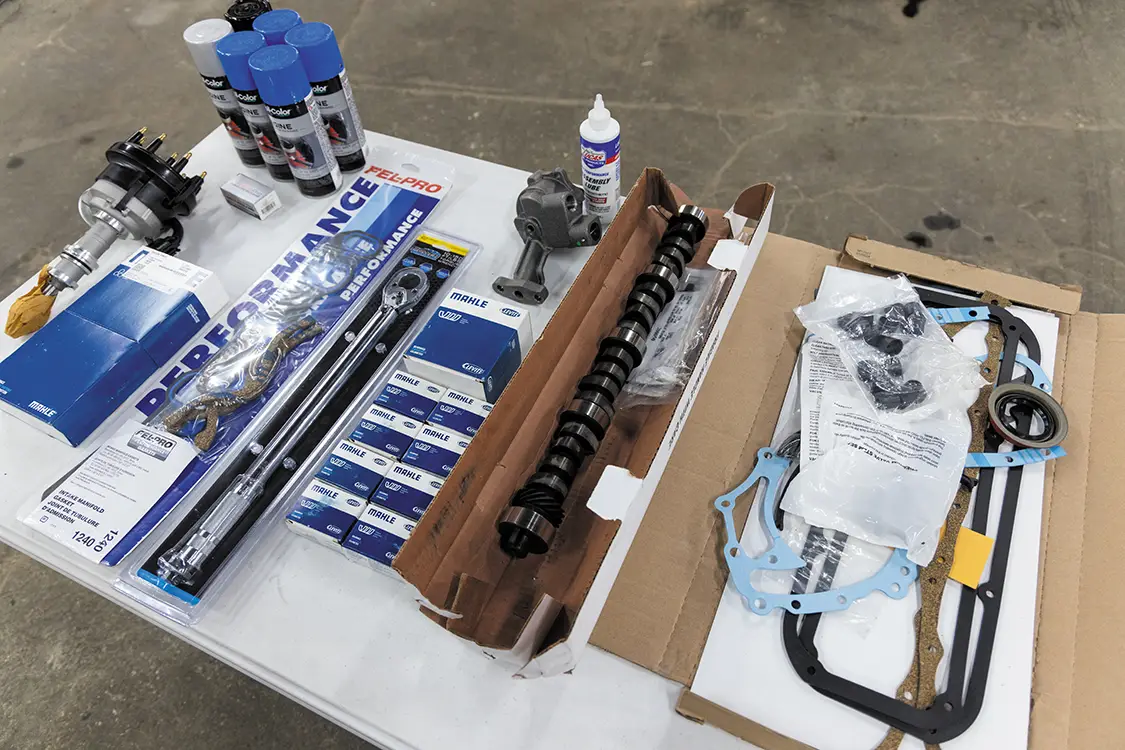
Lay out all the parts you will need to get the engine reassembled.
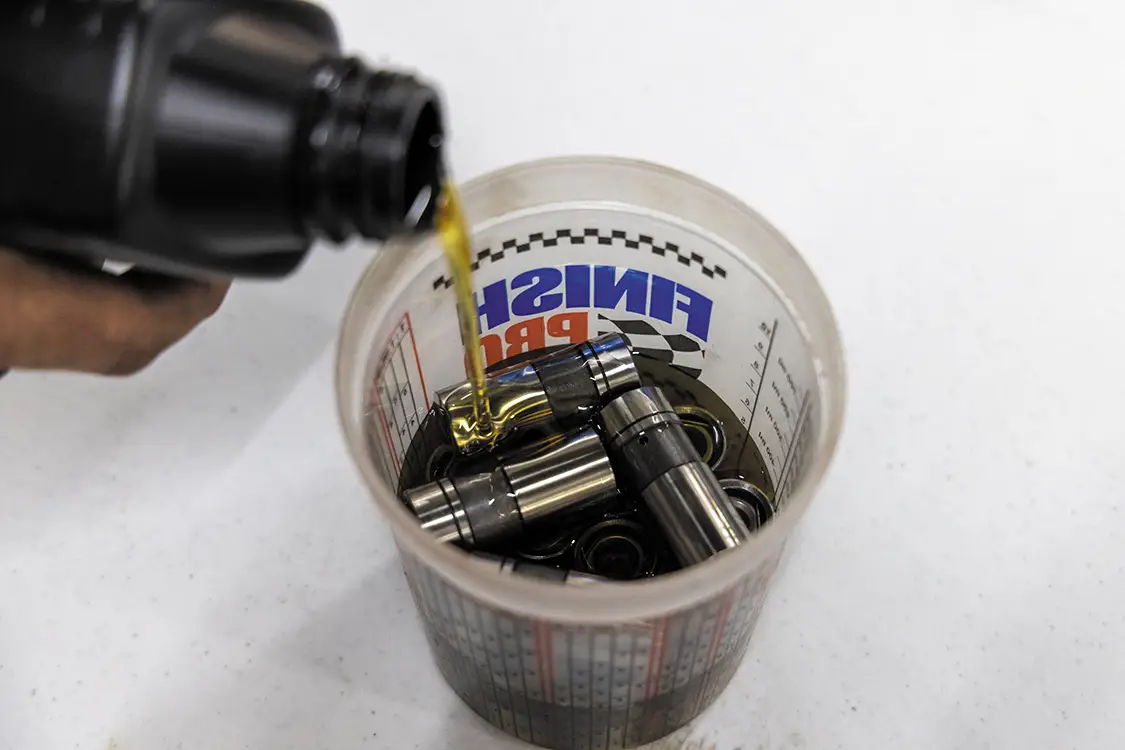
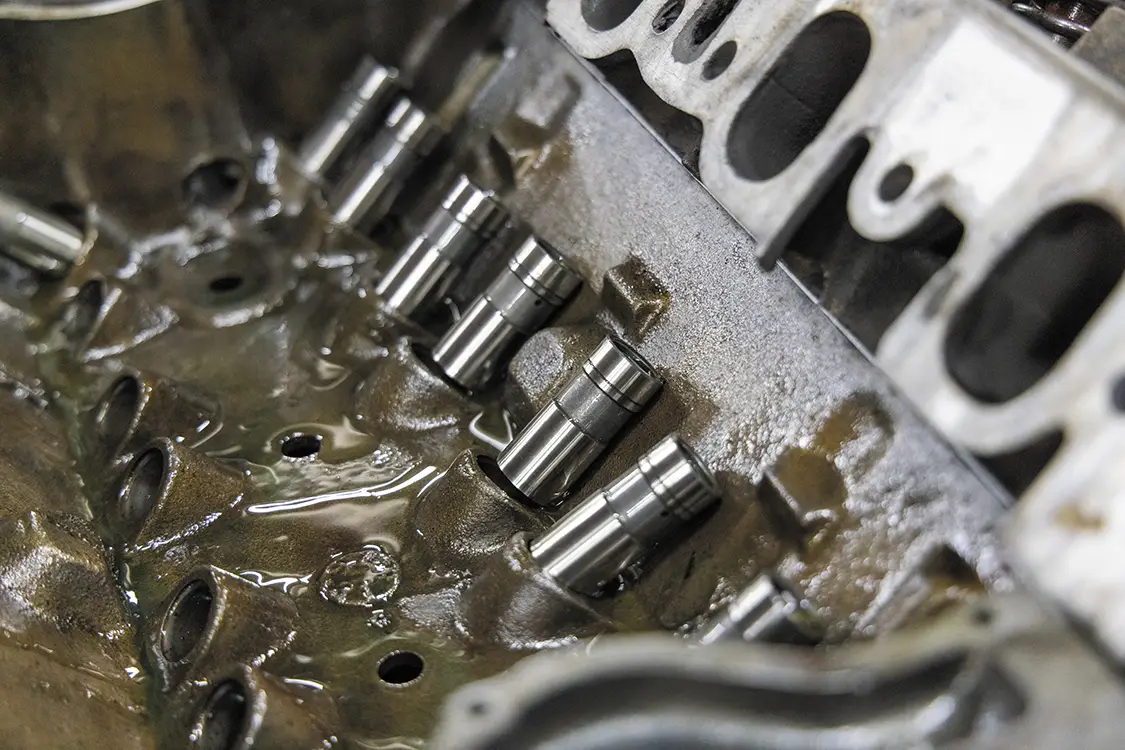
If you are using hydraulic lifters, it helps to pre-soak them so you can prime them before the engine goes back together.
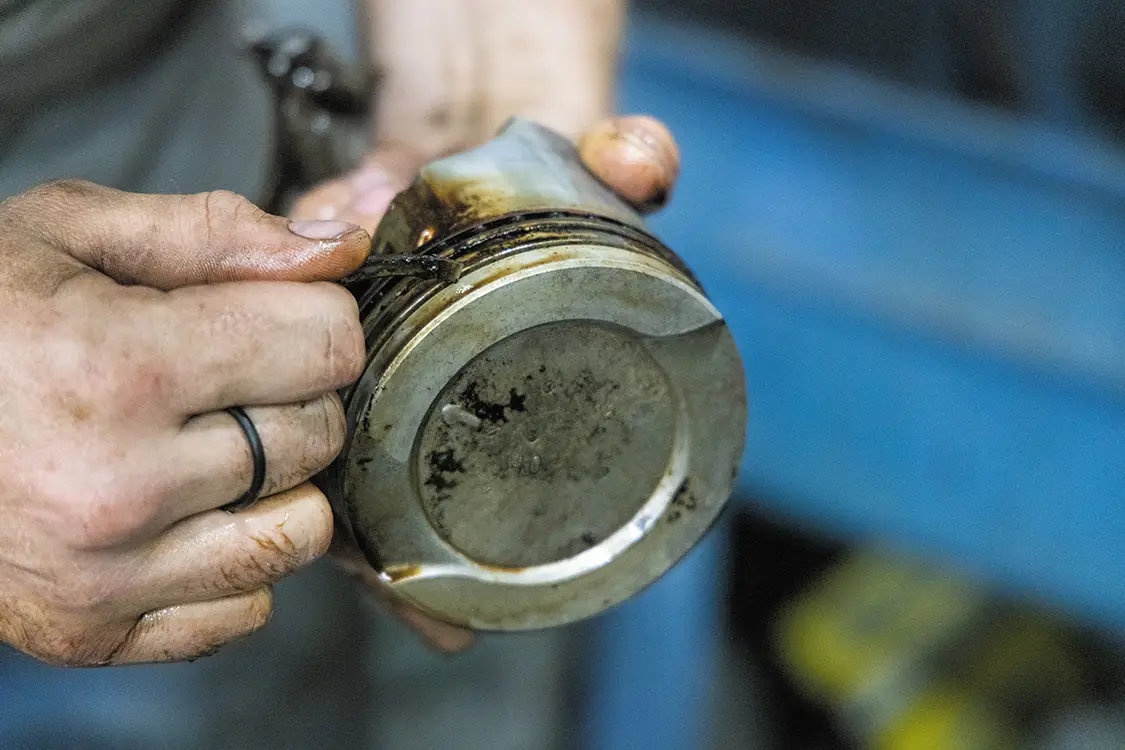
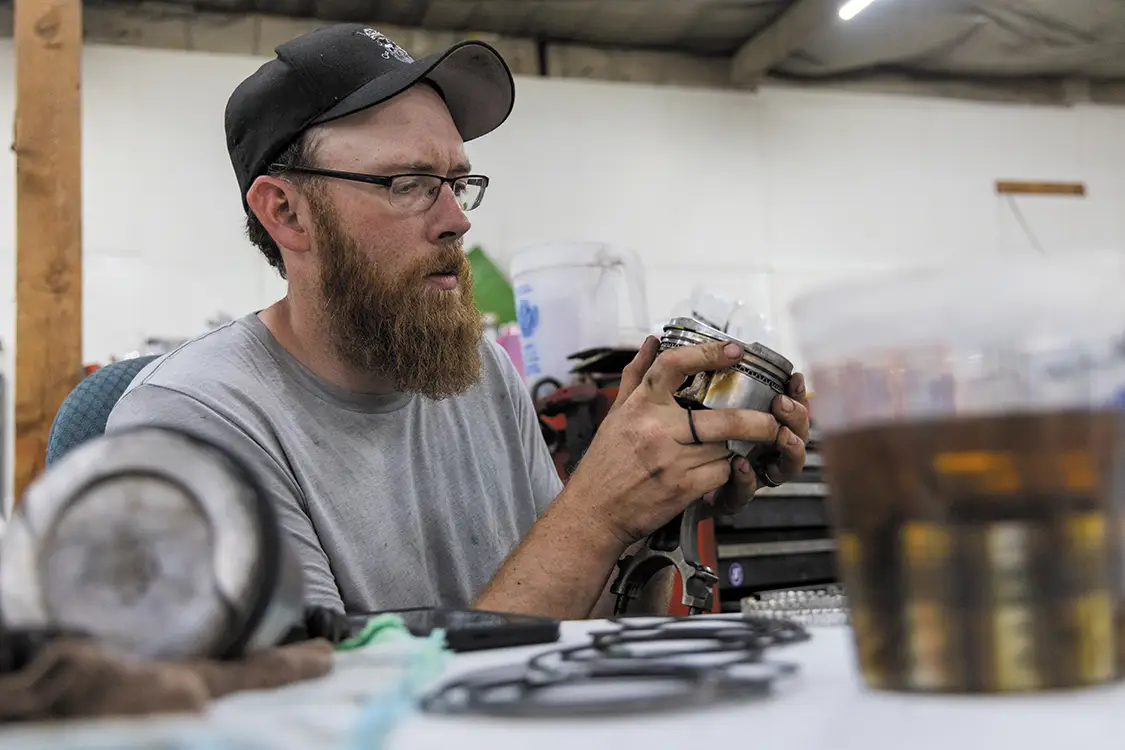
Remove the old piston rings and clean up the rods and piston heads. Fun fact: When this engine was rebuilt the last time, it was bored .040 over, and when it was put back together, someone used standard rings instead of the .040 rings. I bet the engine smoked like crazy, and that is why it looked so fresh when we pulled it apart.
Engine
Put the new rings in the piston heads. Always clock them 180 degrees from one another. This will prevent blow-by when the engine is running.
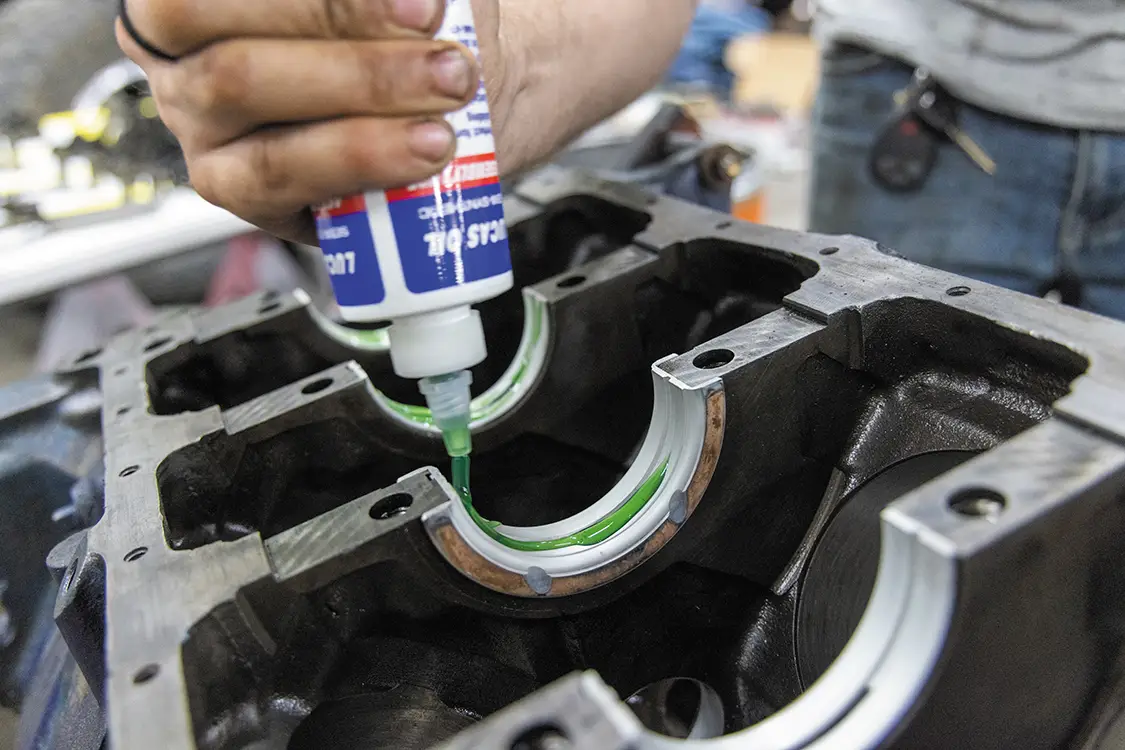
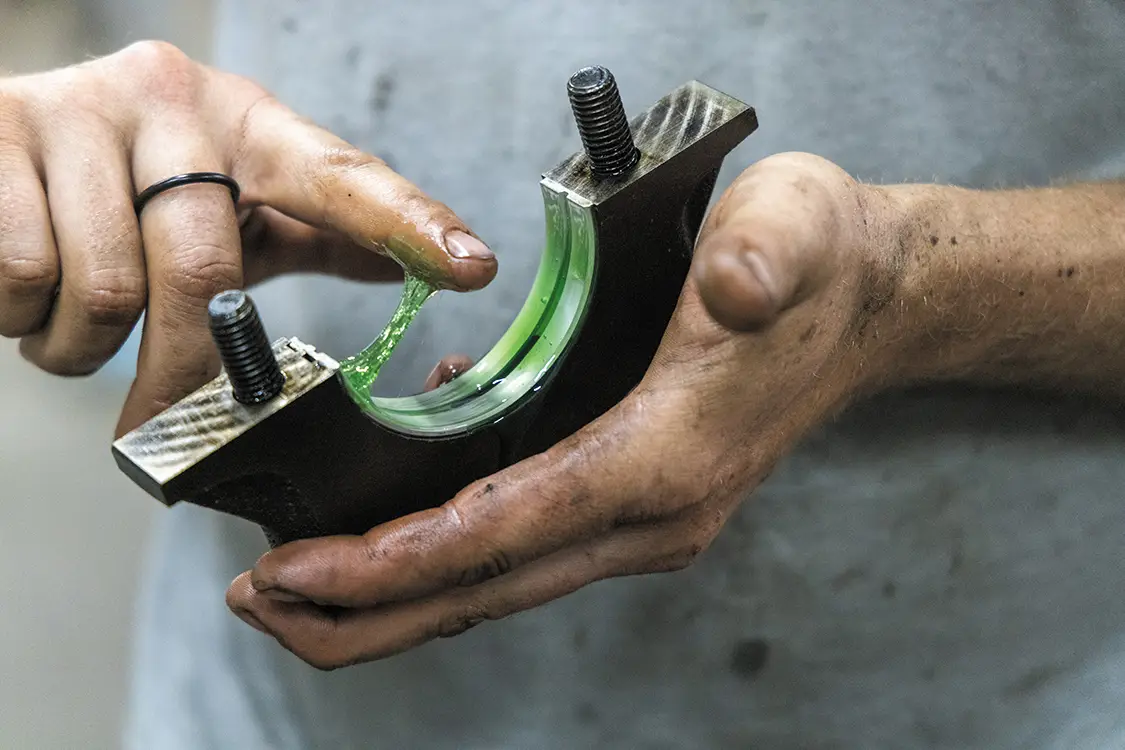
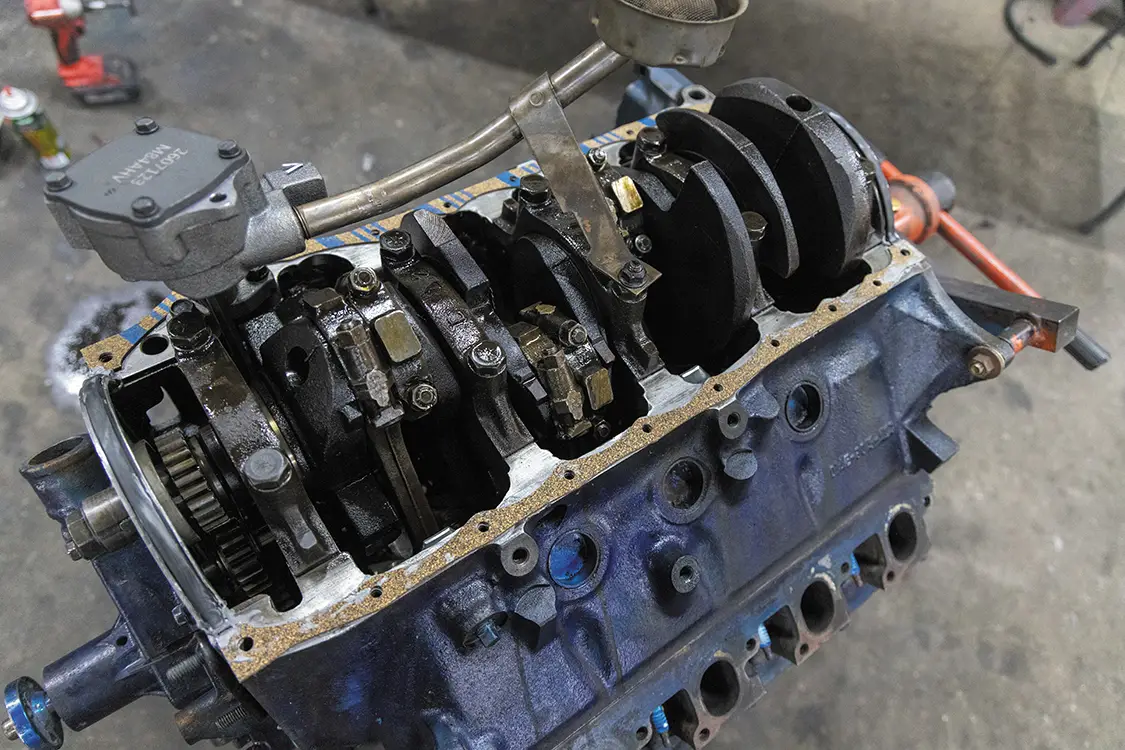
Put the new bearing in the block and don’t be afraid to be generous with the assembly lube.
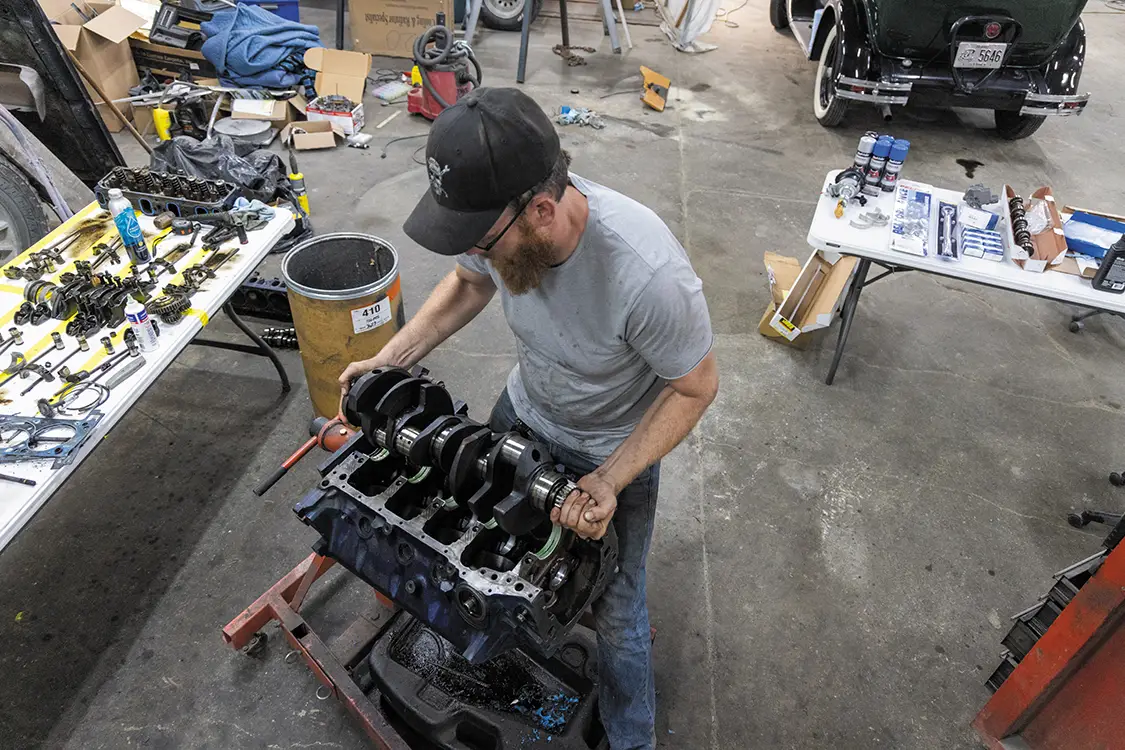
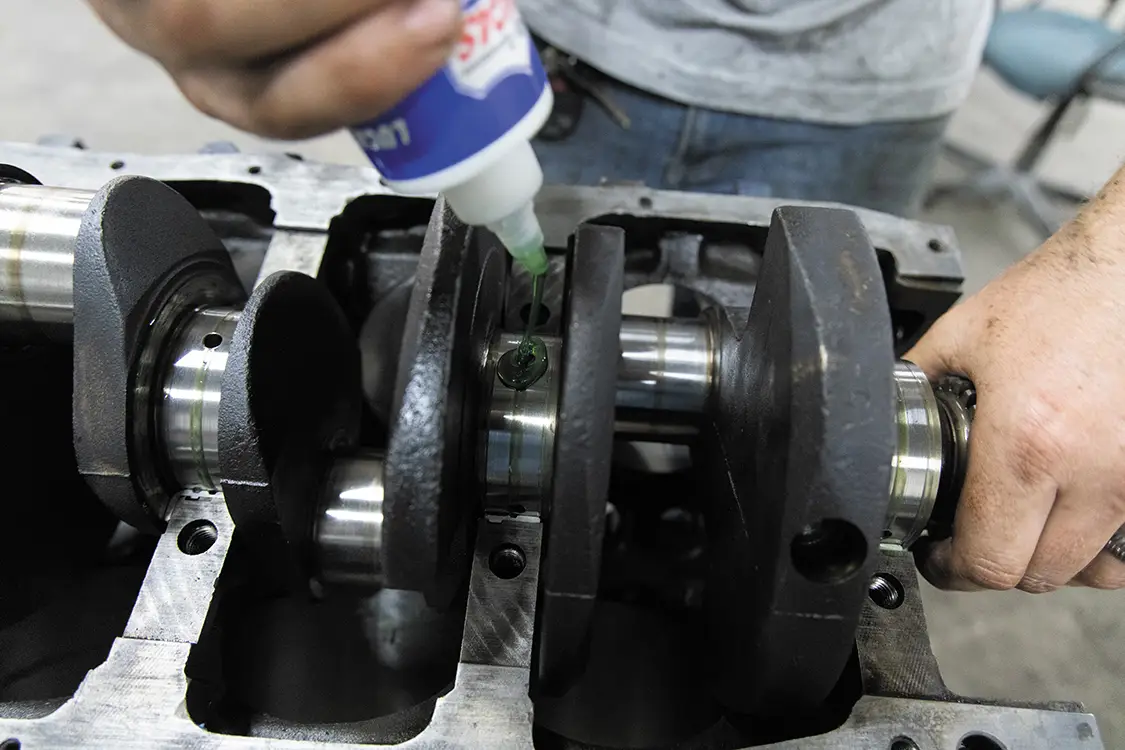
You can now put the crankshaft back into the block.
Again, don’t be shy with the assembly lube. There are oil galleys in the crank shaft that you can fill that will drain into the cam bearings, which will help later in the process.
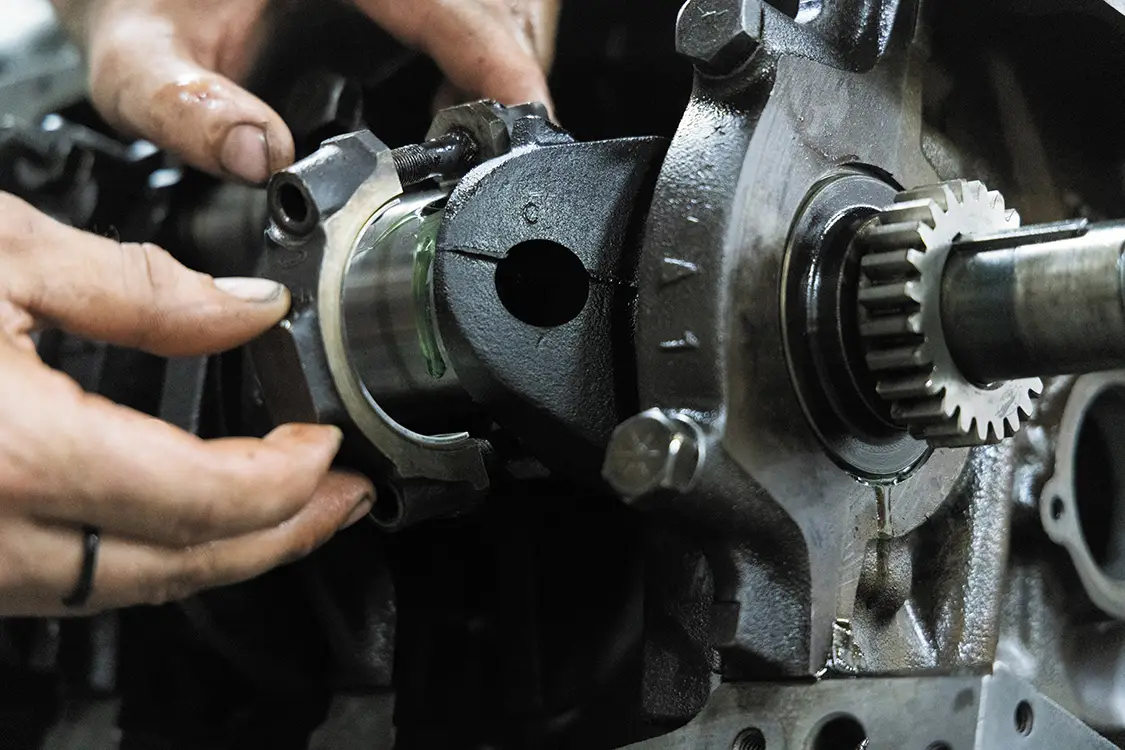
Put the new bearing in the caps and lube before installation. Install your caps on the block and torque them to the correct specs.
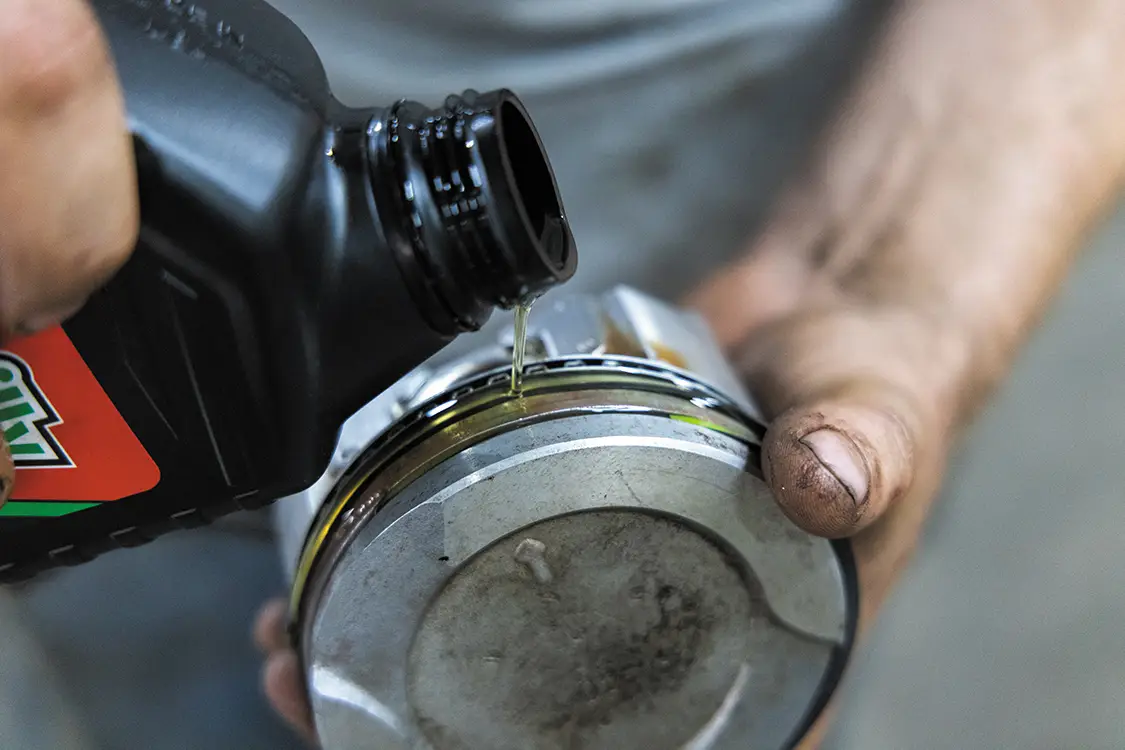
Something that will help when putting the pistons back in is putting oil in the cylinders and around the rings.
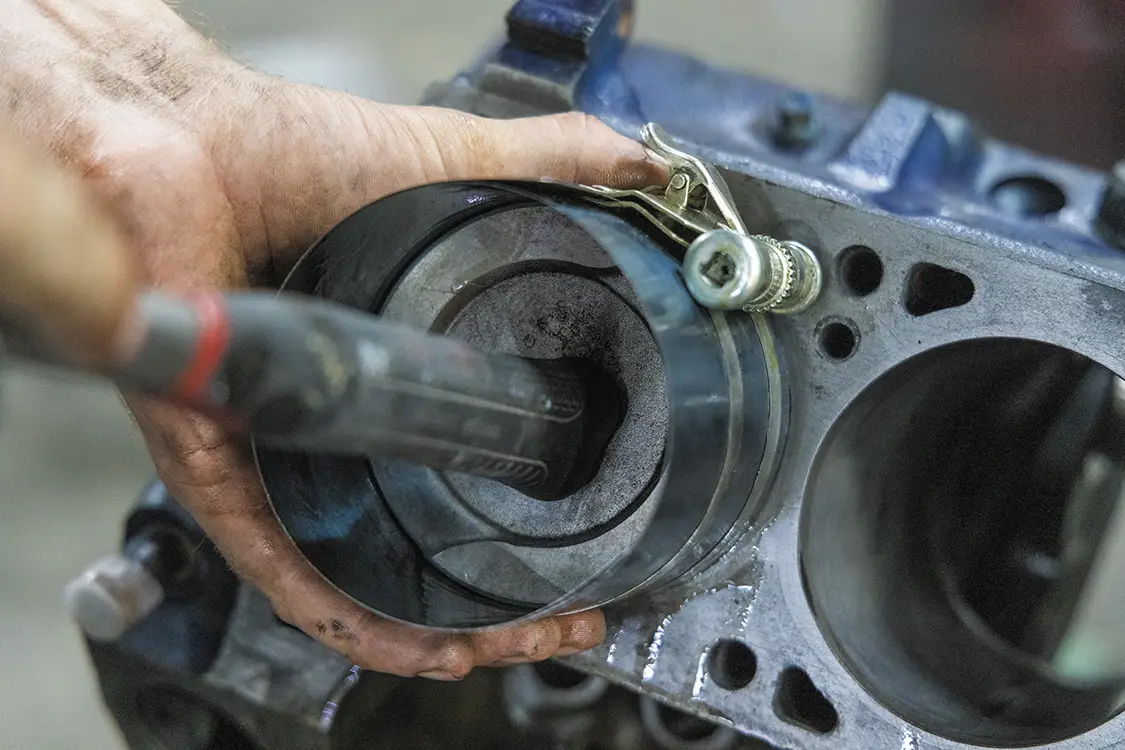
Using a spring compressor to help get the pistons back in the block is a must. It will keep you from breaking the rings and scarring the cylinder.
Place your new bearing in the rod caps and lube before assembling and torquing them to spec. TIP: Make sure during the teardown process to mark your caps if they aren’t already just in case the table gets mixed up.
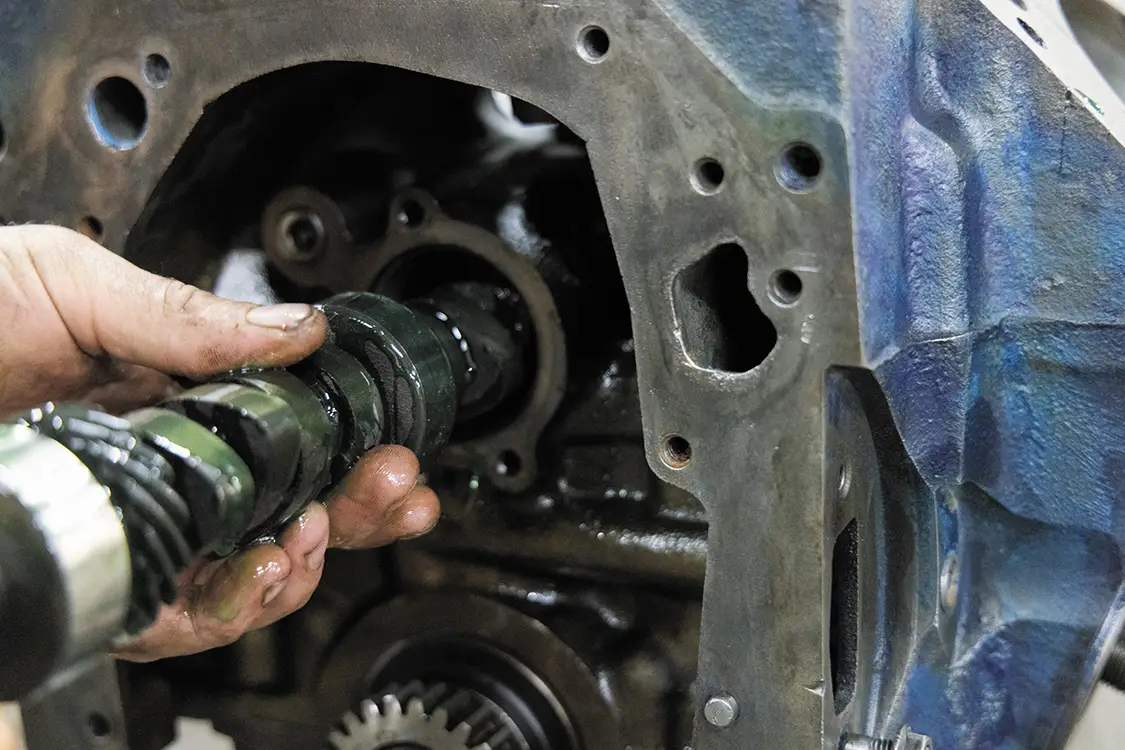
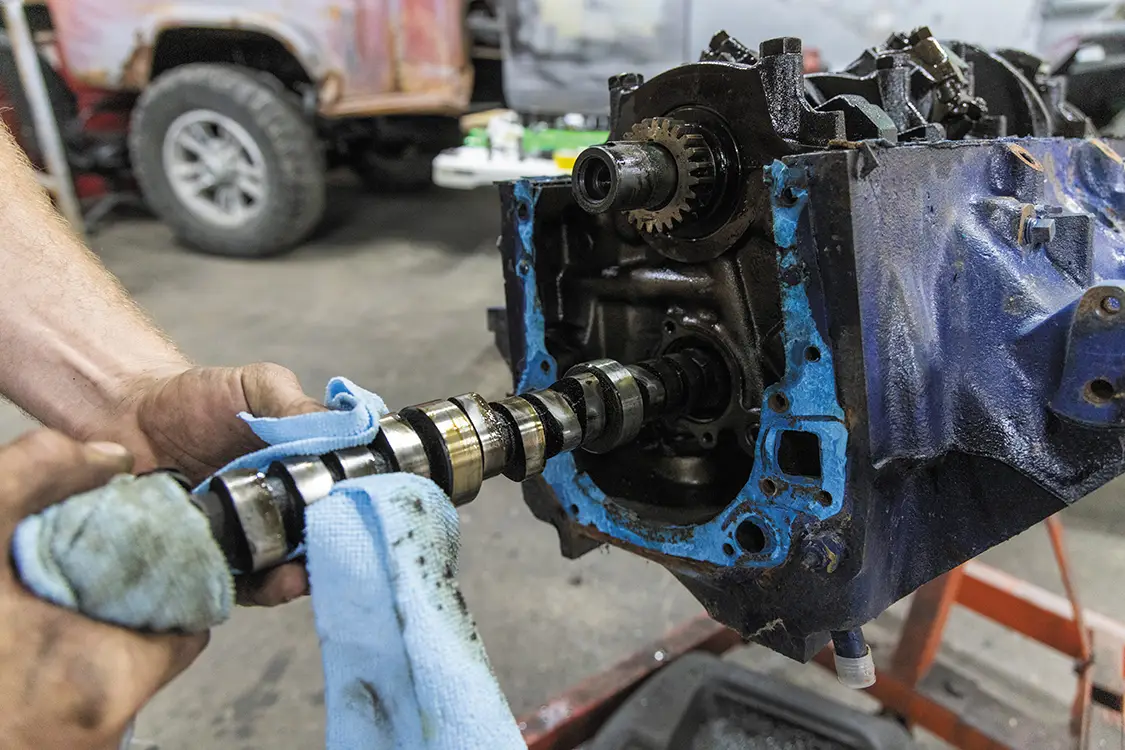
Slide your new cam into place and use lots of lube. Be careful as you slide it into the block so you don’t scratch the cam bearings.
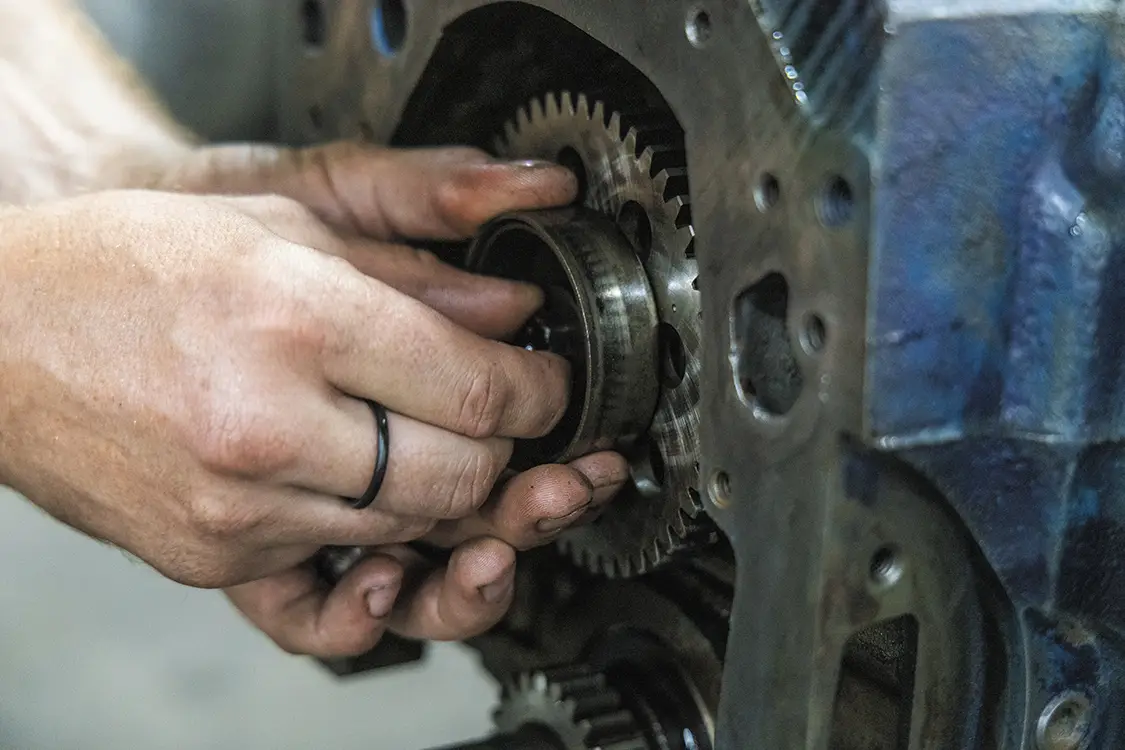
Install your cam sprocket and fuel pump lobe on the camshaft. This will lock the cam into place.
Engine
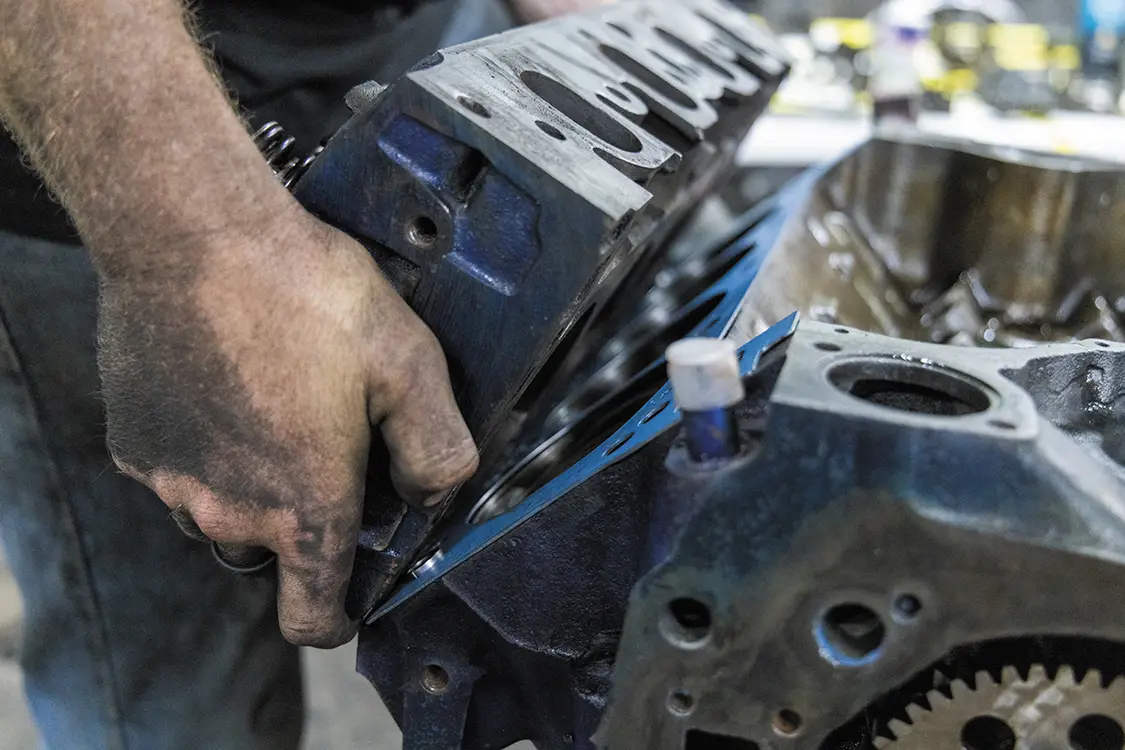
Place your head dowels and new head gasket in place, then install your heads.
Lightly snug your head bolts, then torque to spec starting from the center out.
You can now install your soaked and primed hydraulic lifters into the block.
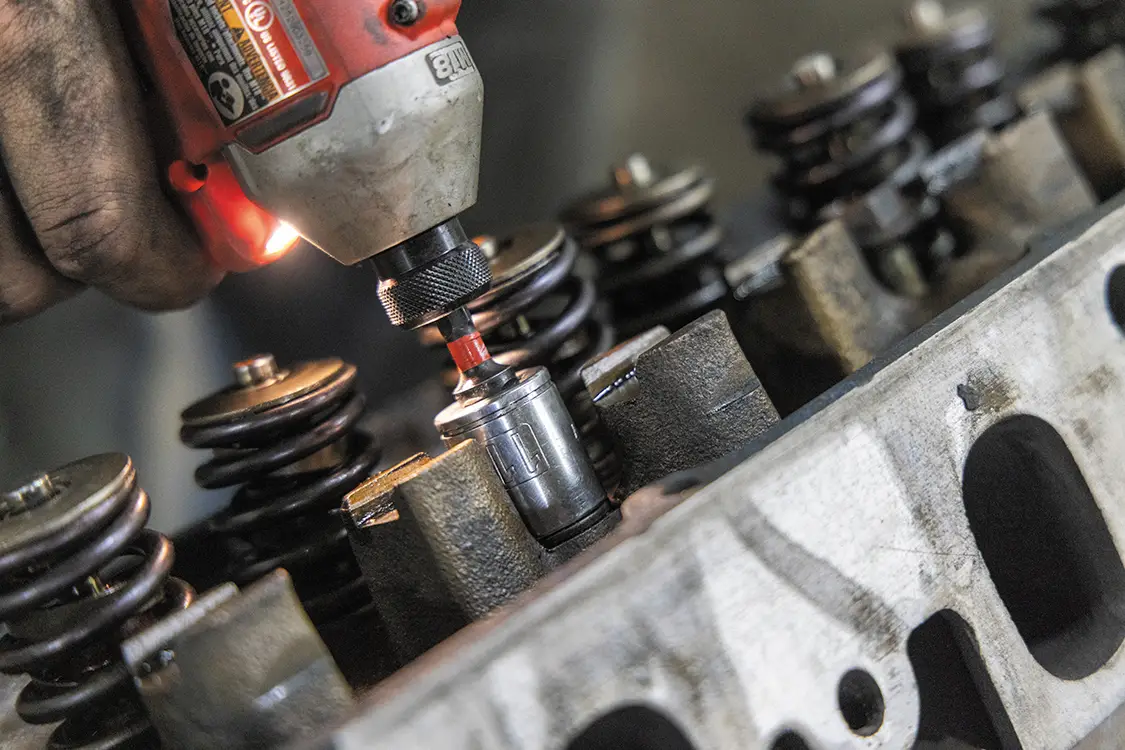
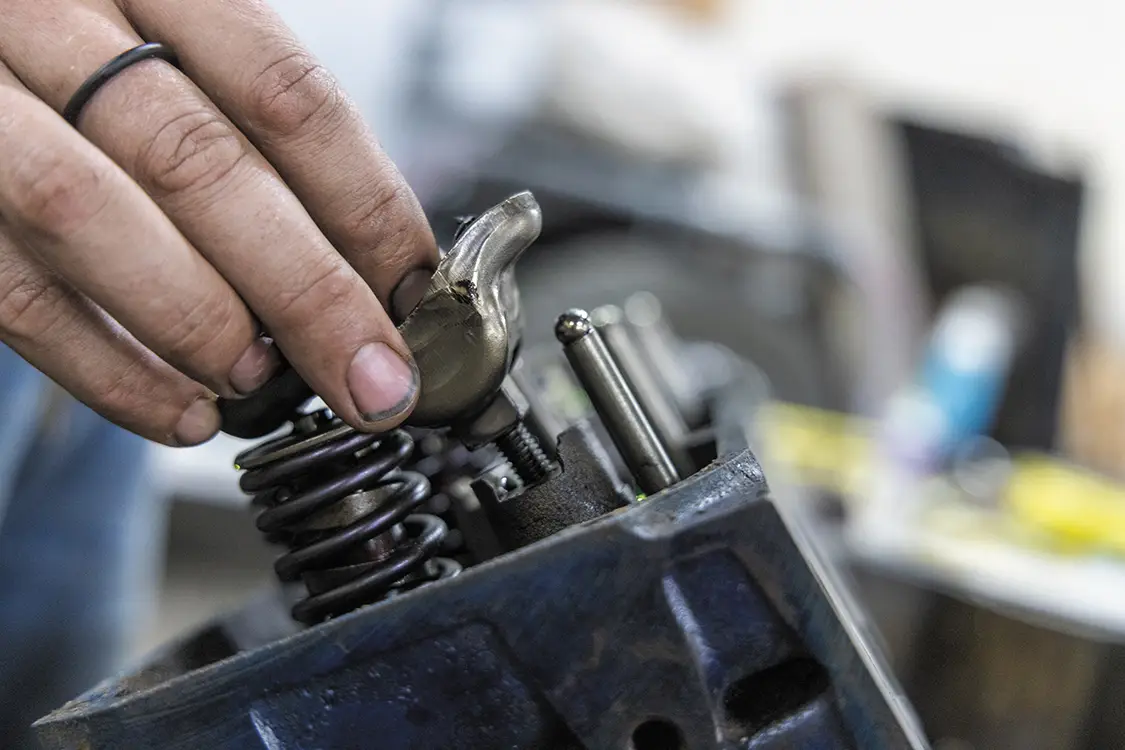
Install your push rods and rocker arms and torque to spec.
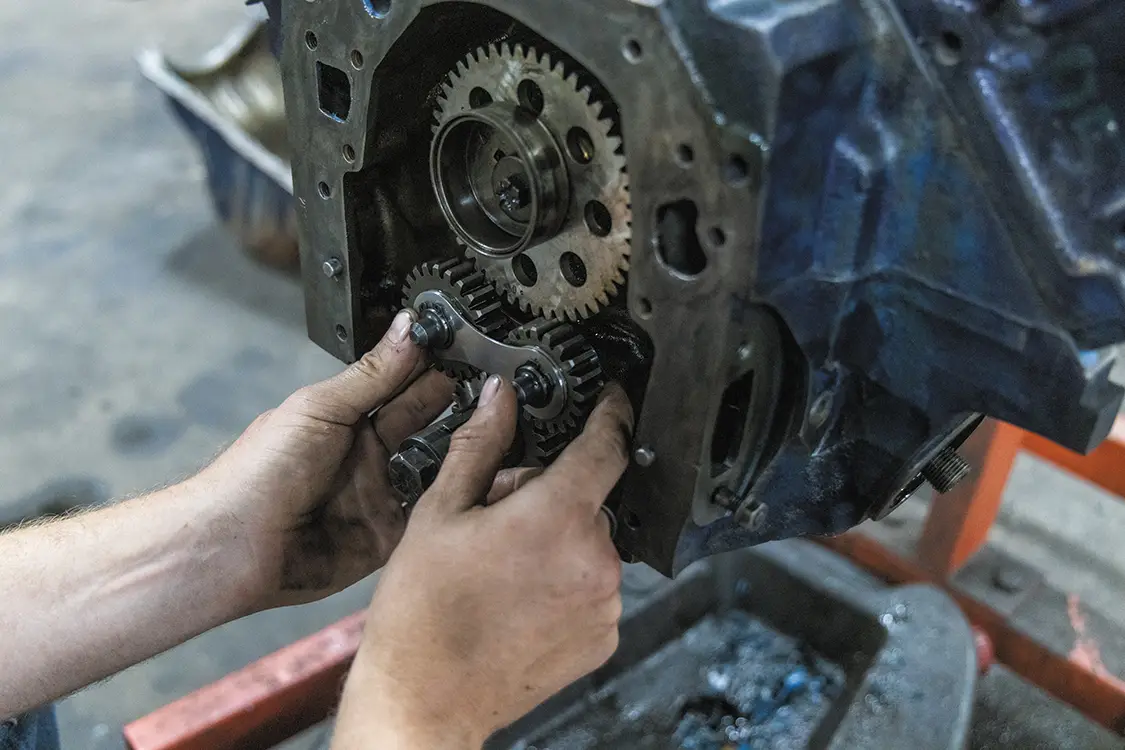
With your engine at cylinder 1 TDC (top dead center), set your timing and install your timing gears or timing chain.
Engine
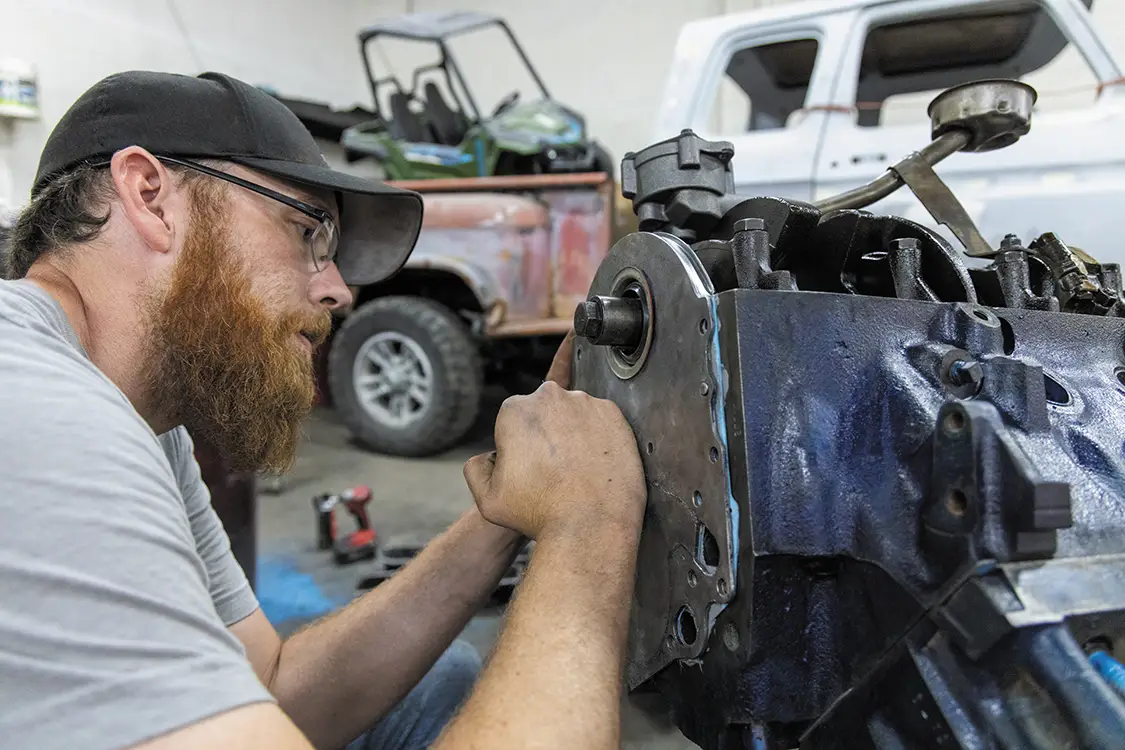
With your new front main installed in the timing cover, you can now place your gasket and install the cover on the engine.
When installing gaskets, we like to use a very thin layer of grey silicone to really help seal everything up.
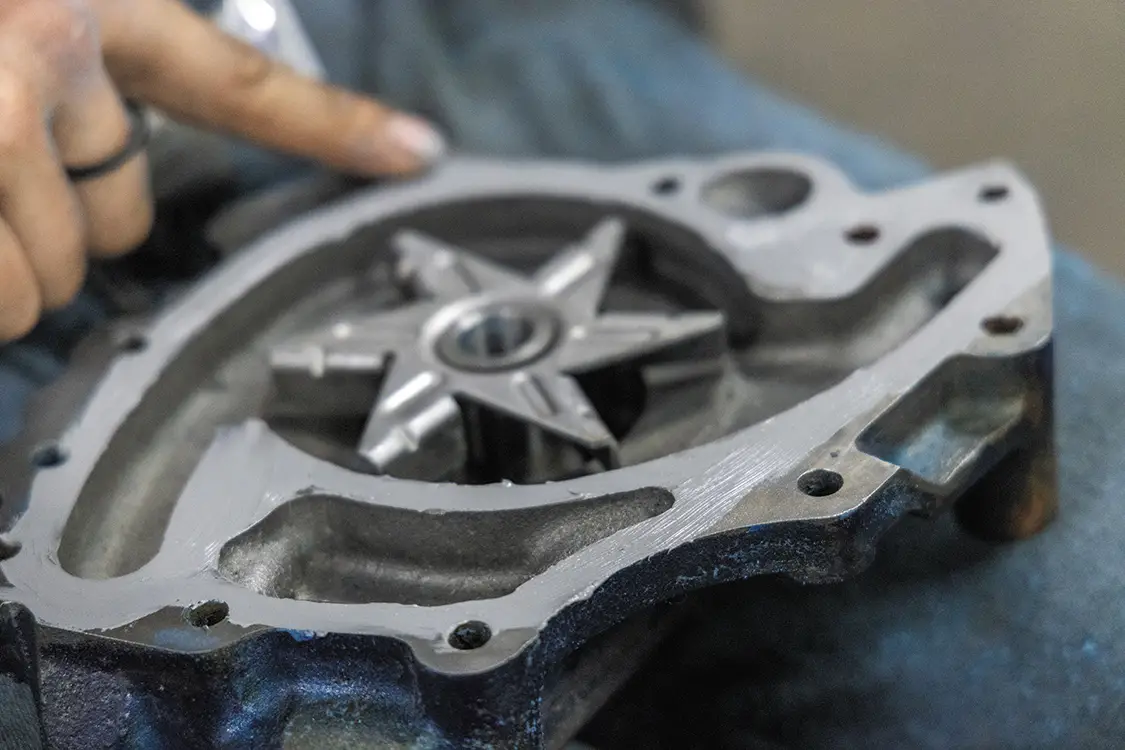
Install your oil pump and oil pan gaskets. TIP: Replace the oil pump. It is fairly inexpensive, and you want to be sure you have a working one. It’s not ruining a fresh engine because of a part like this.
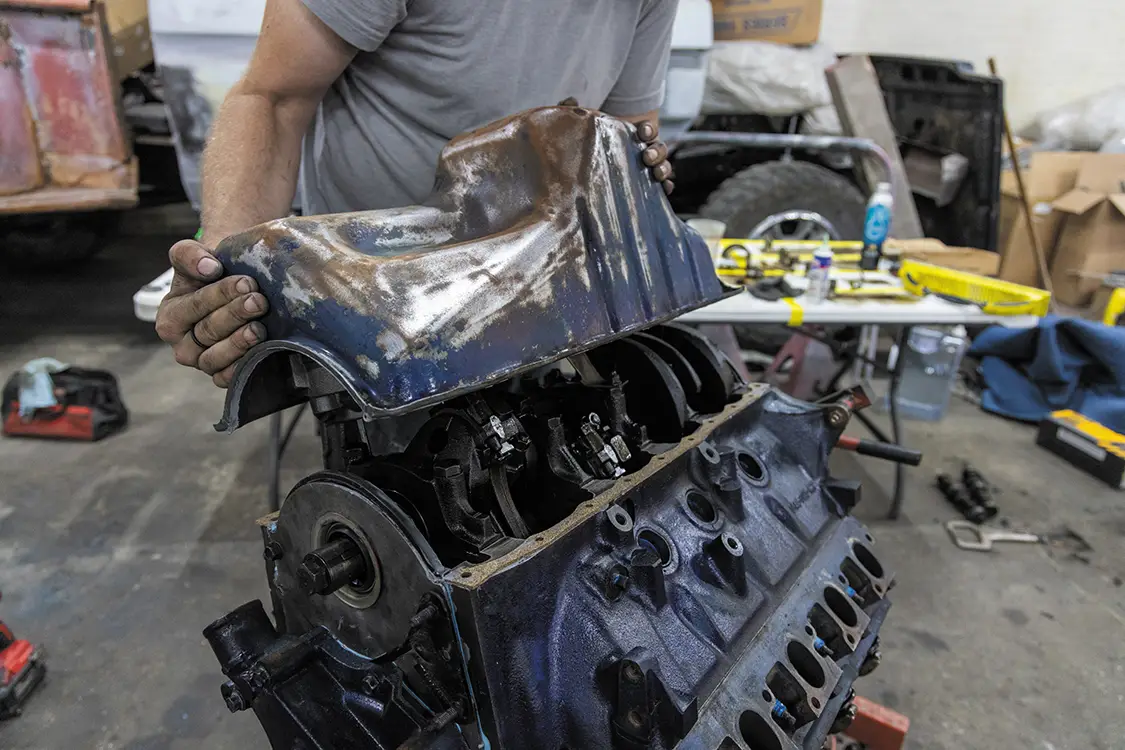
Install your oil pan.
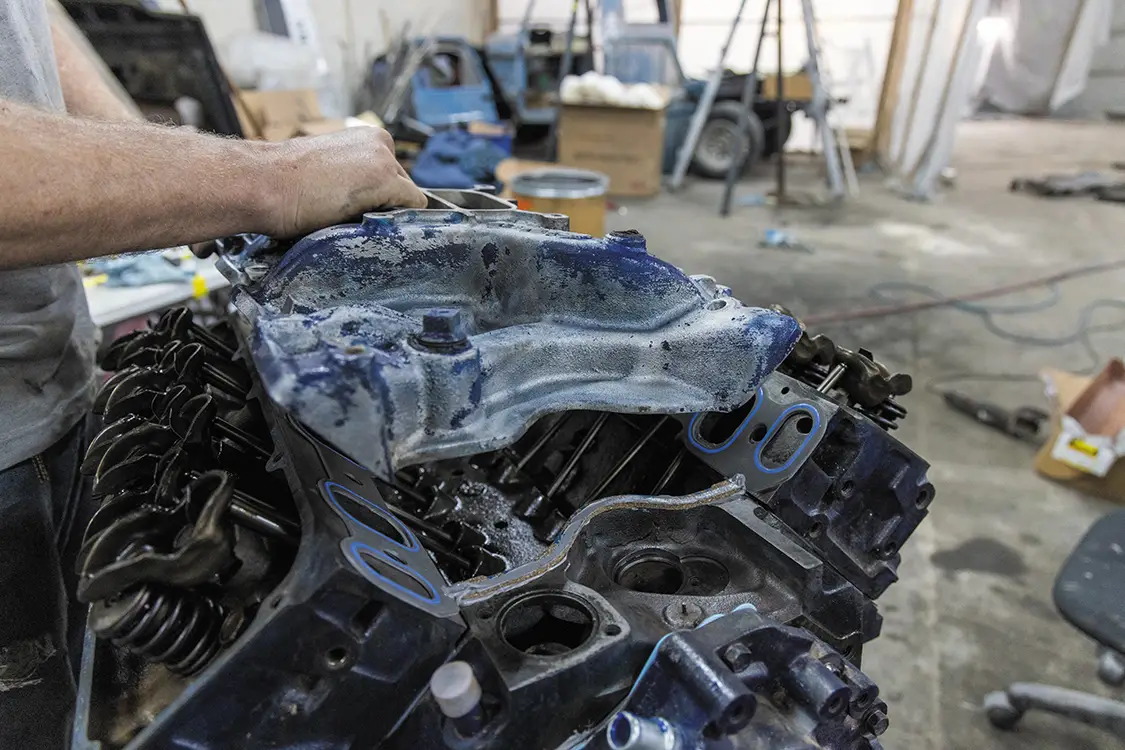
Install your intake manifold gaskets, then set the manifold in place.
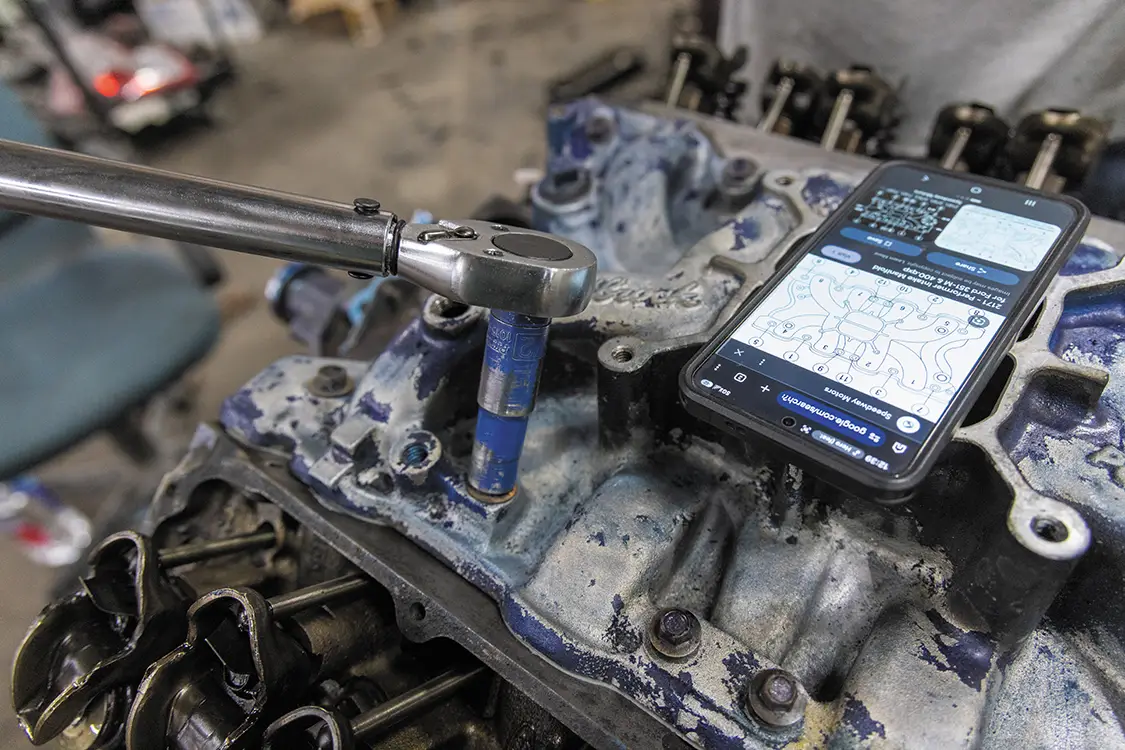
Torque your manifold bolts down in order and to spec. If you are not sure what it is for your engine, you can always look it up online.
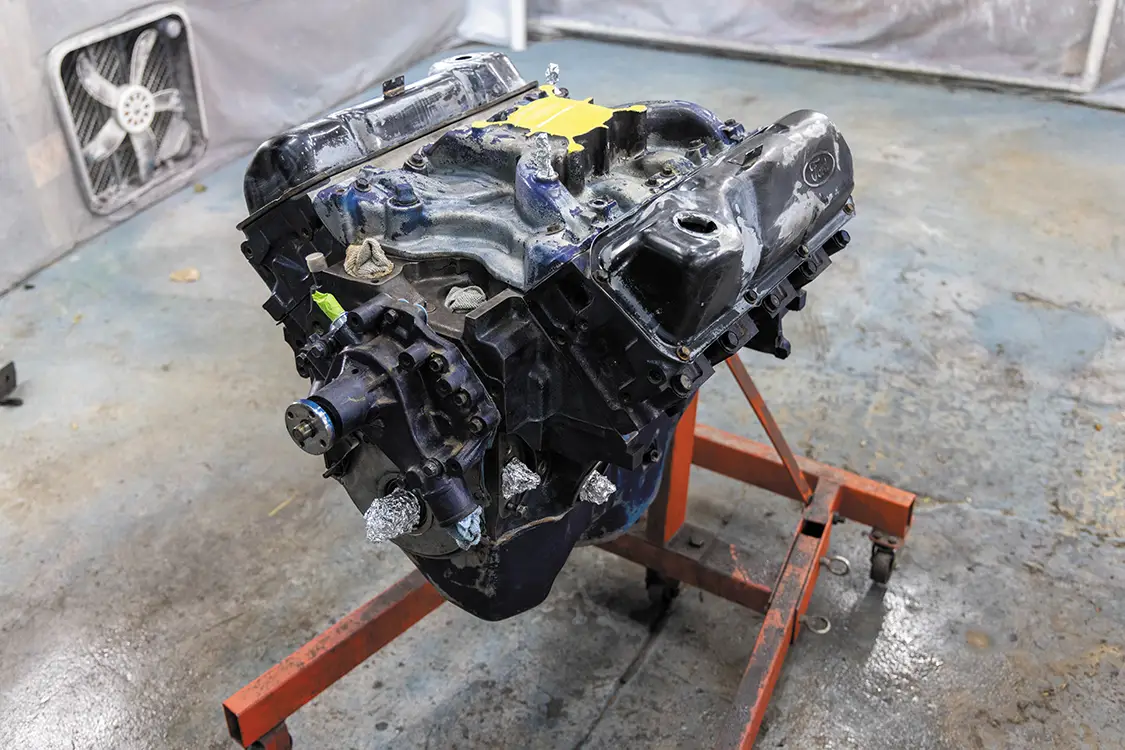
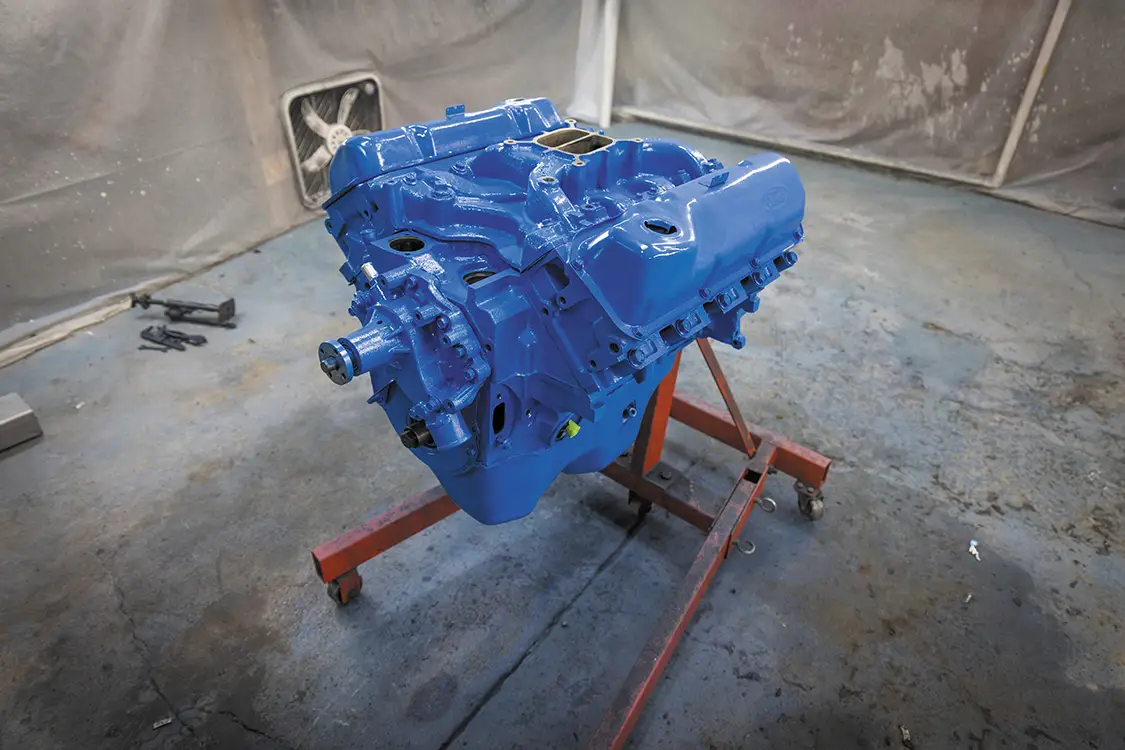
If you are planning on painting the engine, now is the time. Prep it and tape everything off that you don’t want to get paint on.
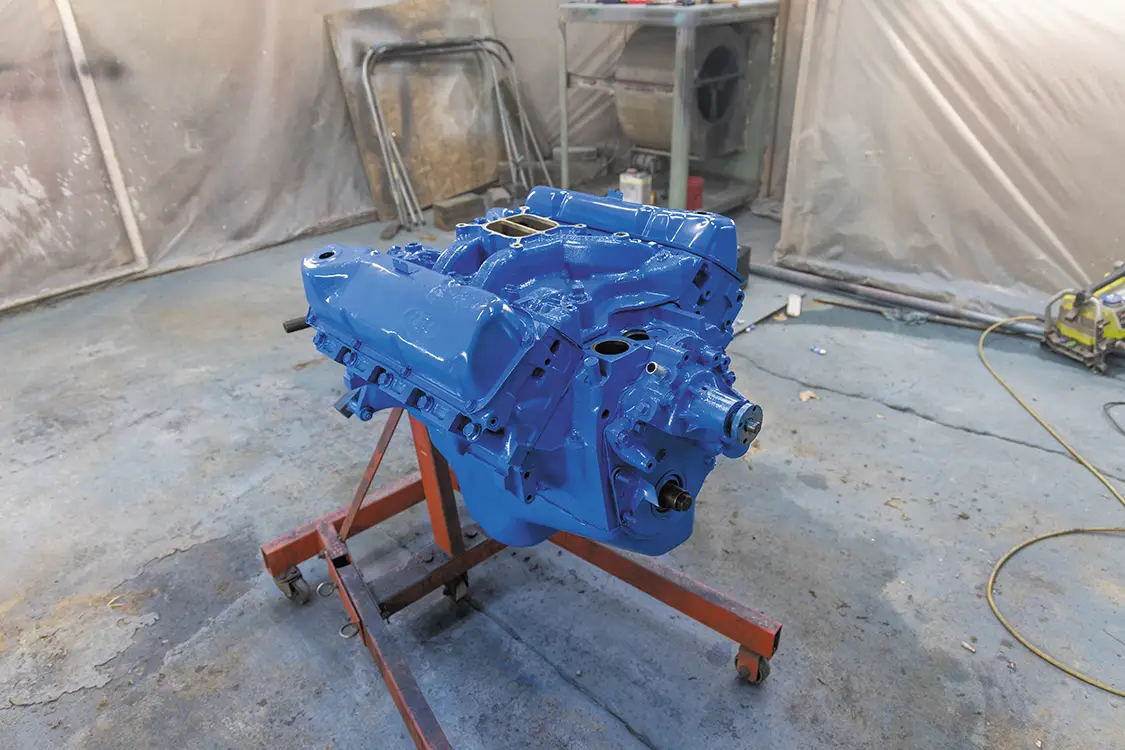
Here’s a look at the engine with the factory-style Ford blue laid out on it. You can paint it any color you would like, but for this build, putting this 400 in was the right call.


You may also like this
X
We value your privacy

We use cookies to enhance your browsing experience, serve personalized ads or content, and analyze our traffic. By clicking "Accept All", you consent to our use of cookies. Visit our Cookie Policy for more info.