 SCOTT NELSON
.
February 17, 2021
.
America
.
SCOTT NELSON
.
February 17, 2021
.
America
.
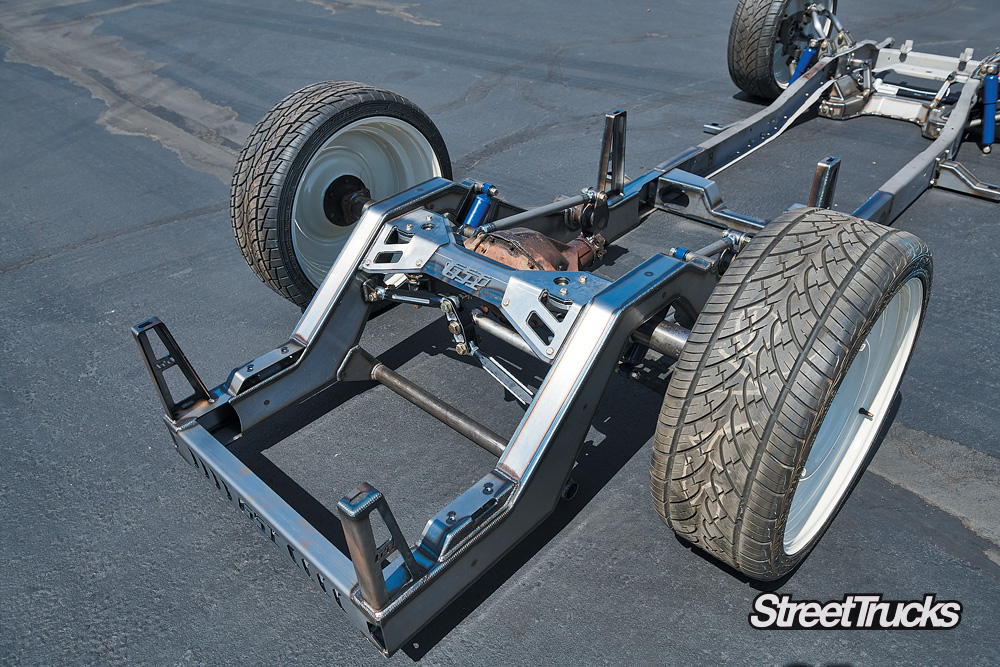
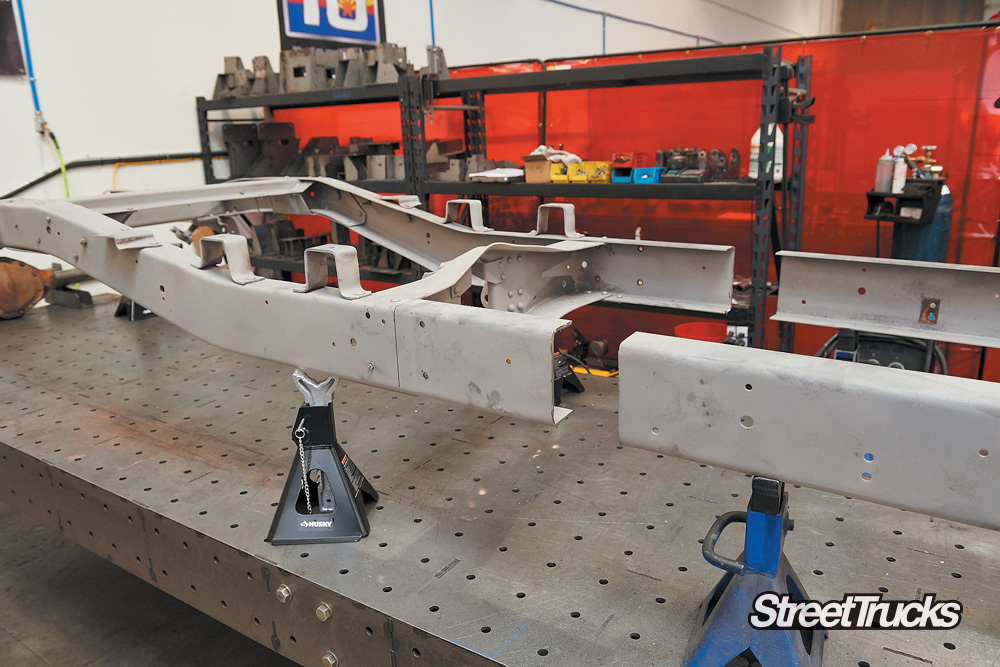
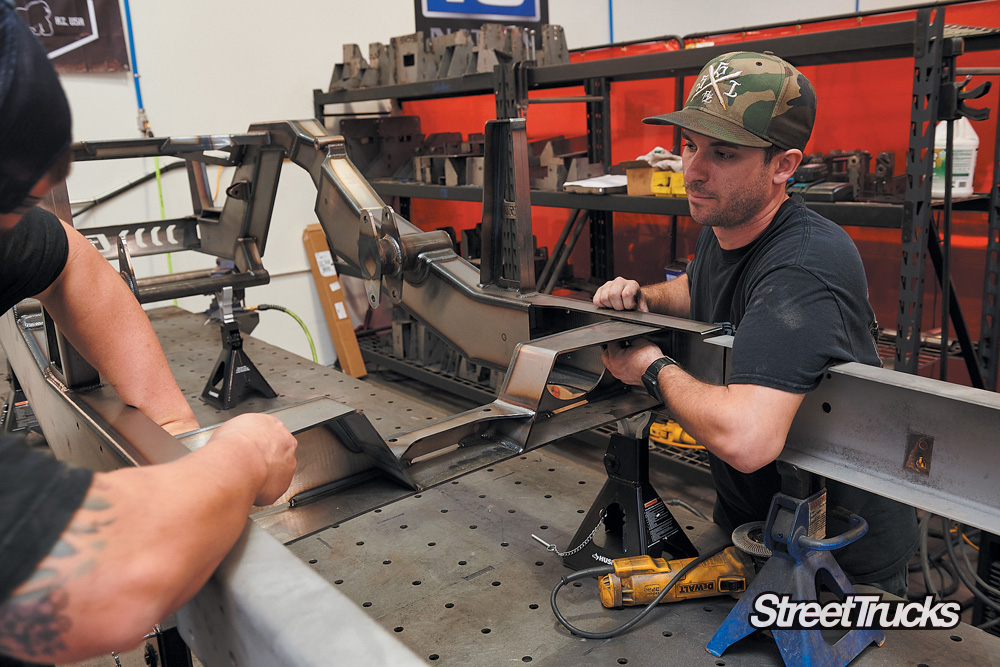
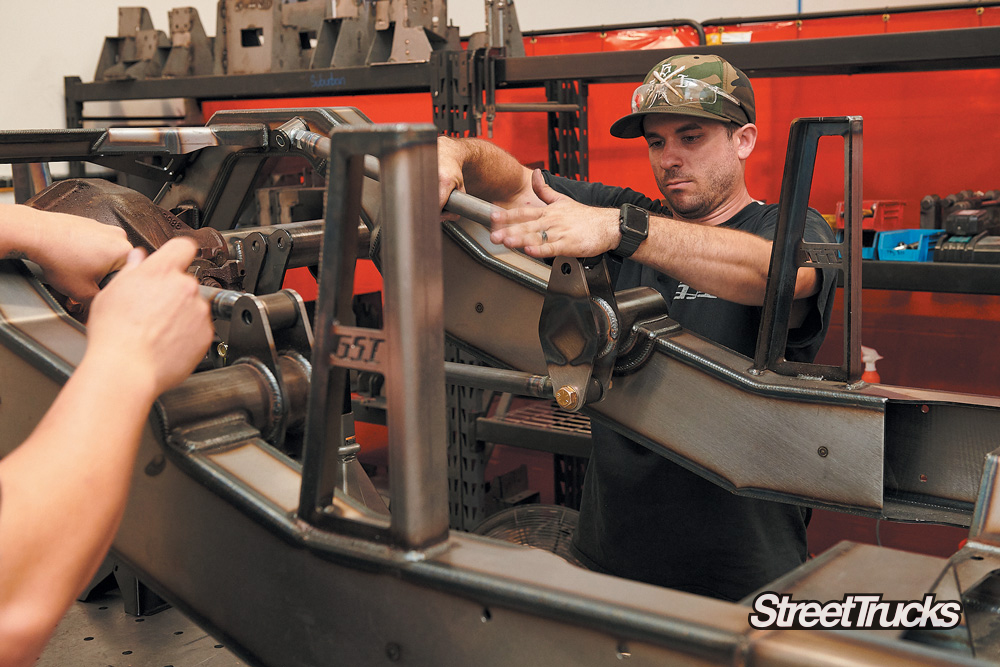
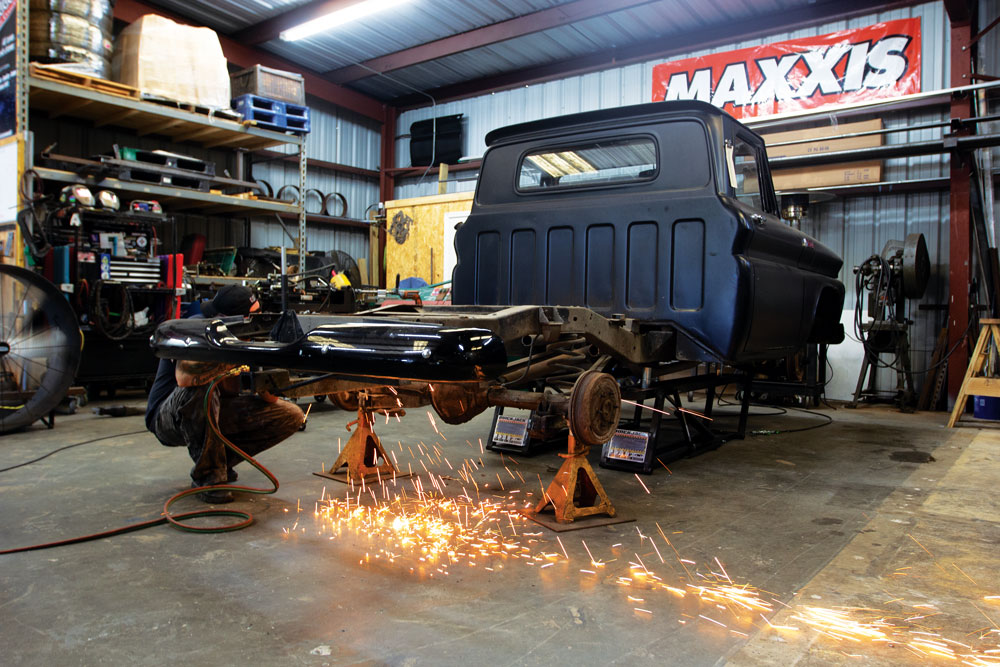
Using GSI Air-ride Machine and Fabrication’s complete back half is a no brainer when trying to accomplish one or both tasks of bagging your ’60-’87 C10 while converting it from longbed to shortbed at the same time. The GSI back half is a fully fabricated, weld-on rear clip, complete with parallel four-link and billet aluminum Watt’s link. This rear chassis section will lay the frame on a 31-inch tall tire and will fit wheels up to 15 inches wide. Follow along and watch how easy it is to take that longbed frame from tail heavy and too tall to short and slammed.

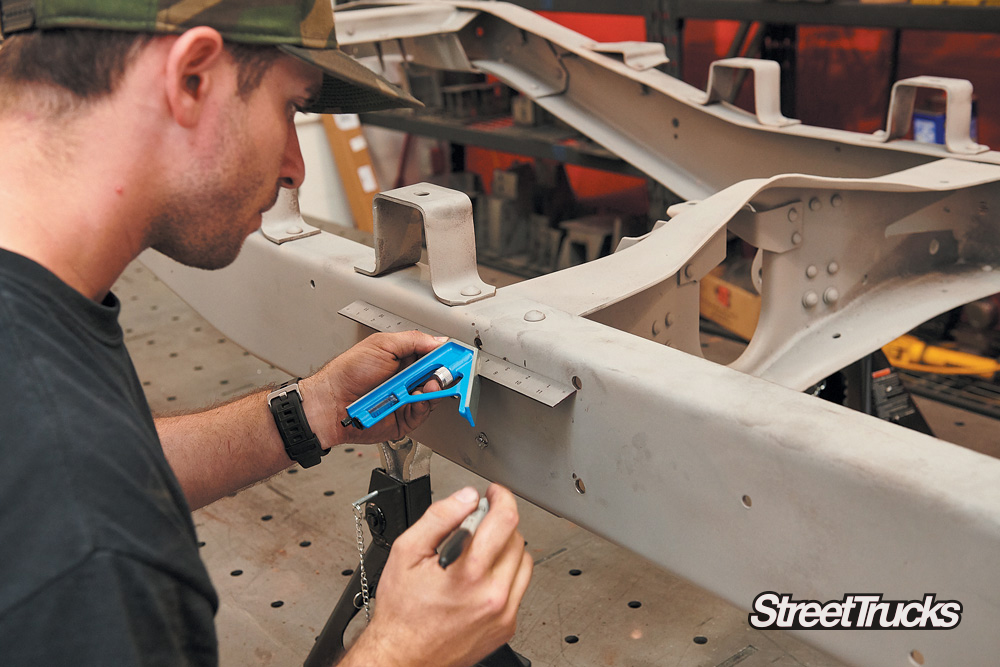
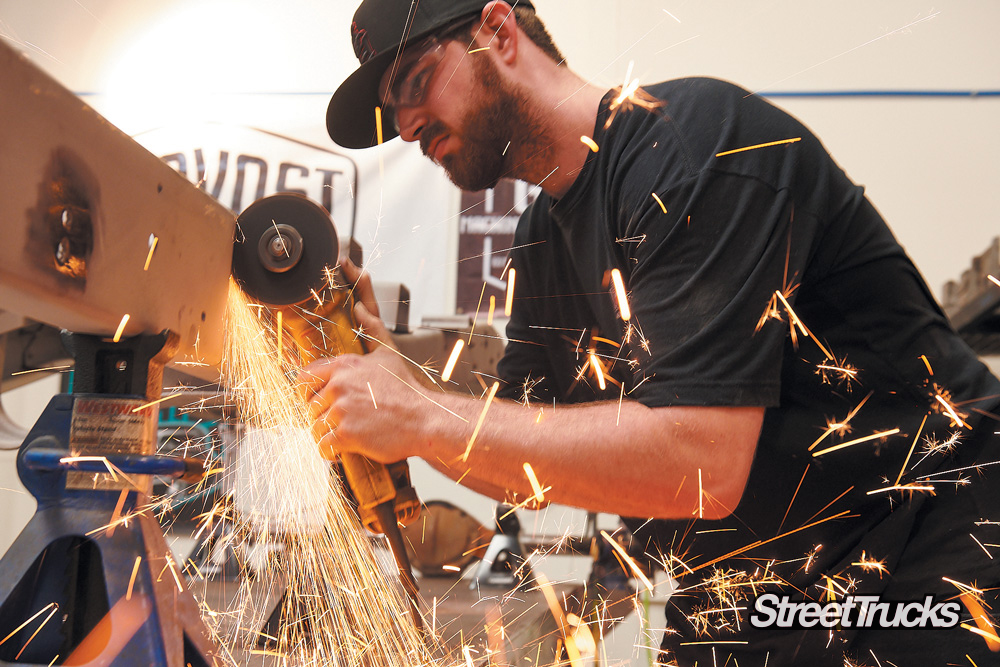
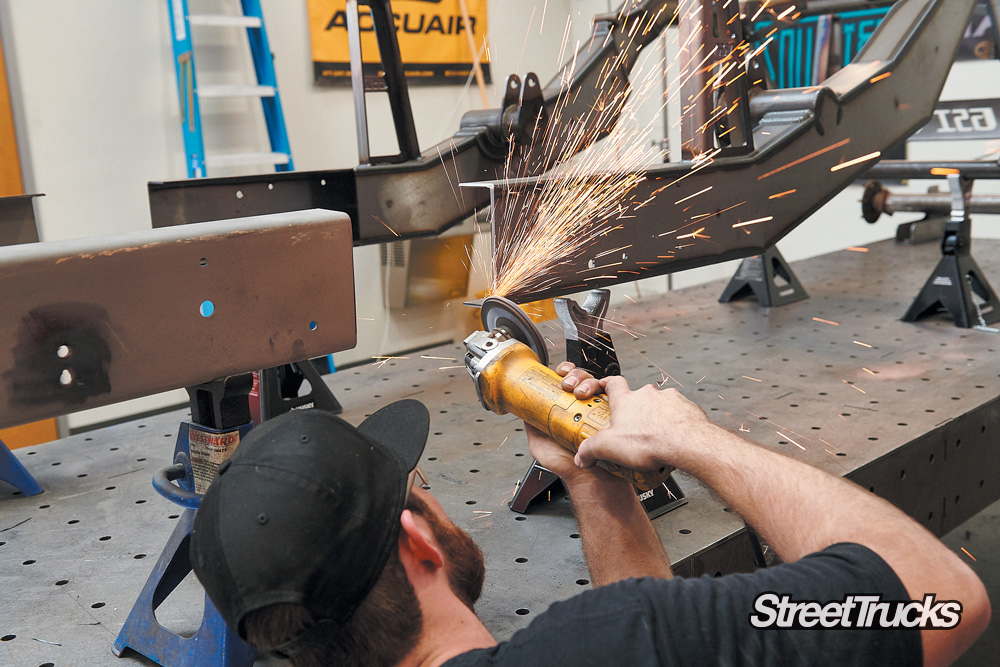
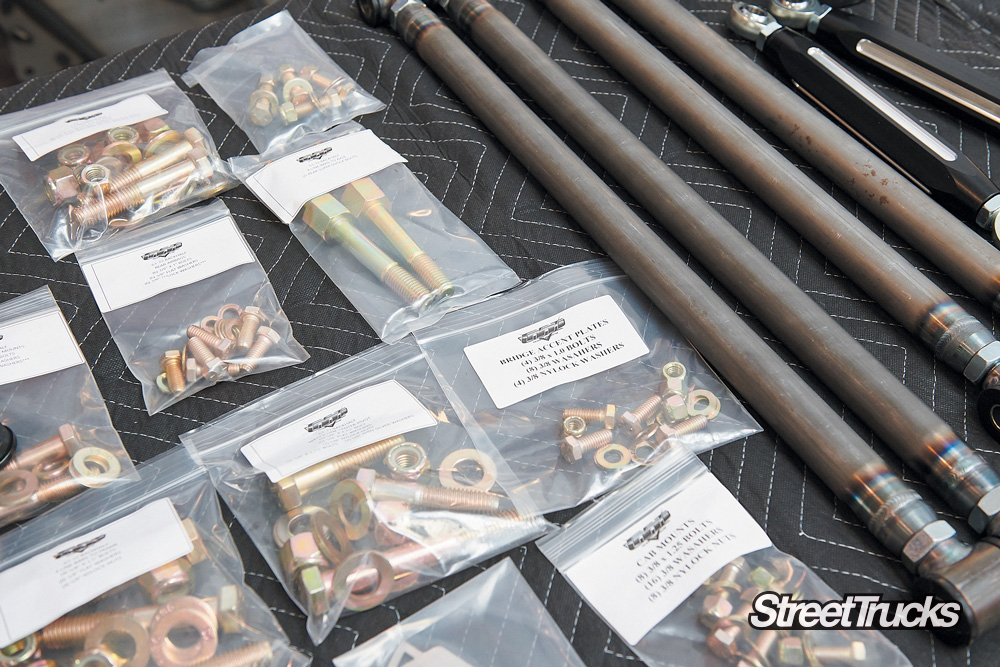
Now it’s time to match the rear. In this article we will show you how simple it is to install the GSI Air-ride back half and what the end result will look like. We have all the parts and hardware set up, so we are ready to go. We will follow the supplied instructions and take you through a step-by-step install. Let’s go!!
The GSI back half is a fully fabricated, weld-on rear clip, complete with parallel four-link and billet aluminum Watt’s link. (Part #120-5600-BH)
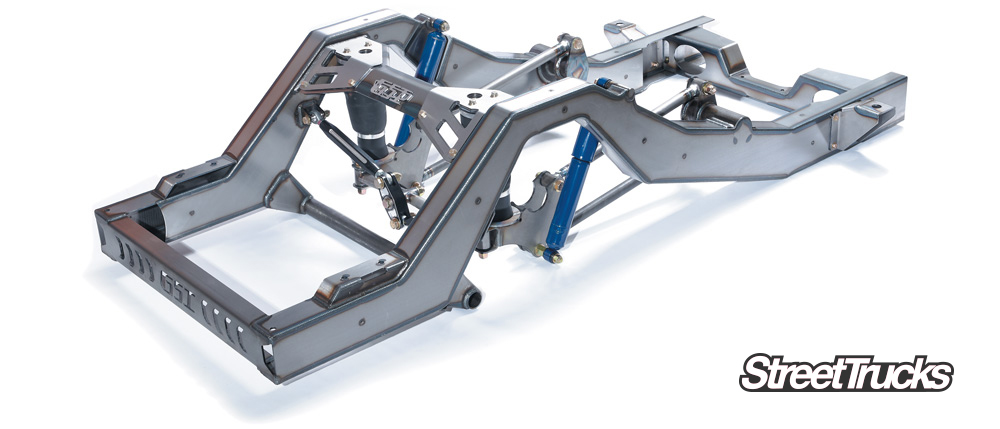
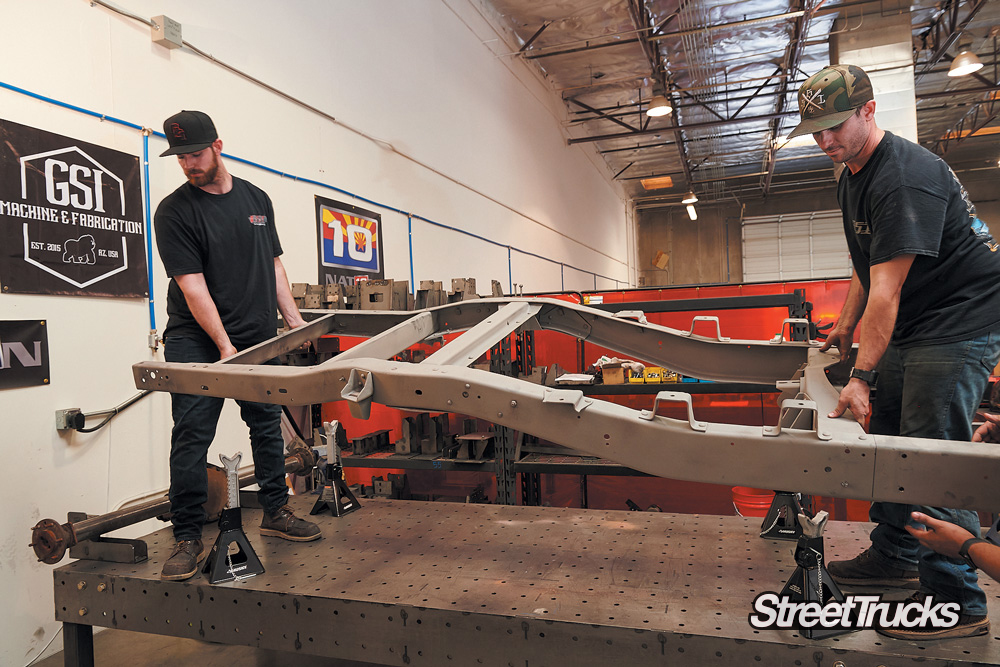
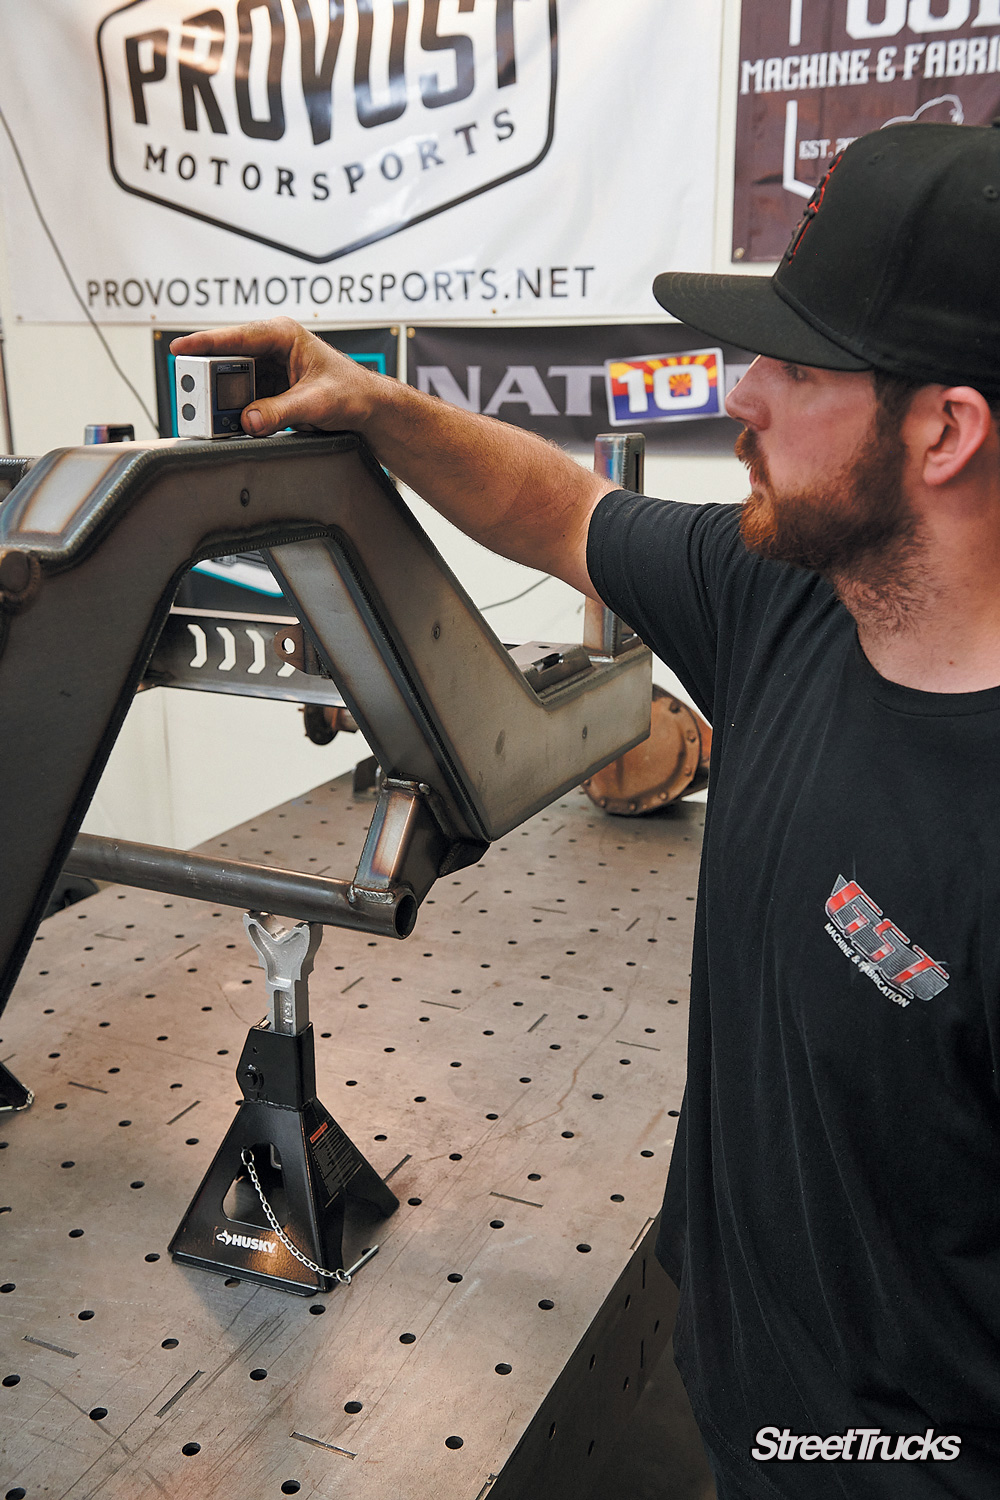
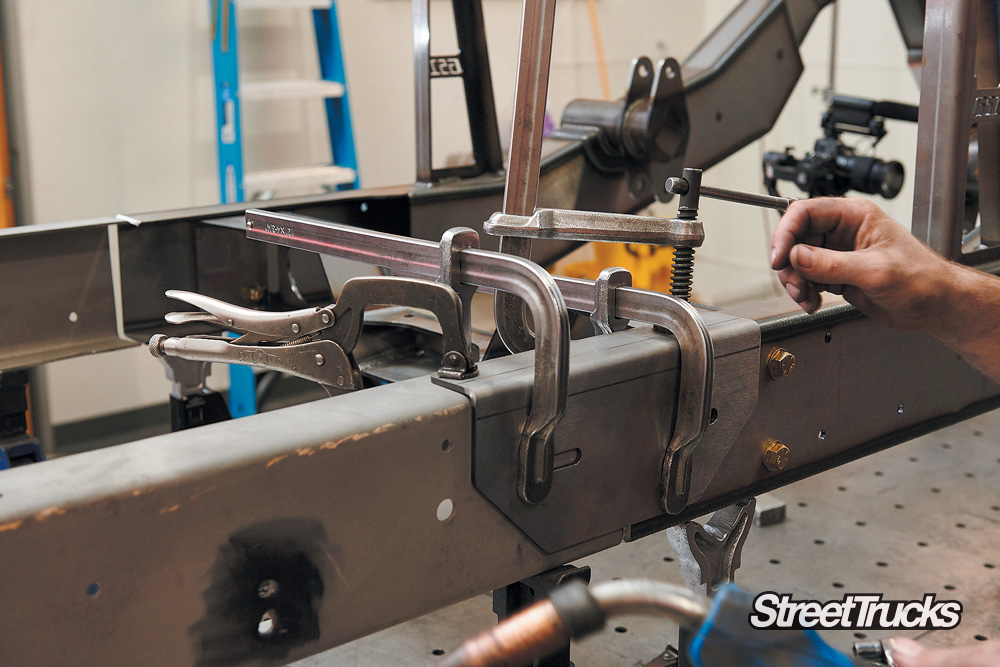
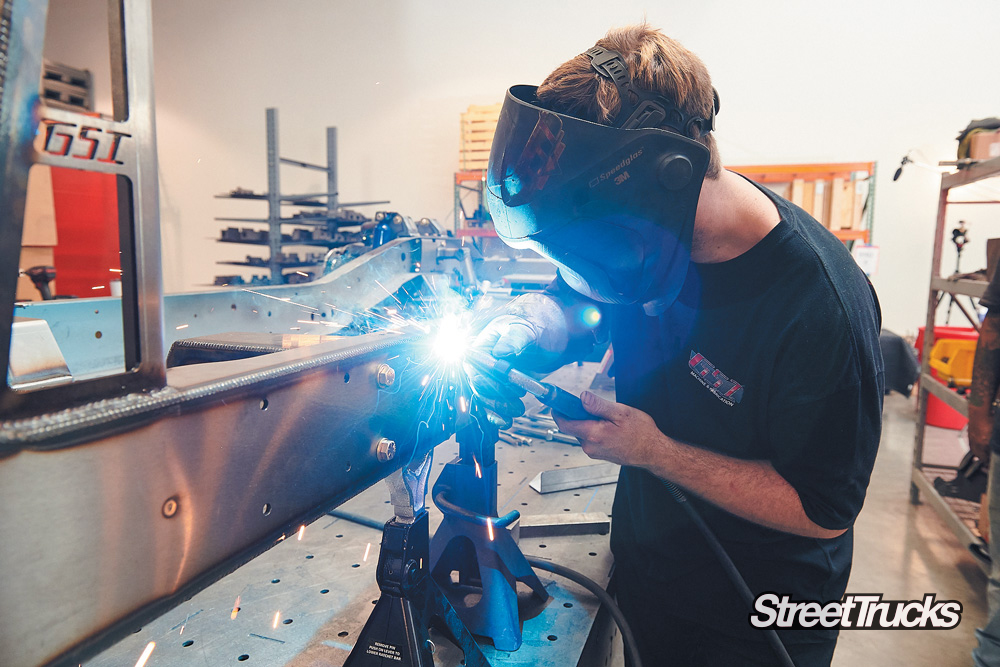
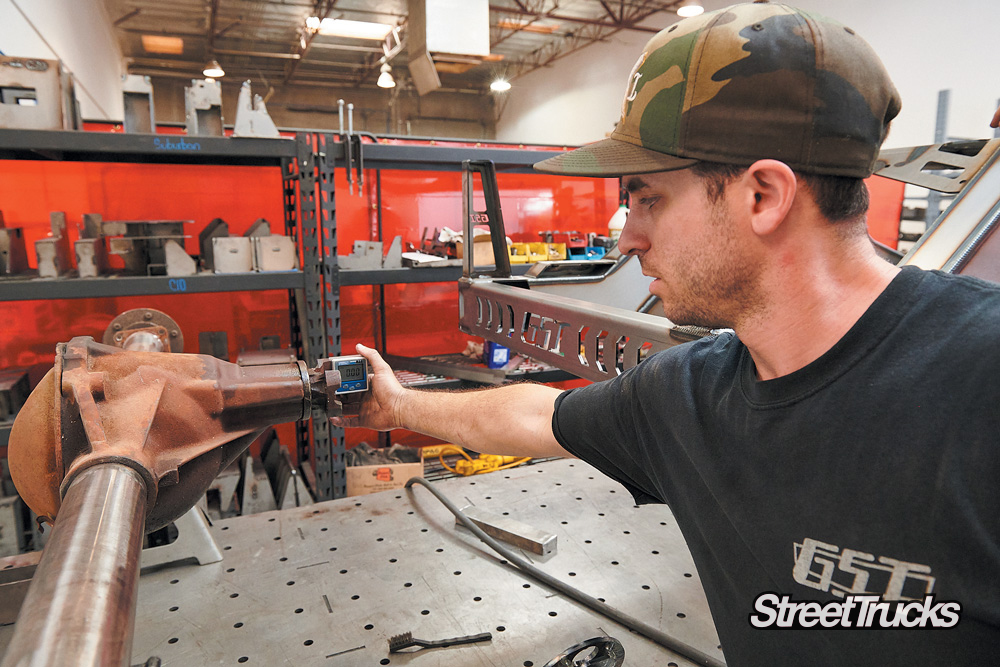
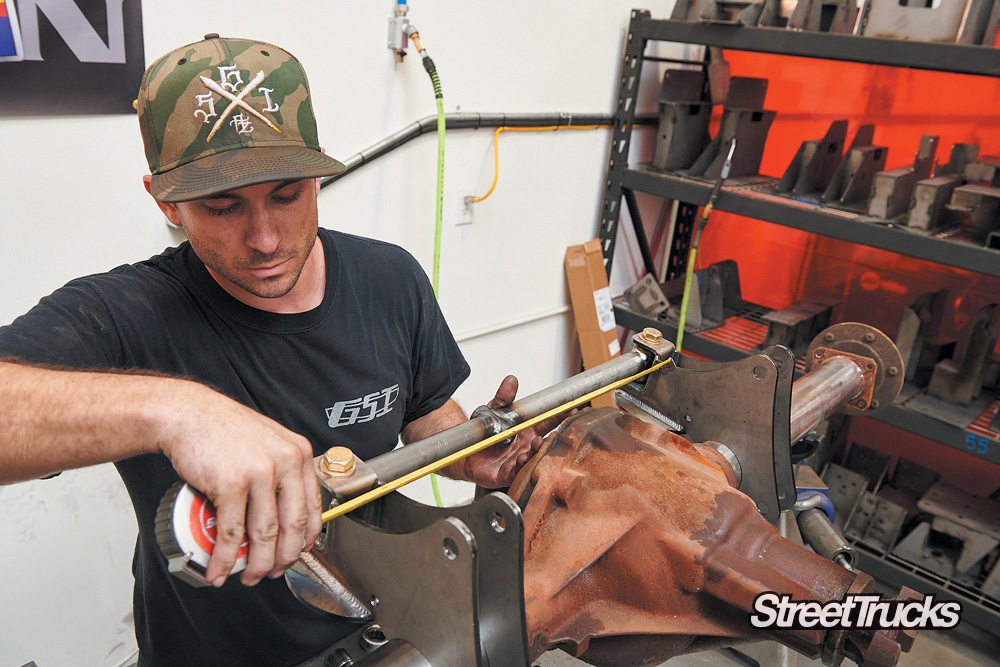
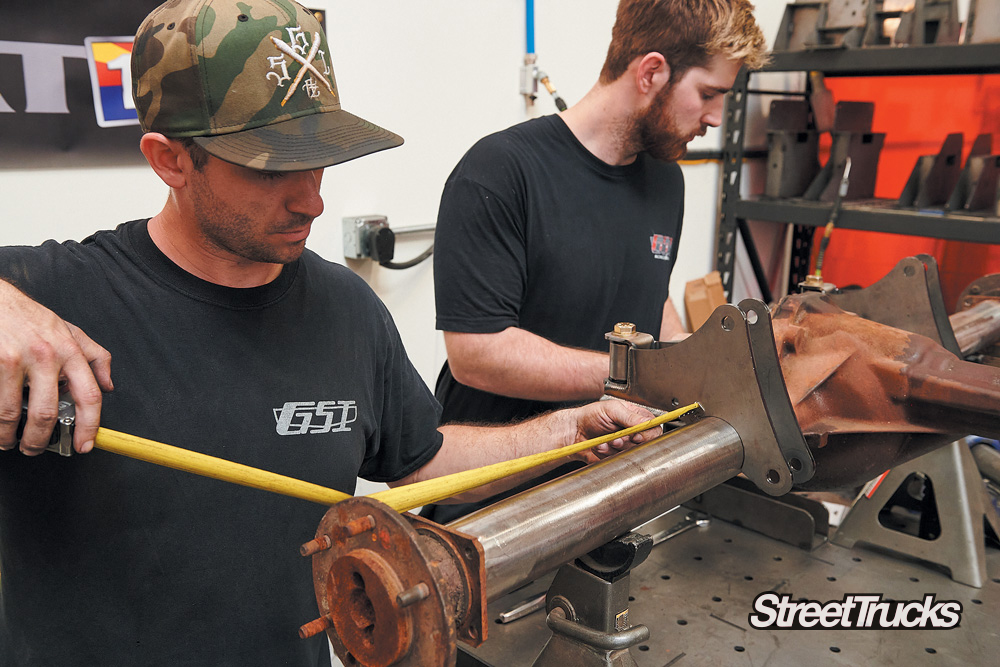
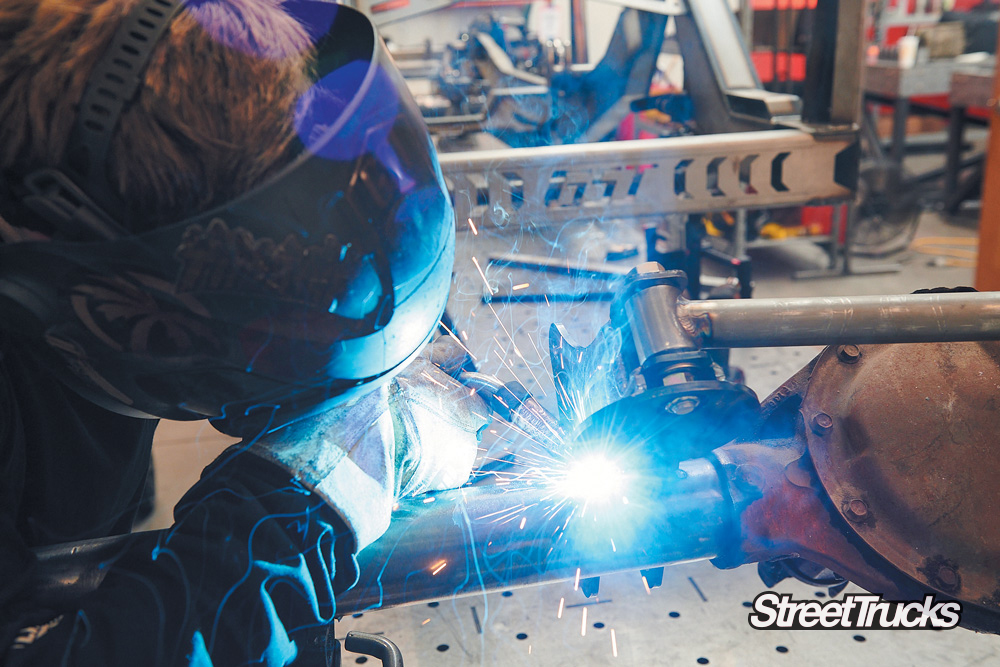
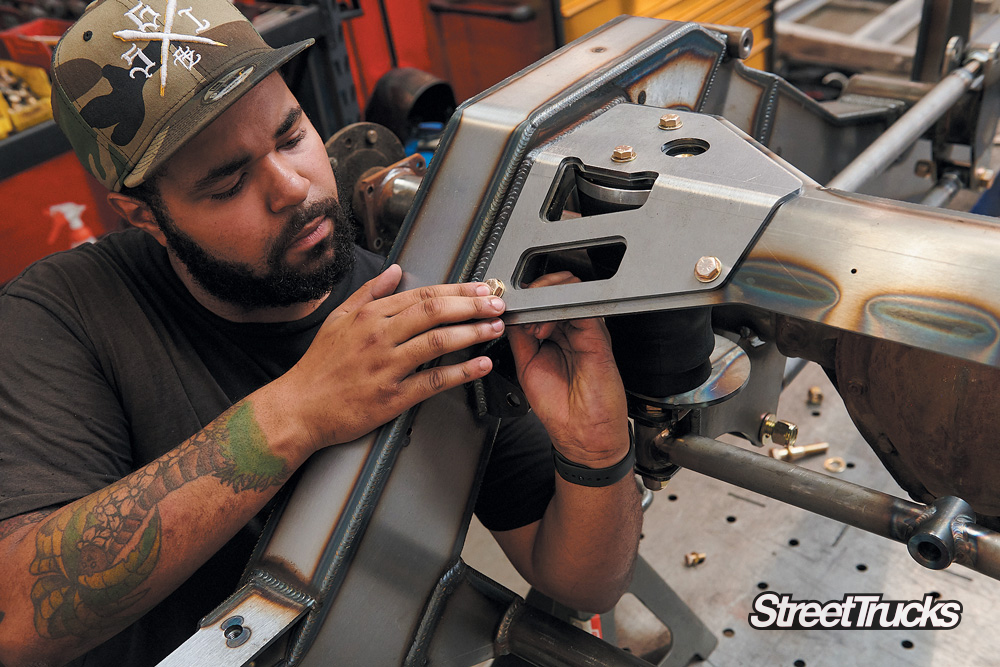
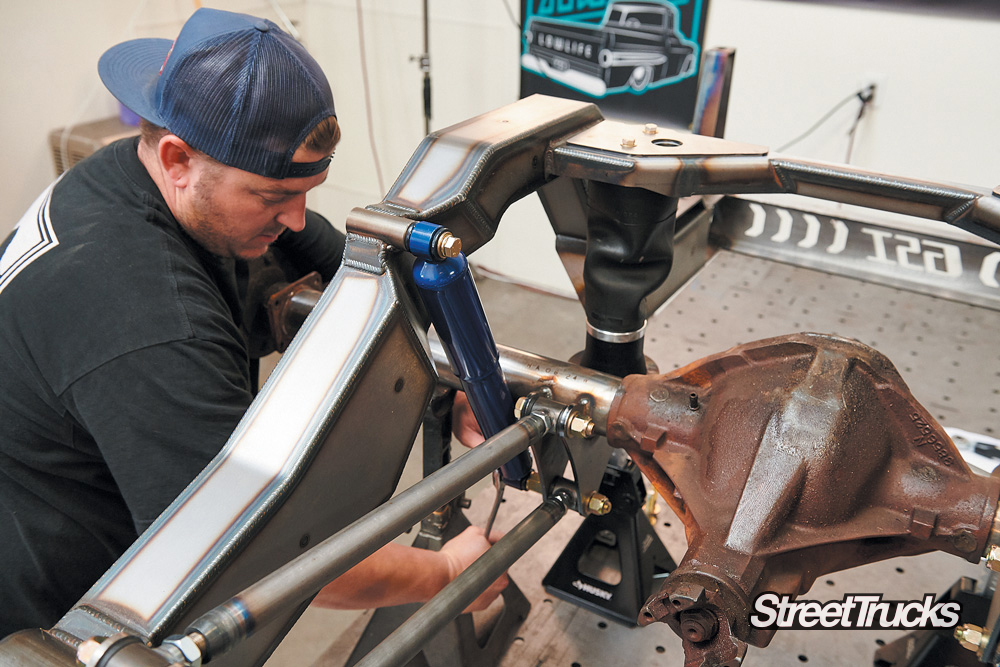
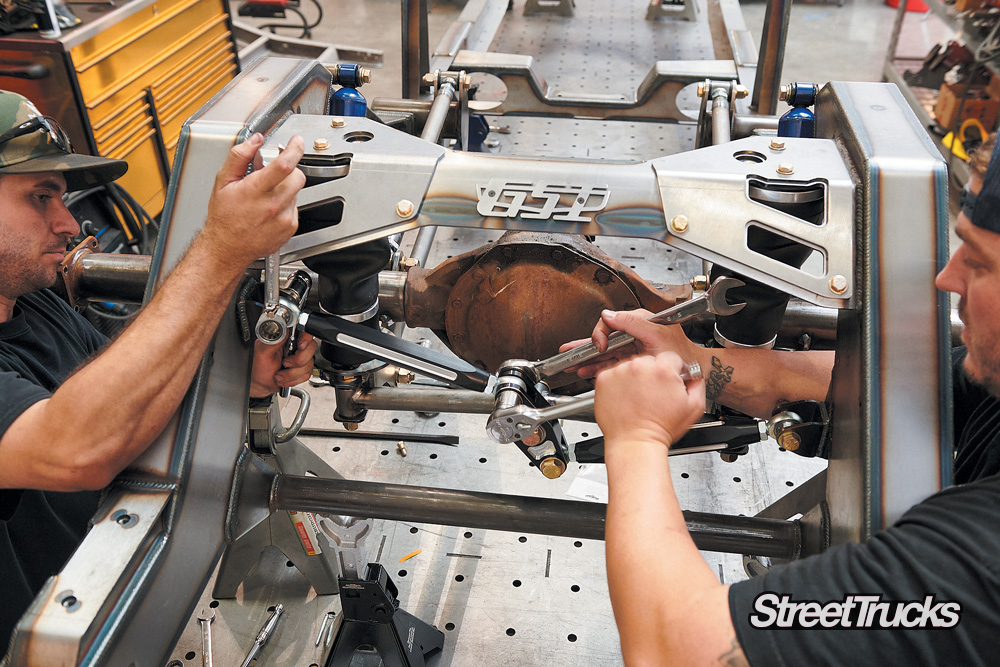
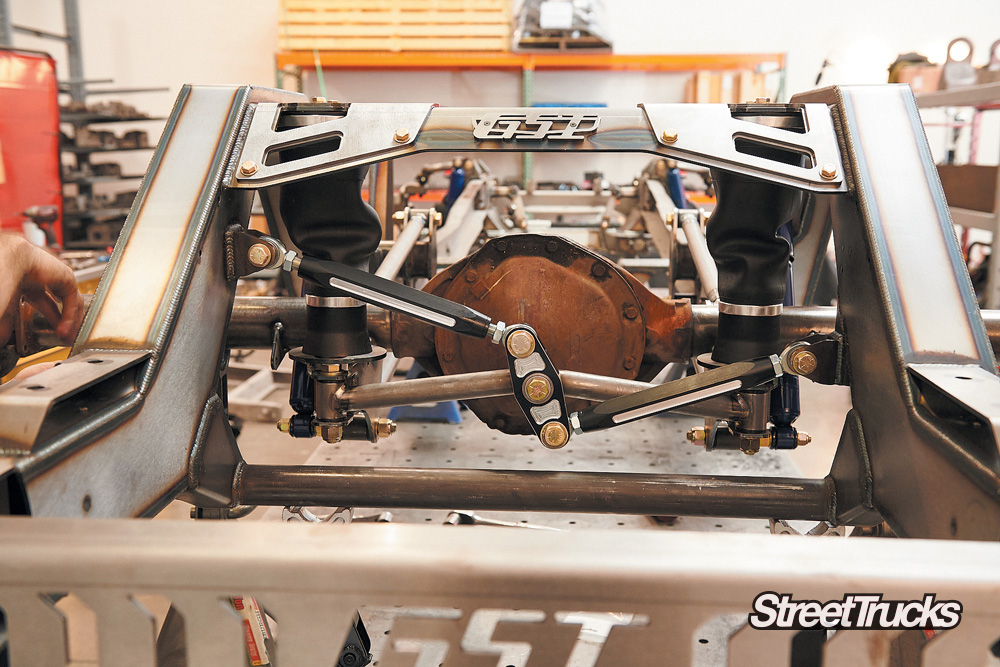
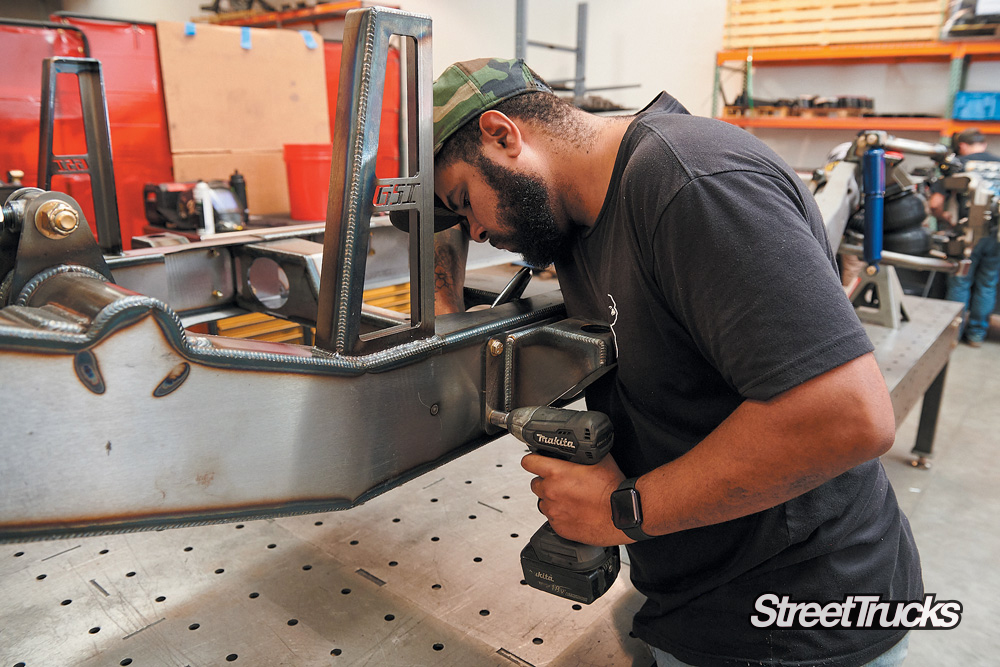
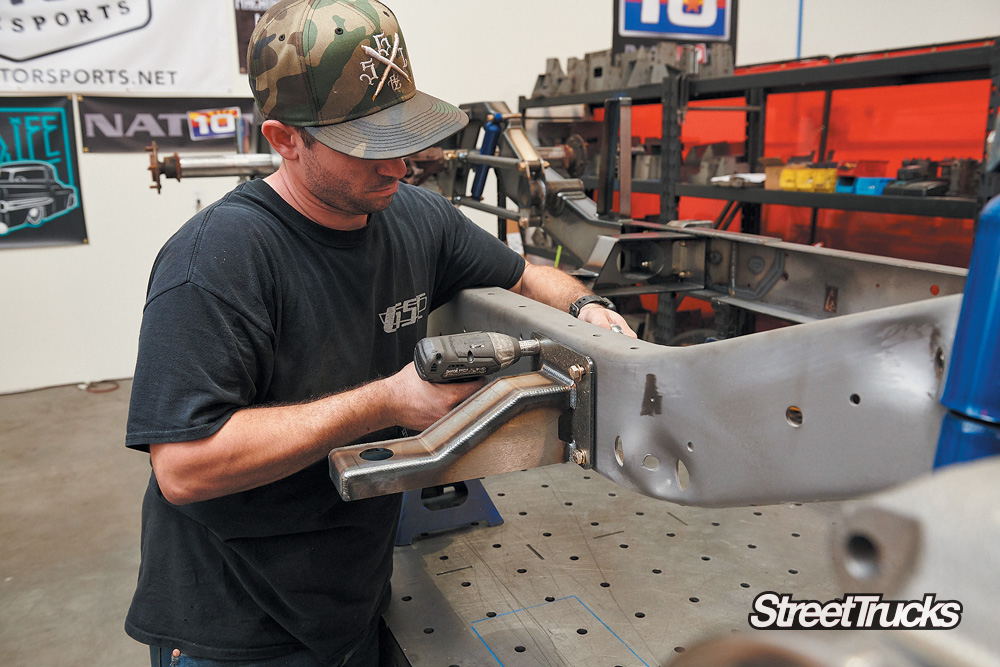
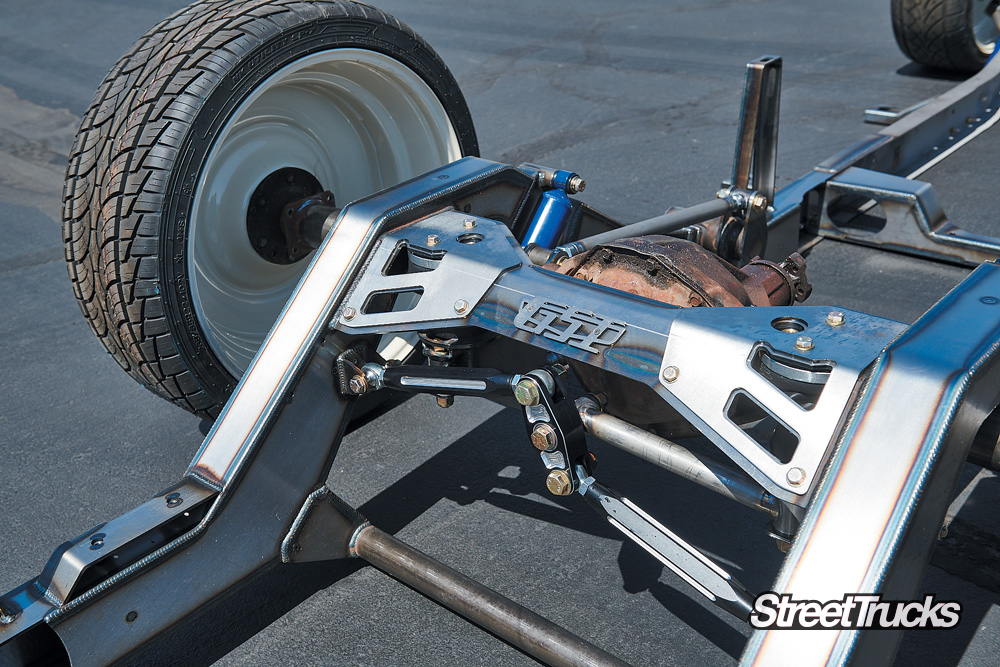
This system will lay the frame on a 31-inch tall tire and can accommodate up to a 15-inch wide wheel. And that’s a rolling chassis laying frame on big wheels. Next step will be to blow it apart and prep for powdercoating. We will be follow along with this build as it keeps going.


c10
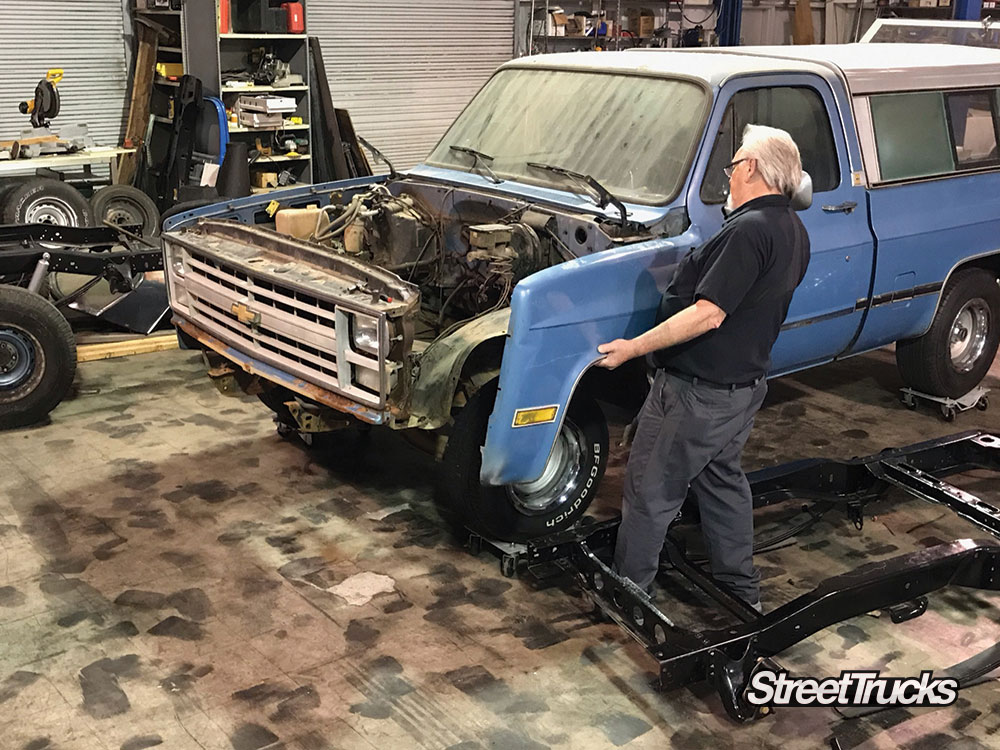
This old ’77 square body Chevy is being converted from farm truck to corner carving, coilover carrying street truck. In the last issue we installed… Continue reading
Chris Hamilton . September 14, 2021
C10 Builders Guide
OUR 1965 CHEVY C10 project truck, project Raven, is really starting to take a turn toward completion. We are super excited to see this truck… Continue reading
Chris Hamilton . November 07, 2019
c10
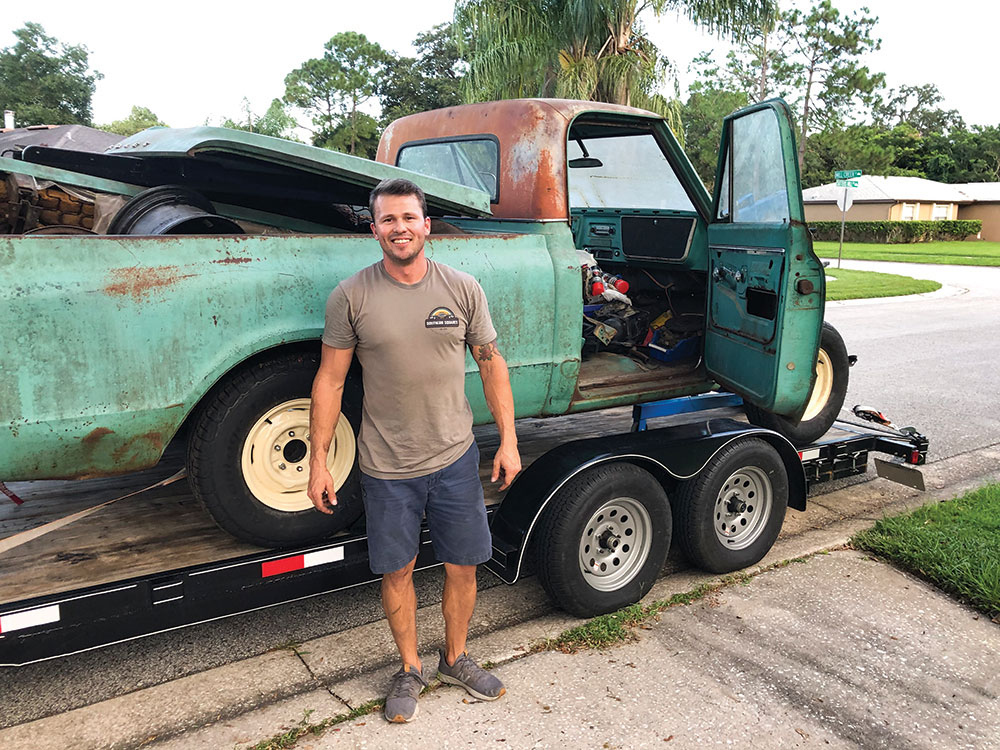
We all have that bucket list truck we want to own or build. For me, that truck is a 1967-’68 patina 503 light green shortbed… Continue reading
JOSH MCPHERSON . May 12, 2022
c10
A LOT OF SHOPS BUILD CUSTOM VEHICLES TO SERVE AS A ROLLING BUSINESS CARD— AN ADVERTISEMENT FOR THE TYPE AND QUALITY OF WORK CAPABLE OF… Continue reading
John Mata Jr. . December 09, 2019
COOL GEAR
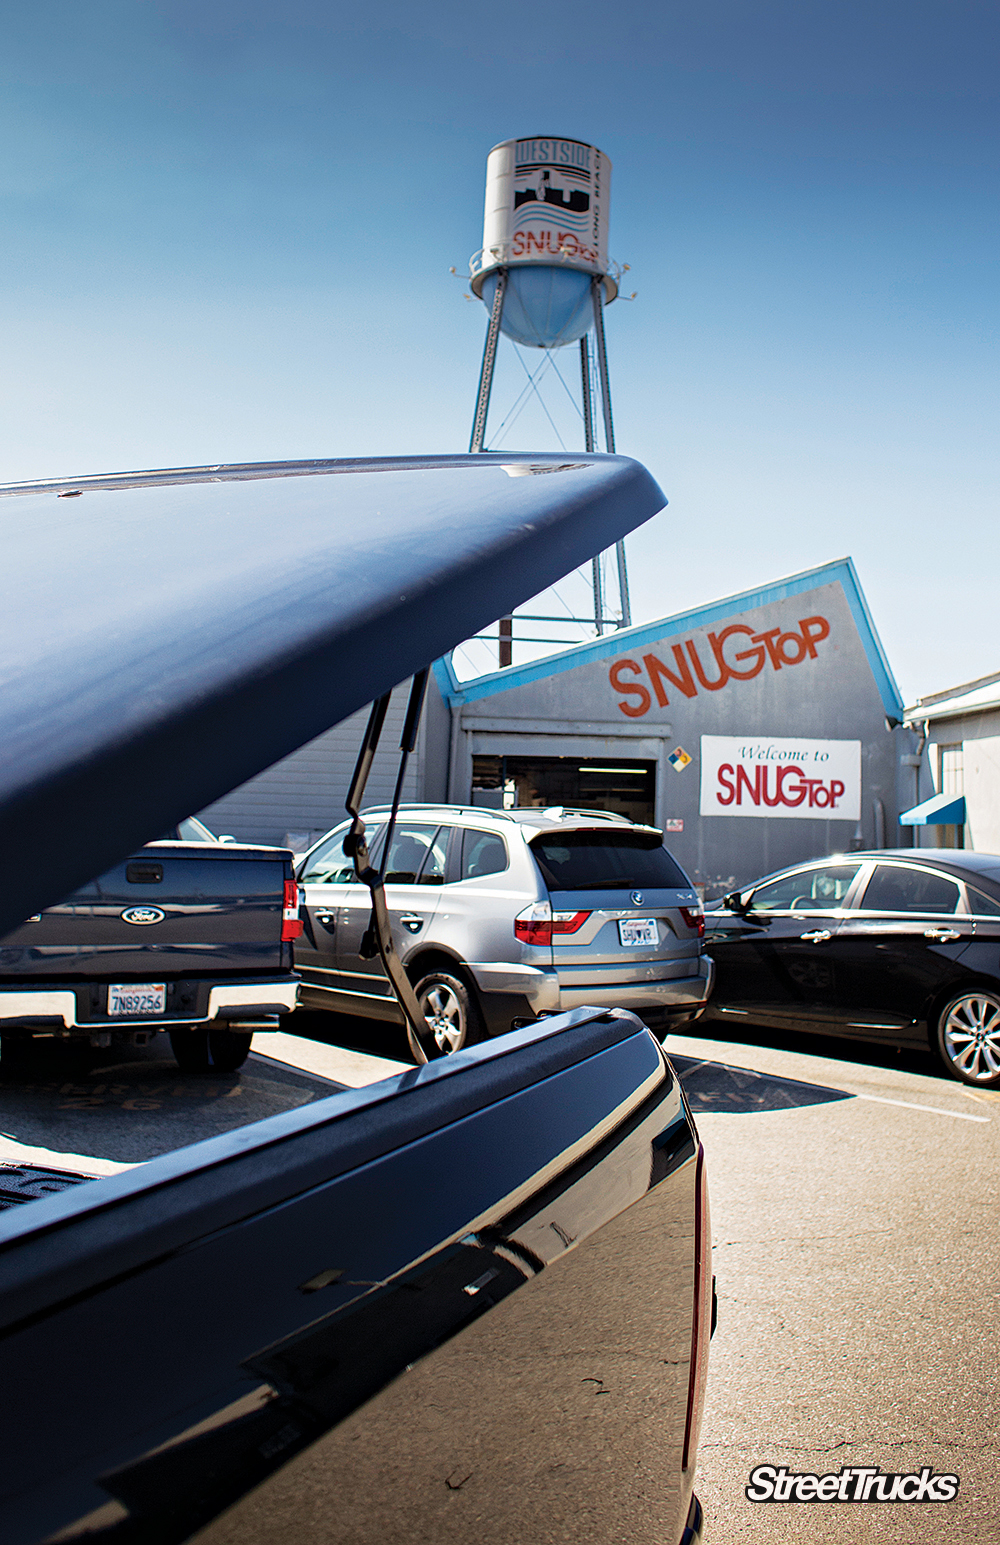
SECURING YOUR GEAR WITH A STYLISH SNUG TOP Regular cab trucks do not offer much in the way of a storage area aside from the… Continue reading
MARCO A. PATIÑO . June 29, 2021
How to
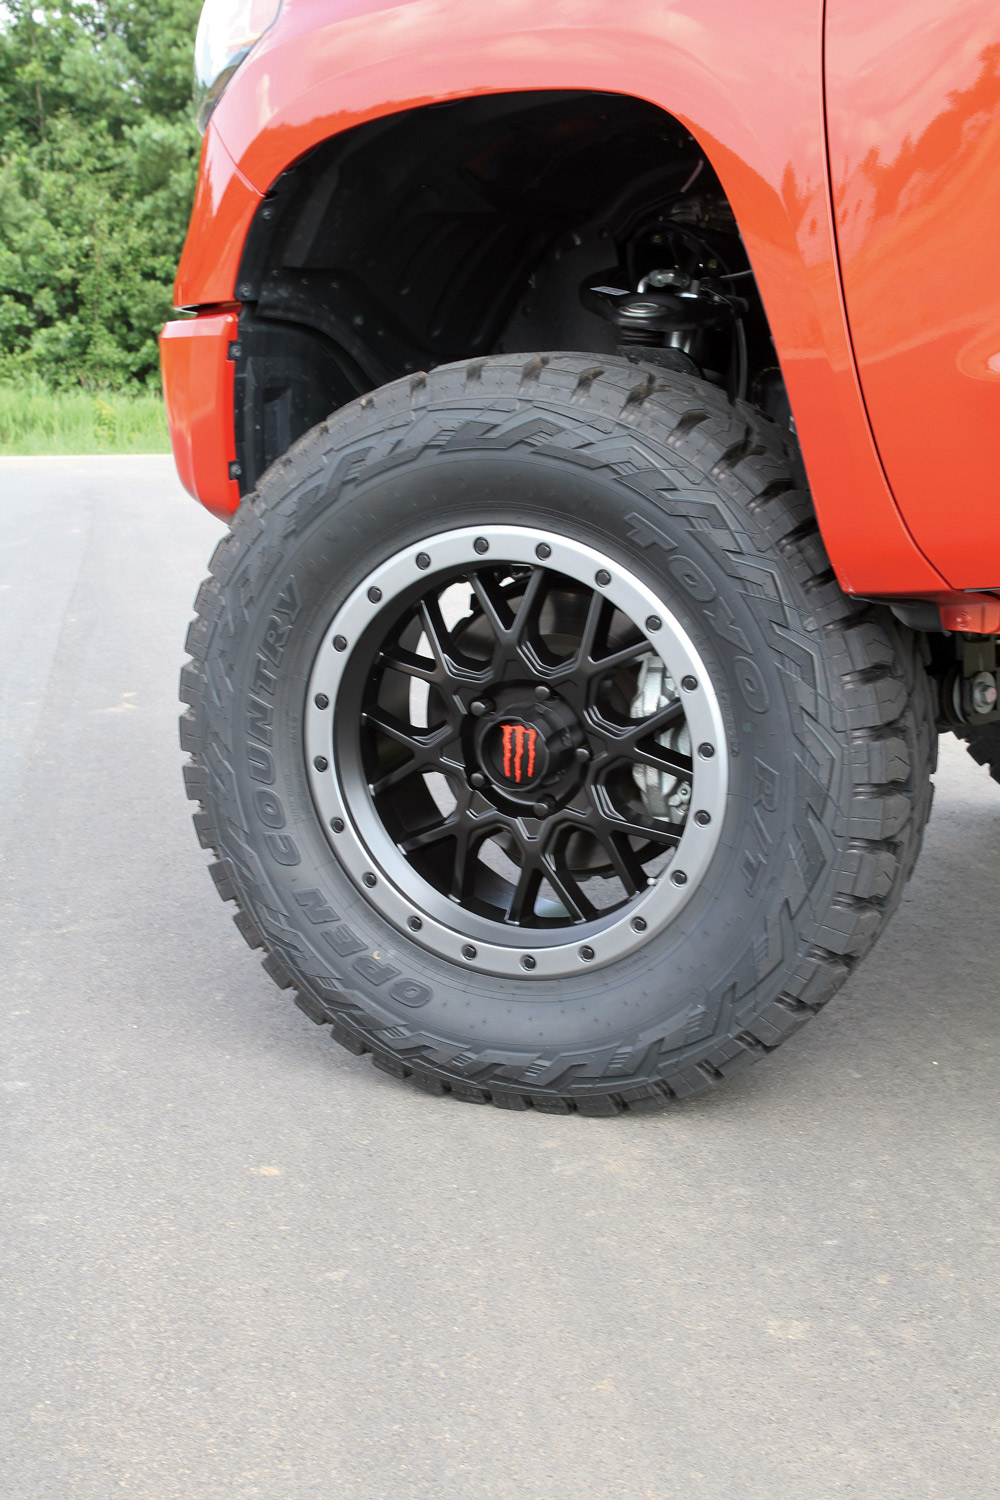
Four-wheel-drive truck owners are known for maximizing their rides to the fullest. Whether they’re hardcore trail riding, deep mud bogging, doing construction work or… Continue reading
Chris Hamilton . August 31, 2020


We use cookies to enhance your browsing experience, serve personalized ads or content, and analyze our traffic. By clicking "Accept All", you consent to our use of cookies. Visit our Cookie Policy for more info.
Share Link