 Mike Self
.
August 02, 2019
.
How to
.
Mike Self
.
August 02, 2019
.
How to
.
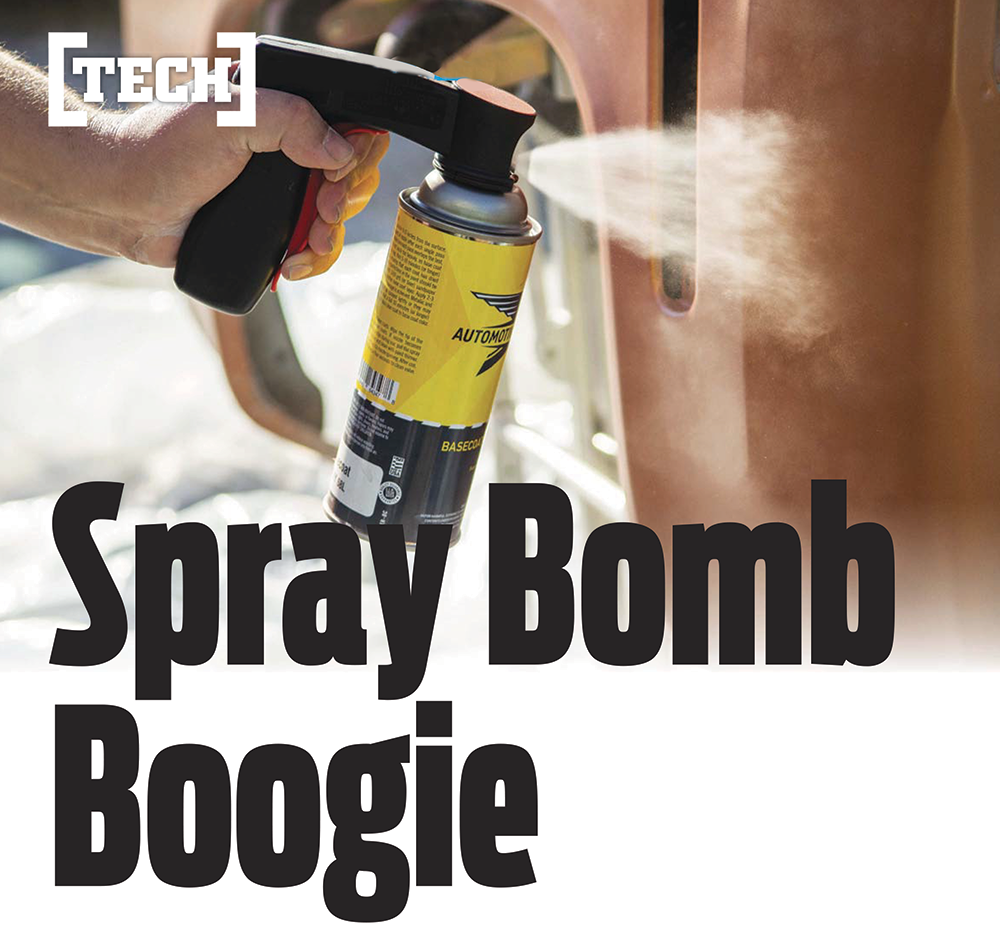
LET’S BE HONEST. I wasn’t expecting much. Before you get it twisted, though, I want to be clear: I wasn’t expecting much from myself. I had heard great things about AutomotiveTouchup’s products, especially its touch up bottles and pens, but I wasn’t sure I’d be up to the task of tackling a paint job on a whole fender. Especially with aerosol cans.
Oh, I know it could be done well, but certainly not by me. Rattle-canning a fresh step notch is about all I trust myself with, and that’s just because no one would see it once it was covered up. When AutomotiveTouchup contacted me to see if I’d be interested in trying out some of its touch up products, I said, “Sure.”

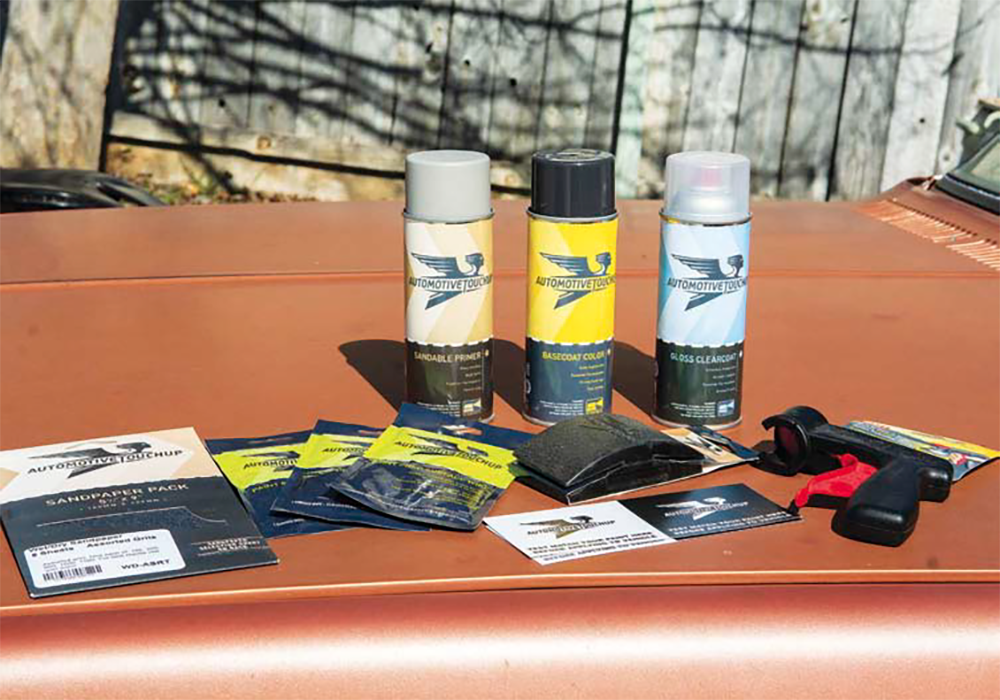
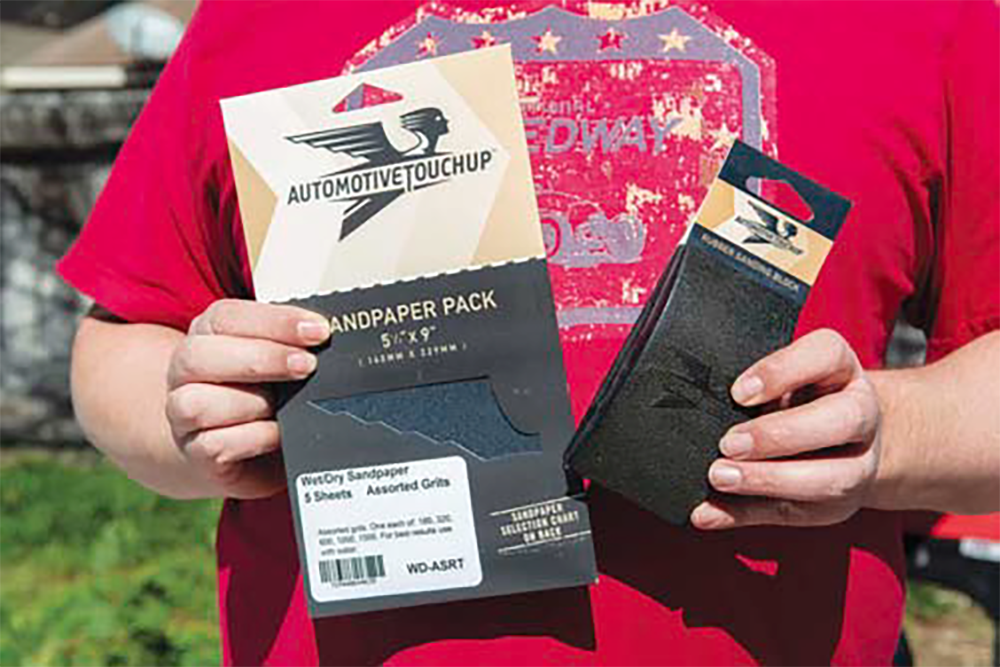
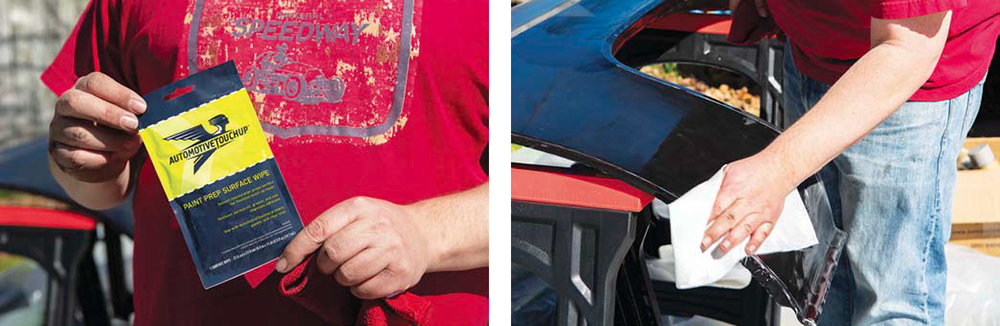
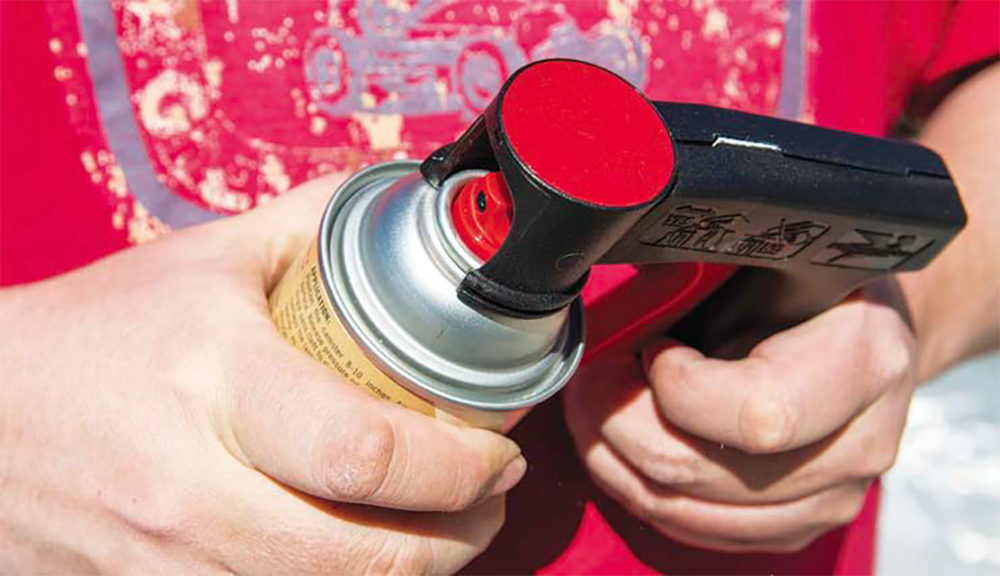
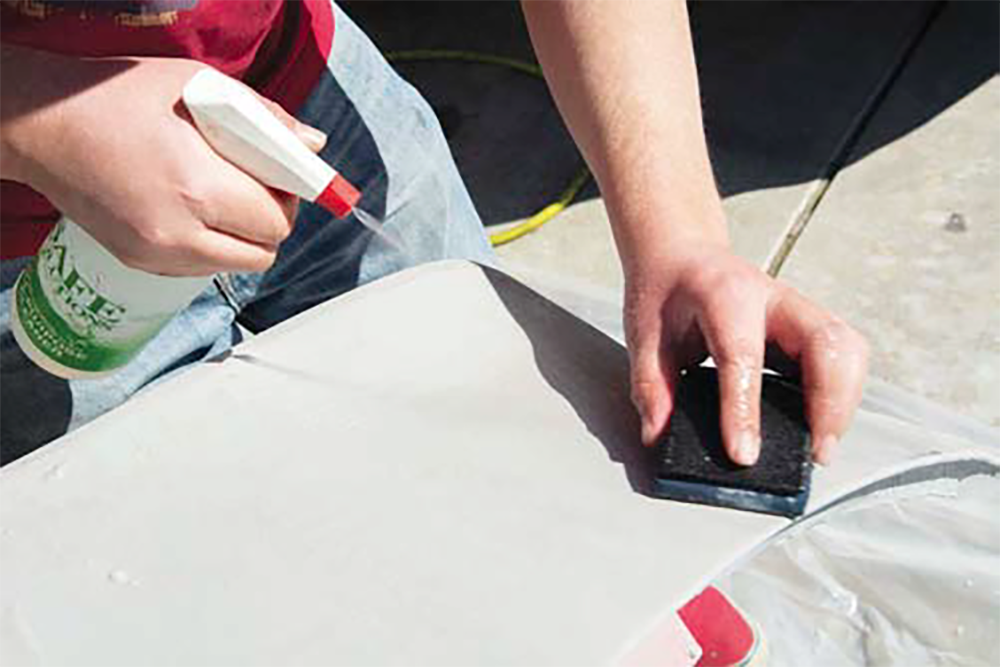
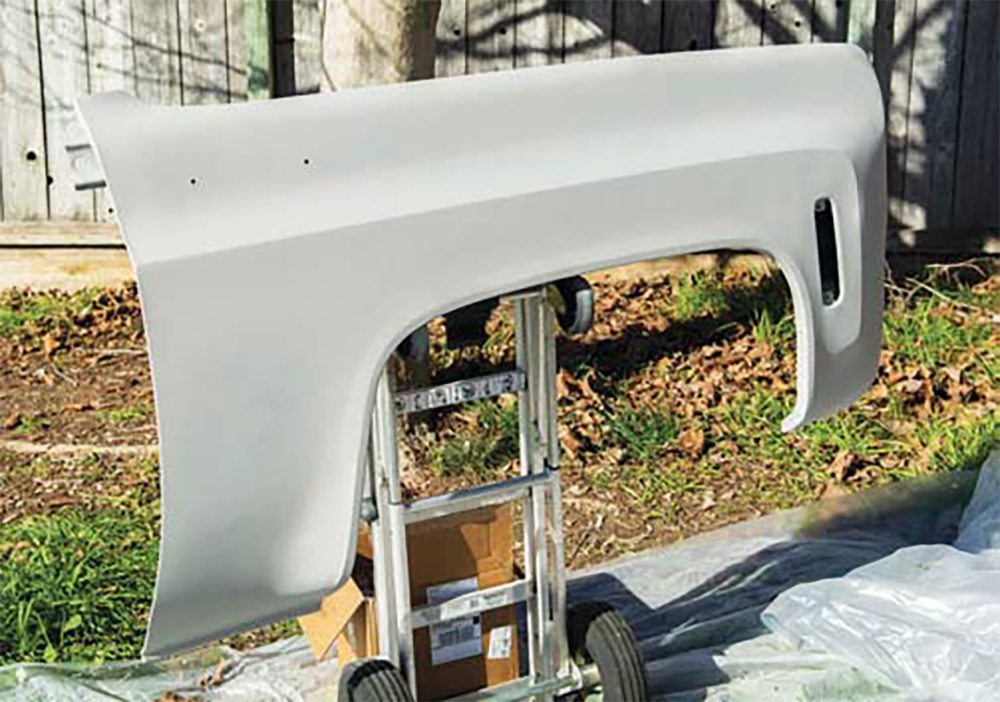
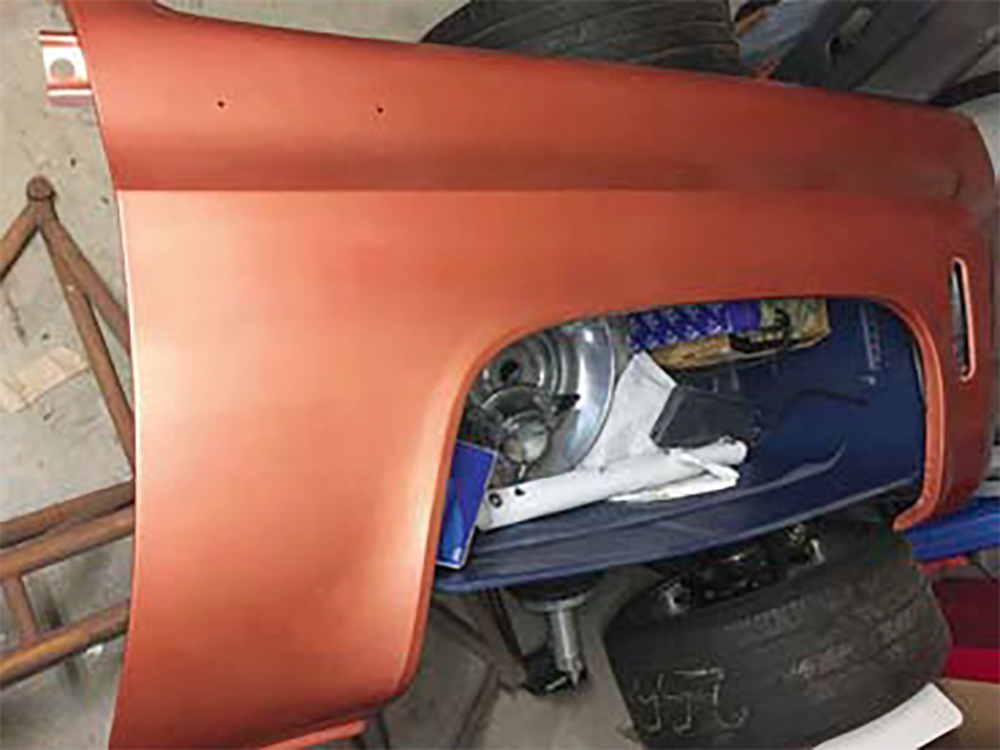
But then I realized that I didn’t really have anything that needed touching up. I mentioned that I had a C10 that needed a new fender and door, and it was too bad they didn’t have anything to paint large body panels. Well, I was wrong—AutomotiveTouchup does offer larger quantities of paint, in both aerosol and ready-to-spray pints, quarts and gallons. And you know what? They also offer primers, clears and even things like sandpaper, sanding blocks, tack cloths and spray guns! This was news to me, so I arranged to have some of the company’s aerosol products and prep materials delivered to give it a go. A few days later, I got a big box o’ stuff in the mail, including paint that was a perfect match for my C10’s original Russet Metallic brown.
To say I was nervous to take on this job was an understatement. Painting something that would actually be seen on my truck was completely foreign to me, as I’ve always just had professionals handle my painting needs. Things were about to get interesting, for sure.
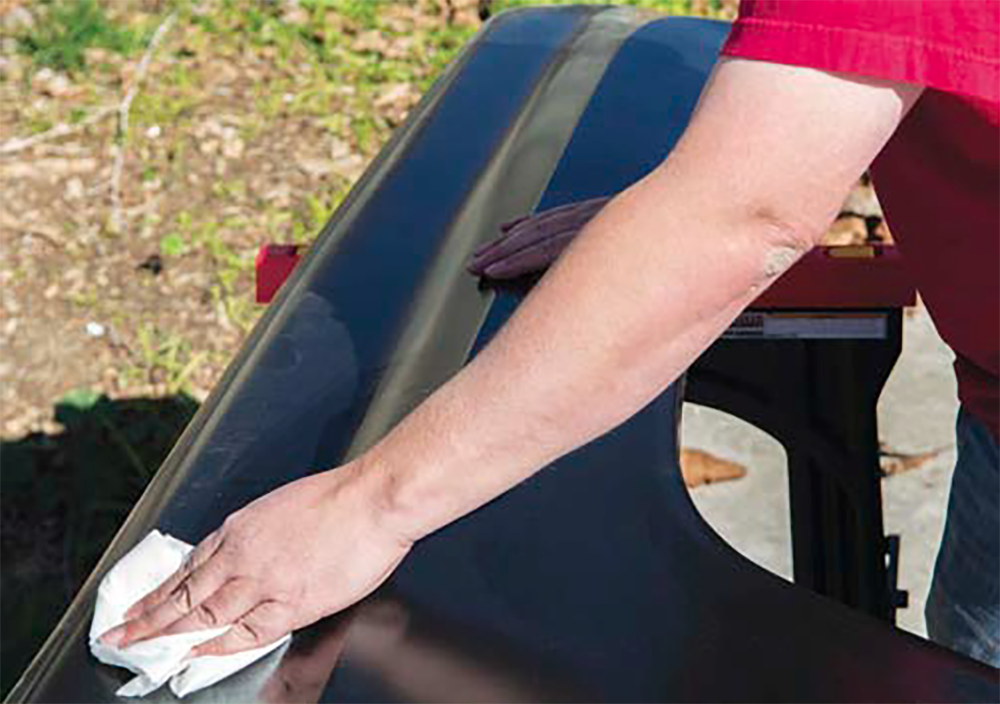
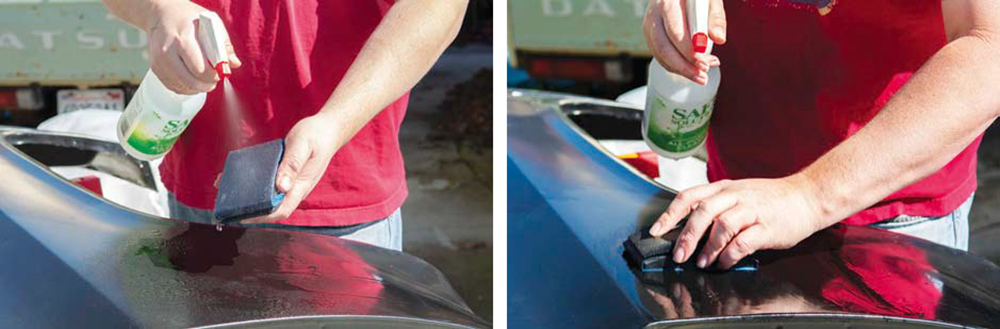
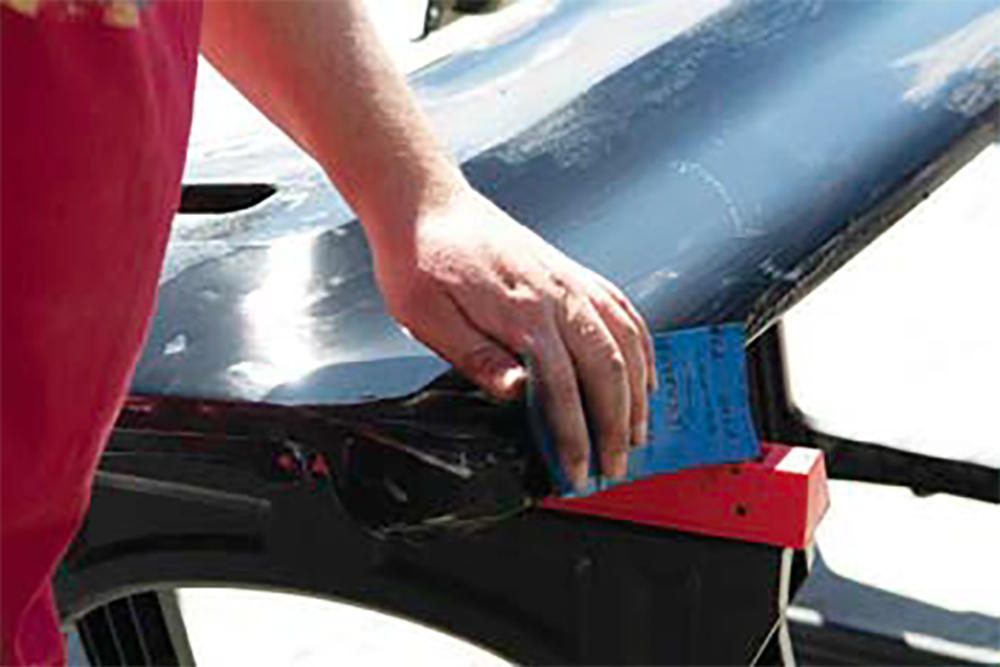
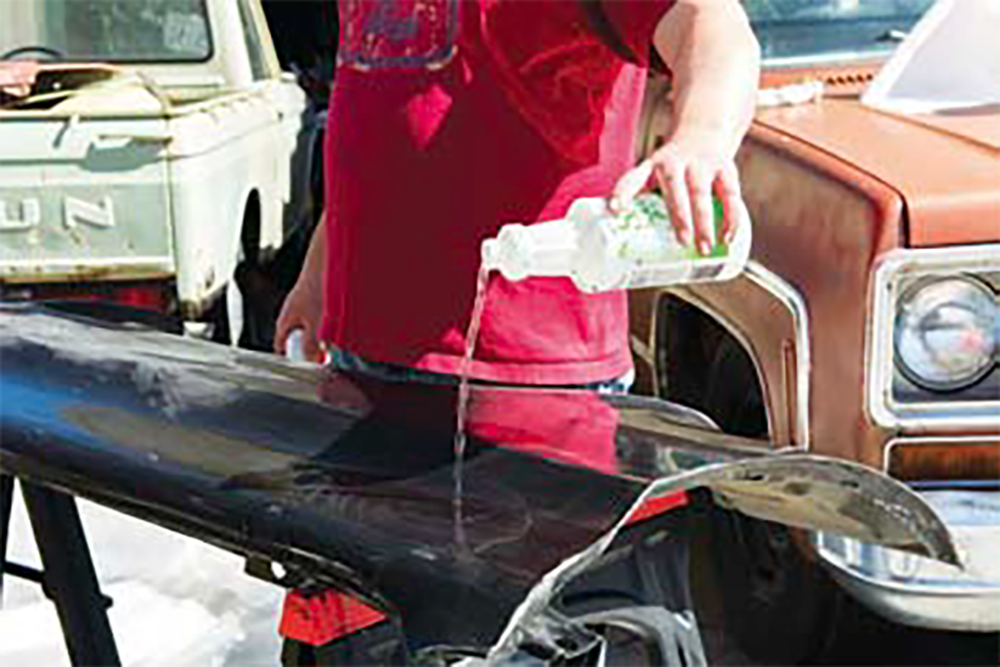
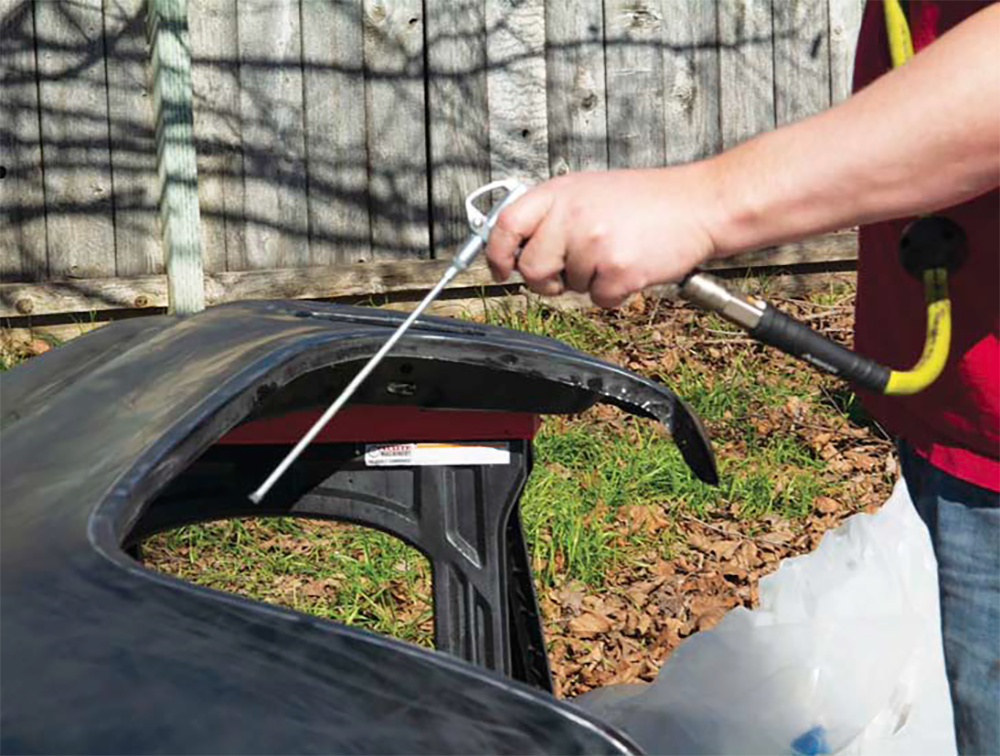
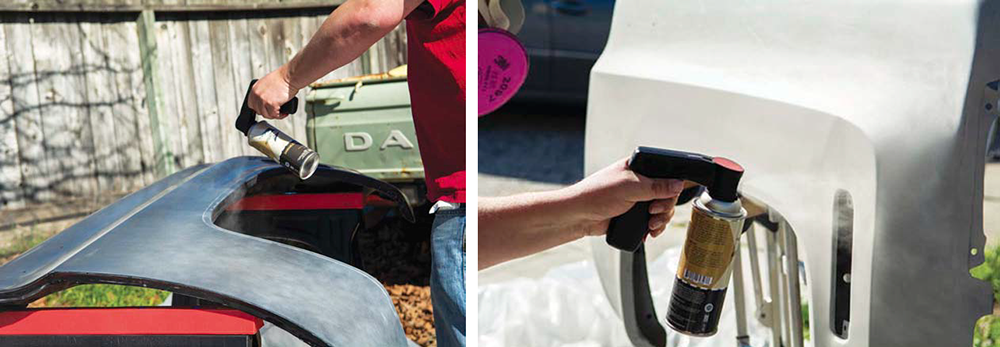
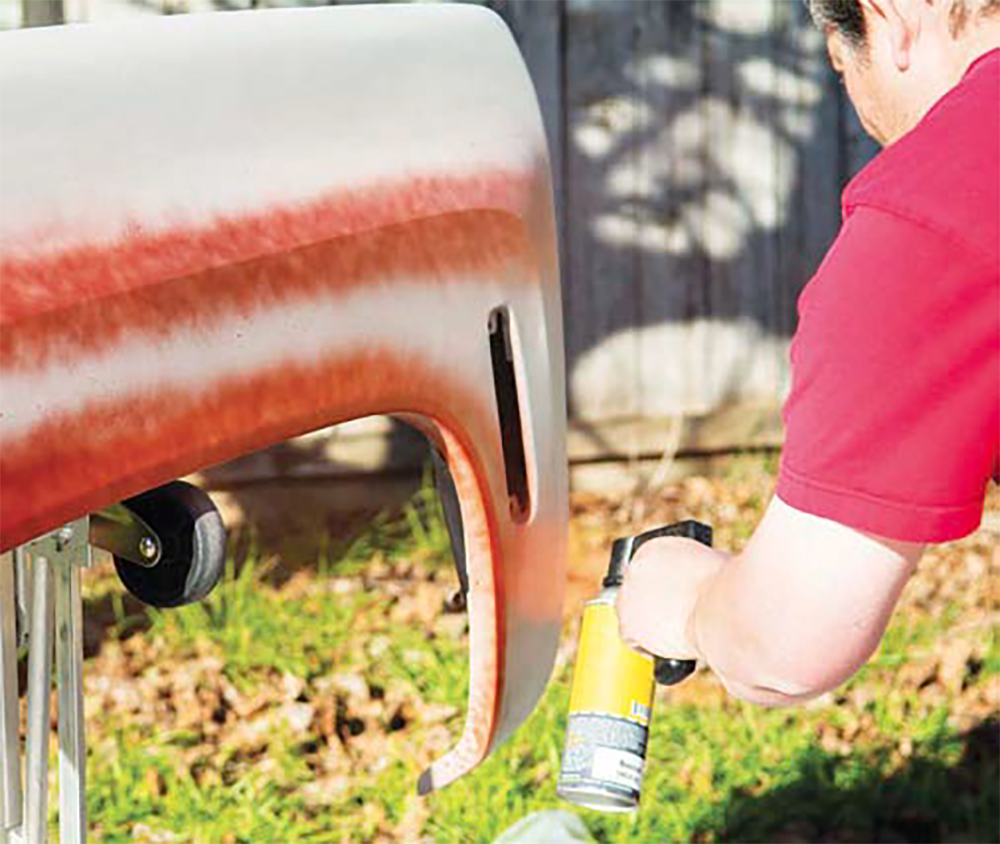
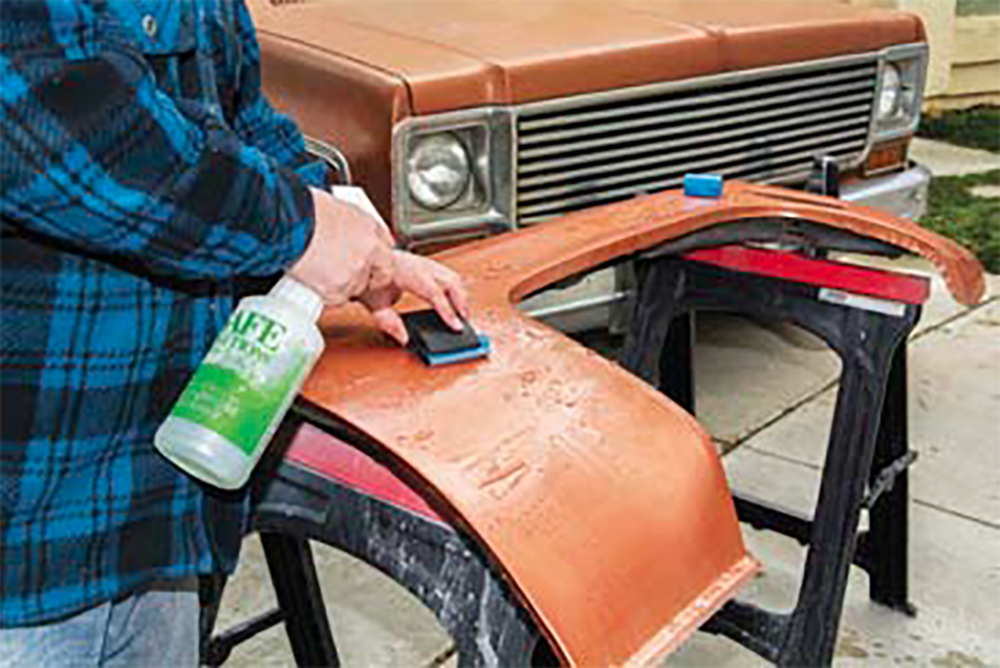
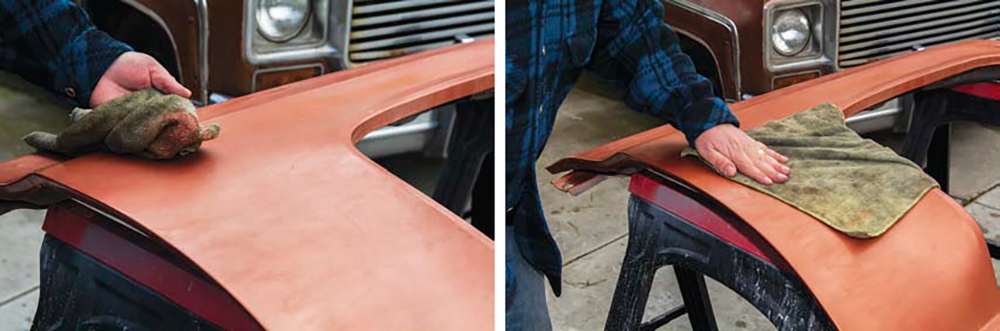
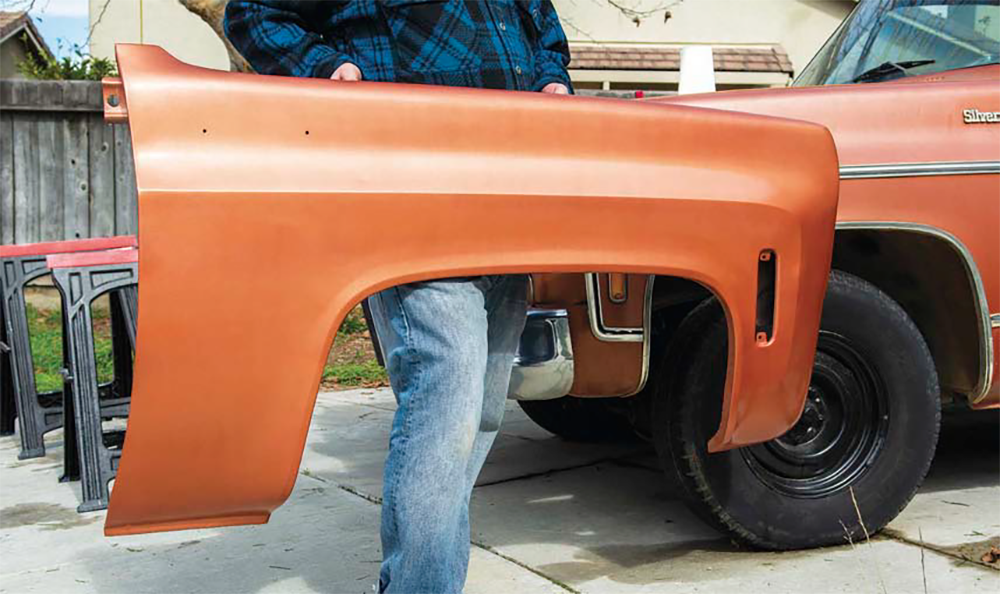
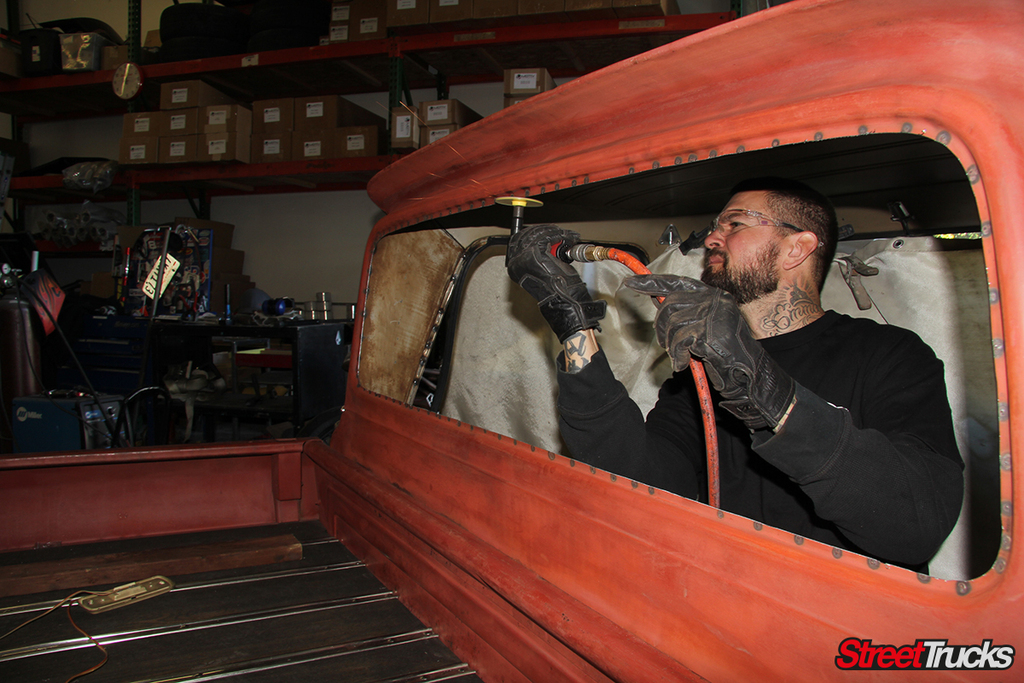
I decided to start by painting just the fender, as I didn’t trust myself to do the door quite yet. Surprisingly enough, it turned out great! Now, it wasn’t perfect, but that’s on me for doing this in less than optimal conditions. Painting outdoors with a slight wind and humidity was not an ideal situation, but I figured it was as “real world” as it gets and represented what many of us have to work with when working out of a home garage. Except in this case, the garage was full of stuff I didn’t want to risk getting paint on.
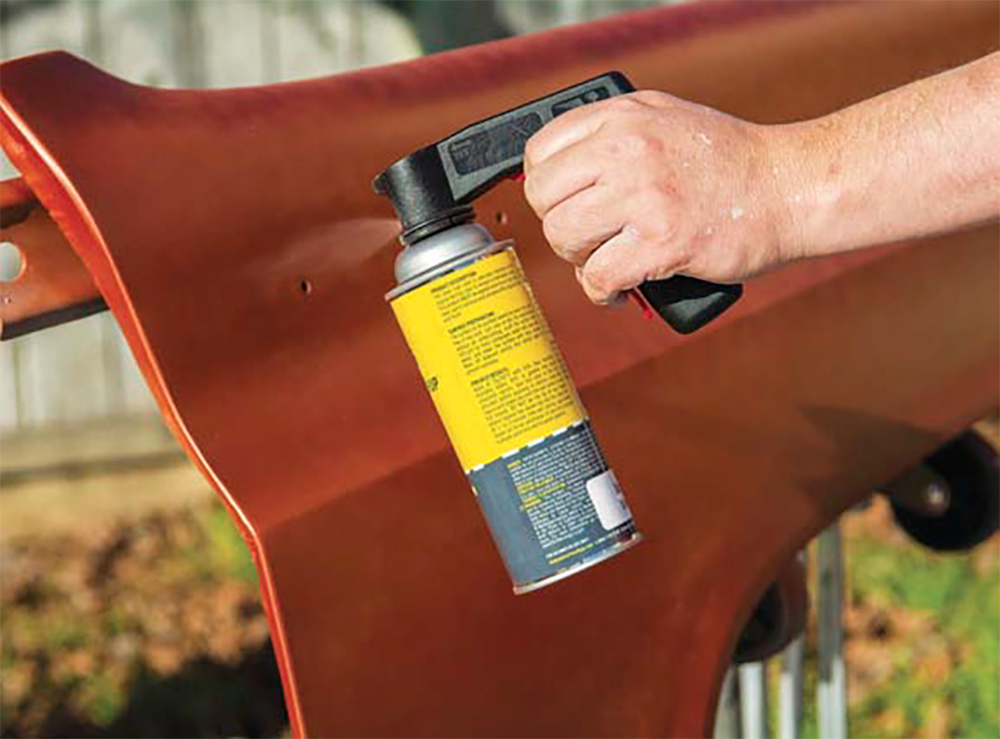
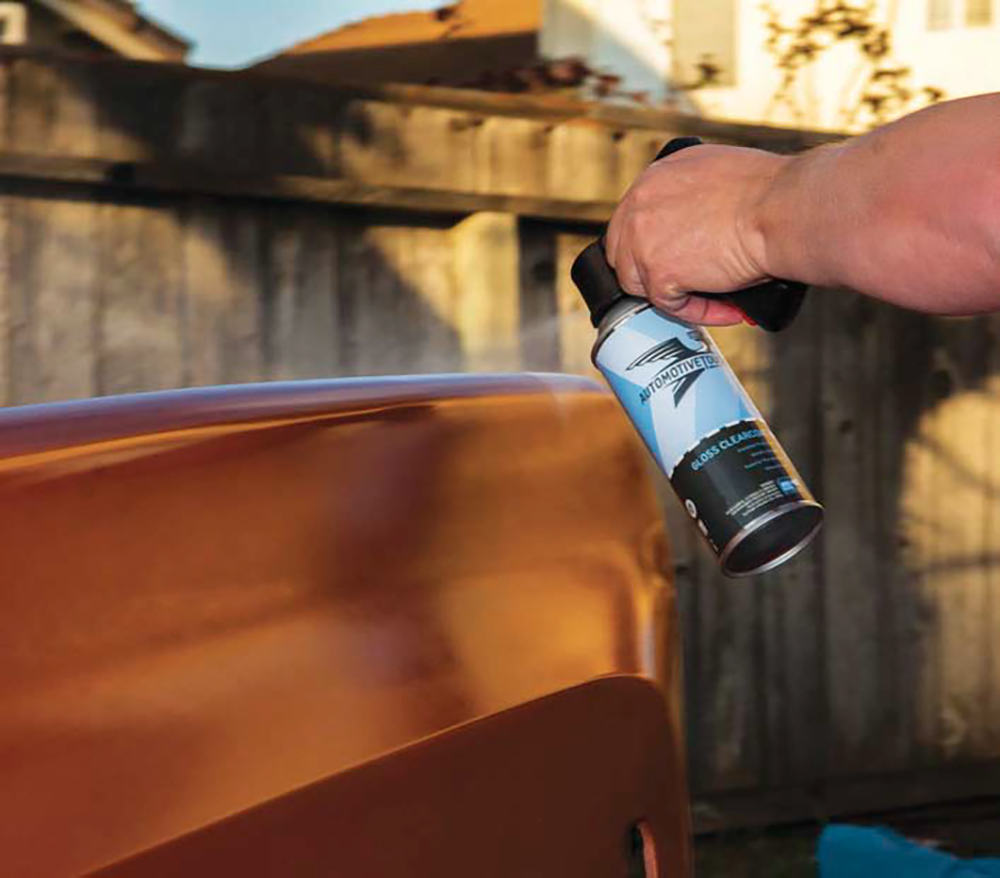
All of this being said, this was way easier than I thought it was going to be, and I’ve shot my fair share of stories in body shops. Every item I received from AutomotiveTouchup had detailed instructions on the package or can, so all I had to do was follow each step and I was good to go. In fact, it looks so good that now I’m going to have to polish the rest of the truck’s faded finish to match.
Follow along as I get some color on the new fender, and check out AutomotiveTouchup if you need to fi x some minor paint damage—or even paint your whole truck!
Source: Automotive Touchup – https://www.automotivetouchup.com/

Events
CALIFORNIA’S FINEST GATHER FOR A GOOD TIME WE’VE HEARD SOME UNINFORMED FOLKS SAY THAT MINI-TRUCKS ARE DEAD, BUT WE KNOW BETTER. Just look at any… Continue reading
Mike Self . July 30, 2019
C10 Builders Guide
OG C10 Color Codes Available From BASF WITH ’73-’87 GM TRUCKS SPROUTING UP WITH A VENGEANCE, THE DEMAND FOR RESTORATION PIECES AND PARTS FOR THEM… Continue reading
John Mata Jr. . November 06, 2023
C10 Builders Guide
1960-66 C10 Big Window Conversion: Improving Your Hindsight Have you been scouring the market for a first-gen C-10 with a big factory panoramic-style rear cab… Continue reading
Chris Hamilton . October 25, 2019
Features
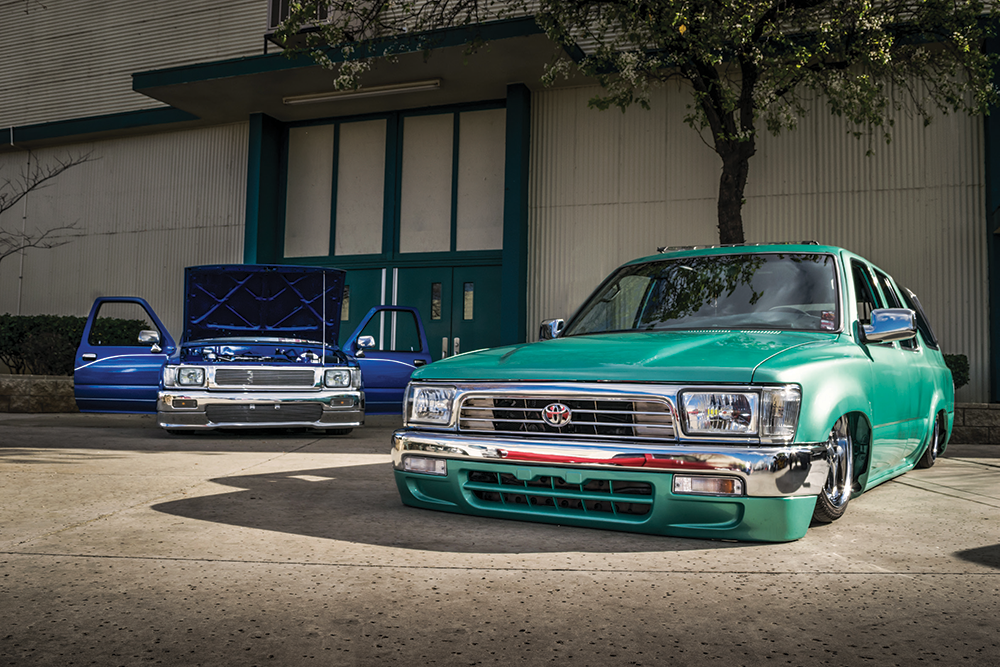
True Dedication to the Mini-Truck Movement THERE’S THAT OLD SAYING THAT IF YOU WAIT LONG ENOUGH, A TREND WILL COME BACK IN STYLE. In Brandon… Continue reading
TOM GOMEZ . November 13, 2023
Drawings
“We’re Potty Training him” lol This seems pretty accurate!Subscribe to our weekly newsletter
Chris Hamilton . January 20, 2020
Latest
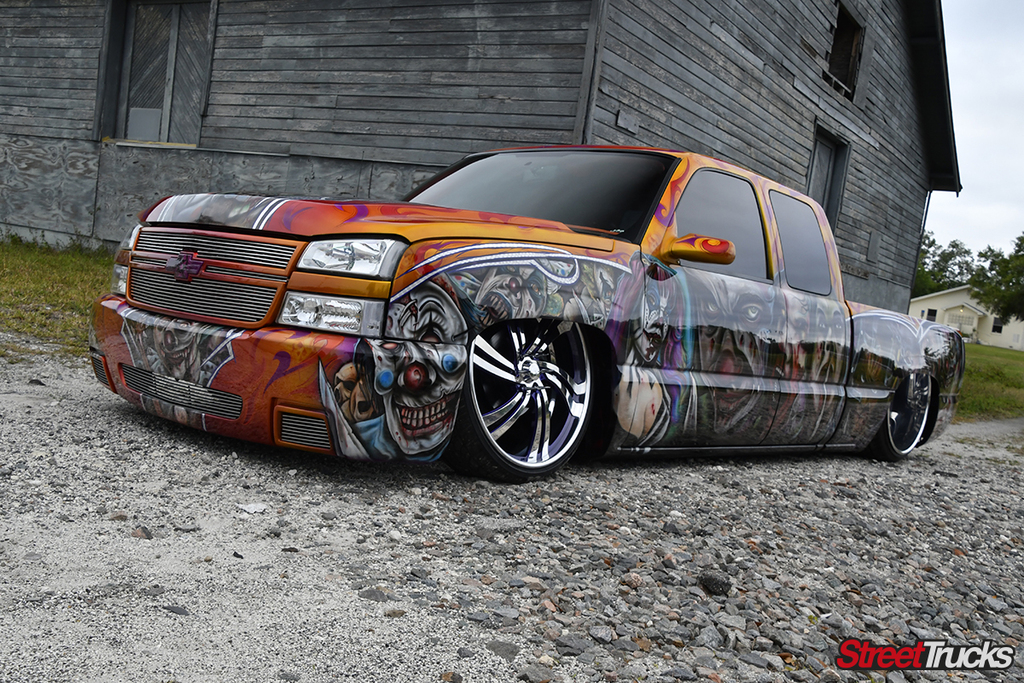
When you are building a cool custom truck and your goal is to be the very best, you have to employ an amazing combination of… Continue reading
Chris Hamilton . May 10, 2022


Share Link