QA1’s Front and Rear Coil-Over Conversion for C10 Trucks

There are lowering components on the market with very different agendas. For C10 owners looking to simply lower the ride height of their truck, the amount of quality static drop components is plentiful. For the other segment builders who want the aggressive stance but still long to achieve the added benefit of performance handling, there are also specialty parts readily available to cater to their needs. 

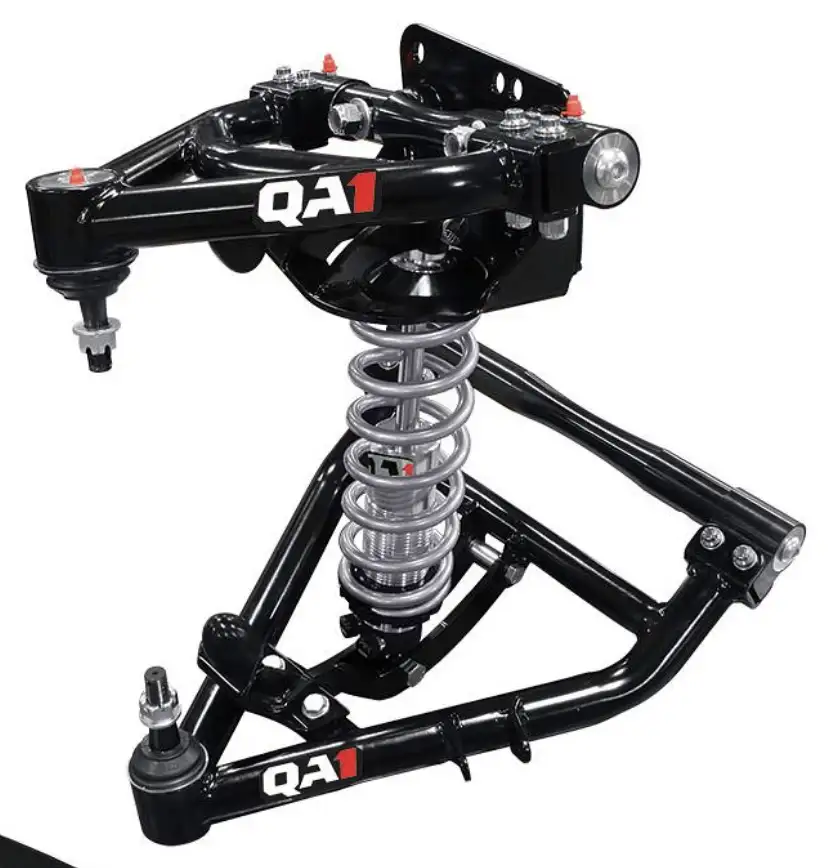
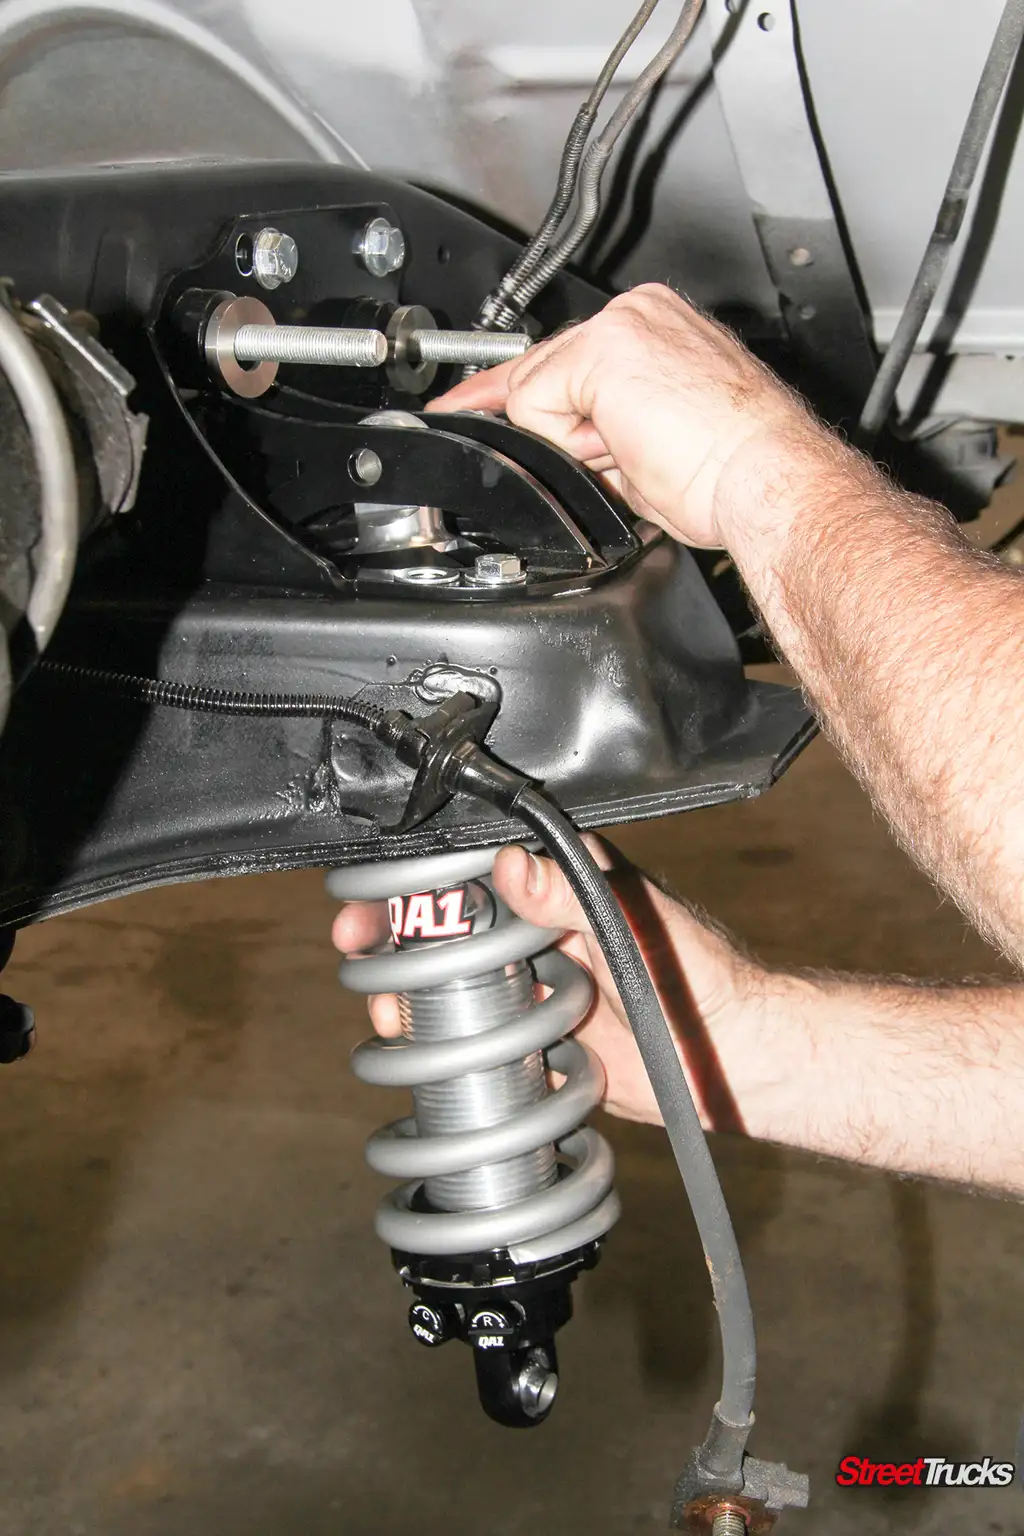
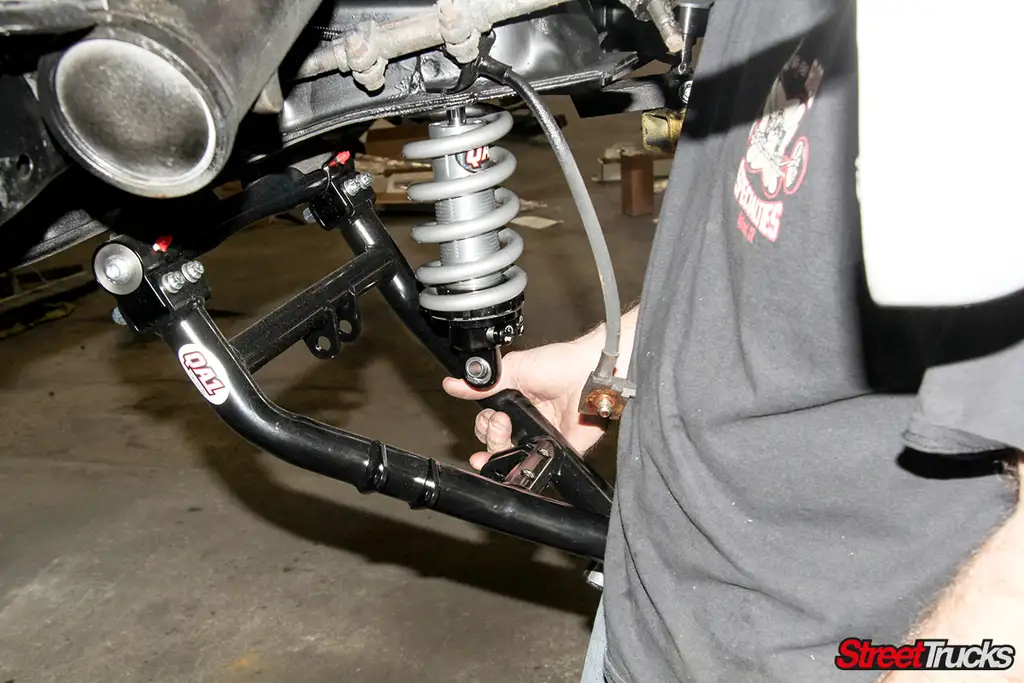
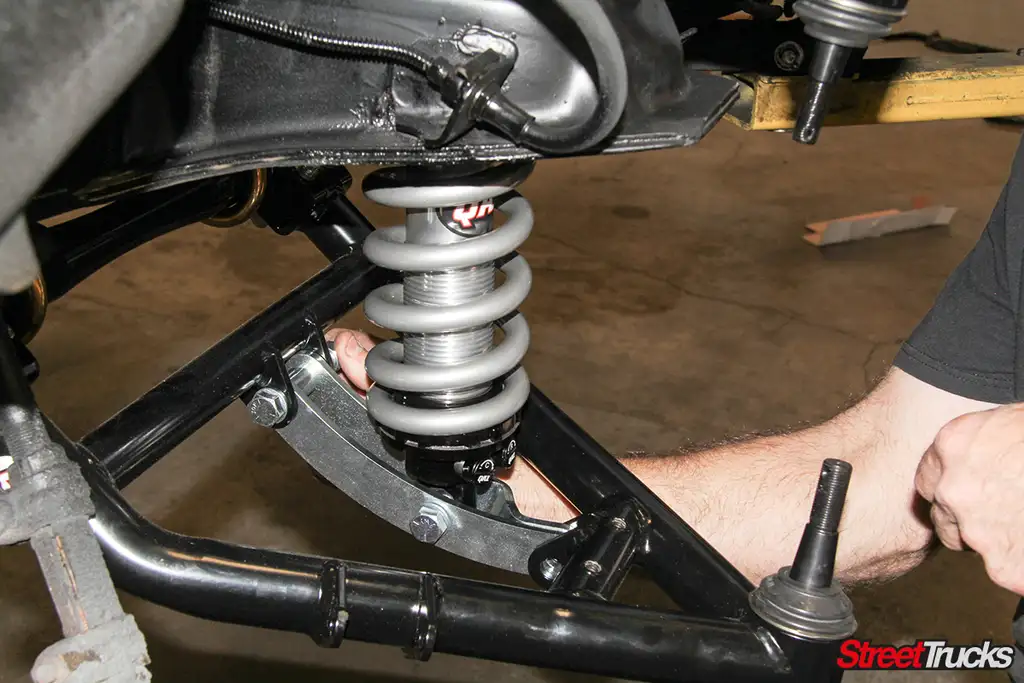
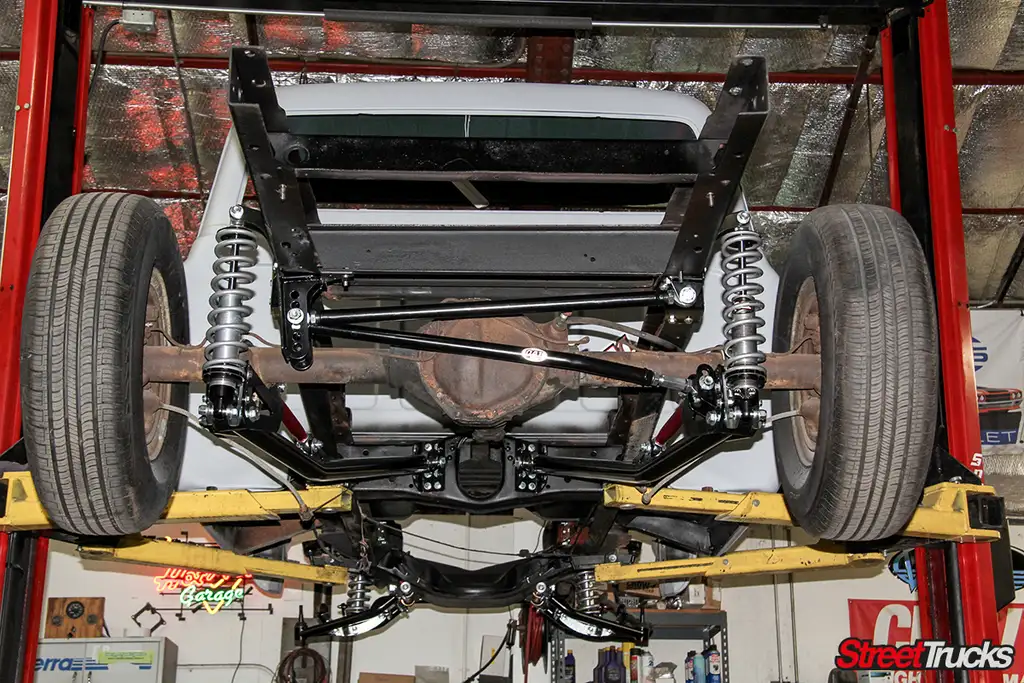
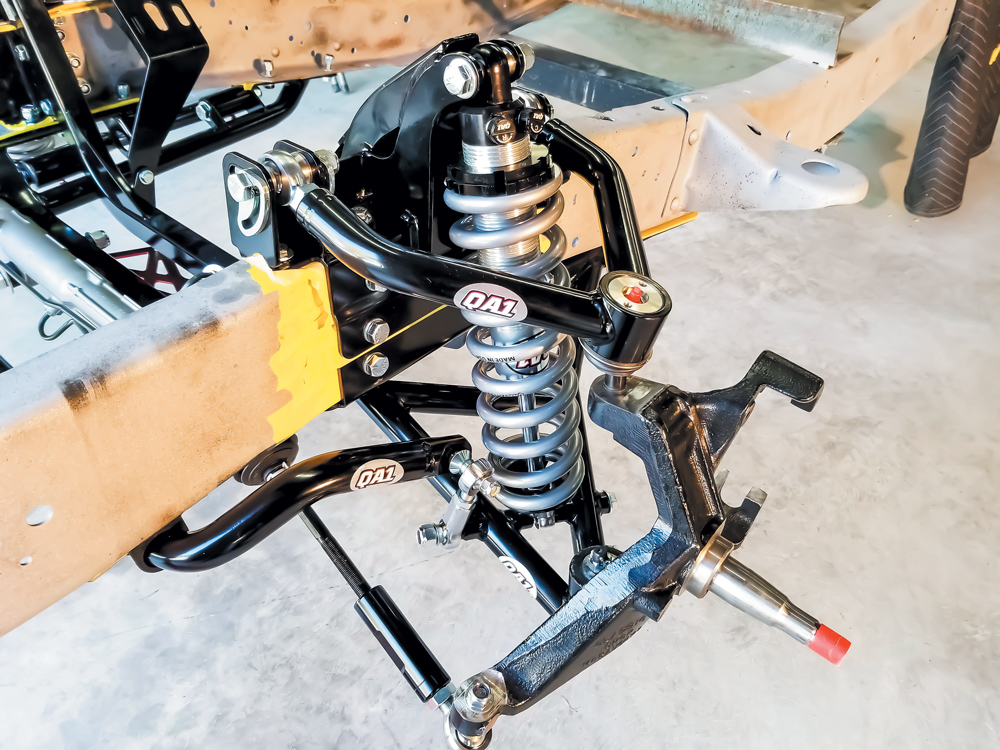
QA1’s front and rear coil-over conversion kits have been painstakingly designed to offer nothing but the best of both worlds of suspension ride height and track-proven handling prowess. If that wasn’t enough, these kits also offer plenty of adjustability to better harness and promote maximum performance for many individual suspension needs. 

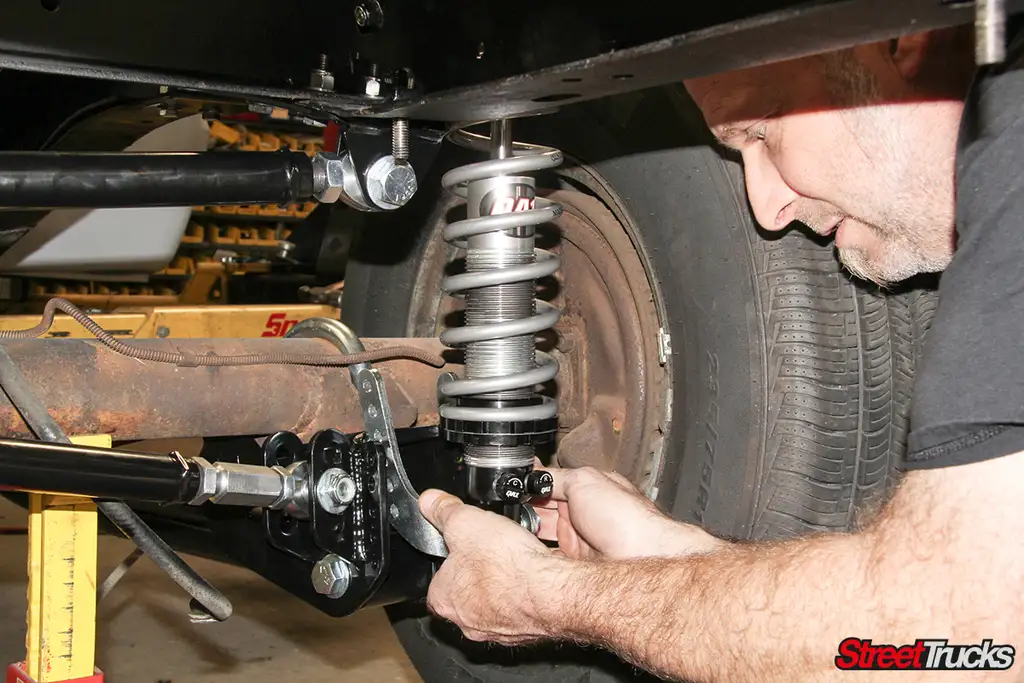
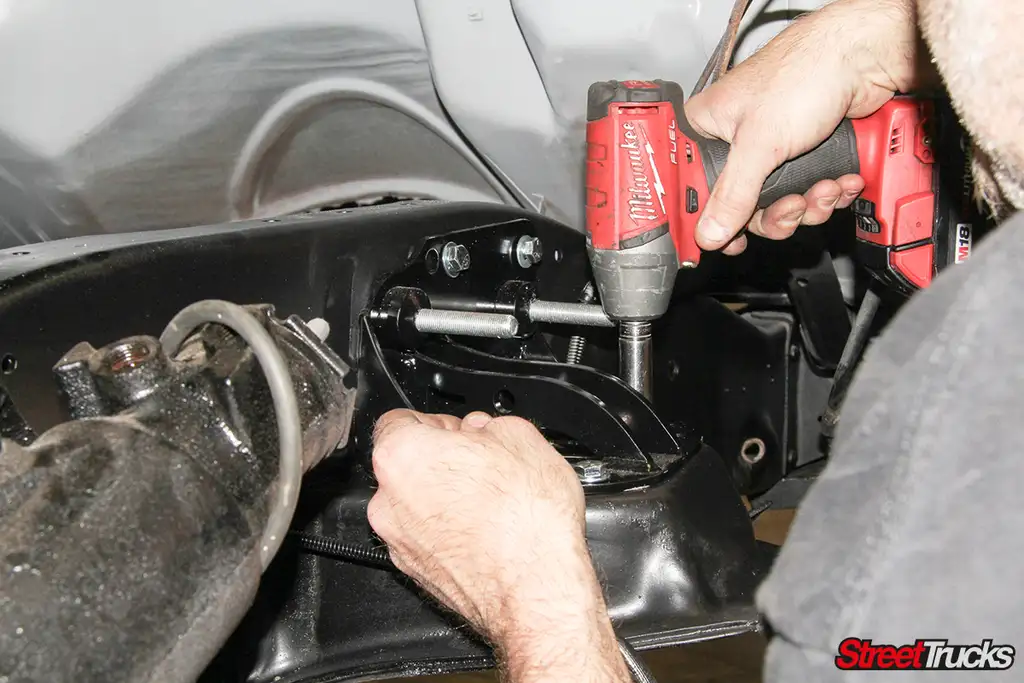
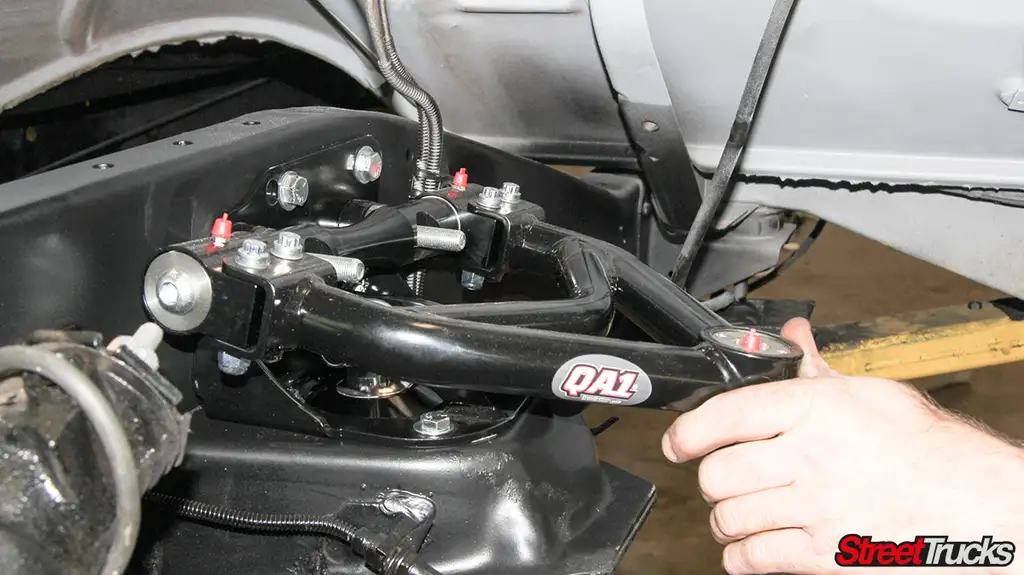
The single or double adjustable coil-over shock featured in the kits offer customizable valving in order to further meet the unique needs of your truck. The upper and lower control arms in the front kit are constructed from heavy-duty 12-gauge steel tubing, and have performance ball joints and low-friction polymer bushings for worry and maintenance-free performance. 

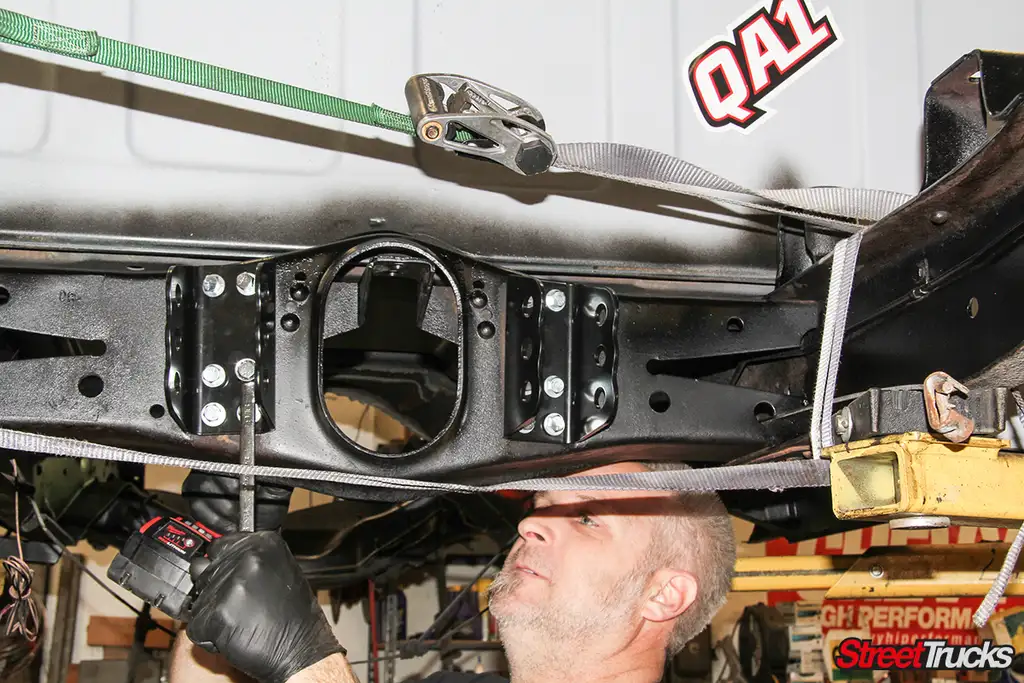
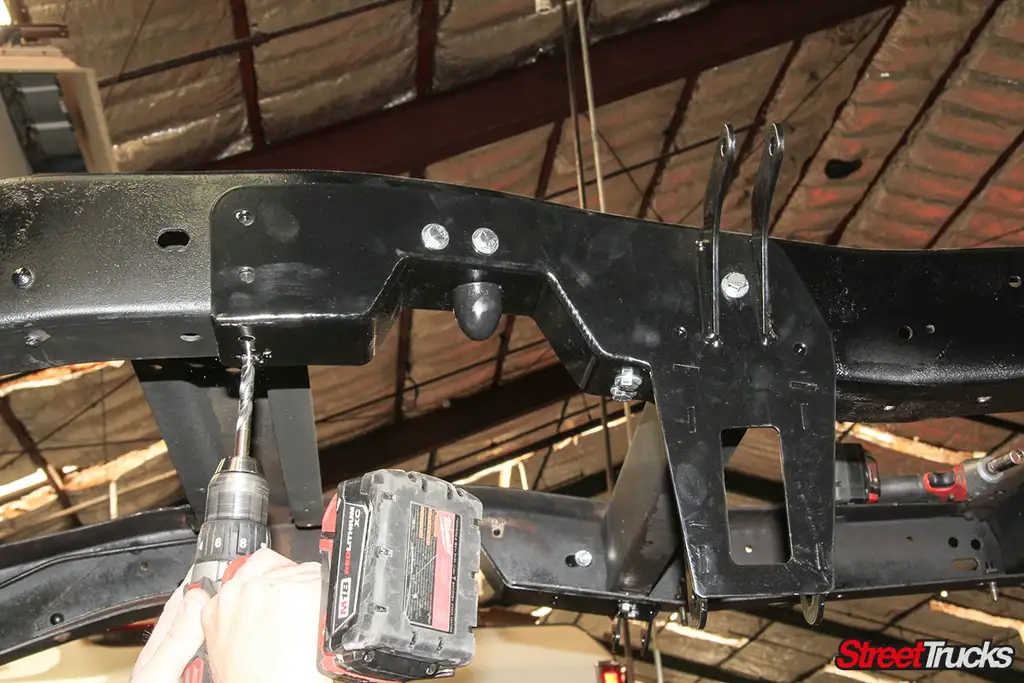
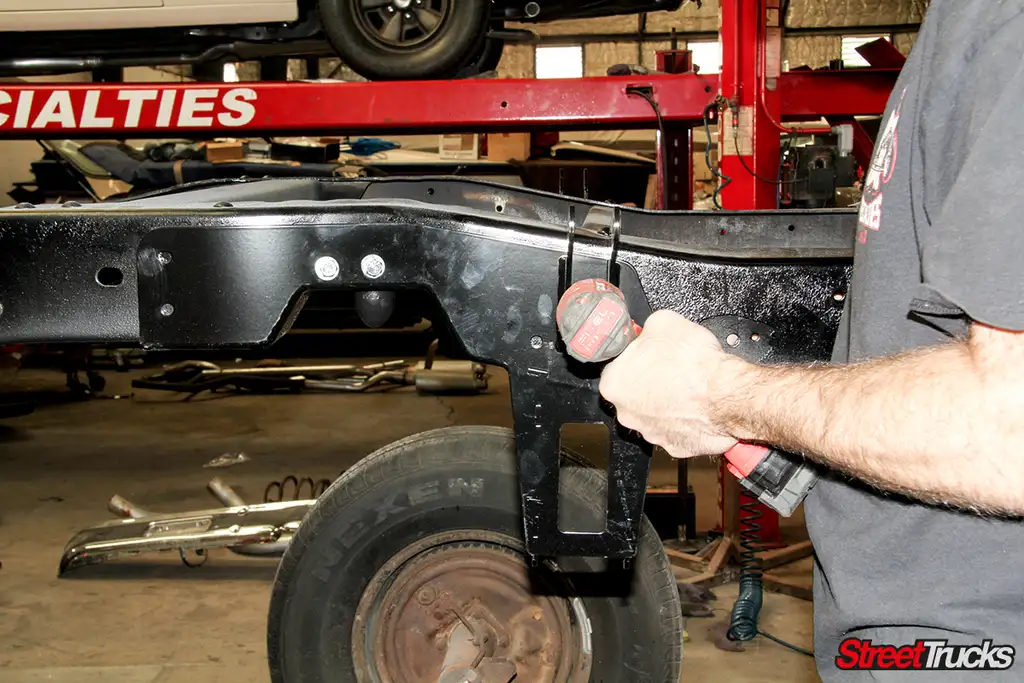
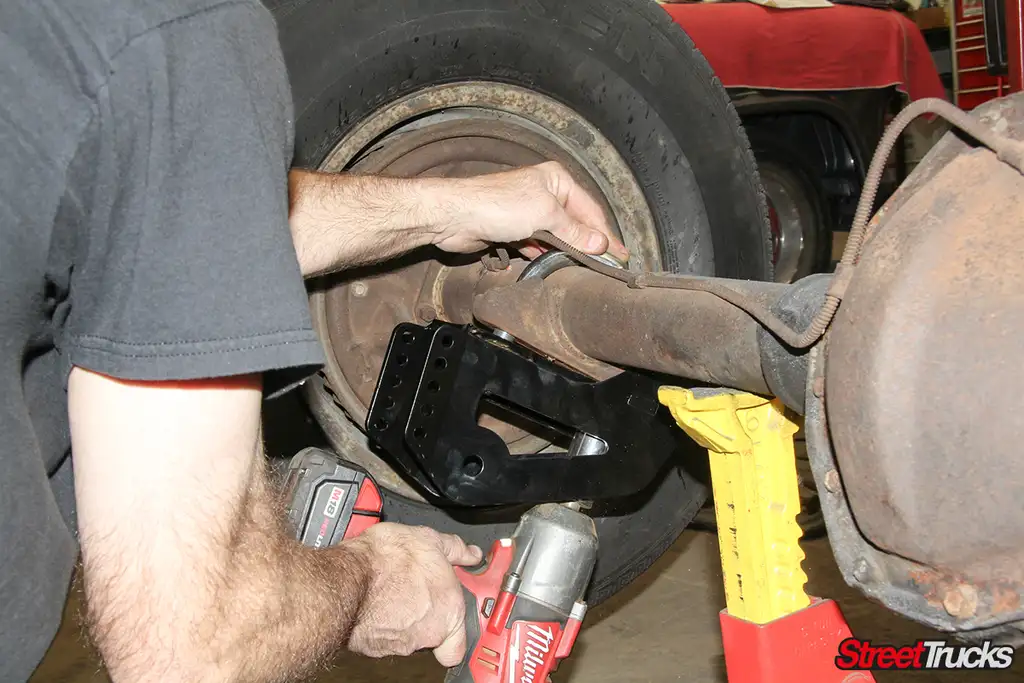
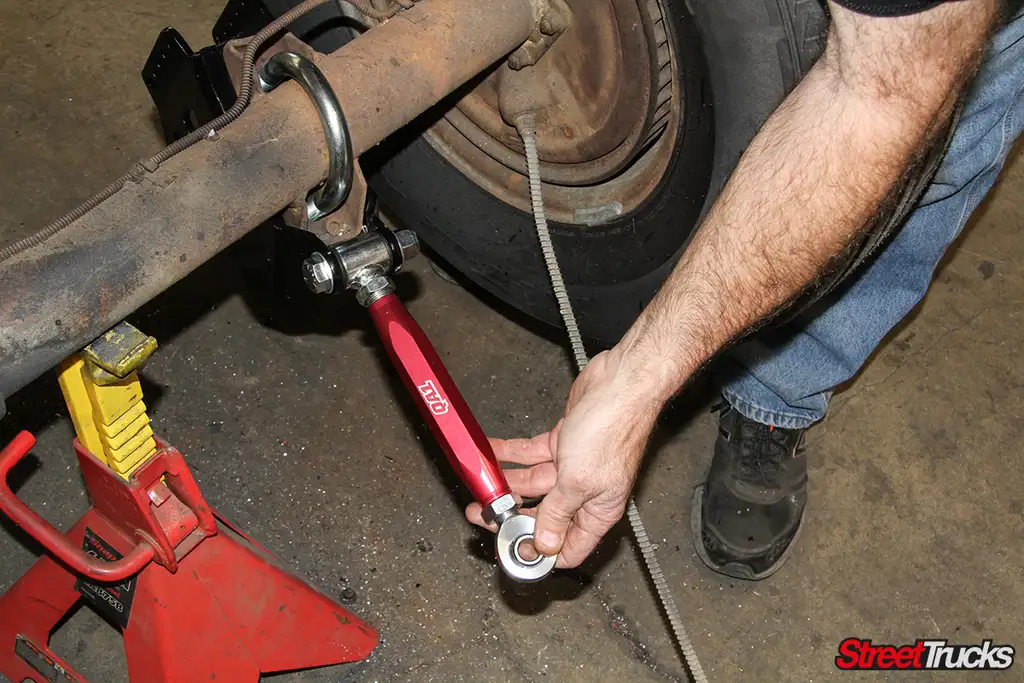
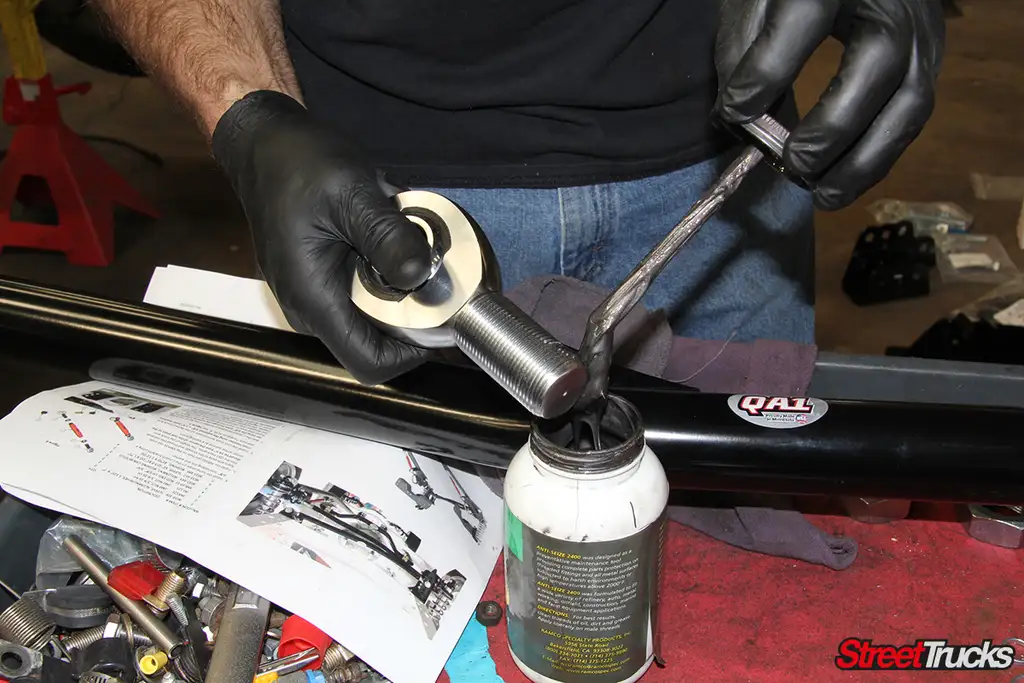
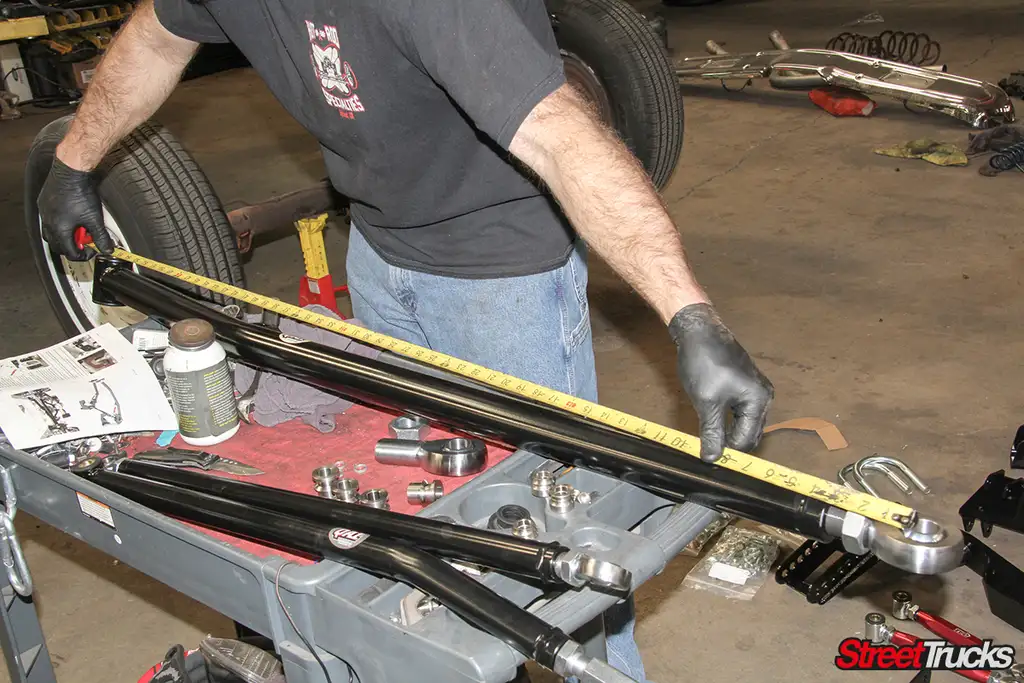
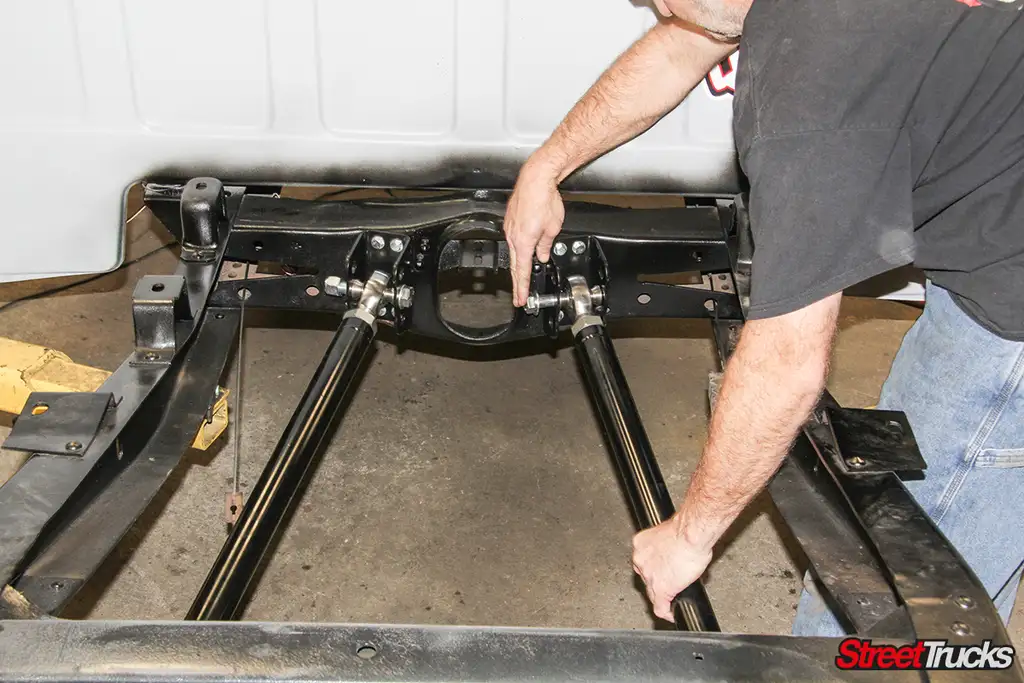
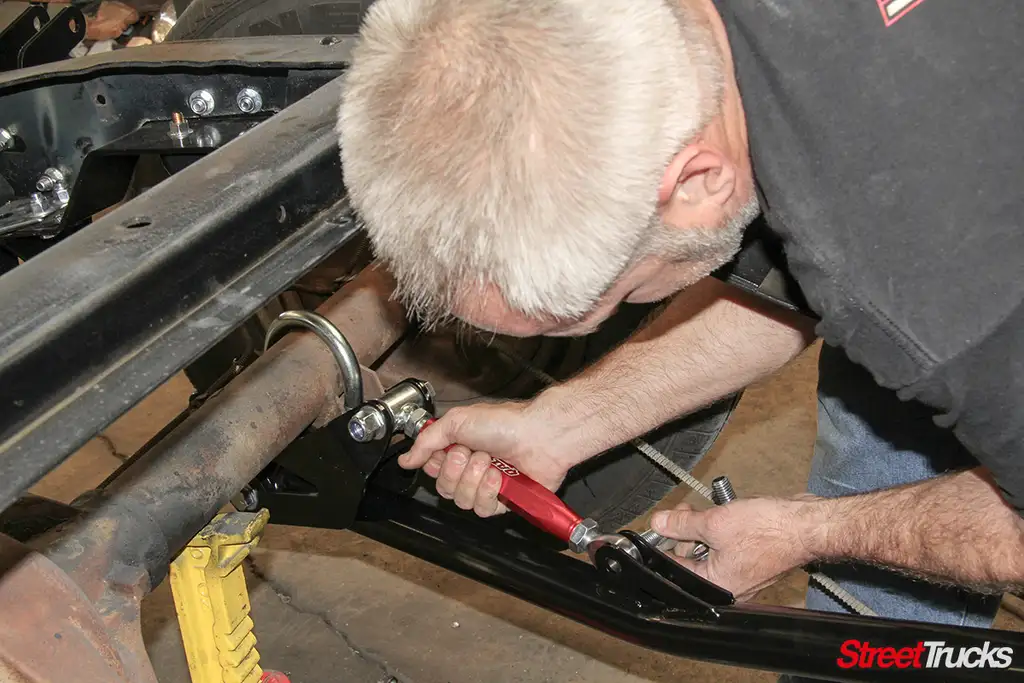
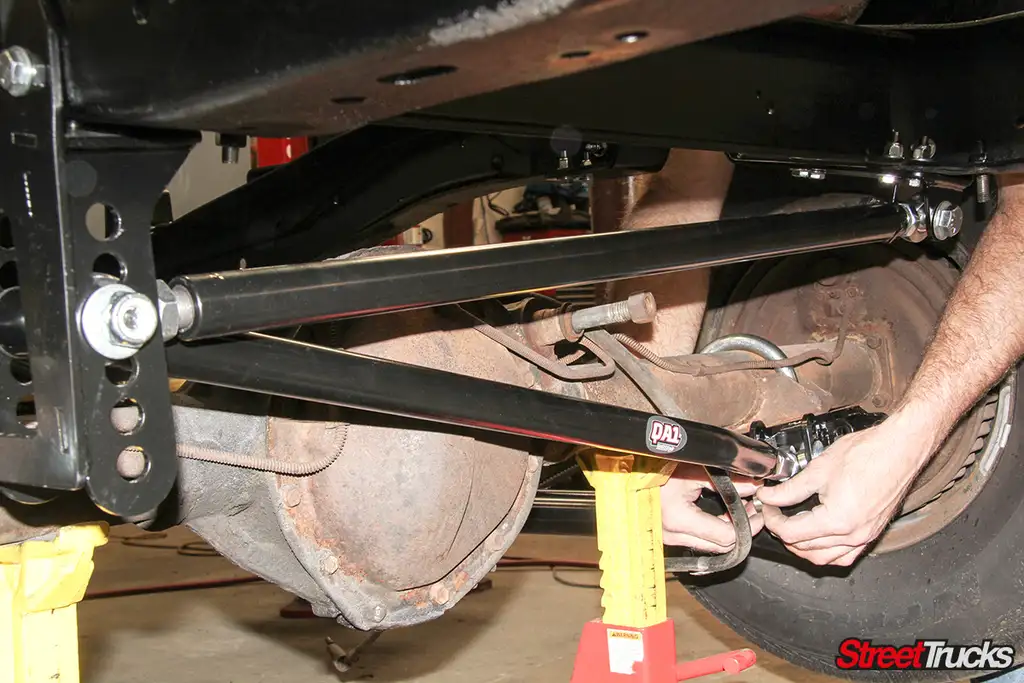
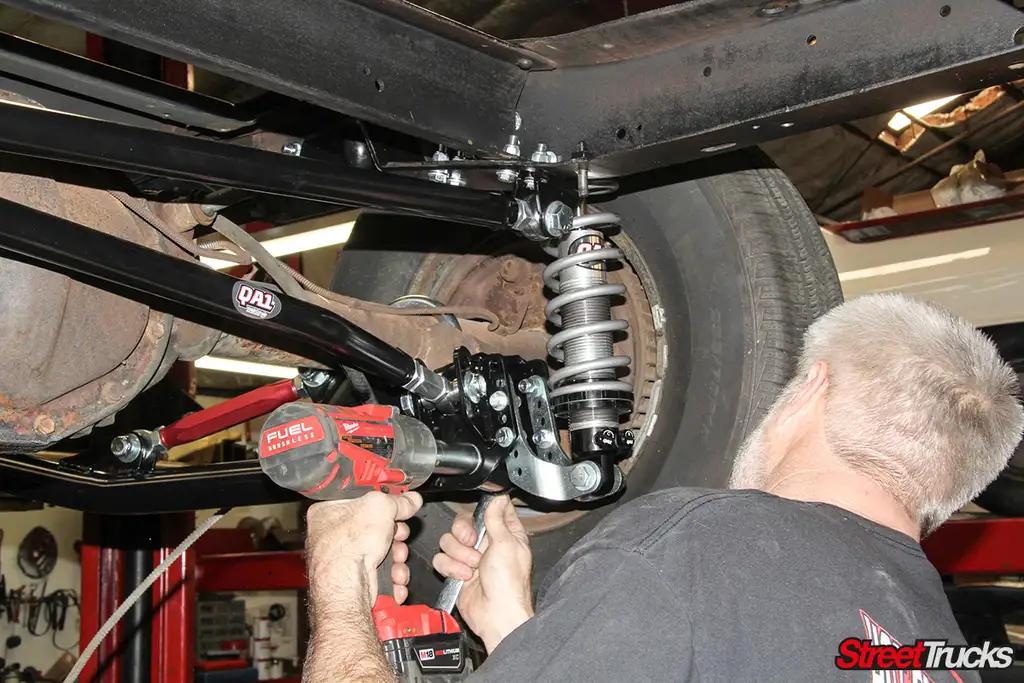
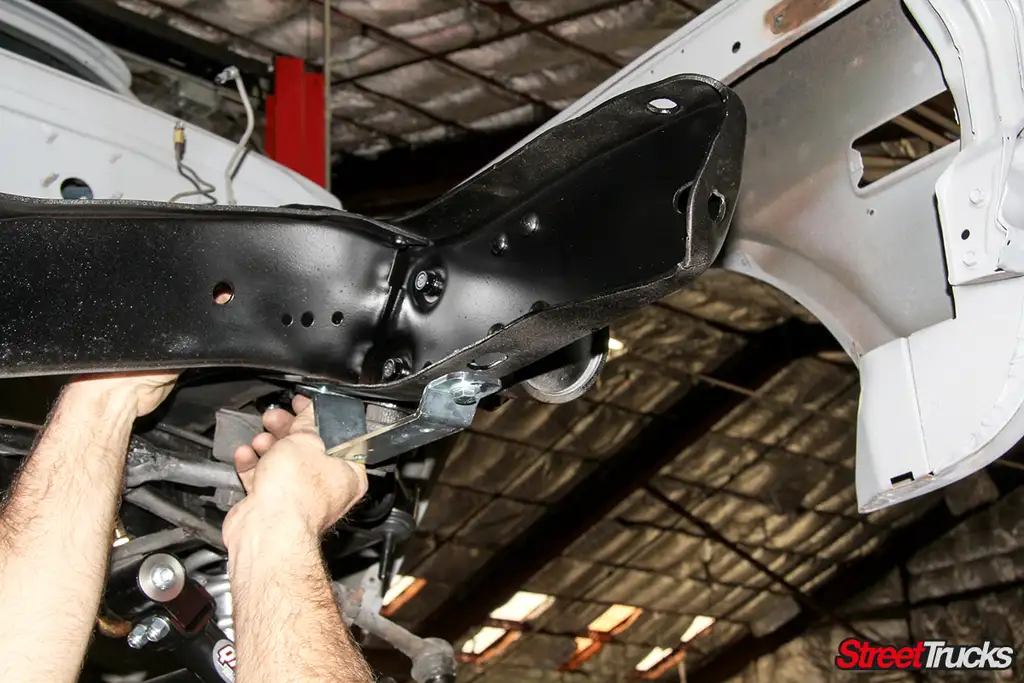
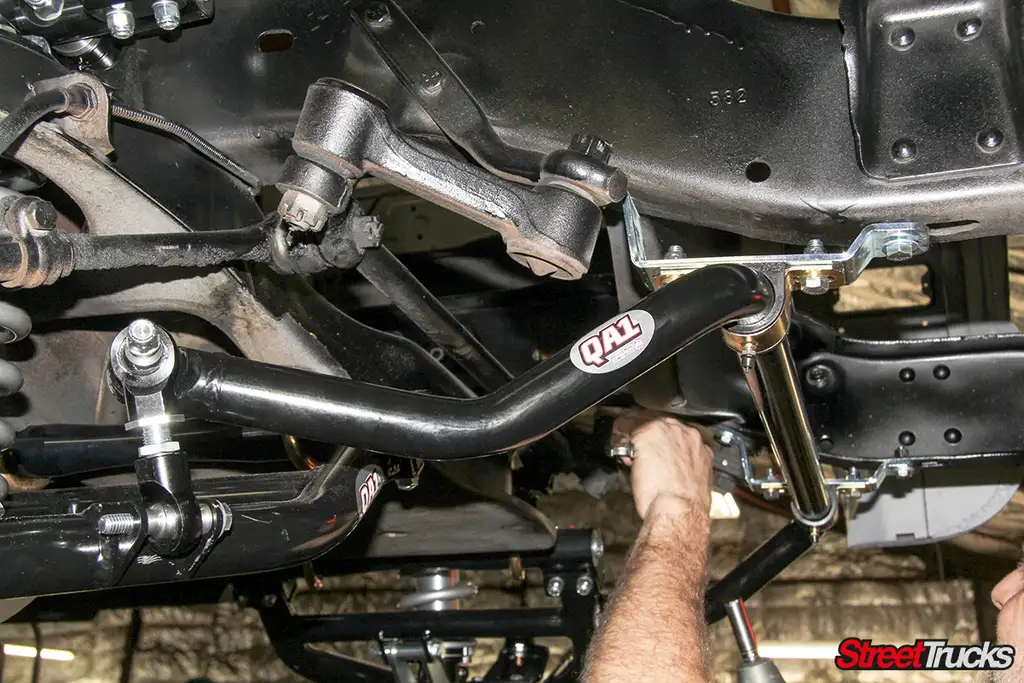
The geometry of the rear kit places the coil-overs outside of the frame and closer to the wheel for better overall stability when hitting corners. The adjustable length truck arms allow for setting of the exact wheelbase to meet your truck’s specs. When used in tandem, QA1’s front and rear C10 coil-over conversion packages create a real force to be reckoned with on the road. 

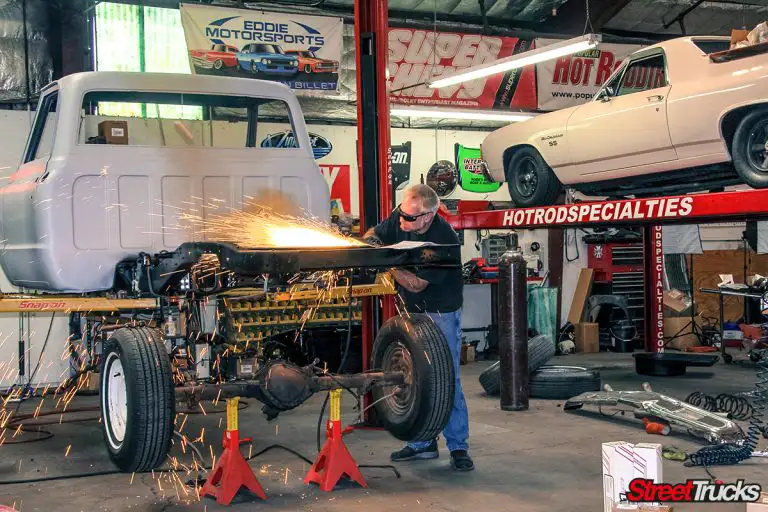
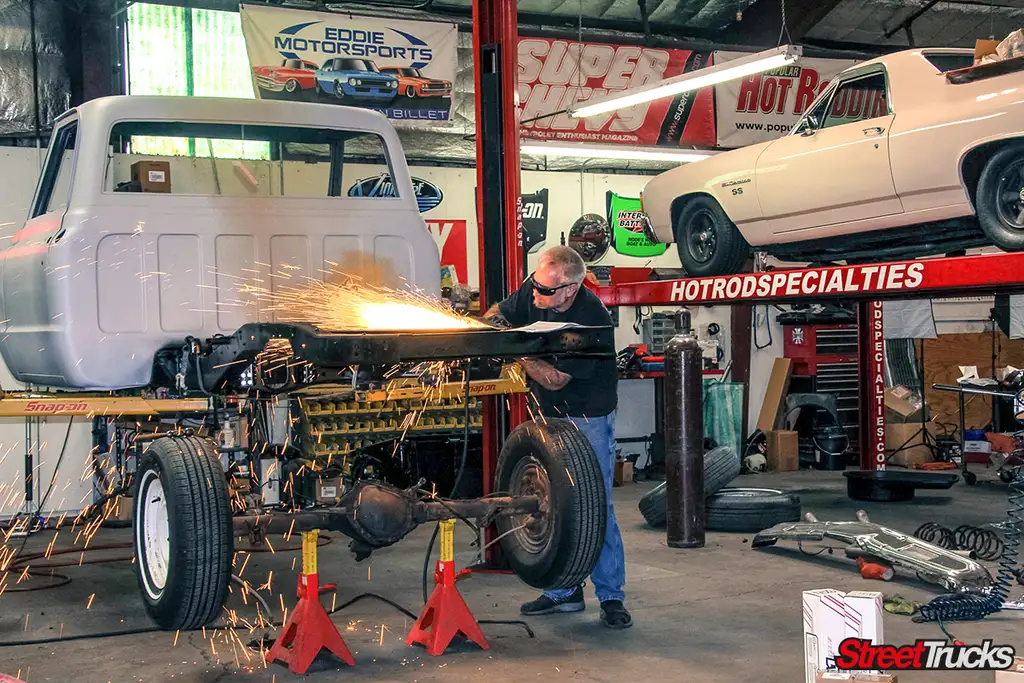
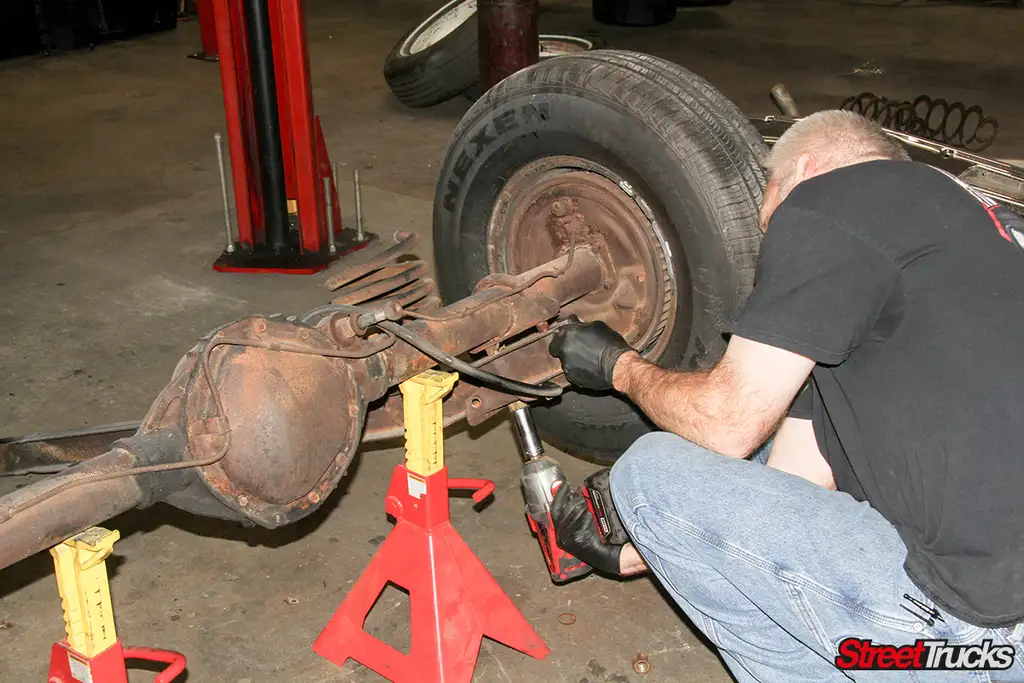
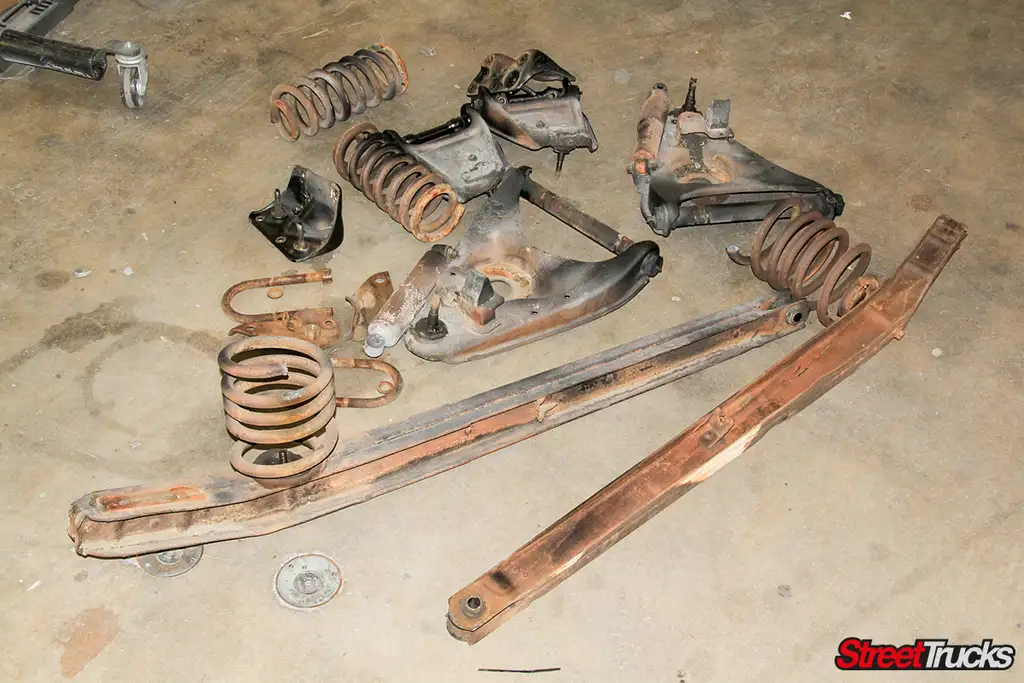
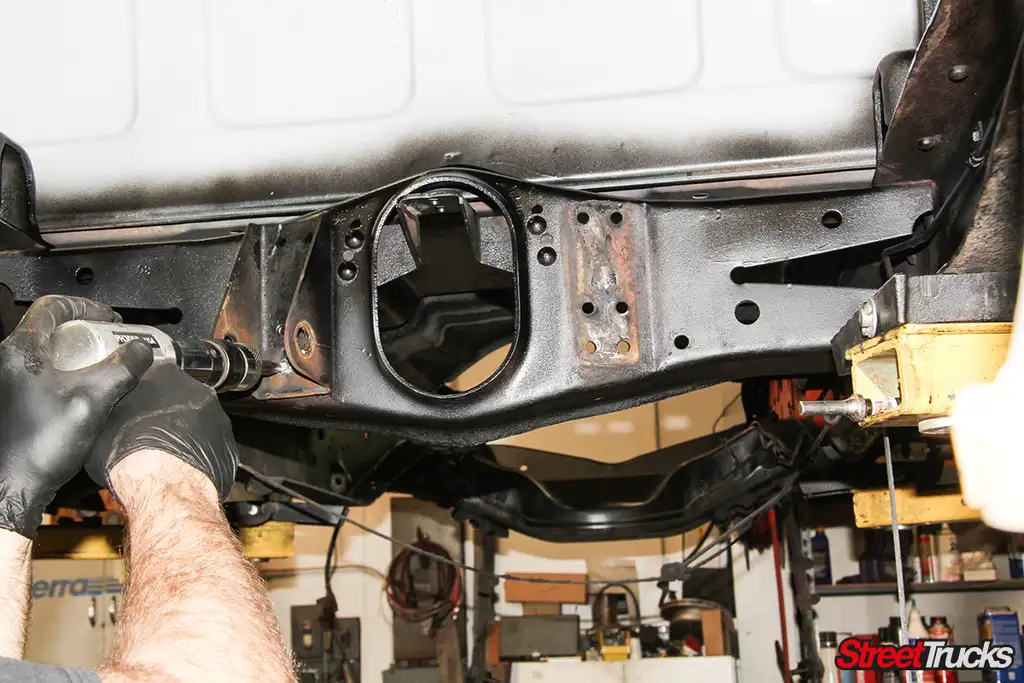
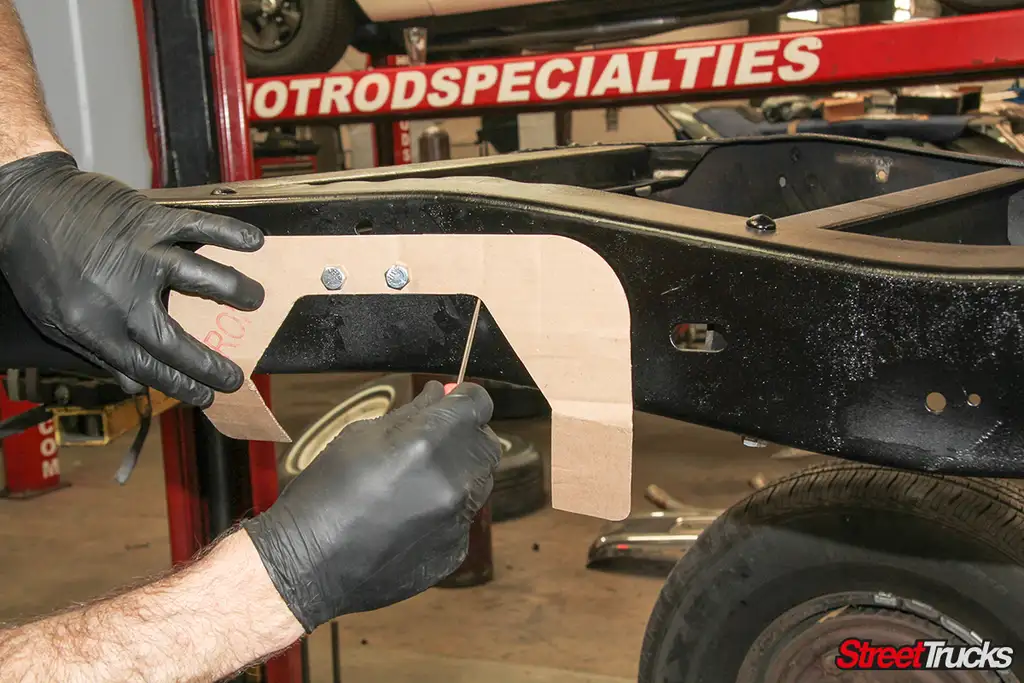
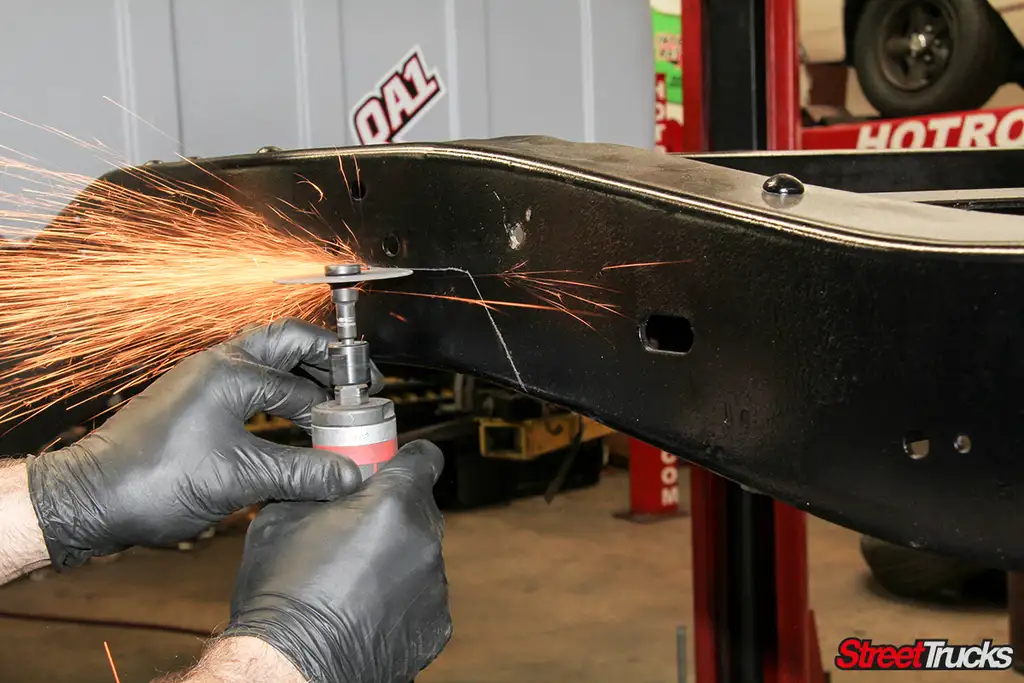
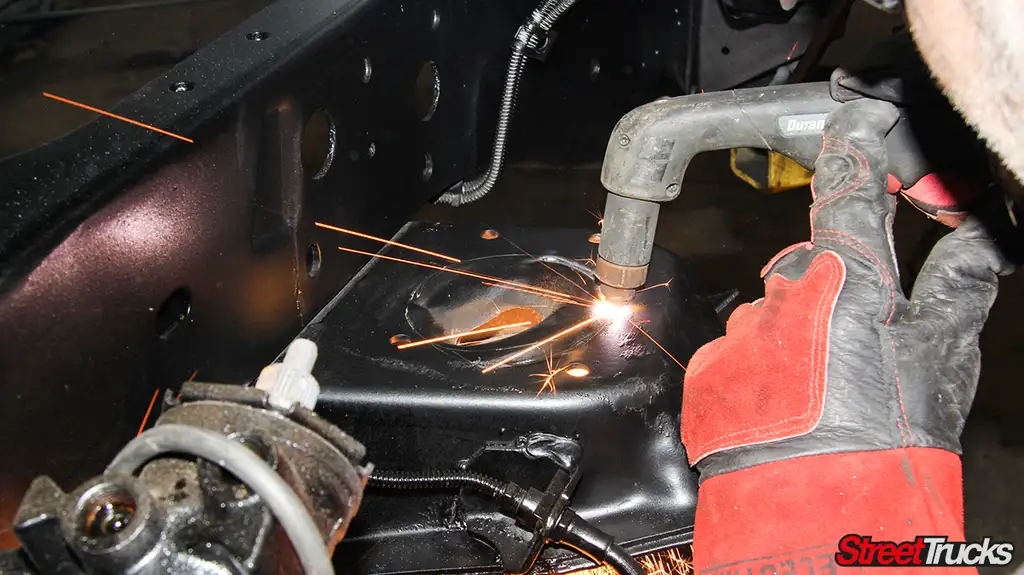
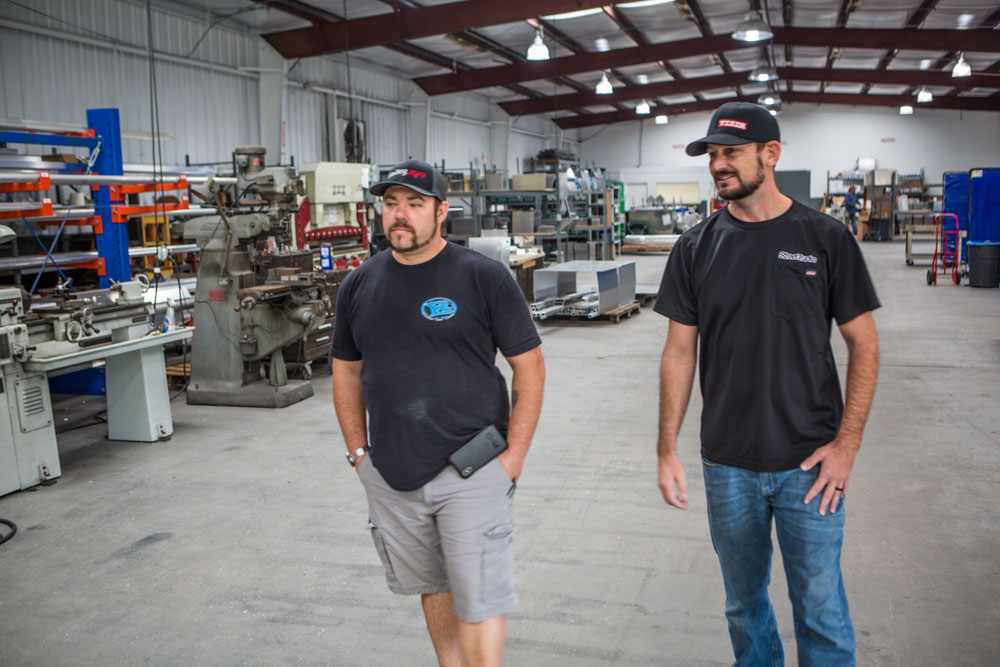
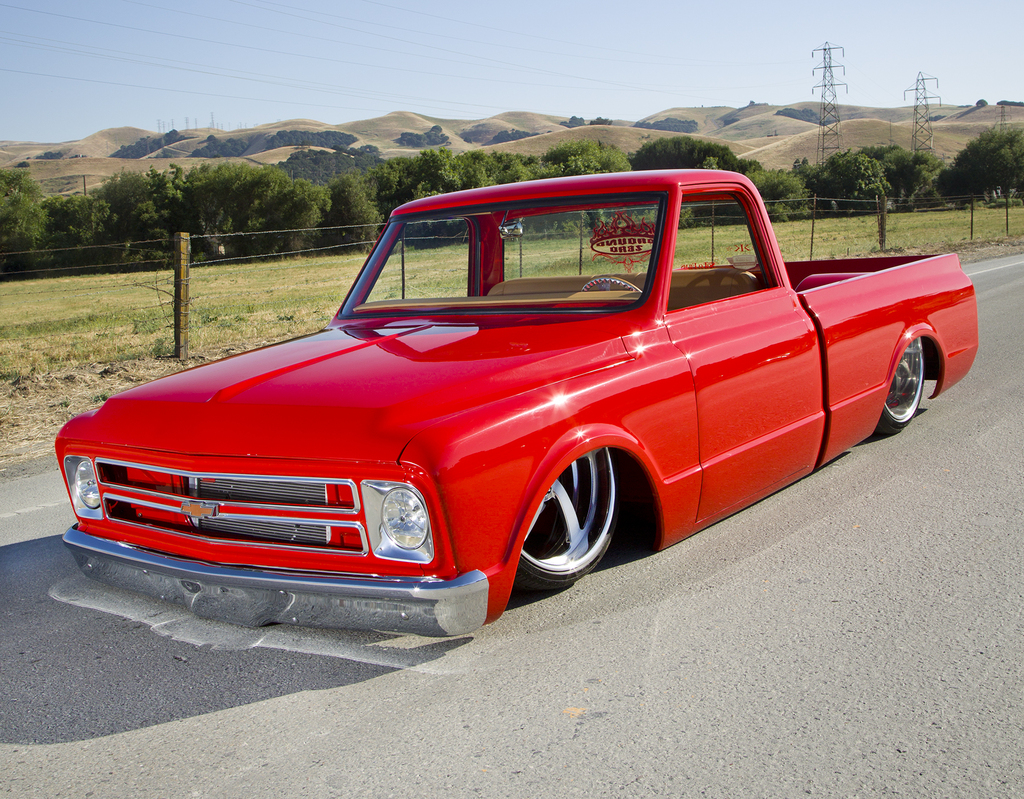
To get this party stared, follow as we take a trip to see Joel Rode of Hot Rod Specialties in Upland, CA to transform the driving and handling action of this old ’71 C10. Its old, nearly corroded suspension system was long overdue for a change, and the QA1 kits offered more than enough ammunition to get this truck back into full attack mode. The entire install is completely bolt-on, making it possible for capable weekend mechanics to get the job done in their home garage, which is also a huge benefit. 

For further information on QA1’s high-end offering for C10s and other pickup models, visit QA1.net. 

Sources
QA1
800.721.7761
qa1.net 

Hot Rod Specialties
909.215.5516
hotrodspecialties.net

Joel Rode of Hot Rod Specialties began ripping into this C10’s factory suspension system in order to make room for the QA1 components. The truck had been previously taken apart to make the job a little easier, and as you can see, the pile of parts that came off this pickup are in dire need of being thrown onto the scrap heap.

Next, the truck arms attachment bolts were unbolted, and Joel used an air chisel to remove the 6 rivets holding each factory truck arm bracket to the cross member. To make this portion of the install easier, the driveshaft was disconnected from the differential, and the cab was placed on a lift.
Once the factory brackets were removed, Joel bolted up QA1’s replacement truck arm brackets to the crossmember. These brackets can be bolted to the lower, center or upper set of holes depending on the inches of drop desired.
Moving forward on the rear of the truck, Joel prepped the frame to receive the QA1 step notch. The included cardboard template was secured into place and the area to be cut was marked into the frame side.
A cutting wheel was used follow the lines made in the frame to slice make the opening for the notch kit to fit into.

Next, Joel grabbed for the notch kit and secured it enough to line up and drill out the necessary bolt holes on the sides and underneath the frame rail.
Once the notch kit was installed on both sides of the frame, Joel then worked on securing the truck arm saddle brackets over the axle.
After the adjuster links for the QA1 truck arms were assembled and applying anti-seize on the threads, they were then installed to the saddle bracket underneath the axle.
The trucks arms were addressed next, but before they were placed into position, the rod end threads were coated with a proper amount of anti-seize.
The distance between the truck arm mounting openings was then measured to ensure the correct length to fit within the mounting points on the appropriate brackets. Joel adjusted the rod end accordingly to the measurements he recorded.
With the proper length each of the truck arms adjusted, they were then placed up front to the new brackets that were installed at the beginning of the installation process.
Once the truck arms were secured front and back, the adjuster links were then attached to the arms.
The included Panhard bar and brace bar were then installed in the appropriate height locations on the brackets according to the proper height of the trucks arms and ride height desired.
With the shock mount brackets installed to the truck arm rotator box brackets, the assembled rear coil-over housings could then be secured into position. These double adjustable coil-overs can be set to many different high travel spring rate options to attain the perfect ride quality. And just like the majority of the quality QA1 components, the shock mount position can be adjusted to lifted or lowered to meet the desired ride height.
With the rear suspension components in their right place, Joel then went around and tightened all the rod ends, and every other bolt to spec before moving on to the front end.
To start the front end, Joel had already done a lot of work to get to the point of altering the area of the upper control arm bracket. The factory upper mount was removed with the help of an air chisel to break through the rivets. Next, QA1’s new upper control arm bracket was placed over the top pocket and the necessary room to adapt for it was traced out and cut with the plasma.
As you can see through the bottom hole, enough room had been cleared out. The cut line was cleaned up with a grinder, and the QA1 upper control bracket was ready to be permanently secured.
Next, the front coil-over assembly was able to be fed through the newly cut hole in the spring pocket and bolted to the newly installed control arm bracket.
The upper QA1 control arm was then installed to the bracket, and the lower control arm was also installed right after. Note: Lower control arm U-bolt holes on the cross member will need to be enlarged on ’72 and earlier C10 models to accept the supplied 9/16-inch U-bolts.
The lower shock bracket was then installed to the lower arm to allow for the bottom portion of the coil-over to be secured.
To mount the front QA1 sway bar, Joel then installed the supplied bracket utilizing the factory mounting holes.
The sway bar was then hung, and all the included brackets and connection points were then tightened to spec.
To wrap up the front installation, the spindle and brake components were bolted back together.
The installation of all the QA1 components took the better part of the morning and into the afternoon, but the effort was well worth the results. There’s no comparison to the look and feel of the QA1 and crusty factory parts. The engineering of the high-end components spoke for themselves before the truck was even rolled out of the shop. Since installation, Joel has the truck driving, and performing and handling better than it ever has before.
The QA1 front and rear coil-over conversion kits, truck arm bracket and notch packages and coil-over assemblies came complete with all hardware and accessories needed for a successful installation. There was no need to run out to the hardware shop for odds and ends parts, and the instructions were helpful and straightforward. The price of admission isn’t exactly on the “cheap” end, but these suspension components are definitely an investment that will last the test of time while on the road and on the track.
You May Also Like