 Ashok Kumar
.
April 16, 2020
.
Tech
.
Ashok Kumar
.
April 16, 2020
.
Tech
.
QA1, THE ALPHANUMERIC CODE FOR ONE OF the industry’s top suspension, rod ends, spherical bearings and shock absorber companies, was founded in 1993 by Jim Jordan in Lakeville, Minnesota.
When you think QA1, you think high quality, and that makes perfect sense as quality is the top priority in everything the company does. Its products are designed, built and tested to ensure consistent quality, ultimate reliability and unbeatable performance.

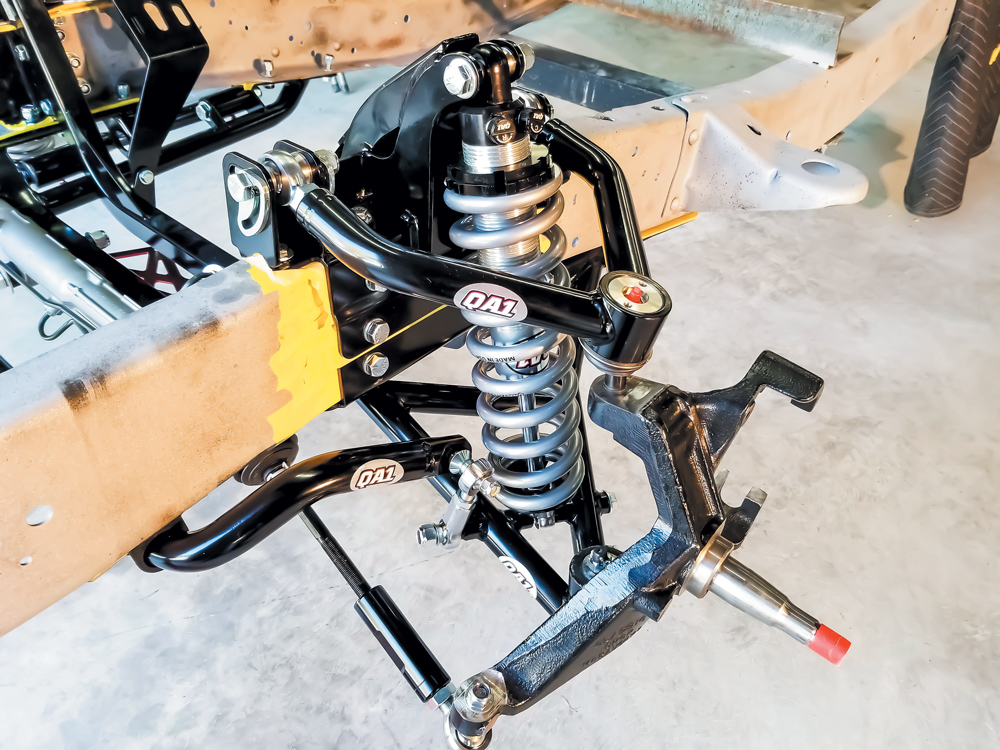
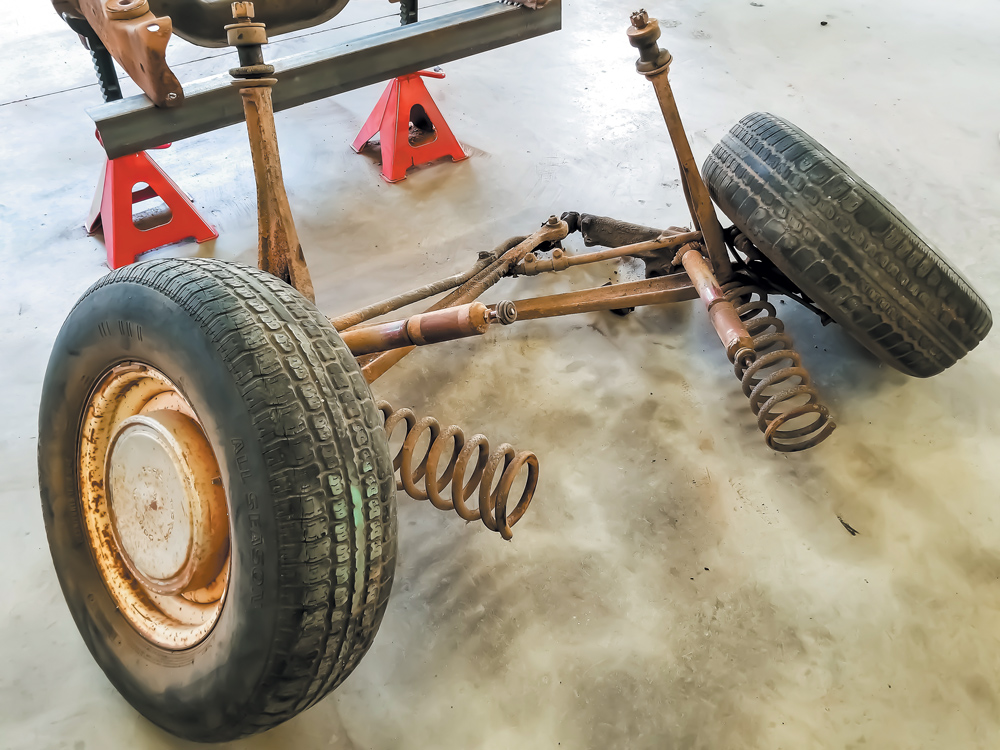
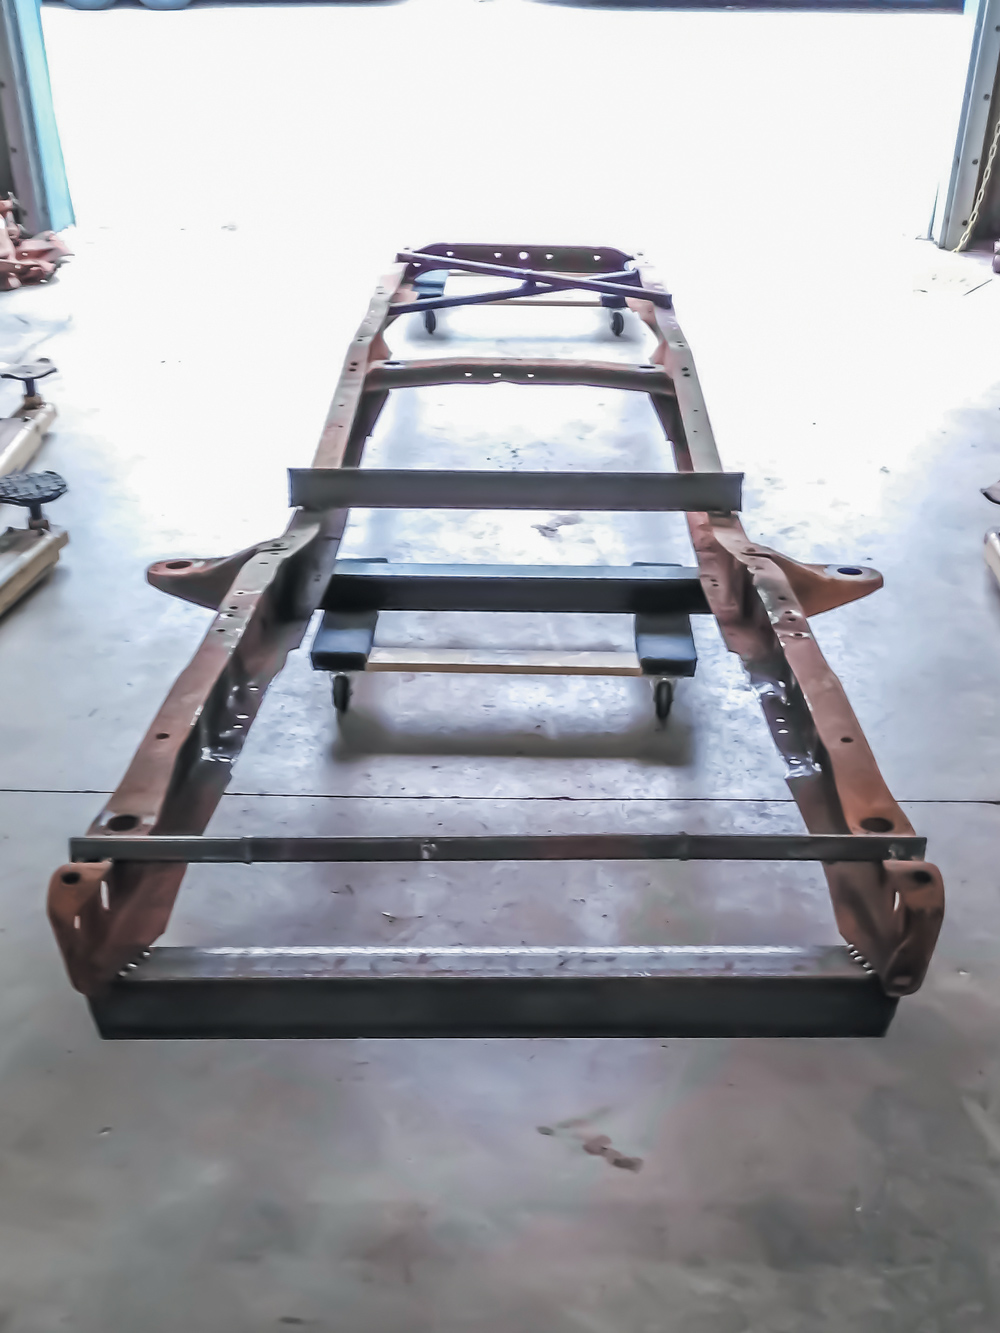
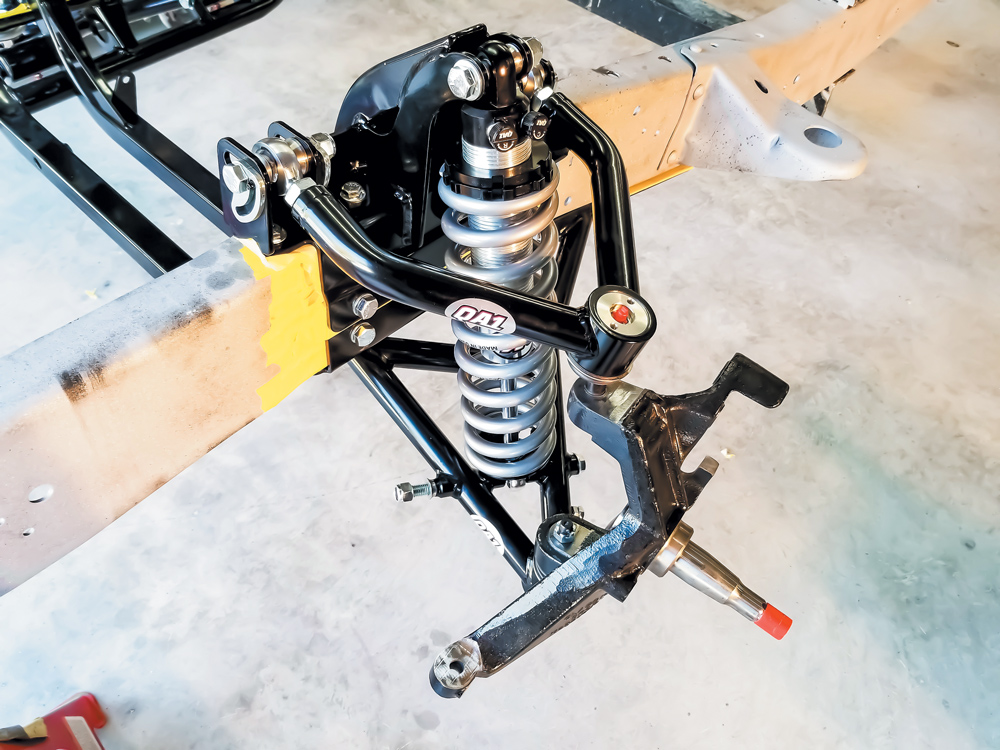
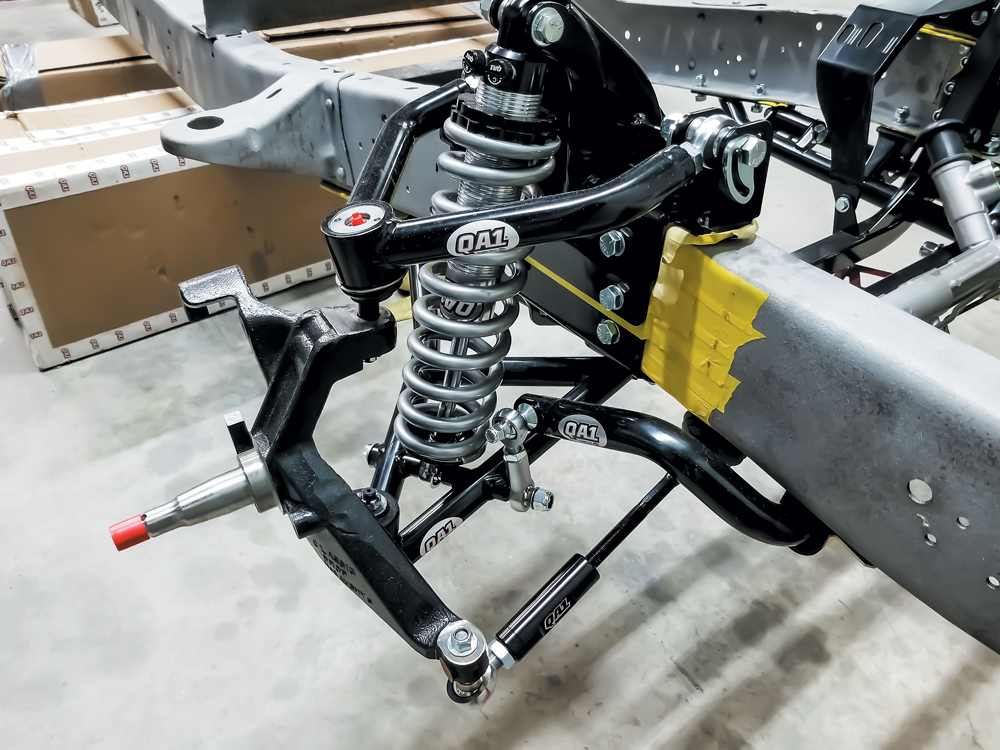
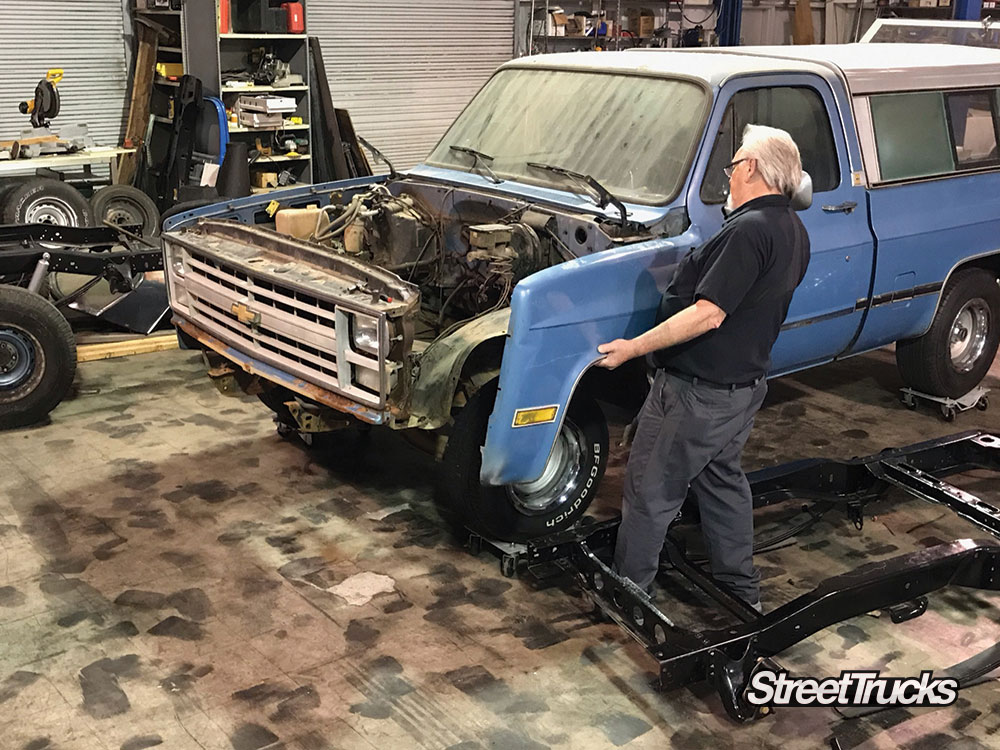
When QA1 started to develop the suspension for our beloved Ford F-100 trucks, the company did it the right way, from the ground up—fitting the suspension to the truck instead of fitting the truck to a suspension. Engineers designed the kit around the factory wheel wells and firewall, making certain each and every part fit just right for both form and function. You can now get wheels with some good offset to fill the gaps properly, and a wide variety of brake system upgrades are available.

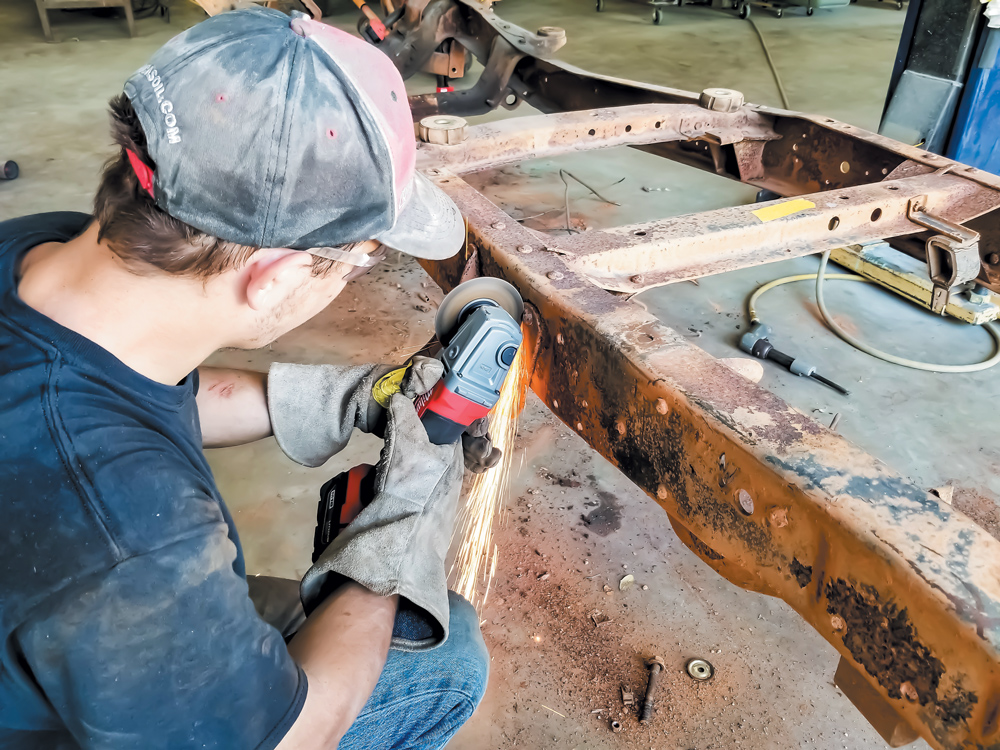
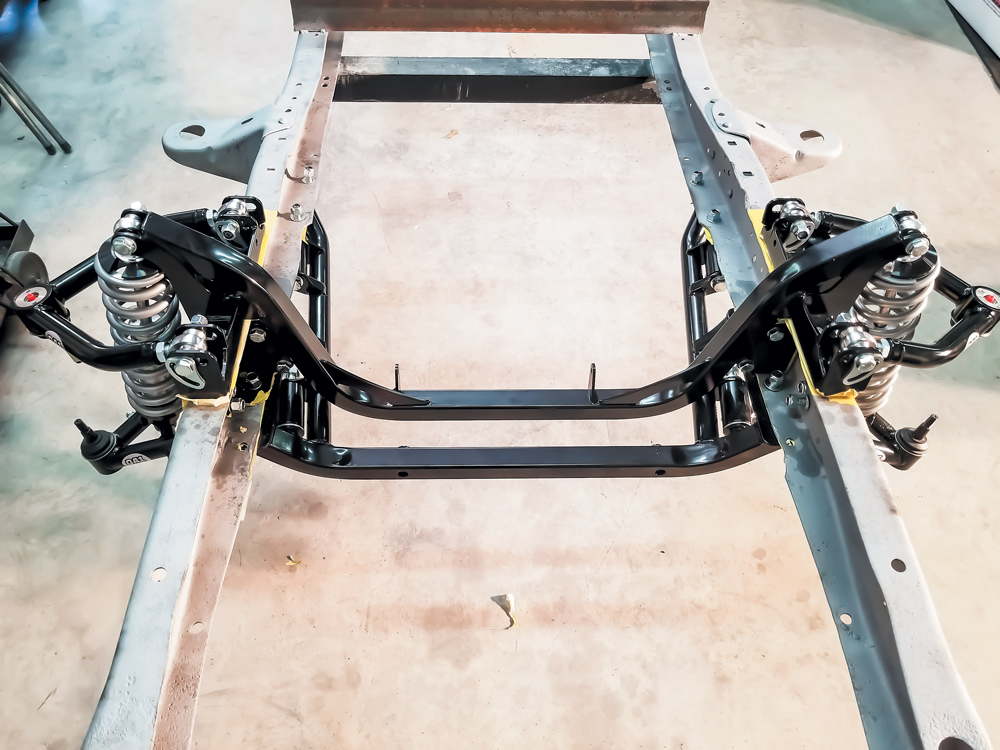
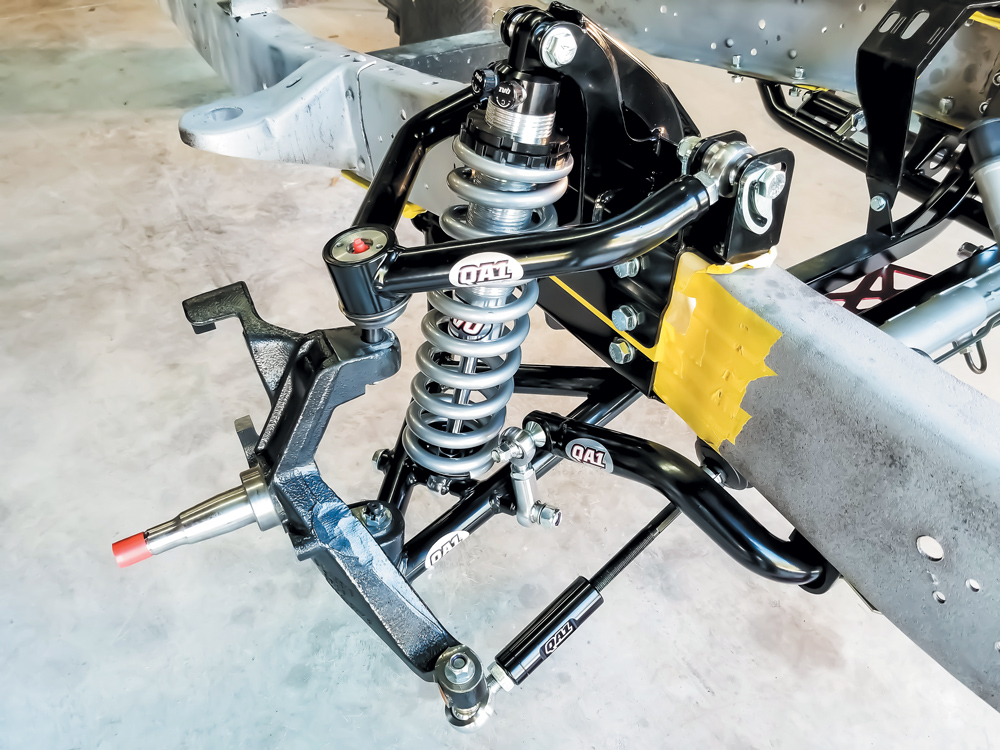
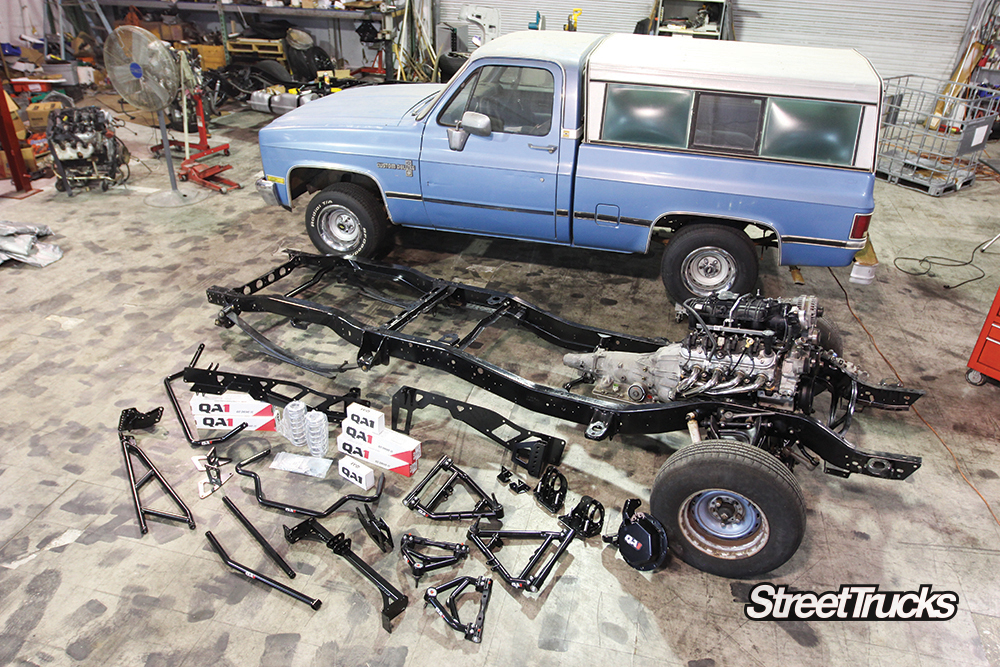
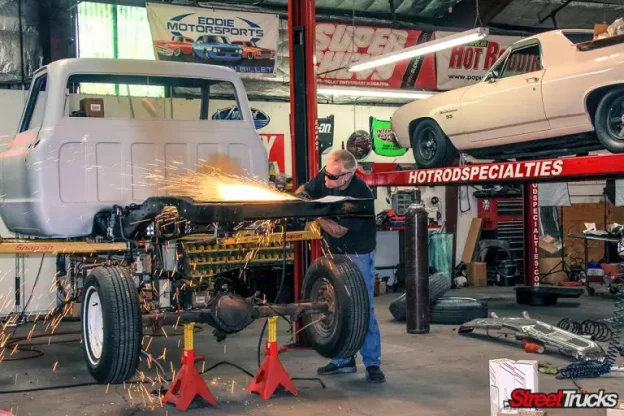
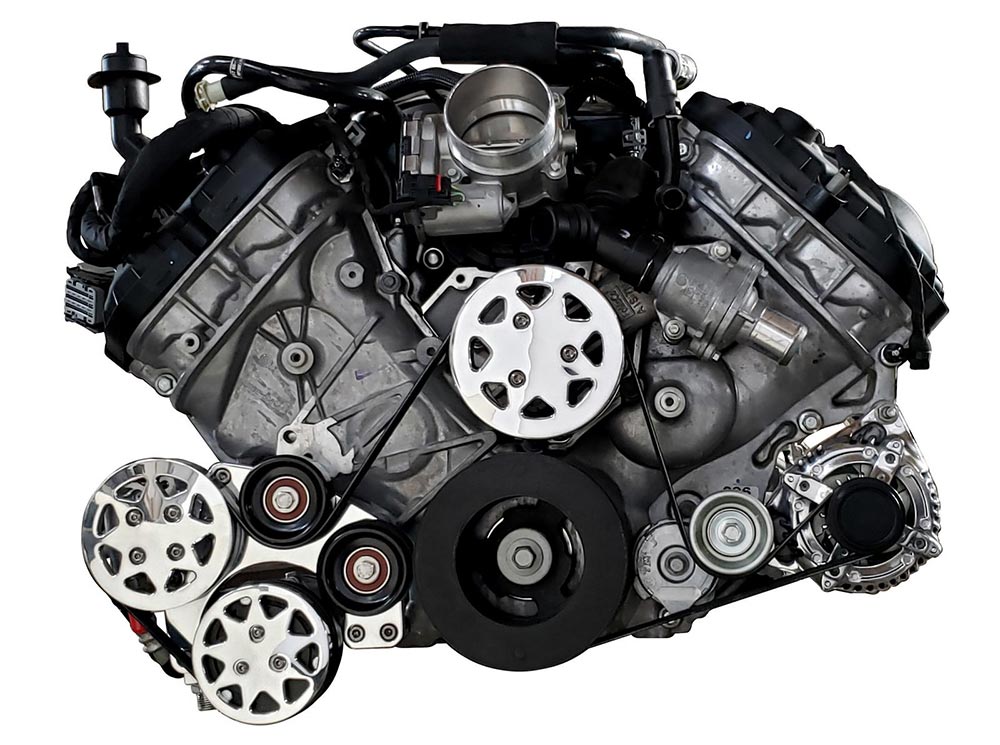
Ditch that outdated twin I-beam front suspension. Before you head to the junkyard to find a random “front-clip,” you definitely should consider this well-engineered example of a dialed-in IFS offering both performance and comfort that’s properly engineered to make your truck handle like a modern truck while giving you the ride height adjustability so you can dial in the perfect stance. This setup also makes motor swaps a breeze as they have interchangeable engine mounts from FE, Windsor, Mod/Coyote and even LS (we all know one or two of those guys).
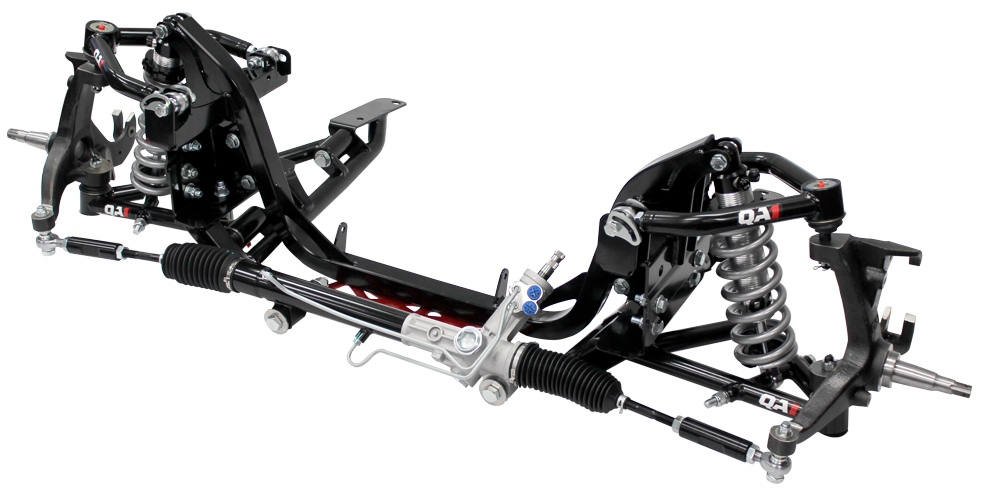
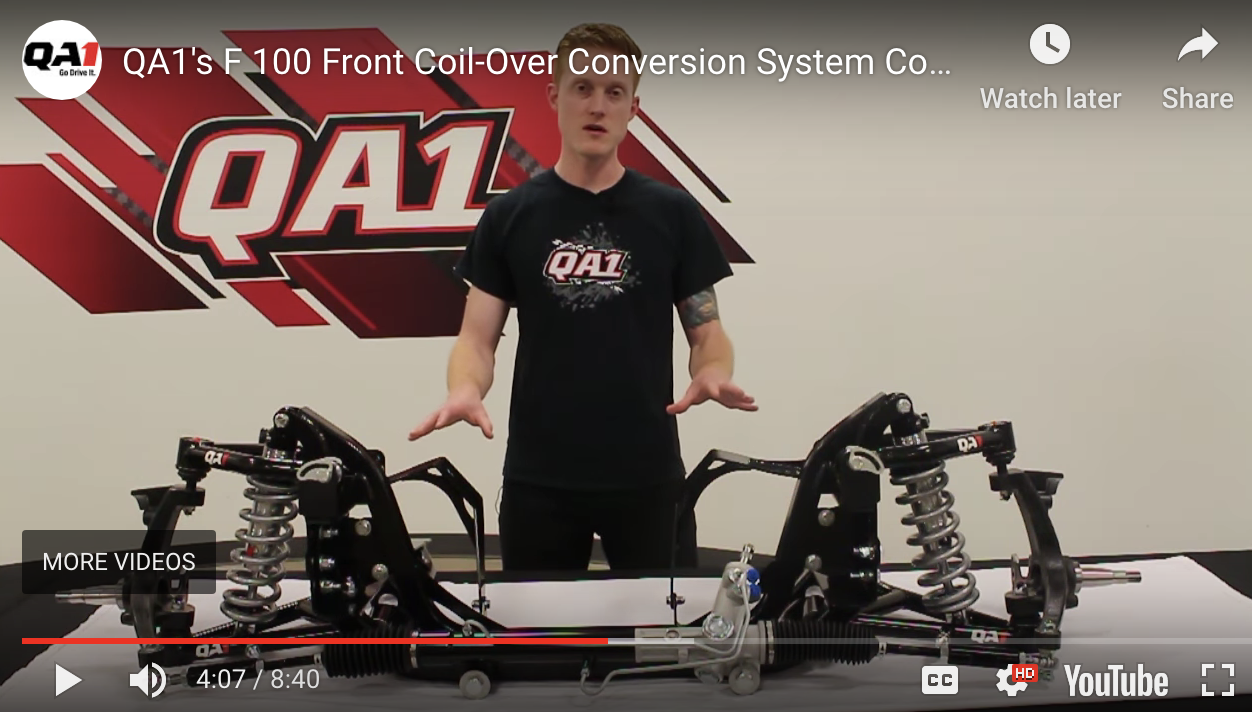
Some key points for this QA1 front setup:
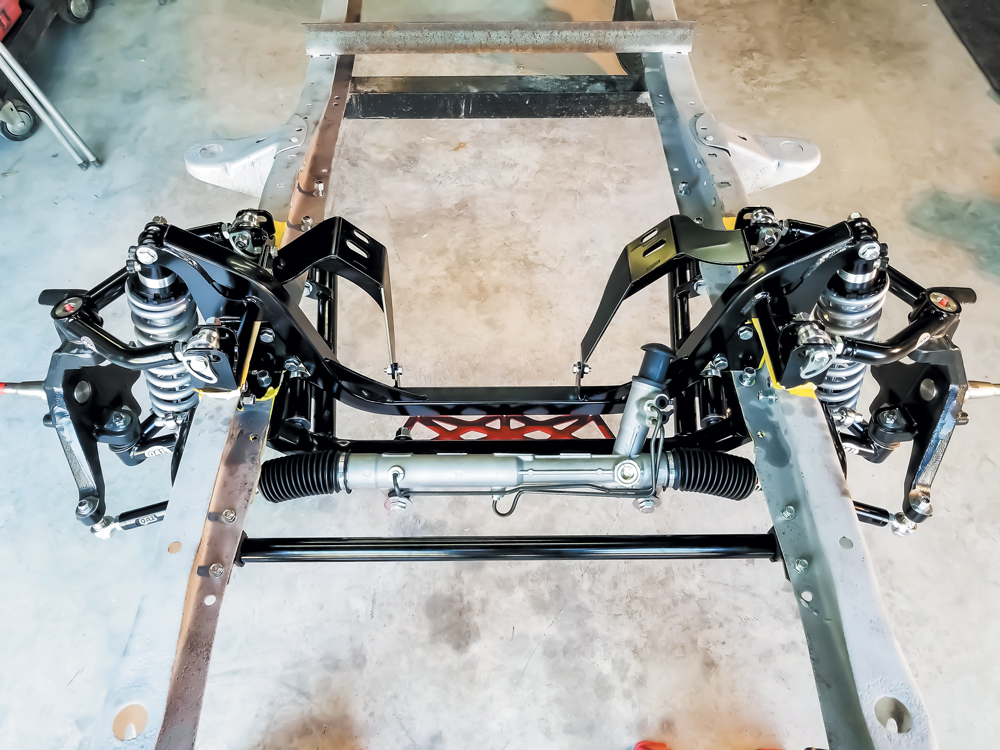
• 3.75 inches narrower than a Crown Vic, so fitment of larger wheels and tires is not an issue
• 3- to 7-inch drop (3- to 5-inch with standard height style spindles, 5- to 7-inch with 2-inch drop spindles)
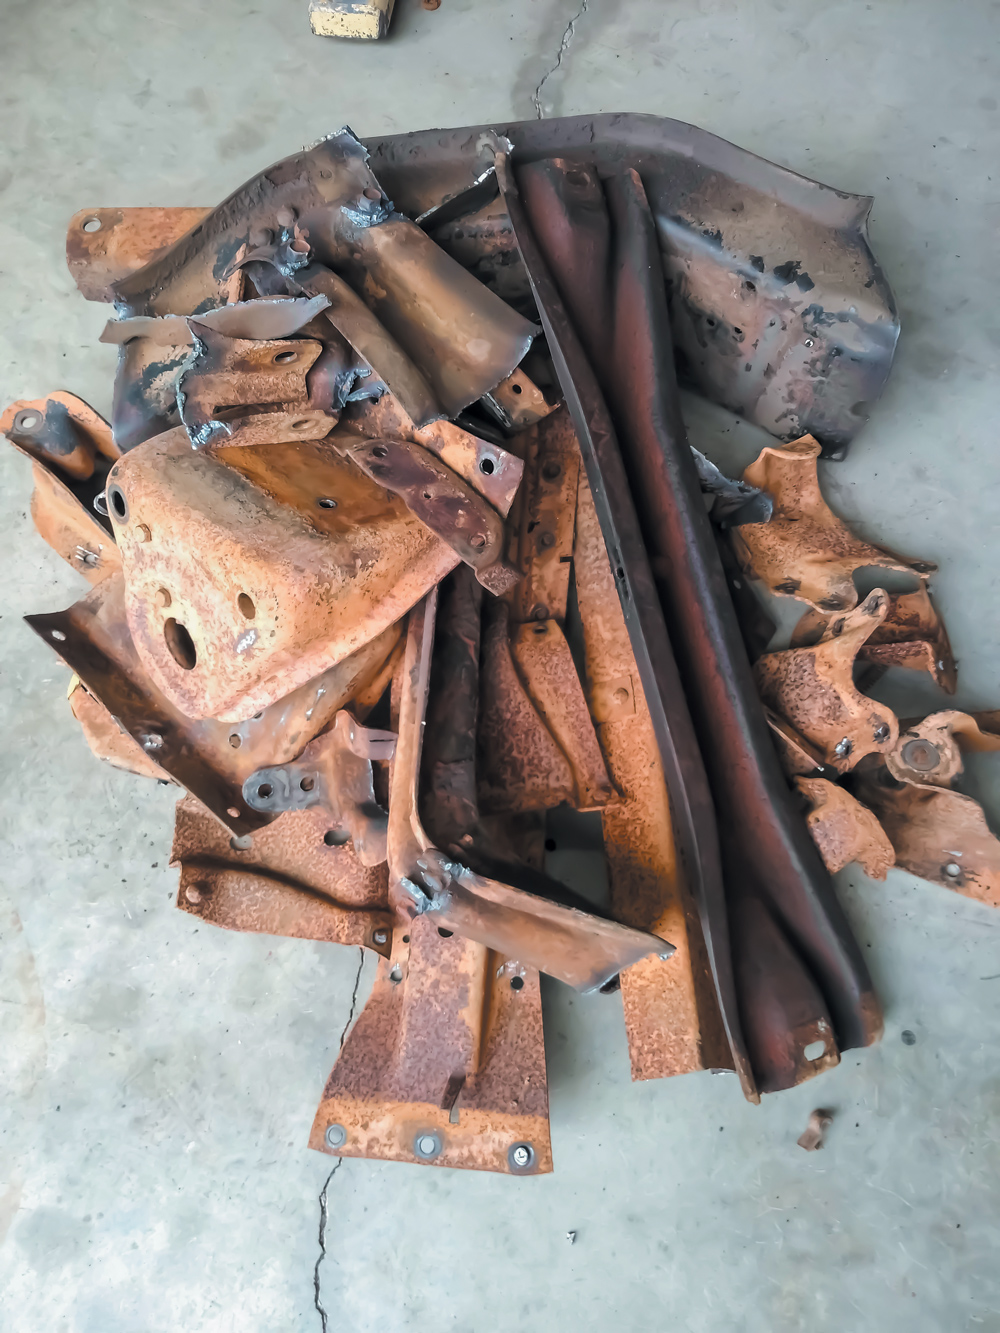
• 150+ pounds lighter than stock suspension
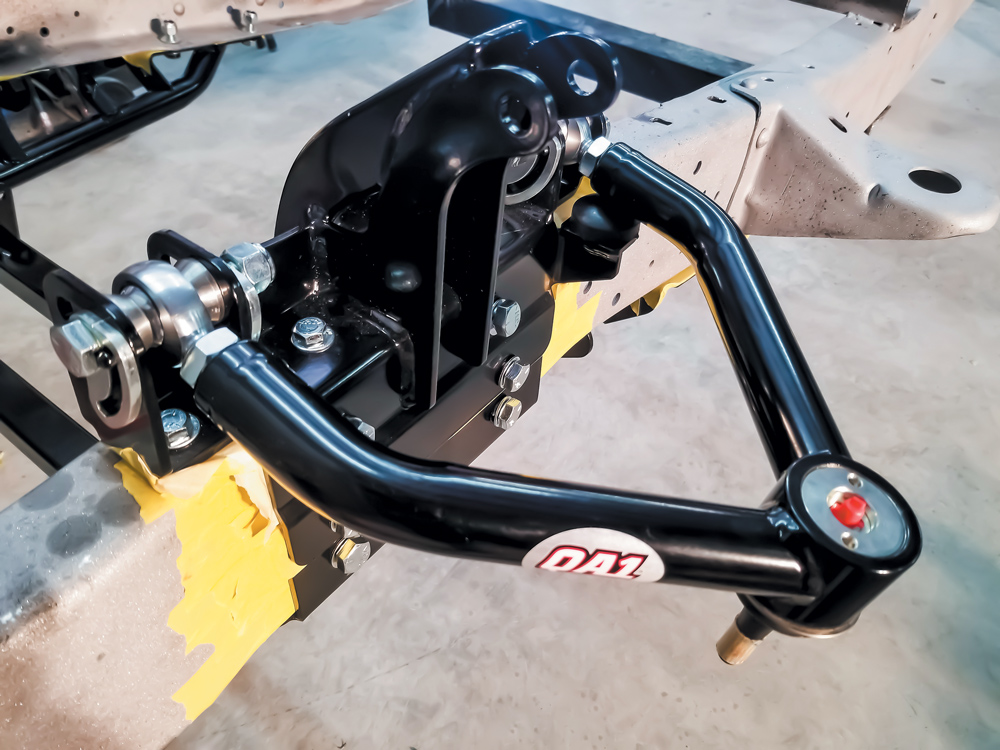
• Bolt-in tubular design for ease of installation and strength
• Adjustable coilover shocks to set the ride height and ride quality
• Rack-and-pinion steering
This article is not a step-by-step installation but rather a highlight of the QA1 front suspension as the guys at QA1 have a great instruction manual. (Go check it out by visiting www.QA1.net/ F100)
[divider]SOURCES[/divider]
QA1
800-721-7761
www.QA1.net


How are the coil-over shocks in the kit constructed?
The coil-over shocks in this kit are engineered for optimal performance and ease of customization. Below are the key construction features:
This comprehensive construction not only ensures durability but also provides a tailored driving experience, aligning perfectly with your specific needs.
What are the benefits of the lightweight springs used in the coilover kit?
Why Choose Lightweight Springs for Your Coilover Kit?
Lightweight springs drastically improve suspension performance by minimizing unsprung weight. Their efficient design allows for quicker response times, enhancing your vehicle’s handling and stability on the road.
These springs feature fewer coils and smaller wire diameters, creating more space between each coil. This design promotes greater travel, providing a smoother ride and better adaptability to various driving conditions.
Reducing the overall weight of your suspension system, lightweight springs aid in lowering the vehicle’s center of gravity. This results in improved cornering, braking, and acceleration, making your drive more enjoyable and controlled.
Manufactured in the USA, these springs ensure durability and reliable performance. Their superior craftsmanship stands up to rigorous driving conditions, offering prolonged service life and sustained effectiveness.
What types of driving and racing applications have tested the coilover kit successfully?
Coilover kits have been rigorously tested and proven across a variety of driving and racing scenarios. Here’s a breakdown of where these kits have demonstrated their reliability and performance:
In summary, coilover kits are versatile and have been successfully tested in various competitive and everyday driving contexts, guaranteeing enhanced performance across the board.
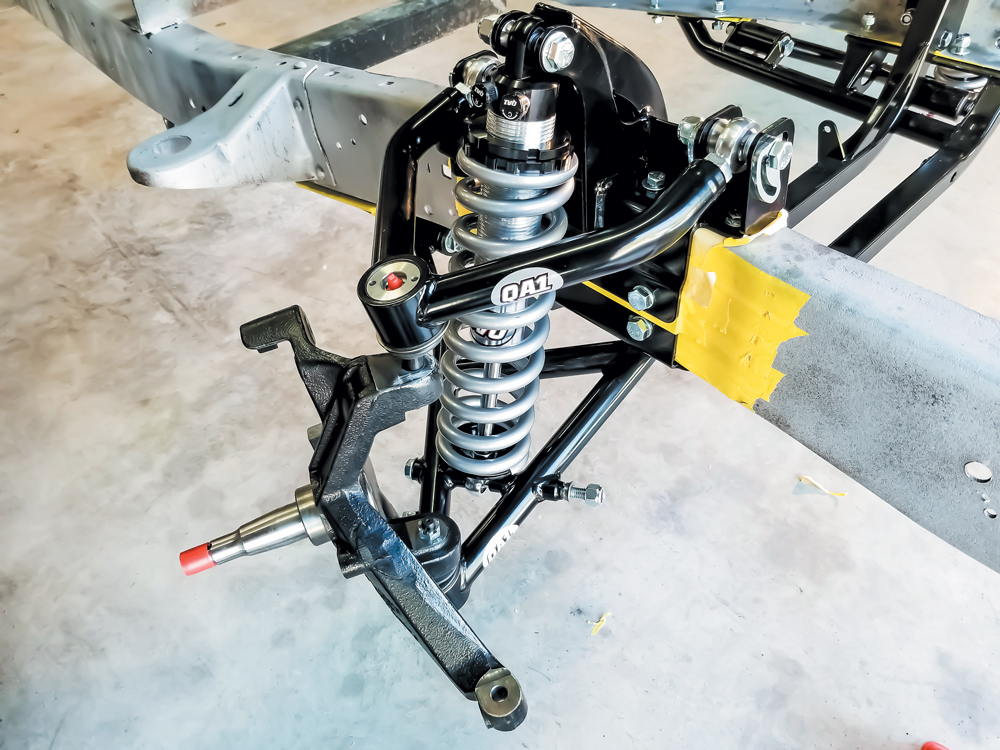
How are the coil-over shocks adjusted for ride height and handling?
“Adjustable coilover shocks to set the ride height and ride quality”
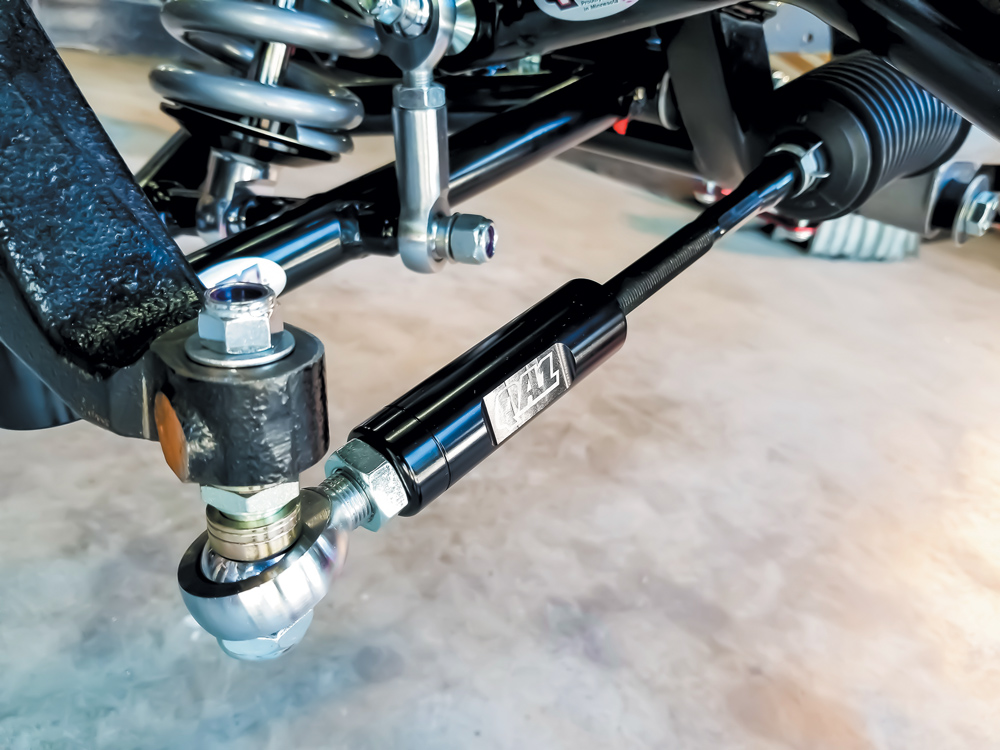
Looking for more control over your vehicle’s stance and handling? These adjustable coilover shocks have you covered. The fully threaded body allows for precise ride height adjustments up to two inches, letting you achieve the perfect stance or finely tune the weight balance for superior handling.
A simple twist of the adjustment knob dials in both compression and rebound, ensuring your ride is as smooth or responsive as you need it to be. Easy-to-use knobs make these adjustments straightforward, allowing you to customize the ride quality and handling to match your driving style. Whether you’re cruising down the highway or taking tight corners on a track, these shocks offer the flexibility you need for an optimal driving experience.
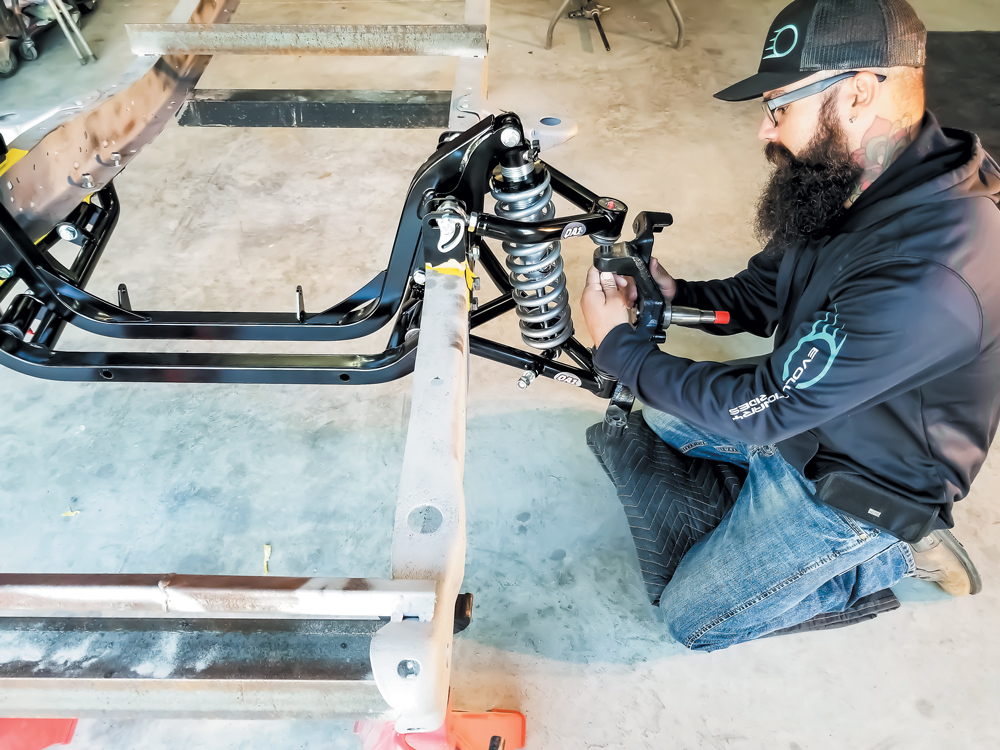
How easy is it to install the coilover kit?
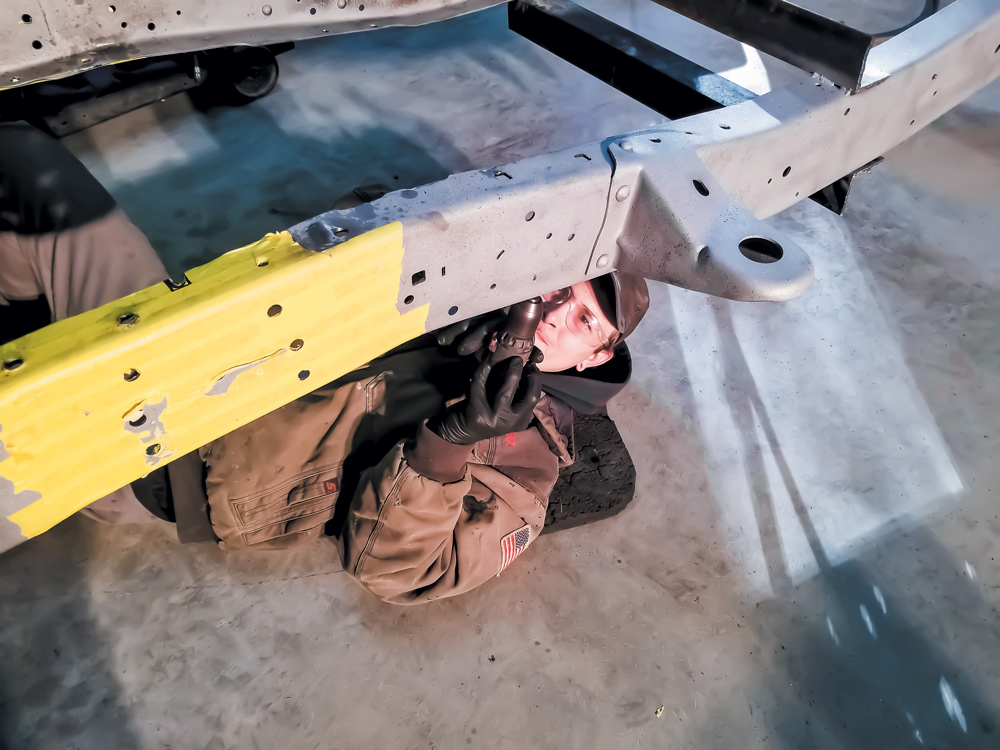
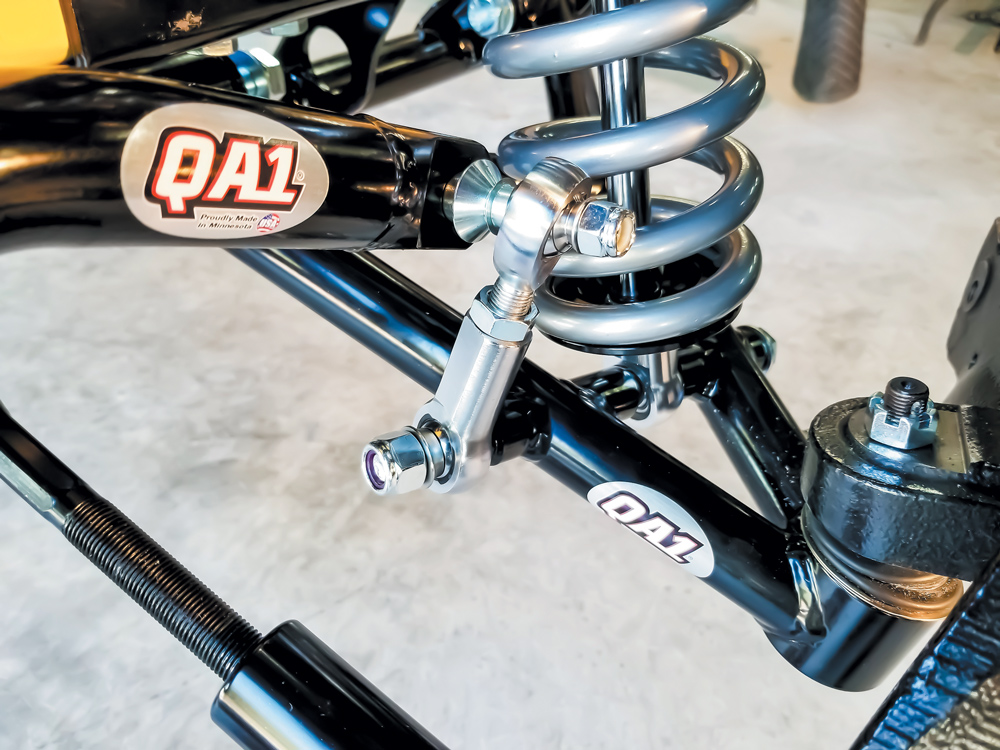
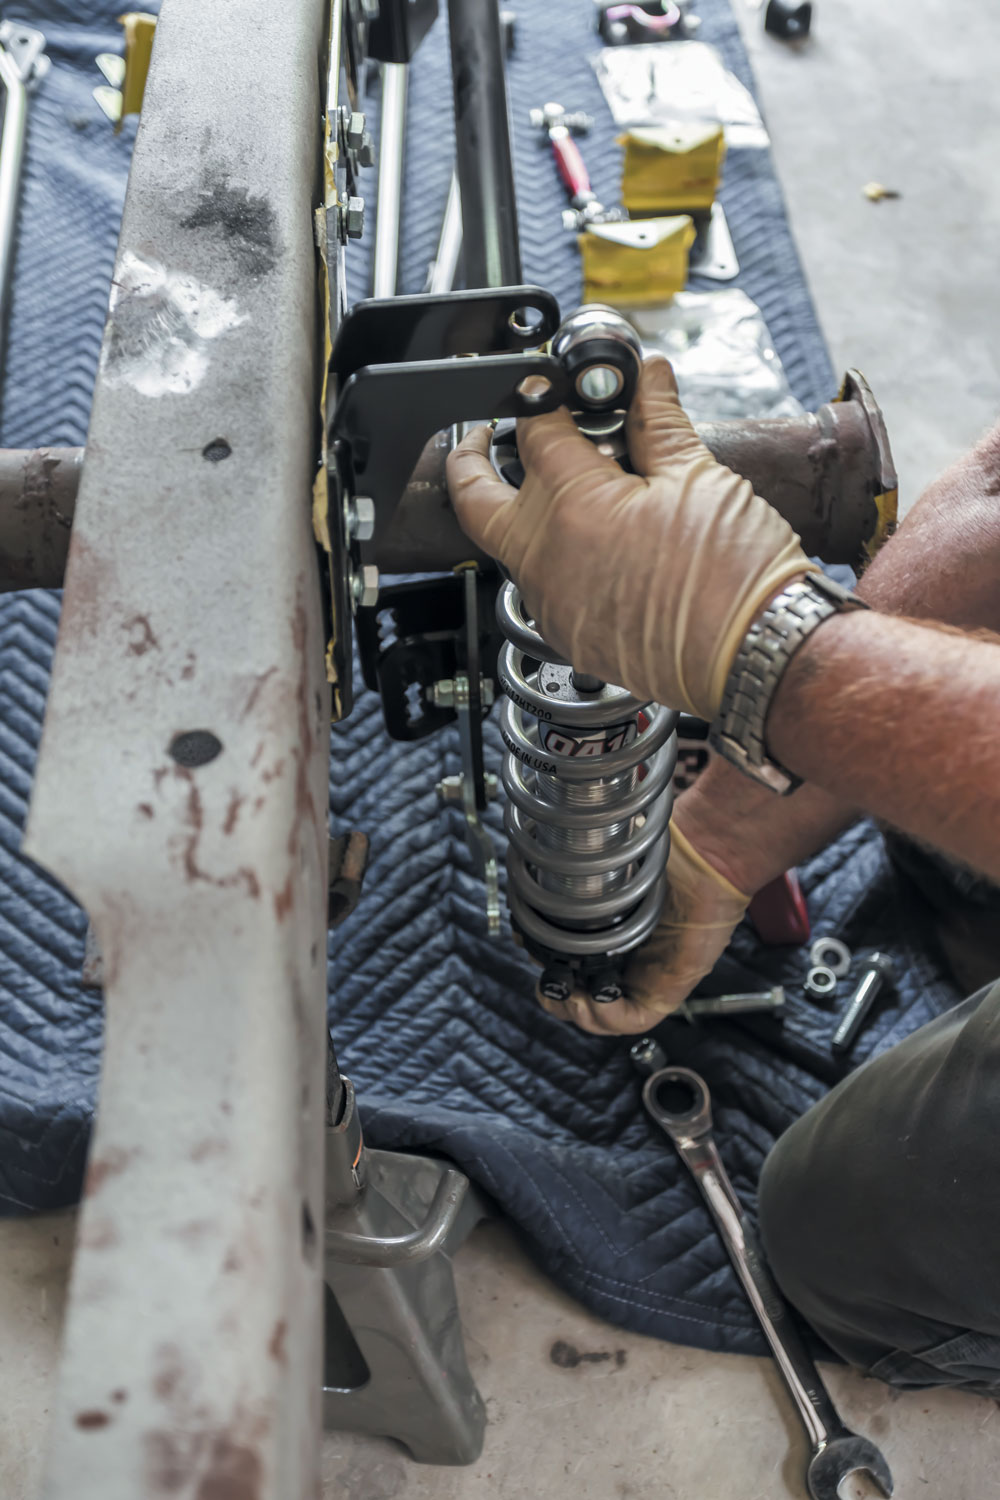
“Bolt-in tubular design for ease of installation and strength.”
“Easy, bolt-in installation ensures that even those with limited mechanical experience can confidently complete the process.”
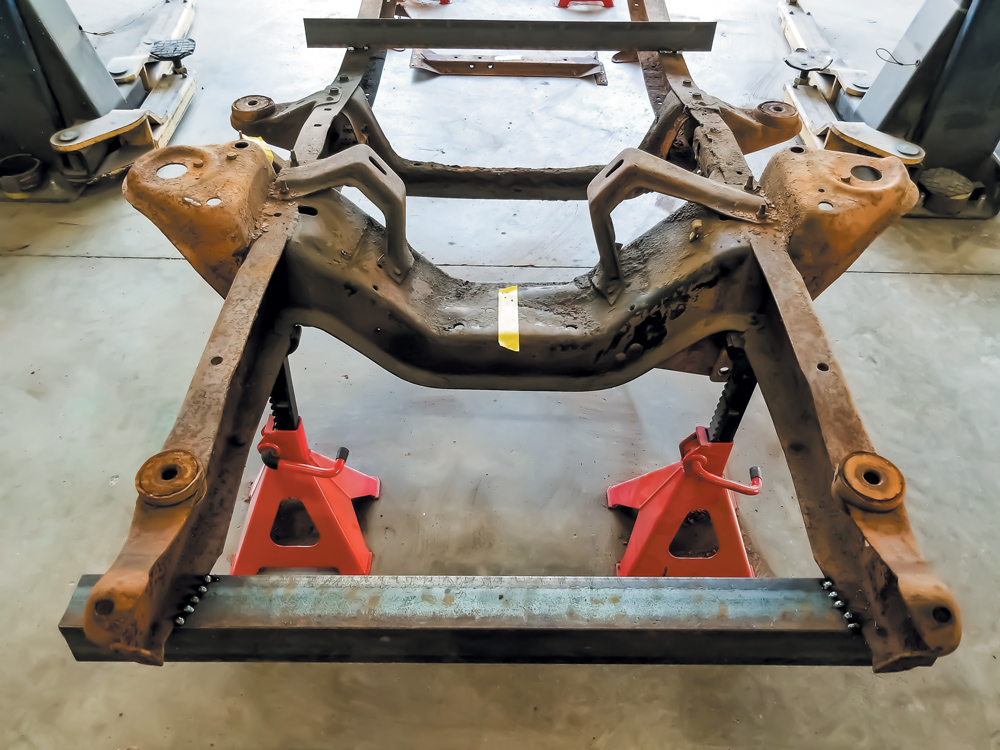
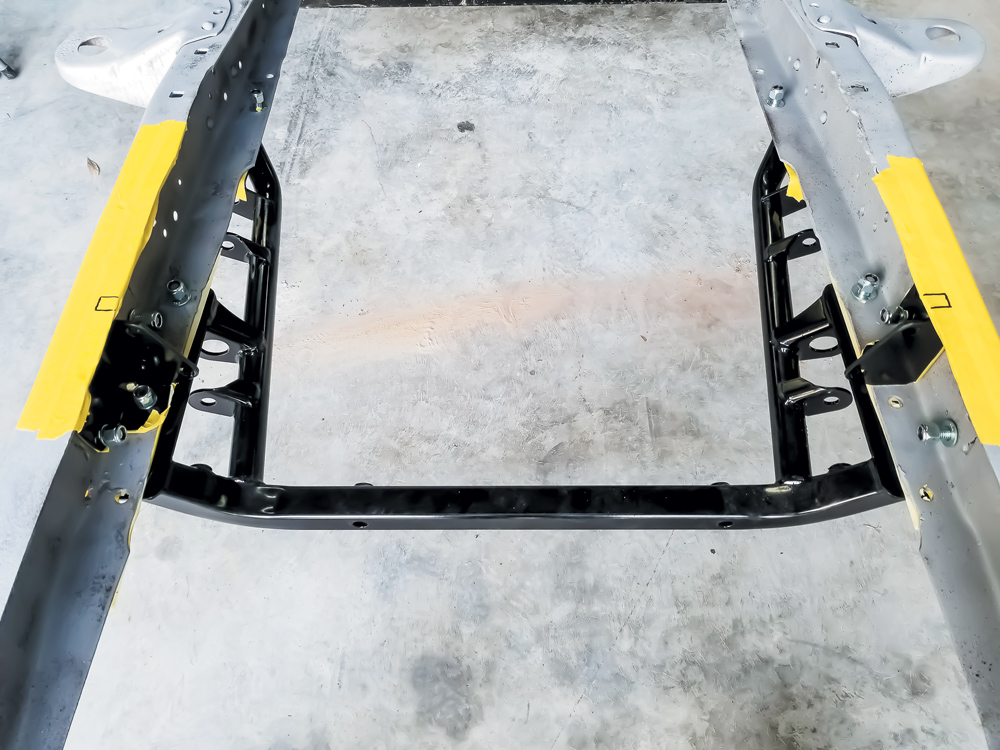
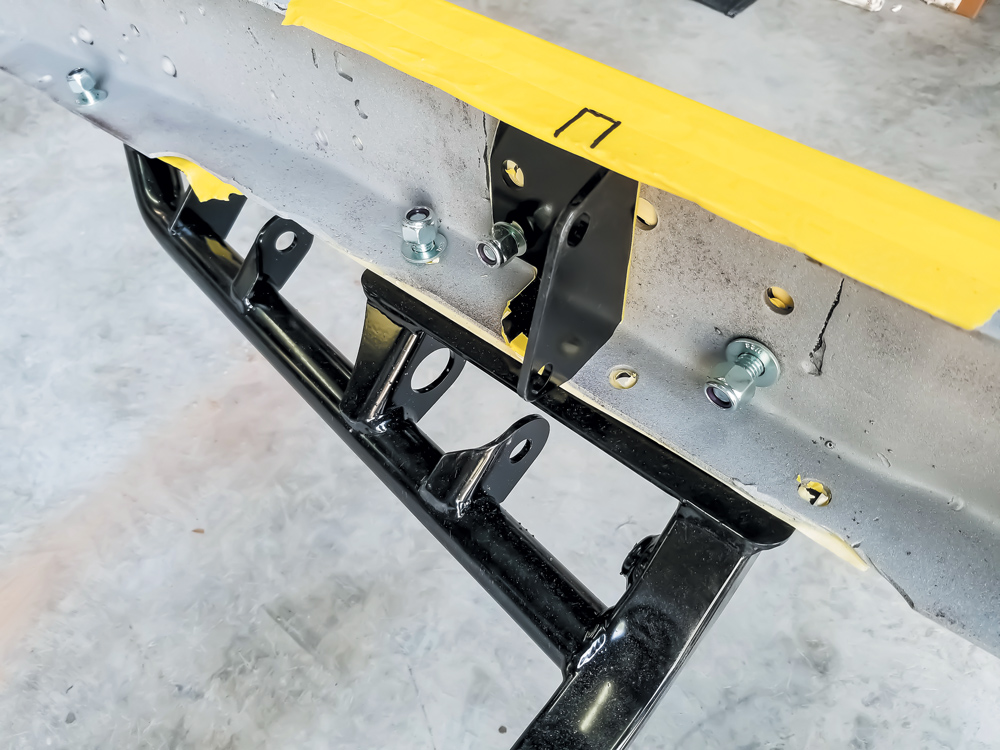
“The QA1 lower crossmember was installed following the provided guides and instruction manual.”
(Make sure to use the manual and contact tech support for any questions as the QA1 staff is full of seasoned veterans who are able to help with anything you may run into along the way.)
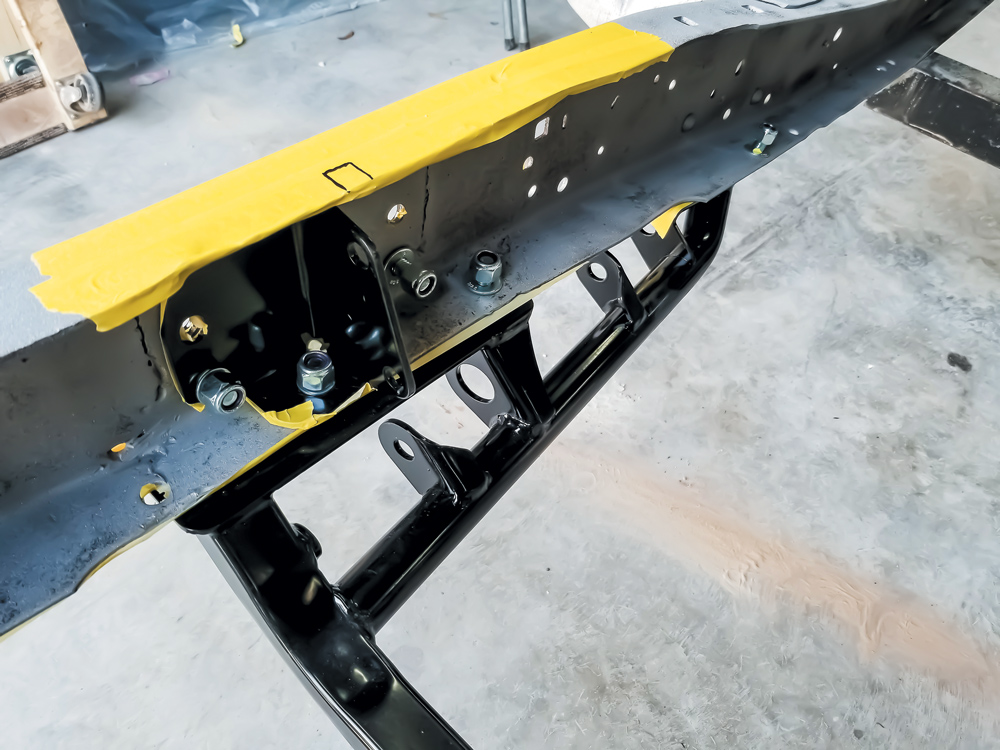
“Joey double-checked everything and installed the spindle. (Note: As we’re a ways off on buttoning up this build before she sees the road again, everything is only hand tightened and will be properly torqued to spec as we get closer to final installation).”
This straightforward, user-friendly approach ensures that your installation experience is as smooth as possible, allowing you to focus more on enjoying the performance benefits of your new coilover kit.
How much ride height adjustment does the coilover kit provide?
What is the maximum change in ride height?
The maximum change in ride height is up to 2 inches.
How much ride height adjustment does the coilover kit provide?
The coilover kit provides ride height adjustment.
In what applications can the coilover kit be used?
“This setup also makes motor swaps a breeze as they have interchangeable engine mounts from FE, Windsor, Mod/Coyote and even LS (we all know one or two of those guys). Used in drag racing, street performance, autocross, road racing, and street rod applications, this coilover kit delivers versatility and performance across a wide range of automotive activities.

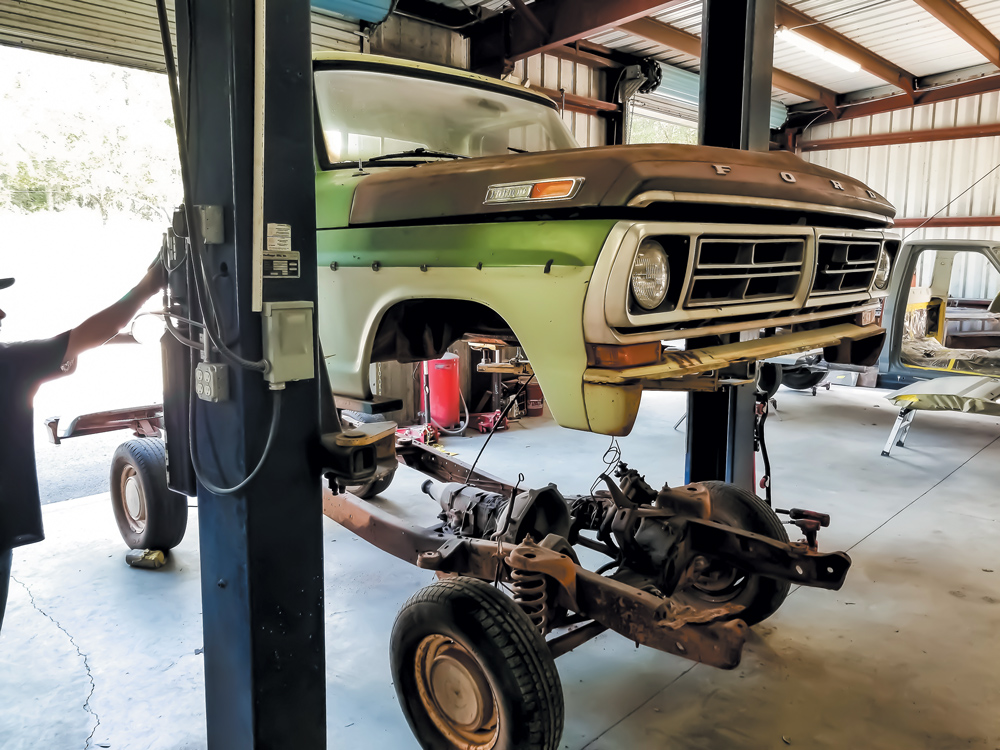
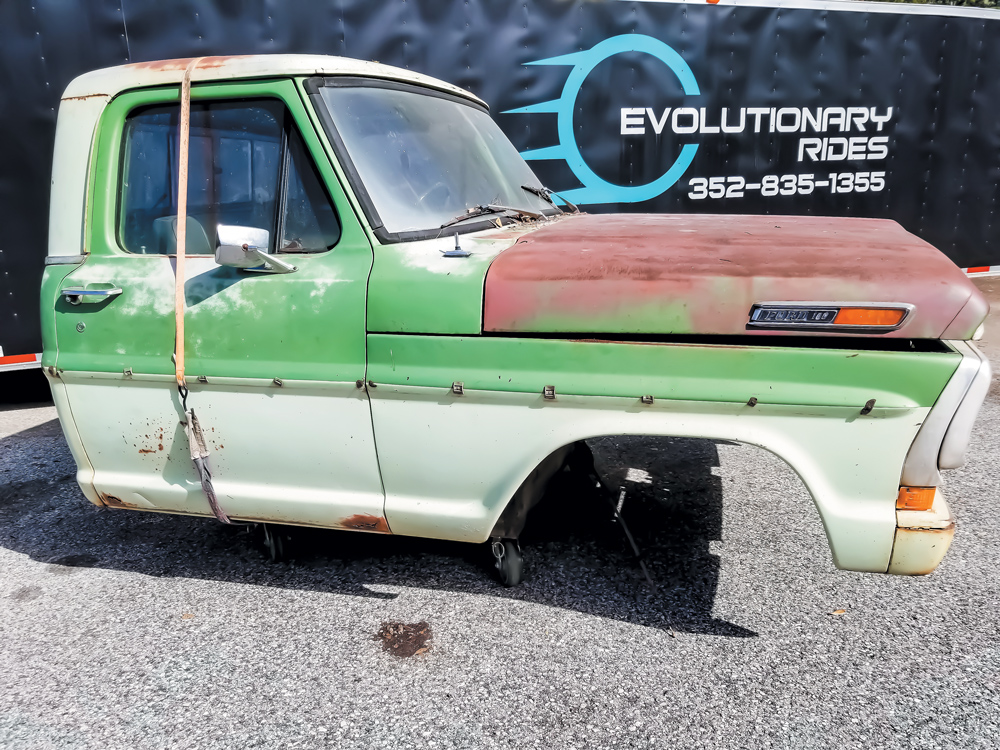
F100 Builders
If you have an old F-100, you know that the front Twin I-Beam suspension is less than desirable. Upgrading the entire front suspension is a… Continue reading
Chris Hamilton . February 05, 2020
c10
Full Suspension Solution for C10 Square Body Trucks Now available, this C10 Square Body suspension upgrade for all four corners of your square body pickup… Continue reading
Chris Hamilton . May 28, 2021
Department
In the last issue of F-100 Builder’s Guide you saw Joey and the team at Evolutionary Rides take our ’72 F-100 Oscar The Bump off… Continue reading
SOLOMON LUNGER . July 31, 2020
C10 Builders Guide
There are lowering components on the market with very different agendas. For C10 owners looking to simply lower the ride height of their truck, the… Continue reading
Chris Hamilton . January 30, 2020
c10
This old ’77 square body Chevy is being converted from farm truck to corner carving, coilover carrying street truck. In the last issue we installed… Continue reading
Chris Hamilton . September 14, 2021
COOL GEAR
Ford built its trucks to meet a certain standard back in the F-100 days. Now that we have all raised the bar on what we… Continue reading
SOLOMON LUNGER . June 08, 2022


We use cookies to enhance your browsing experience, serve personalized ads or content, and analyze our traffic. By clicking "Accept All", you consent to our use of cookies. Visit our Cookie Policy for more info.


Share Link