 SOLOMON LUNGER
.
March 15, 2023
.
Department
.
SOLOMON LUNGER
.
March 15, 2023
.
Department
.
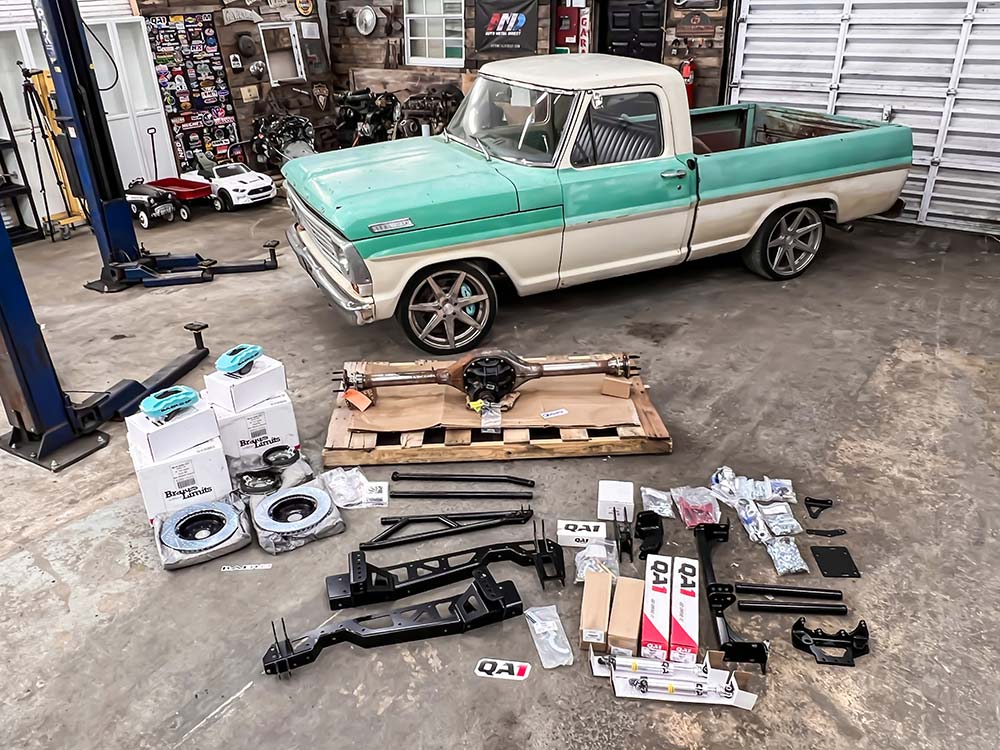
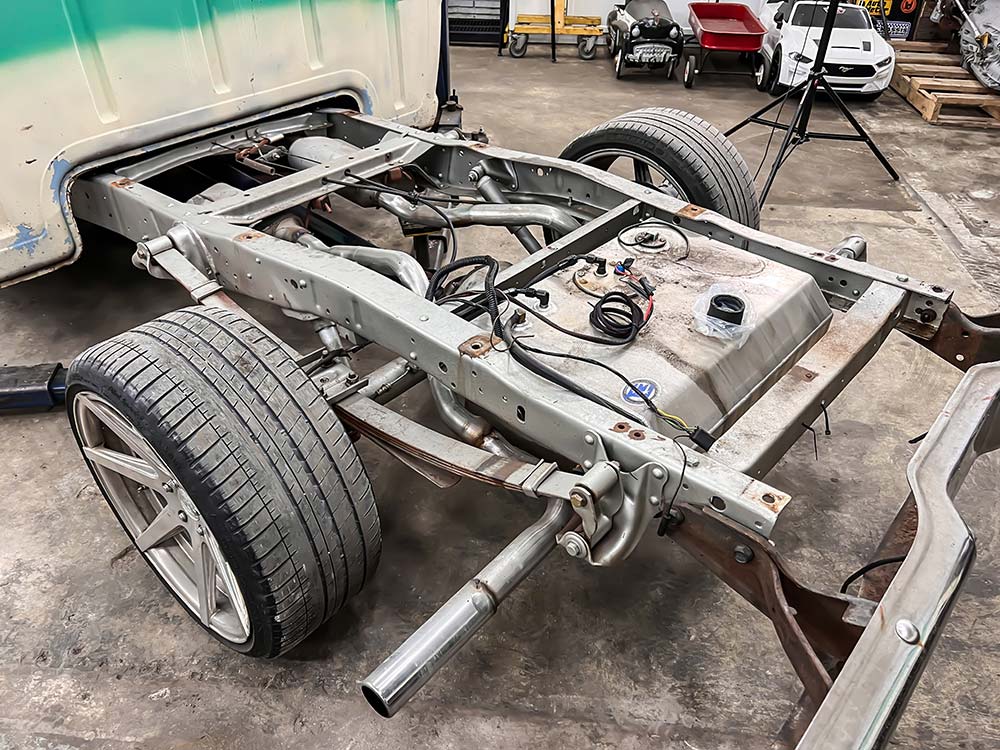
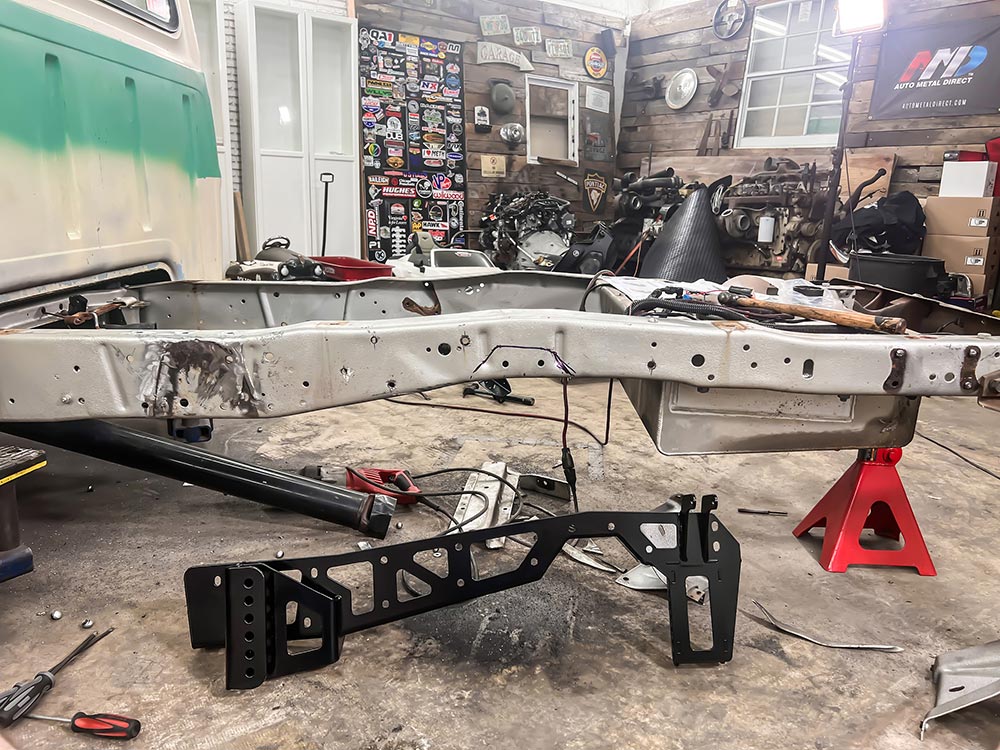
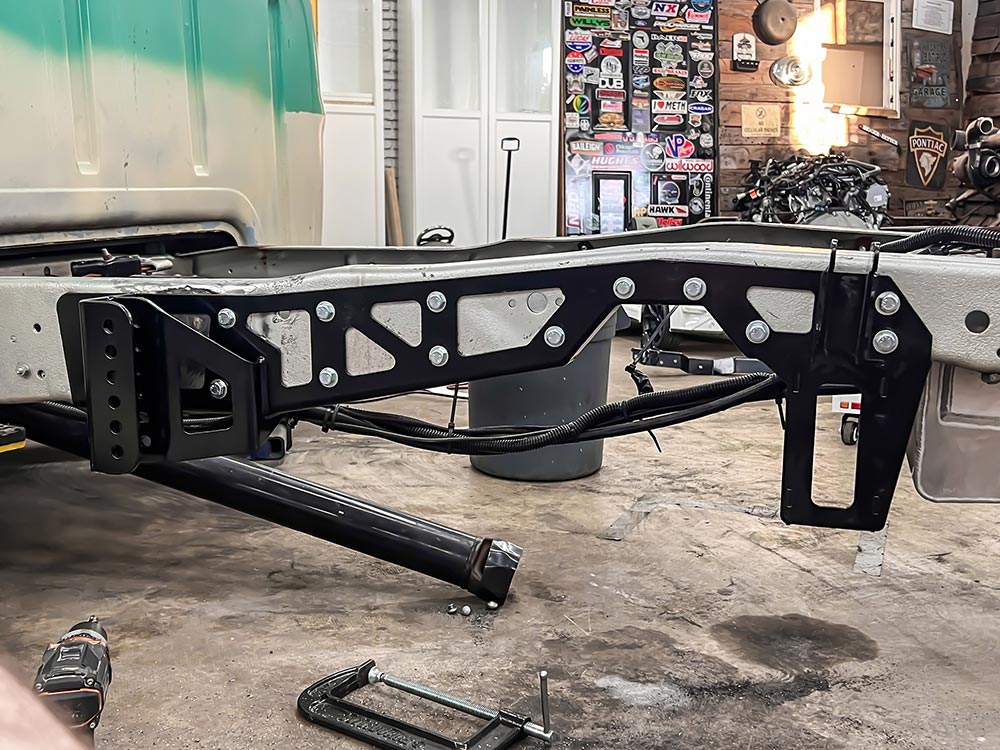
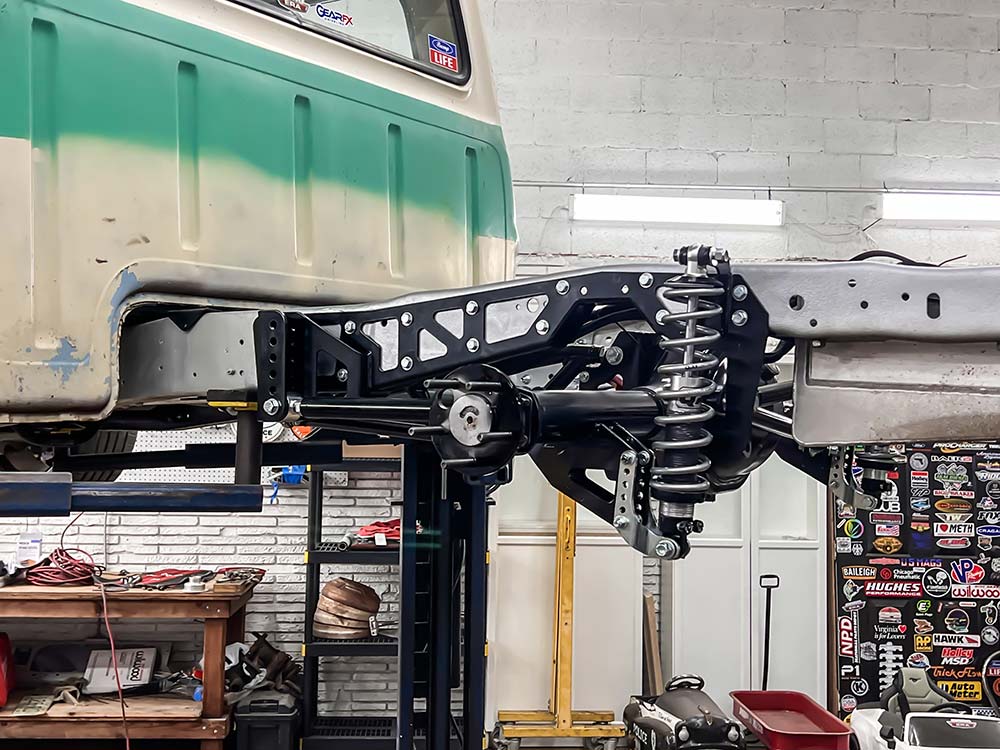
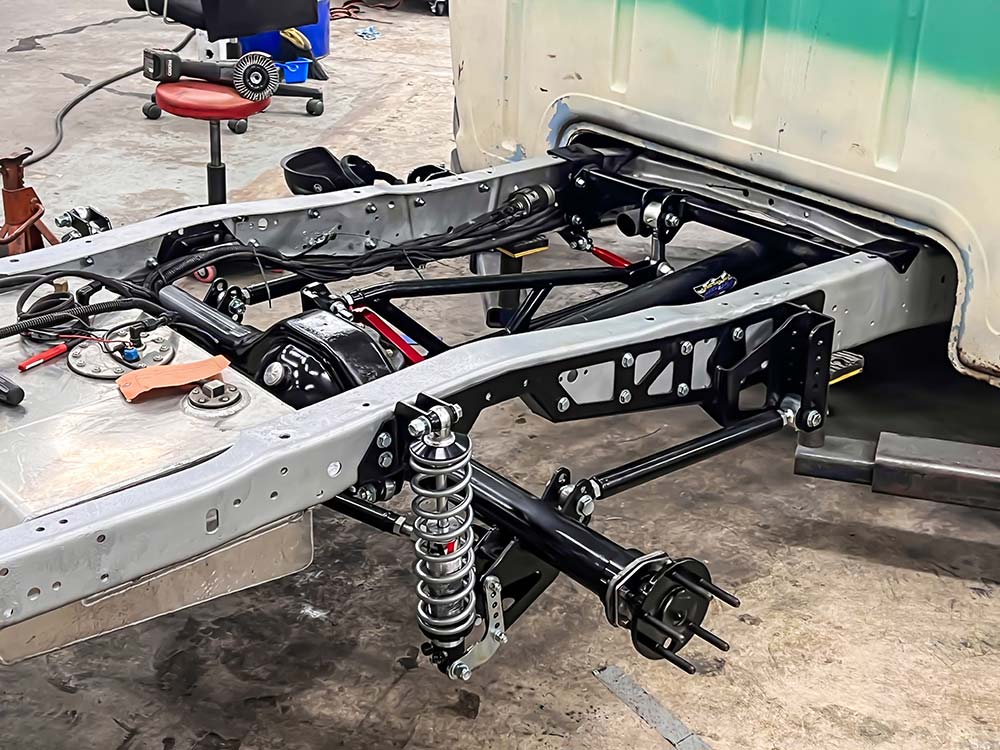
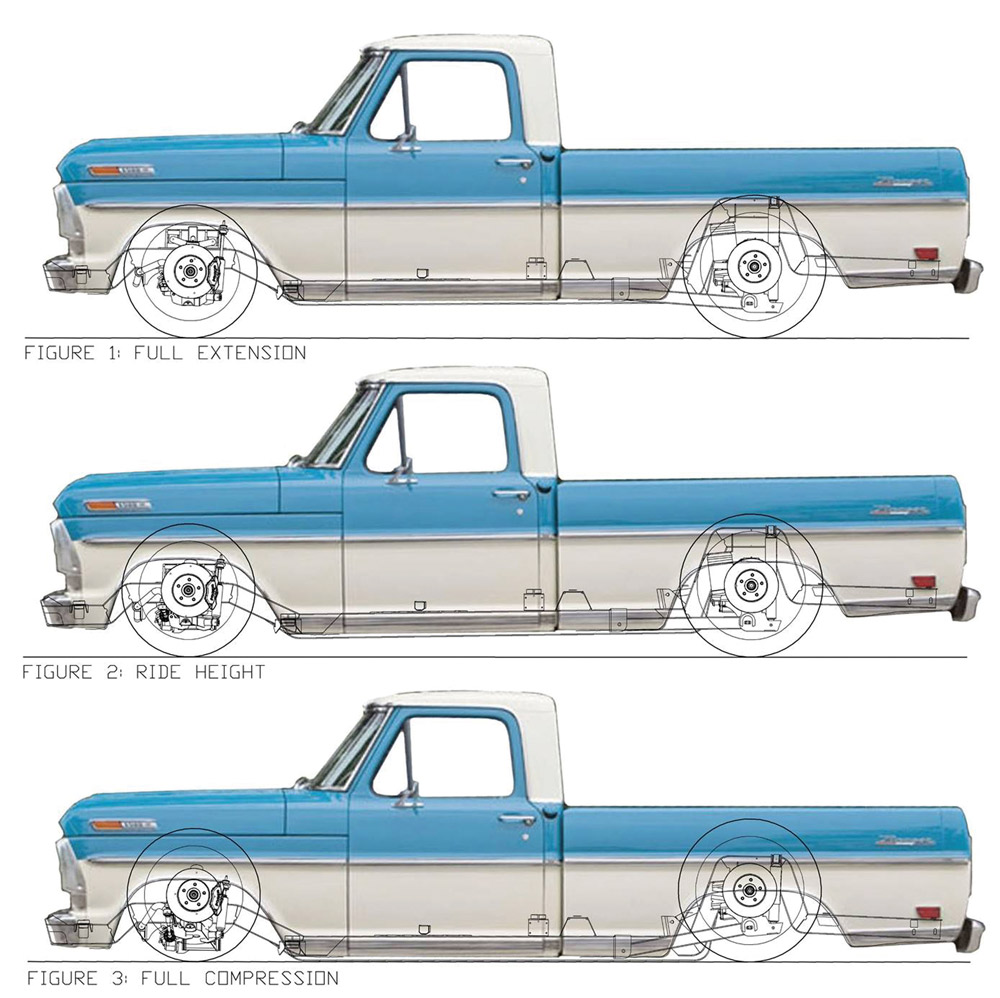
In the last issue of FBG, we did some Crown Vic front upgrades to our 1967 F-100, and we wanted to keep the rhythm going and address the rear suspension too.
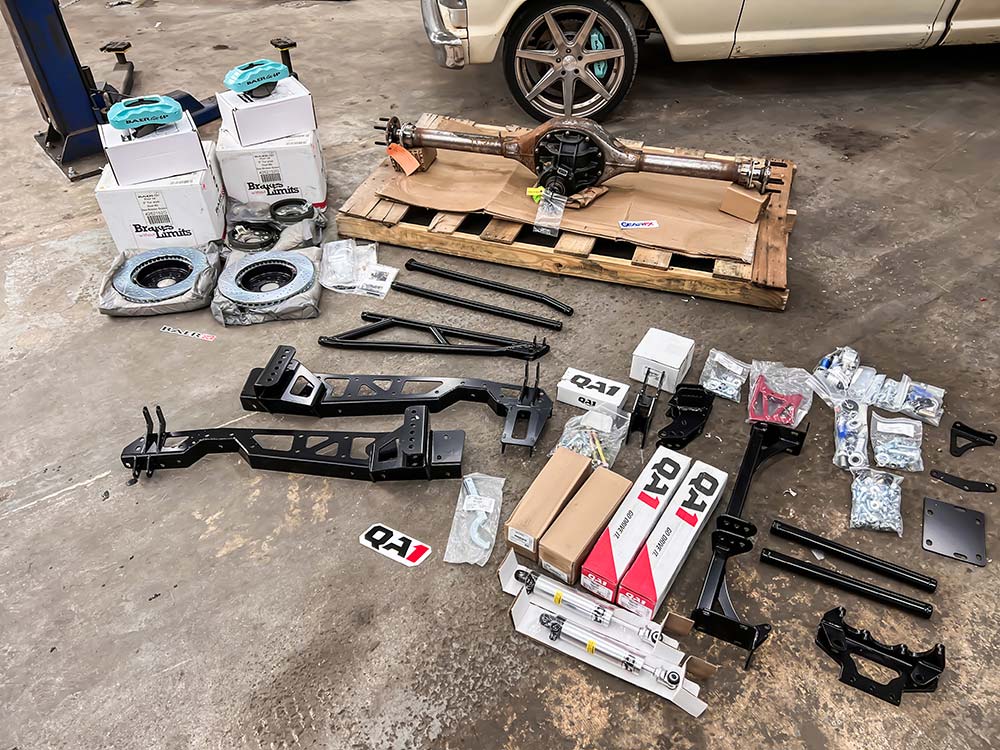
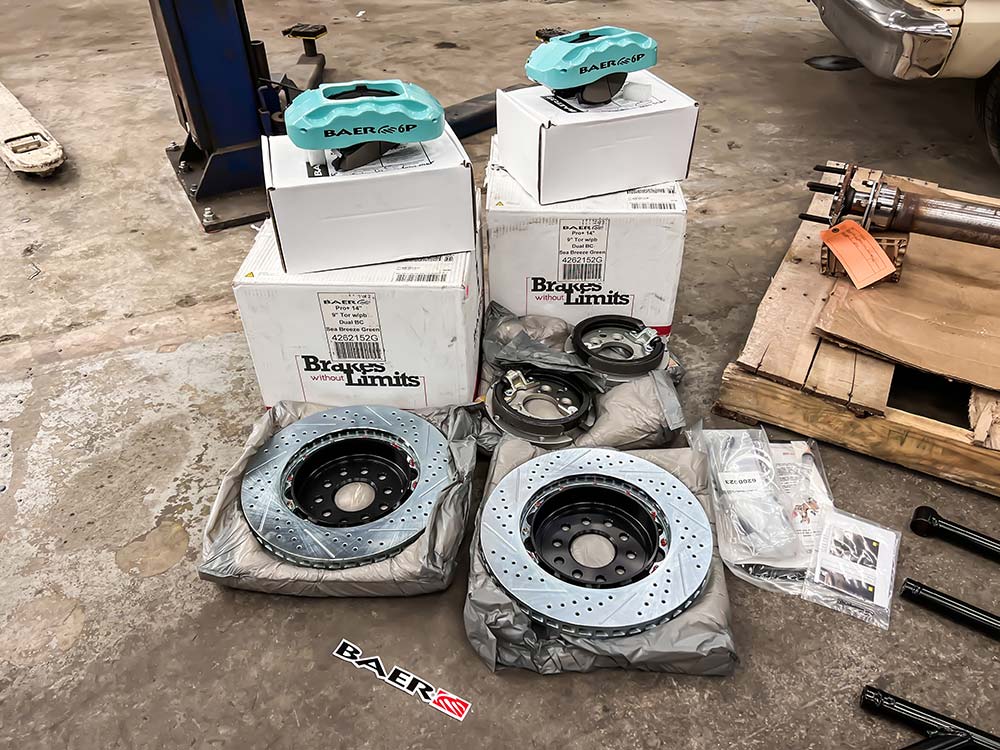
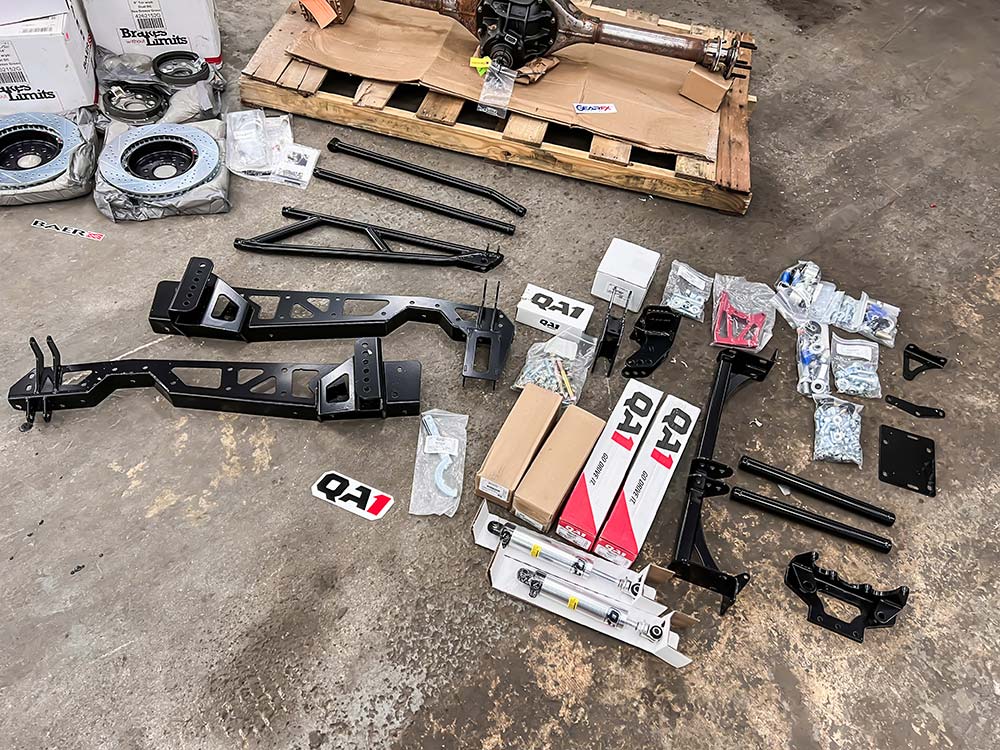
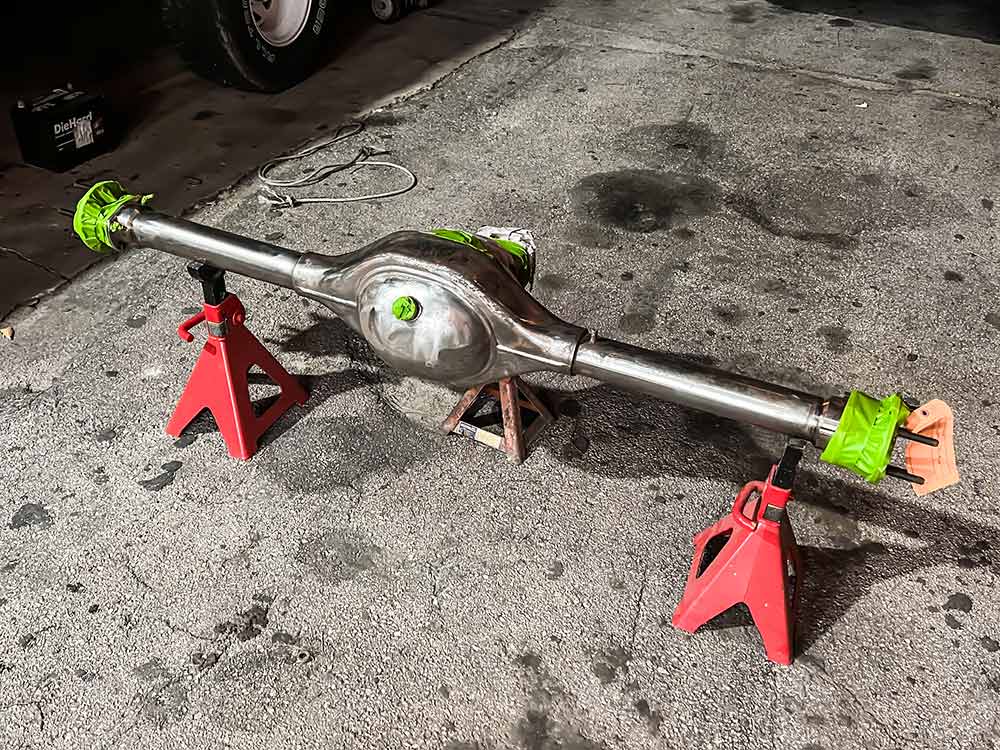
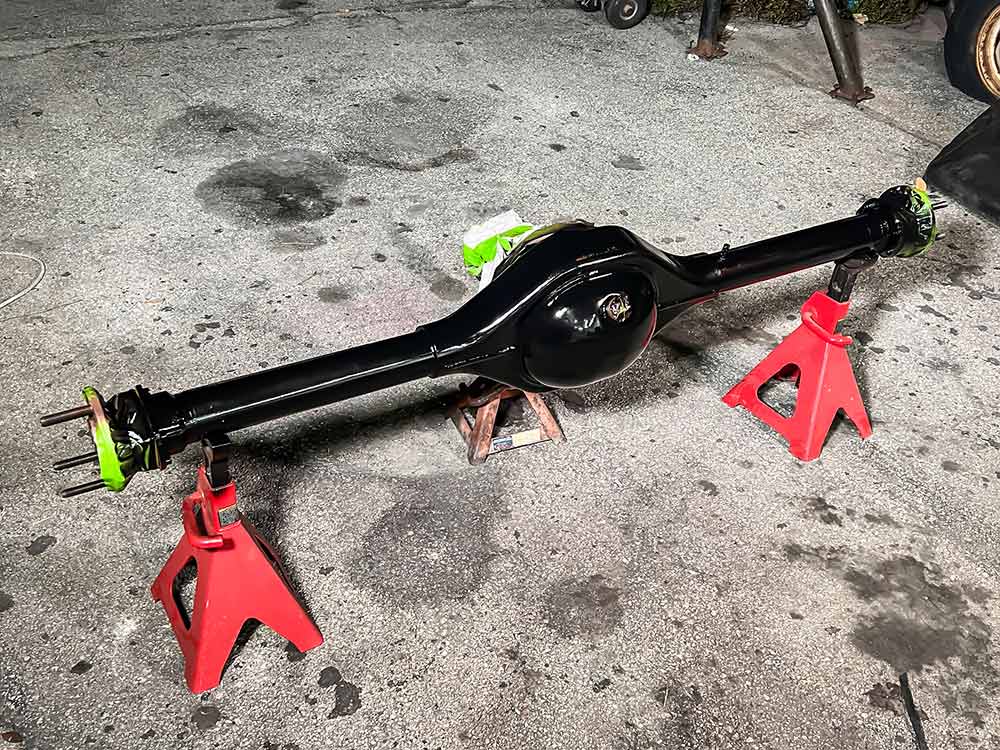
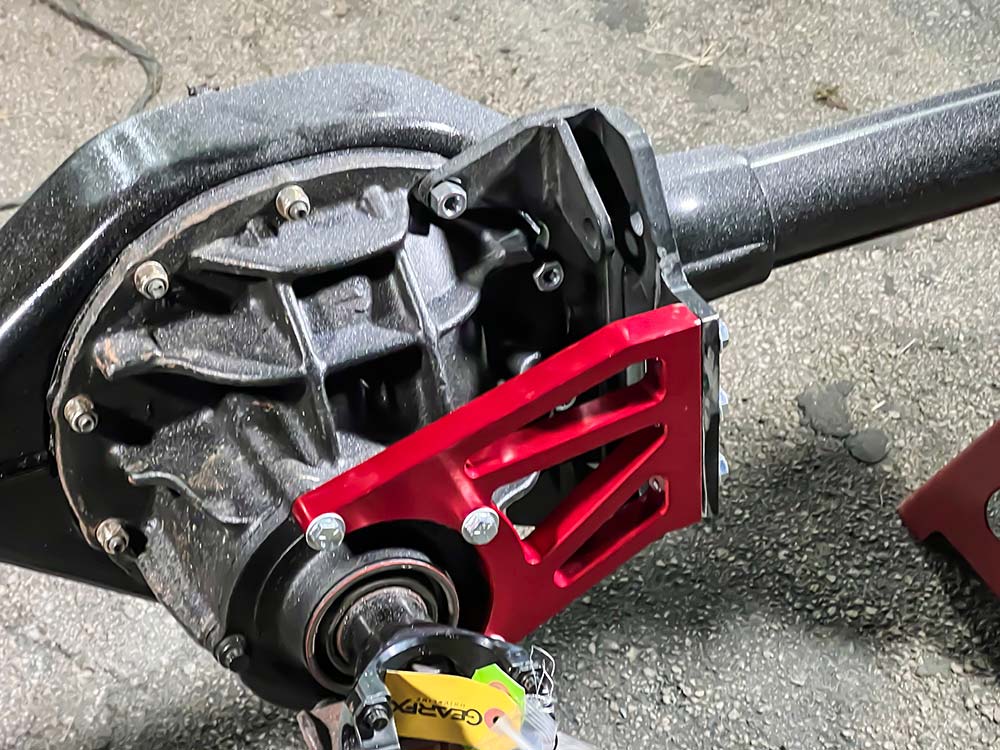
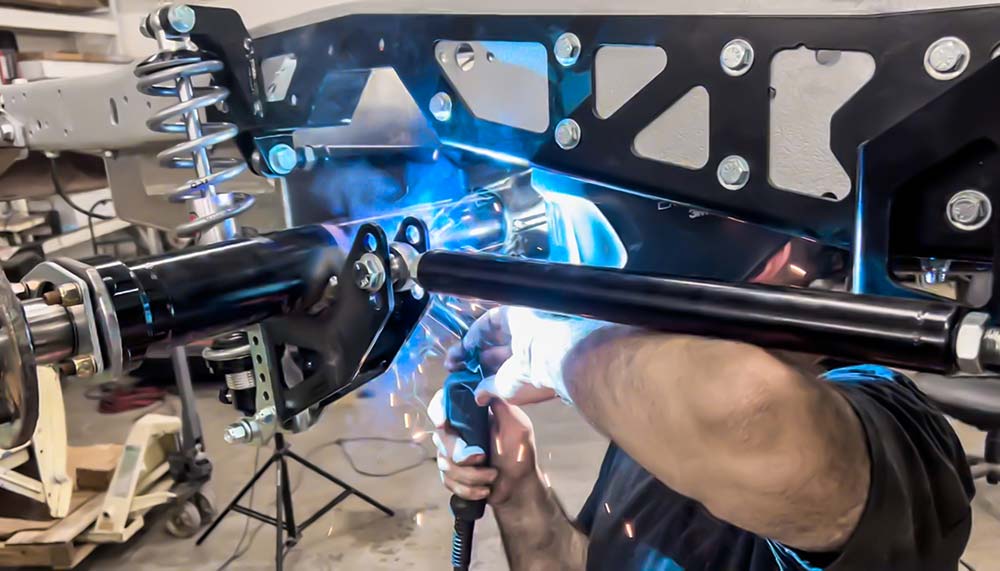
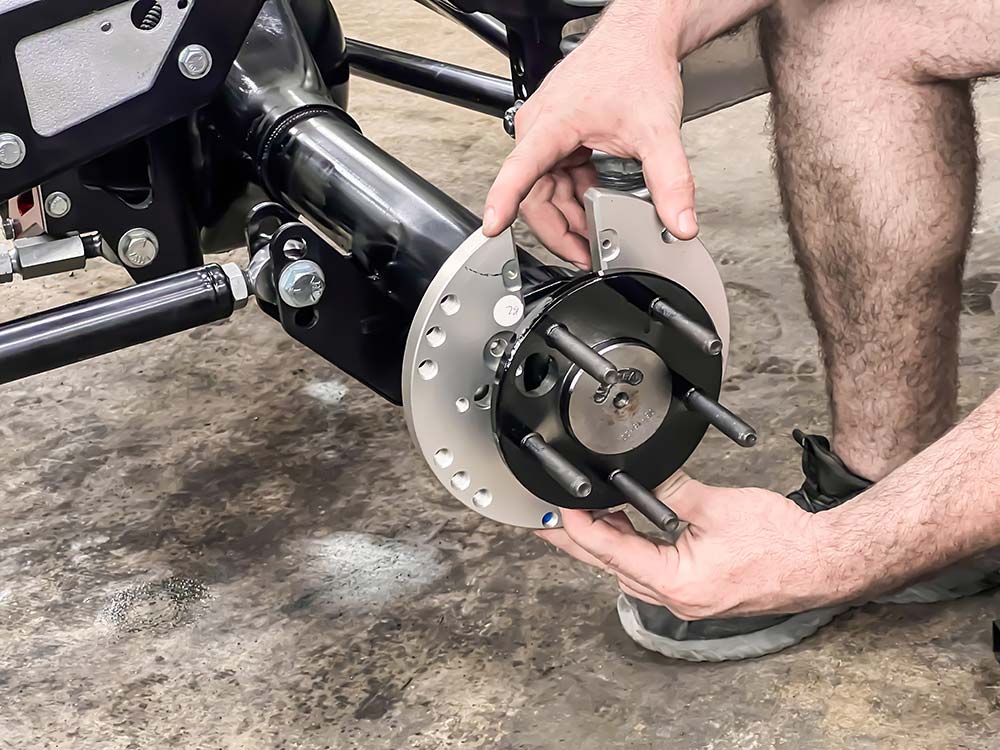
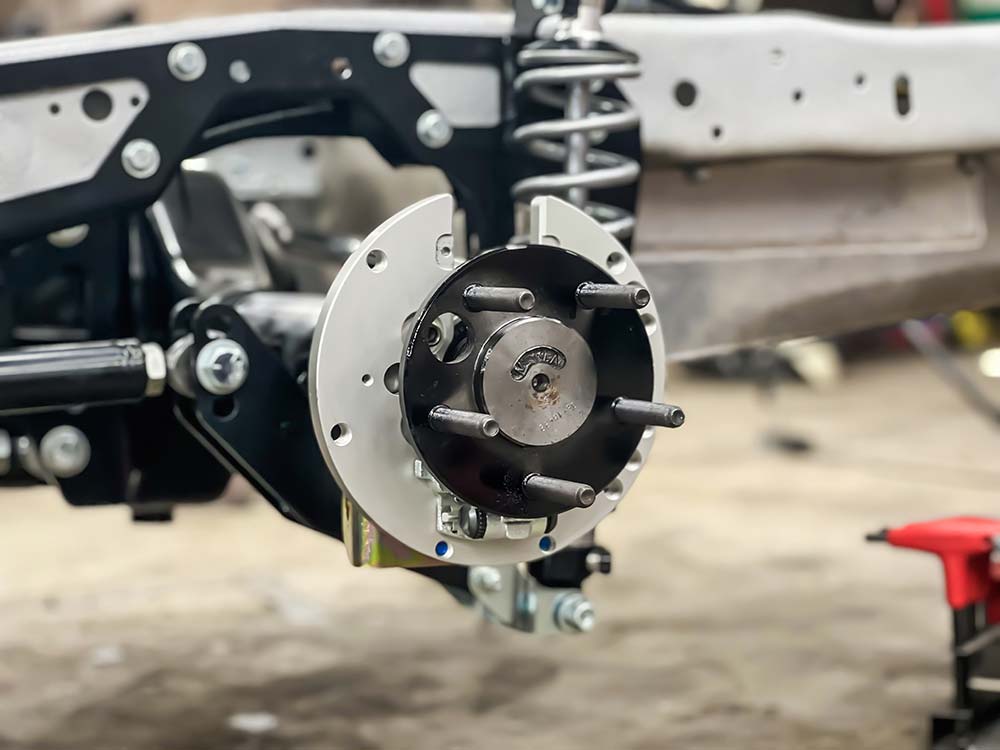
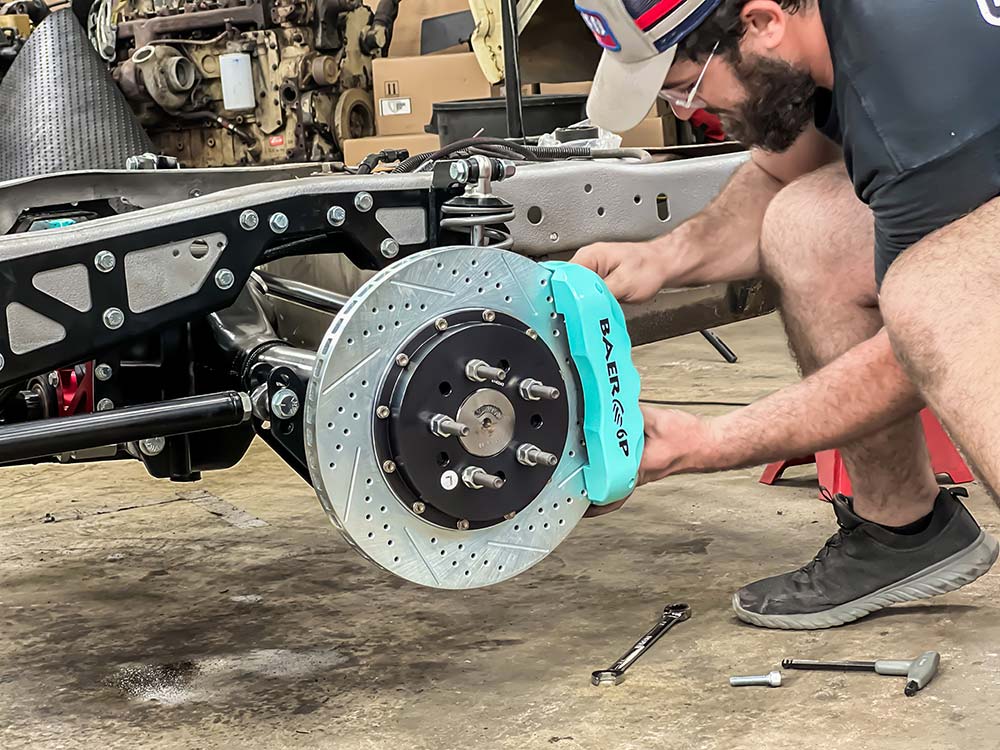
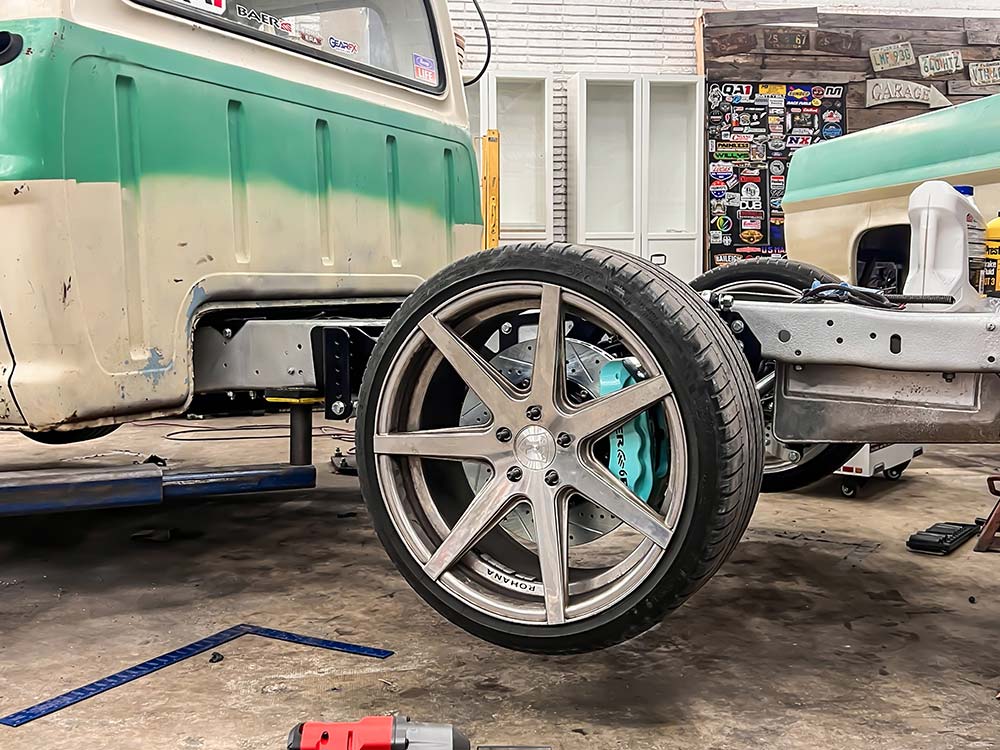
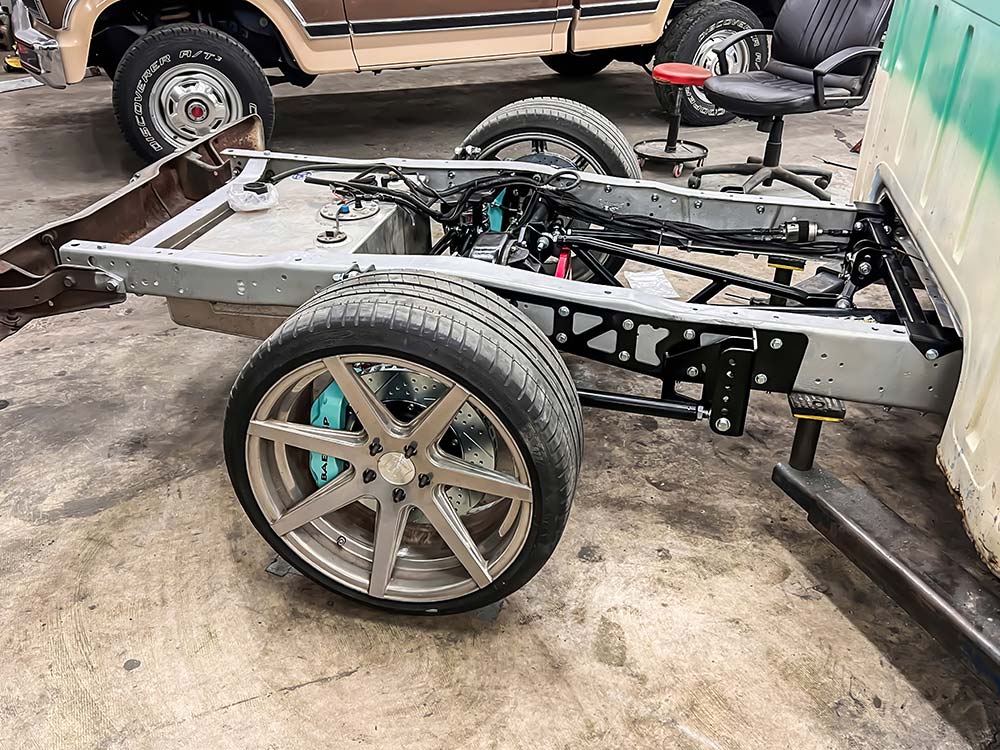
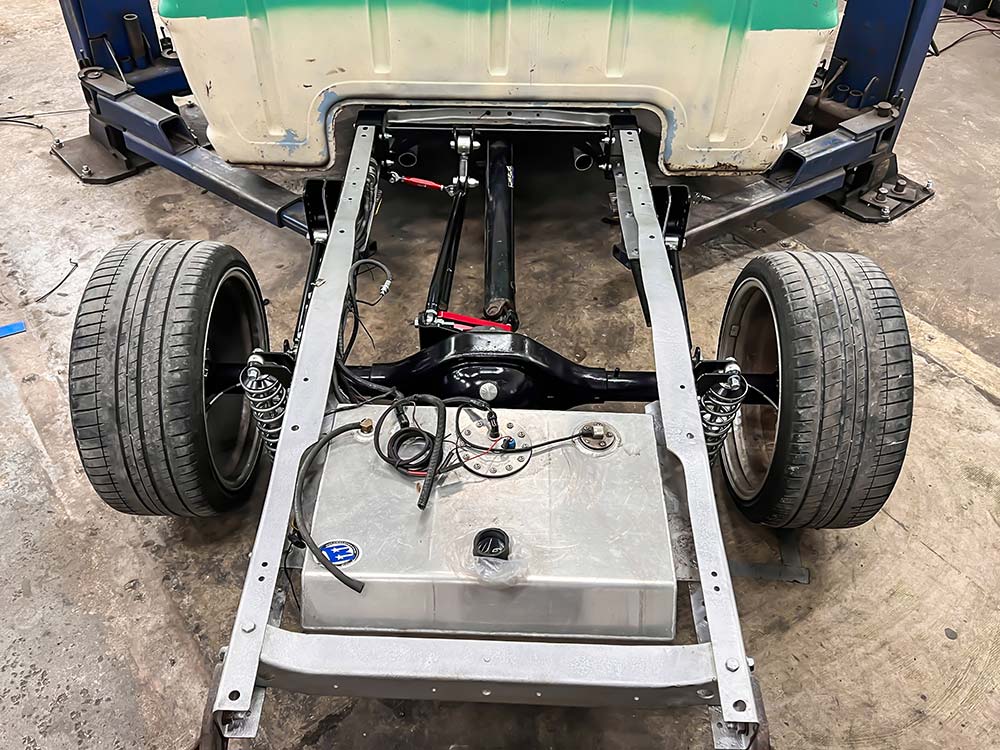
We have some fun plans with this ’67 F-100, and power is one of them. With that in mind, we elected to go for a new 9-inch GearFX driveline housing with 35 spline axles, 3:70 gears, a Detroit locker. To hold that monster of a rearend in place, we have the QA1 rear suspension. Just like up front, we went with a matching set of Baer Brakes Pro+ 6-piston setup.

One thing we did a little differently than a usual QA1 install is that we welded the QA1 axle parts to the axle instead of bolting it on, just because of what the intent of the final build is.


c10
A timeless quote, fitting for a timeless truck. As many of us in the auto world, Alabama resident Doug Kerr had been very close to… Continue reading
streettrucks . December 16, 2019
F100 Builders
CUSTOMIZING F-100S has been a popular trend for many decades, but the most coveted generation was the 1953-56 model. These days there has been a… Continue reading
ST-STAFF . June 16, 2020

C10 Builders Guide
We’ve all heard these hype words – “tubular control arms.” They’re buzzwords in suspension, just like coil-overs. Do tubular control arms live up to the hype?… Continue reading
Chris Hamilton . June 08, 2020
c10
This old ’77 square body Chevy is being converted from farm truck to corner carving, coilover carrying street truck. In the last issue we installed… Continue reading
Chris Hamilton . September 14, 2021

C10 Builders Guide
The C-10 crowd builds trucks in a variety of flavors; everything from stock with a restored look and lowered on some clean rollers to flat… Continue reading
Chris Hamilton . September 19, 2023

Department
QA1 is excited to announce the expansion of its classic Mopar suspension line with the asset acquisition of Gerst Tubular Suspension, a manufacturer of coil-over… Continue reading
Chris Hamilton . March 24, 2021


We use cookies to enhance your browsing experience, serve personalized ads or content, and analyze our traffic. By clicking "Accept All", you consent to our use of cookies. Visit our Cookie Policy for more info.

Share Link