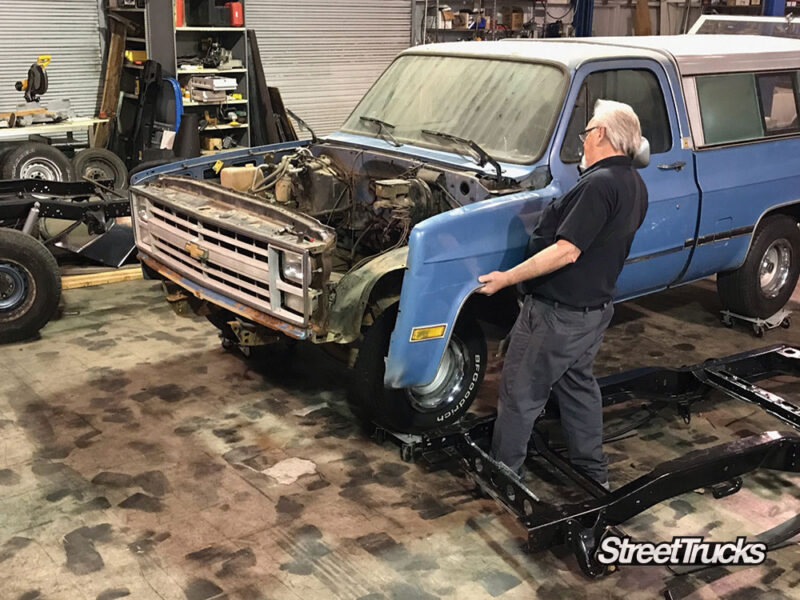
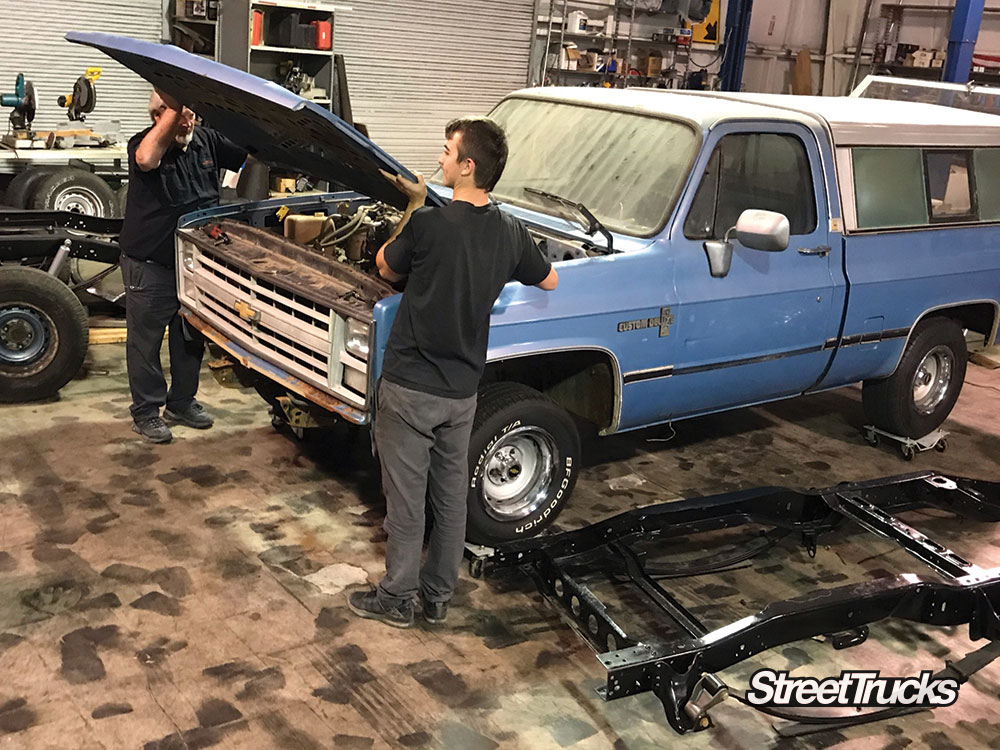
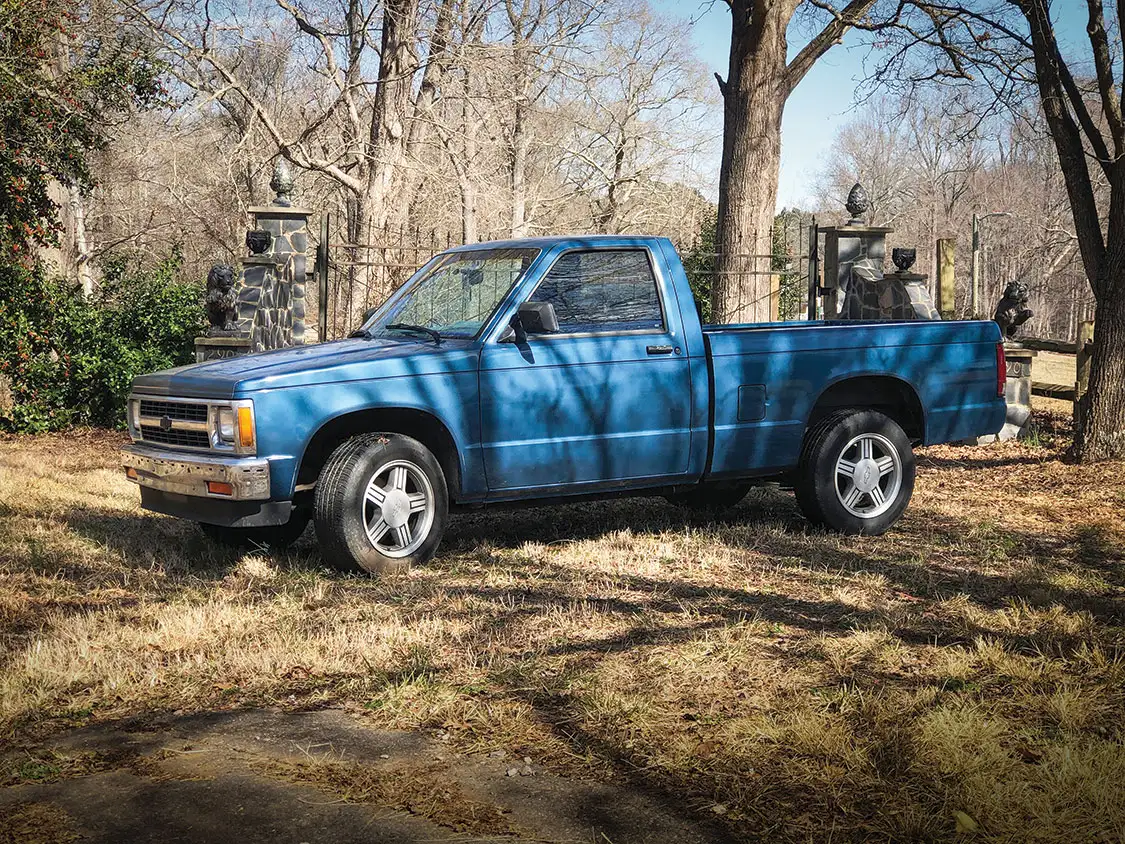
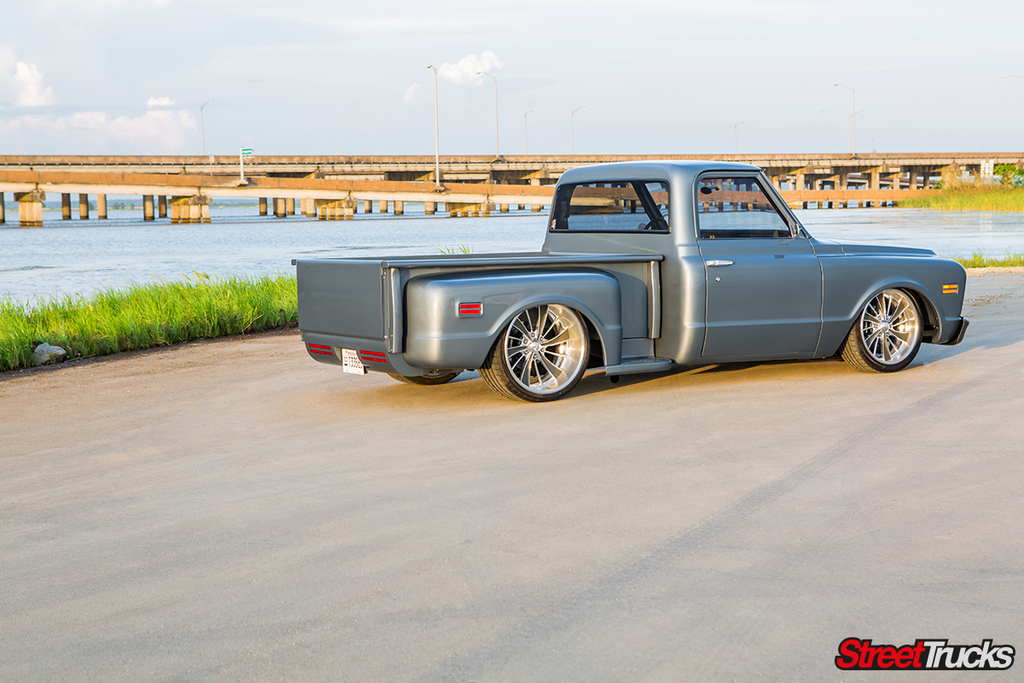
In Part 3 of our Squarebody coilover conversion, we install the front QA1 coilover and control arm system on a 1977 Chevy squarebody and show the key cutting/fitment steps (tophat rivet removal, spring cup trimming, and final coilover/control-arm assembly). This old ’77 square body Chevy is being converted from farm truck to corner carving, coilover carrying street truck.
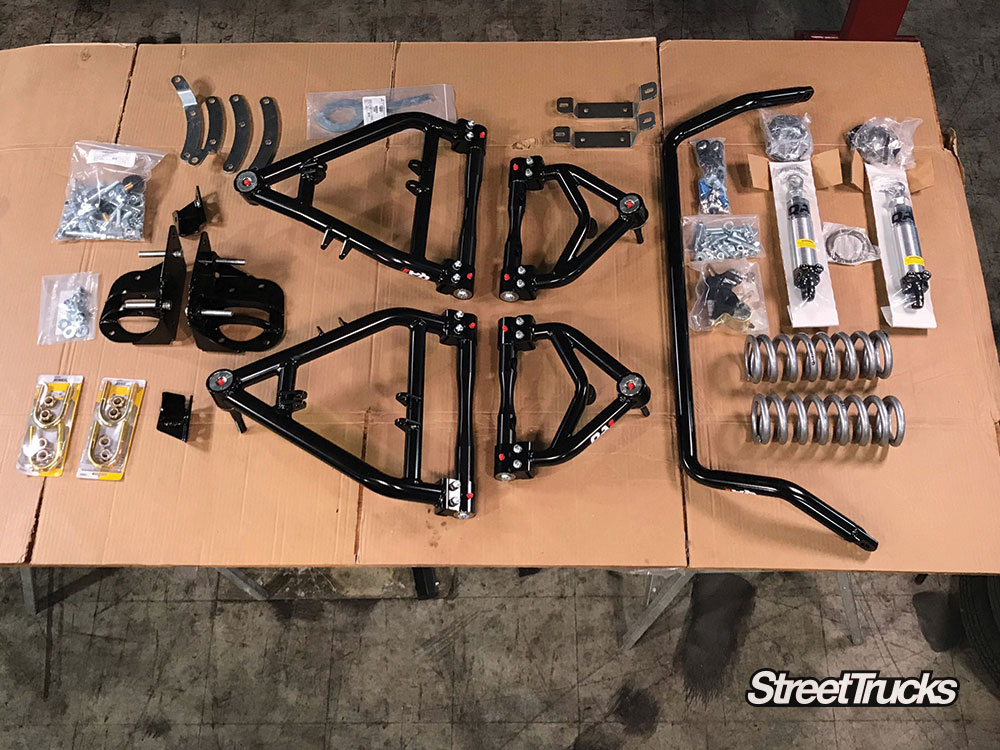
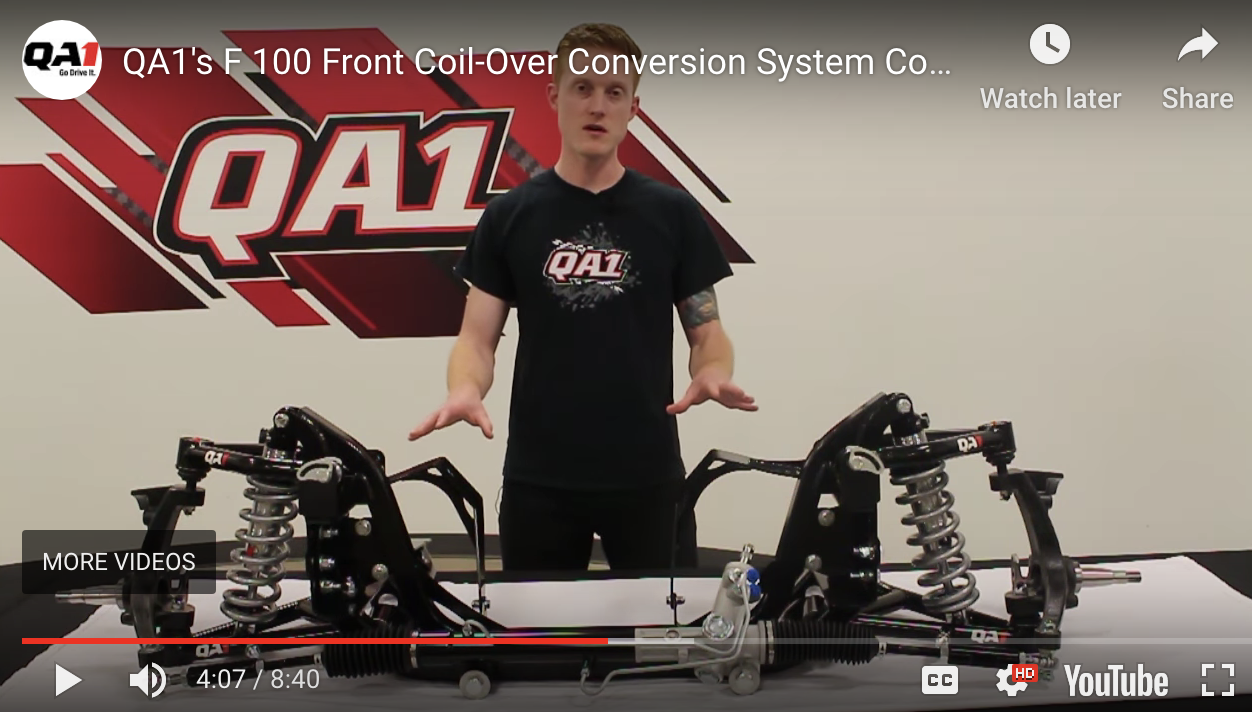
Dialing in the stance will be easy with the adjustable coilover system ~4 to 7 inches of adjustment below stock can easily be achieved. The major benefit of the torque arm design is that each component is designed to perform one function.
This provides superior control over suspension movement, resulting in a smooth ride and great handling characteristics. QA1 engineered this unique bolt-in torque arm design, which maximizes performance without the inherent binding issues of other four-link systems.
The factory frame rail on this truck is cracked completely in half. So we will remove all of the body panels from the original donor truck.
We will also be installing a 6L LS engine using new engine mounts and a new wiring harness. The real question is whether to keep the topper on it while we rip up the corners! The paint is not that bad for a 40+ year old truck, so we will simply buff it and let it ride. There is no reason we shouldn’t be ripping it around the track later this year!
The drivability will be greatly improved, with 7 degrees of added caster and fully adjustable ride height from the coilover system.
Front Squarebody Coilover Conversion: Step-by-Step Process
Step 1: Remove Factory Front Suspension
Begin by remove the factory upper and lower control arms, coil springs, and shock absorbers.
Step 2: Remove Factory Tophats
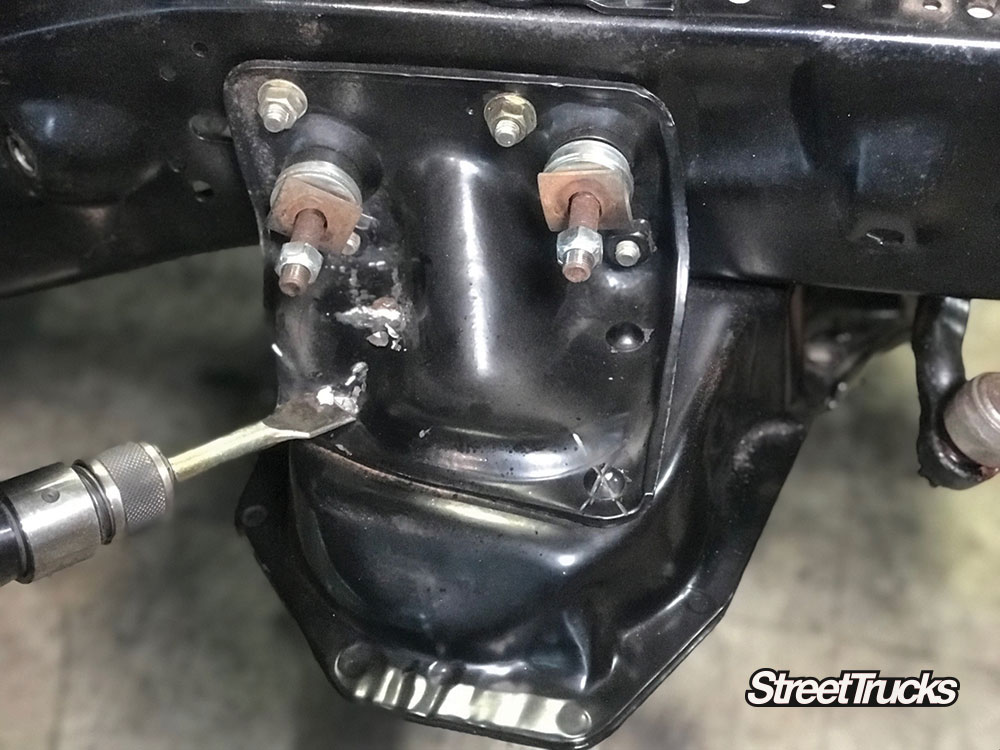
With the factory suspension removed, we need to use a pneumatic chisel to remove the rivets holding on these tophats.
Step 3: Clean and Prepare Mounting Holes
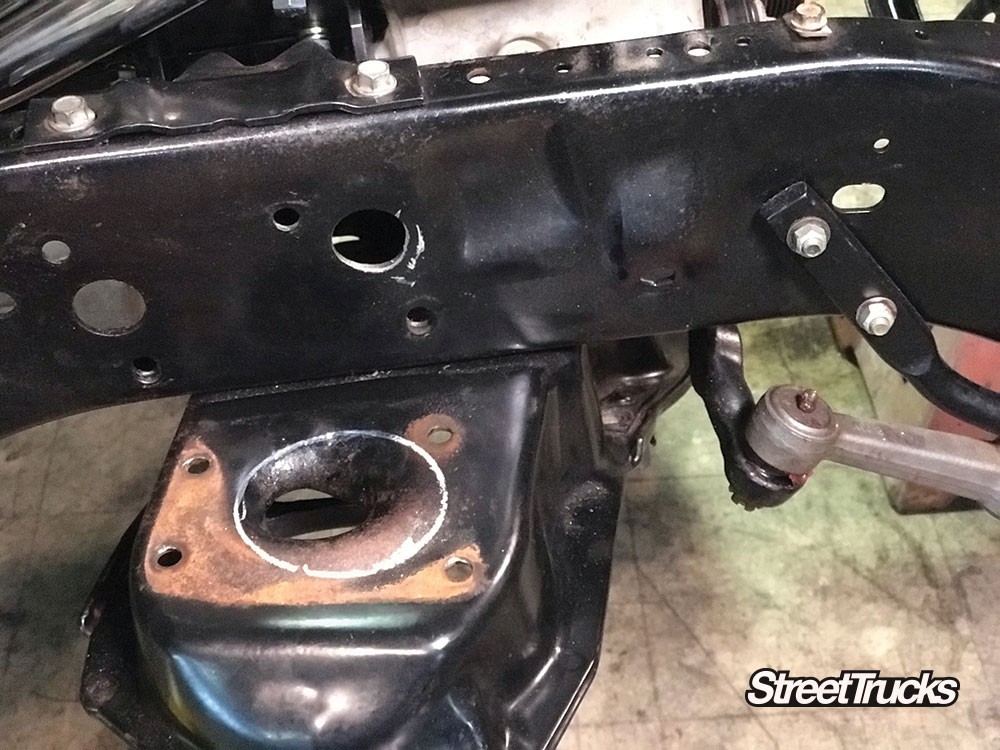
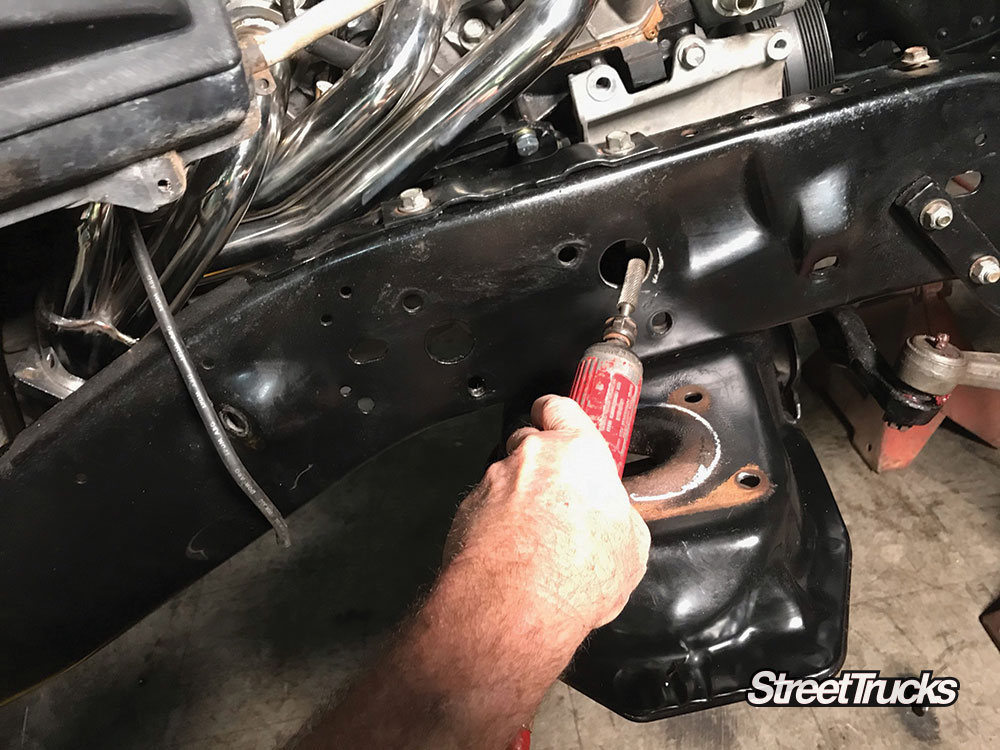
Cleaning the holes and clearing them of debris will make the project perfect in the end.
Step 4: Cut the Spring Cup Opening
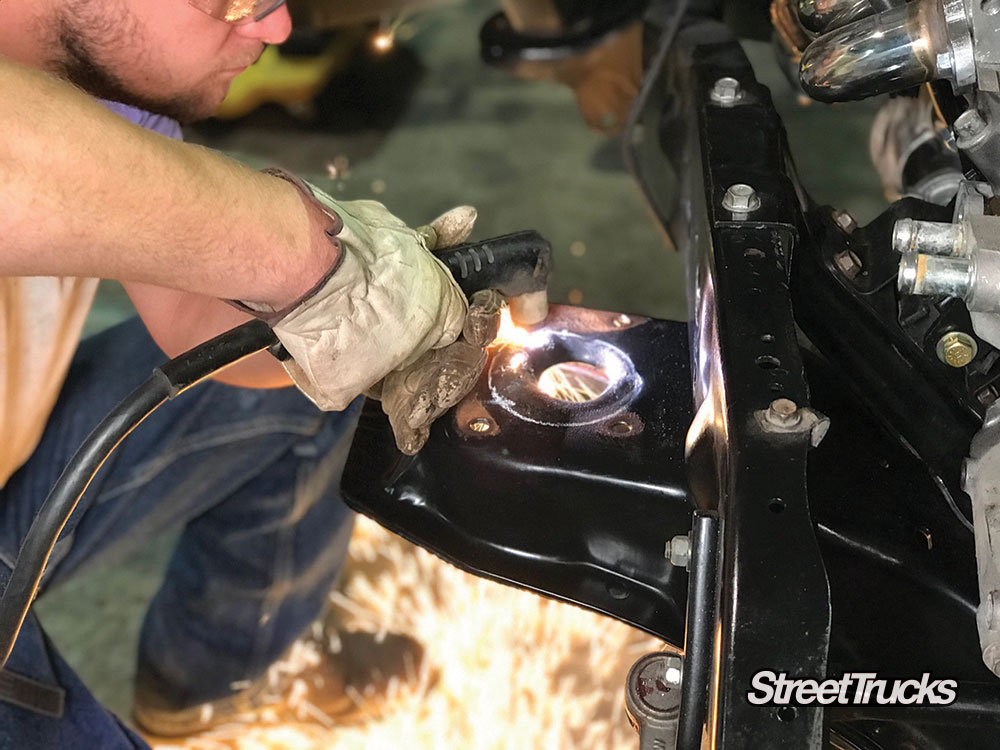
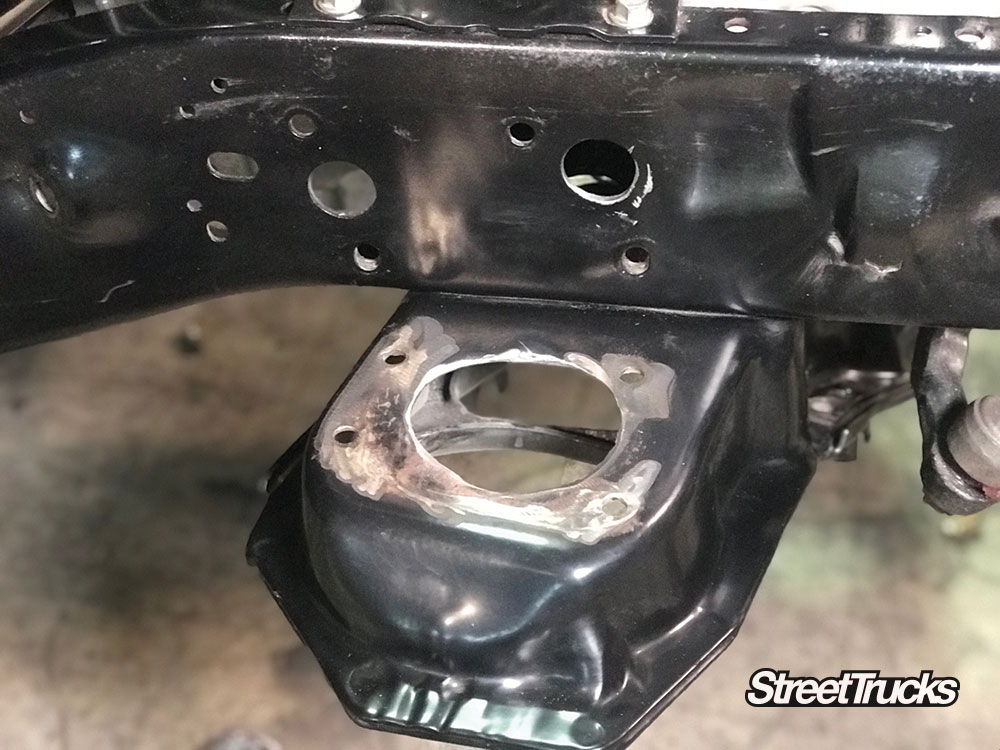
The top of the spring cup needs to be opened larger, but test fitting and lining up the new tophat is an important step you can’t skip.
With a confirmed cut line, Dave broke out the plasma cutter and made a quick cut. You can also use an angle grinder for this step if needed.
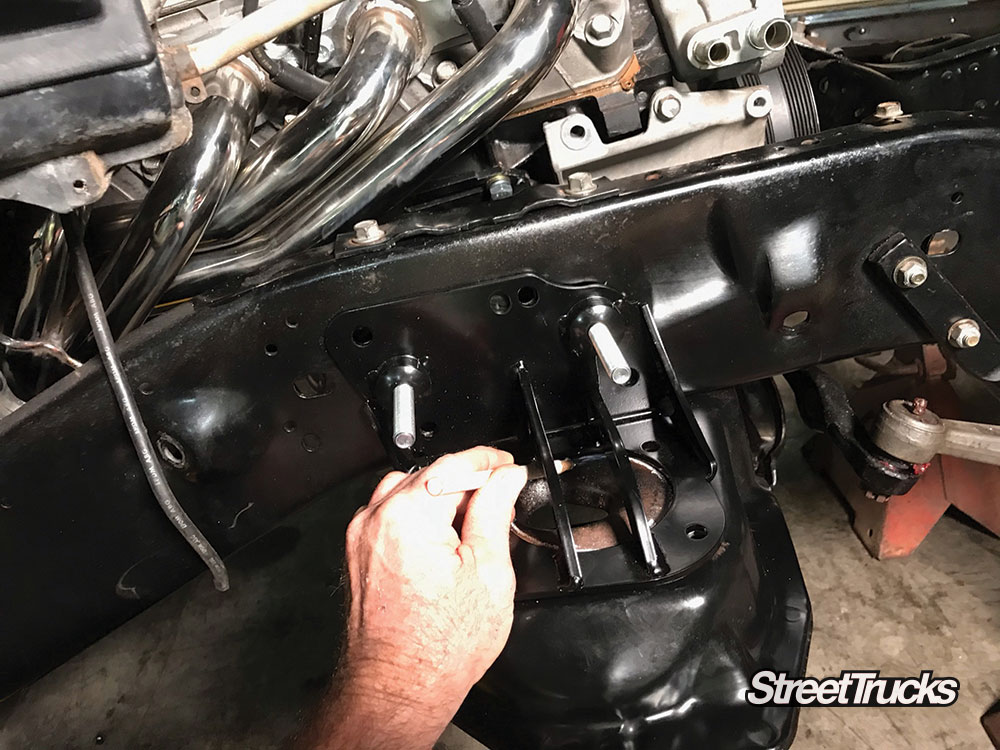
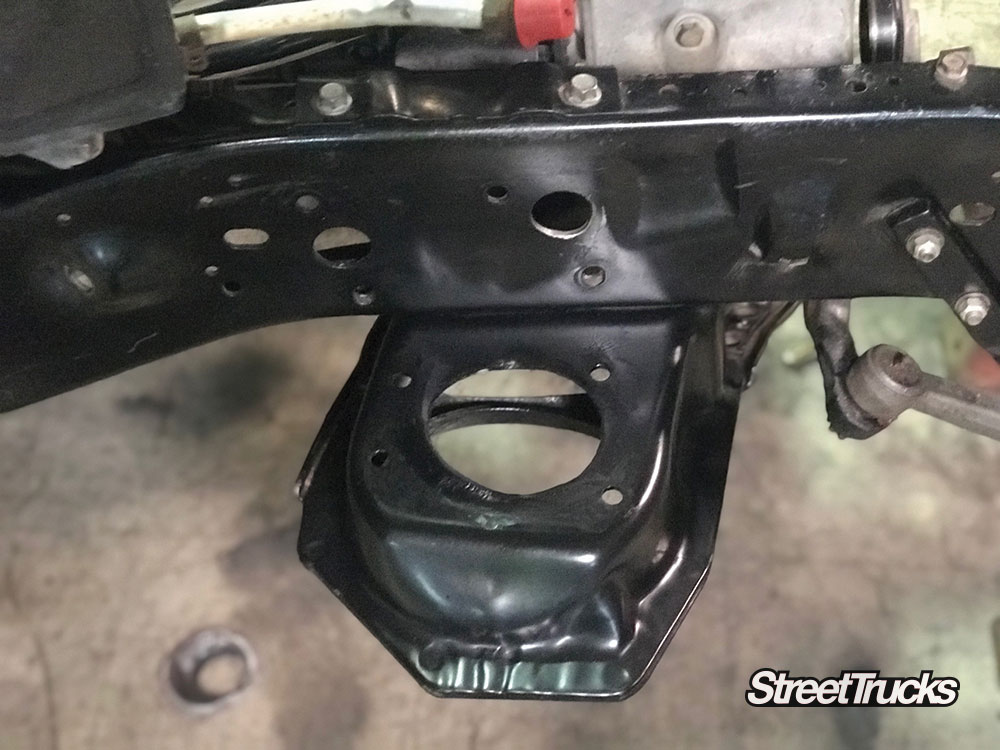
Step 5: Clean, Paint, and Install the Tophat
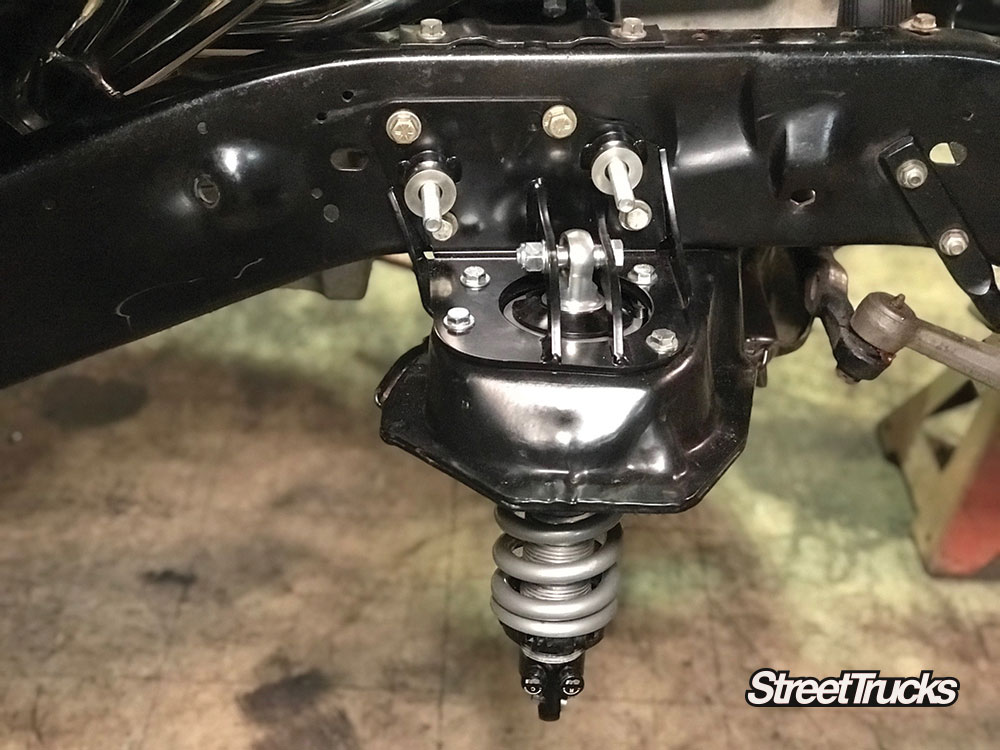
With the spring cup cleaned and painted, the tophat can be installed and the coilover can slide in.
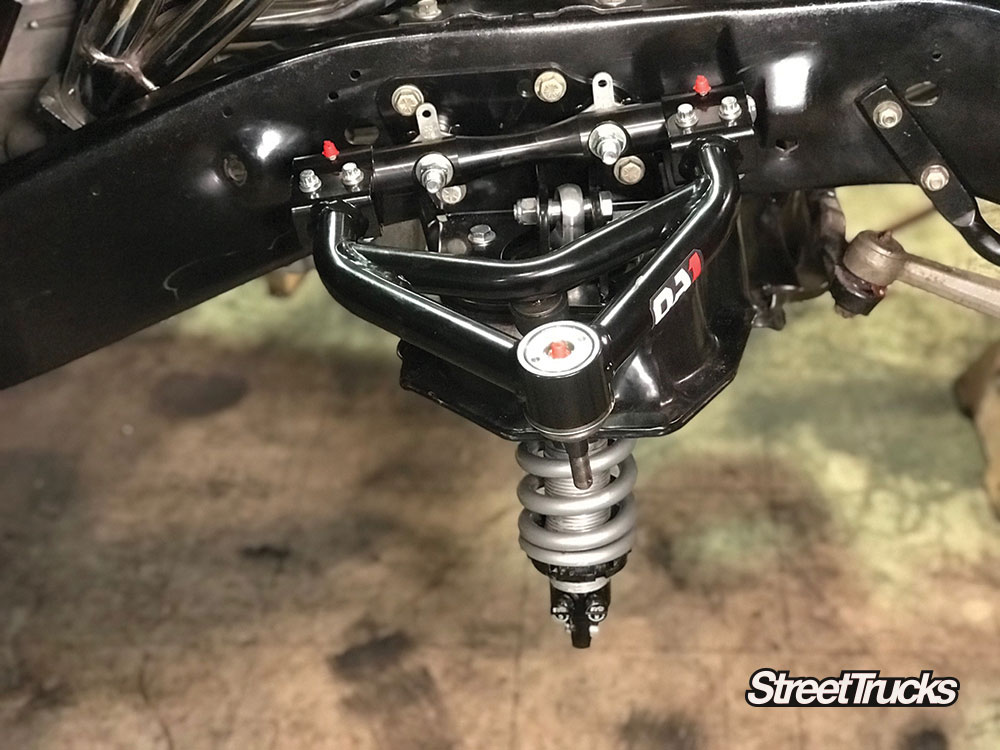
Step 6: Install QA1 Upper Control Arm
Next is the upper control arm from QA1. This finish is very impressive. It’s an incredible product.
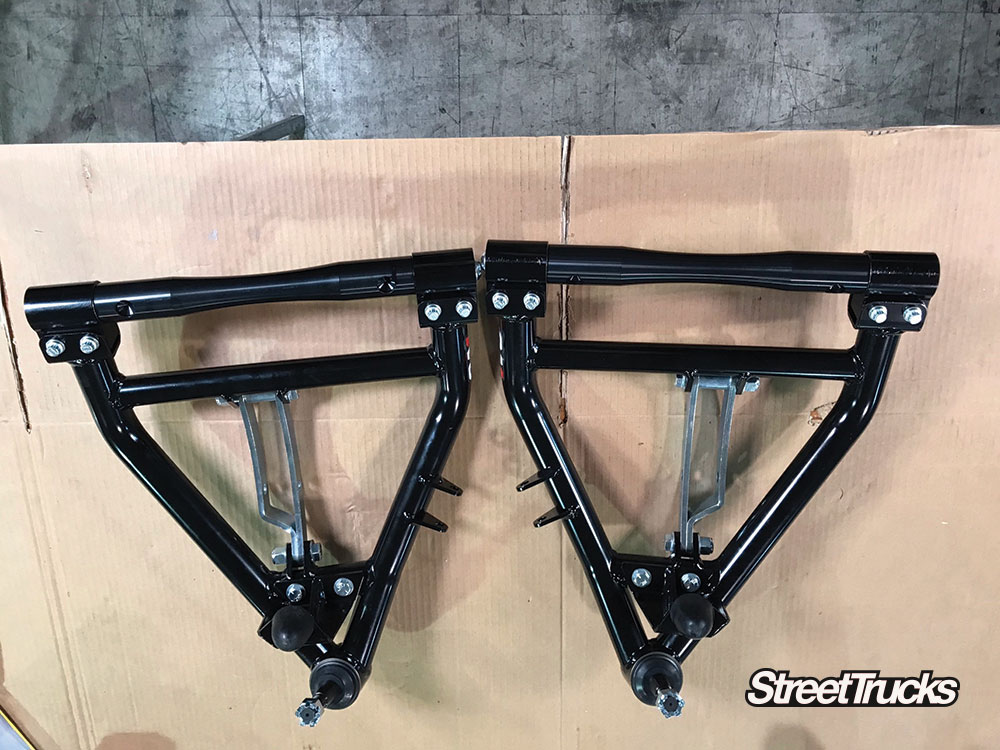
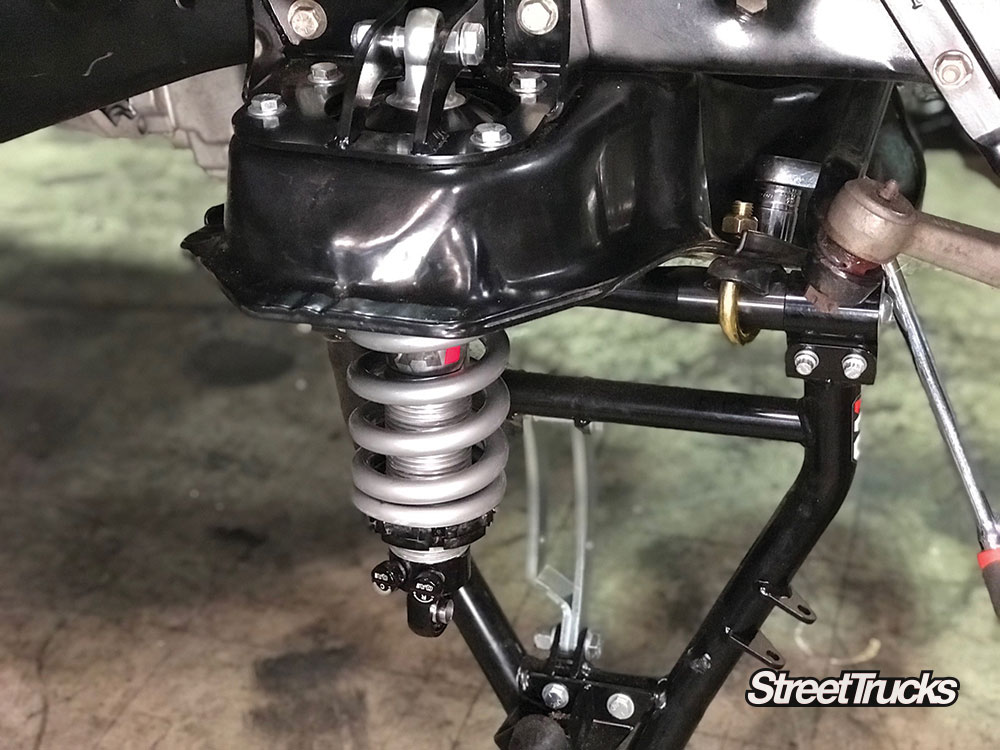
Step 7: Install QA1 Lower Control Arms
The lower control arms have mounts for the coilovers as well, and they come completely assembled and finished to perfection.With the lower control arms hung, you can clearly see how it all goes together. Check out this control arm kit for your C10.
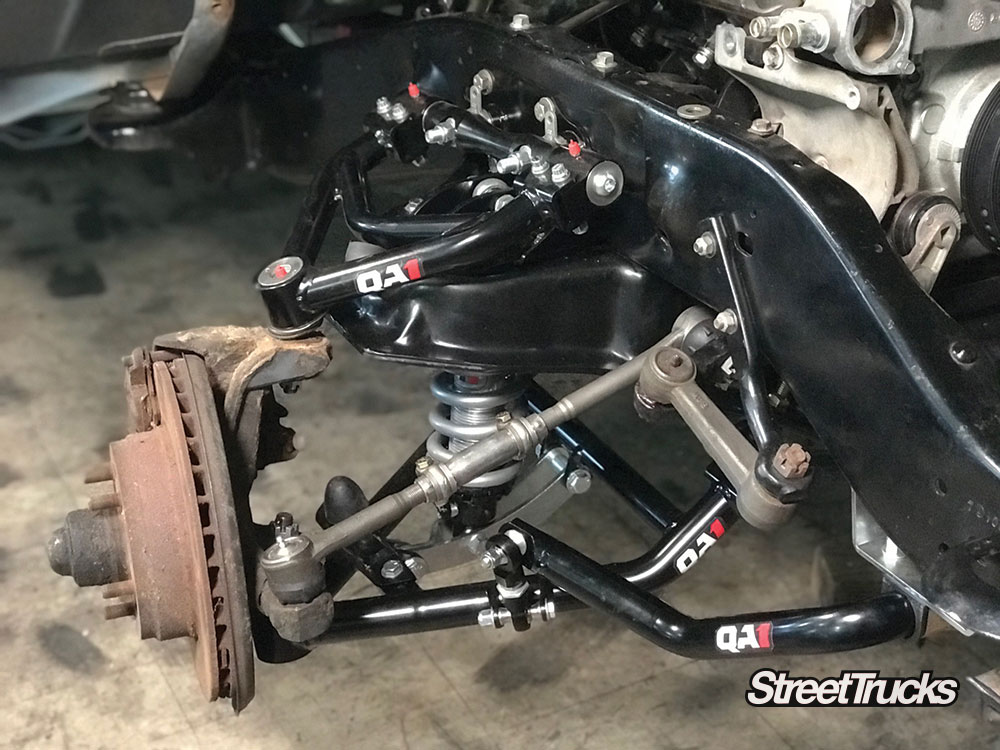
Step 8: Final Check and Ride Height Adjustment
Here is the final look for the front! Great engineering and design. Next to replace those brakes!
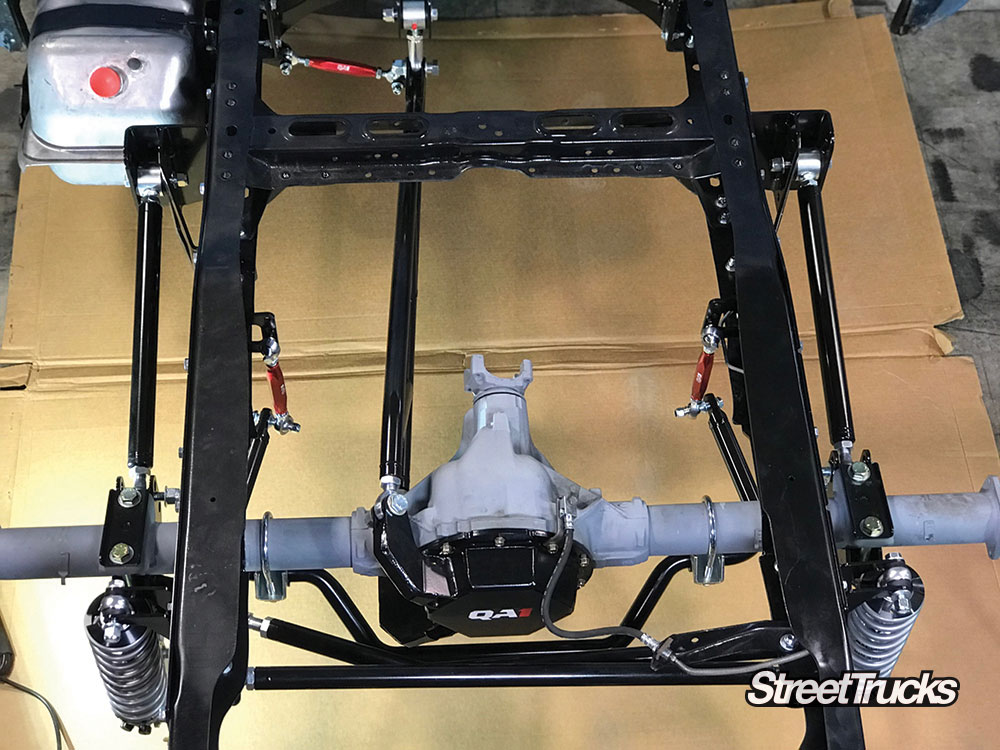
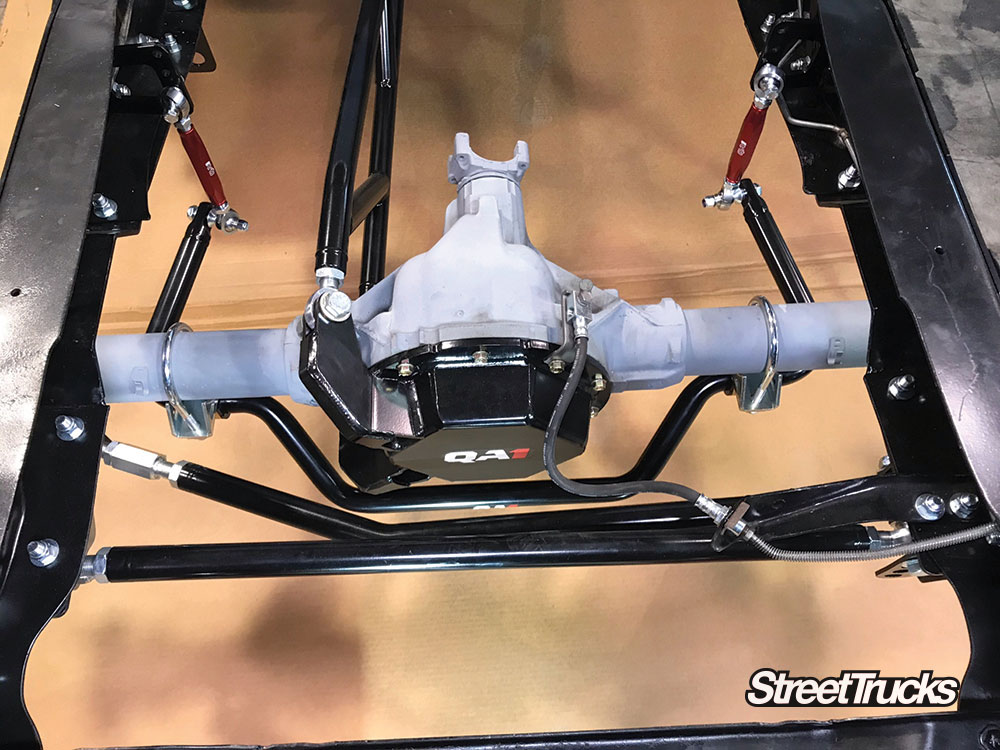
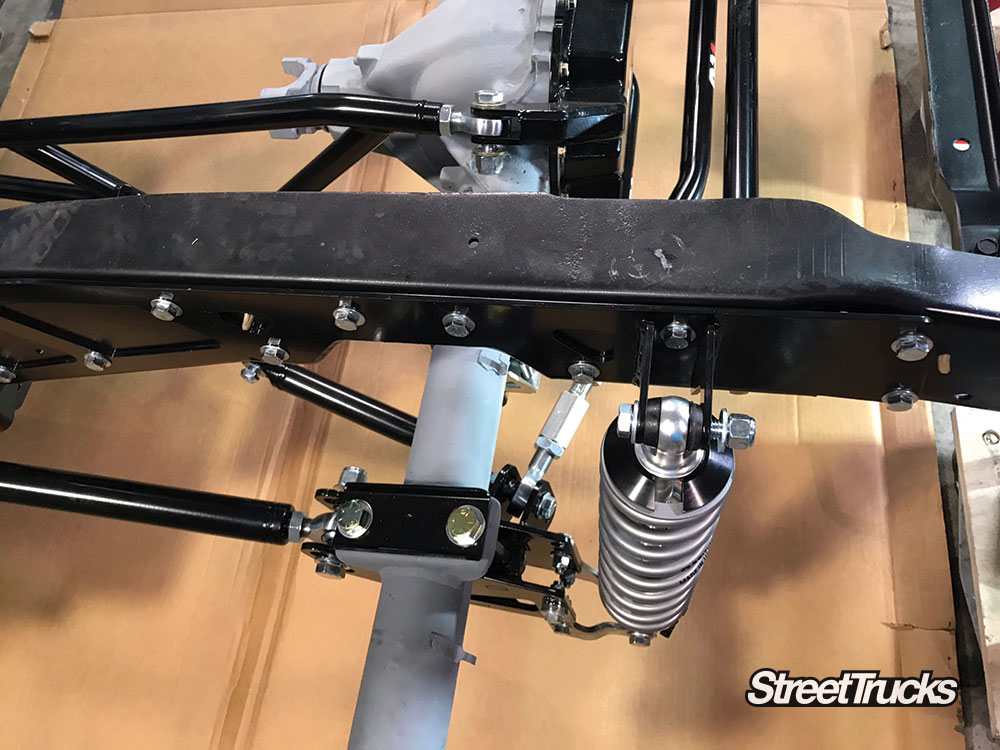
To catch you up with the rear, this is the completed install. Did you miss this part? Head over to StreetTrucksMag.com and search “QA1.”
Chris Hamilton is an automotive journalist, editor, and lifelong truck enthusiast with extensive experience covering custom truck builds, fabrication, performance upgrades, aftermarket products, and a ...
We use cookies to enhance your browsing experience, serve personalized ads or content, and analyze our traffic. By clicking "Accept All", you consent to our use of cookies. Visit our Cookie Policy for more info.





















Share Link