 Chris Hamilton
.
September 16, 2021
.
Department
Chris Hamilton
.
September 16, 2021
.
Department
These complete lowering kits are your all-in-one box solution. Made up of a variety of combinations of our individual lowering components as well as all the grade 8 installation hardware and alignment pieces necessary to achieve the advertised lowering amount, choosing your kit has never been simpler. This combination is perfect for our teenage tester Collin Hagge. Collin’s dad Brian wanted to make his son’s 16th birthday one for the ages, so he handed Collin the keys and let him go. A phone call to Belltech didn’t take long to happen and a Belltech 4-inch front and 5-inch rear suspension kit with Street Performance Shocks was ordered.
We will continue to follow this build throughout its evolution, starting with some new shoes and a tighter stance. Follow Collin Hagge’s Instagram page @in.da.grass.photography for updates on Project High School HAUL’R.

This Belltech Part #: 616SP Kit Fits:


What are the features of the standard lowering kit for 1982-04 Chevy S10 and GMC S15 trucks?
Transform your 1982-04 Chevy S10 or GMC S15 truck with a specialized lowering kit that brings both performance and aesthetics to the forefront. This kit offers several critical features designed to enhance your vehicle’s profile and handling:
By integrating these carefully engineered components, the standard lowering kit significantly modifies your truck’s stance and driving dynamics, ensuring a sleek, aggressive look without compromising performance.
What are the features of the economy type lowering kit for 1982-04 Chevy S10 and GMC S15 trucks?
Transform your ride with our budget-friendly lowering kit designed for 1982-2004 Chevy S10 and GMC S15 trucks. Here are the standout features:
The kit is designed for straightforward installation, making it a great option for DIY enthusiasts. All necessary hardware and detailed instructions are included to guide you through the process.
Upgrade your truck’s appearance and performance with this economical lowering kit.
What types of lowering kits are available for 1982-04 Chevy S10 and GMC S15 trucks?
This Belltech Part #: 616SP Kit Fits:
If you’re looking to lower your 1982-04 Chevy S10 or GMC S15 truck, you have several options to choose from, each catering to different needs and budgets. Here’s a breakdown of the available kits:
These kits are designed to cater to various needs, whether you’re looking for a basic drop or a more comprehensive lowering solution with enhanced components. By choosing the right kit, you can achieve the desired stance and performance for your Chevy S10 or GMC S15 truck.
How can you select the appropriate lowering kit for a specific year and model of Chevy S-10?
Choosing the right lowering kit for your Chevy S-10 involves a few key steps to ensure compatibility and optimal performance. Follow this guide to make an informed decision:
First, gather all necessary information about your Chevy S-10:
Lowering kits come in various forms, each offering distinct advantages:
Check the specifications of the lowering kits to confirm they match your vehicle’s requirements:
Once you’ve chosen the right kit, professional installation is recommended. An expert can ensure that the kit is installed safely and performs as expected.
By following these steps, you can confidently select a lowering kit tailored to your specific Chevy S-10, ensuring both a perfect fit and enhanced performance.
Are there lowering kits available for both 2WD and 4WD Chevy S-10 models?
If you’re looking to enhance the performance and aesthetic of your Chevy S-10, lowering kits are a popular modification. Available for both 2WD and 4WD models, these kits cater to enthusiasts who want to achieve a sleek, custom look while improving handling.
Lowering kits for the Chevy S-10 offer a range of options tailored to different preferences. Whether you have a 2WD or a 4WD model, there are kits designed specifically for each. Here’s a closer look:
These lowering kits are versatile, covering a wide span of model years. You can find options compatible with models from as early as 1982 up through 2004. This ensures that no matter your S-10’s age, there’s likely a kit to fit your vehicle.
Lowering your Chevy S-10 not only improves its stance but also positively impacts handling. With improved weight distribution and reduced body roll, your truck can perform better on the road, offering a driving experience that combines comfort with agility.
In summary, whether you drive a 2WD or a 4WD Chevy S-10, there are lowering kits available to meet your needs. Explore the options to find the perfect match for your truck.
Are there different lowering kits available for standard cab and extended cab Chevy S-10s?
For those looking to customize their Chevy S-10 with a lower profile, a variety of lowering kits are available to suit different needs and preferences. Here’s a look at some options for both extended cab and standard cab models:
These kits cater to both visual appeal and driving experience, ensuring there’s a perfect fit for every Chevy S-10 owner looking to make a statement on the road.
Are there variations in lowering kits based on engine type or other vehicle specifications?
Yes, there are kits tailored for 6-cylinder models and specific versions like the “Extreme” model, highlighting the variety available to suit different vehicle specifications.
What specific model years are covered by these kits?
The kits are designed for vehicles from model years 1999 to 2004, with some options covering 1994 to 2004.
Are street performance shocks included with the kits?
Yes, several kits come with street performance shocks, enhancing the overall performance of the vehicle once lowered.
What are the prices for each lowering kit?
The prices range from $311.50 to $1,058.50, varying based on the specific lowering kit and its features.
What are the options for Chevy S-10 6-cylinder models in terms of lowering kits?
For those driving a Chevy S10 6-cylinder model, there are a variety of lowering kit options designed to enhance your vehicle’s performance and aesthetics. Below are some of the top choices available:
1999-2004 Chevy S10 2WD
1994-2004 Chevy S10
Each of these kits is designed to cater to different preferences and driving conditions, offering flexibility and choice whether you’re looking for a subtle change or a more noticeable transformation.
What model years do these lowering kits cover?
The kits are compatible with models from the years 1994 to 2004, with some options specifically for 1999 to 2004.
What types of shocks are included with each lowering kit?
The kits come with either “Street Performance Shocks” or “Nitro Drop 2 Shocks”, depending on the specific kit.
What are the specific lowering kit options available for Chevy S-10 6-cylinder models?
Options include kits with drop measurements of “5/5”, “3/3”, and “3/4”, designed specifically for Chevy S-10 6-cylinder models.
What are the specific lowering kit options available for Chevy S-10 models from 1999 to 2004?
For those specifically interested in lowering kits for Chevy S-10 models from 1999 to 2004, here’s a comprehensive list of available options:
These options cater to various preferences and budgets, ensuring that every Chevy S-10 owner can find the perfect fit for their vehicle.
Are the products available for immediate purchase?
Yes, the kits are available for purchase, as indicated by the option to adjust quantities and add them to the cart.
What configurations are the kits compatible with?
The kits are compatible with various configurations, including 2WD models, different cab types like Extended Cab and Standard Cab, and engine types such as 6 Cyl.
How can you get assistance in selecting and installing a Chevy S10 lowering kit?
When considering a lowering kit for your Chevy S10, you’ll find that tailoring the setup to your exact needs can significantly enhance performance and aesthetics. Here’s how you can get the help you need to make the best choices:
Remember, achieving your dream setup on your Chevy S10 isn’t just about having the right parts—it’s about leveraging expert advice and resources to bring your vision to life efficiently and safely.
What are the key features of the lowering spindles available for the 1982-2005 Chevy S10 and similar models?
The deluxe Stage 3 lowering kit provides a substantial drop of 5″ in the front and 6″ in the rear for 1982-2004 Chevy S10 and GMC S15 trucks. Here are the key components and features included in the kit:
In addition to the deluxe kit, there are specific lowering spindles designed for various Chevy S10, S15, Blazer, and Jimmy models. These spindles offer a precise 2″ drop, ensuring a sleek appearance and improved handling.
These features allow you to enhance your vehicle’s stance without compromising on quality or alignment. Whether you choose the comprehensive lowering kit or the specific spindles, each option is crafted to deliver optimal performance and aesthetics for your 1982-2005 Chevy S10 and related models.
What specific models and years are the spindles compatible with?
The spindles are compatible with Chevy S10, S15, and Sonoma models from 1982-2005, as well as the Chevy S10 Blazer and Jimmy from 1982-1997.
How do lowering kits enhance the safety and performance of a Chevy S10?
Lowering kits are meticulously designed to ensure compatibility with your Chevy S10, optimizing both safety and performance. With these kits, you can:
The ability to adjust suspension hardness and height through customizable airbags allows you to adapt your truck to varying driving conditions and loads. This flexibility prevents friction and contact, so your suspension performs optimally, delivering a safer and more efficient ride.
Take your Chevy S10 to the next level by integrating these advanced features into your vehicle, ensuring it is not only a head-turner but also a top performer on the road.
How does the kit prevent friction and contact in the suspension system?
Adjustments to the suspension help prevent unwanted friction and contact, ensuring the system operates smoothly and safely.
How does the lowering kit enhance braking performance?
By optimizing the suspension, the kit contributes to better braking performance, making stops safer and more controlled.
How does the lowering kit improve the vehicle’s stability and ride quality?
The kit is crafted to align seamlessly with the Chevy S10 model, enhancing its stability and smoothing out the ride.
What is the price of the Belltech Lowering Kit for the Chevy S10/S15 Pickup?
The Belltech Lowering Kit for the Chevy S10/S15 Pickup, applicable to both 4 and 6-cylinder extended cab models from the years 1982 to 2004, is available for $315.00. This price is consistent for both the regular and sale offer. The kit can be purchased with or without shocks, depending on your preference.
What are the benefits of using the Belltech Lowering Kit for a sport truck or SUV?
Upgrade your Sport Truck or SUV with a lowering kit that brings not only style but also substance. These comprehensive kits are designed to include every component you need, ensuring a seamless installation process. With precision-engineered parts, they deliver the ride quality, performance, and safety that are crucial for any vehicle enthusiast.
Experience a transformation that elevates both the look and feel of your vehicle, providing benefits that go beyond the surface.
Is the kit tailored to specific vehicles or setups?
Yes, the kits are engineered with specific Sport Trucks and SUVs in mind, ensuring compatibility and ease of installation for various models.
How easy is it to select and purchase the right kit?
Selecting the right kit is straightforward, as the kits are pre-packaged to suit popular configurations, simplifying the buying process.
How does the kit affect ride quality, performance, and safety?
The lowering kit is designed to enhance ride quality and performance while maintaining safety, ensuring a balanced driving experience.
What is included in the kit?
The kit comes with everything needed for a successful installation, including all necessary components and high-grade installation hardware.
Are there other related products available similar to the Belltech Lowering Kit?
Are there different lowering kits available for standard cab and extended cab Chevy S-10s?
For those looking to customize their Chevy S-10 with a lower profile, a variety of lowering kits are available to suit different needs and preferences. Here’s a look at some options for both extended cab and standard cab models:
Explore a range of lowering kits designed for a variety of vehicles beyond the Chevy S-10. Here’s a glimpse into what’s available:
These selections demonstrate the versatility and customization options available for different makes and models, ensuring you can find the perfect fit for your vehicle. Whether you need a simple drop or a complete performance kit, there are plenty of choices to meet your automotive goals.
Department
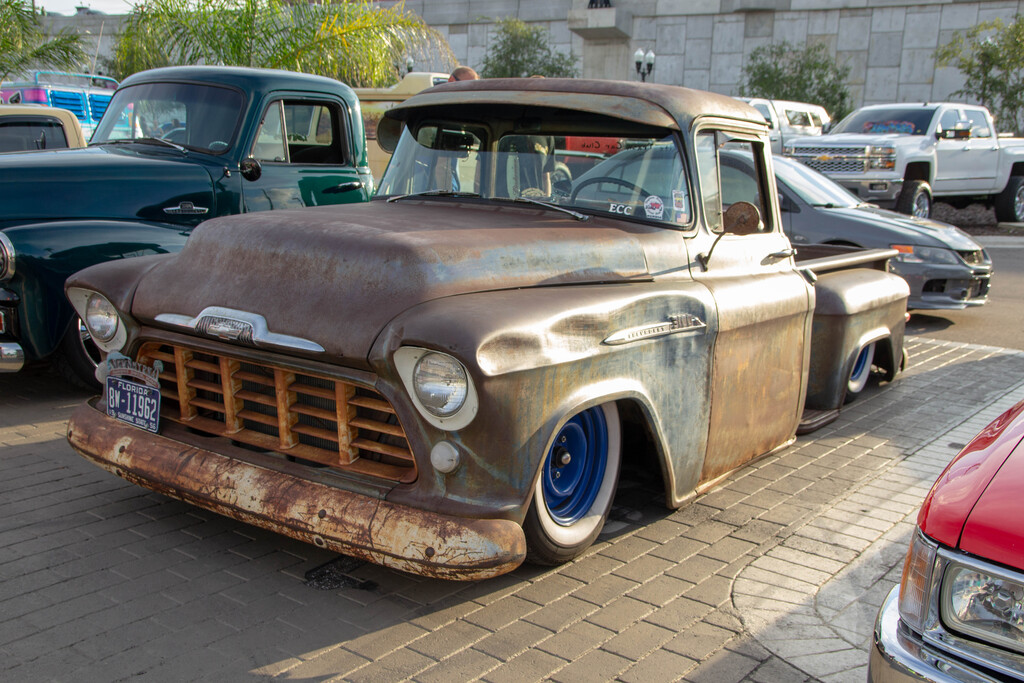
LOVE ‘EM OR HATE ‘EM (SERIOUSLY THOUGH, HOW COULD ANYBODY HATE ‘EM?), mini-trucks will always be mainstays in the pages of this publication, as well… Continue reading
John Mata Jr. . November 07, 2023

Features
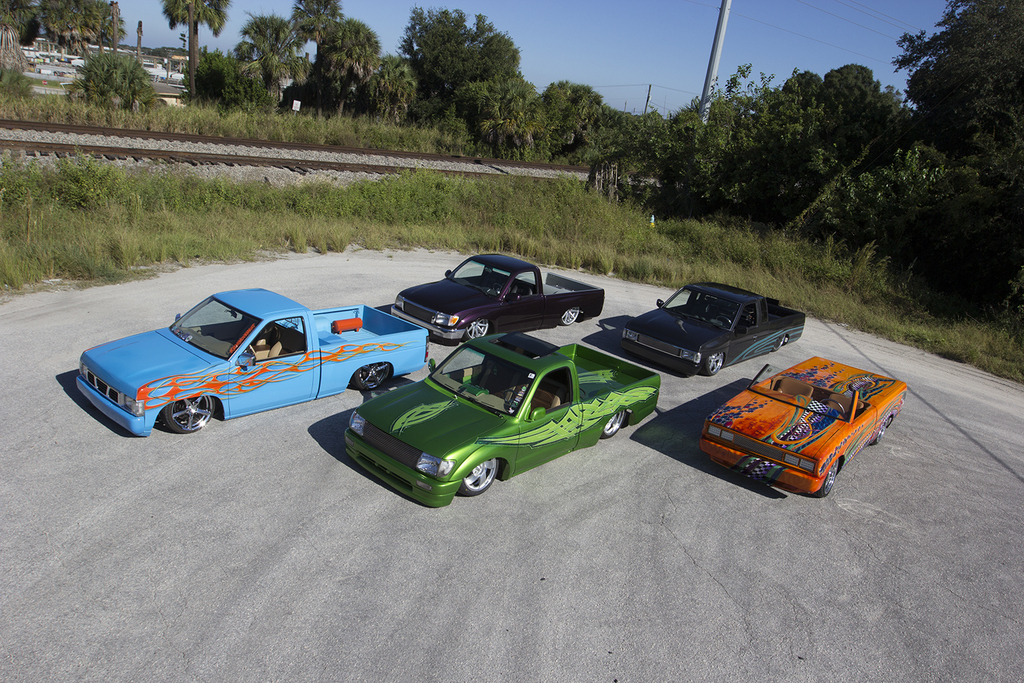
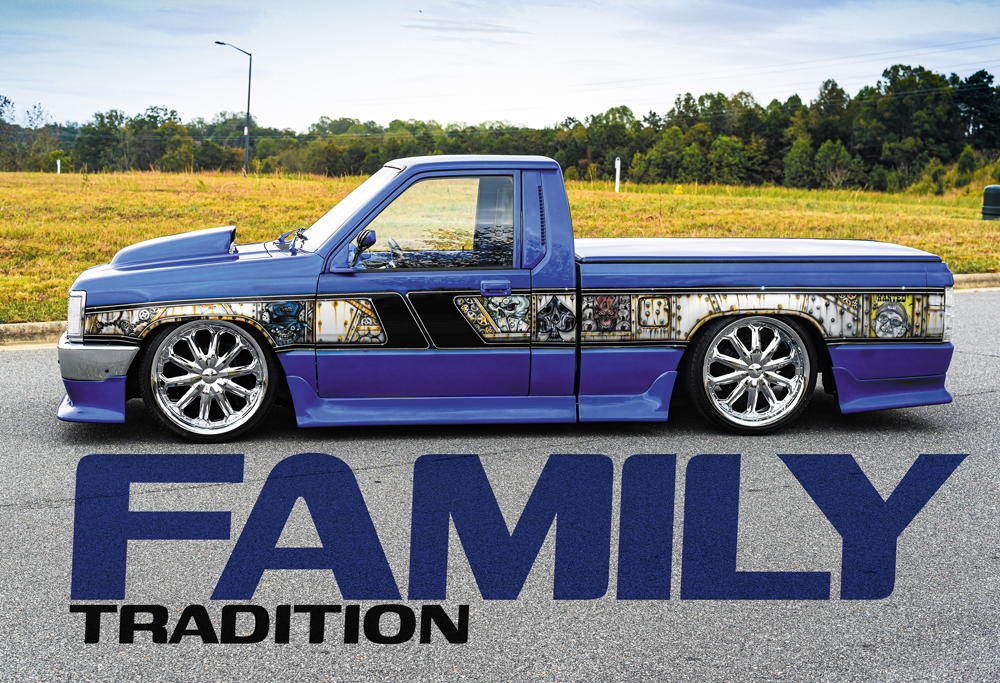
When one thinks of street trucks during the anything-goes mini-truck era of the late 1980s and into the ’90s, Nissan pickups, Toyota Tacomas and Mazda… Continue reading
Ryan Lee Price . January 07, 2020
Department
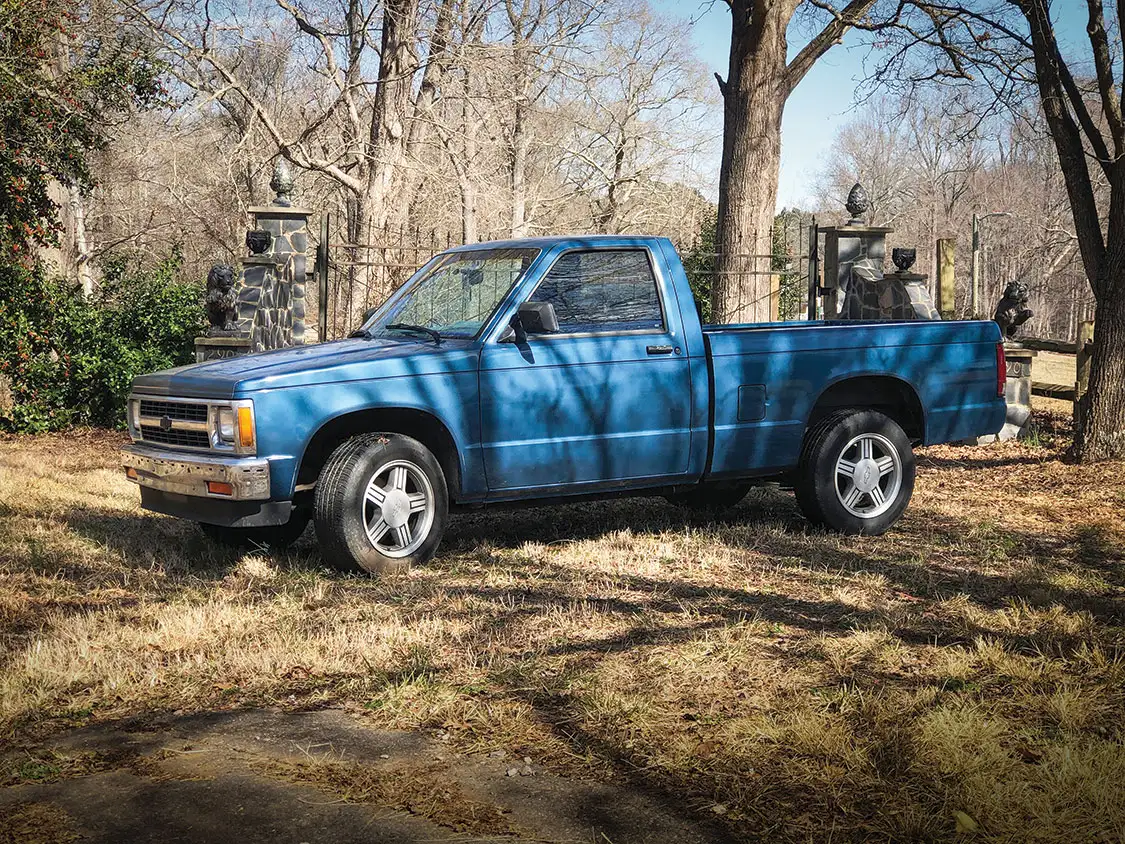
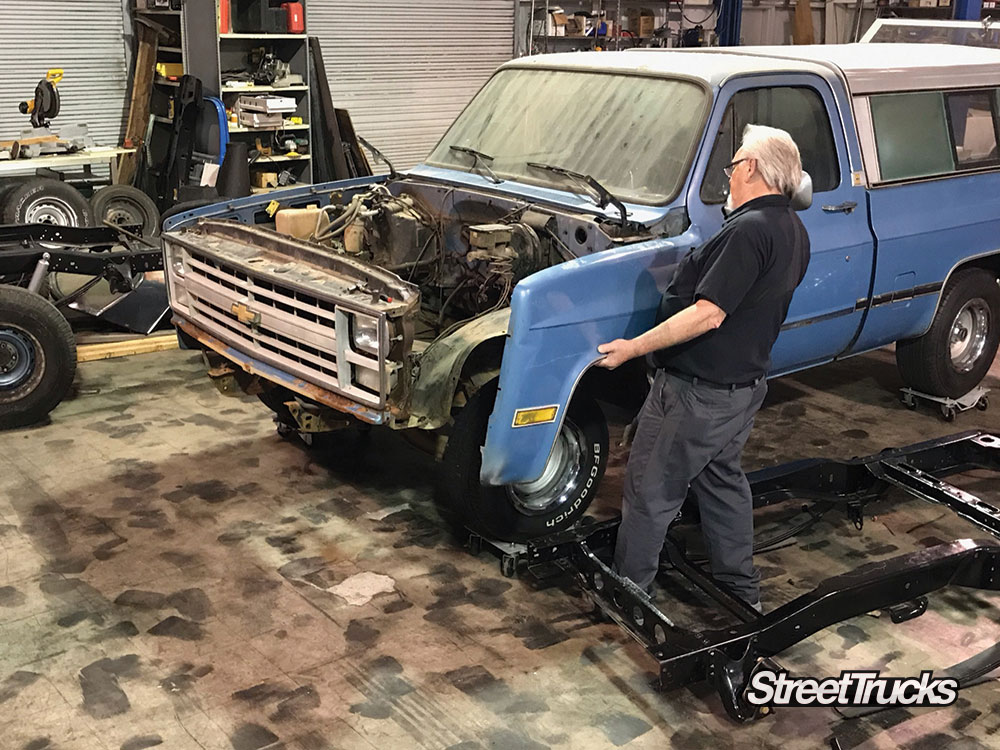
Chace Yonts’ ’88 Chevrolet S10 Everyone has heard the old saying about finding a diamond in the rough, but have you heard the one about… Continue reading
Logan Wade . June 29, 2021
Department
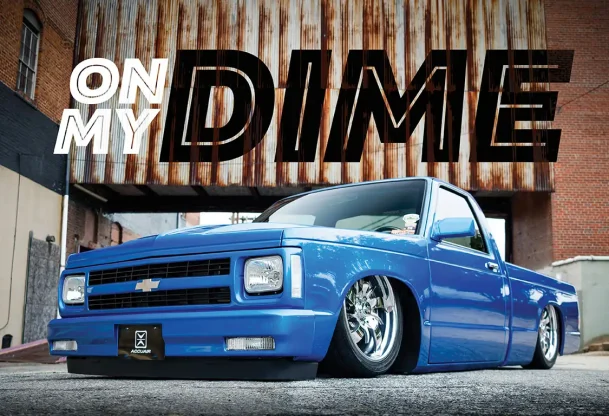
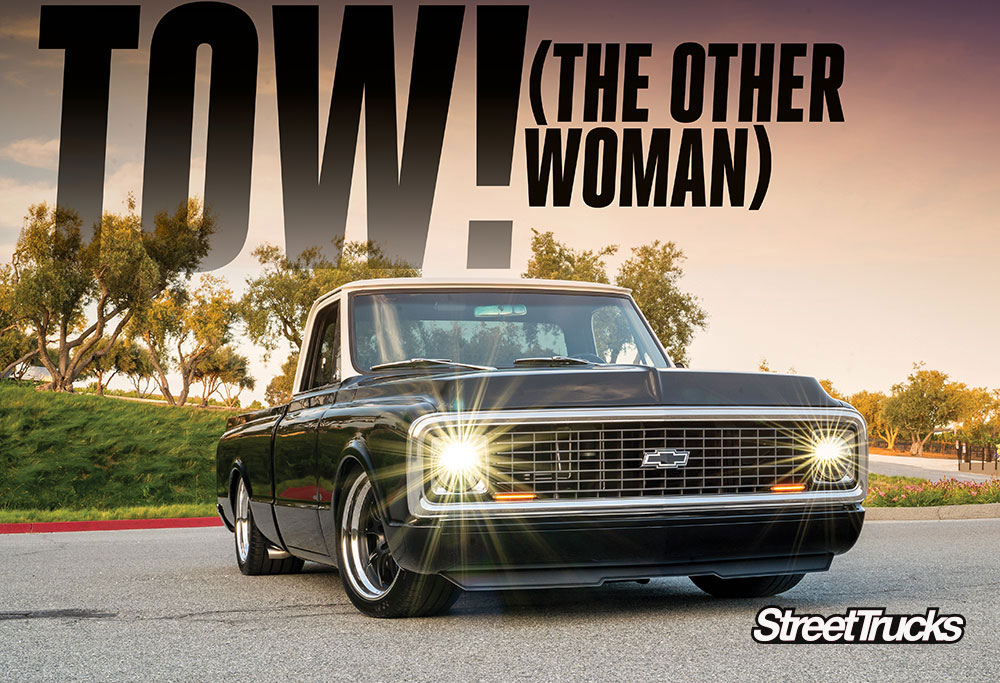
A Memorial Build for ‘Big Scott’ Childress It’s never easy to lose a loved one. But the grief can inspire great things, especially when a… Continue reading
STREET TRUCKS STAFF . September 13, 2021
Events
The 14th Annual Orlando Memorial Minitruck Cruise was a huge success thanks to the hard-working crew. This event was open to all lowered trucks, low… Continue reading
Chris Hamilton . August 19, 2019
Features
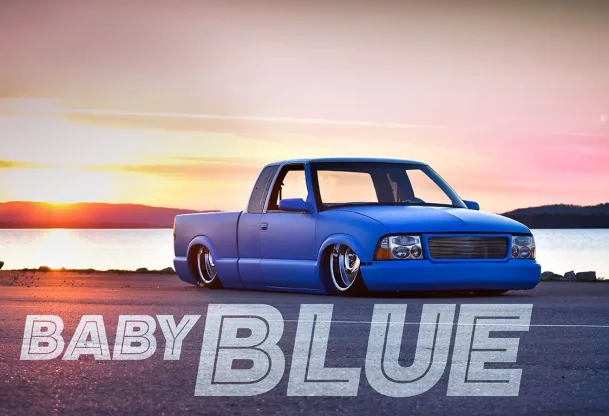
An Old-School Truck with New-School Attributes In 1991, Benjamin Smith’s dad, Jerry, bought his very first Mitsubishi Mighty Max right off the car hauler at… Continue reading
Adam Johnson . May 24, 2022

Share Link