Our Daily Driver, a ’23 GMC Sierra 1500 Crew Cab Shortbed, Finds Its Purpose
When it comes to using a truck like a truck is meant to be used, there never really is a correct way. Everyone has their own needs and uses for a truck. Whether it’s for hauling hay to the cows in the field, delivering lumber to a job site, taking the kids to practice, going off-roading in the woods, or even showing off at the local show, there’s always an intended use when the truck purchase was made.
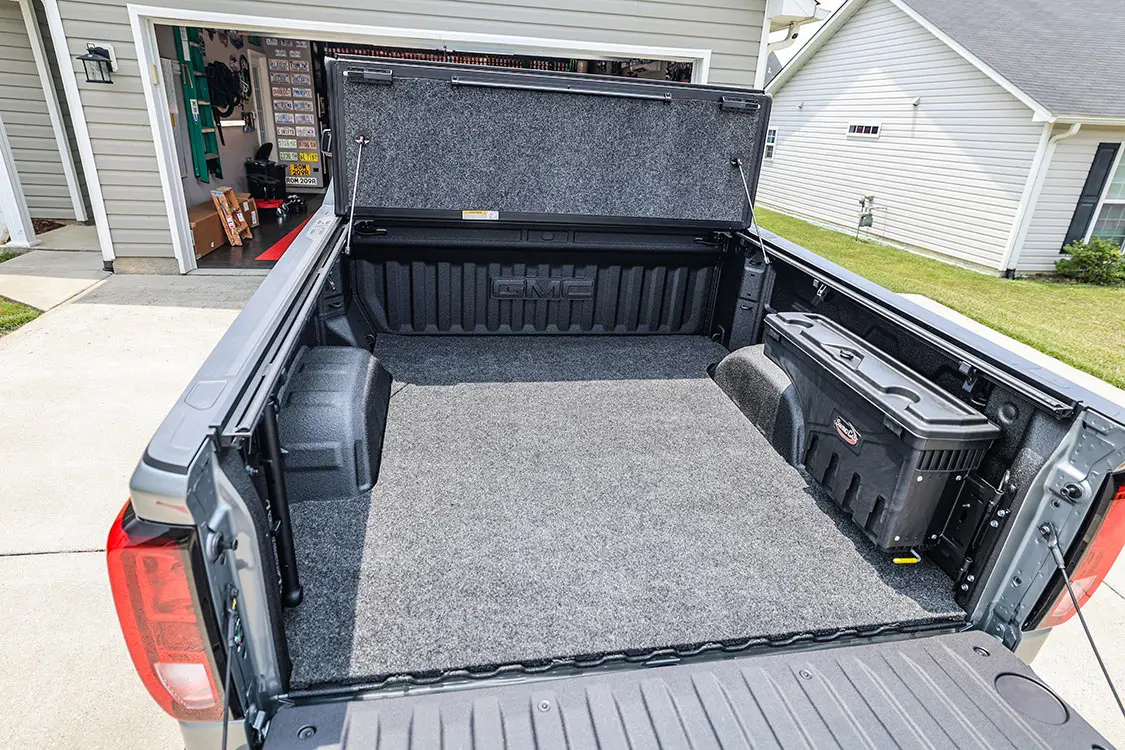
For this situation—as a ton of our readers will understand—a truck is a daily vehicle that allows us to throw larger items in the bed when needed. On this build, a 2023 GMC Sierra 1500 crew cab shortbed, part of the plan is to be able to throw all my camera gear and luggage into the bed when traveling to truck shows and photo shoots and not worry about rain getting it all wet or someone deciding they need it more than I do while the truck is parked.
To get the desired use and look I needed, I contacted our friends over at Truck Hero and ordered some parts. Truck Hero owns several truck industry companies, so we knew the crew there would have everything I needed and make sure everything worked well together.
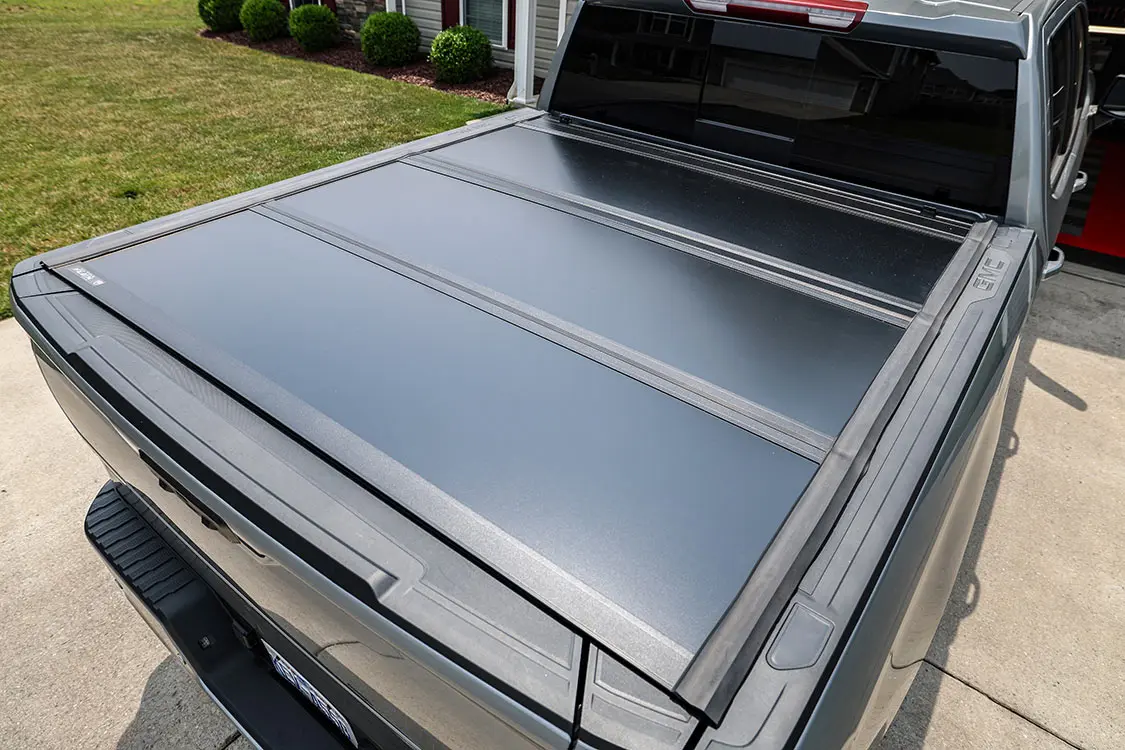
The first thing we decided was the style of bedcover. For this, I opted for an Undercover Bed Covers Ultra Flex. (Part #UDC-FX11022, Retail $1,100.) This is a trifold hard cover that protects the bed’s contents from weather and locks when the tailgate is locked so no one can get into the bed. Having a folding cover like this allows for multiple uses. It can be fully closed, partially opened, folded all the way open and securely braced so you can drive safely, or easily removed by one person to allow full access to the entire bed.
Once the cover was selected, I knew I wanted to add something to make the bed feel like a car trunk for my gear, so I ordered a Bedrug Classic Bed Mat. (Part #BMC19CCS, Retail $180.) Because the truck has the factory spray-in bedliner, which allows all kinds of abuse from anything thrown in it, adding the carpet bed mat makes it a little nicer and keeps all my camera cases from sliding around getting scratched in the bed. It also allows for easy removal of the mat if I need to throw something dirty in the bed.
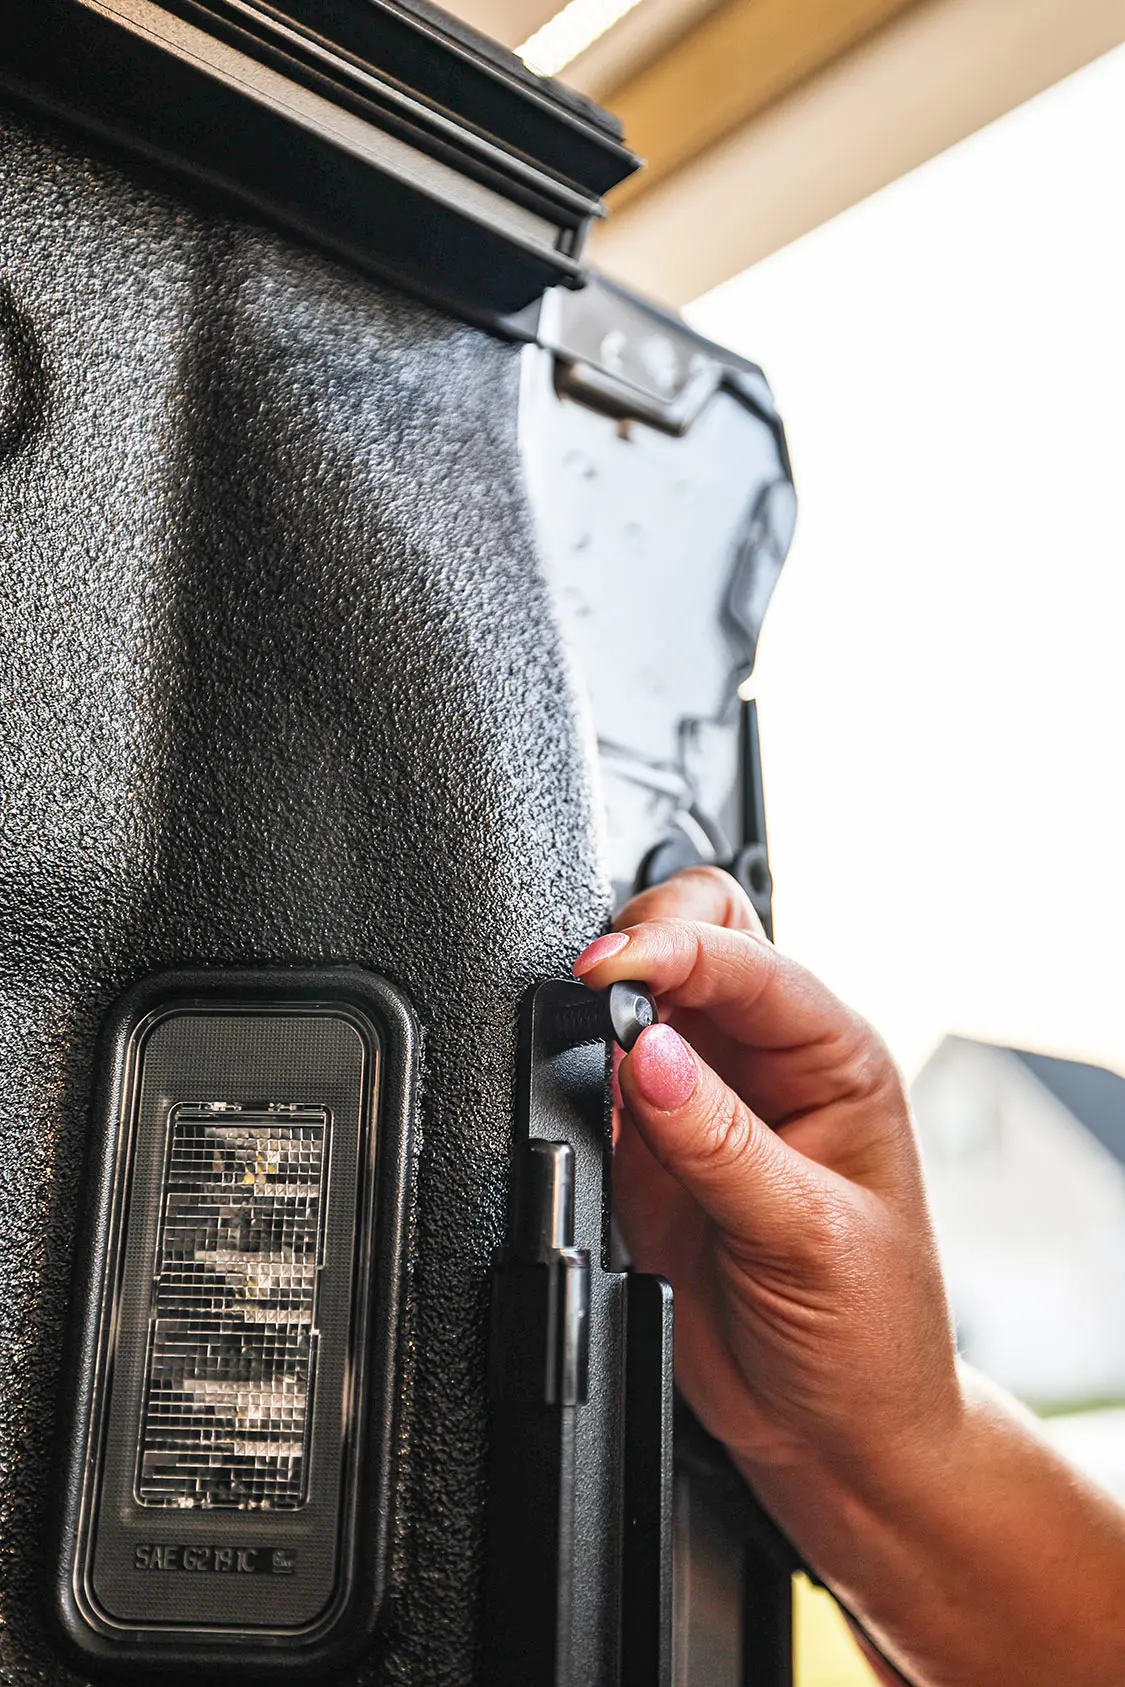
Lastly, as I am planning a larger audio install in this truck, I would be losing the factory under-seat storage, so needed somewhere to store things. I ordered a passenger side Swing Case (Part #UDC-SC104P, Retail $220). Being the driver side has the folding grab handle to allow assisted access to the bed, I opted to only add the Swing Case to the one side. This weatherproof box securely stores tools, cleaning supplies, extra straps, or whatever you need to stash. It swings out when needed (hinted in the name) or clicks into the mounts on the inside of the bed to keep it locked out of the way. Speaking of locking, you can not only lock the top of the case, but you can also lock it into the mount, so even if you don’t have a bedcover, it can’t be taken out easily. If you need more space in your bed, simply swing out the case and lift it up, and you can move it out of the bed until you need it again.
The install of these parts is straightforward and a one-person job. Follow along to see how you can do it yourself so you can add some simple parts like this to your next weekend project. Of course, make sure to follow your vehicle-specific instructions as installations may vary. If you have the same truck, scan the QR codes for these exact parts. If you like the parts for your truck and it’s not a 2023 Sierra, the QR codes get you to the pages to select your truck and find your parts more easily.
BEDCOVER
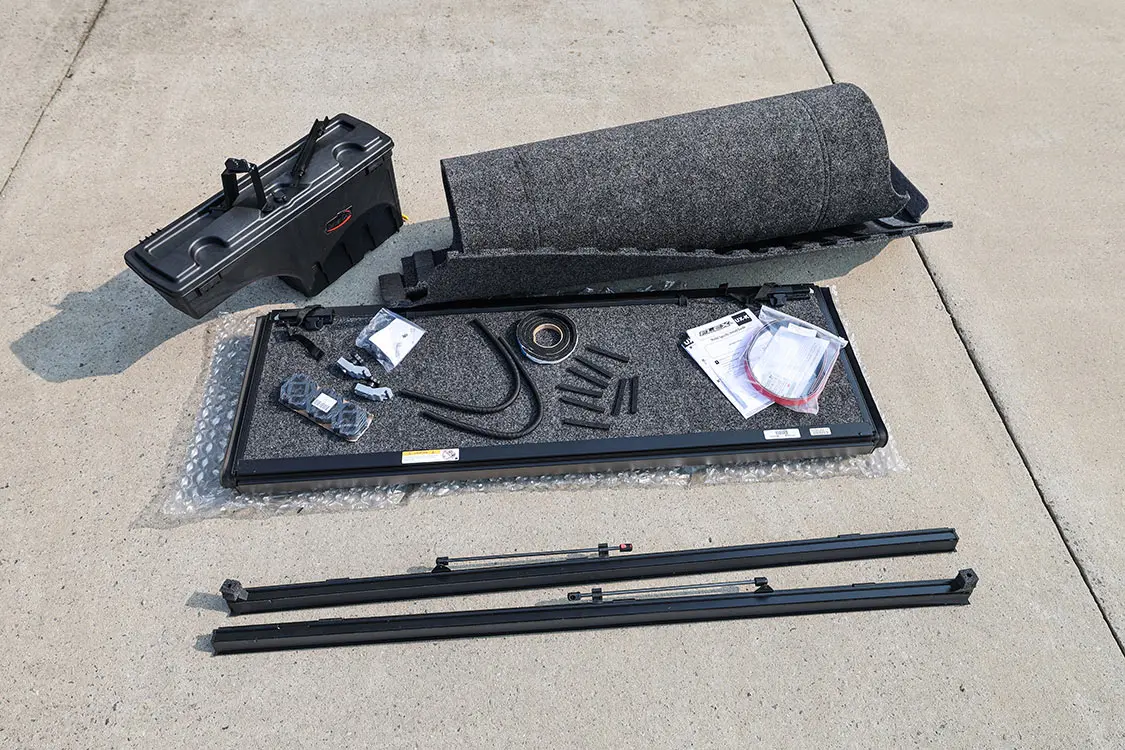
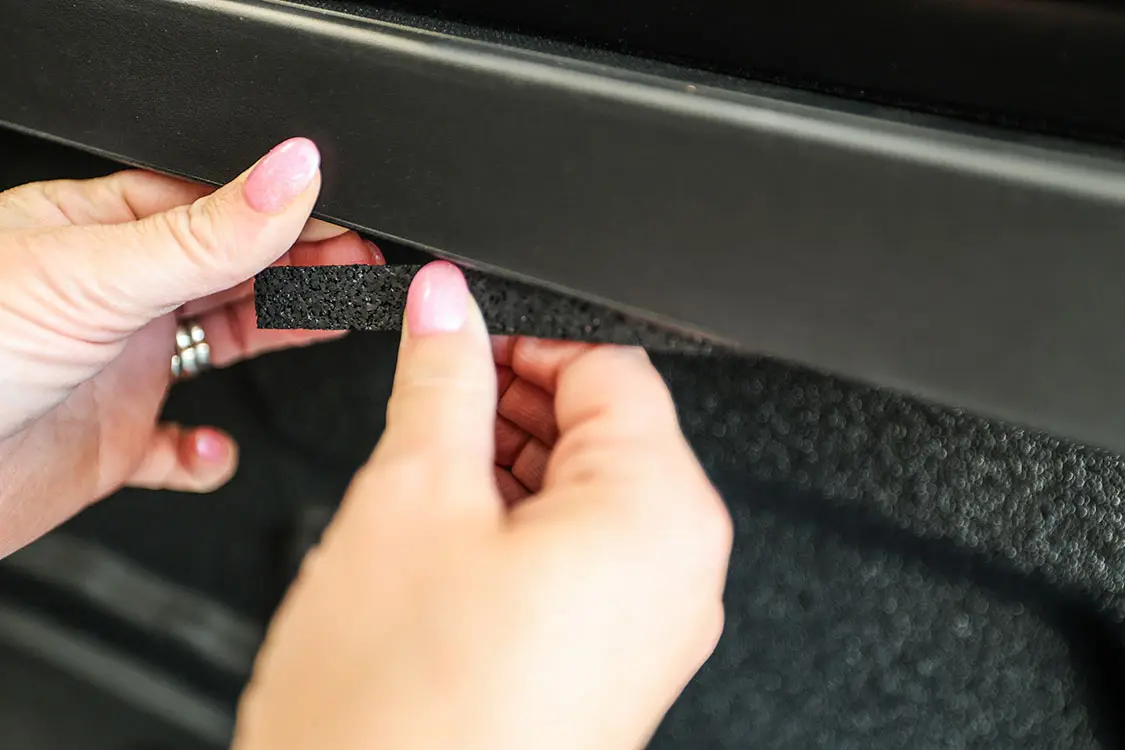
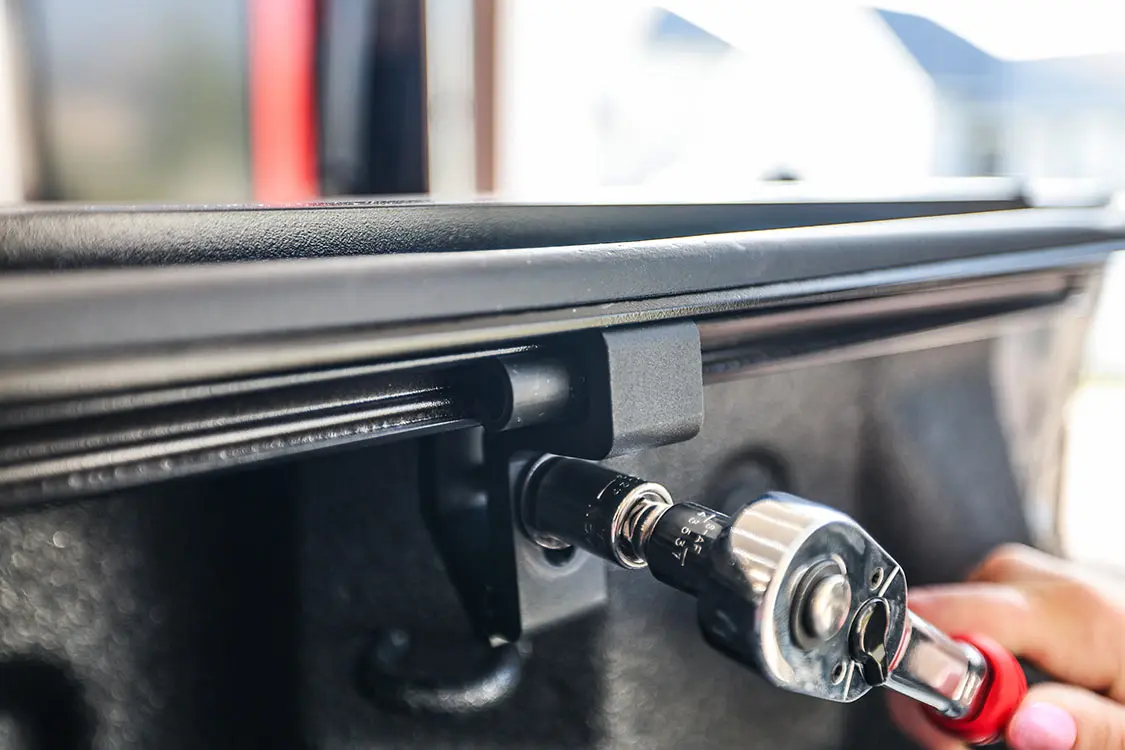
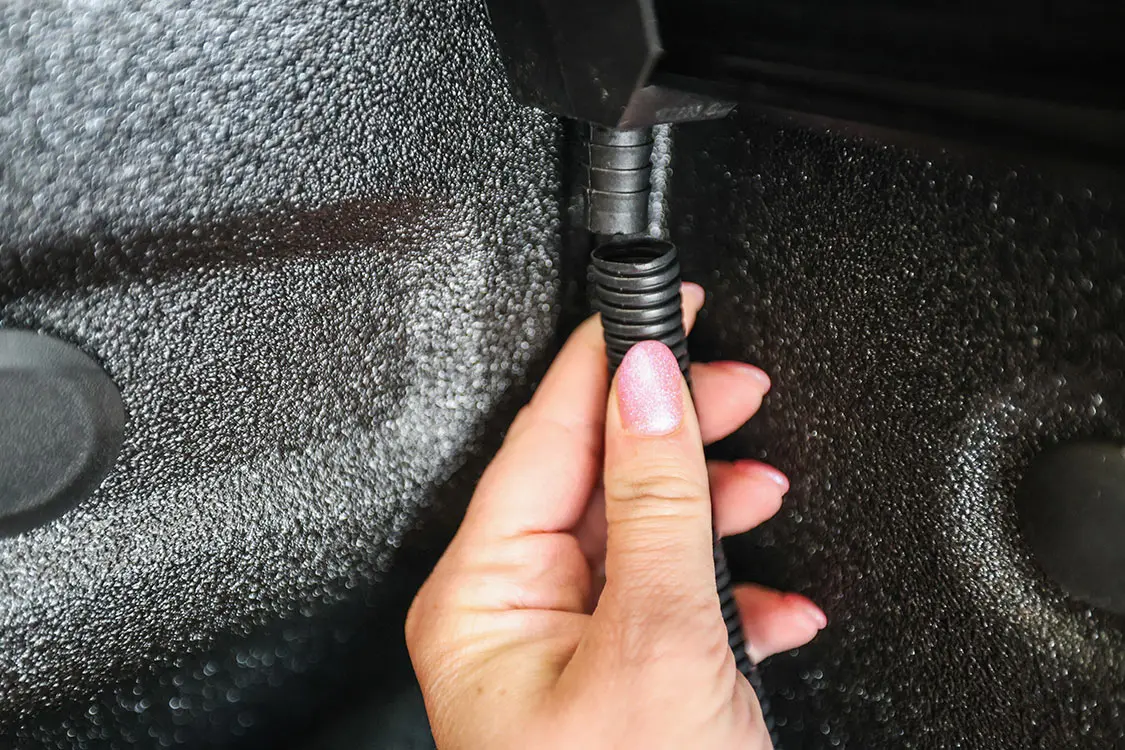
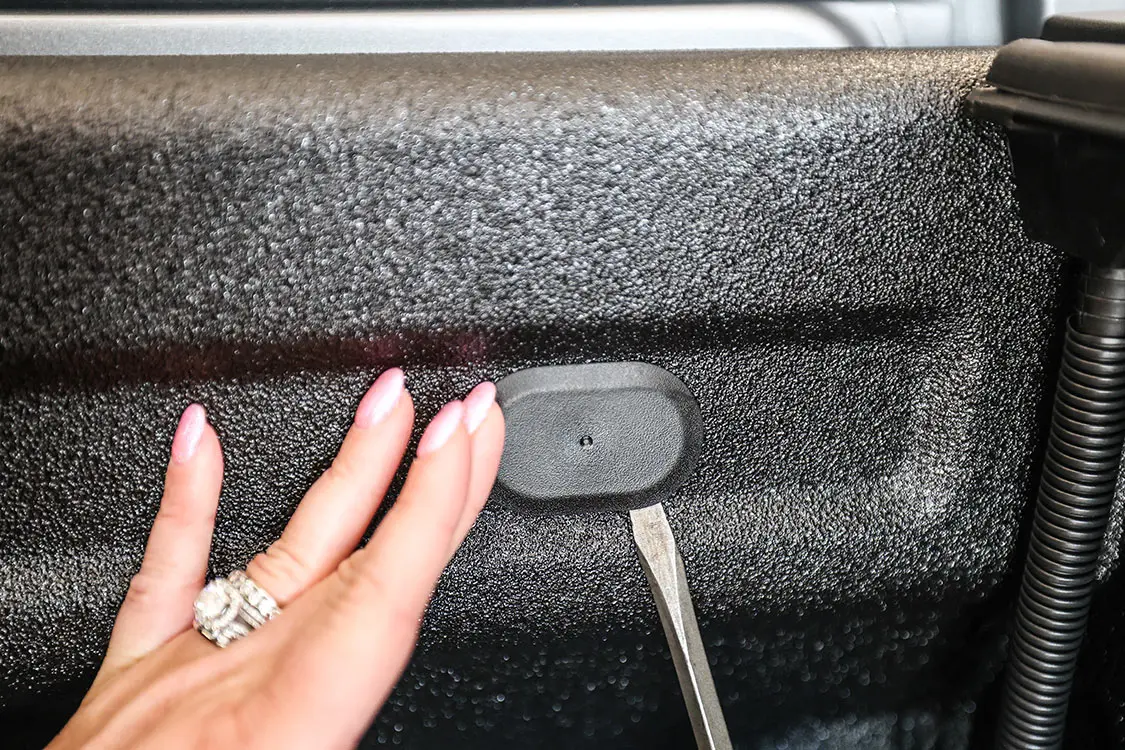
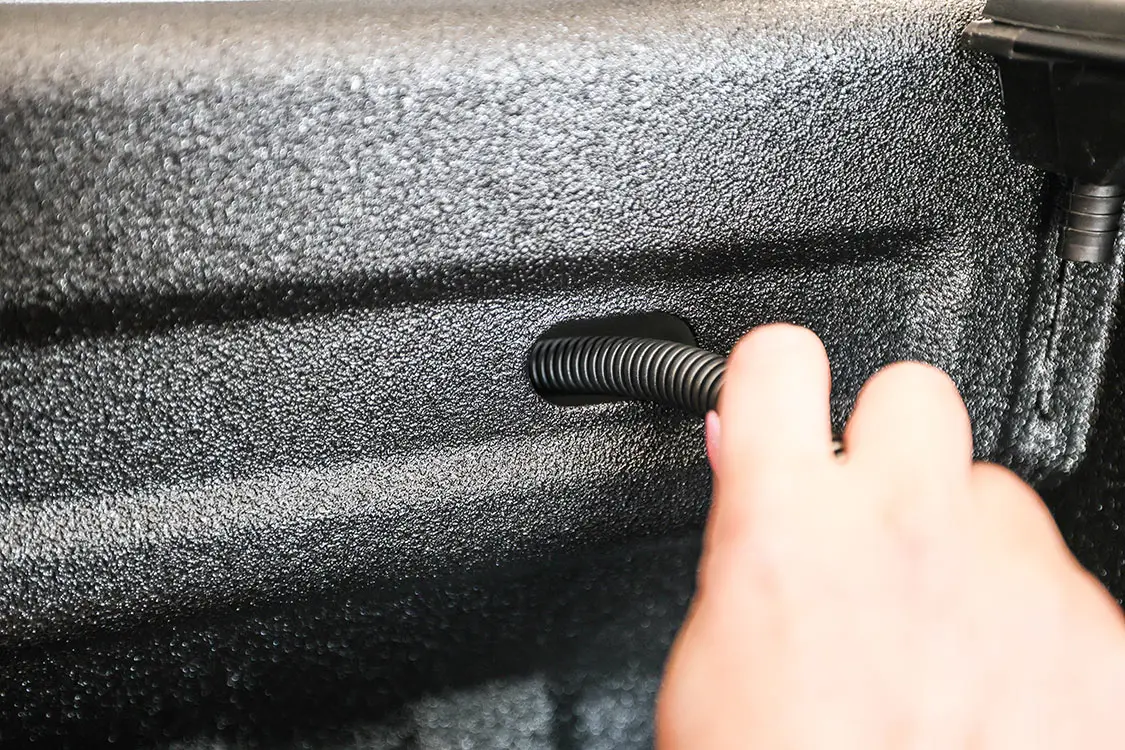
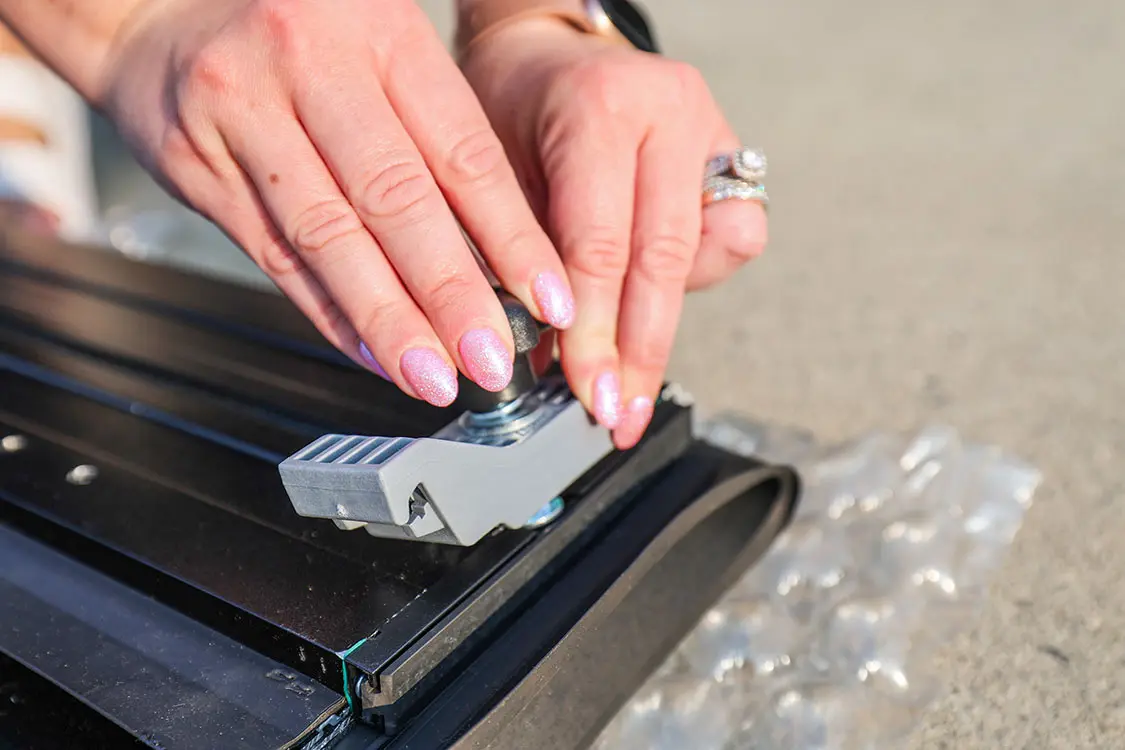
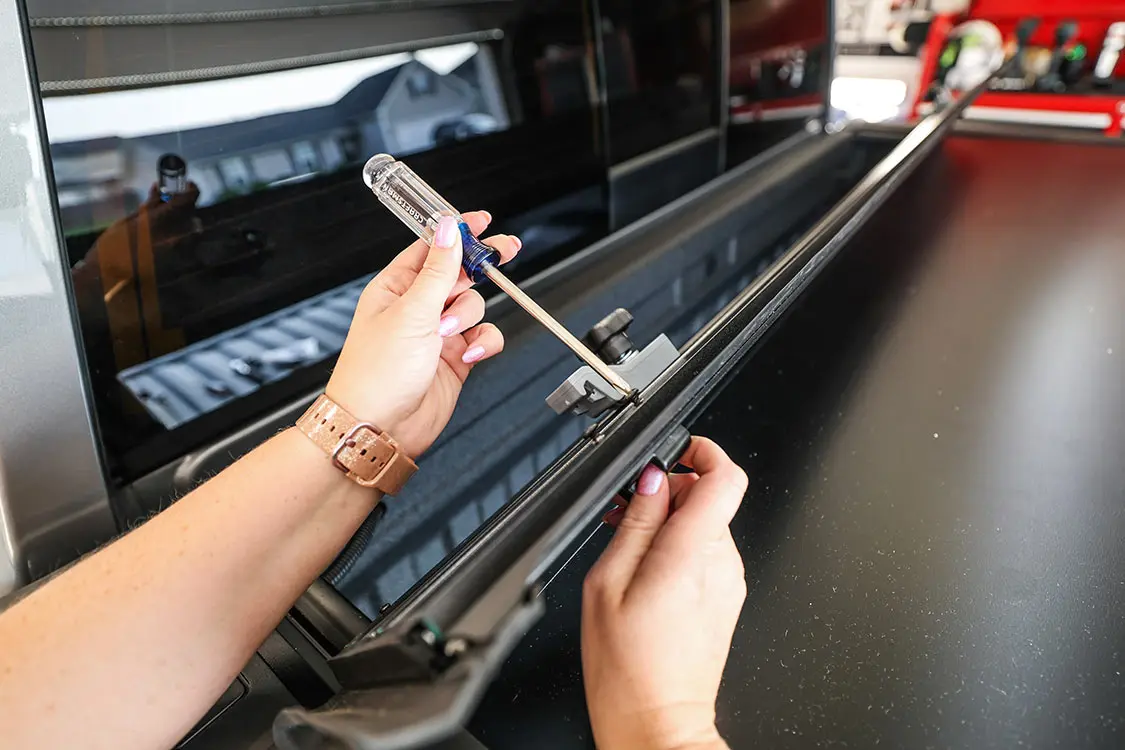
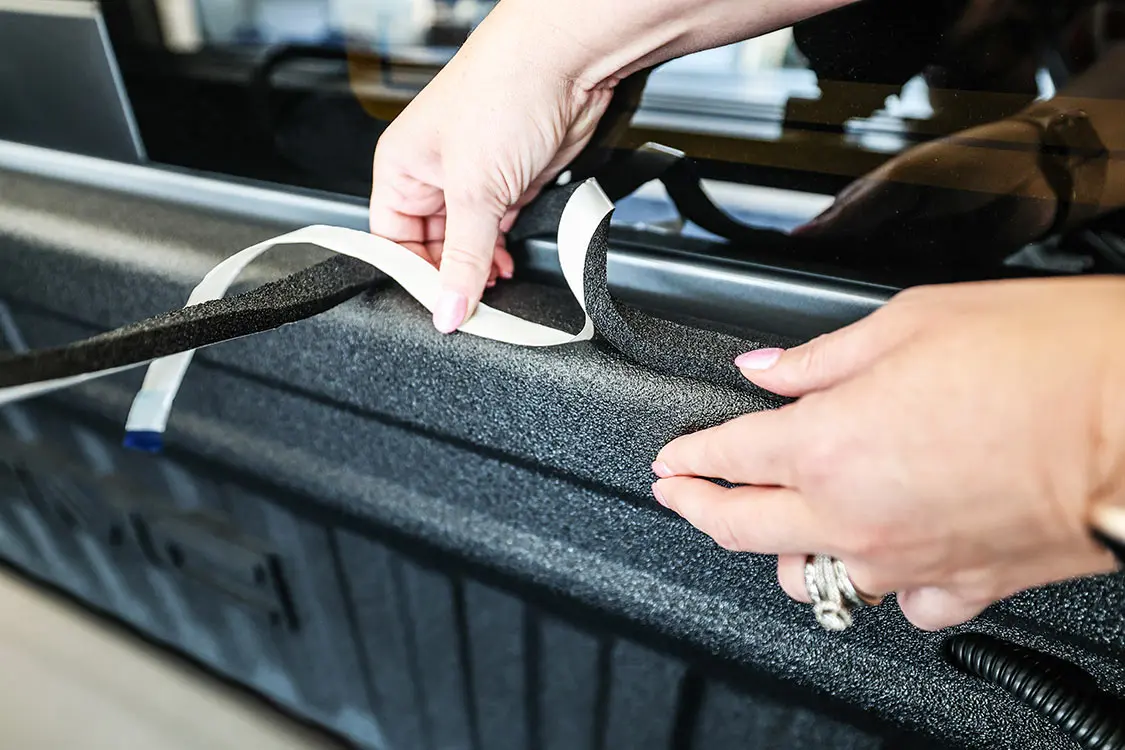
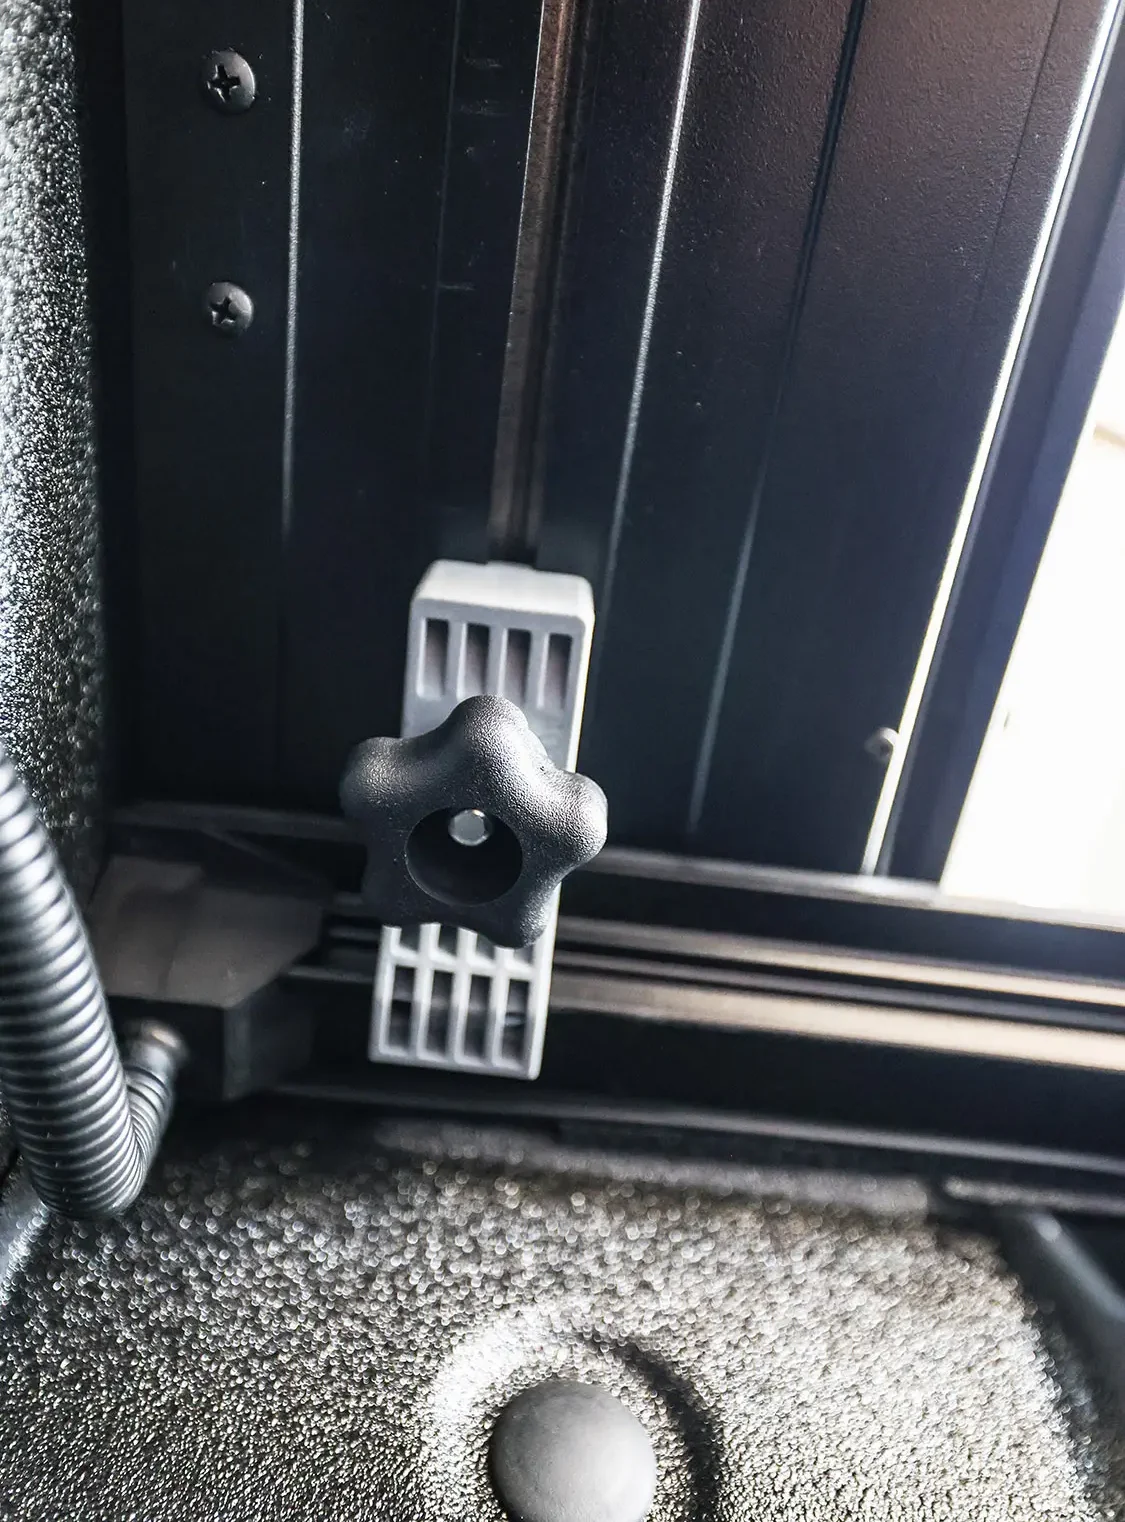
01. With all the parts laid out and a quick inventory done, the install process was ready to begin.02. Install the rubber filler strips between the factory metal bedrail and the plastic bed cap. There are four per side. This keeps the bedcover rails from crushing the bed cap and breaking it. (Side note: Those are my wife’s nails. I had her do the install so I could take the photos. Mine aren’t that pretty.)03. With the bedcover side mounting rails in place flush with the top of the bed cap, (drain holes toward the front of the bed), install the three clamps per side at the spots marked on the mounting rails. Snug them up until you are sure all are installed and the rail is straight, and then go back and tighten them down.04. Once both side-mounting rails are securely mounted, push a supplied plastic drain tube onto the drain fittings on each side.05. For this application, two of the front wall plastic plugs were removed instead of drilling into the bed.06. With both outer plugs removed, push the drain tubes into the holes and toward the ground. This allows any water that gets into the rails to safely be drained out of the bed and helps keep contents inside your bed dry.07. Slide one mounting bolt per side into the front underside of the bedcover, leaving the bolt loose so it slides in the channel.08. There are two strap buckles on the front header panel of the bedcover that need to be screwed on with supplied screws. These allow the cover to be folded in half and keep the cover from flying closed with the wind.09. Apply the supplied foam to the bulkhead of the bed and cut to fit the width. This keeps water from coming in from the front. In my case, the truck is brand new and didn’t require much cleaning. But if your truck isn’t new, make sure to clean and prep this area so the adhesive sticks. You don’t want water getting into the bed.10. Set the bedcover in place, making sure it’s square and evenly placed. Open the tailgate a few times and make sure everything clears correctly. Then climb into the bed and tighten the two mounting bolts securely to the bedrails. If you ever need the cover off to haul something large, simply loosen these two bolts, slide the clamp inward, and lift off the cover.
SWING CASE
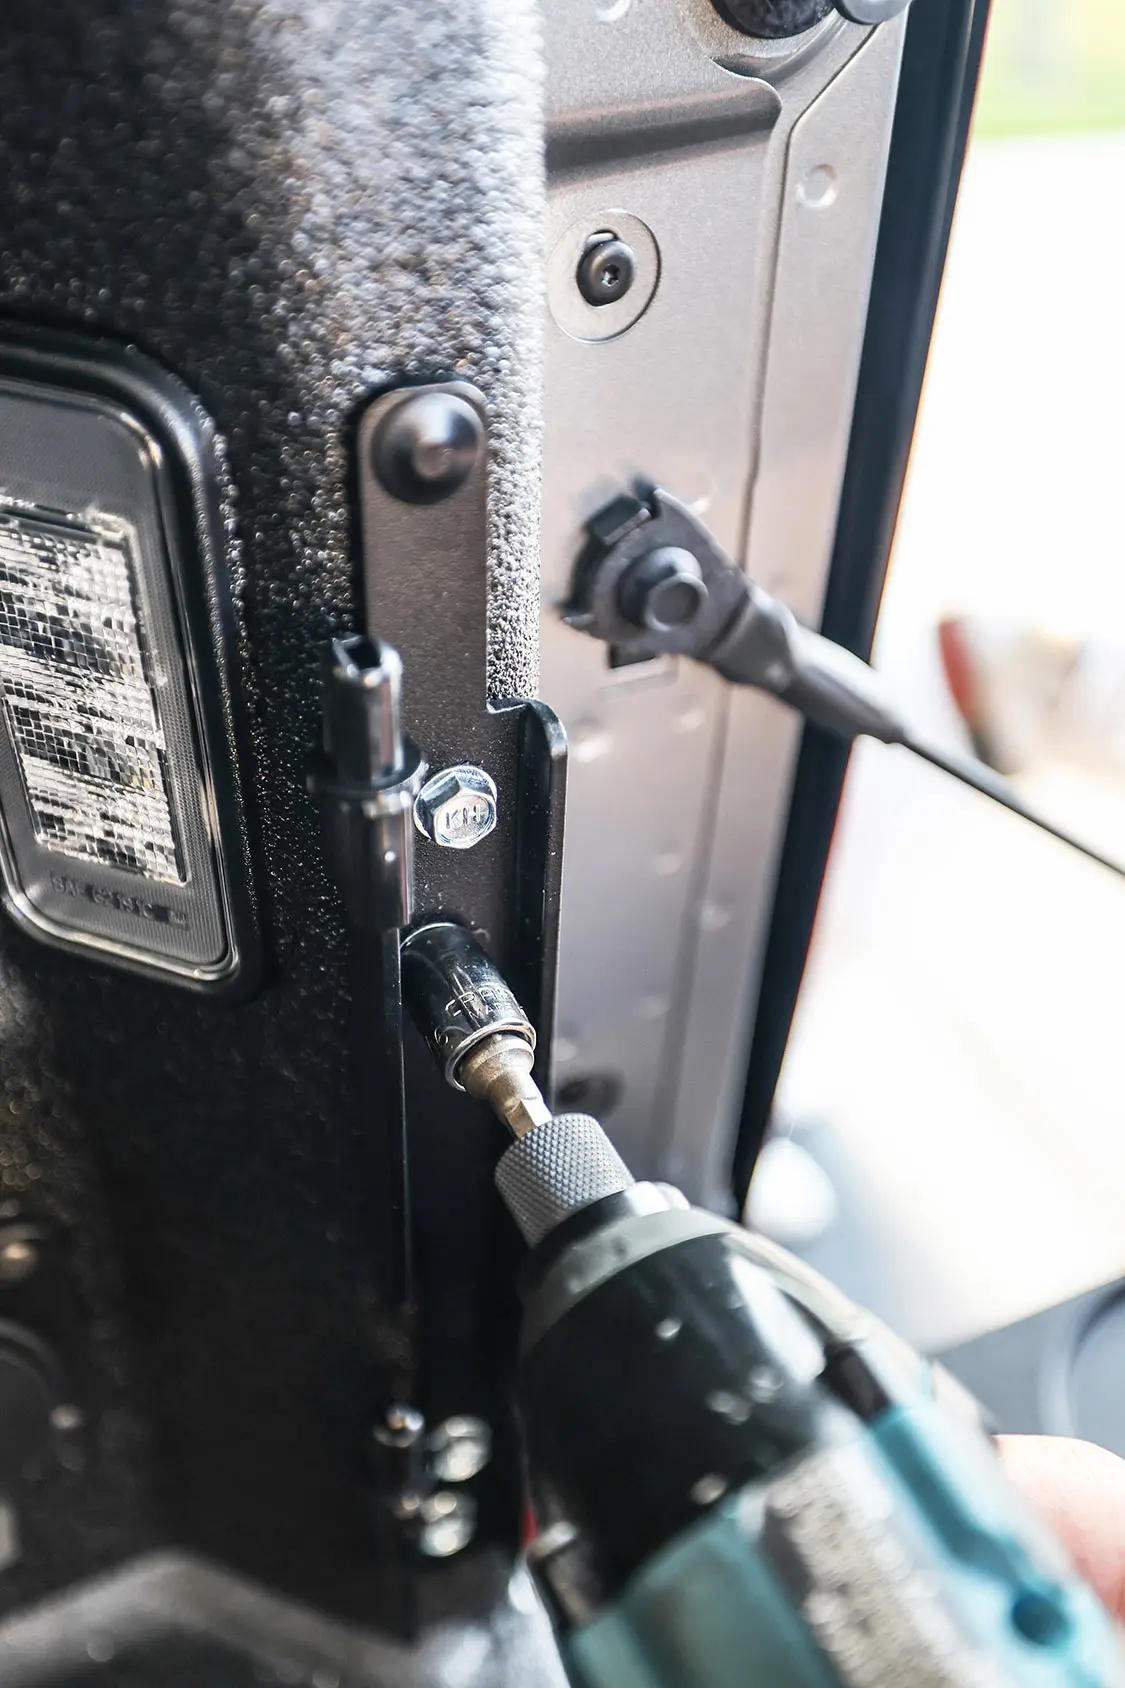
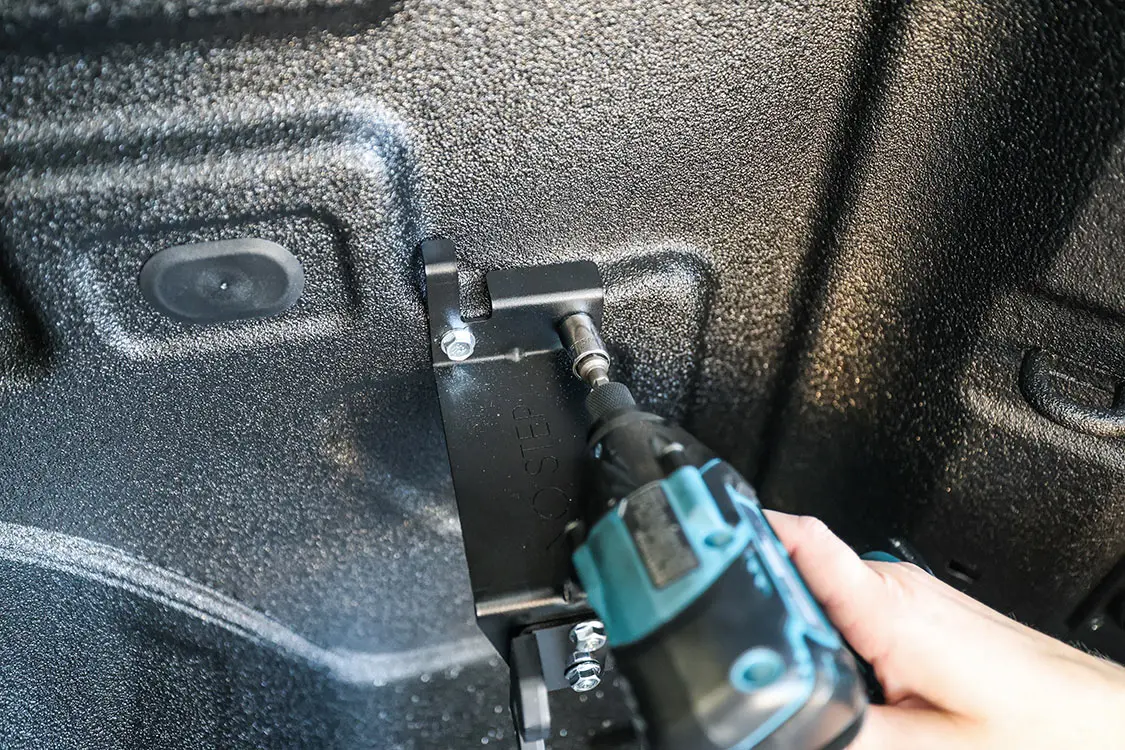
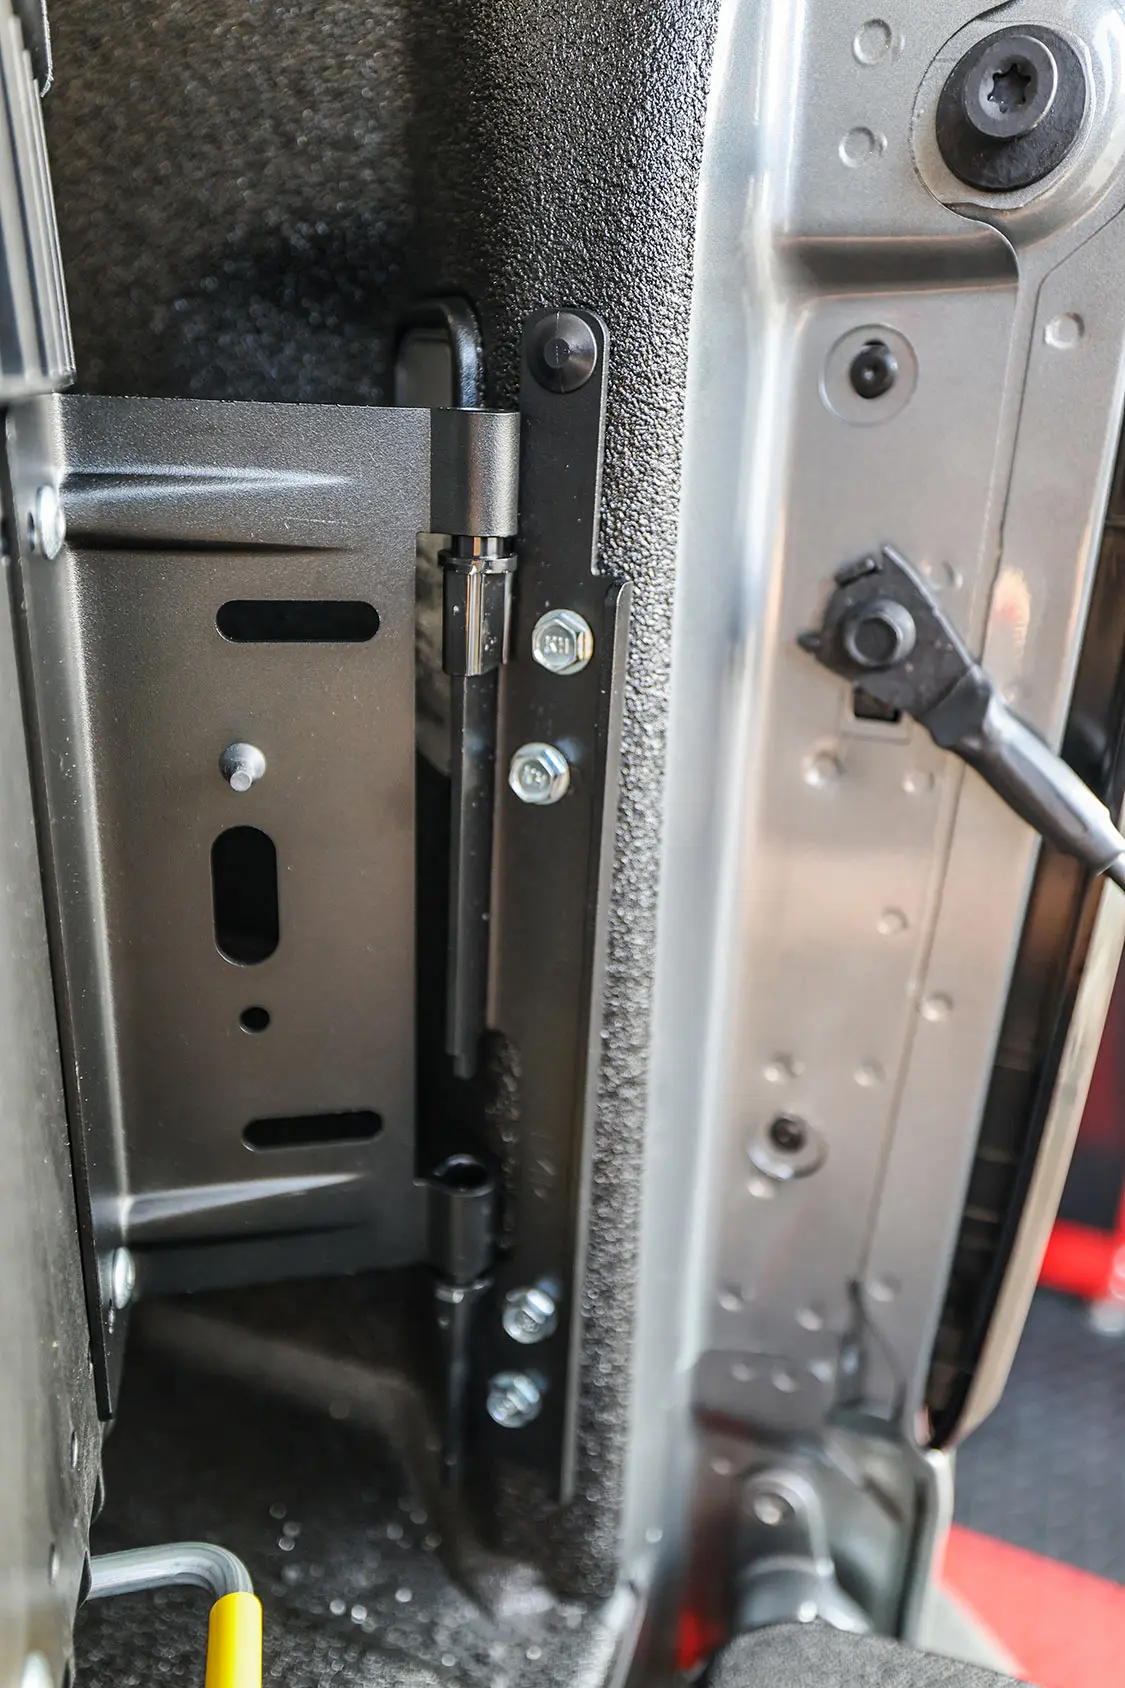
11. To start the Swing Case installation, align the larger bracket against the rear of the bed. Insert the plastic fastener to the factory hole. This makes sure the bracket is aligned correctly.12. After making sure the bracket is square, starting with the bottom hole, attach the bracket to the bed with the supplied sheetmetal screws.13. Align the striker bracket and attach the three supplied sheetmetal screws.14. With both brackets installed, simply align the Swing Case with hinge pins and lower the case onto the bracket.15. As you can see, the Swing Case stays against the bedside and gives you plenty of bed space, yet gives you ample storage.16. The bedcover securely closes off the bed while once open and still gives you full access to the bed. The bed mat needed Velcro strips in the bed floor to secure it, but because I will always have the bedcover on the truck, I left those off and simply laid the mat into the bed. This allows for easier access if I need to set it out and get a load of mulch or something dirty. It’ll easily go back into the bed. The mat can get dirty and be hosed out, but my OCD would rather keep it clean and remove it as needed.
Chris Hamilton is an automotive journalist, editor, and lifelong truck enthusiast with extensive experience covering custom truck builds, fabrication, performance upgrades, aftermarket products, and a ...
We use cookies to enhance your browsing experience, serve personalized ads or content, and analyze our traffic. By clicking "Accept All", you consent to our use of cookies. Visit our Cookie Policy for more info.


Share Link