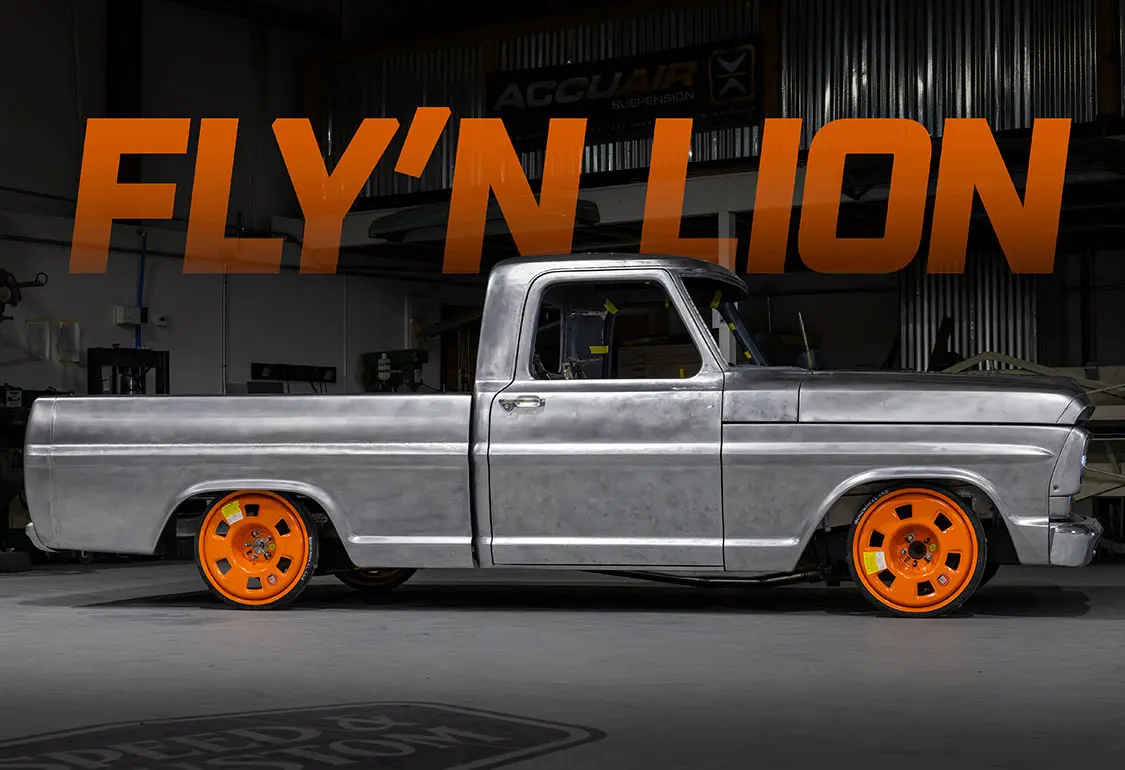
 DEVAN ENCE
.
December 14, 2023
.
c10
.
DEVAN ENCE
.
December 14, 2023
.
c10
.

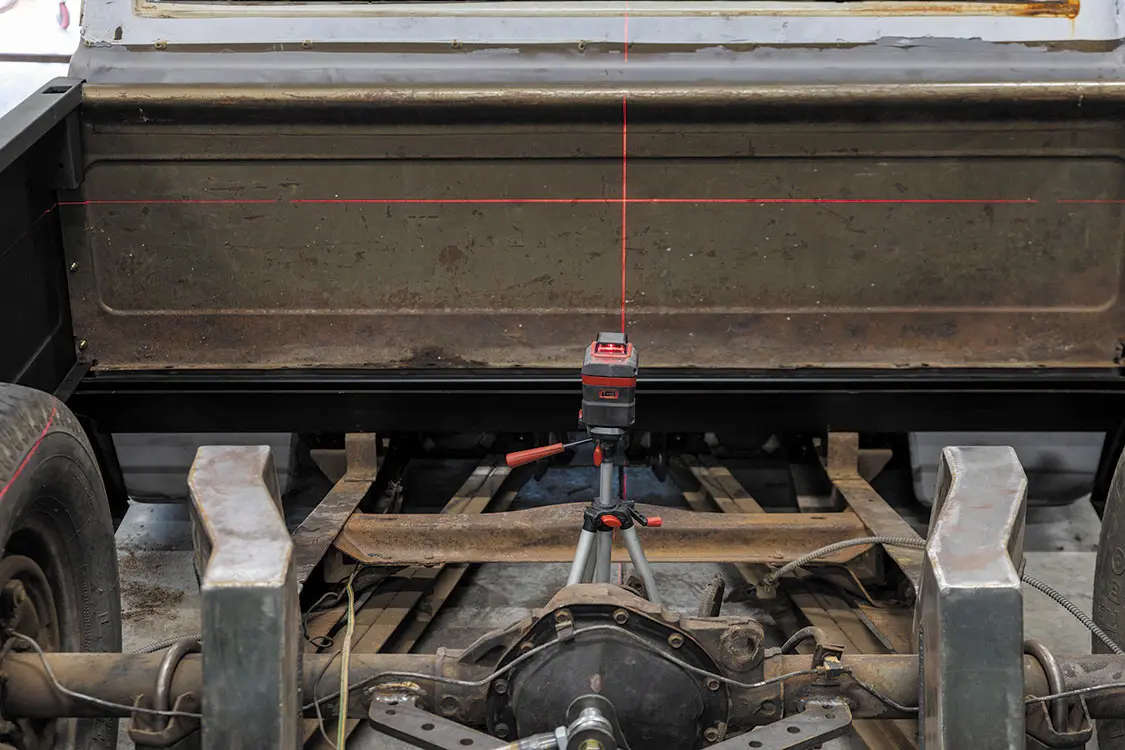
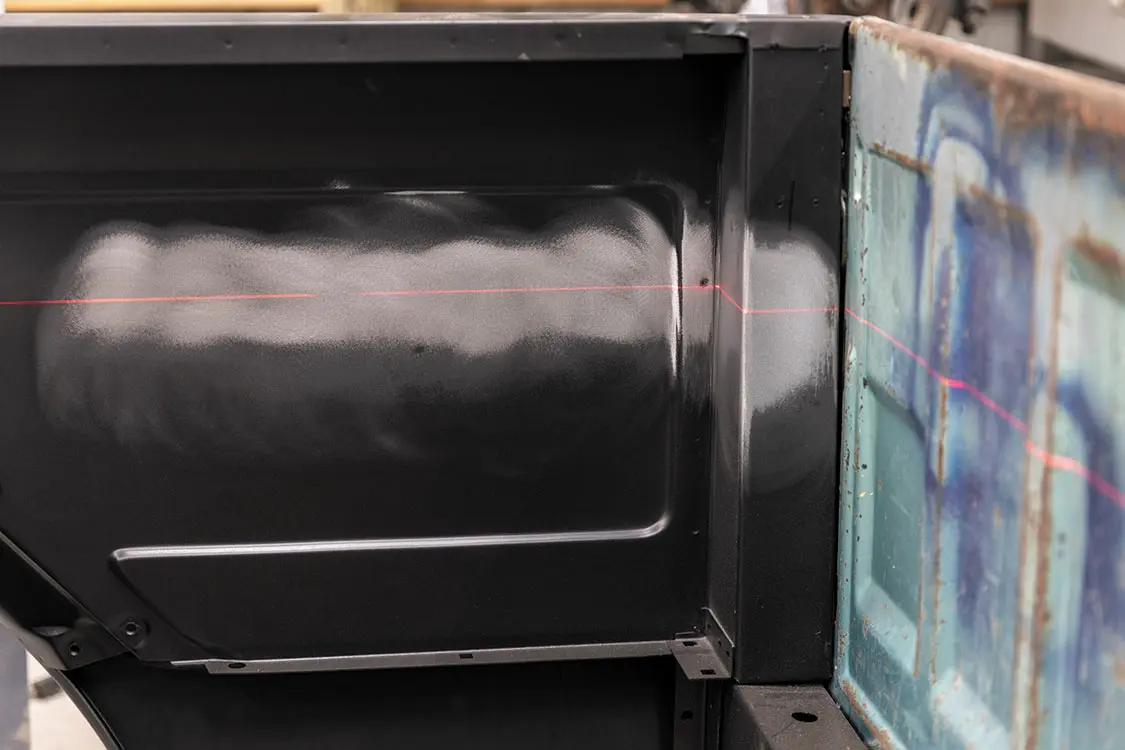
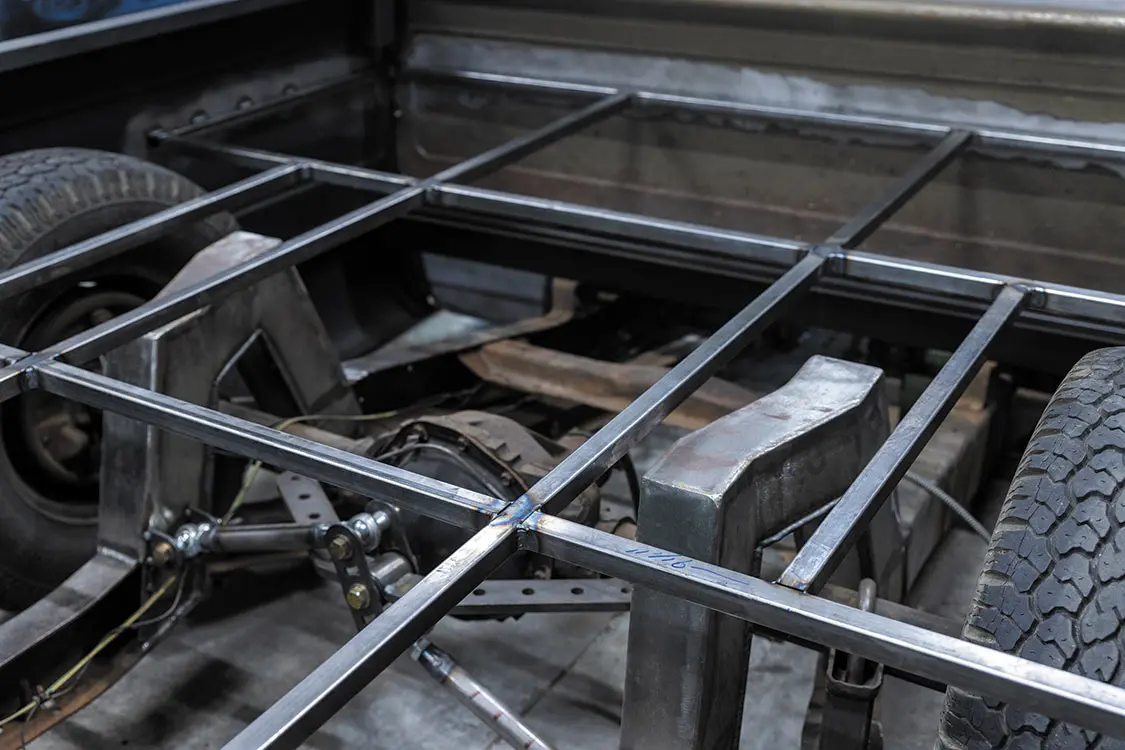
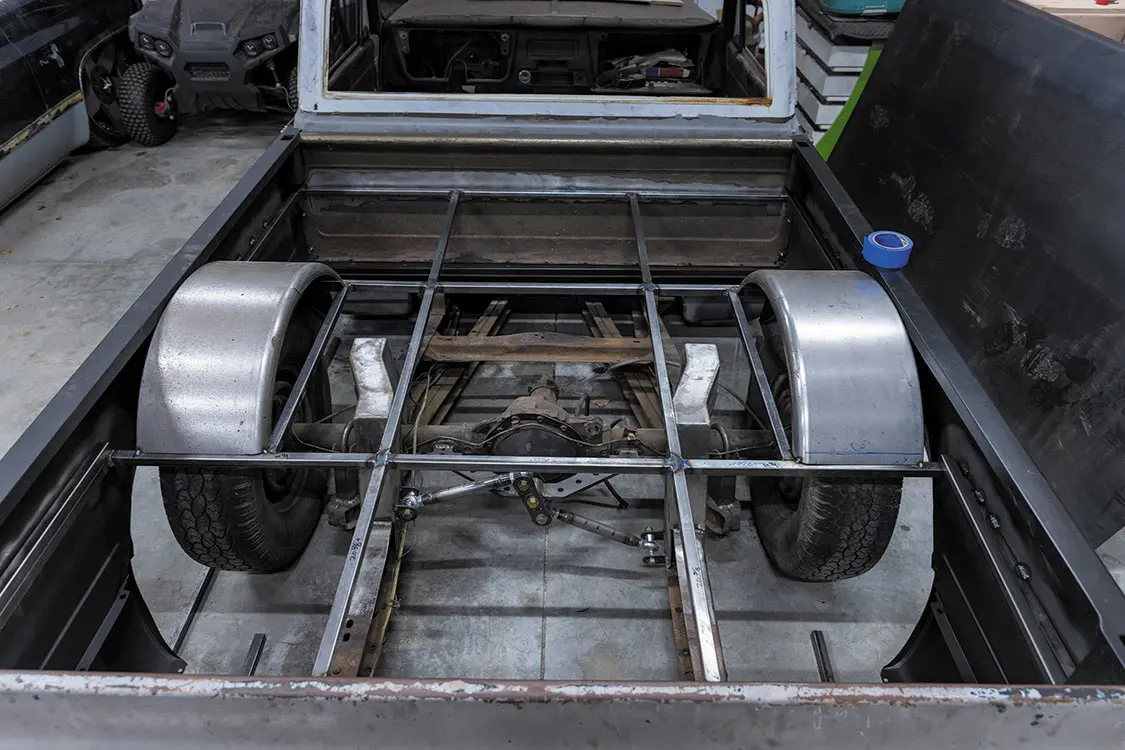
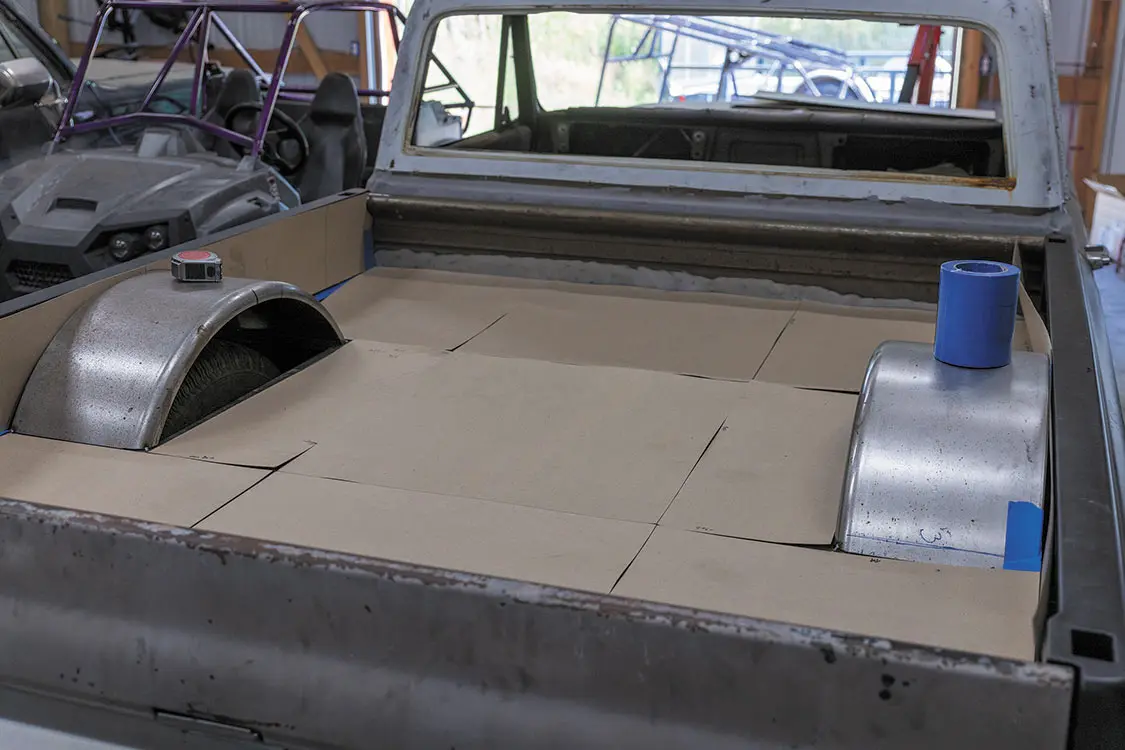
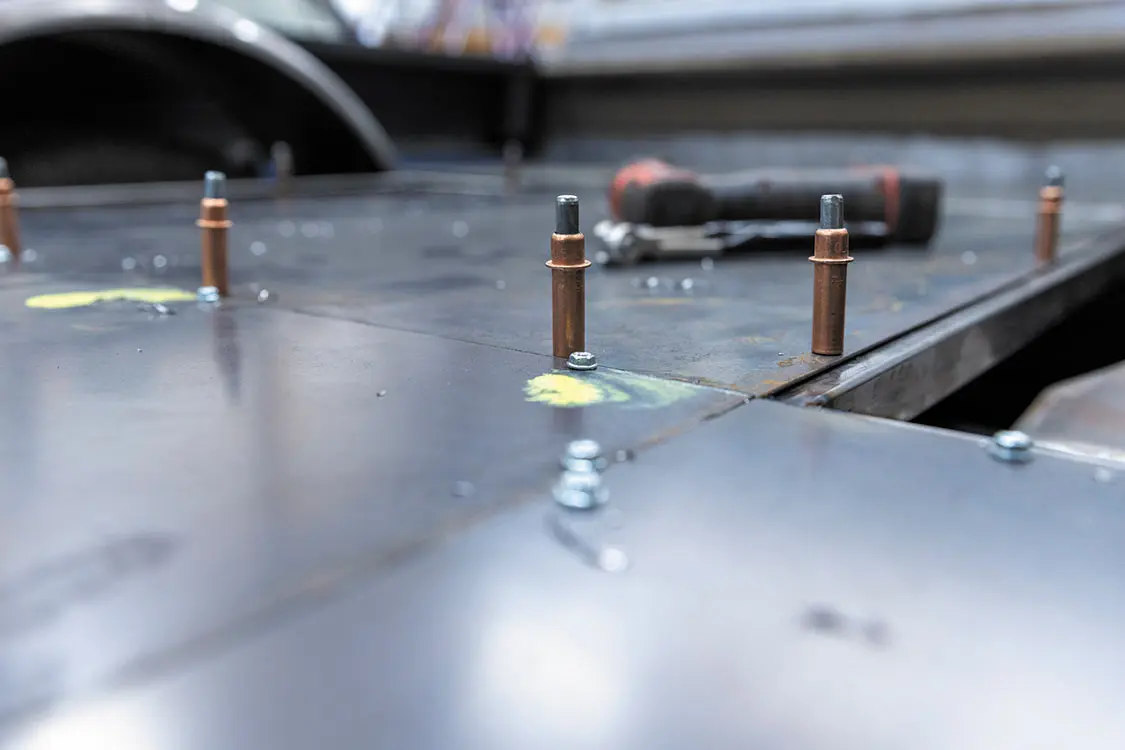
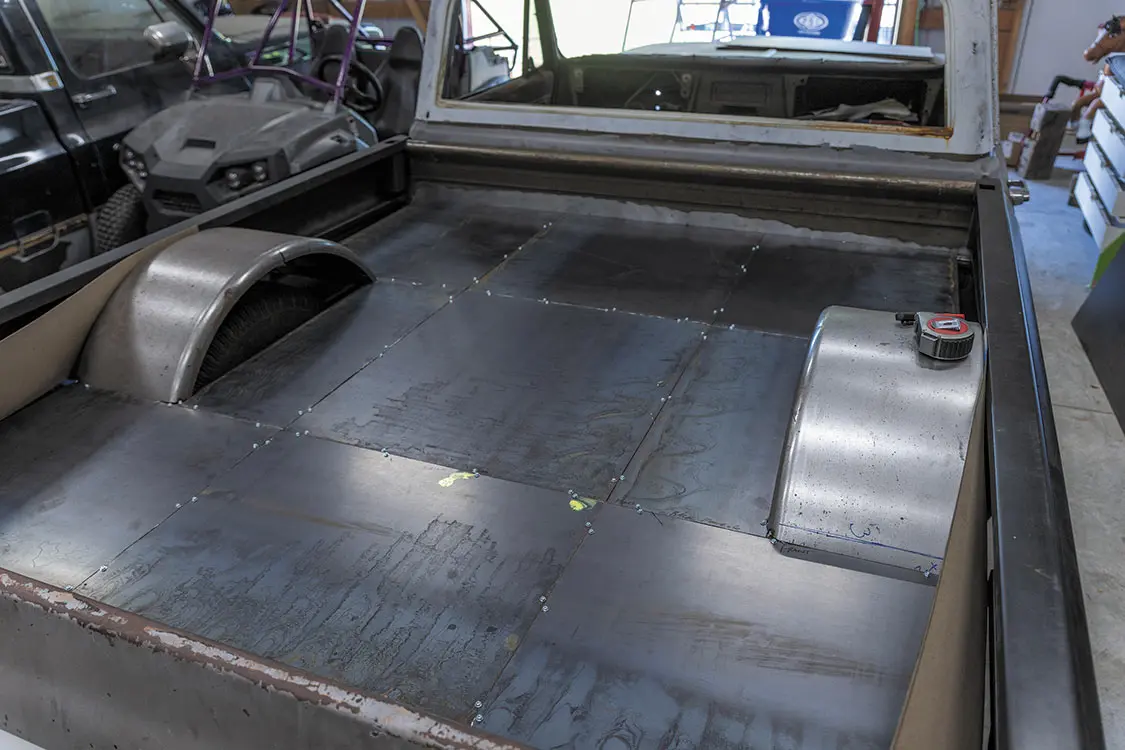
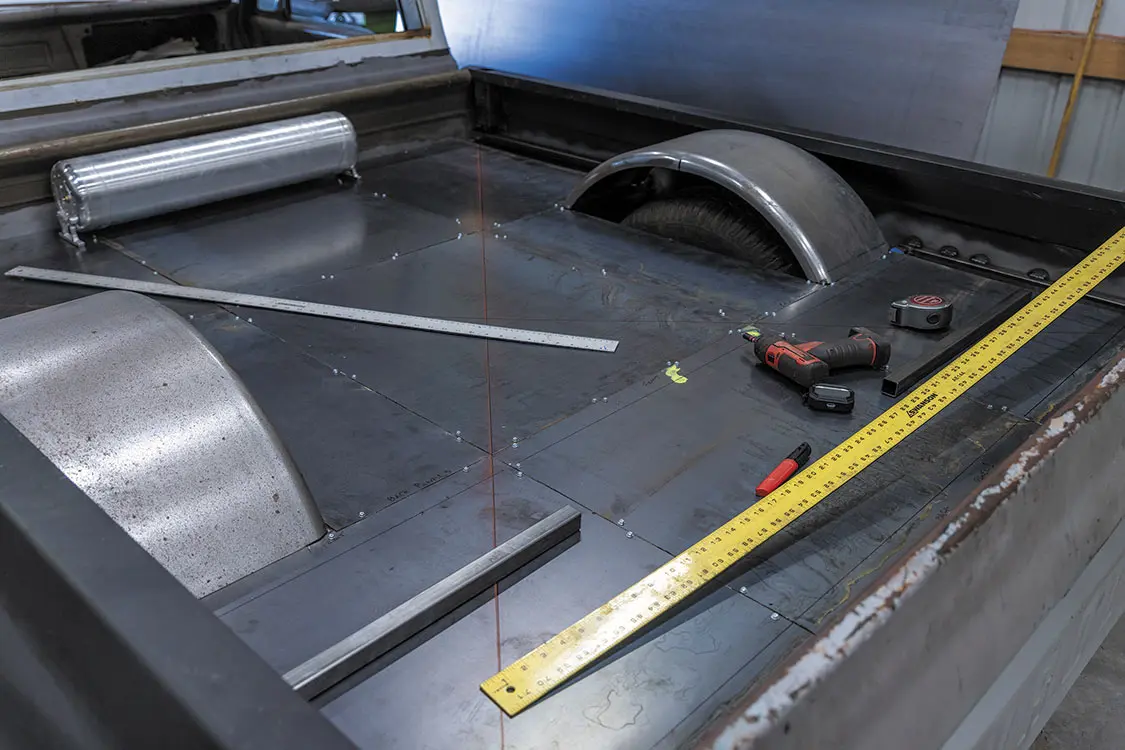
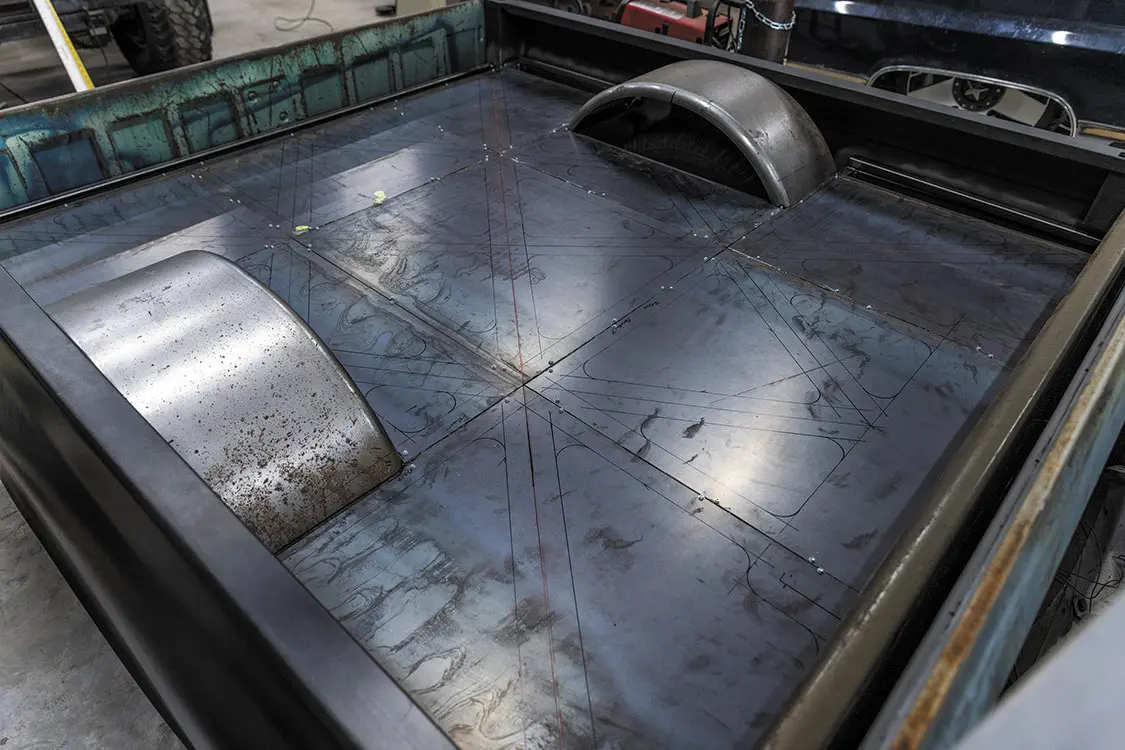
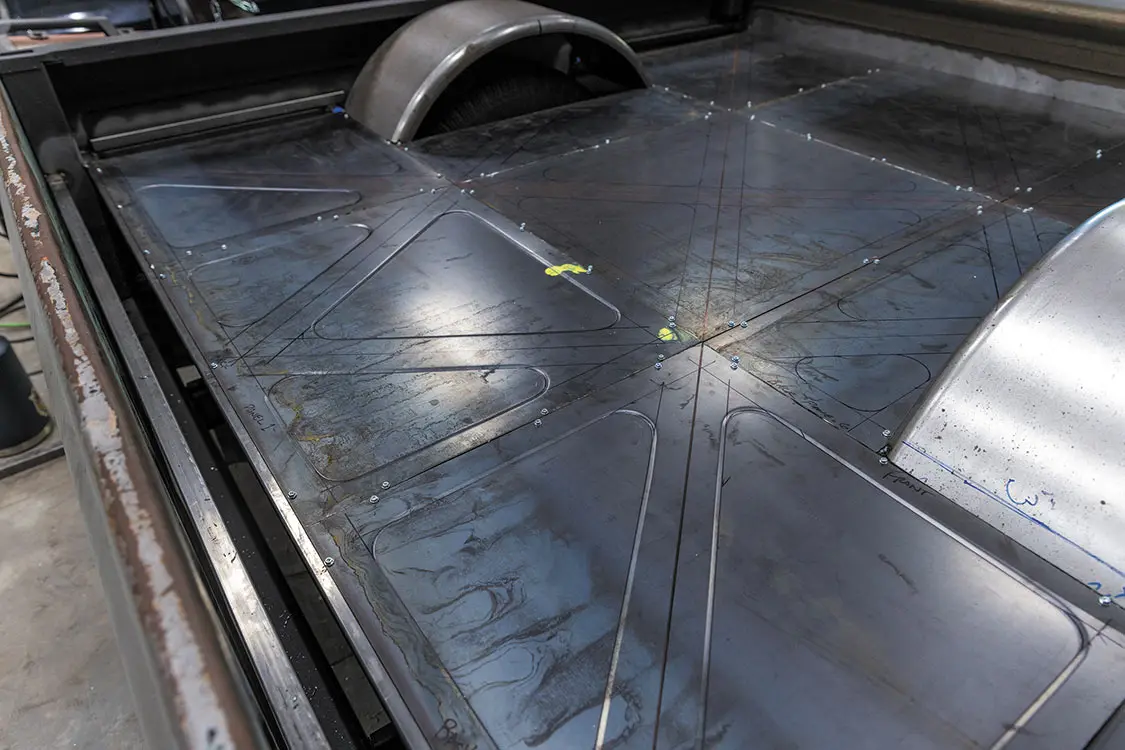
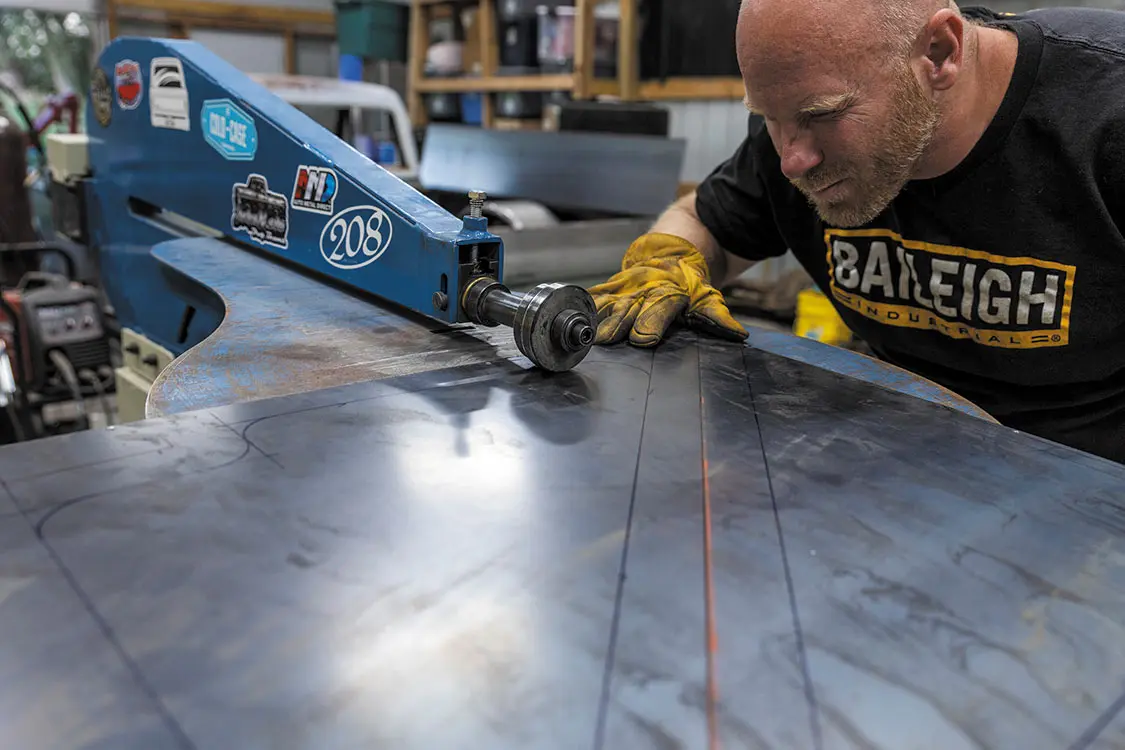
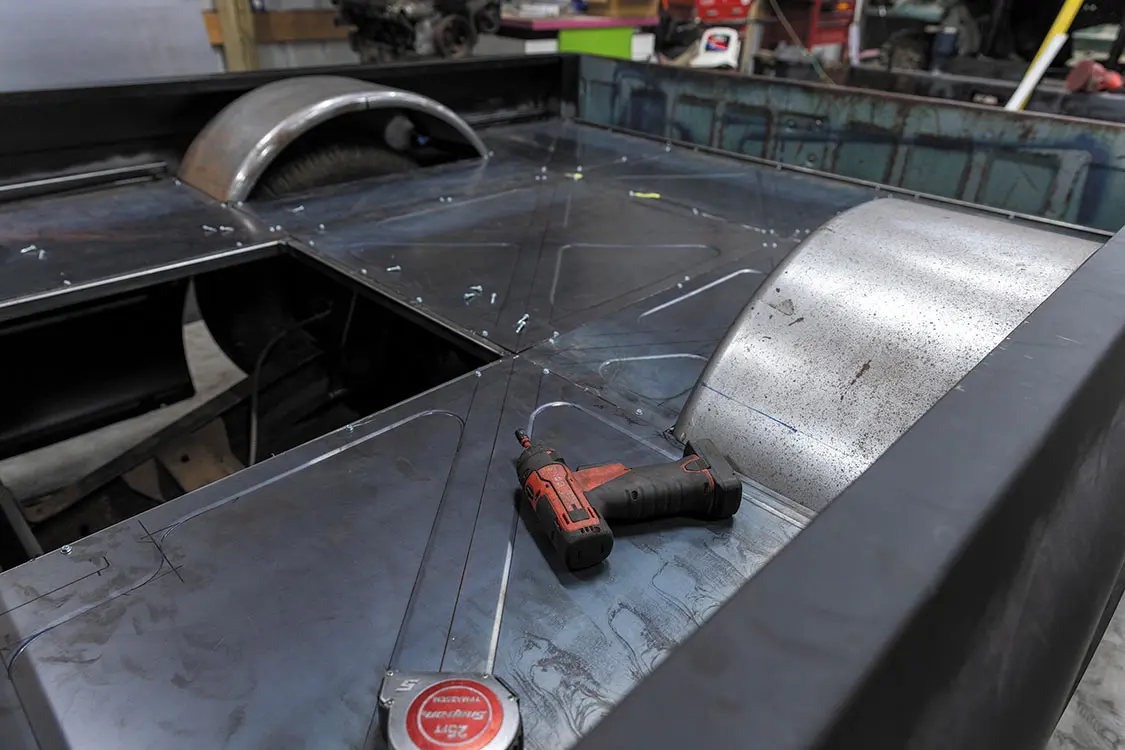
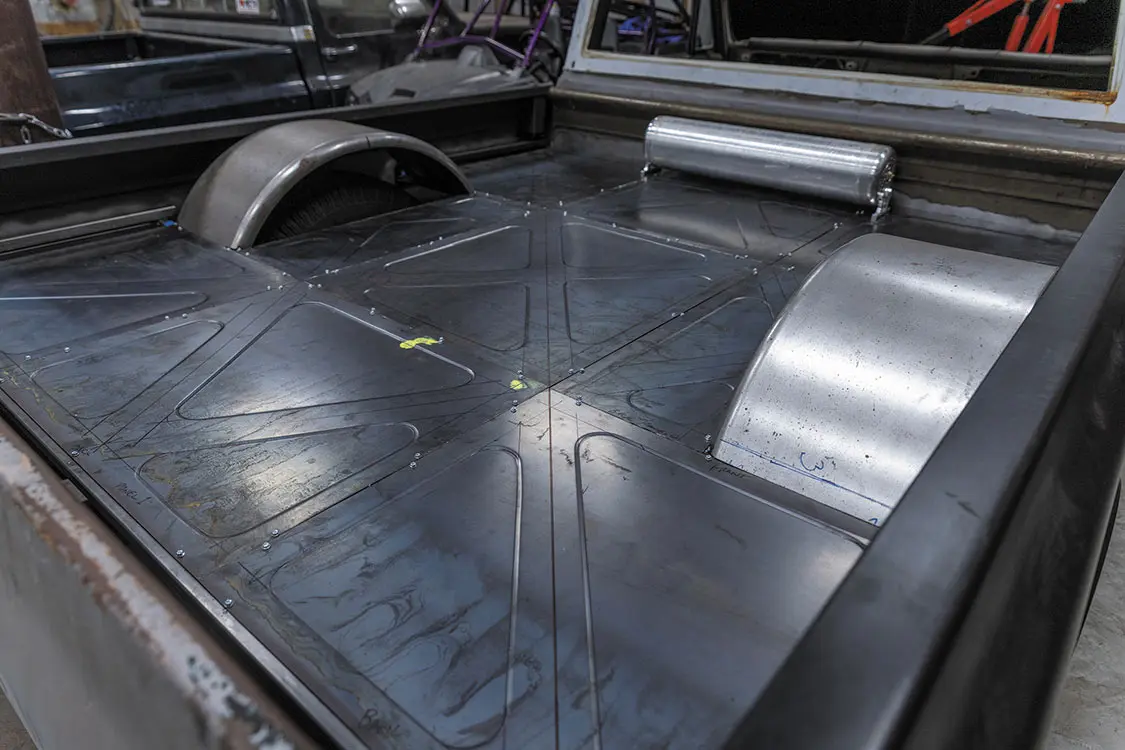
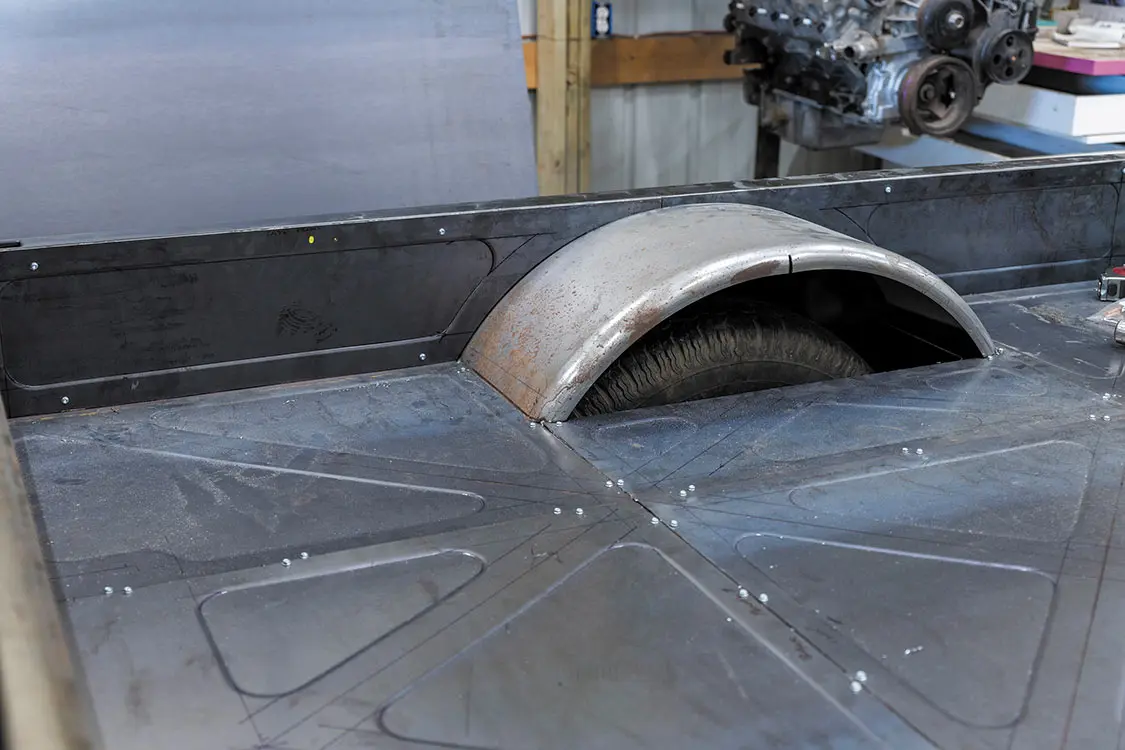
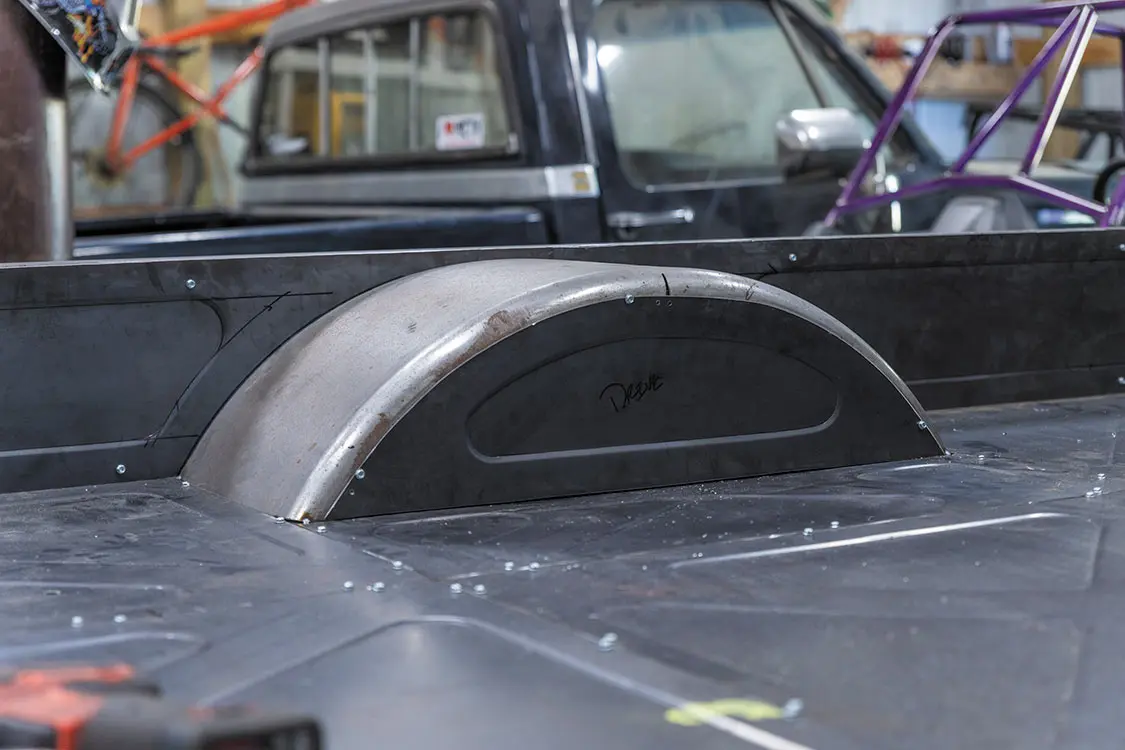
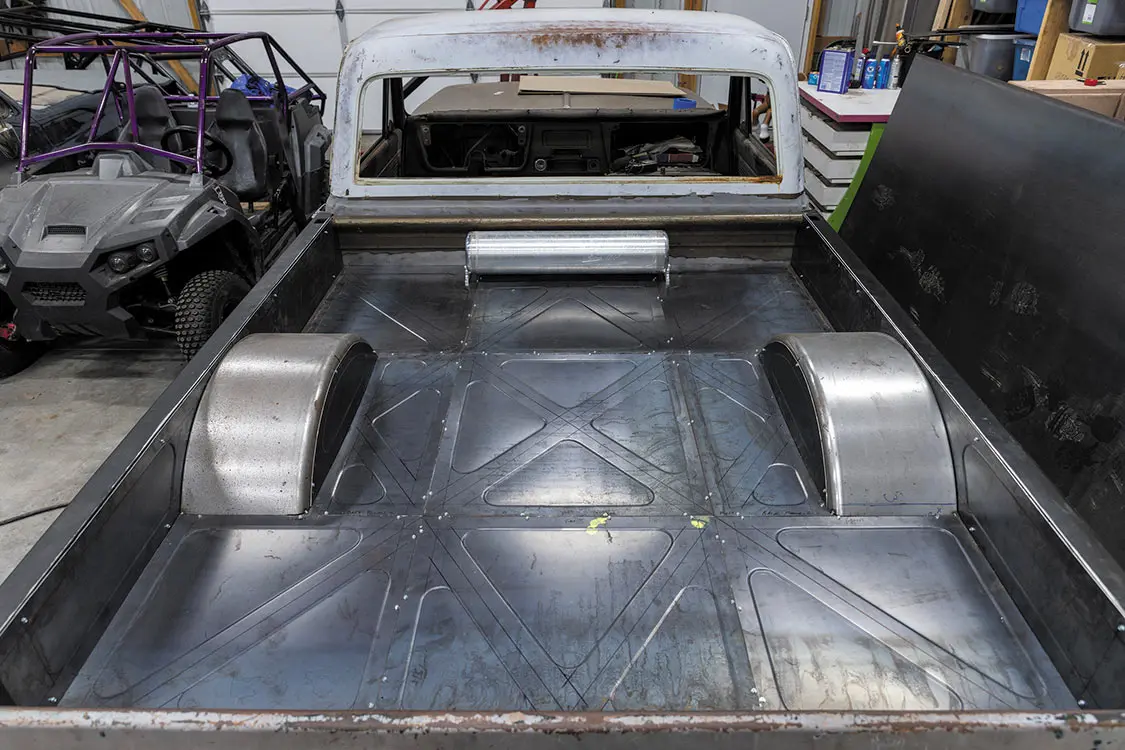
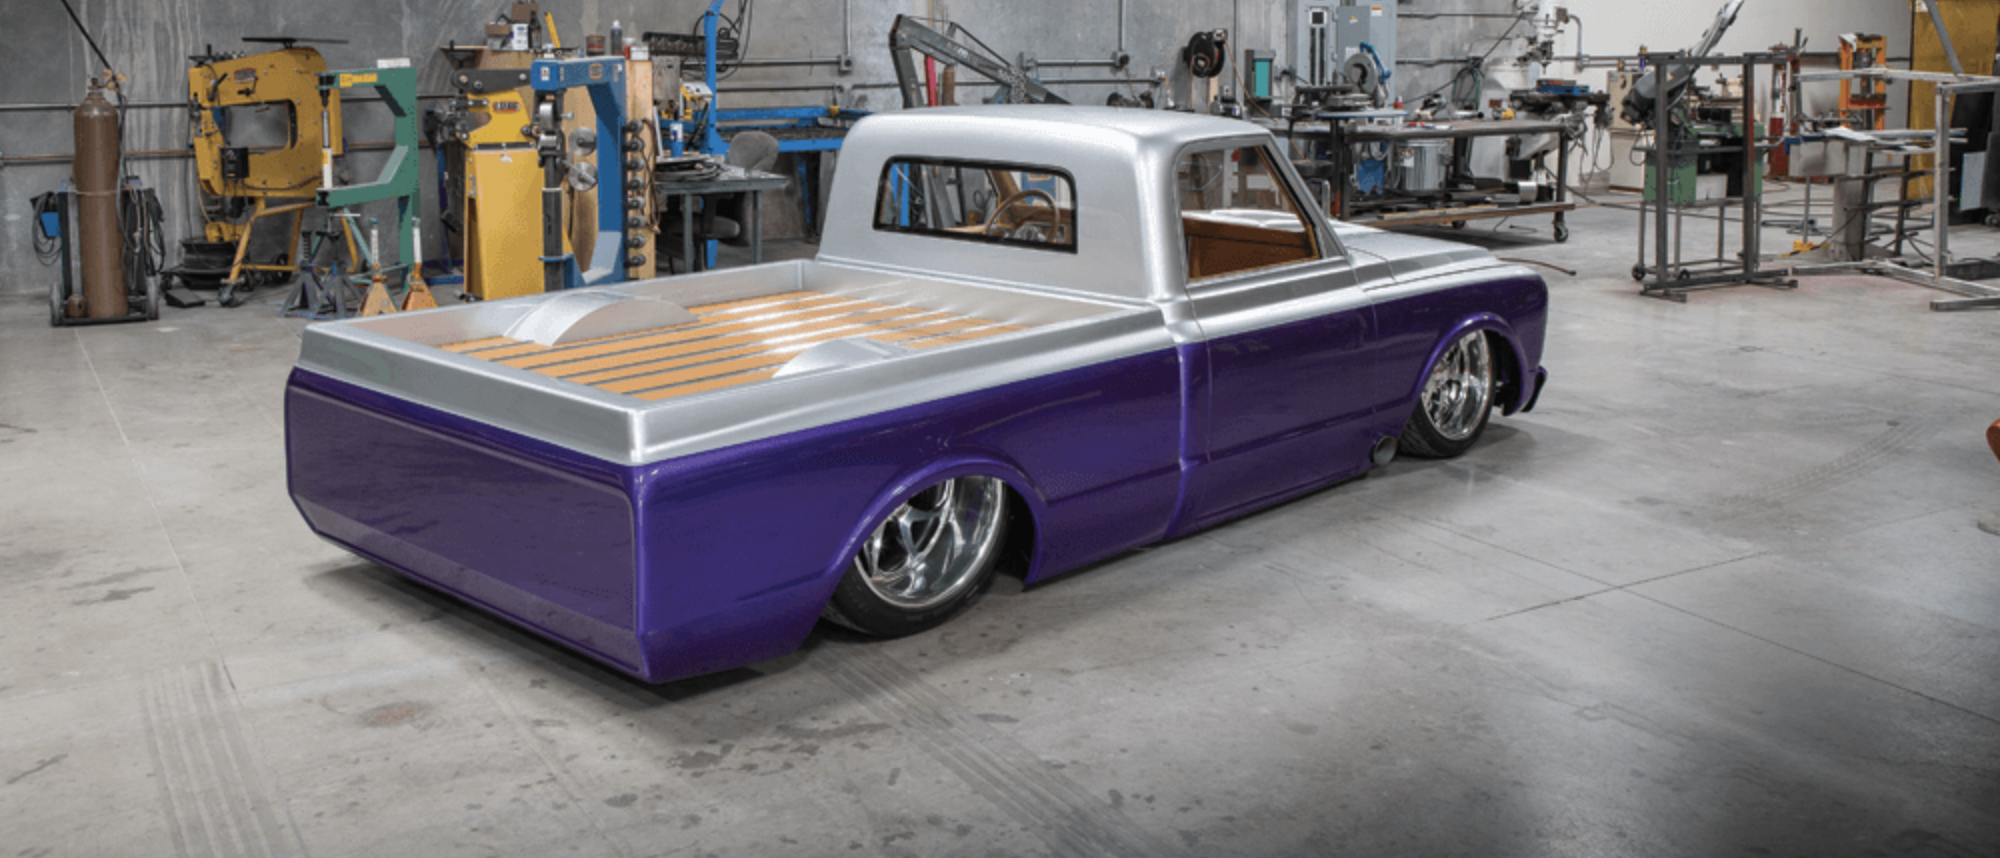
ARE YOU LOOKING to make your C10 stand out from the crowd? A way you can truly make your build one of a kind is with a custom bed floor that fits your project and your own unique style. With such a large canvas, you can really let your artistic side come out on full display.
The steps below are just one of the many ways to get started and your creativity flowing! For custom sheetmetal work like we’ve shown here, you have quite a few ways to go about it. Most are just personal preference, meaning that beyond the basics, there’s no real “right” or “wrong” way to some of what’s shown. There are a ton of amazing fabricators out there who use many different techniques, so don’t be afraid to experiment with what works best for you and your build!


C10 Builders Guide
Congrats to Candice Wheeler for snagging the next C10 Builders Guide cover! Grant Cox was able to shoot these amazing photos after this truck premiered at… Continue reading
Chris Hamilton . October 25, 2019

Features
No Explanation Needed When You Do It Yourself Being the boss has its perks. You get to sit back and watch the workers do the… Continue reading
Chris Hamilton . June 17, 2022

c10
The Fun Is the Same Once You Get Behind the Wheel BUILDING A TRUCK FROM THE ground up or taking on a comprehensive customizing effort… Continue reading
Joe Greeves . March 19, 2024
C10 Builders Guide
When Good Just Isn’t Good Enough Recording the amount of time that goes into a build can be a good way of gauging how much… Continue reading
John Mata Jr. . May 28, 2019
C10 Builders Guide
A lot of projects have hurdles to overcome, and in our case, it’s pretty much the norm. Adding enough frame rail clearance for headers, tweaking… Continue reading
streettrucks . July 02, 2020
Blood Sweat and Gears
LS Engine, Building More Power in a 383 motor! If you’re interested in racing, performance upgrades are inevitable, especially with a truck that has a… Continue reading
streettrucks . February 16, 2021


We use cookies to enhance your browsing experience, serve personalized ads or content, and analyze our traffic. By clicking "Accept All", you consent to our use of cookies. Visit our Cookie Policy for more info.

Share Link