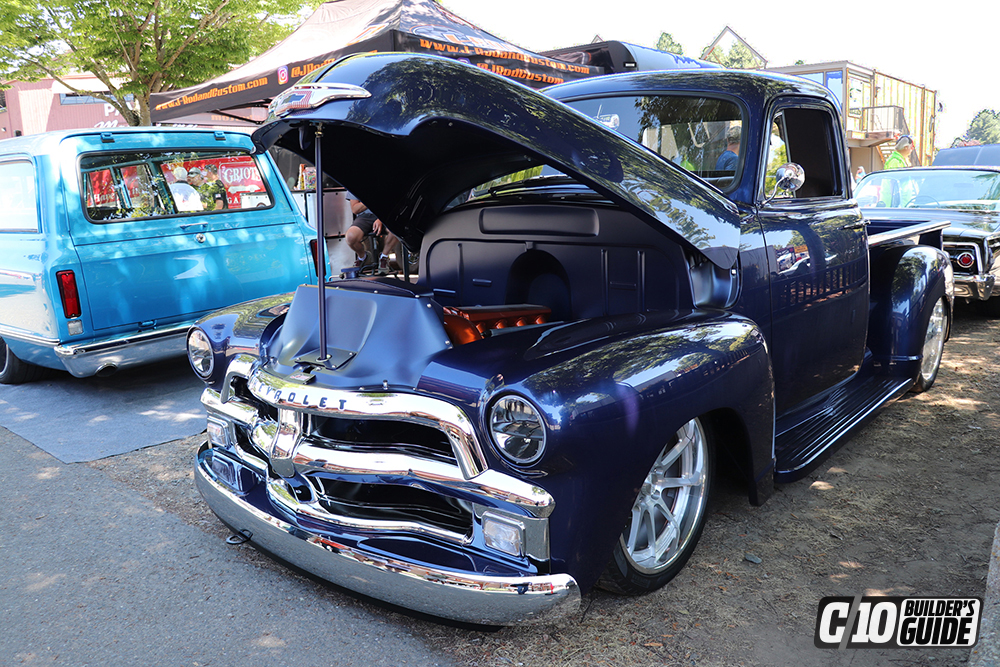
 KYLE APPELL
.
December 15, 2022
.
Department
.
KYLE APPELL
.
December 15, 2022
.
Department
.

Older generations would tell you to rub your truck down with oils, like boiled linseed, to prevent further oxidation. But with the oils come issues; they lack the necessary components to keep your patina truly safe from everyday elements like UV radiation. They fall even shorter when it comes to protecting it from harsher conditions like acid rain.
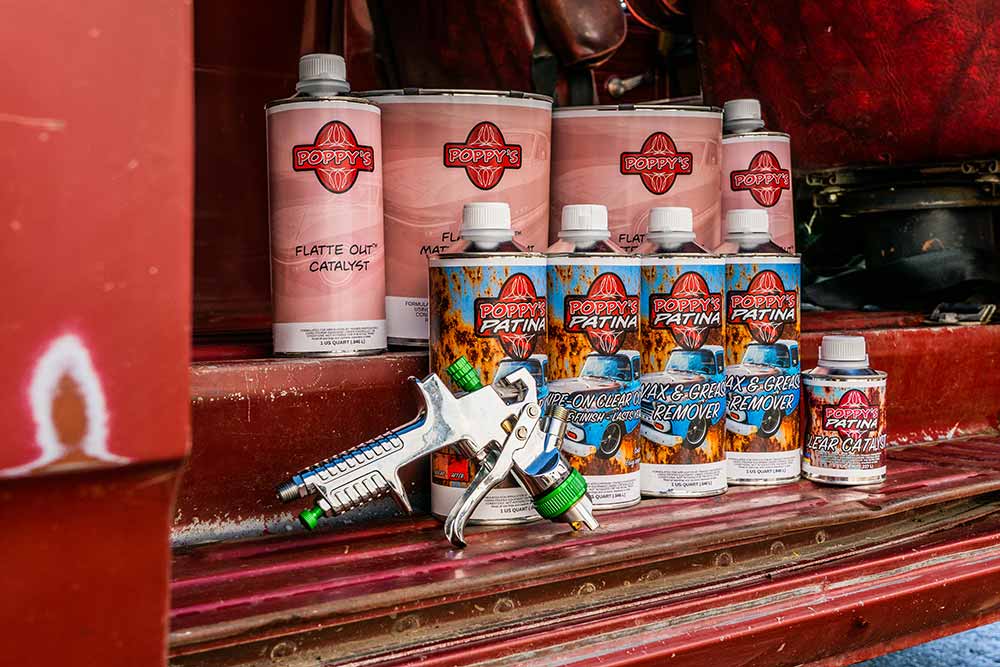
That’s where Poppy’s Patina steps in. The company has developed a line of urethane-based matte and gloss clearcoats that have been designed specifically for patina paintjobs. The Oklahoma-based company even developed a wipe-on clearcoat for the DIY truck owners who don’t have access to any automotive paint equipment. For larger projects, Poppy’s offers the standard spray-on formula, allowing for greater surface application in a shorter amount of time.

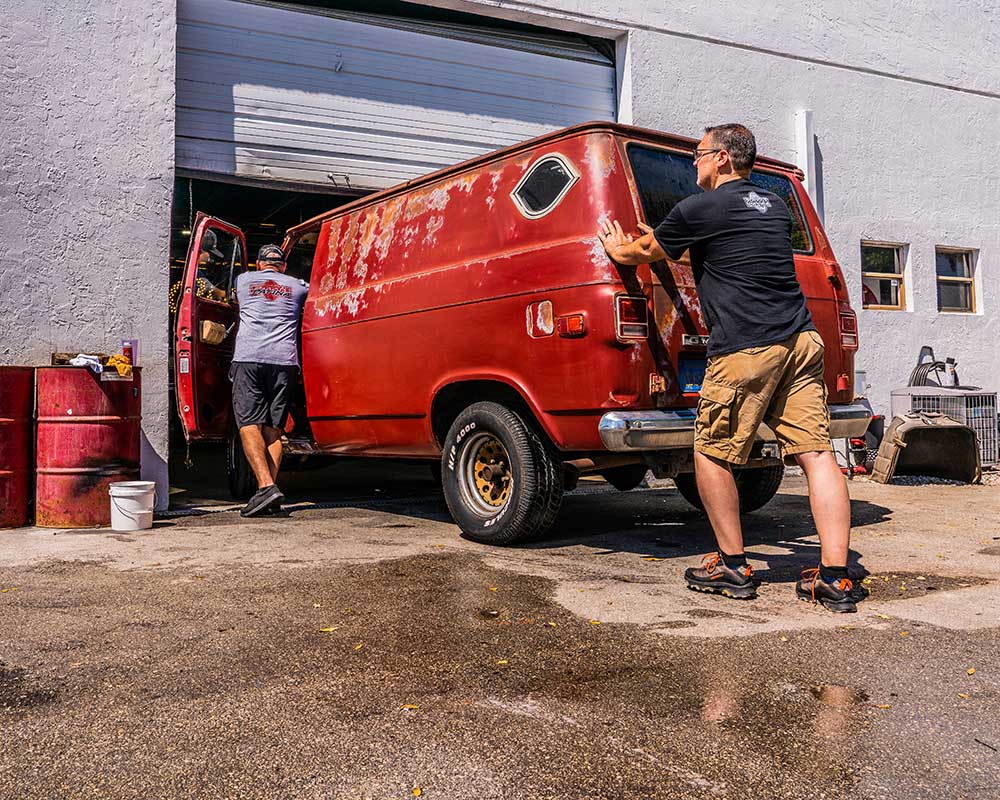
This happened to be perfect for Salvage to Savage’s newest GMC patina van project. The guys at Poppy’s Patina headed down to South Florida with some of the company’s matte clearcoat to give them a hand!
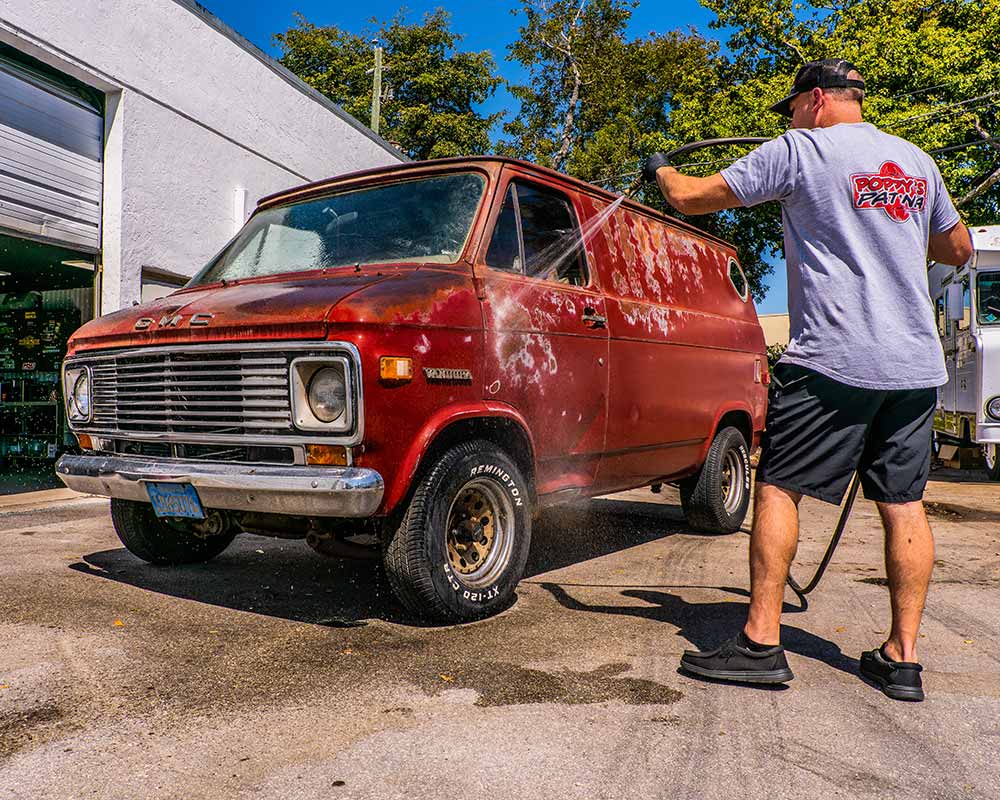
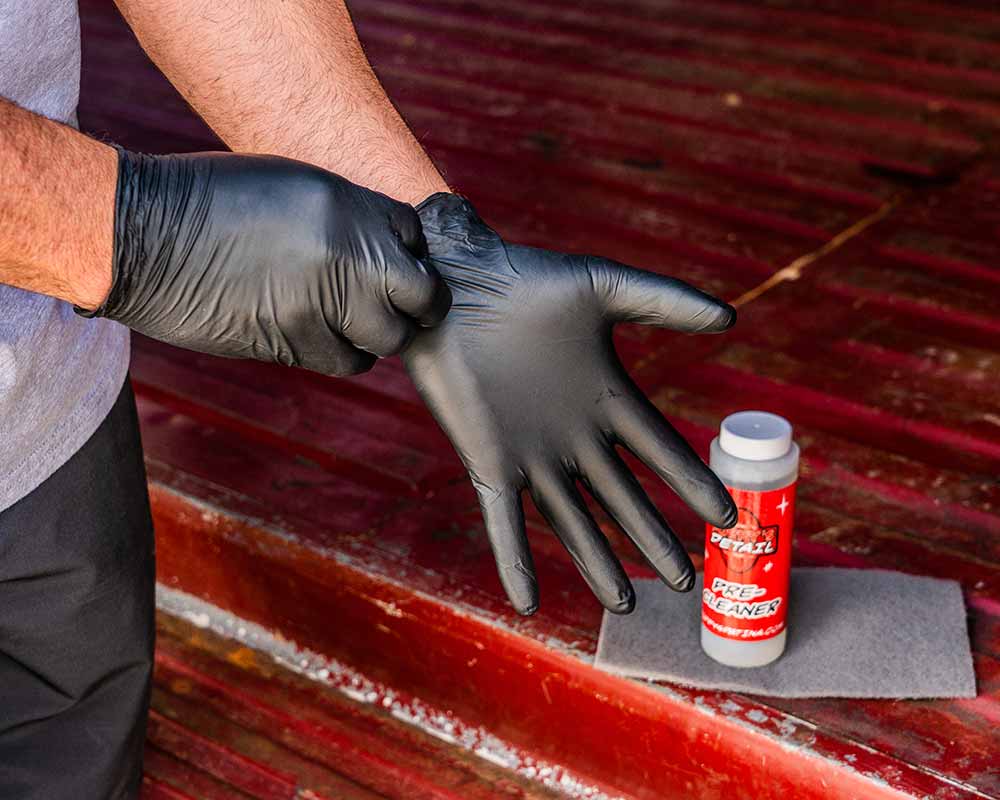
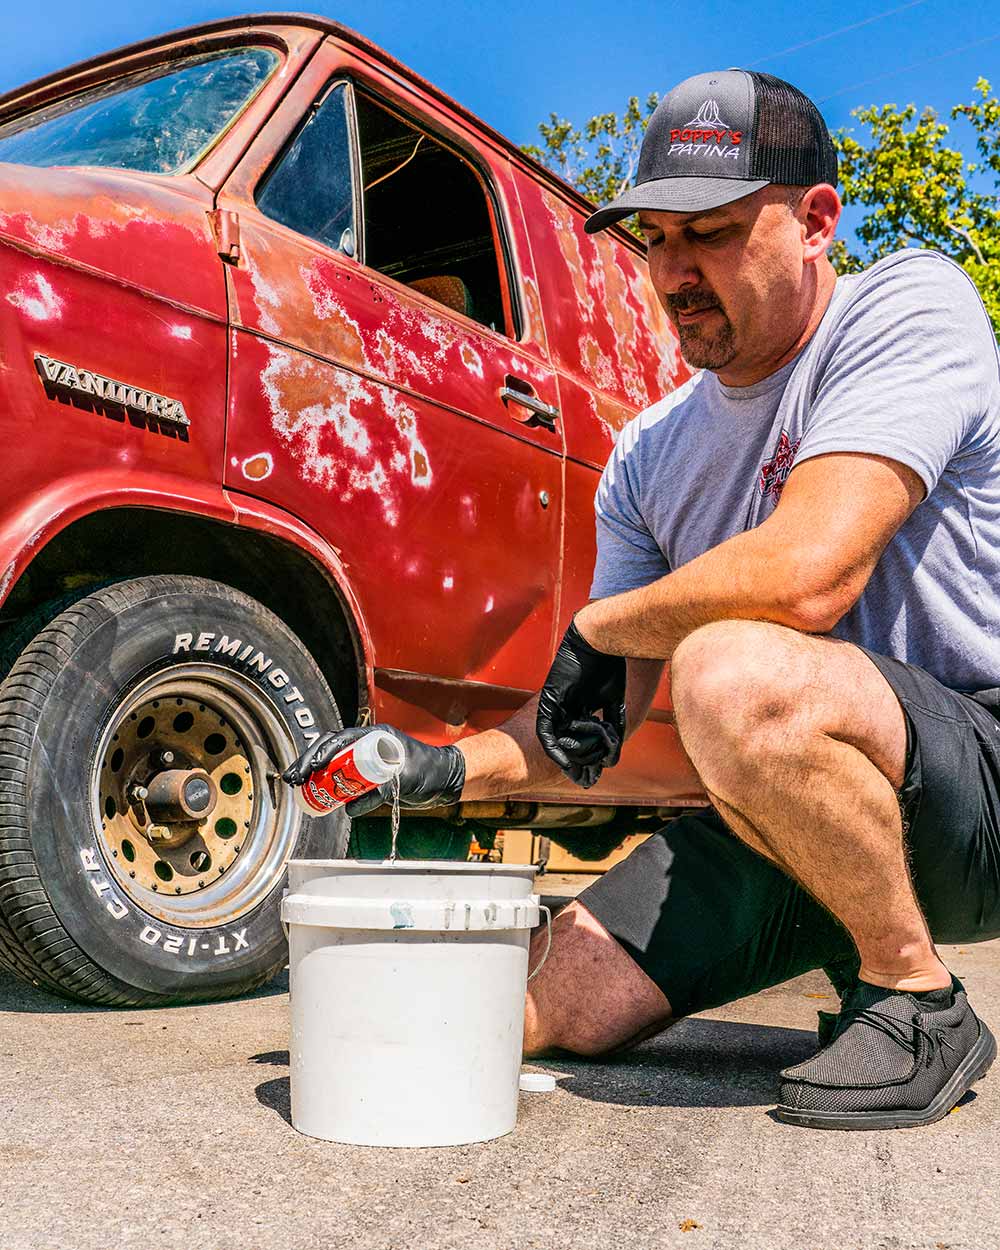
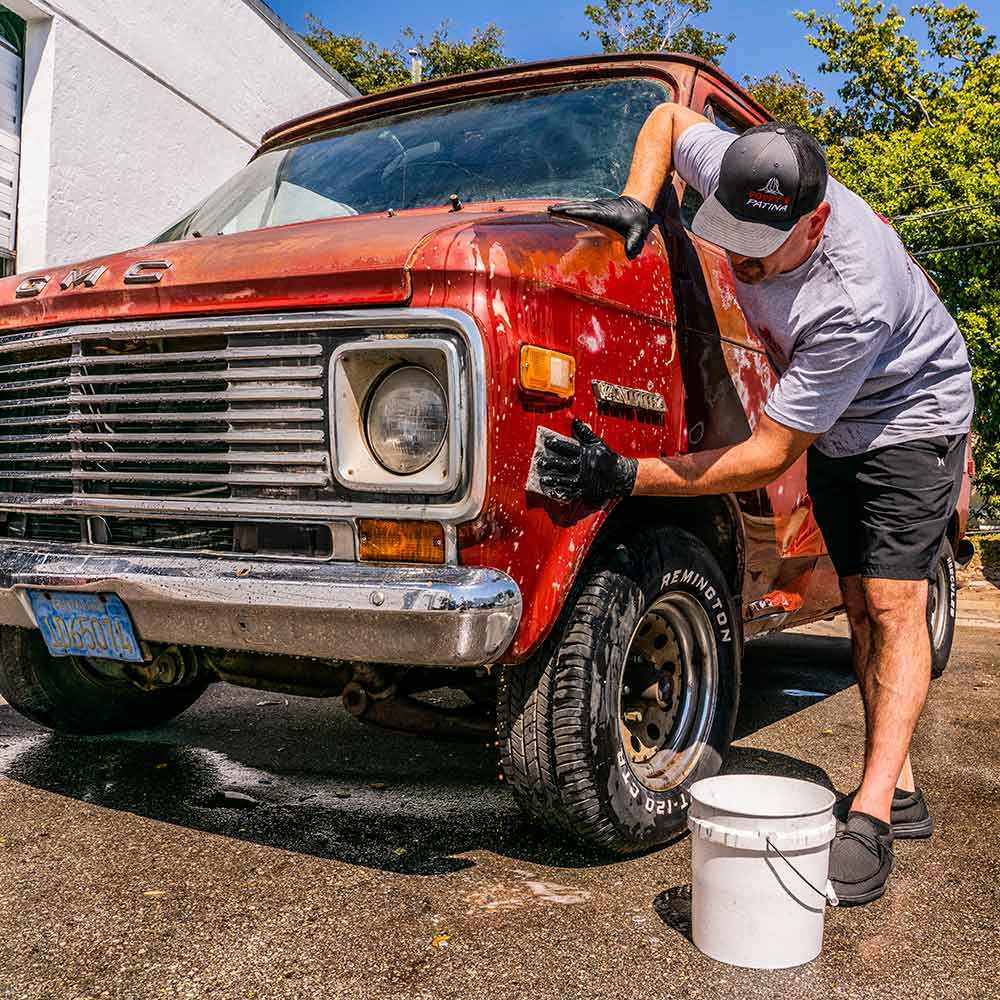
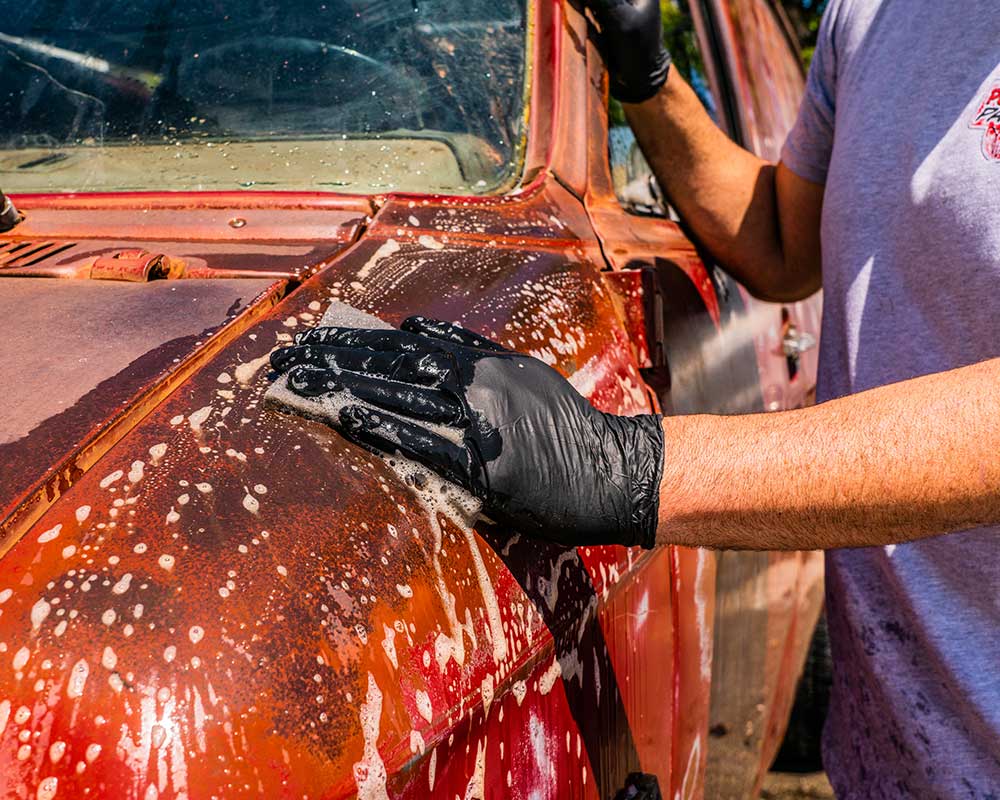
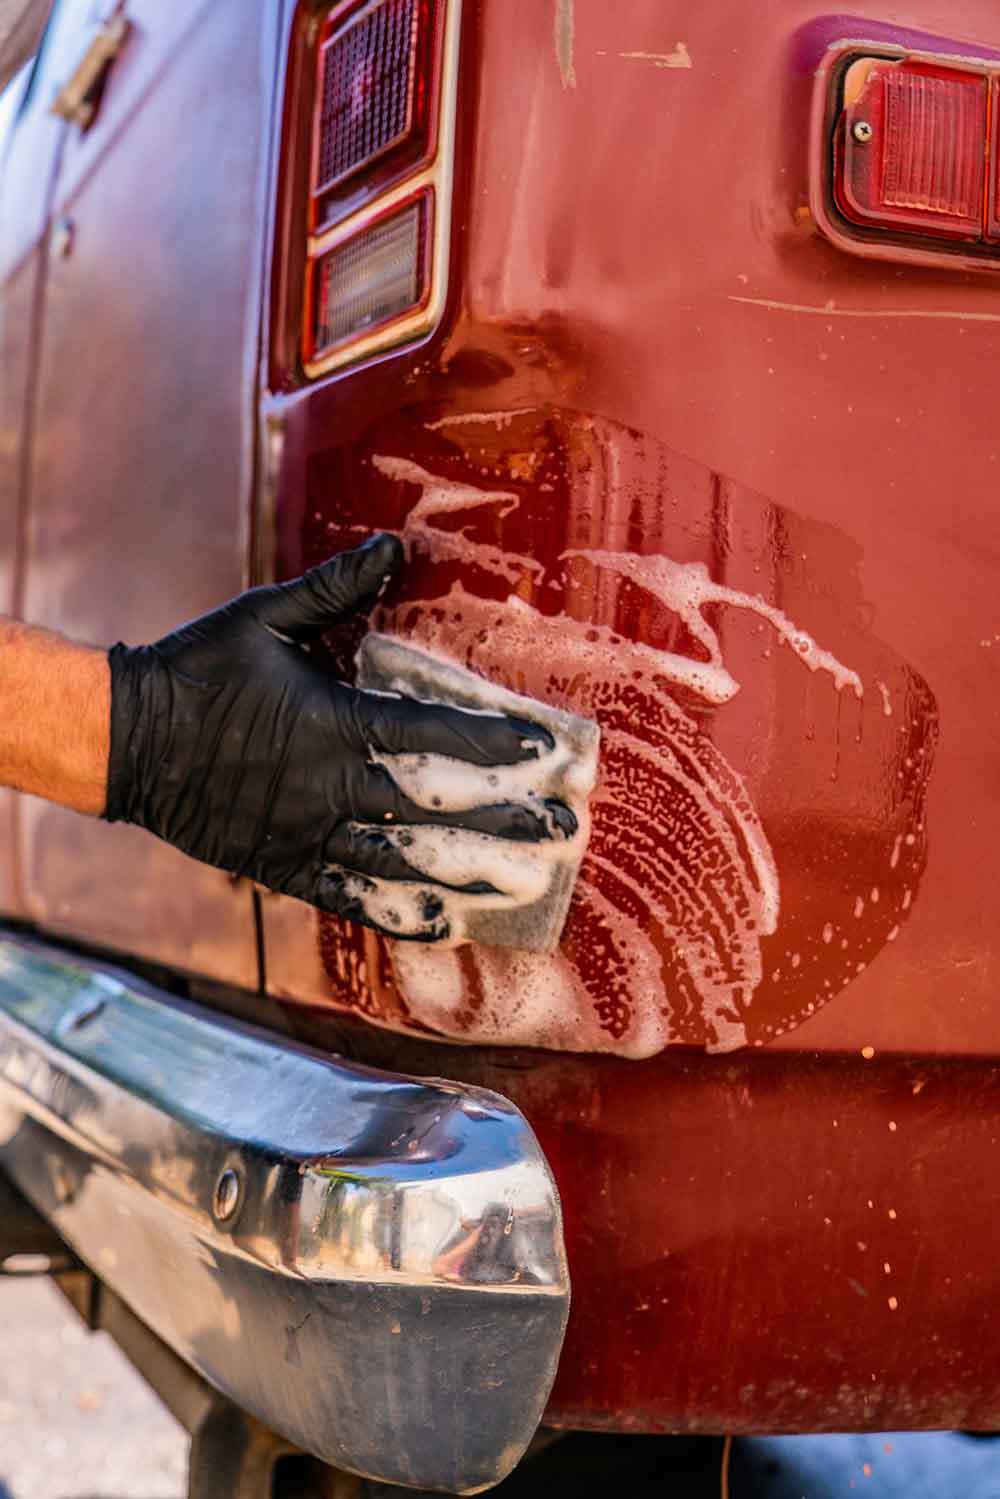
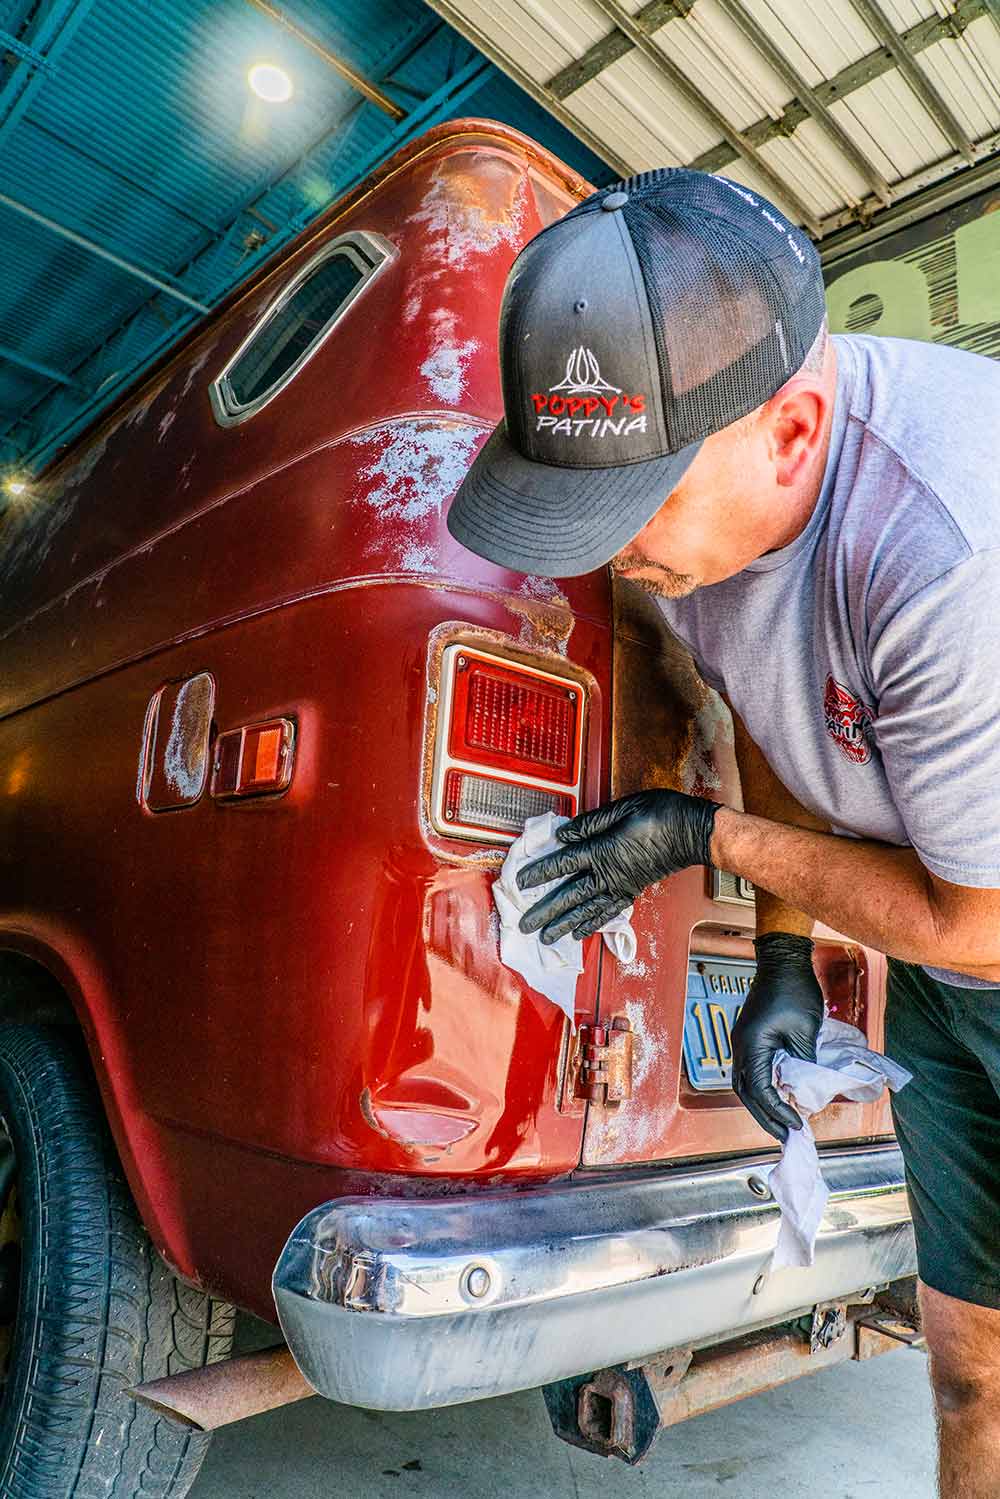
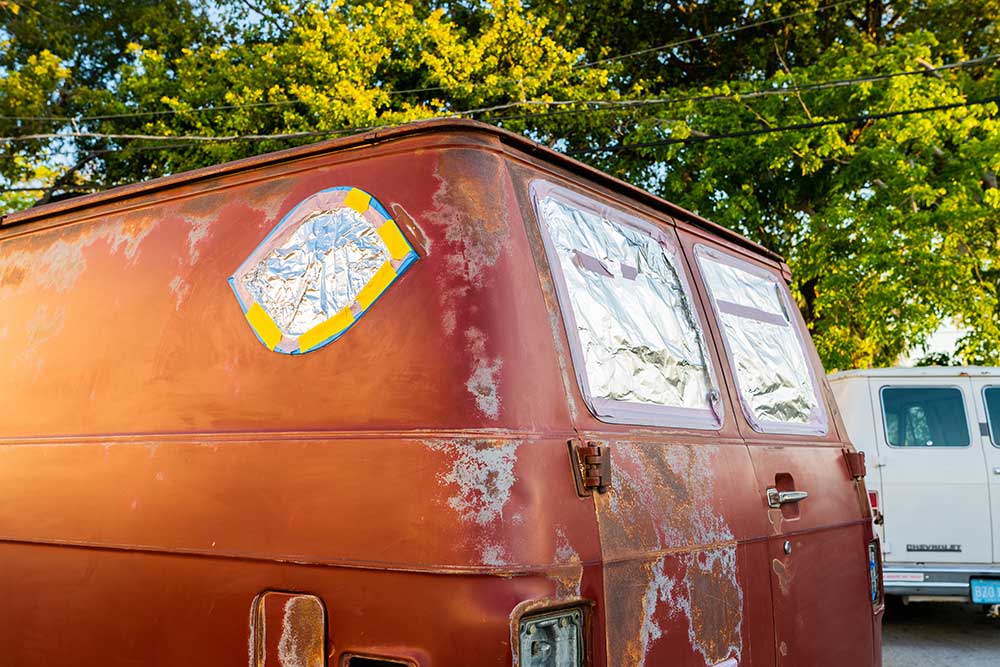
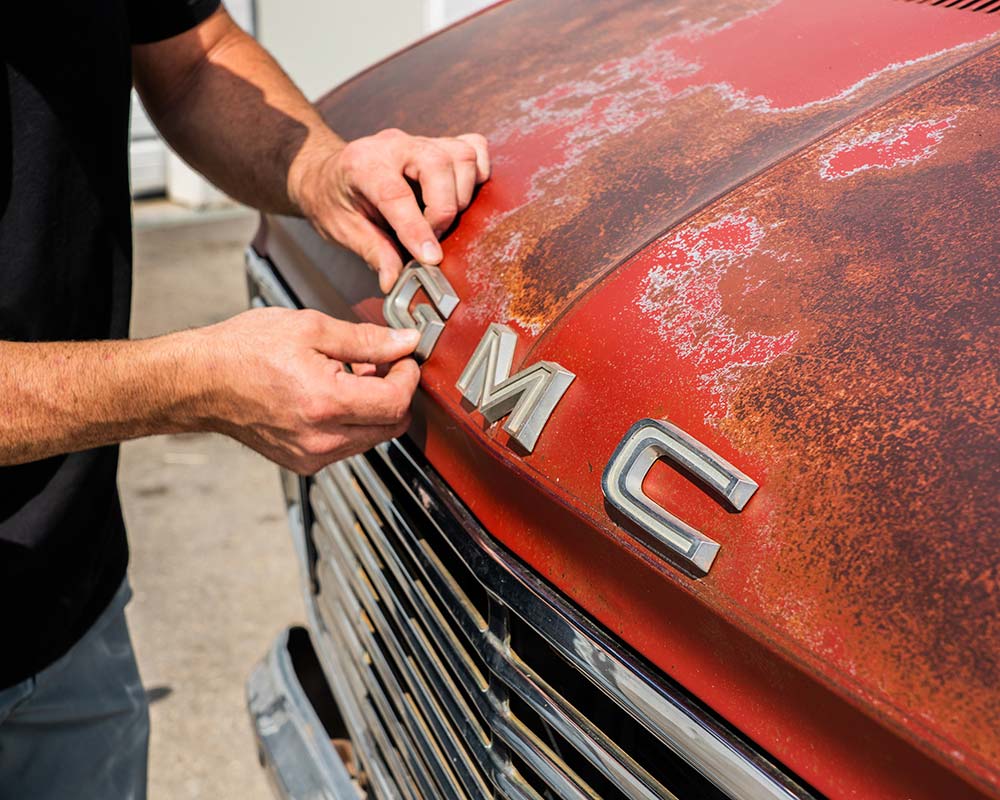
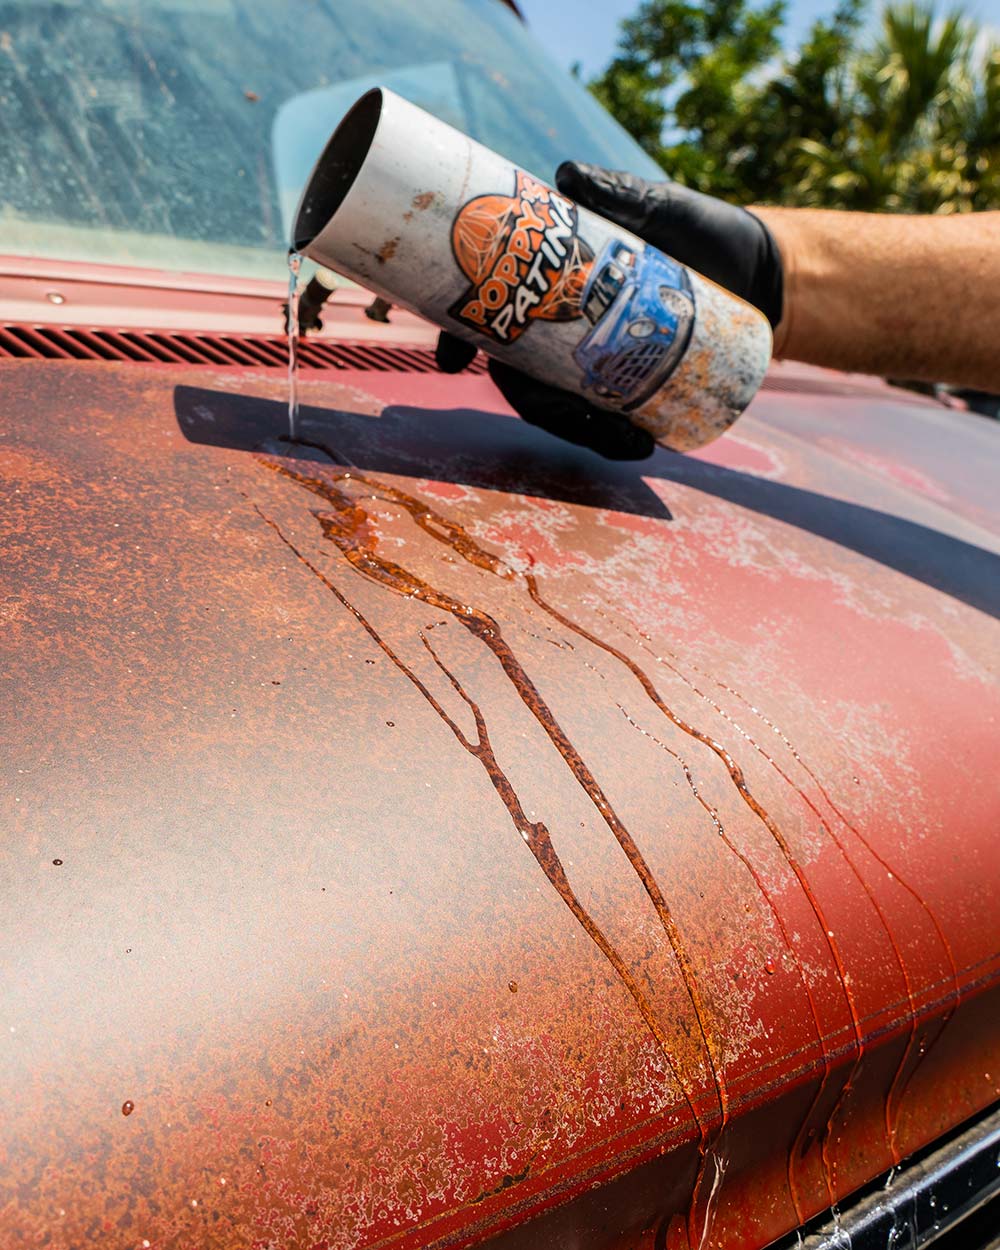
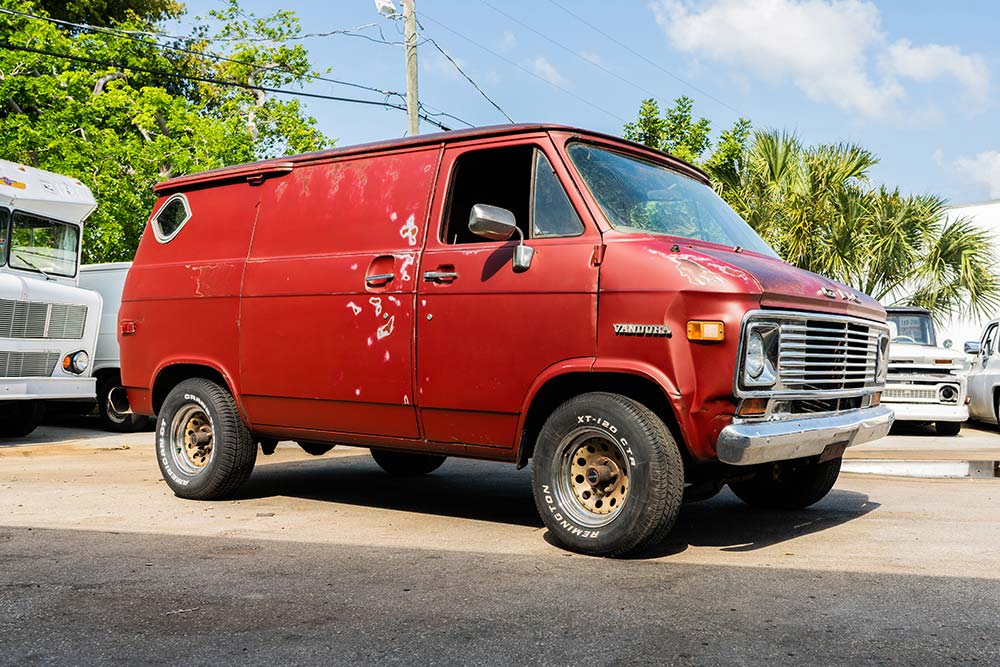
The GMC Vandura was still rocking the original factory paint from the 1970s, and the crew at Salvage to Savage wanted to make sure the Florida elements didn’t turn the van into a pile of rust. Brian from Poppy’s Patina kicked off the process by hosing down the van and giving it a wash with Poppy’s pre-cleaner, using the scuffing pad to prep the surface. The scuff pad not only helped to remove stuck-on debris from the paint, but it also created a more adhesive surface for the clearcoat.
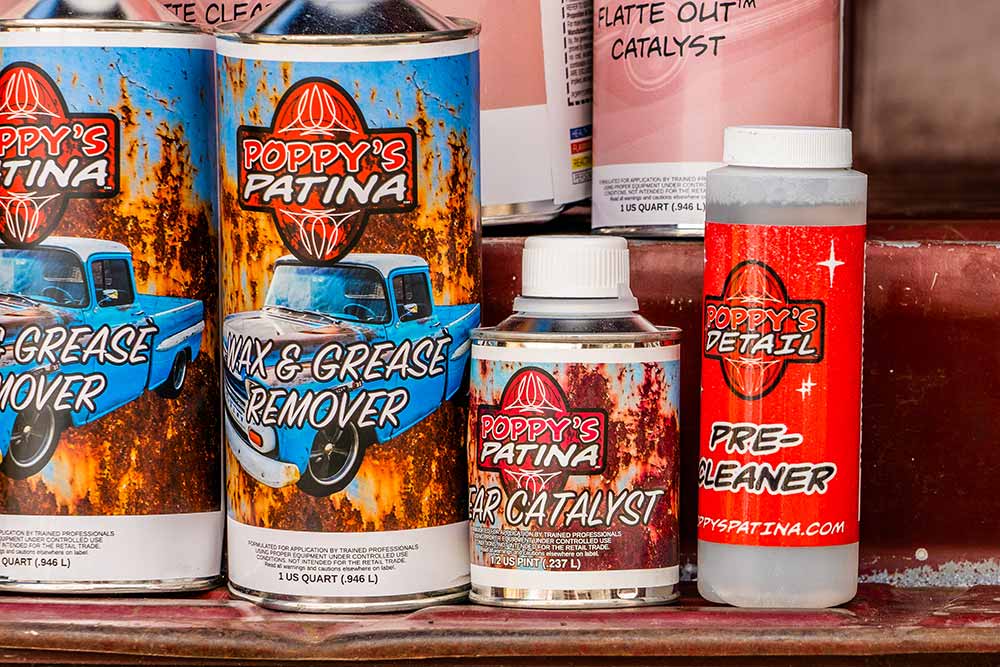
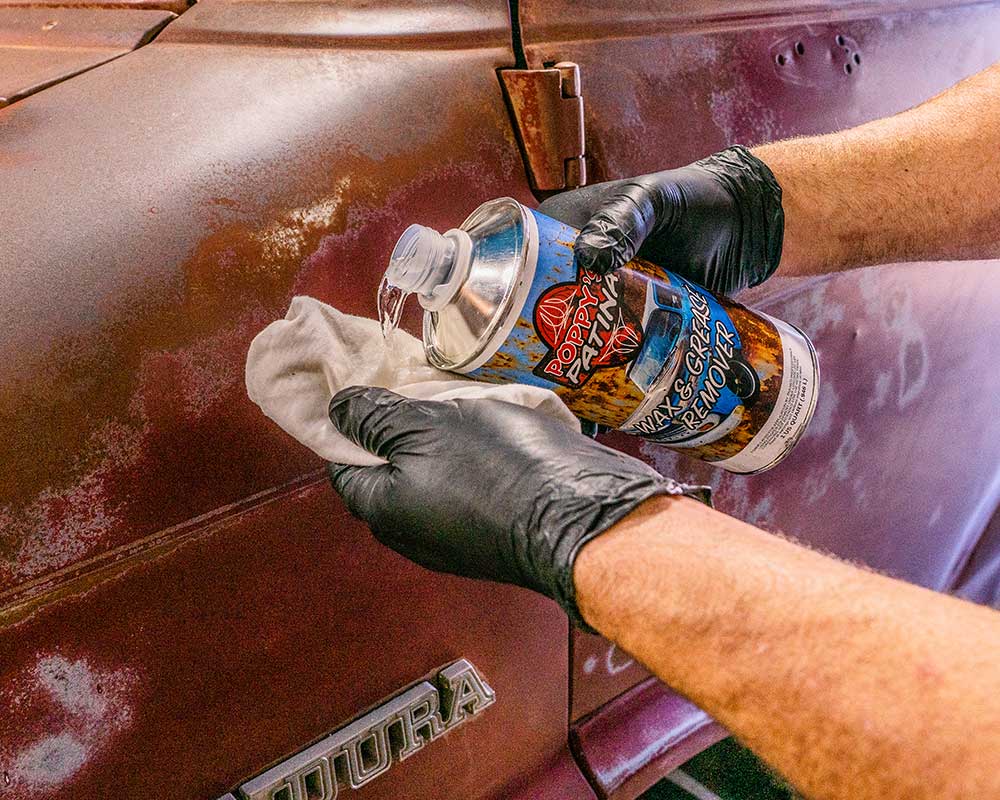
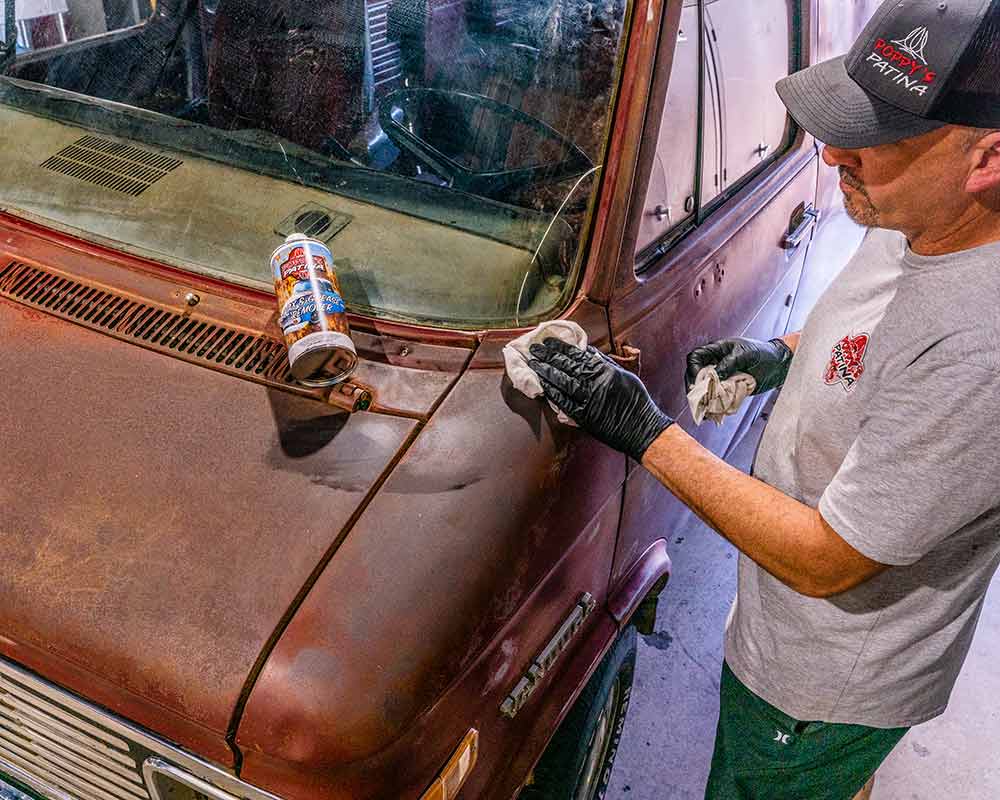
Once cleaned, the guys moved the GMC van inside the shop to start wiping it down with Poppy’s Patina degreaser. The degreaser is designed to bring the trapped oils and leftover debris up to the surface of the paint, helping to remove anything that could affect the clearcoat’s adhesion. It’s important to wipe the degreaser on and be able to wipe it away with a clean cloth before the chemicals evaporate. The hot Florida sun would have caused the degreaser to flash off far too fast for it to work effectively, which is why the GMC was moved out of the direct sunlight for this step.
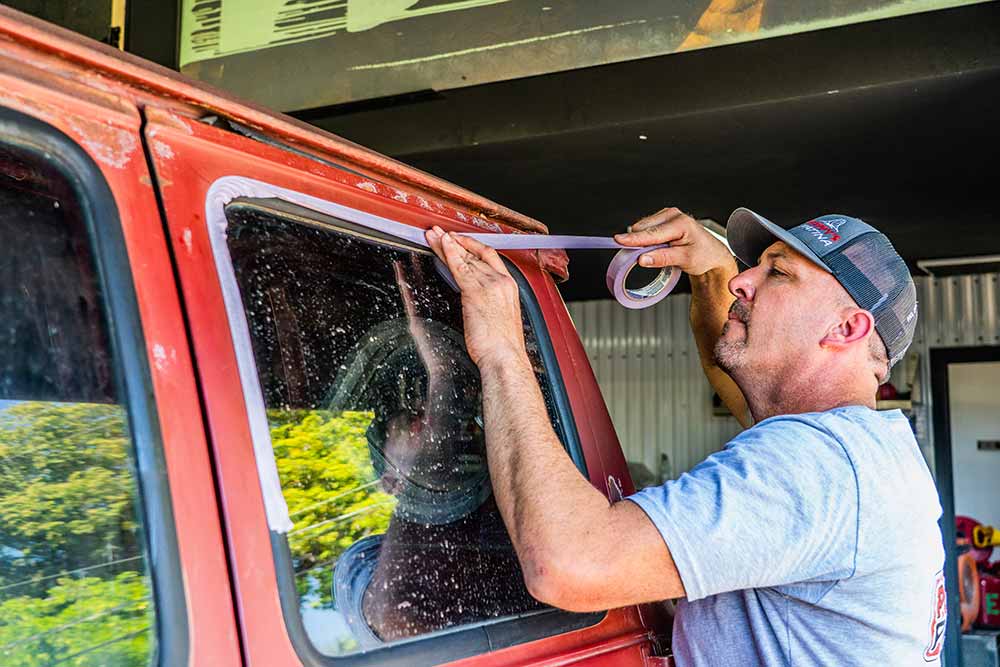
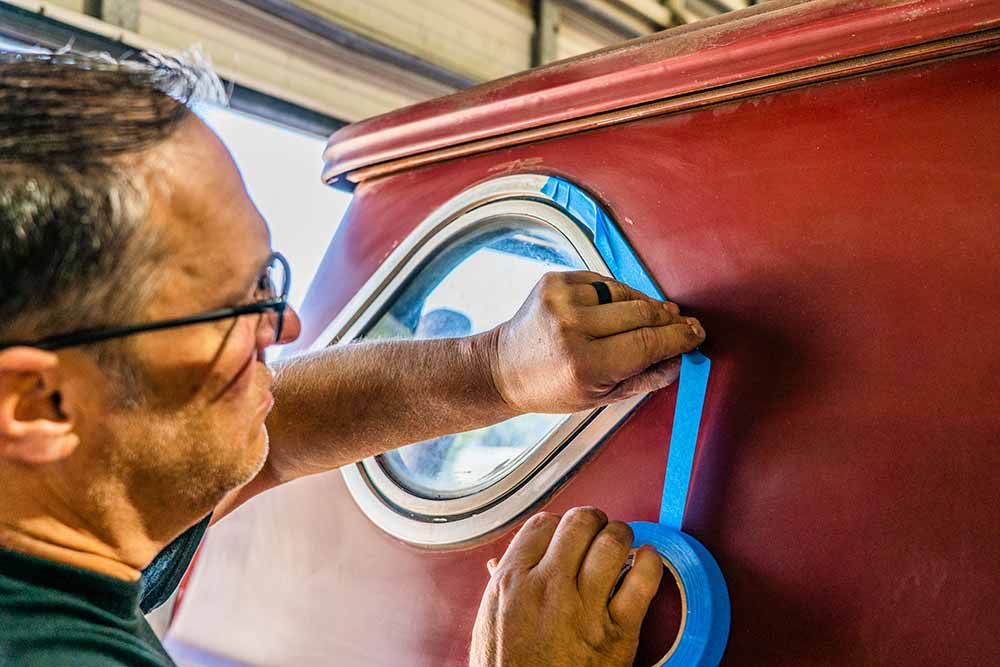
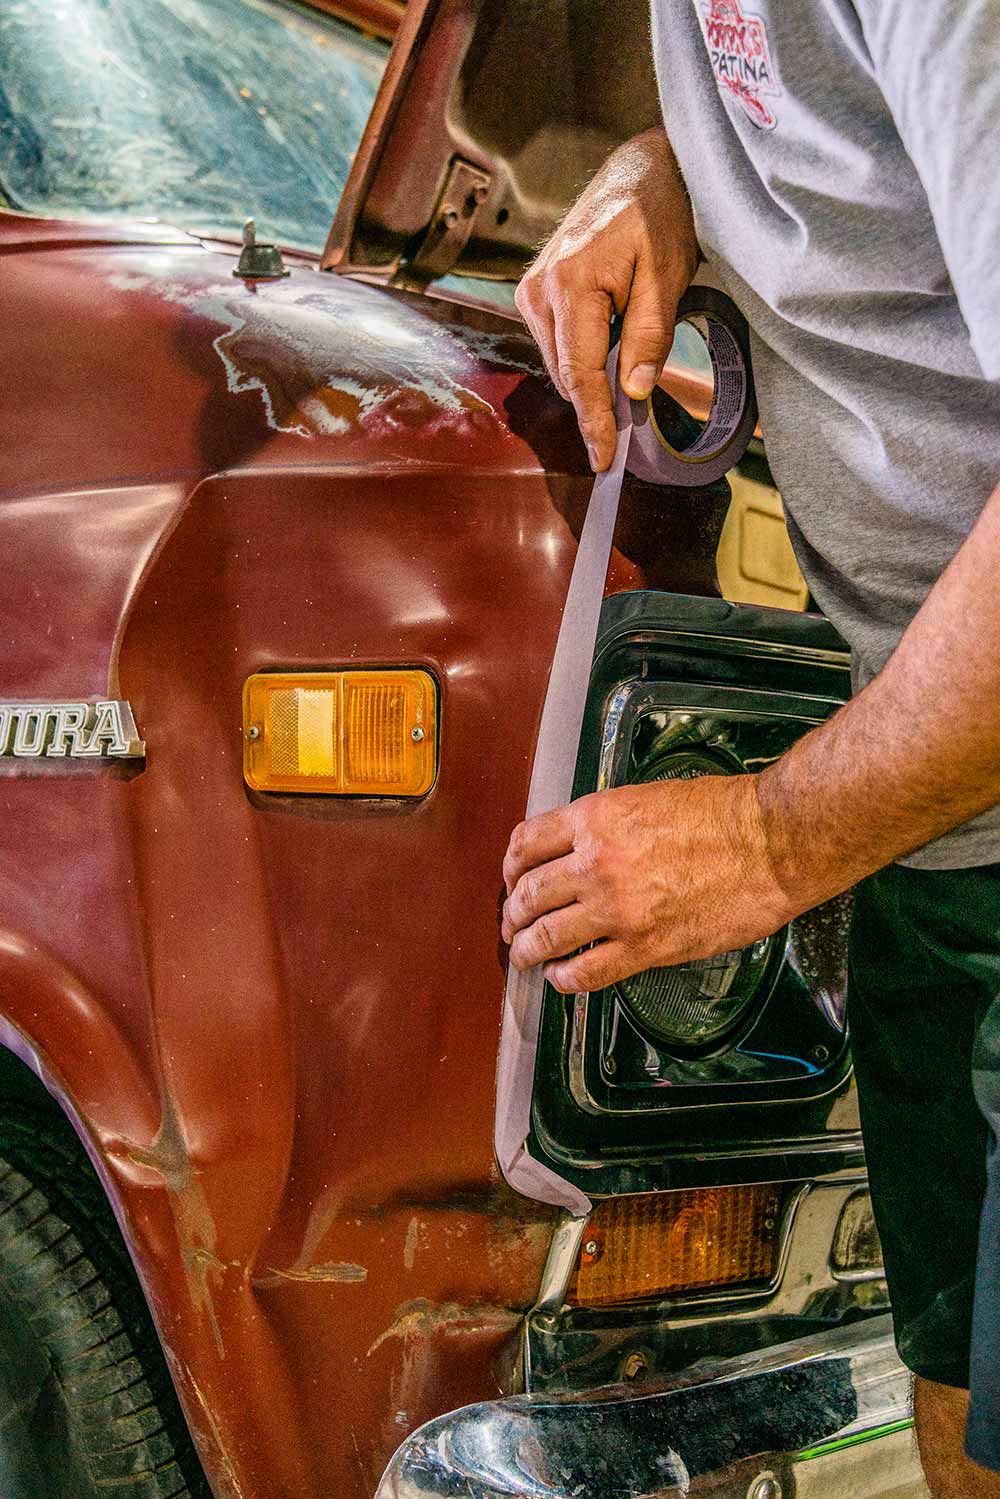
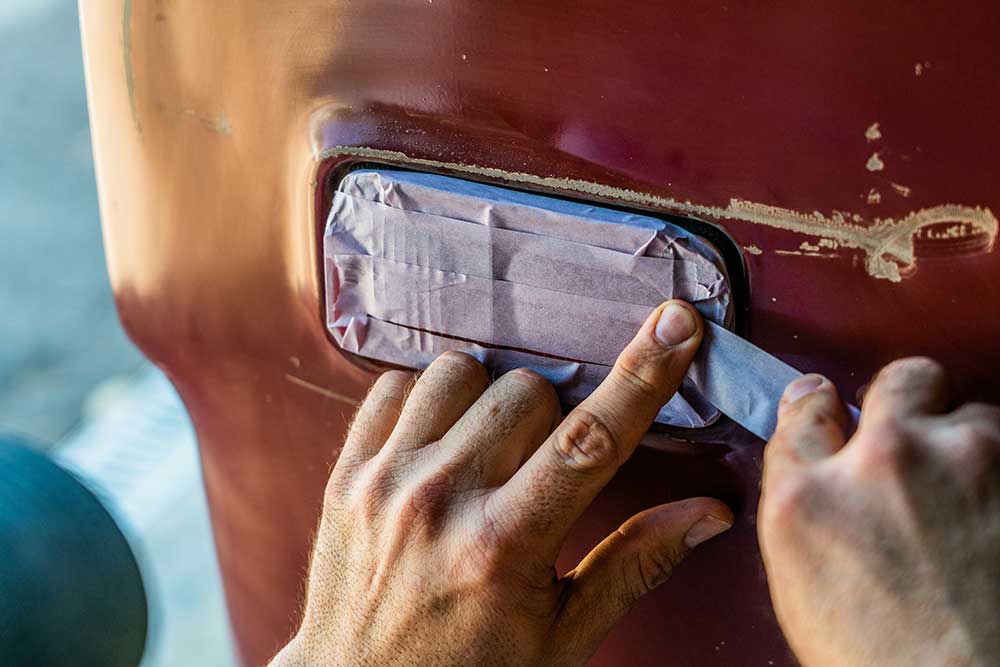
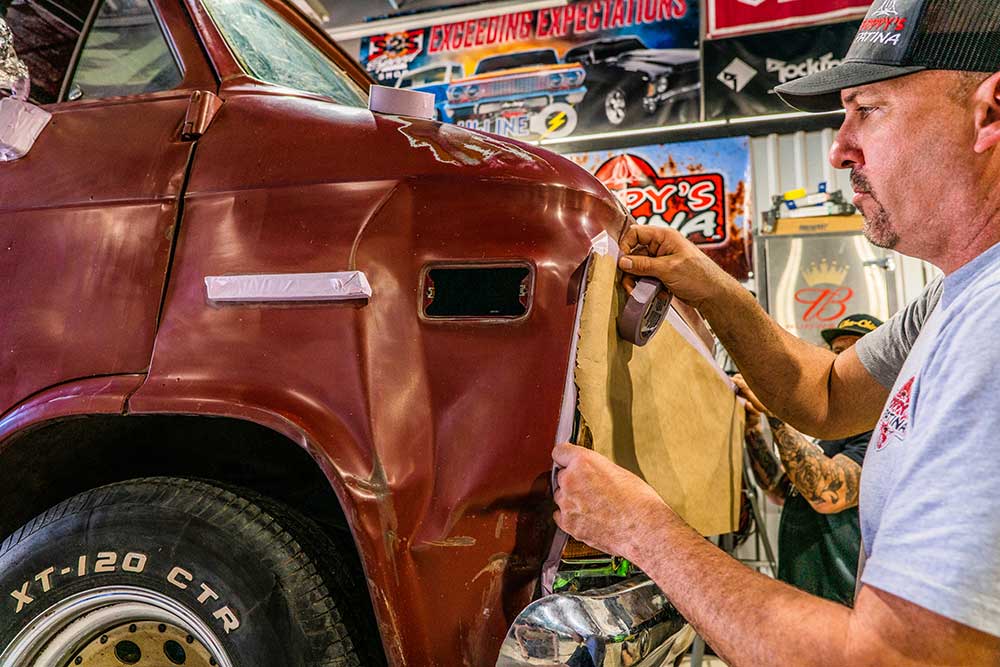
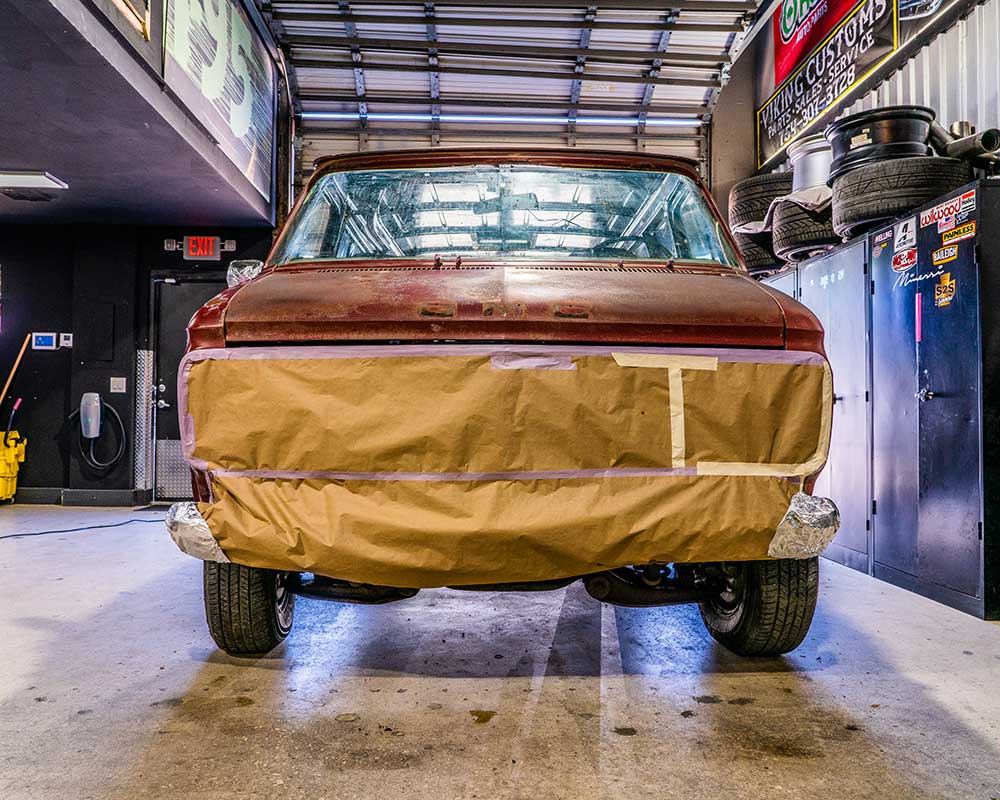
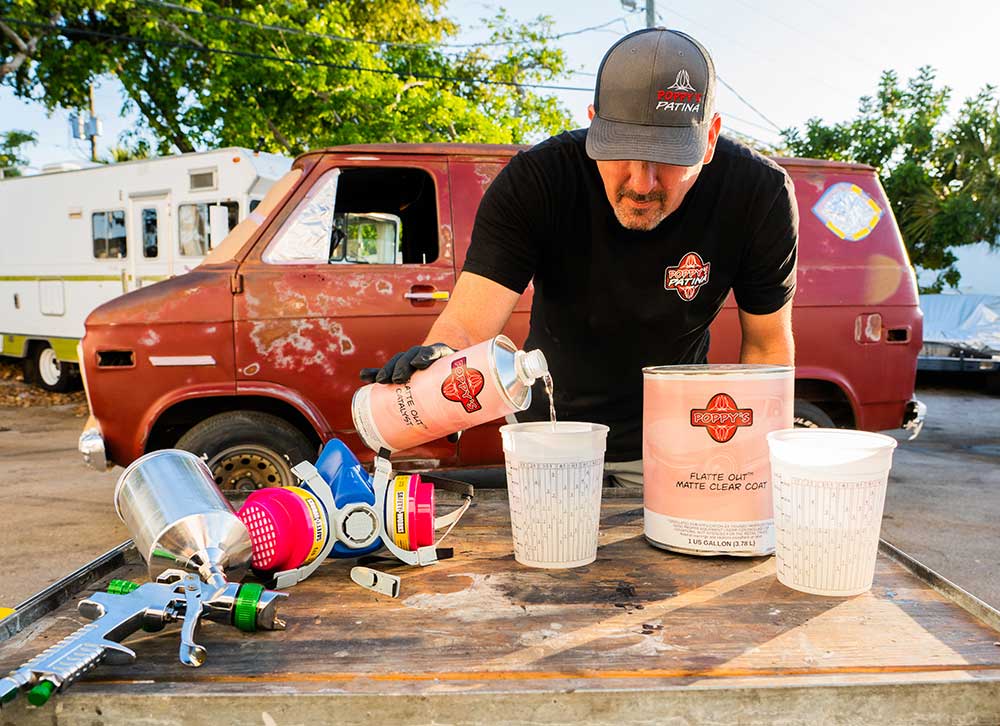
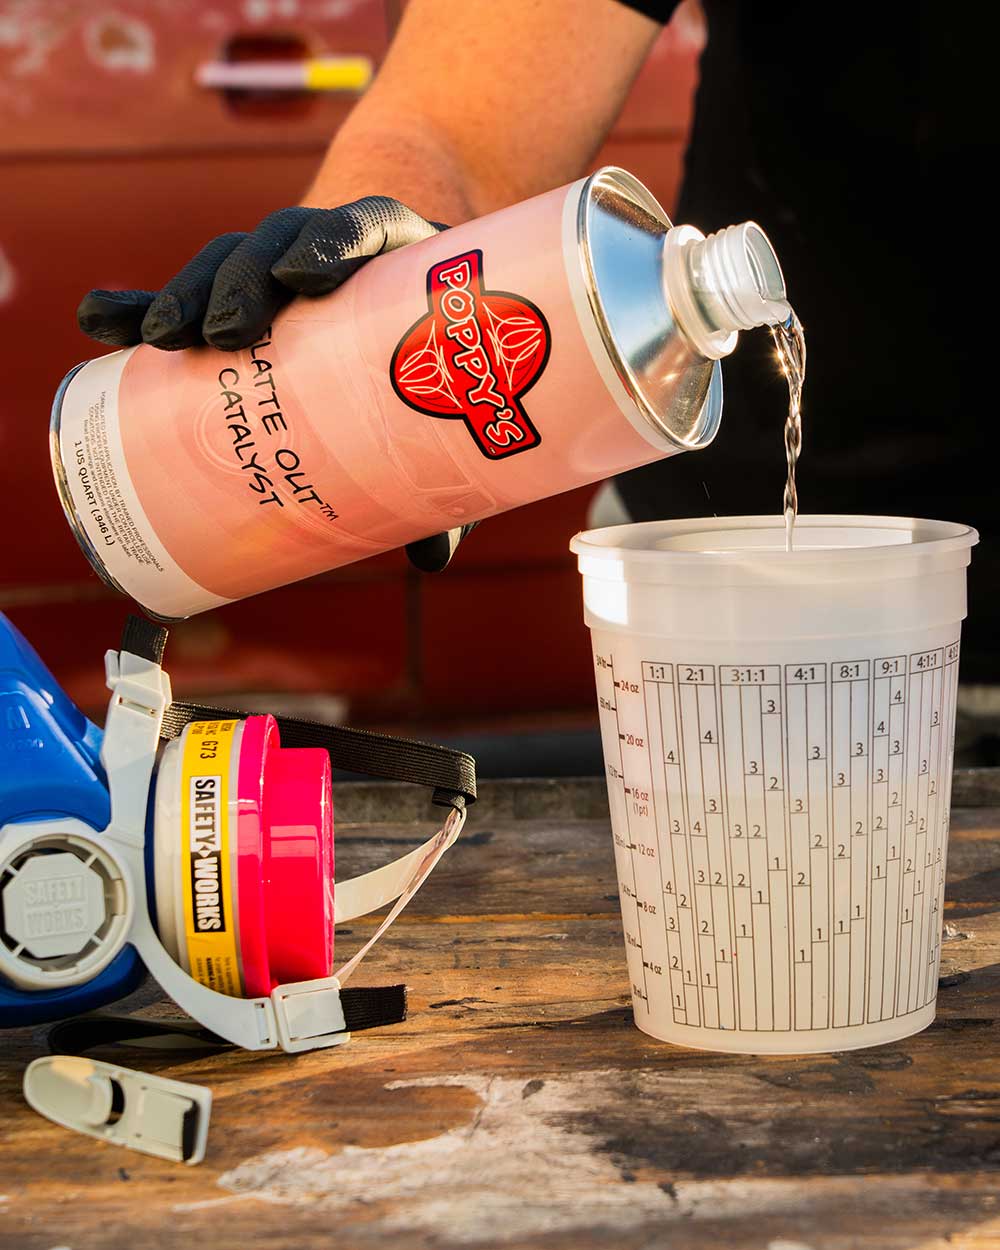
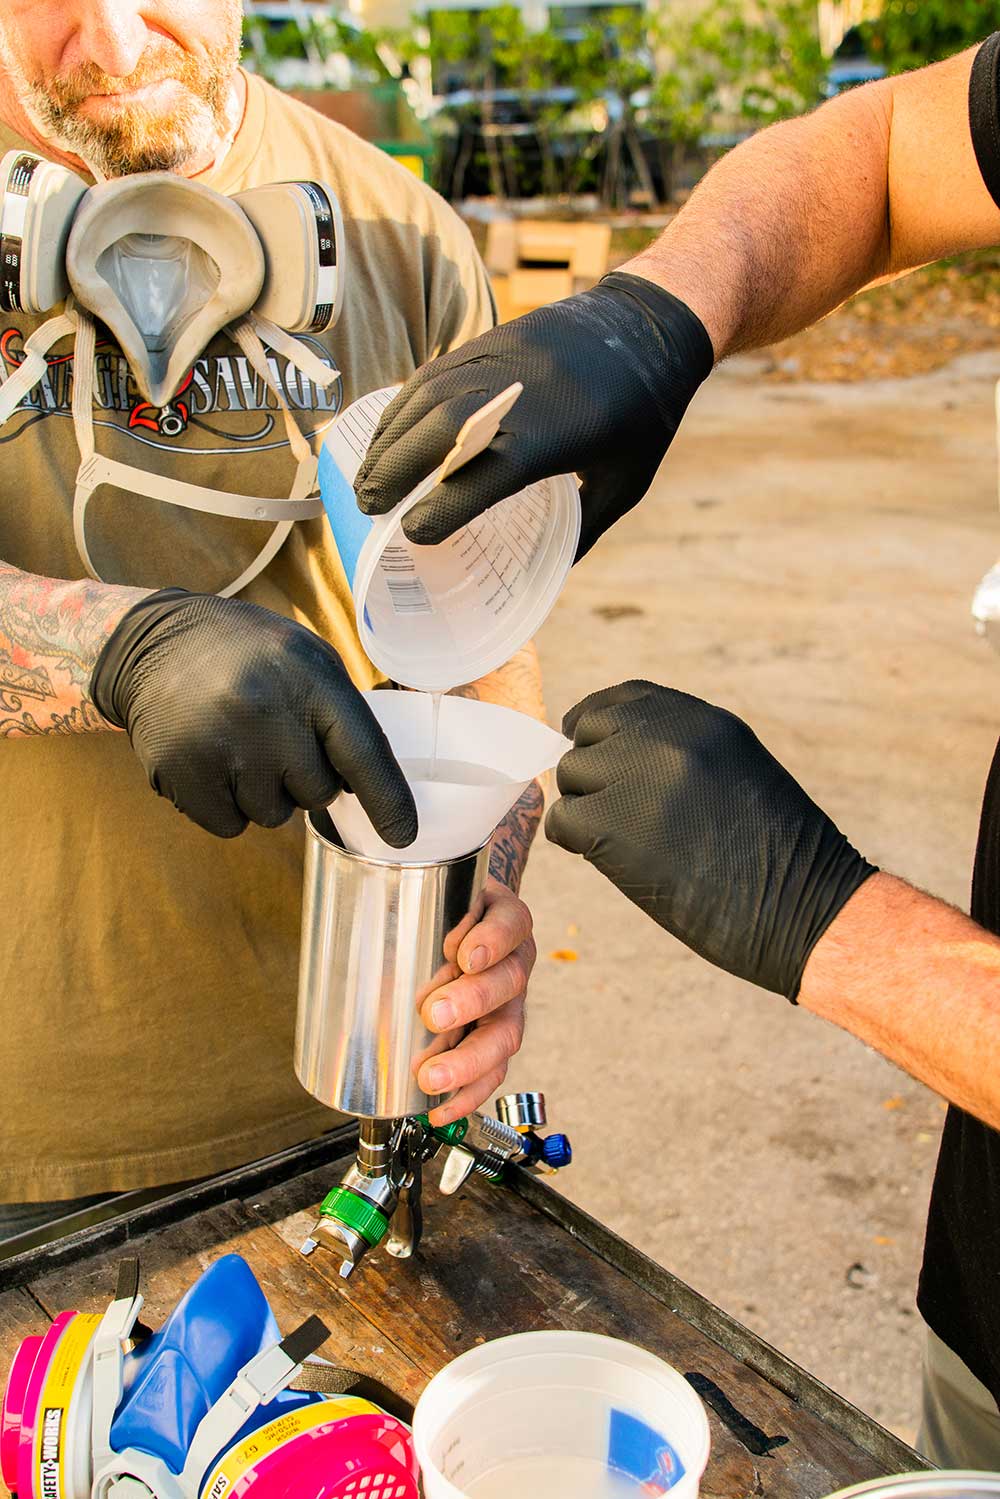
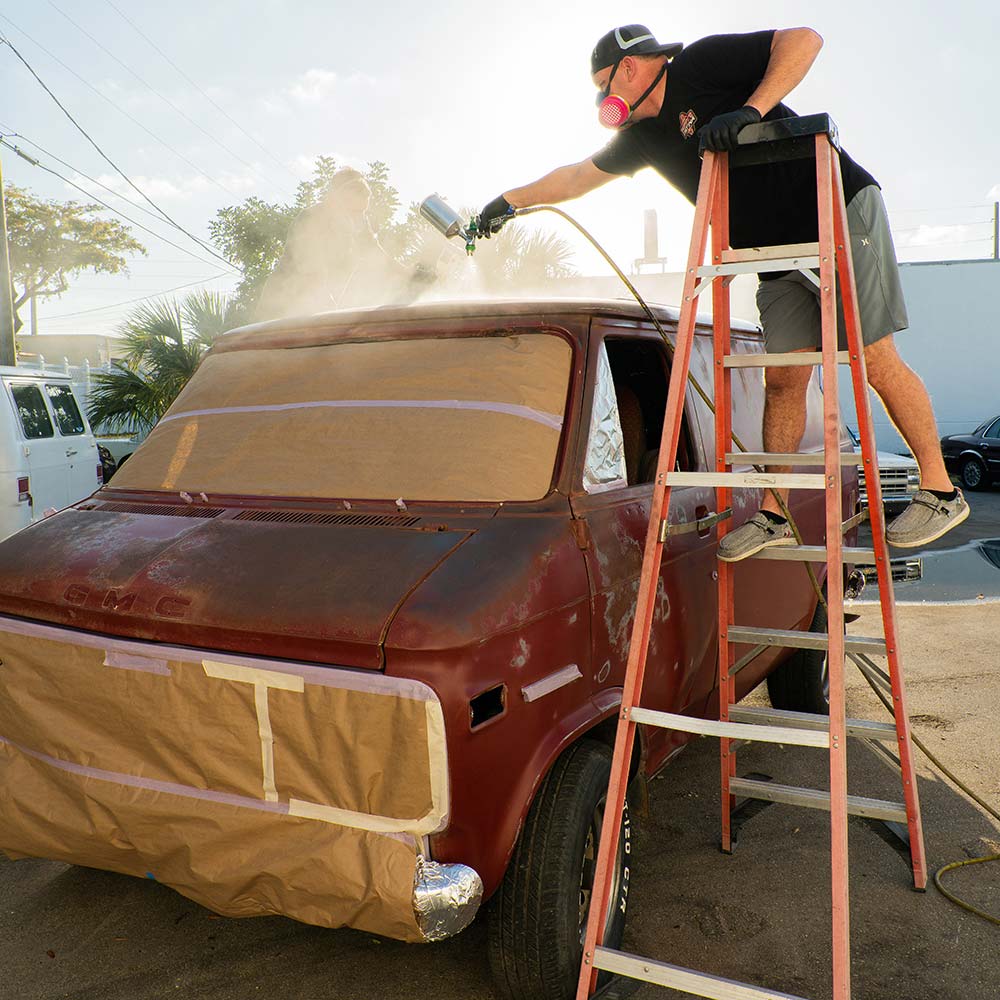
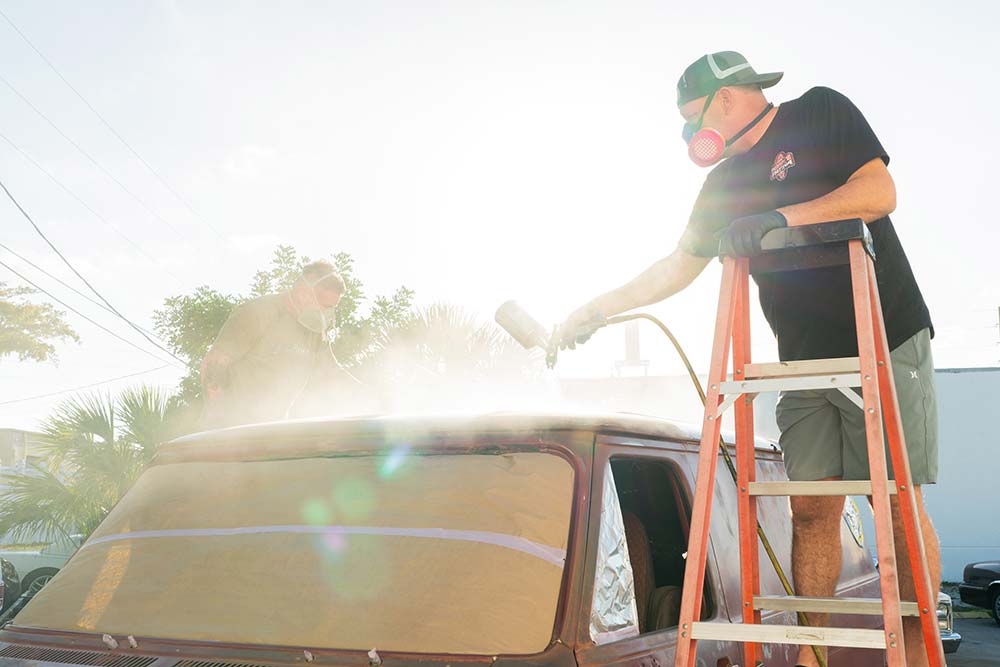
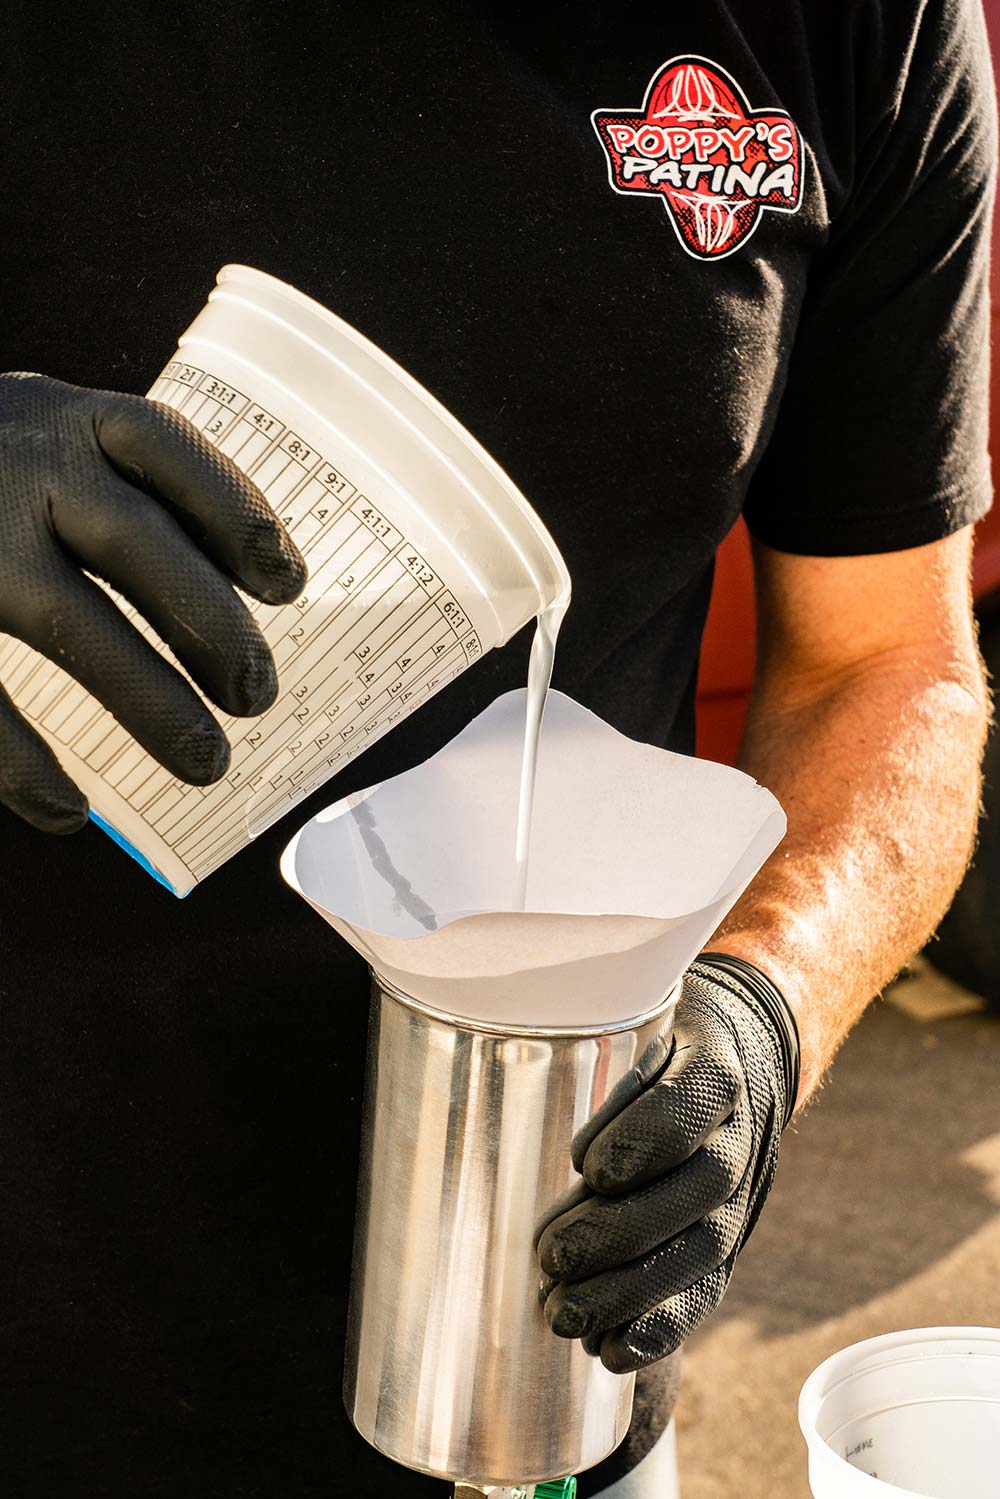
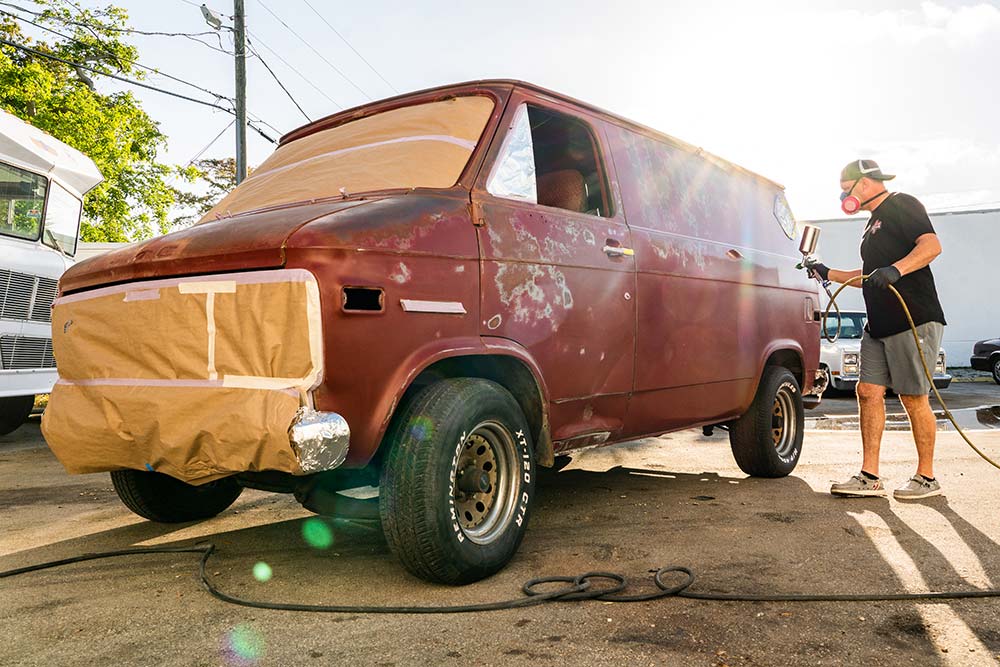
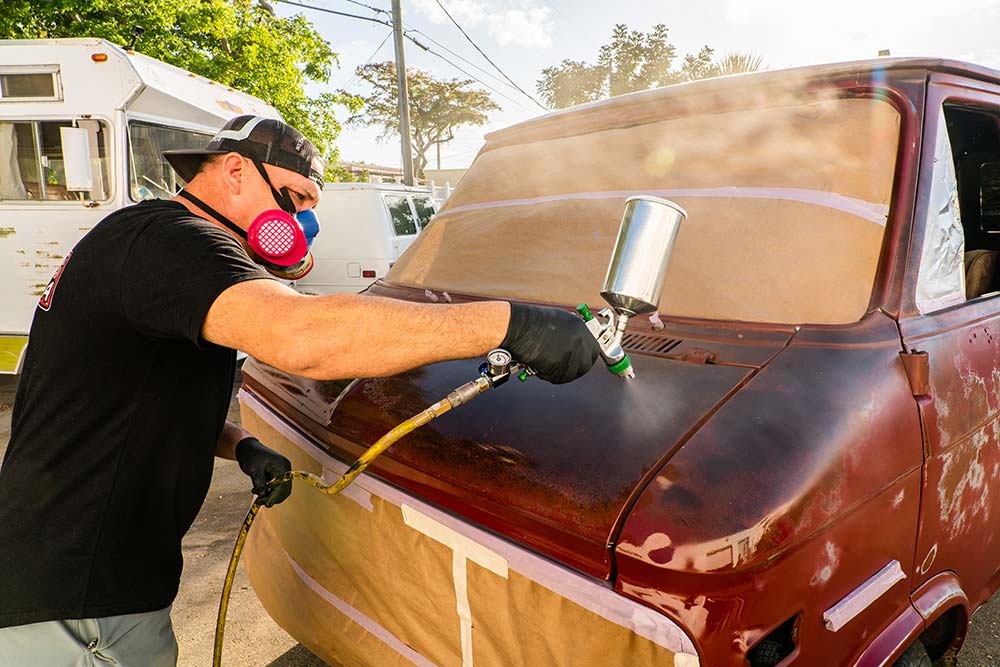
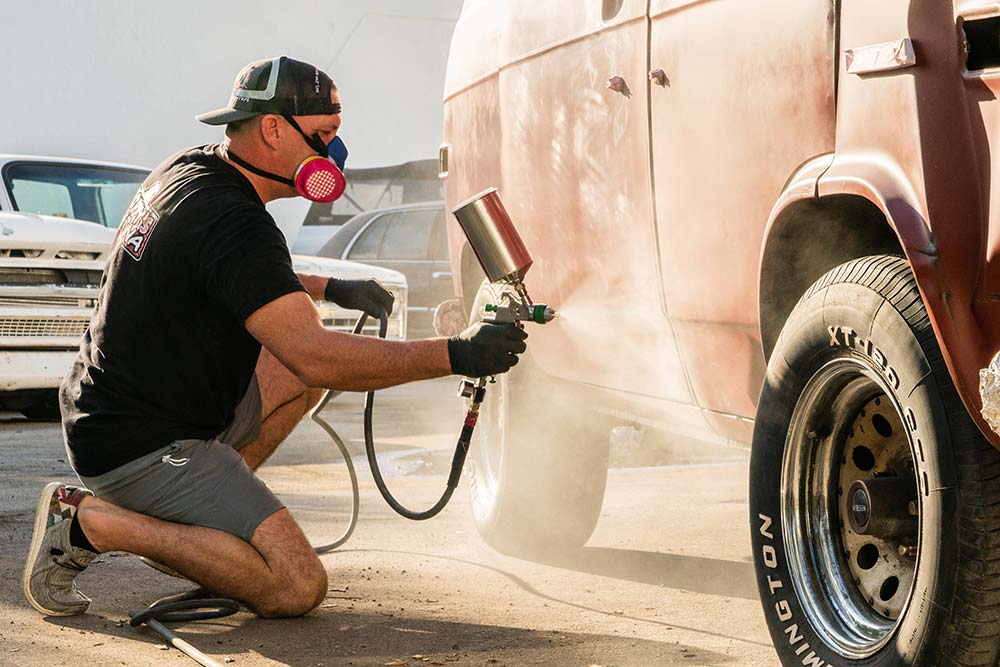
The last prep stage before applying the clear was to mask off any surface that didn’t need a urethane coating. With the van taped up, it was time to mix the clearcoat catalyst into the matte urethane base. Just like the degreaser, it’s not beneficial to have the clearcoat flash too quickly during the application. It’s best practice to spray or wipe on the urethane protection in a well ventilated garage, under a carport, or anywhere out of direct sunlight.
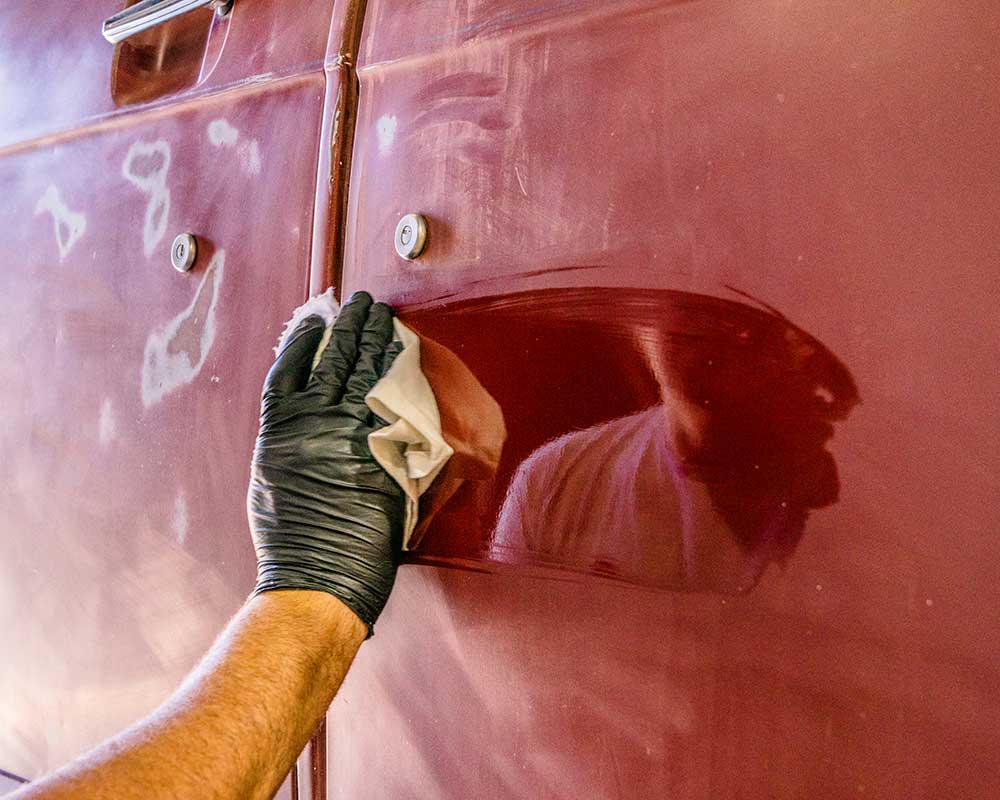
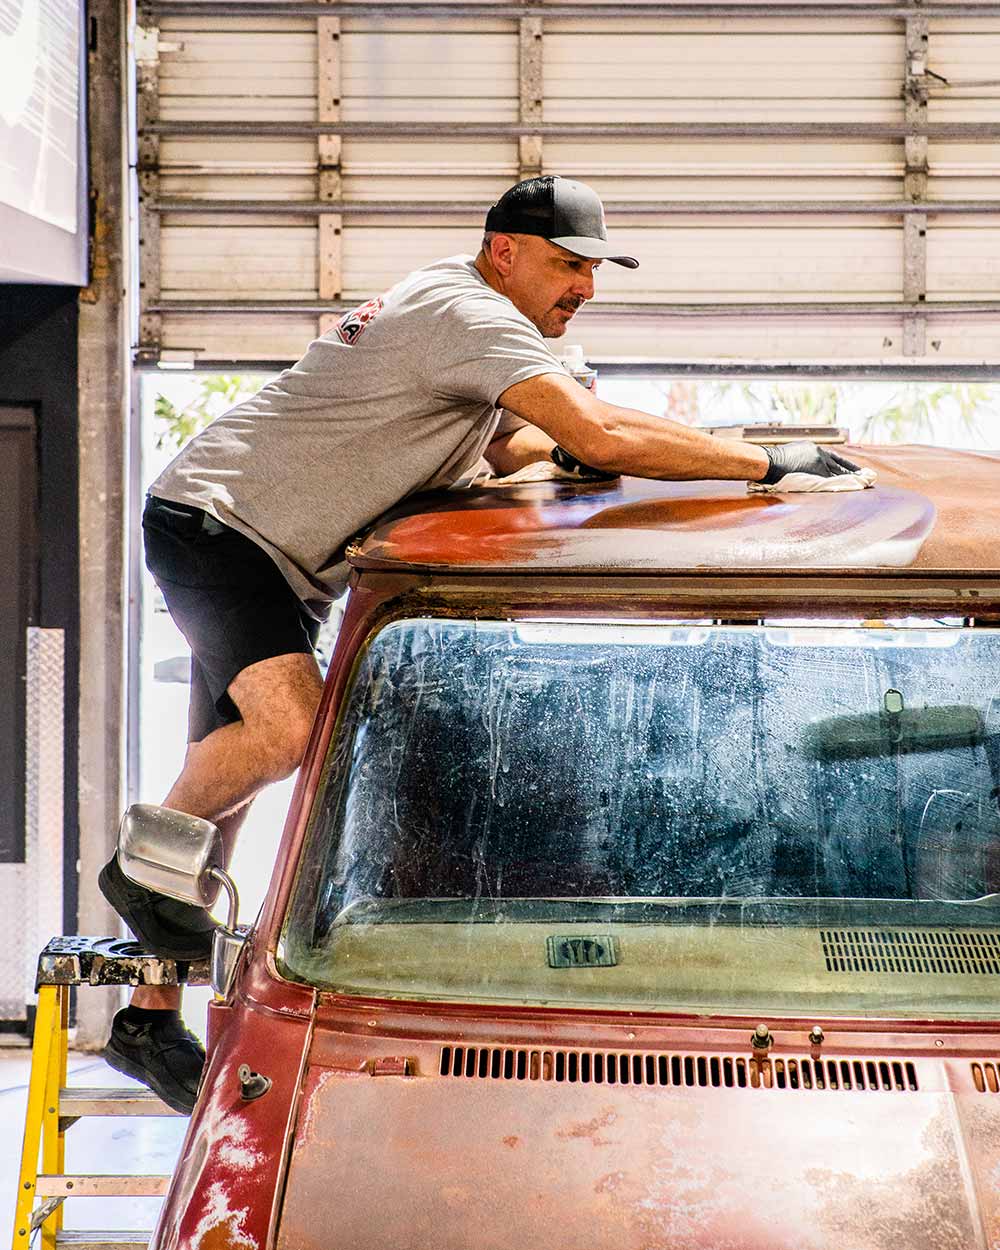
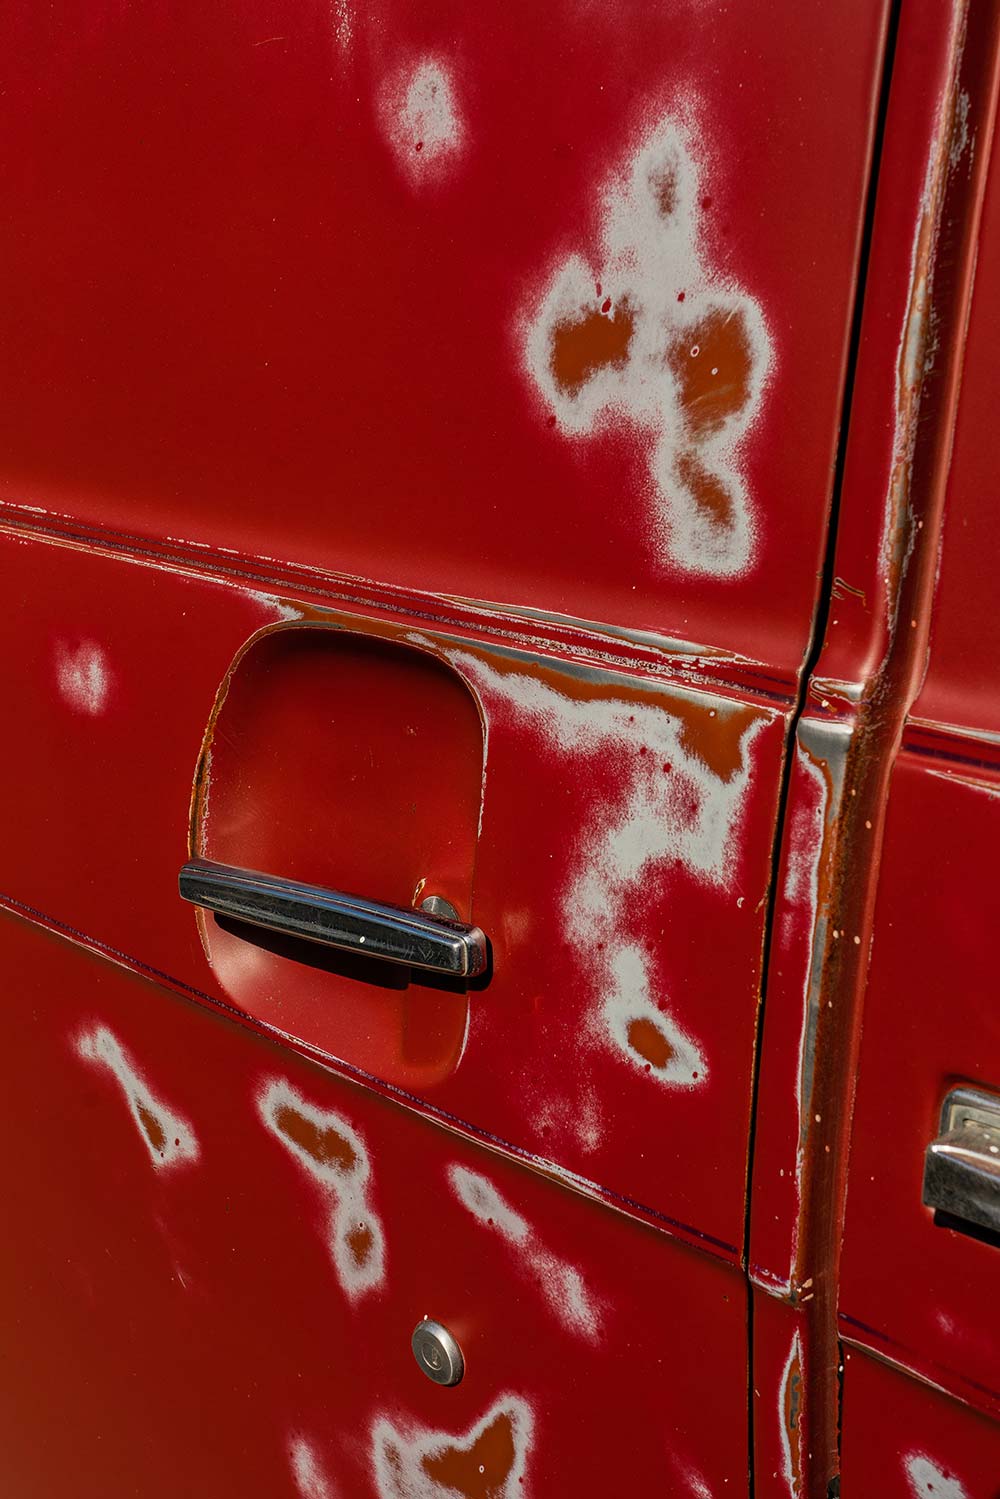
Since the guys were trying to avoid any overspray inside the shop and didn’t have a carport at their disposal, they decided to wait until the early morning to apply the urethane clearcoat to the van. With the Florida sun low in the sky and the temperatures at their coolest, the team quickly worked its way around the van, putting down a thick, even coat of protection. Instantly the color of the van began to pop and appear more vibrant under the matte coat and the natural rust colors of the patina really came to life. Within an hour, the urethane clearcoat was dry to the touch. The surface no longer had a rough, uneven texture. The smoothed topcoat made it easy to wipe down the van with a microfiber cloth without fibers of the towel being snagged by what would normally be jagged oxidized paint and metal.
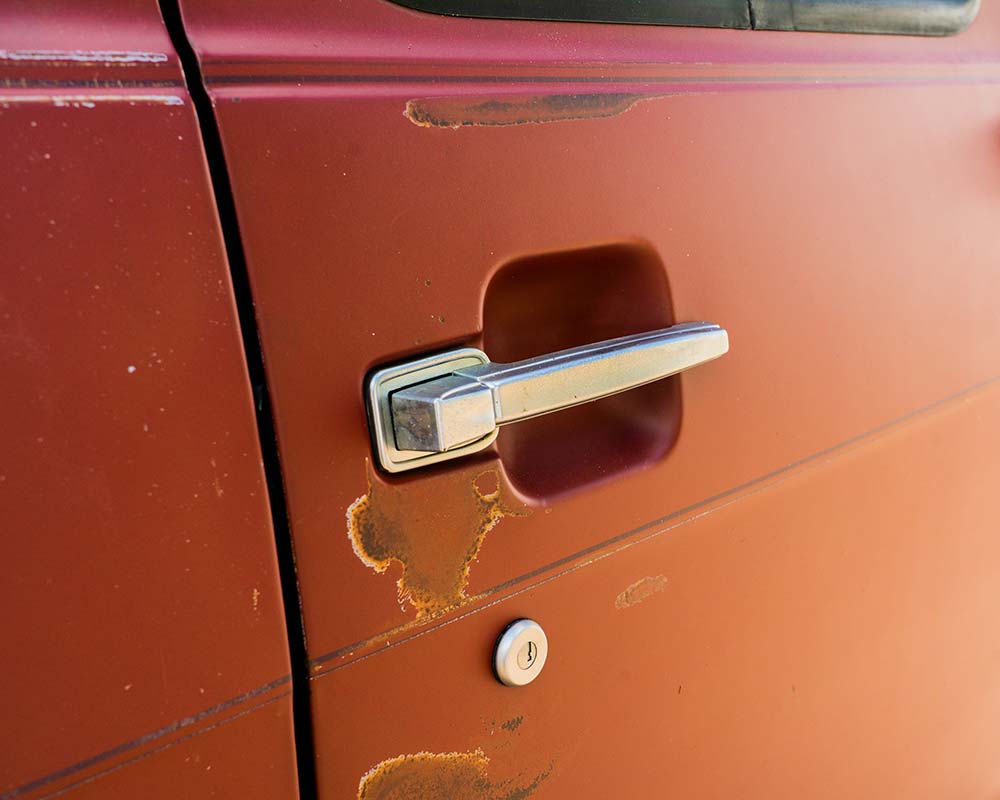
After waiting only 24 hours, the protective coating was fully cured and Salvage to Savage’s 1970 GMC Vandura was ready to hit the road without fear of the Sun’s UV rays, chunky bird droppings, and the salty, corrosive, Florida climate.


Industry News
It’s all about action and reaction, really Subscribe to our weekly newsletter If you think that Ford won’t react to Ram’s mind-bending 702-horsepower 1500 TRX, well,… Continue reading
Logan Wade . August 26, 2020
Department
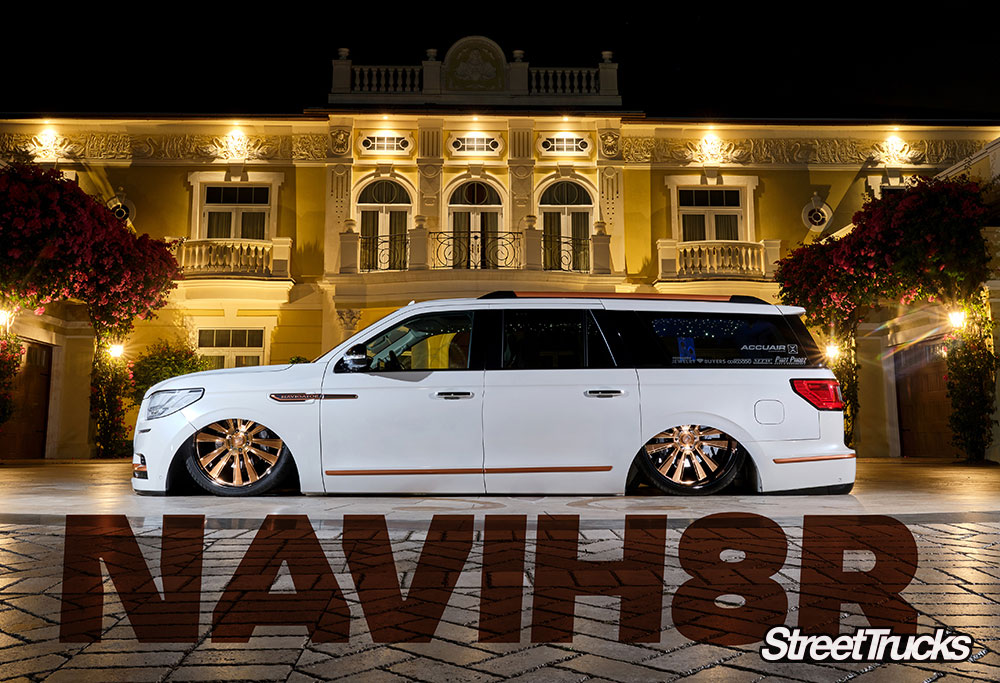
The Crown Jewel of Central Florida, A 2019 Lincoln Navigator The chances of seeing another Navigator built quite like this one are slim to none… Continue reading
John Mata Jr. . October 01, 2021
Department
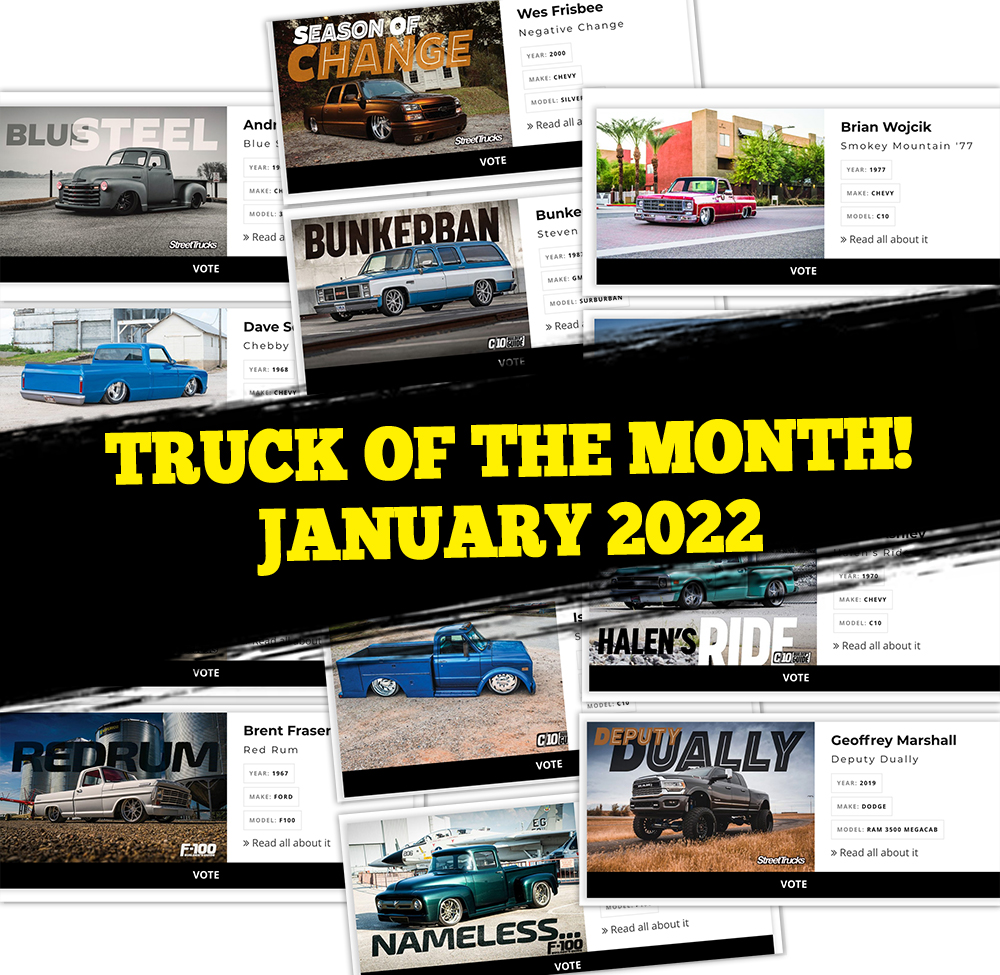
Vote for your favorite truck featured on our website in January to make them a winner in February. Each and every month, we will compile… Continue reading
Chris Hamilton . February 22, 2022
Cover
A New Build with a Farm-Truck Past So many of us as enthusiasts have a parent or family member who had cool vehicles in their… Continue reading
Jon Hansen . March 30, 2023
Features
From Tired Old Truck to Show Truck to Work Truck and Back A TRUCK IS MUCH MORE THAN, WELL, A TRUCK. It can be transportation,… Continue reading
Mike Self . April 29, 2026
Department
In many places a year ago, we had no shows, weren’t allowed to congregate and didn’t know if it would be safe to do so… Continue reading
MICHELLE SALCEDO . May 09, 2022


Share Link