 Chris Hamilton
.
February 24, 2020
.
C10 Builders Guide
Chris Hamilton
.
February 24, 2020
.
C10 Builders Guide

Representing the latest electronic dashboard technology for the street rodder, car and truck enthusiast alike, the RTX system combines modern digital electronics with a traditional look to give the driver up-to-date and accurate information on the operation of your vehicle.

Fully lit color needles, backlit color faces and highly visible color TFT message centers are a few features that make the RTX lineup stand out from other aftermarket instrumentation. The RTX system boasts excellent daytime visibility, fully backlit and dimmable for nighttime driving. Monitoring solid state sensors with microprocessor technology and driving precision stepper motors, the RTX dashboard gives the driver unparalleled accuracy. User-customizable display feedback and additional features not typically found on any other brand or type of instrumentation are standard in the RTX system. Digital accuracy and solid-state reliability will give you quality service for miles down the road which includes a limited lifetime warranty on a product engineered and manufactured in the USA.
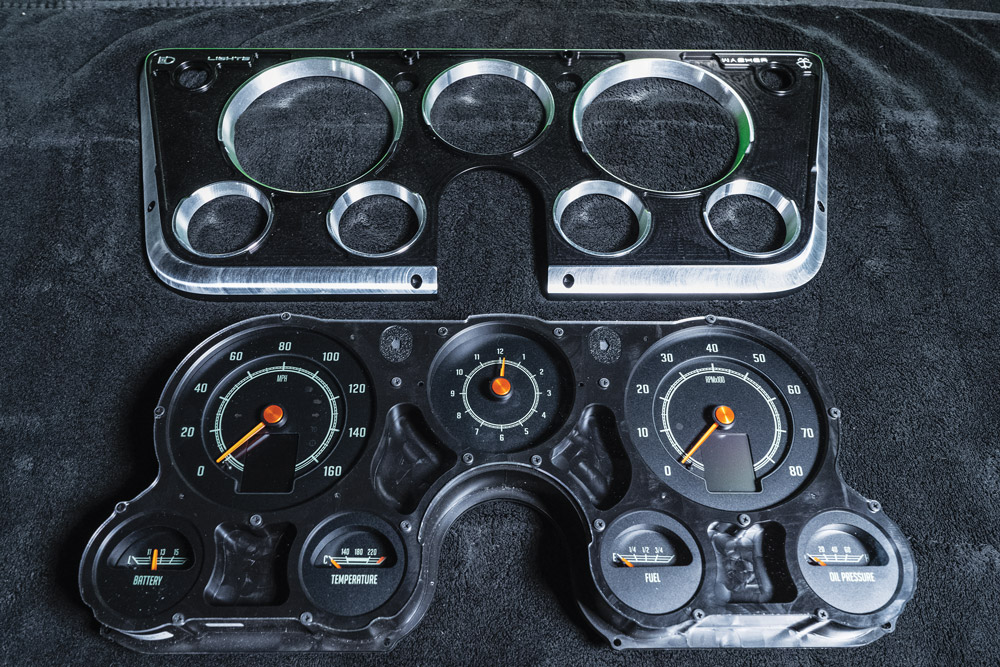
The RTX series is focused on retaining that stock look without sacrificing the late-model features you love. Every effort has been put forth to incorporate OEM design elements regarding the layout, face styling and indicators. A casual glance may dismiss these as original equipment, but once you hit the switch and the LED backlighting comes on in your favorite color scheme, all doubts will be removed.
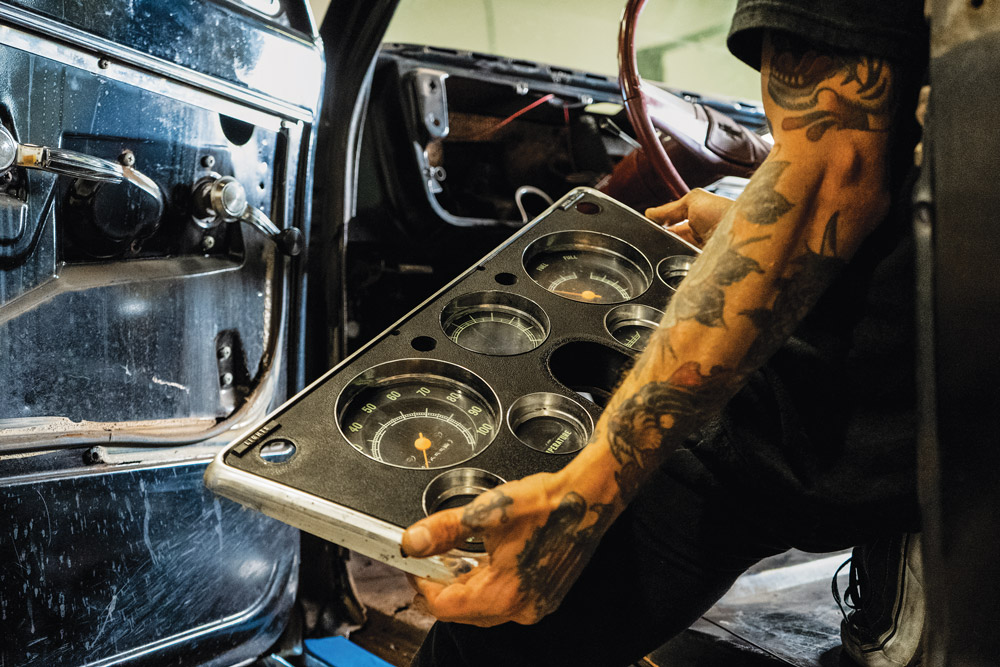
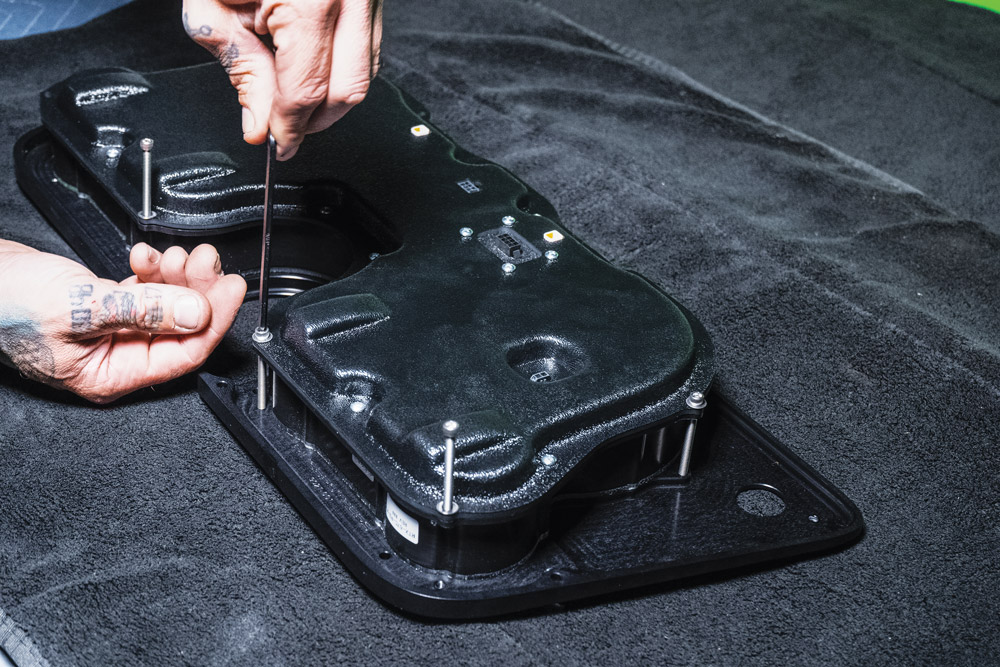
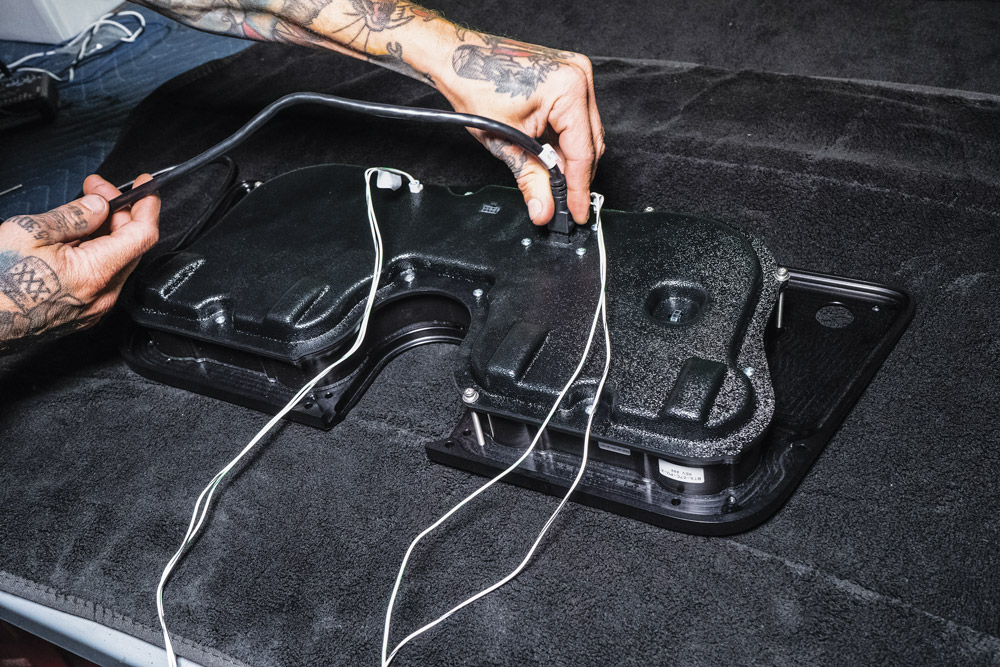
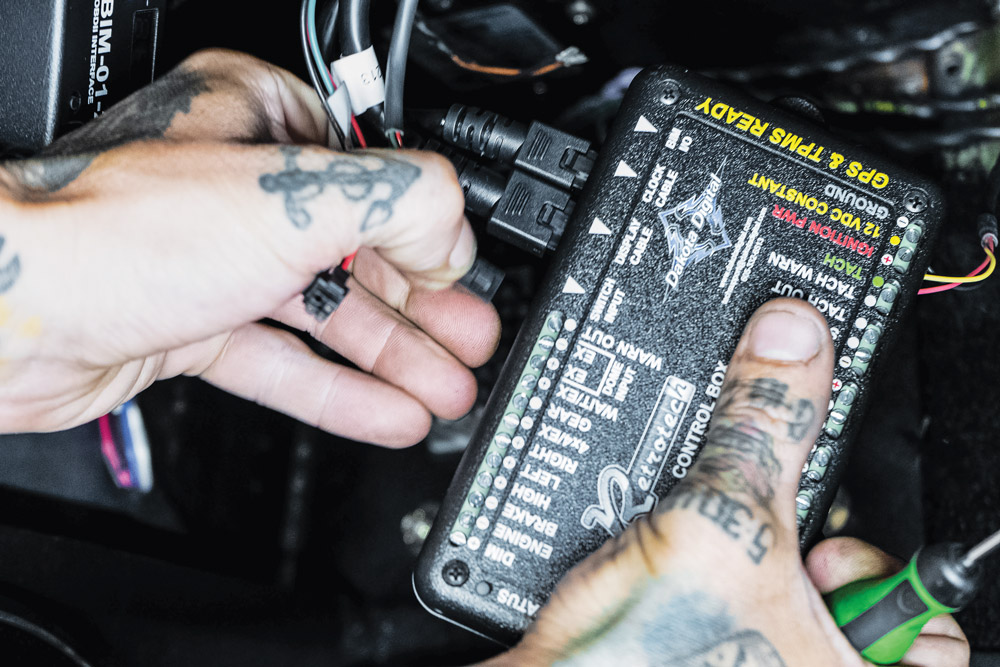
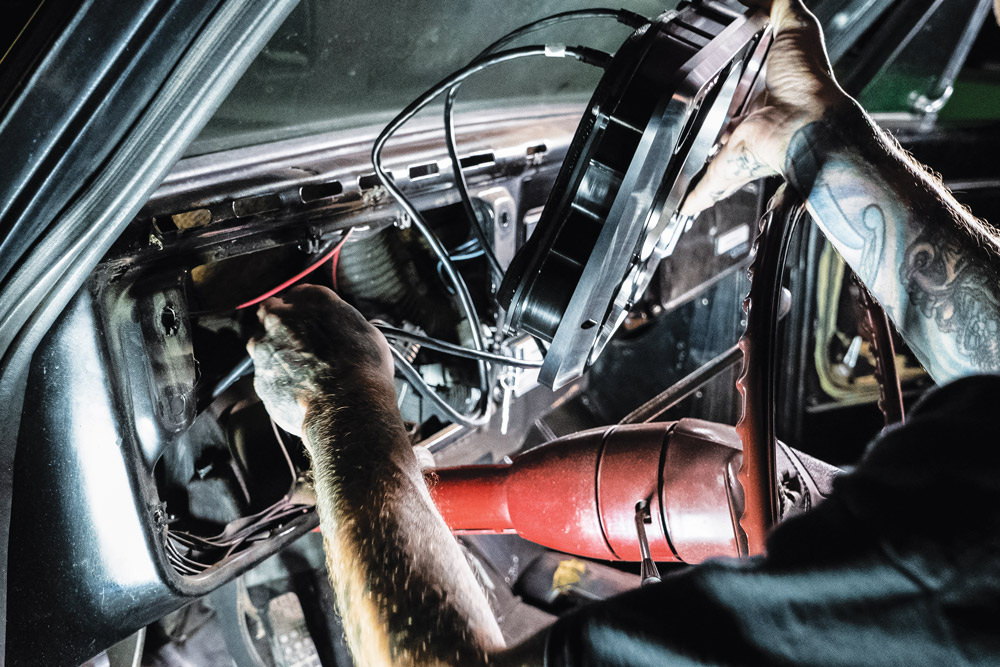
Starting from scratch, CNC machined housings are filled with electronics designed and built in-house, helping Dakota Digital once again raise the bar for aftermarket instrumentation. The high-definition TFT message centers can be fully configured to display just about any piece of information needed. As you’ve come to expect from Dakota Digital, the RTX series utilizes a central control box to make installation and setup as easy as possible. Here are the steps to installing this killer upgrade on your ’67-’72 Chevy/GMC Truck.
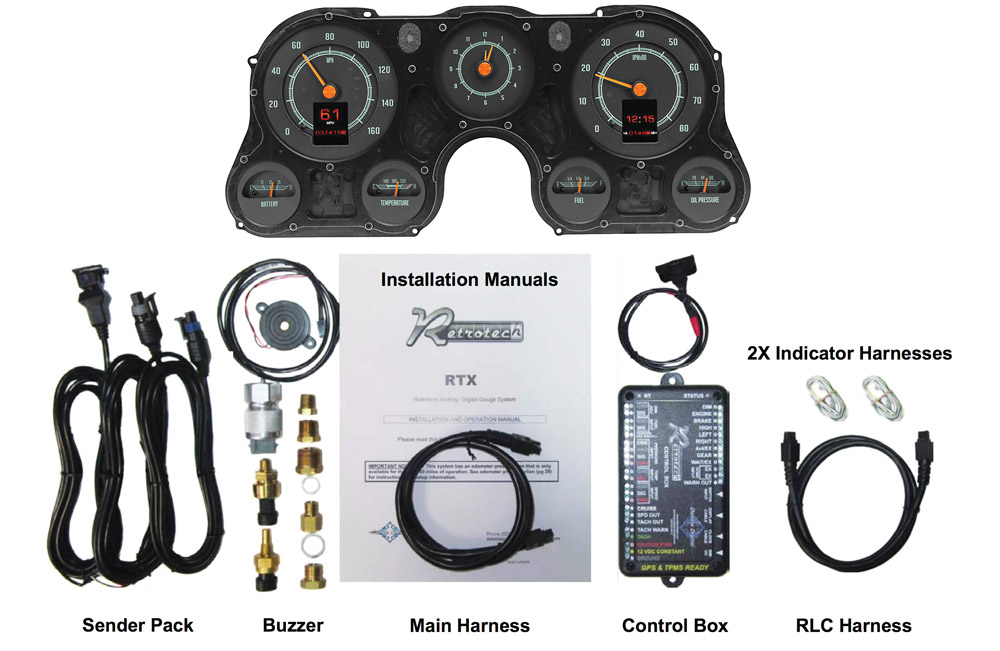


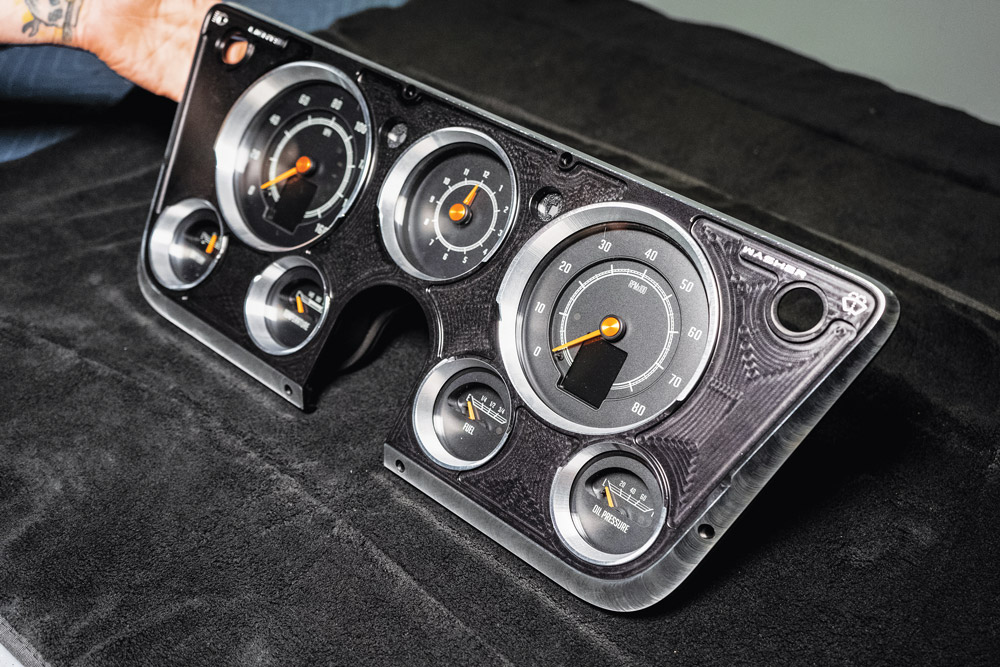
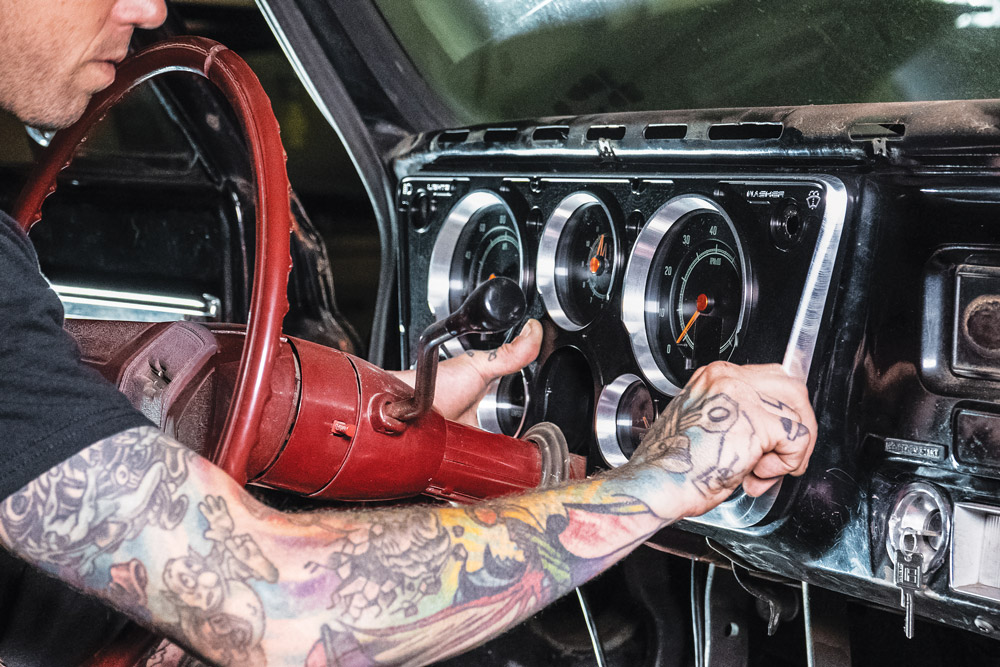

Each of the analog gauges can be displayed as well as additional functions listed below.

C10 Builders Guide
For some builders, crazy and over the top just isn’t their style. Some choose smooth and simple styling due to a preference in overall clean… Continue reading
John Mata Jr. . June 08, 2020
Product Reviews
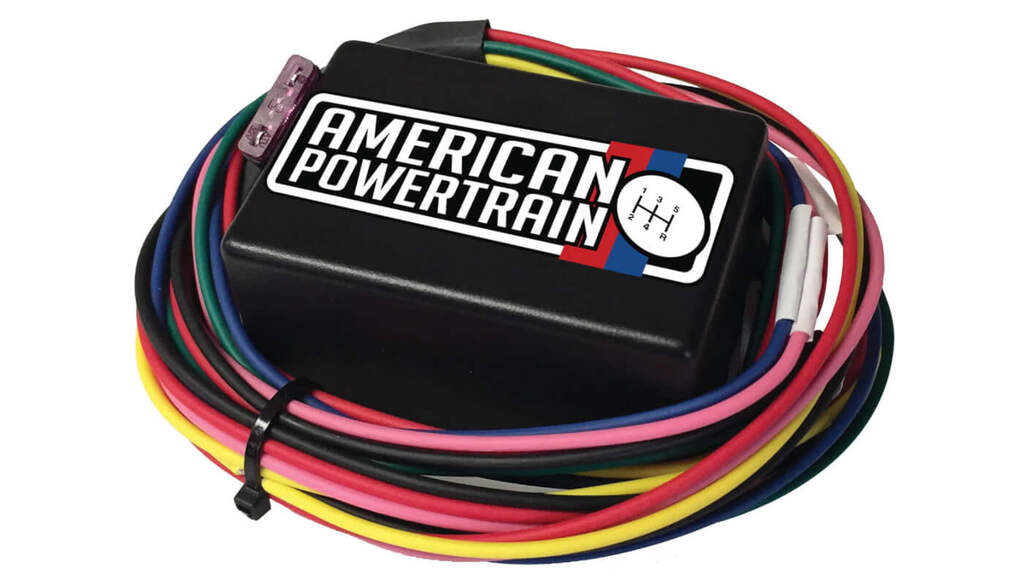
AMERICAN POWERTRAIN’S reverse lock-out module offers a simple and elegant way to hook up a reverse lock-out solenoid, easily wiring to magnum, tr6060 or t56 six-speed transmissions.… Continue reading
Melissa Anderson . October 25, 2016
c10
As the C-10 market continues to grow, innovation must grow with it. We have made huge leaps in the quality of our current crop of… Continue reading
Chris Hamilton . January 14, 2020
Department
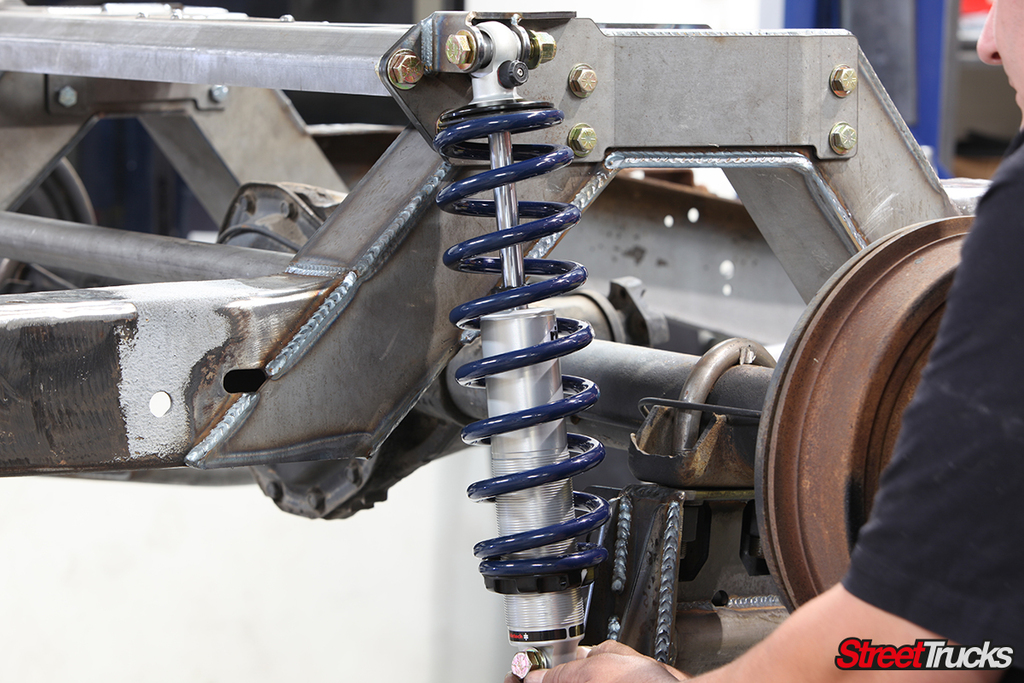
Built To Spec Roadster Shop SPEC Series kits for 1960-87 Chevy C10 are designed to deliver an aggressive 4.5 to 5 inch ride height—no need… Continue reading
Chris Hamilton . December 30, 2019
How to
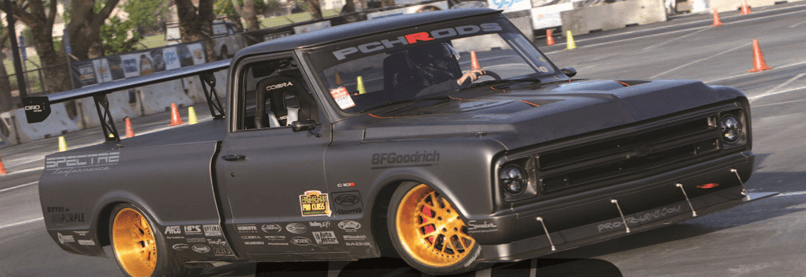
Across the country, Autocross racing continues to grow each year. Venues such as Goodguys, nMcA, street Machine nationals and Hot August nights have incorporated autocross into… Continue reading
Brandy Phillips . October 15, 2019
C10 Builders Guide
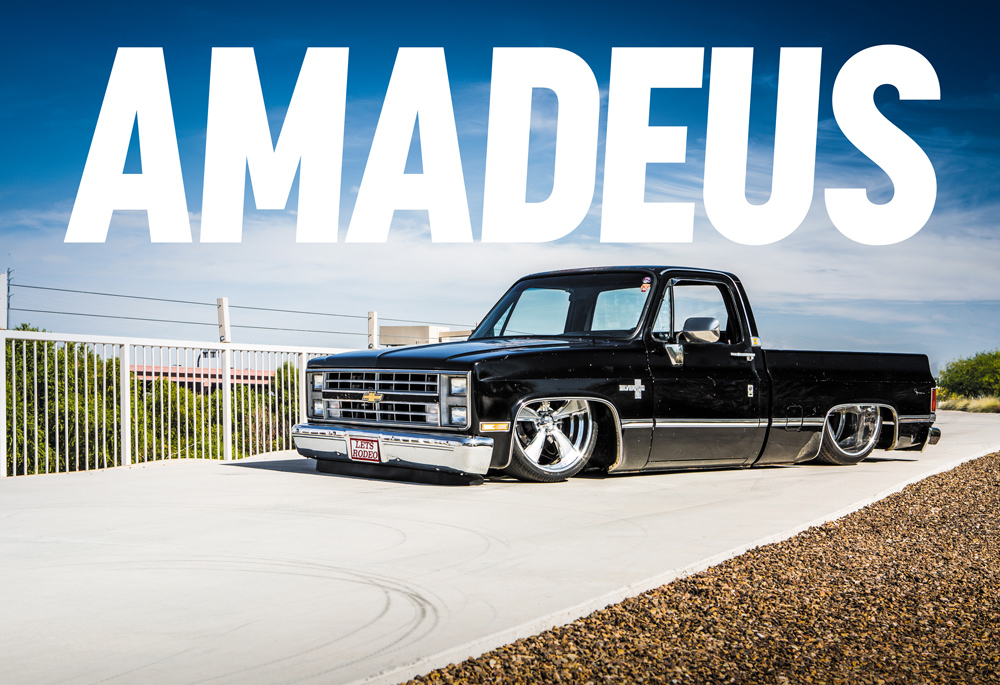
One of the Great Figures in Chevy Truck History THE YEAR 1985 marked a special time in pop culture history, including music, movies, political events… Continue reading
Chris Hamilton . May 23, 2022


Share Link