 SOLOMON LUNGER
.
July 31, 2020
.
Department
.
SOLOMON LUNGER
.
July 31, 2020
.
Department
.
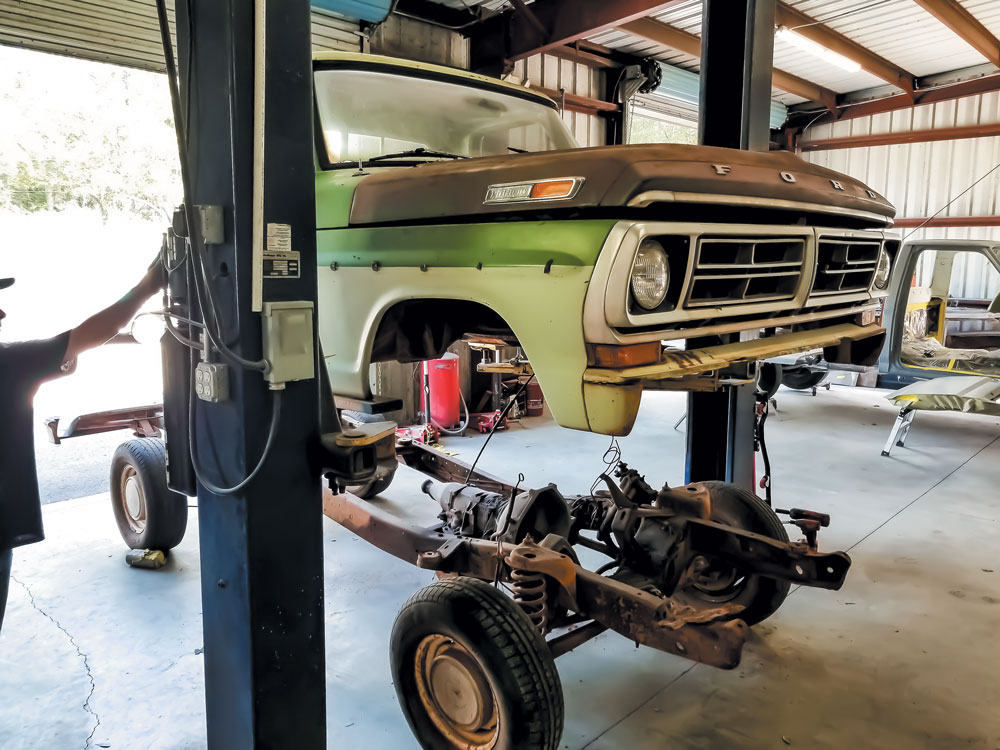
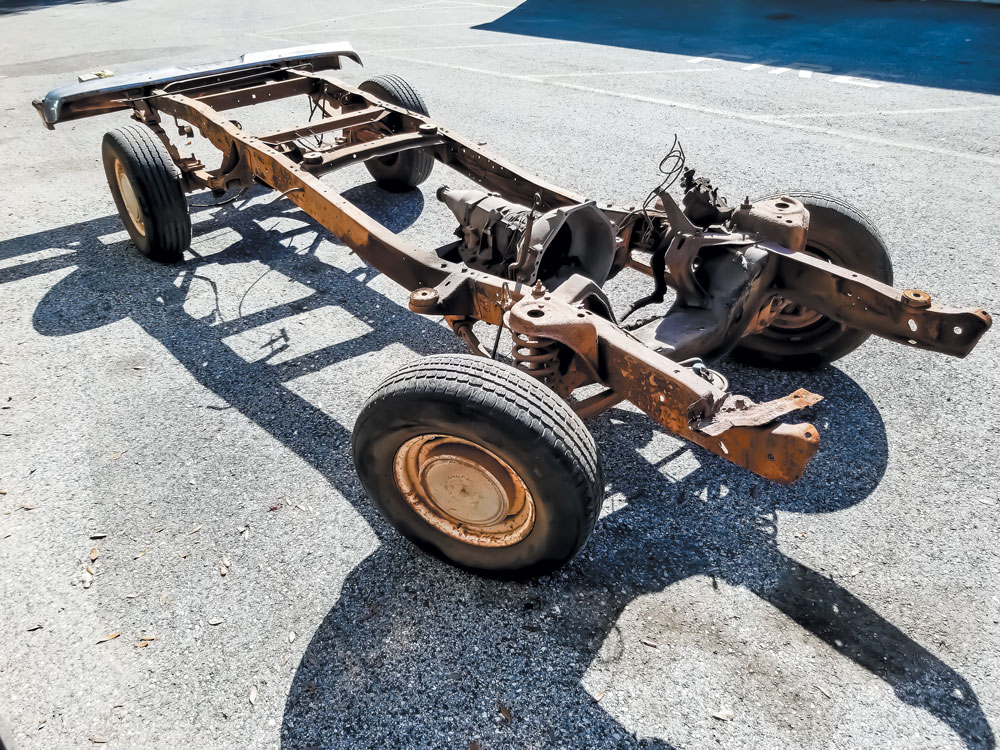
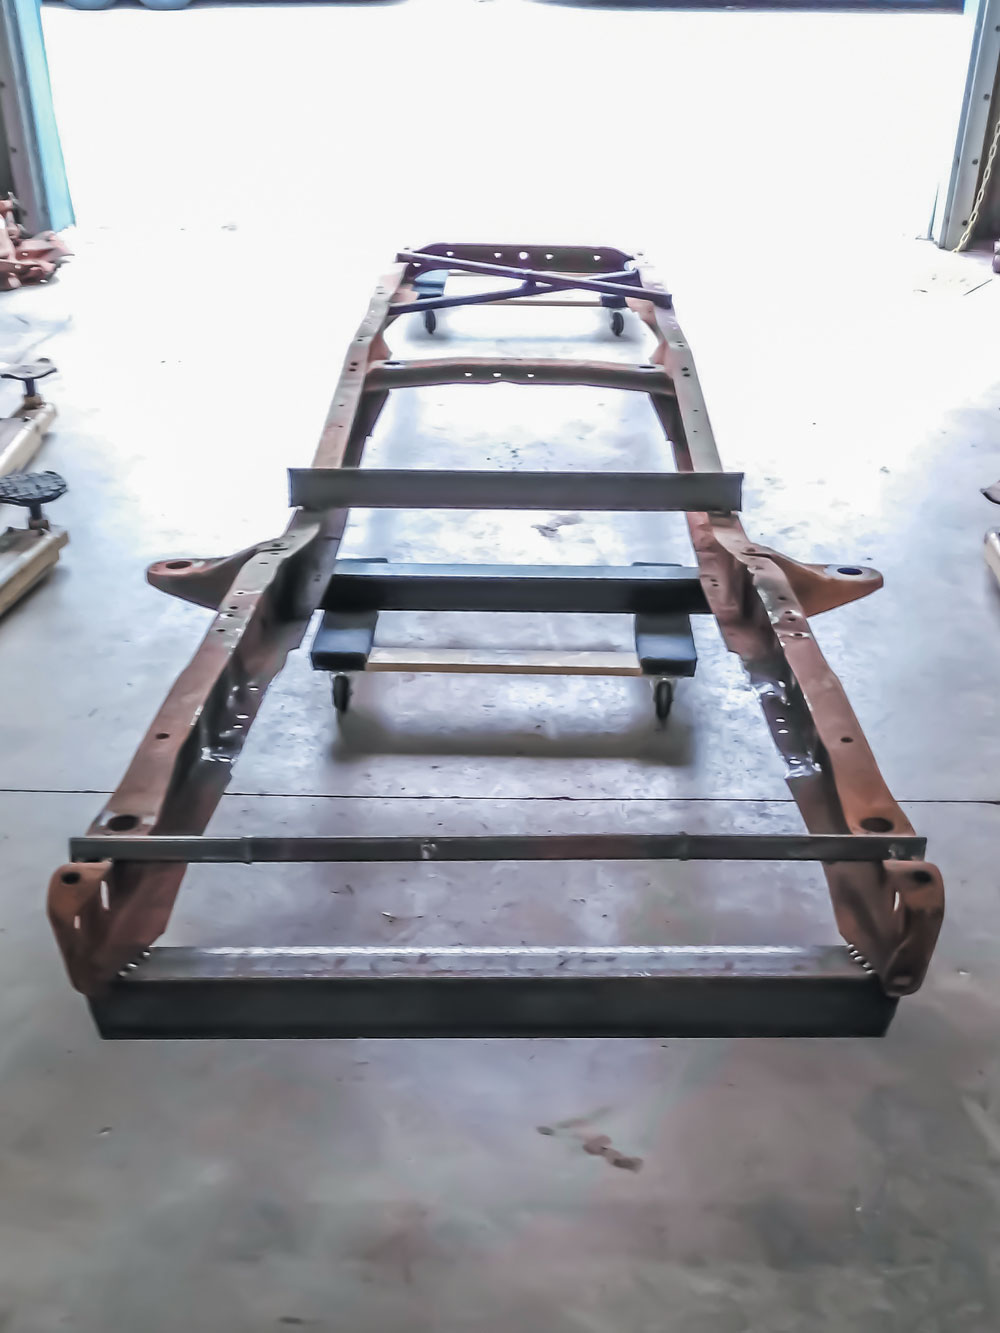
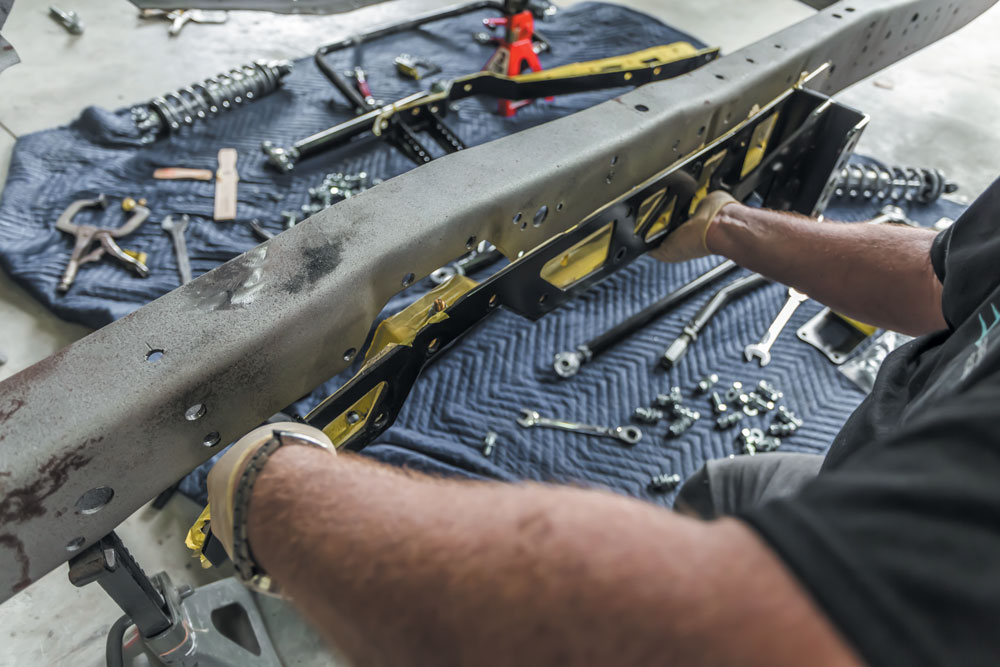
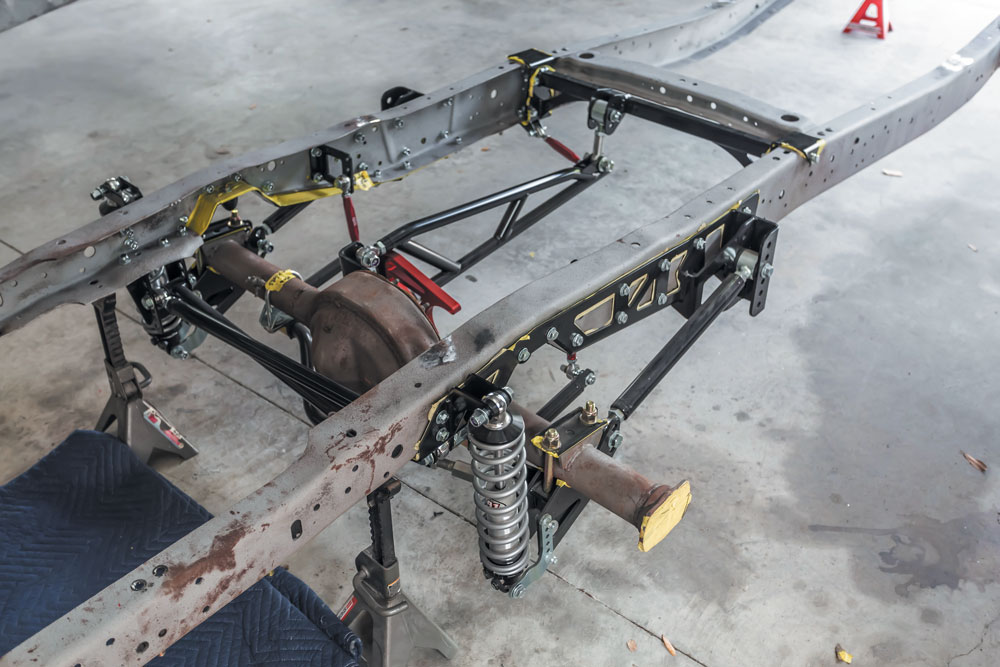
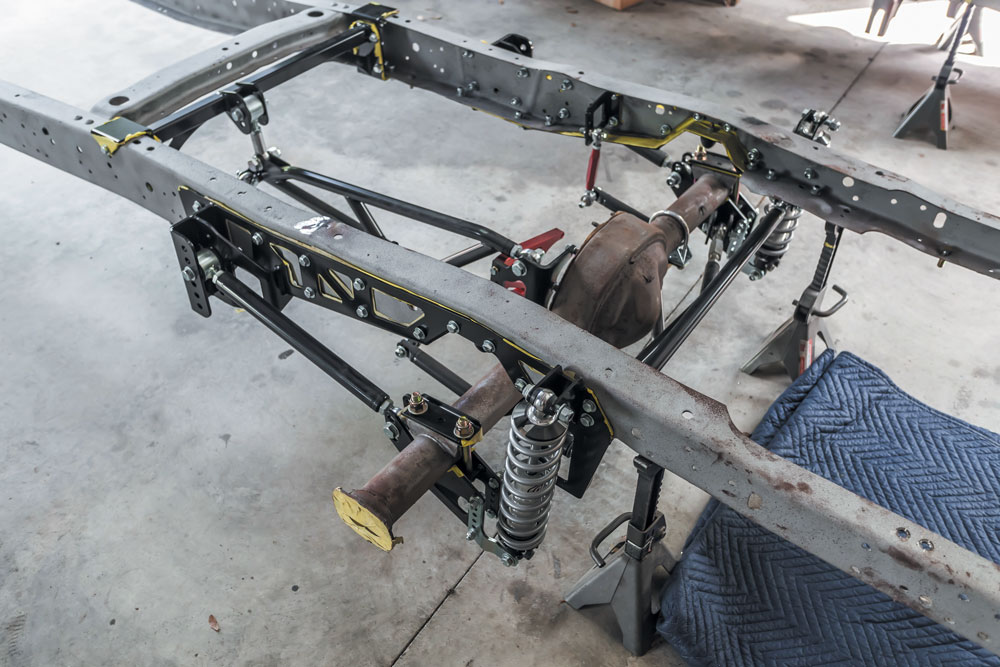
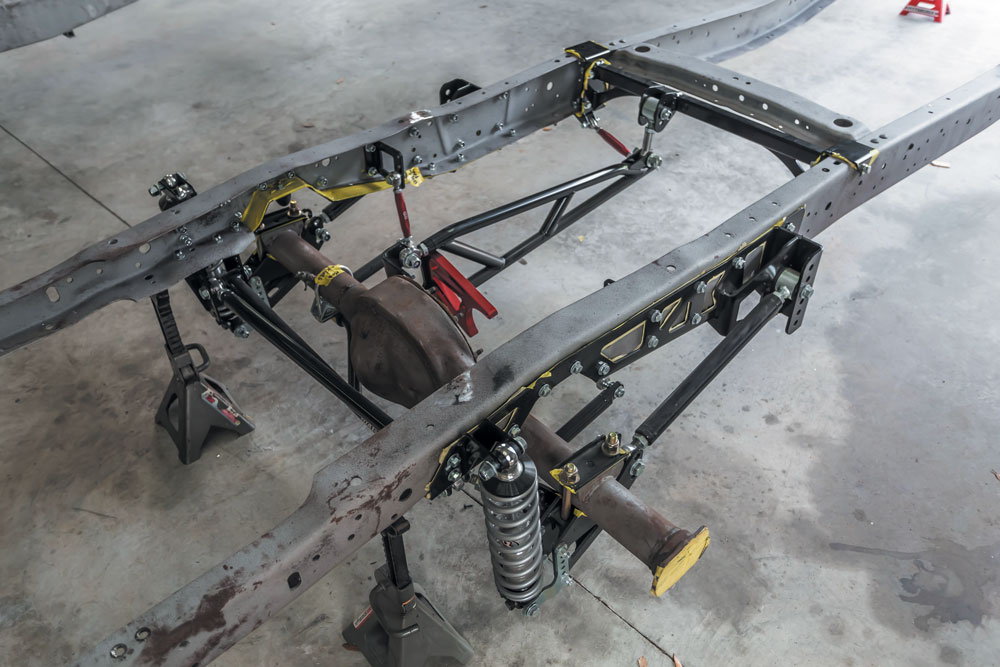
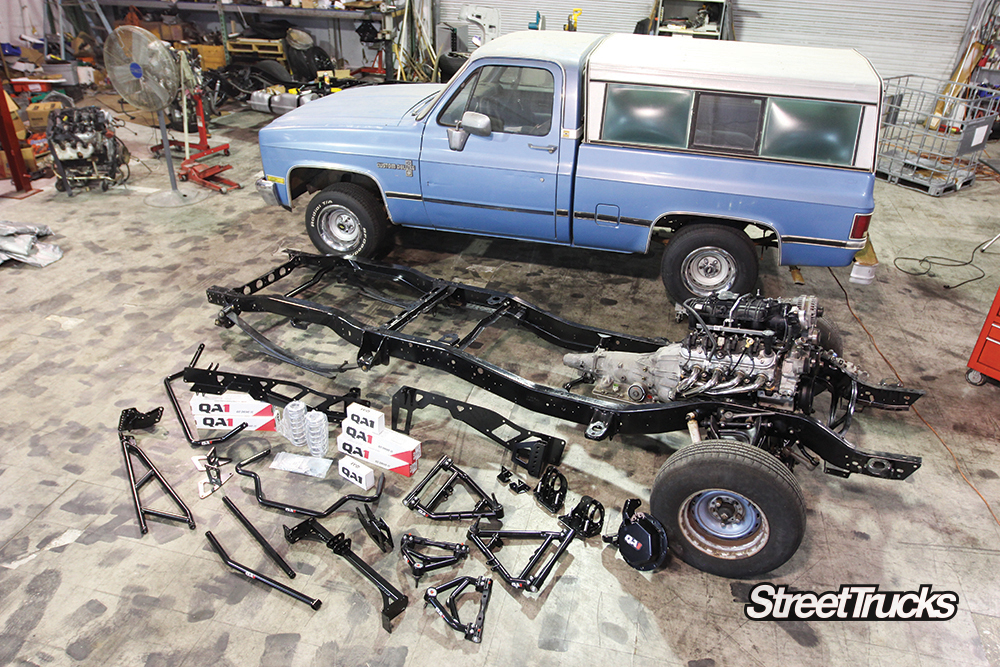
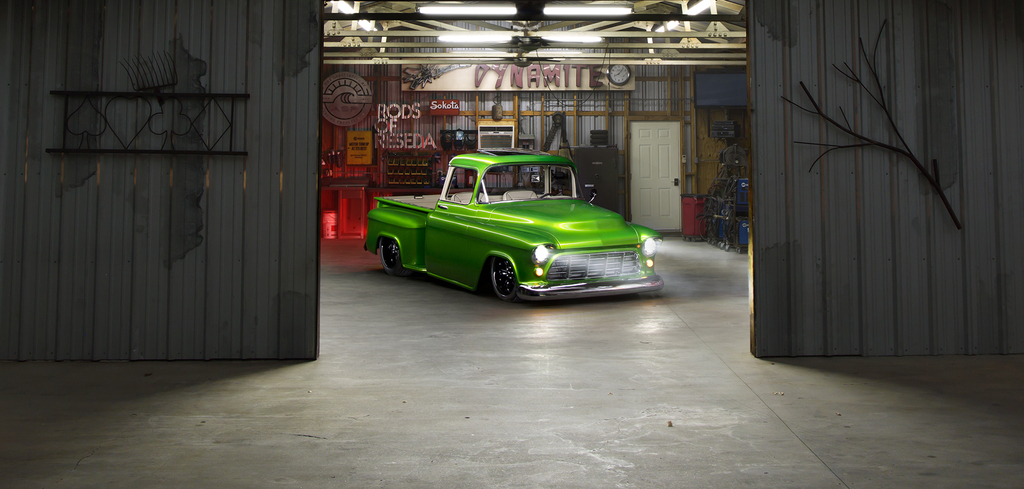
In the last issue of F-100 Builder’s Guide you saw Joey and the team at Evolutionary Rides take our ’72 F-100 Oscar The Bump off the frame, strip the frame down to the rails and install the QA1 front suspension.
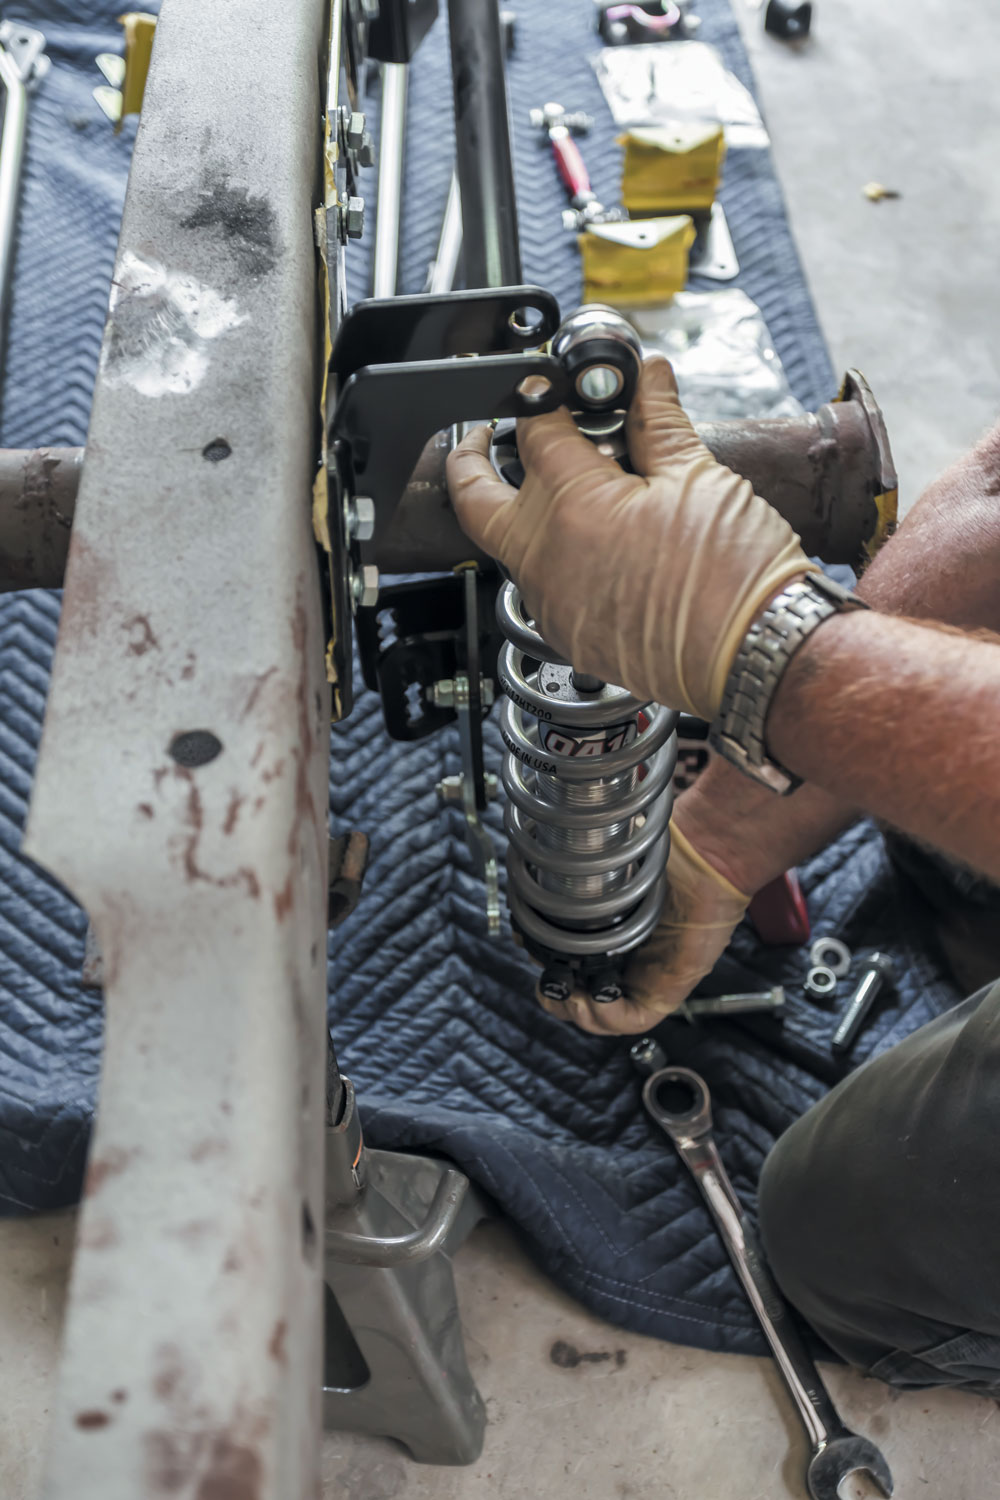
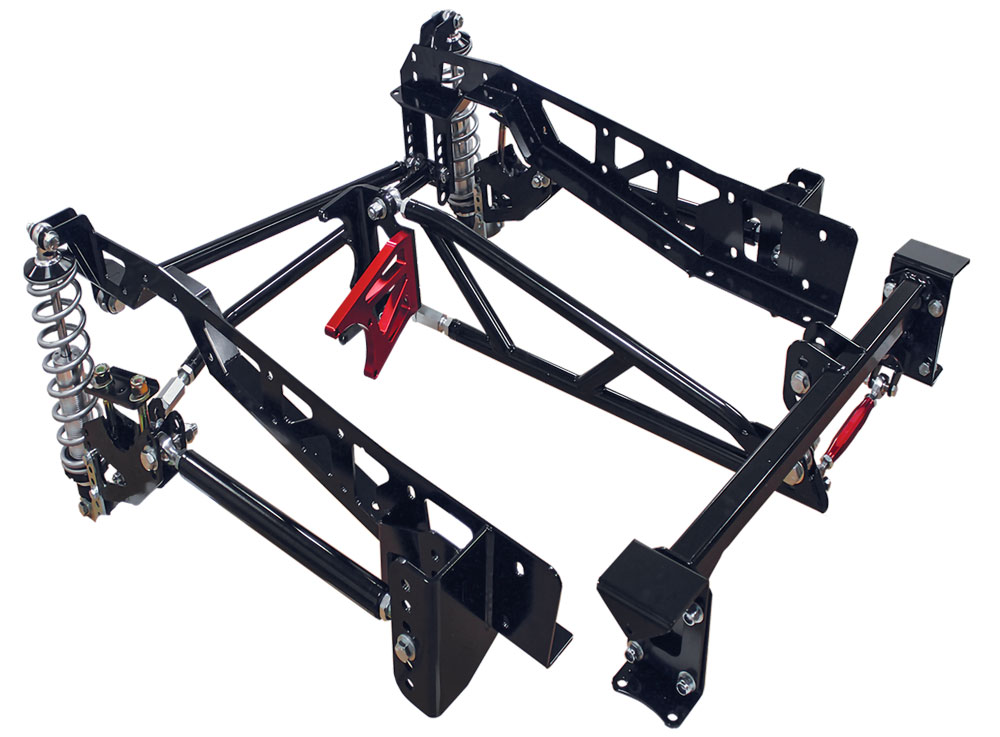
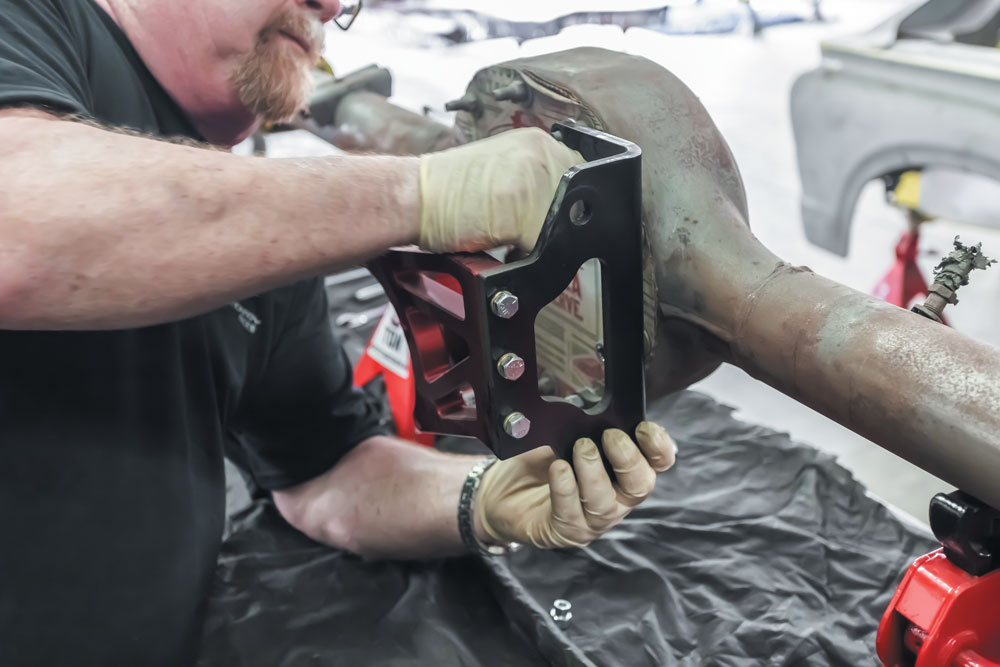
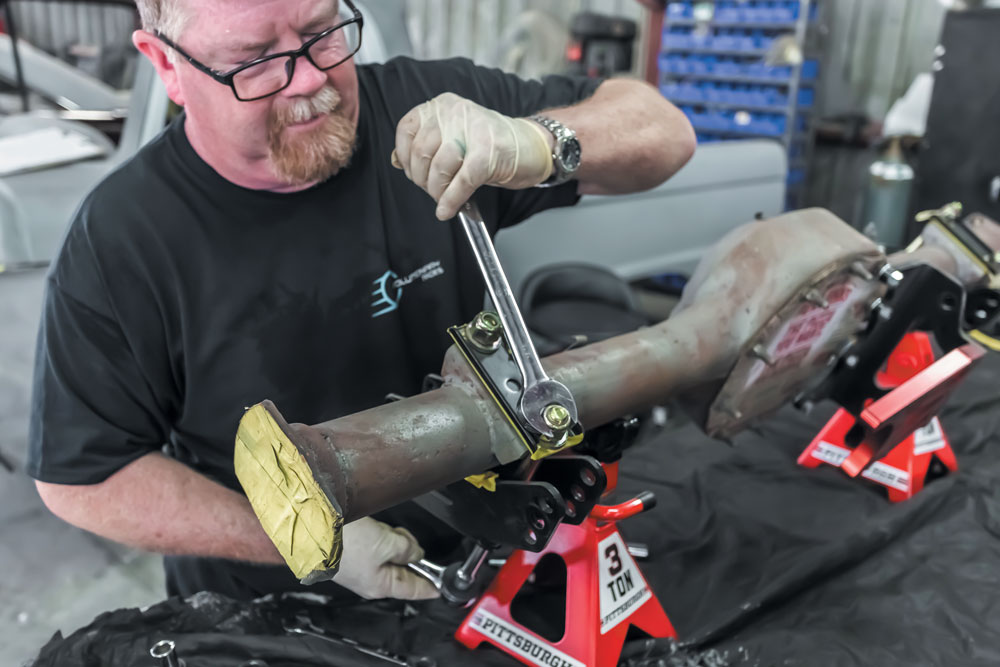
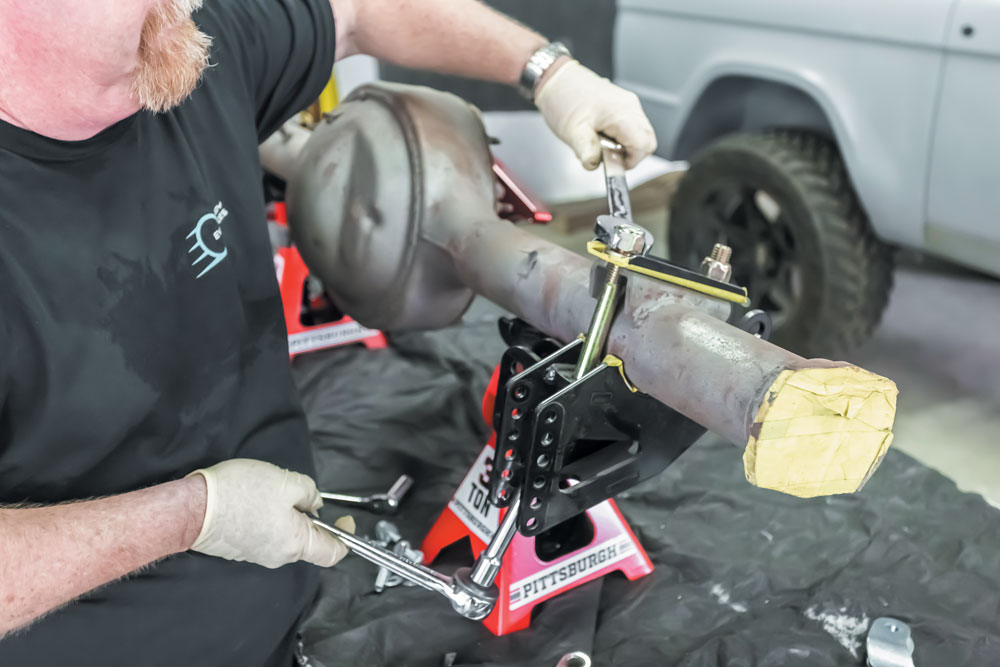
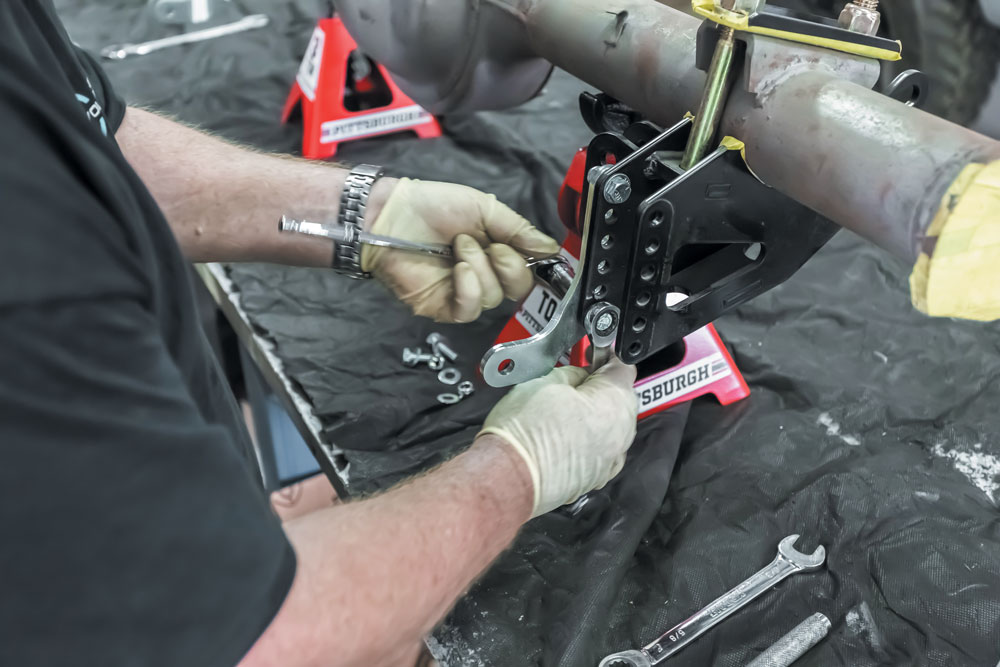
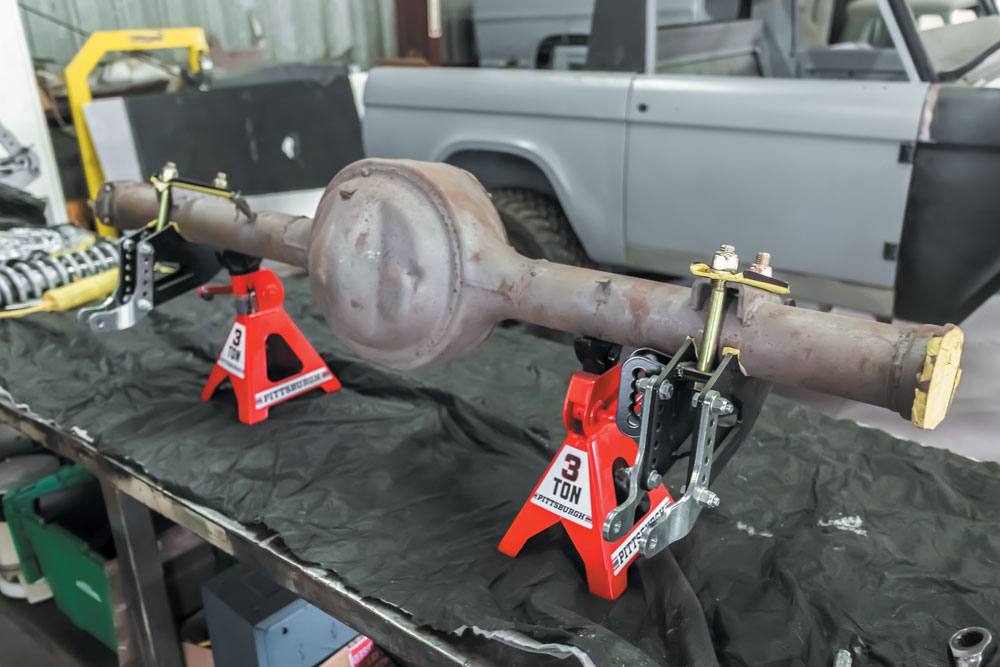
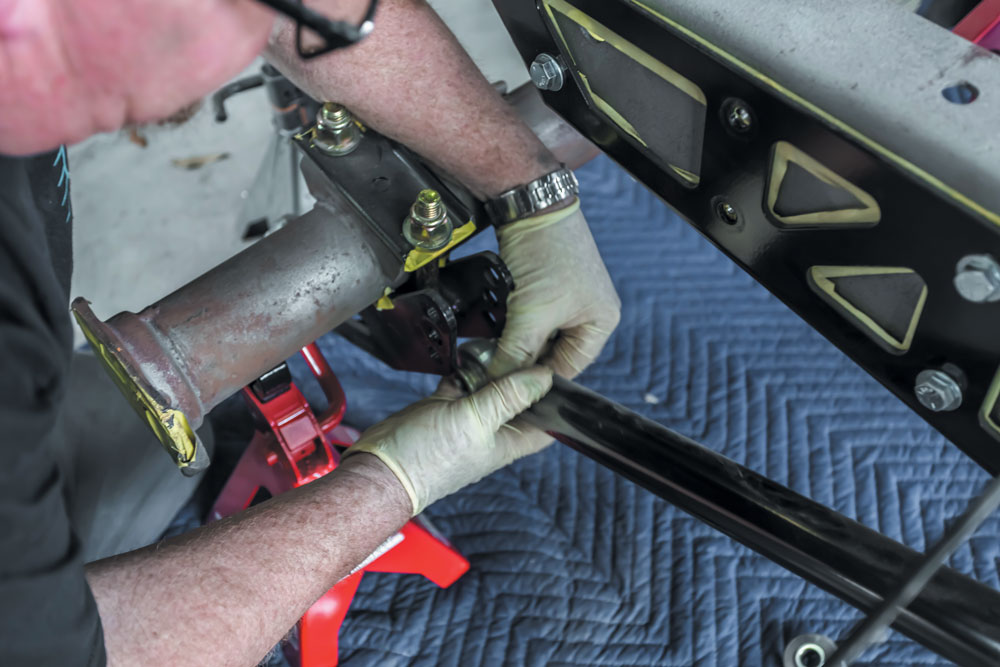
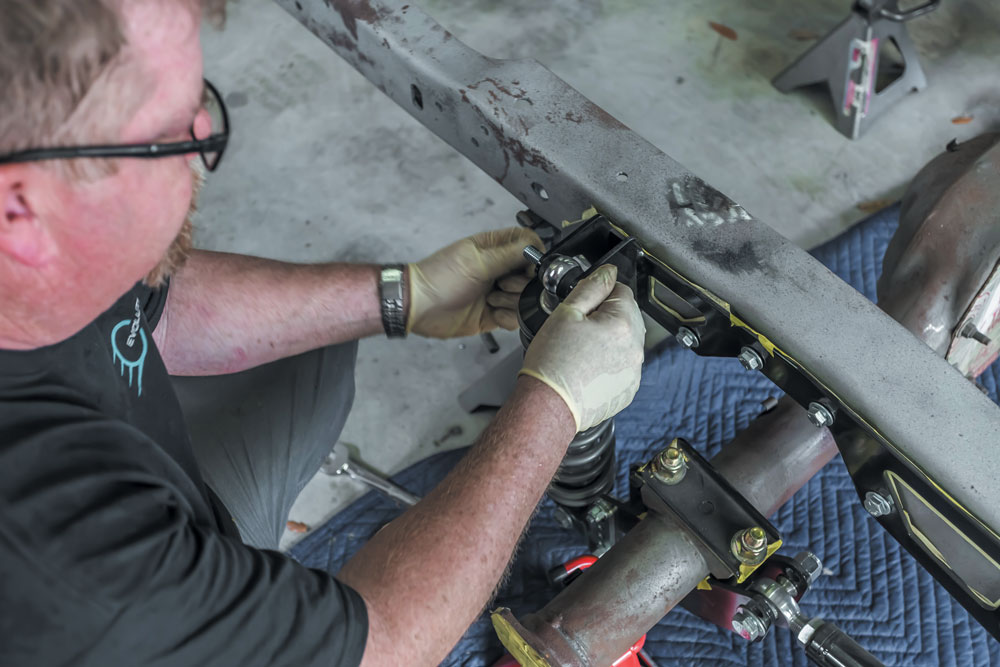
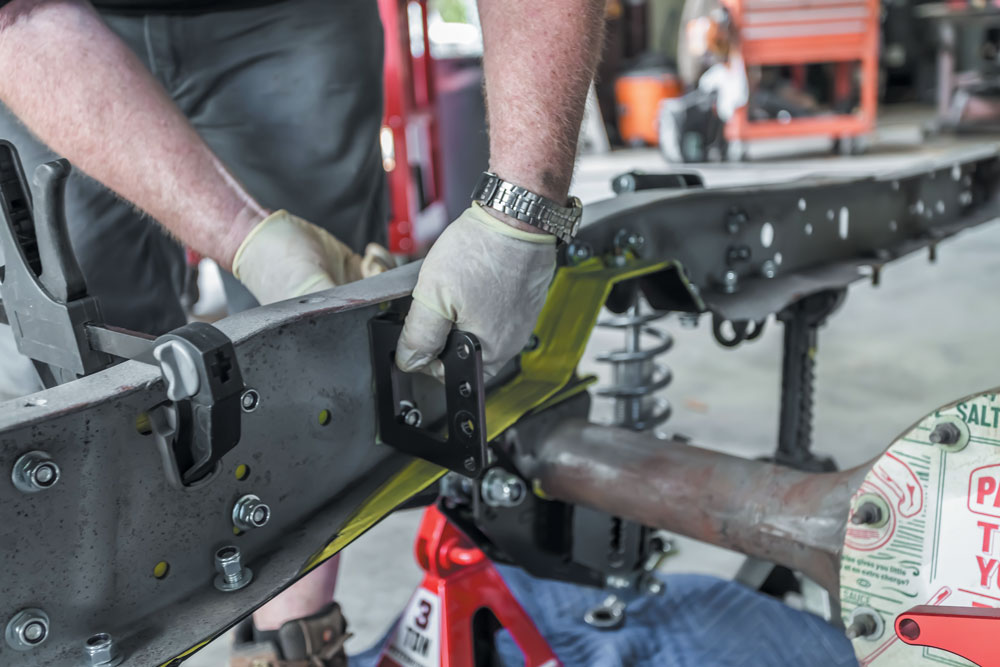
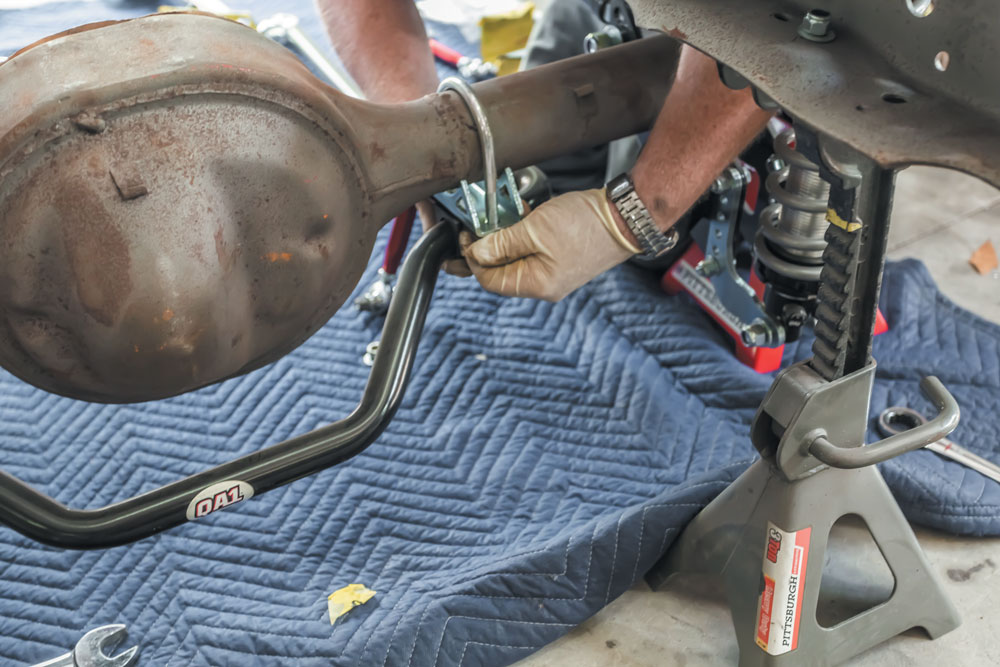
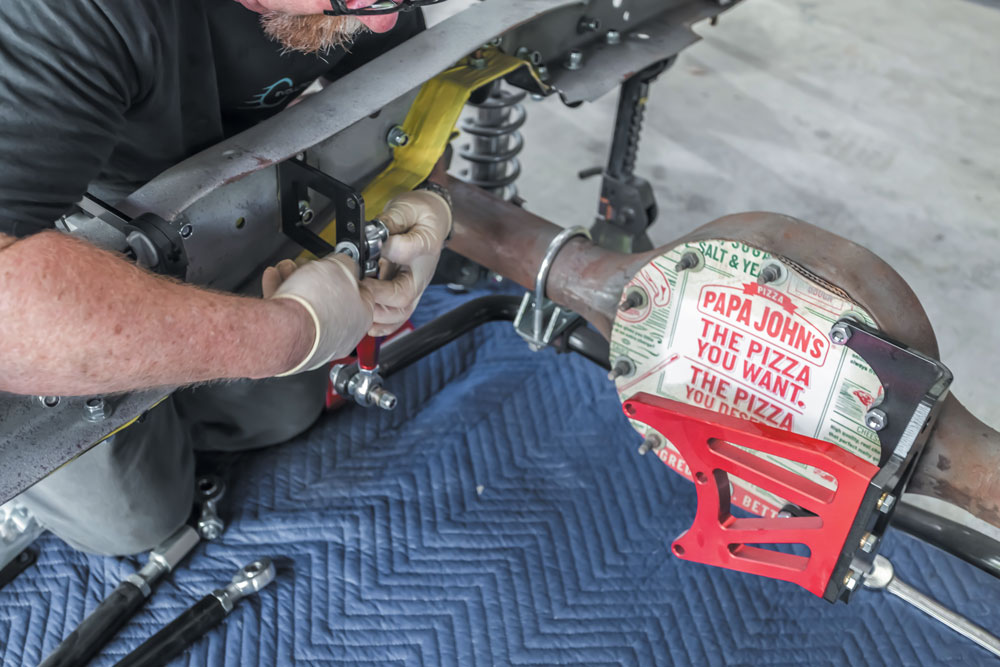
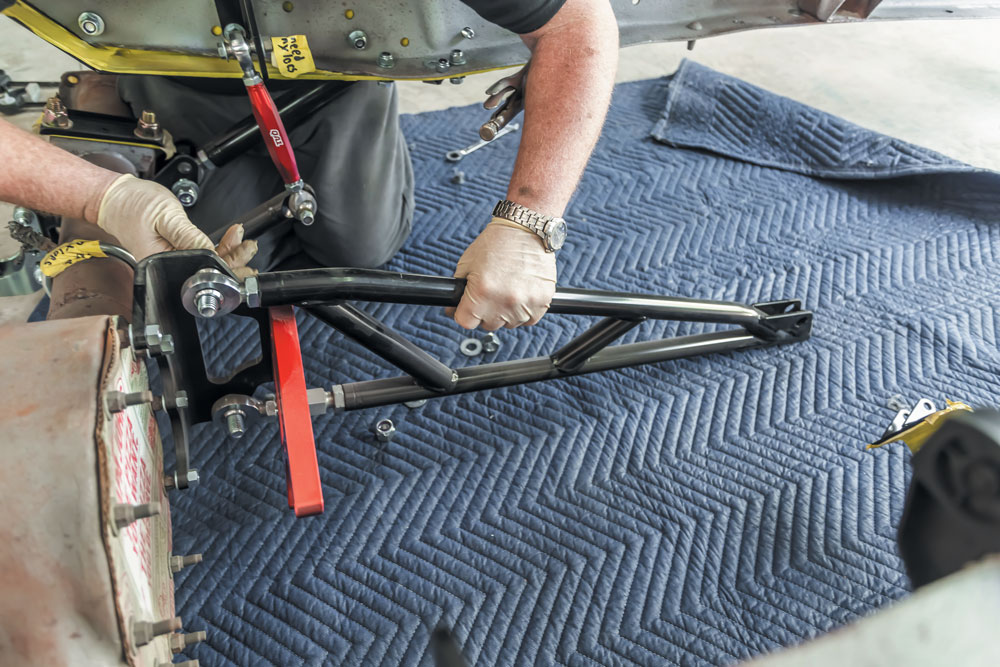
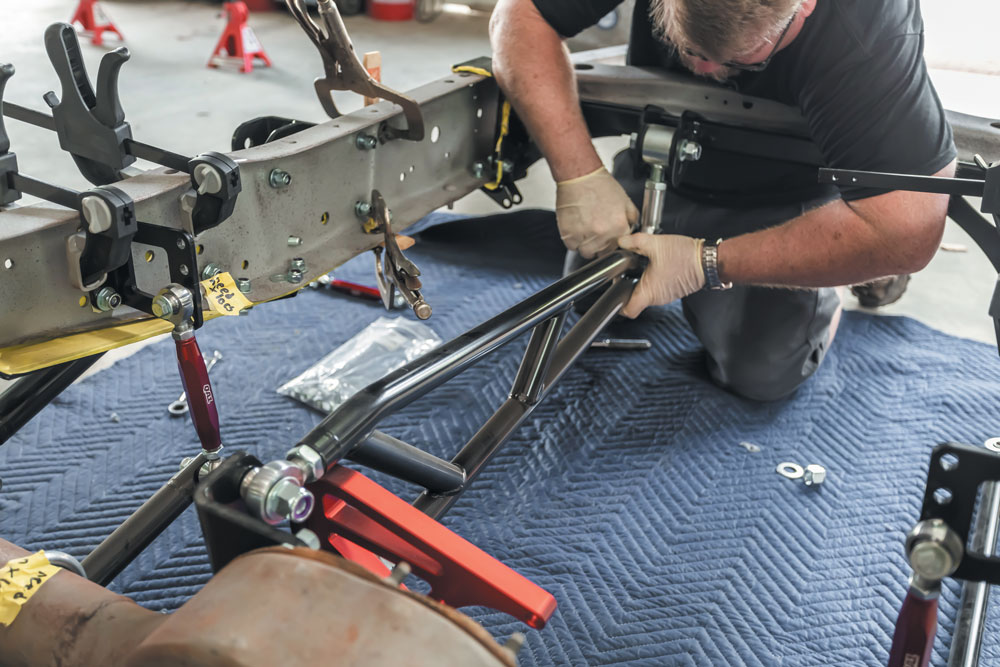
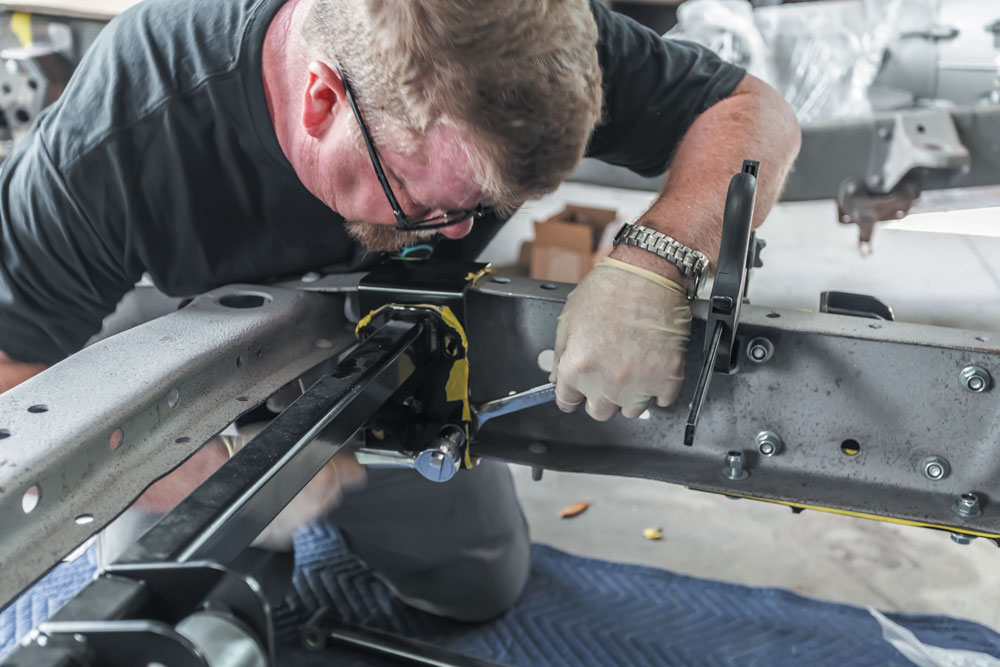
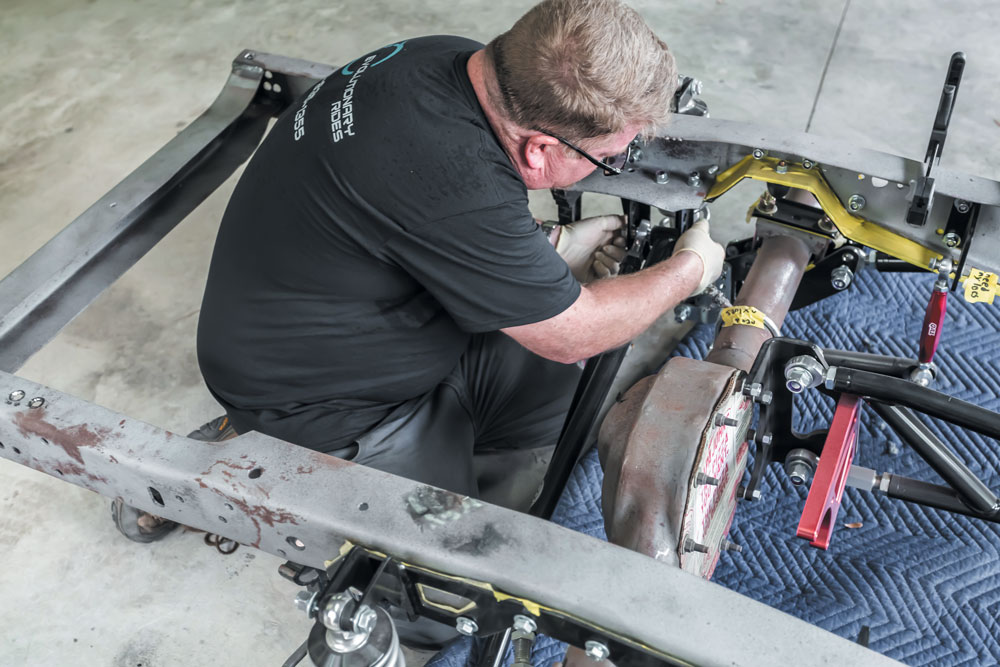
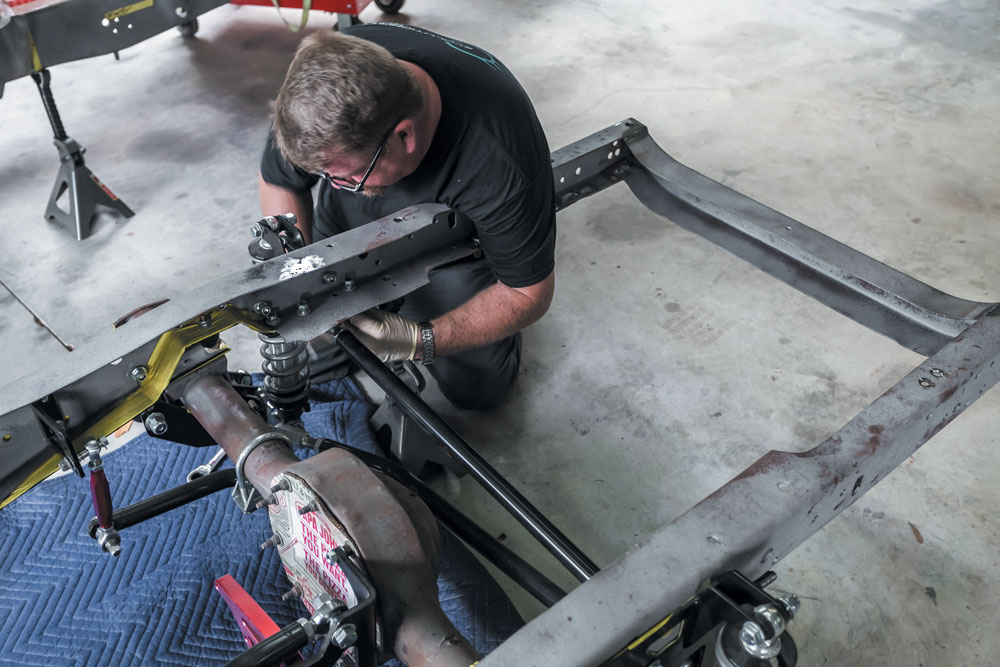
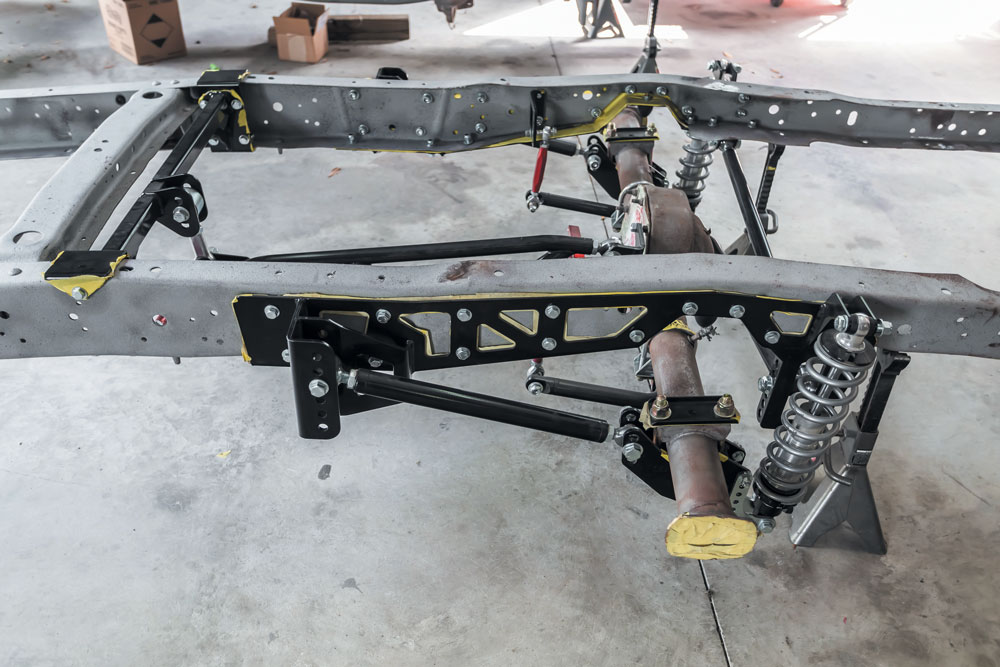
Because we’re emphasizing performance in this issue, we’re going to show you how the QA1 rear suspension setup goes together in a ’65-’72 truck. We were very happy to be ditching the factory leaves and installing a torque-arm style rear setup. Why? For one, it maximizes performance while minimizing suspension bind. And two, from speaking with the knowledgeable techs at QA1, we are definitely excited to take this onto a track and around some corners.

This complete bolt-in system adds unprecedented adjustability to your truck without any welding. It can be installed in any home garage and can even be done with the bed still on (if you’re not in the middle of a restoration project like we are). You can get a 4- to 7-inch drop out of this system, it is about 100 pounds lighter than the stock suspension, and it looks just as good as it performs.
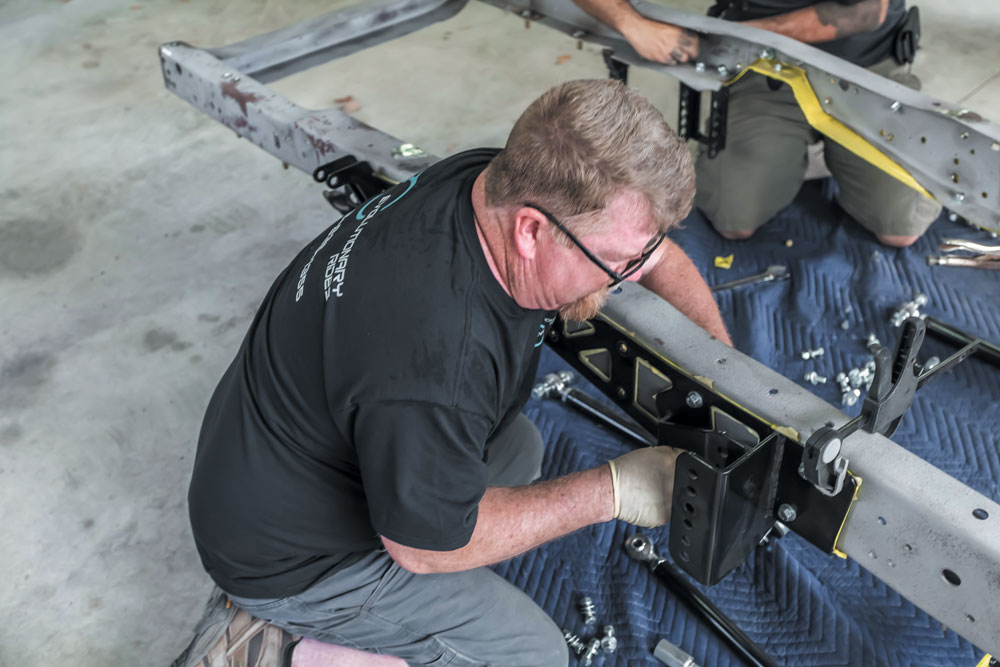
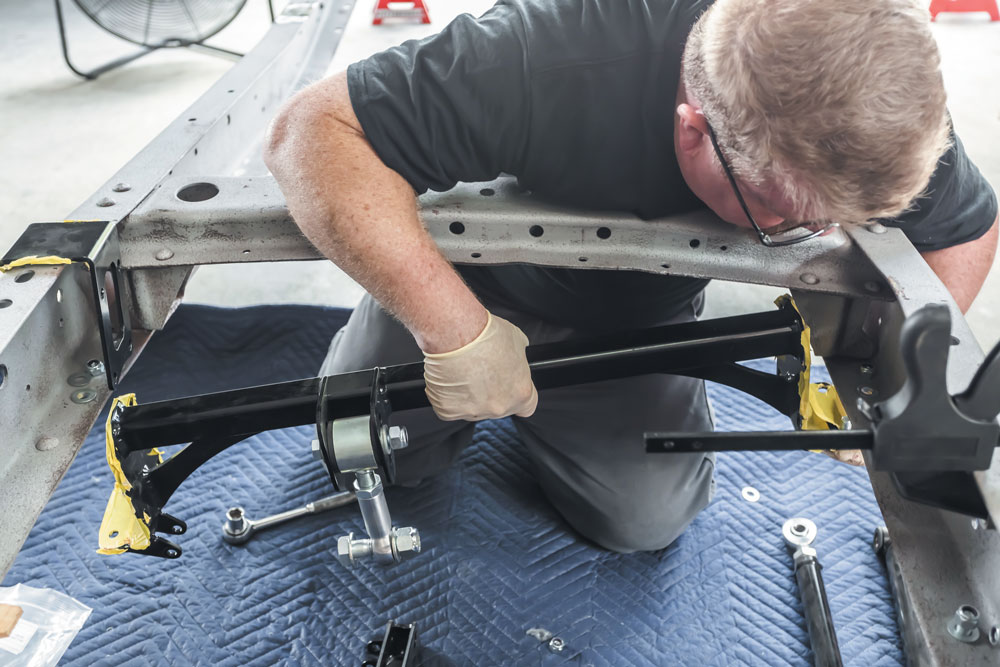
Tools needed include a floor jack, jack stands, drill with ¼-inch and 7/16-inch drill bits, wrenches, ratchets and socket sets, a torque wrench, grinder or air chisel, some anti-seize and, most importantly, some cool refreshments if this happens to be a “stay at home” project. This is by no means is meant to be a step-by-step instruction set; for that you can go to www.QA1.net/F100. What this is meant to be is a guide to show you what all this system entails and why we chose to go with this setup for our project. The guys at Evolutionary Rides said that this is an easy, very straightforward install.
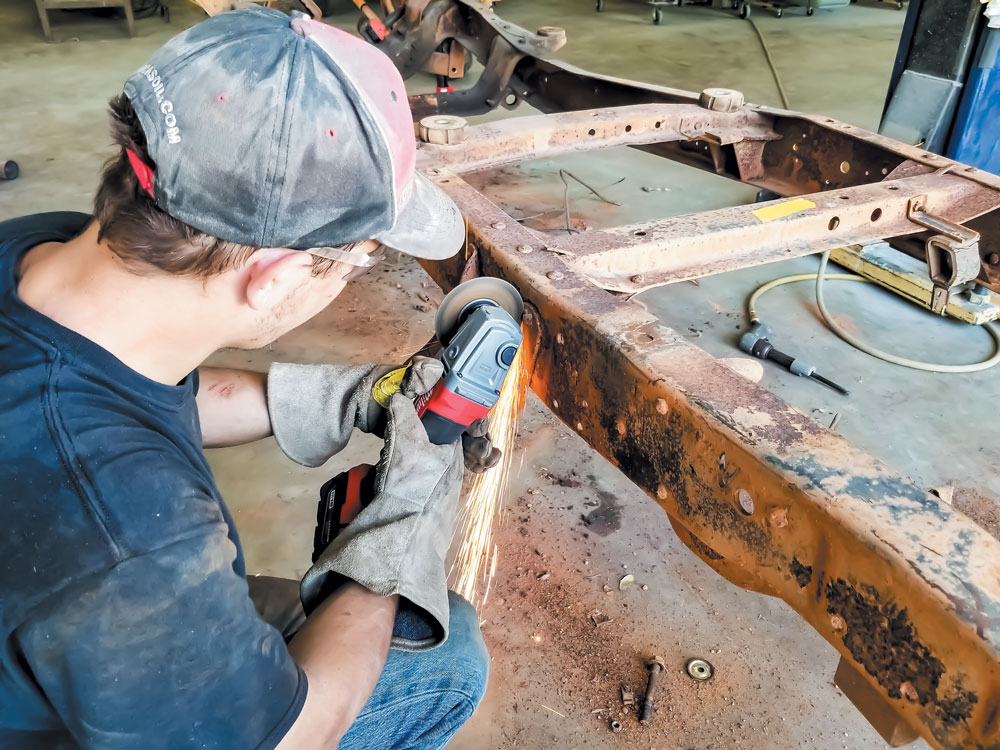
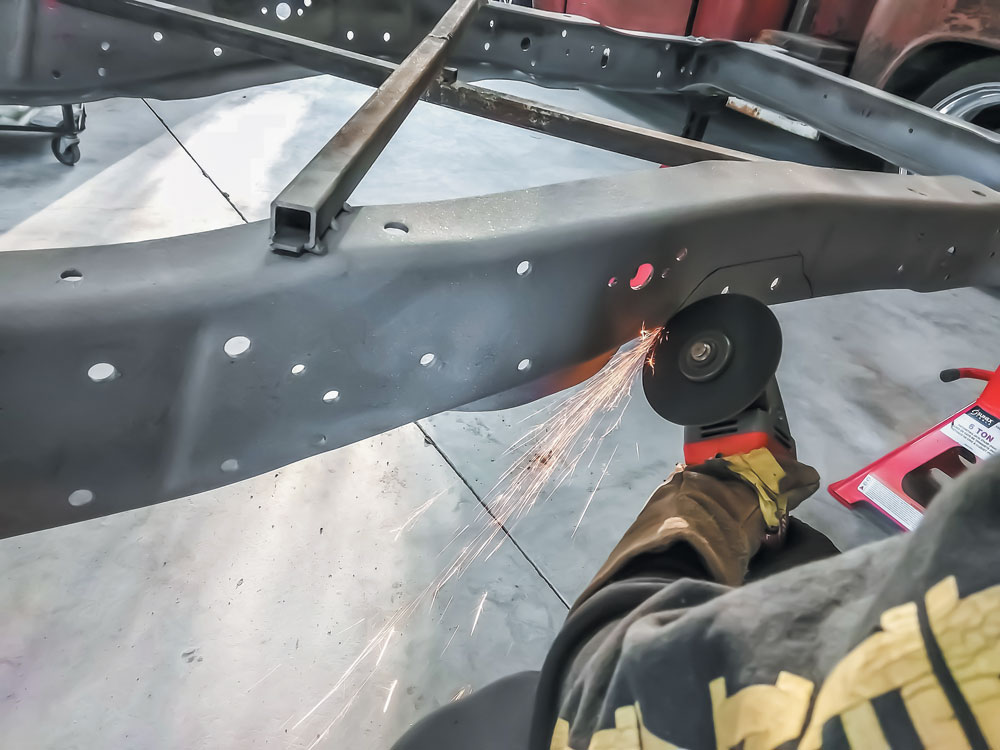
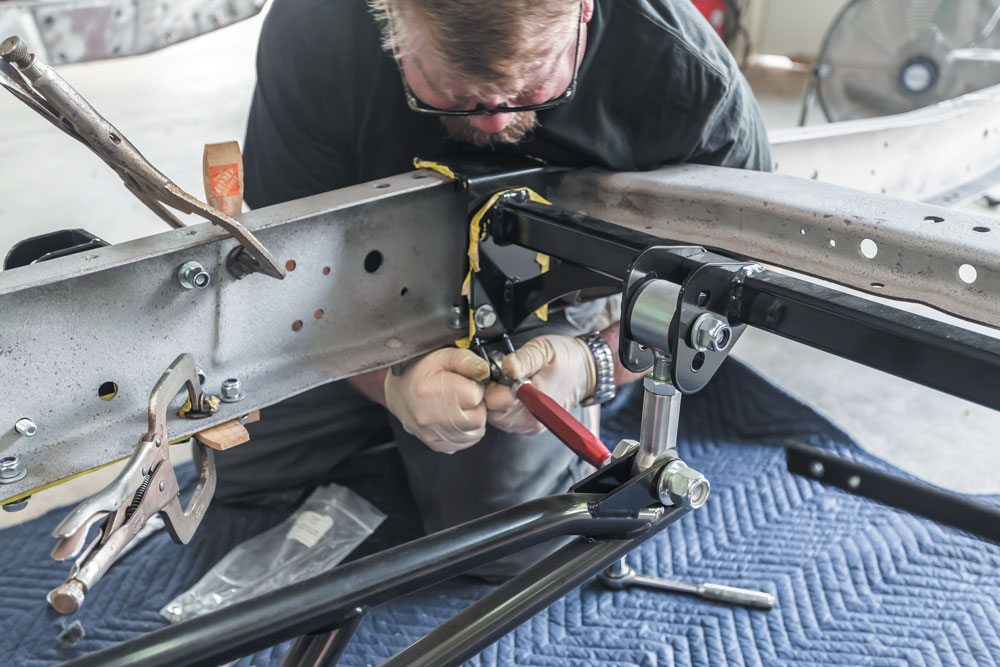
What we have done here might not be exactly how you’ll do it at home since we had the truck taken off the frame for our restoration. Joey and his team have installed a few of these QA1 kits already, so they certainly know some of the tricks to getting it done quickly and safely. They removed some of the crossmembers that you do not need to remove, but we are going to be adding some custom ones back in later.
We didn’t get to it yet (we will be setting ride height, and final wheel/tire choices down the road), but there will be final adjustments once we put the chassis back together after powdercoating. Last but no least, make sure that you enjoy your classic trucks and get out there and drive them!
[divider]SOURCES[/divider]
QA1 Motorsports
800-721-7761, orders
952-985-5675, tech support
www.QA1.net
Evolutionary Rides
352-835-1355
evorides@yahoo.com
www.facebook.com/evolutionaryrides


F100 Builders Guide
An F-100 Gets a Big Boost THIS VERY TRICK, UNIQUE TRUCK IS OWNED BY ARMAN SARKISSIAN OF CORSA VELOCITA, WHICH MANUFACTURES CUSTOM STEEL WHEELS FOR… Continue reading
Mike Self . September 24, 2024
c10
David Kass & QA1’s Bolt-On Road Warrior When Dave Kass set out to build his ’72 C10, he had a very good idea what he… Continue reading
John Mata Jr. . April 26, 2023
Department
Do you remember the first time you sat in the driver’s seat of a truck? If you’re like most of us, you were just a… Continue reading
Wendy Wilson . February 16, 2022
America
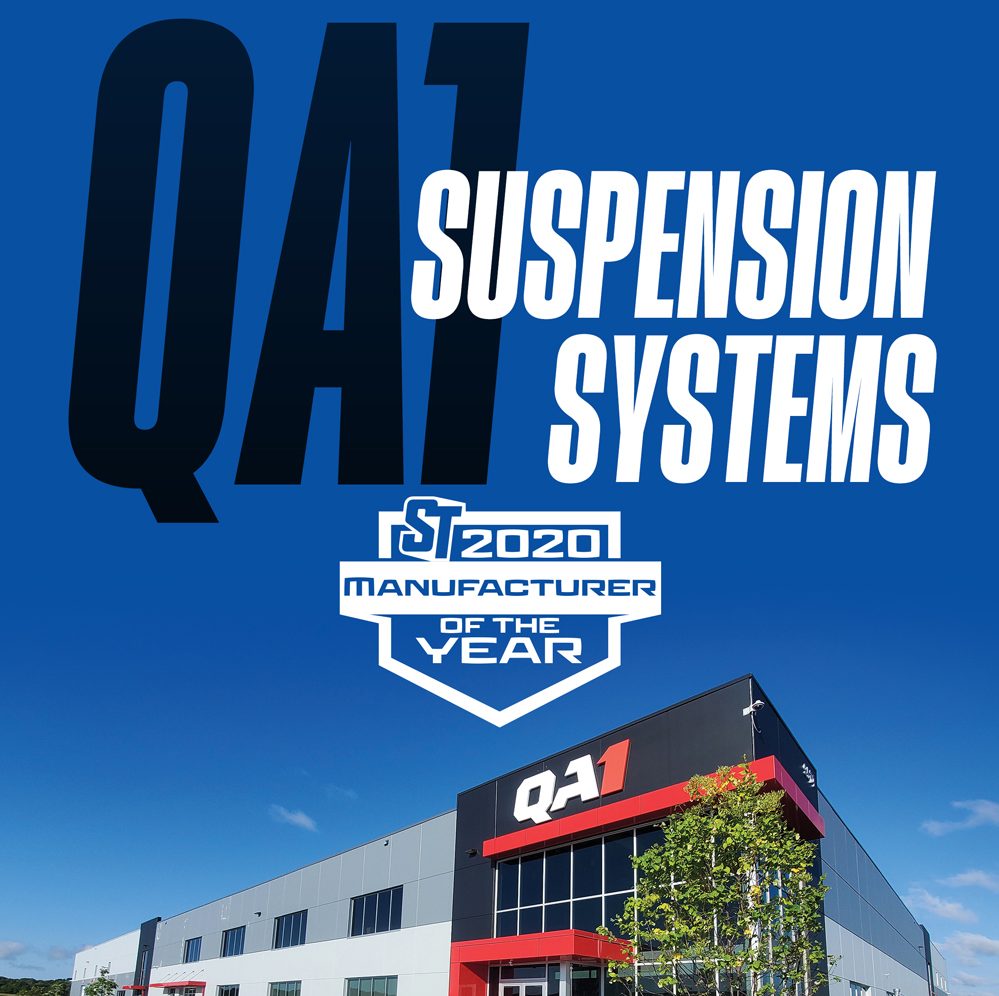
QA1 SUSPENSION SYSTEM MANUFACTURER OF THE YEAR! THE NEWEST TITLE ADDED TO THE ‘BEST OF’ LINE UP, AND THIS COMPANY DESERVES THE NOD! For 2020’s… Continue reading
Chris Hamilton . April 20, 2021
America
Full Suspension Solution for C10 Square Body Trucks Now available, this C10 Square Body suspension upgrade for all four corners of your square body pickup… Continue reading
Chris Hamilton . May 28, 2021
Department
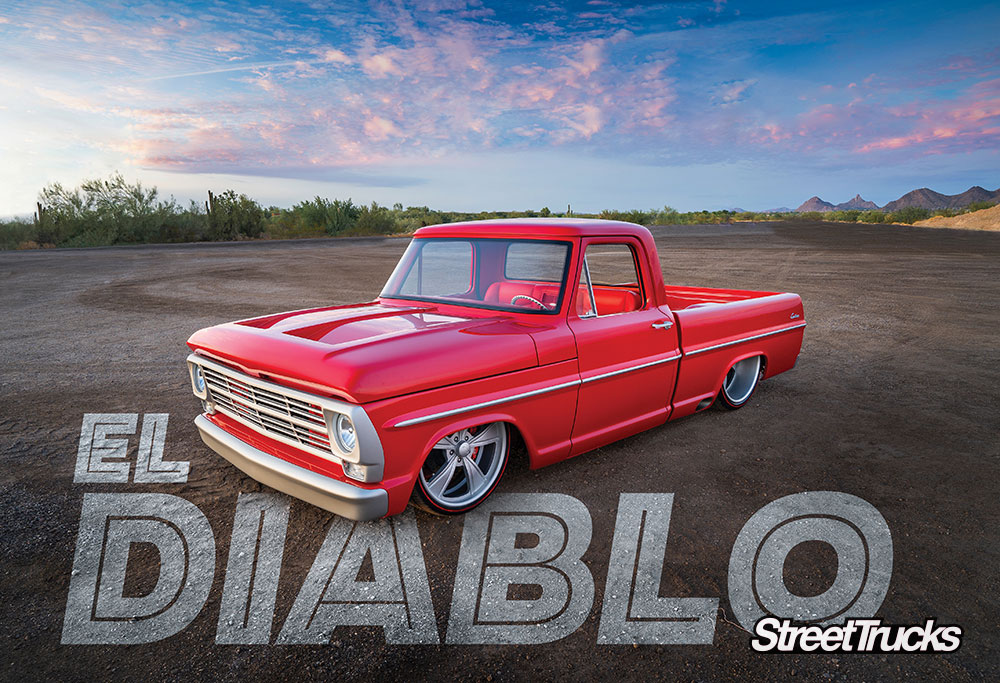
Fred Bishop’s tale of this gorgeous 1971 Ford F-100 build (now affectionately known as El Diablo) begins seven years back or so. Fred’s Uncle Dave… Continue reading
Mike Alexander . August 17, 2021


Share Link