 Chris Hamilton
.
April 22, 2021
.
How to
.
Chris Hamilton
.
April 22, 2021
.
How to
.
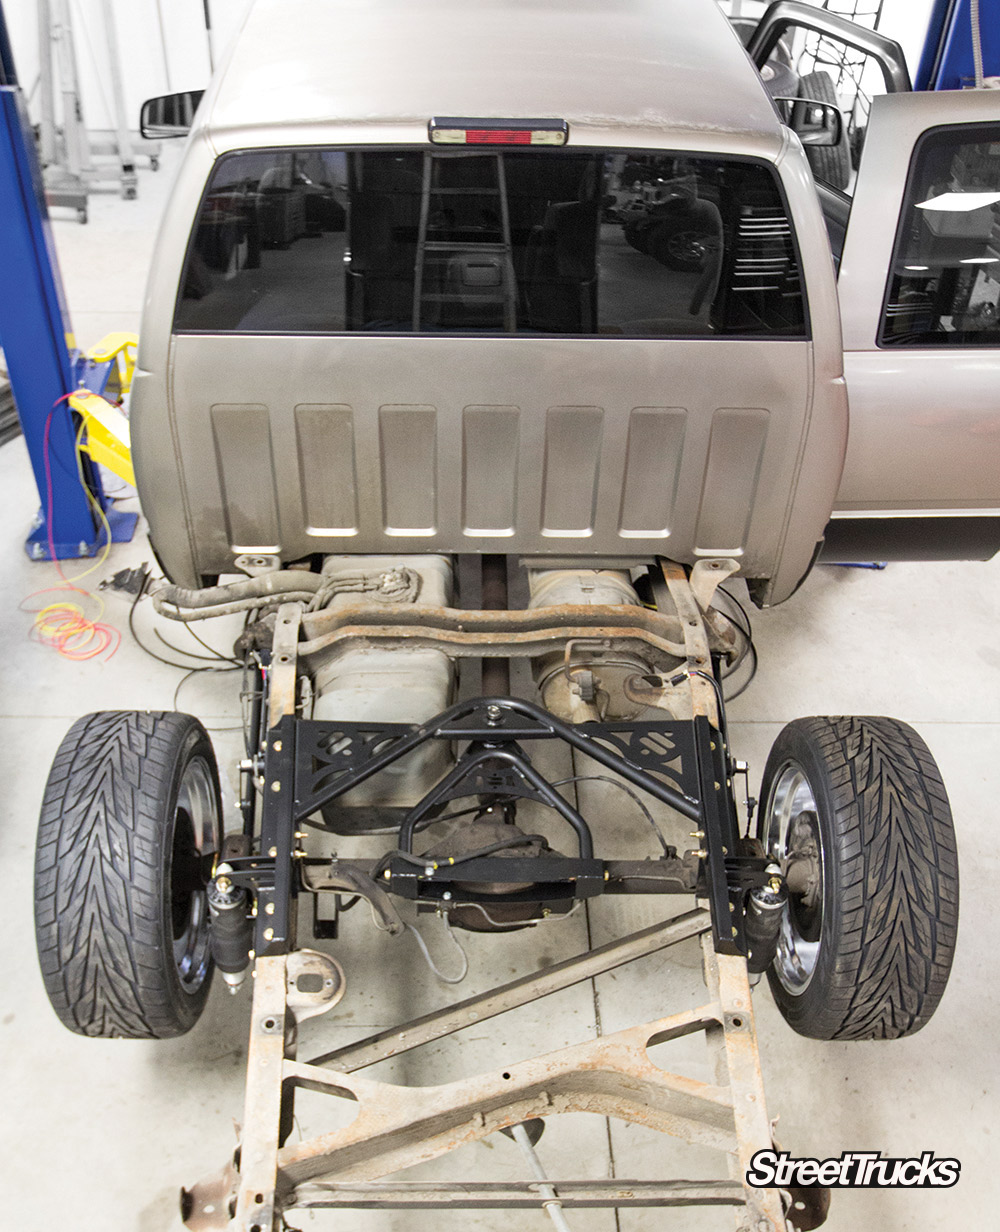
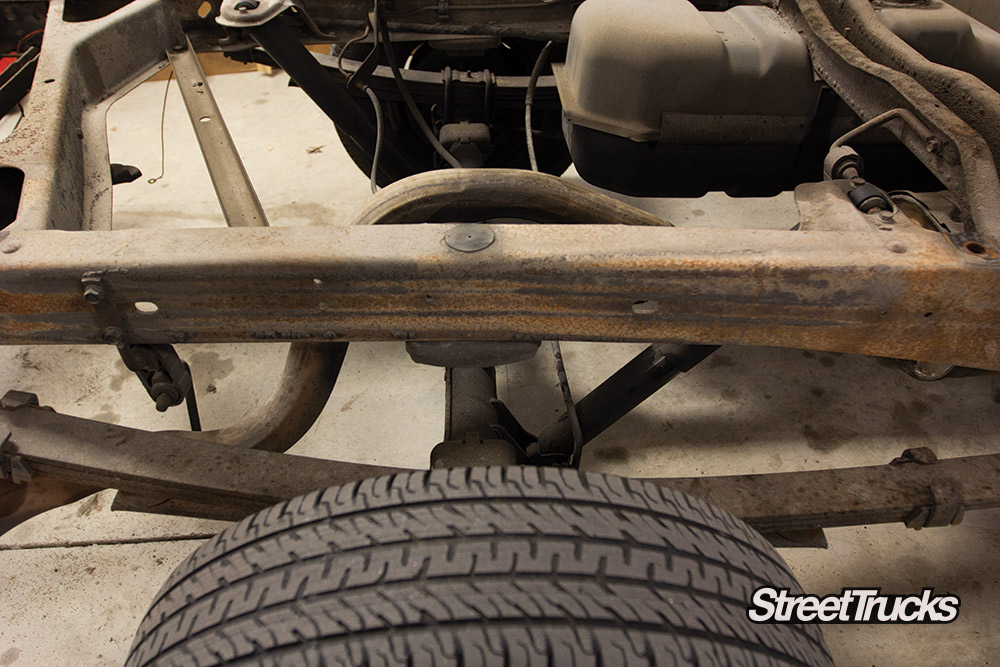
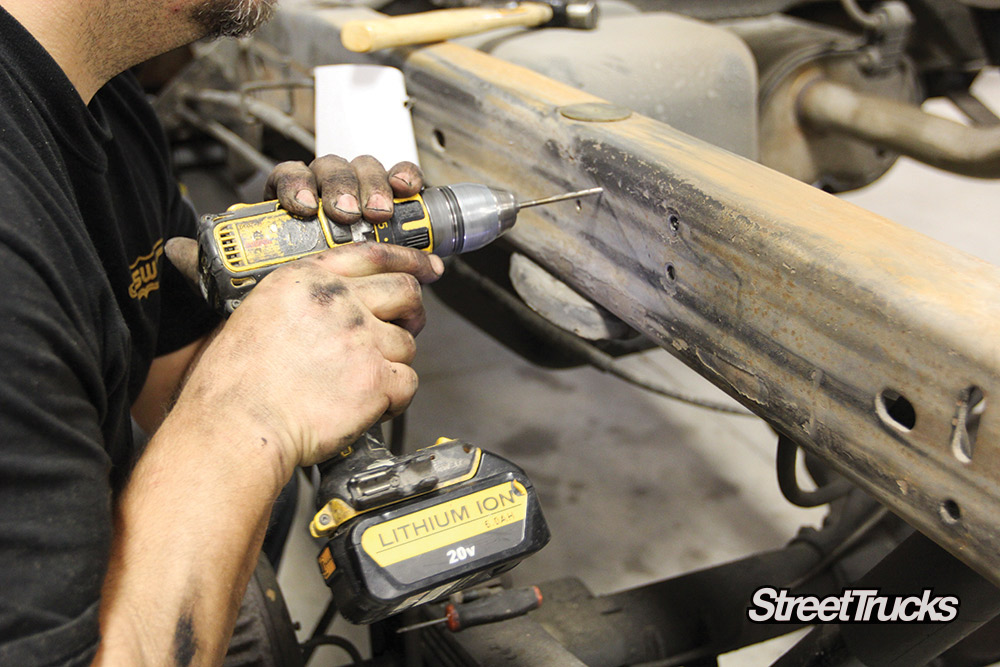
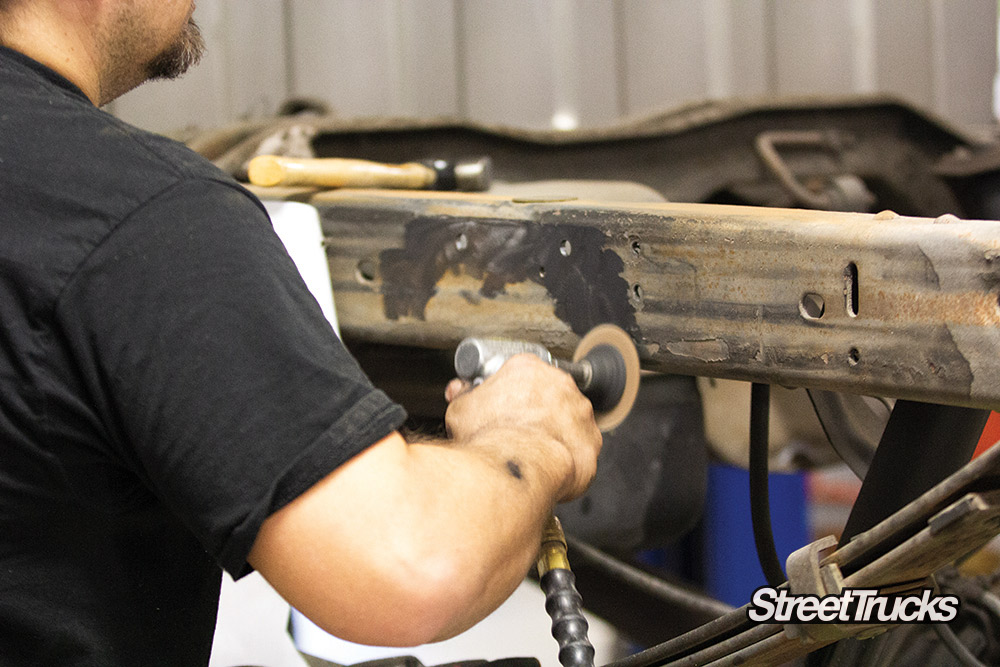
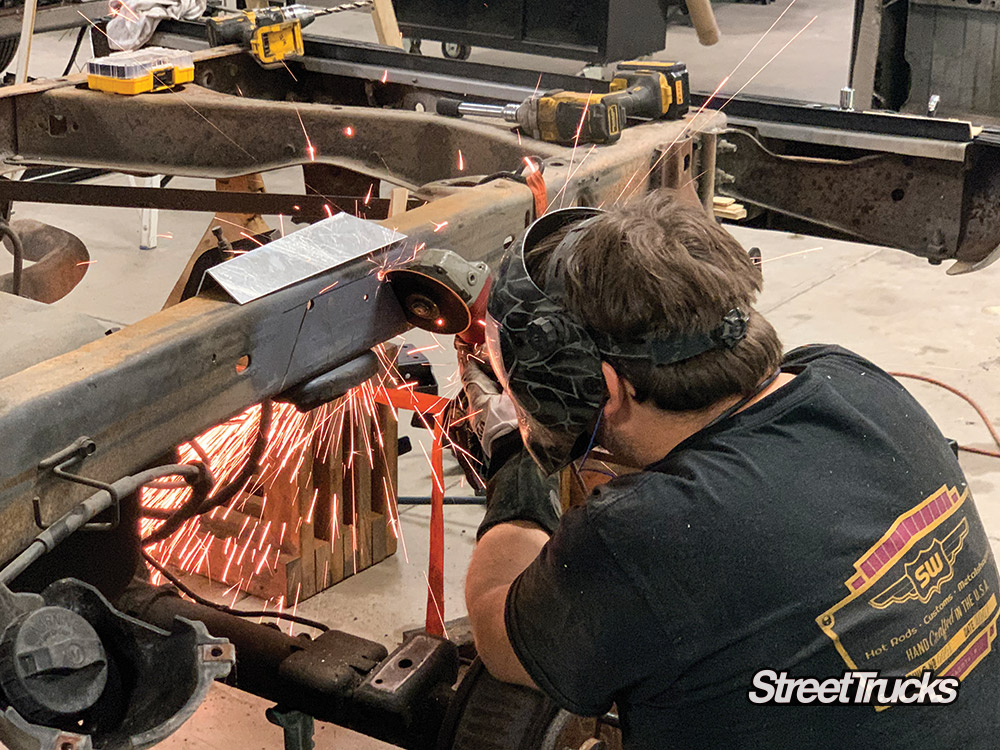
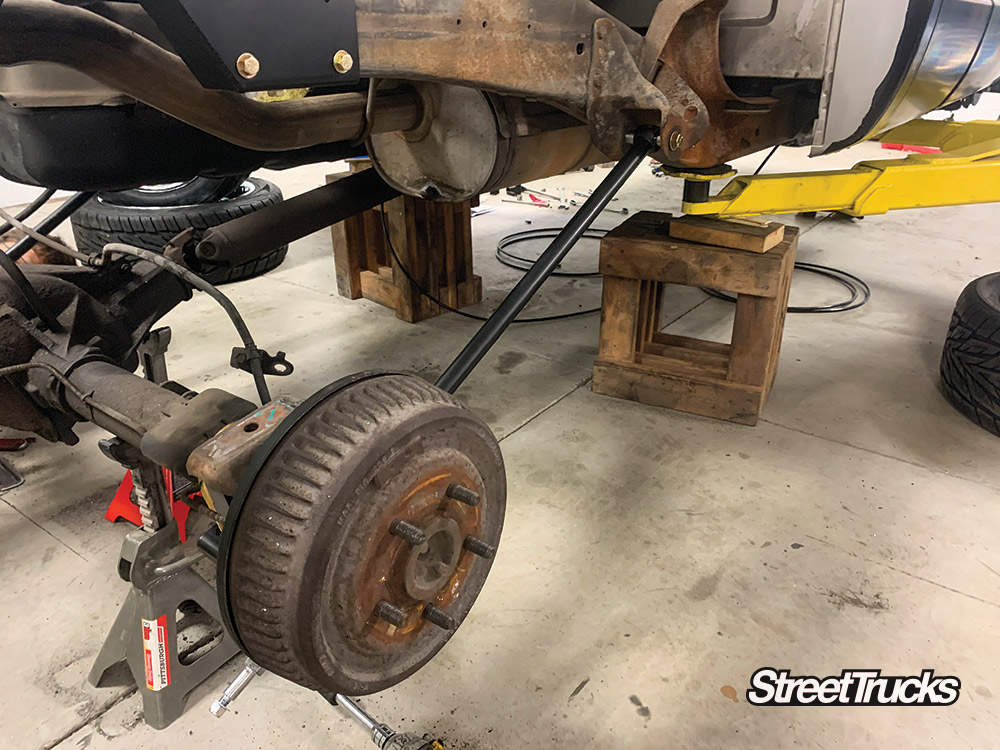
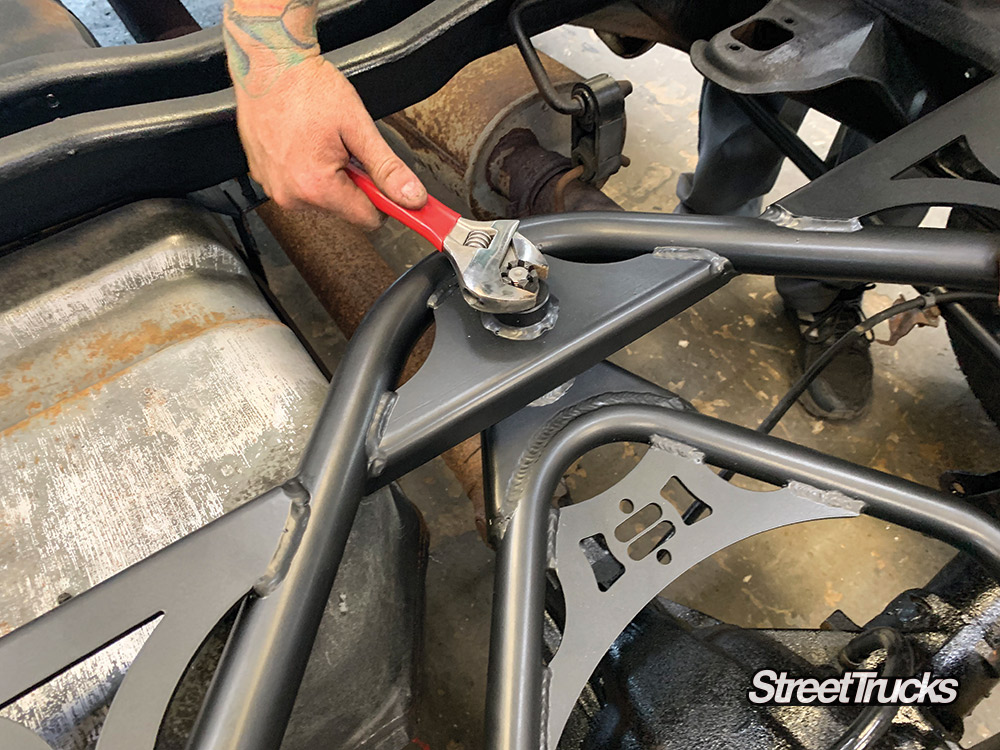
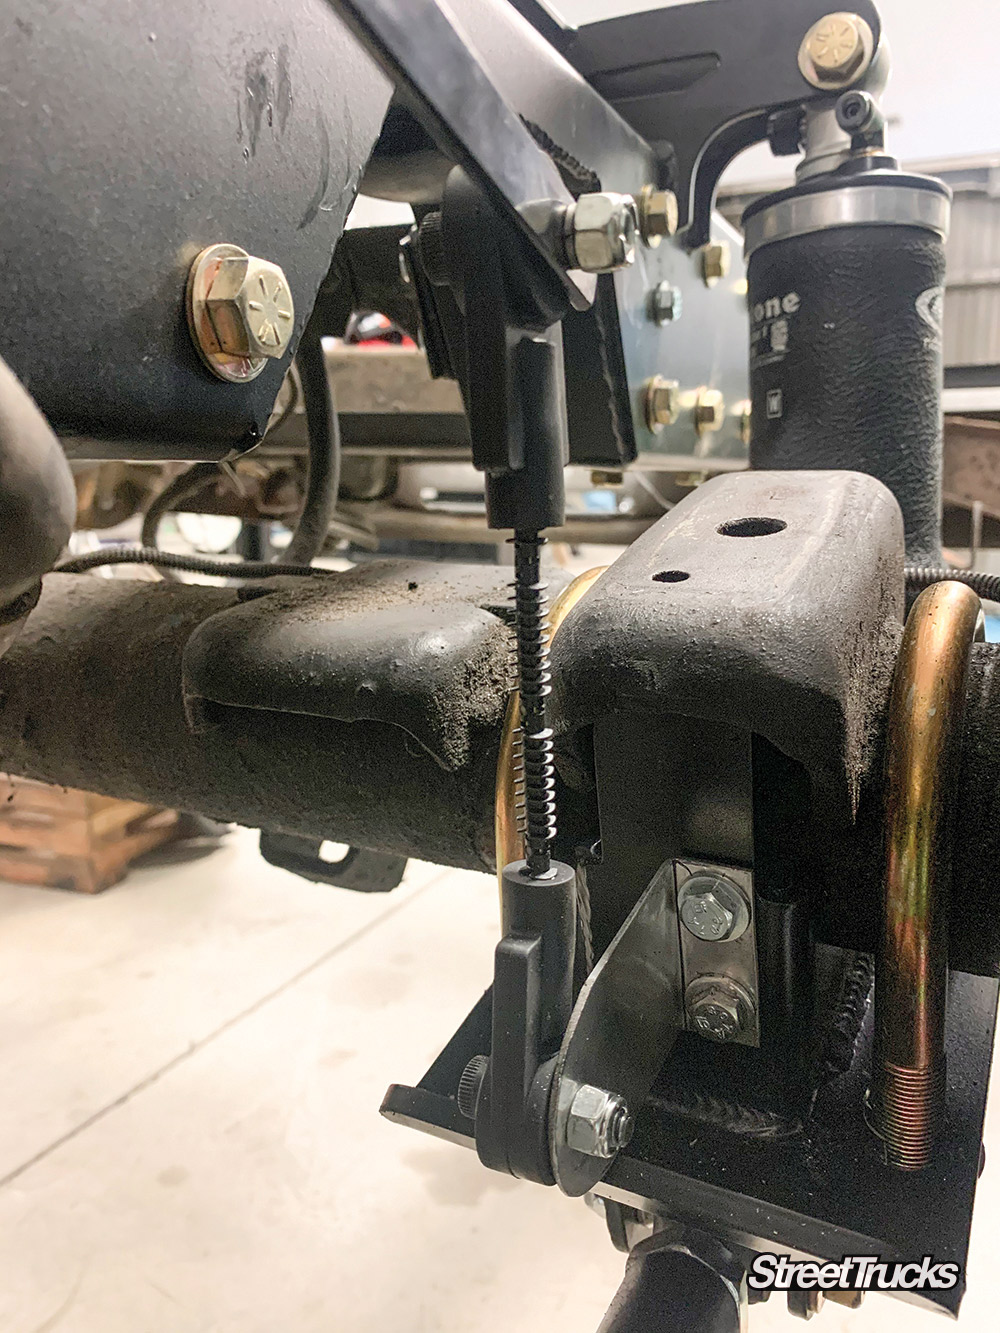
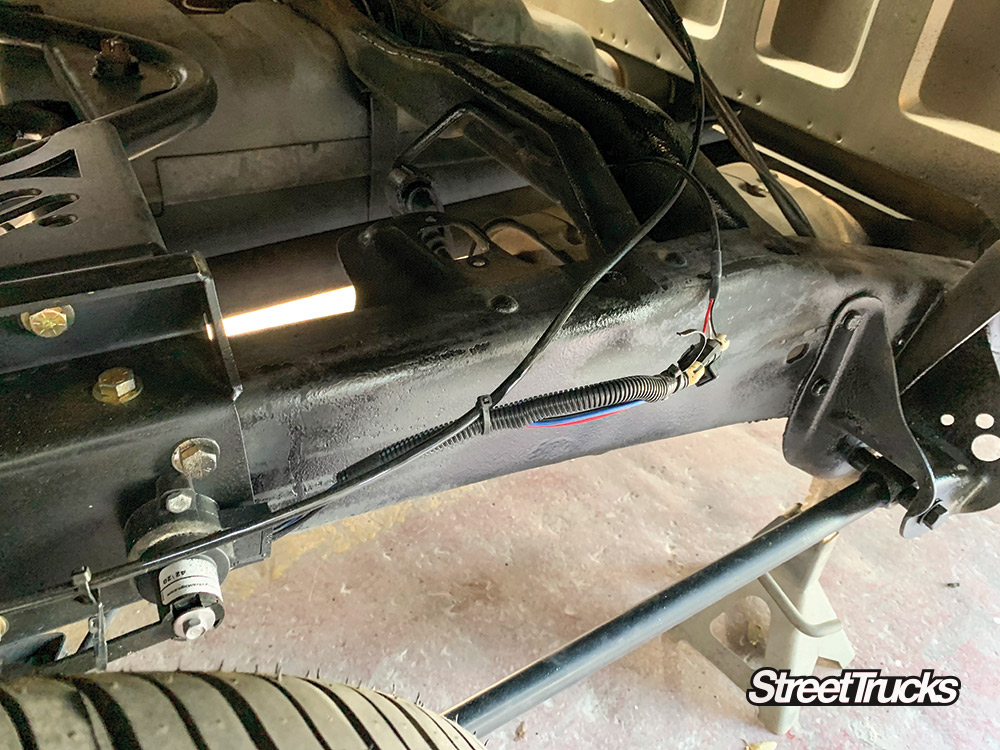
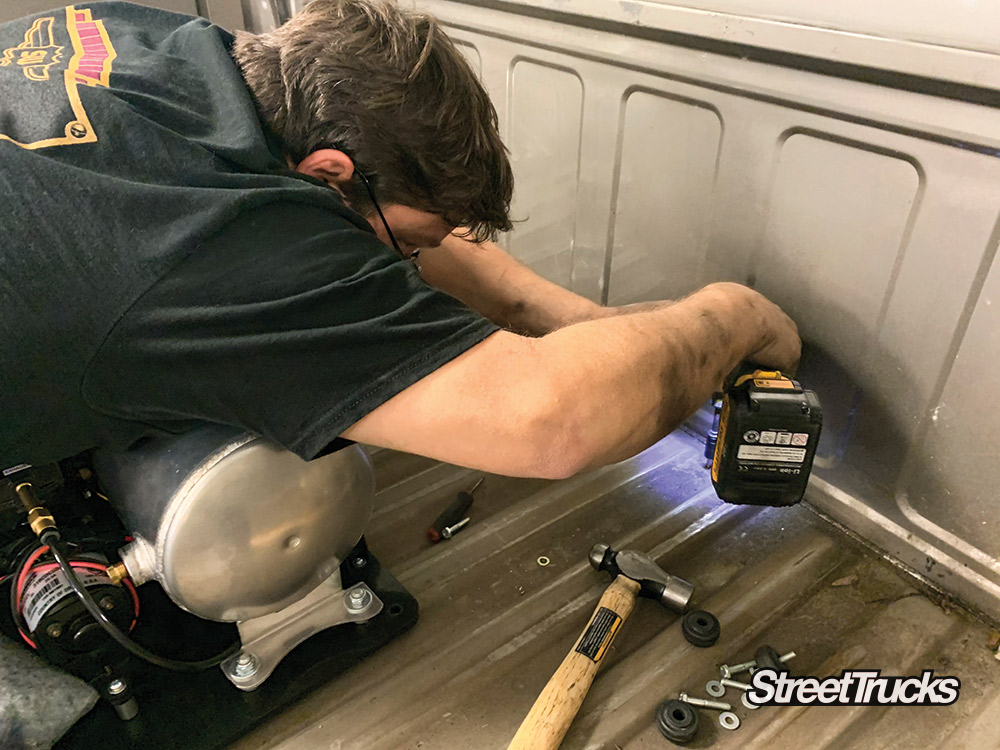
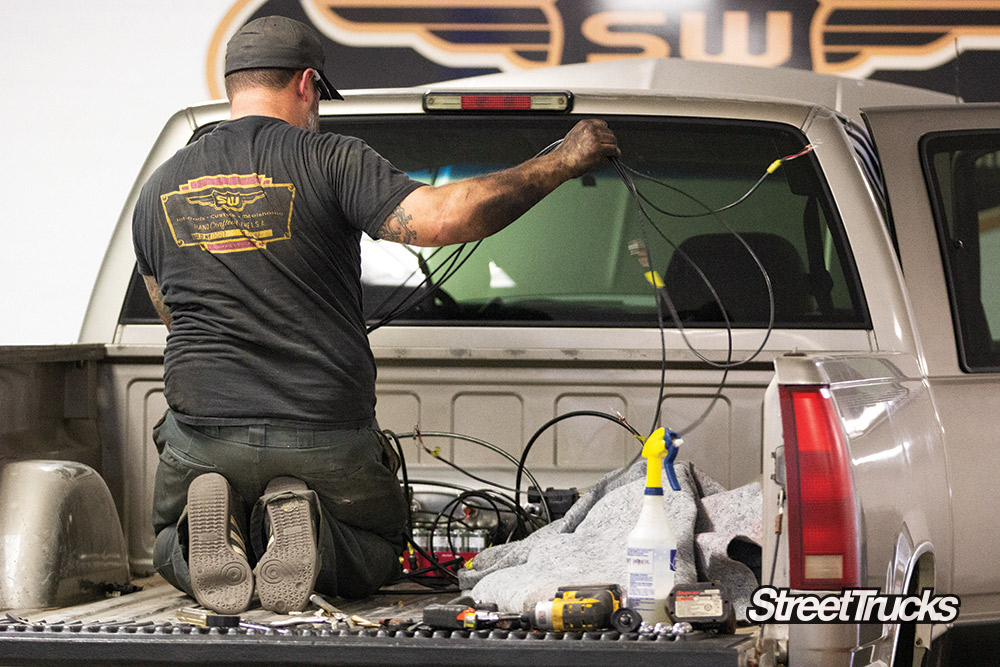
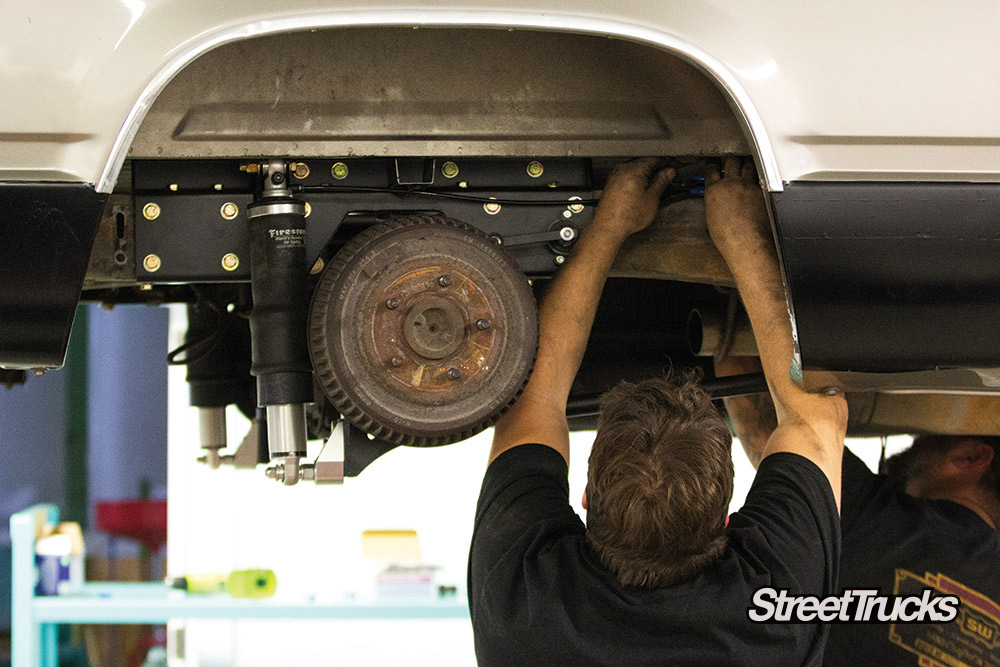
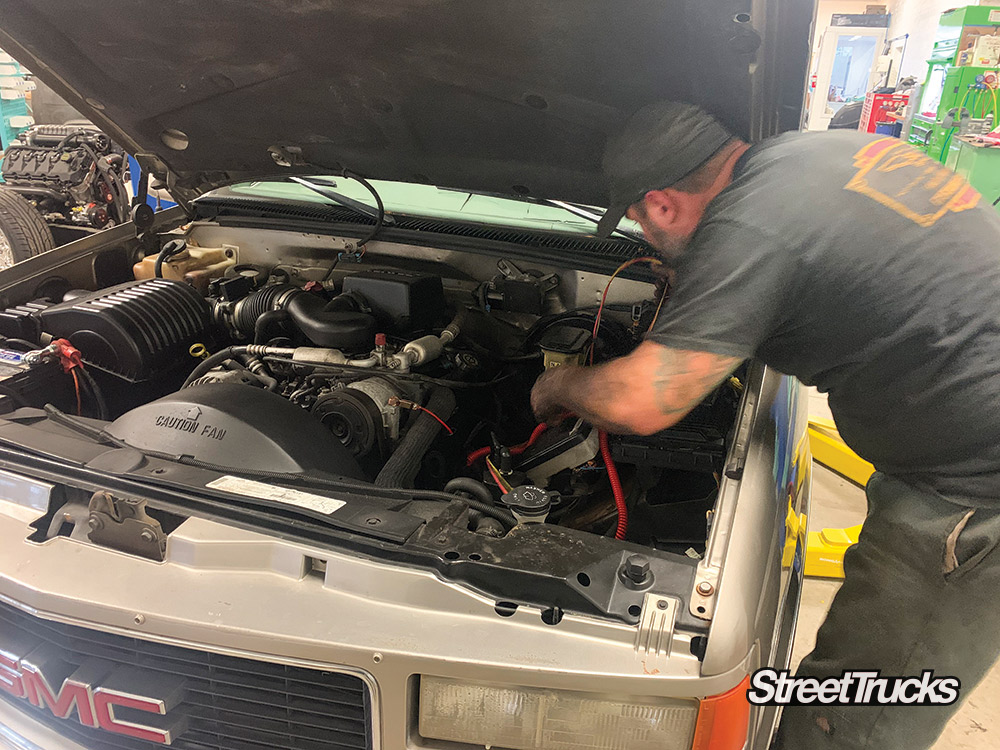
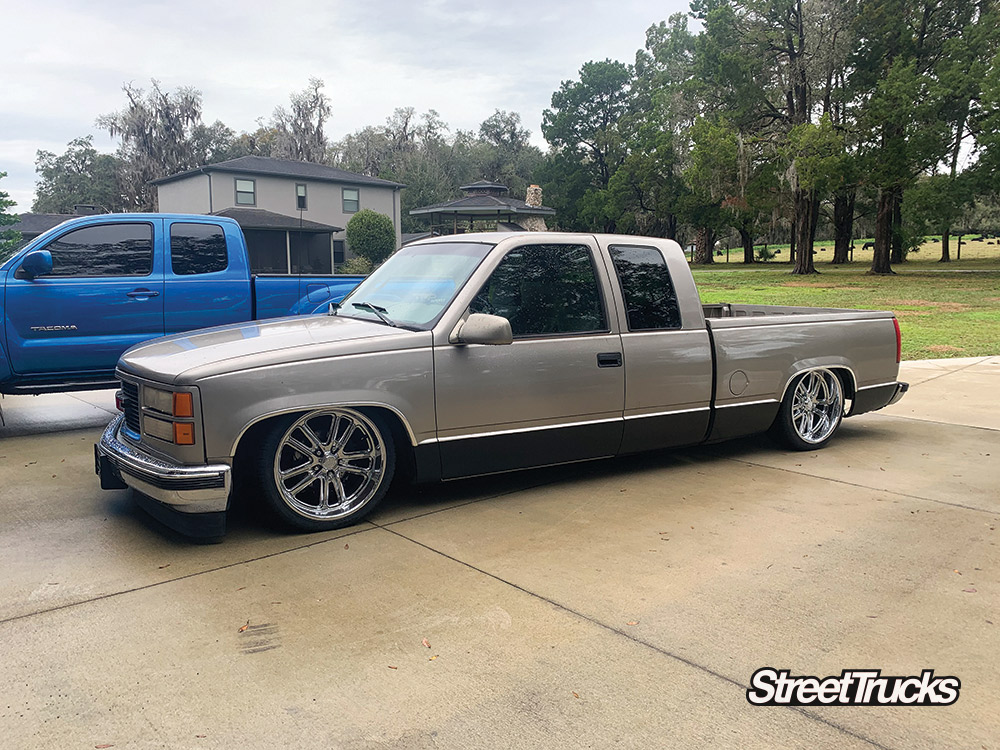
A couple of issues back, we introduced you to not only our latest project truck known as Artemis but also a new tech team helping out on this year’s OBS build. SaltWorks Fab in Myakka City, Florida, is known for building some amazing hotrods and trophy-winning showpieces for customers. With way more expendable income than we do, so having the crew take time out of their busy schedule to help us document Artemis’ RideTech suspension swap is an honor we are proud to boast about. So, if you missed the February ’21 issue where we documented the front suspension install, we suggest you head over to www.engagedmediamags.com to buy a copy while you can. In this issue, we tackle the rear of our 1998 GMC Sierra 1500 SLE. A C-notch install and a lot of sweet-looking, well-engineered suspension parts.
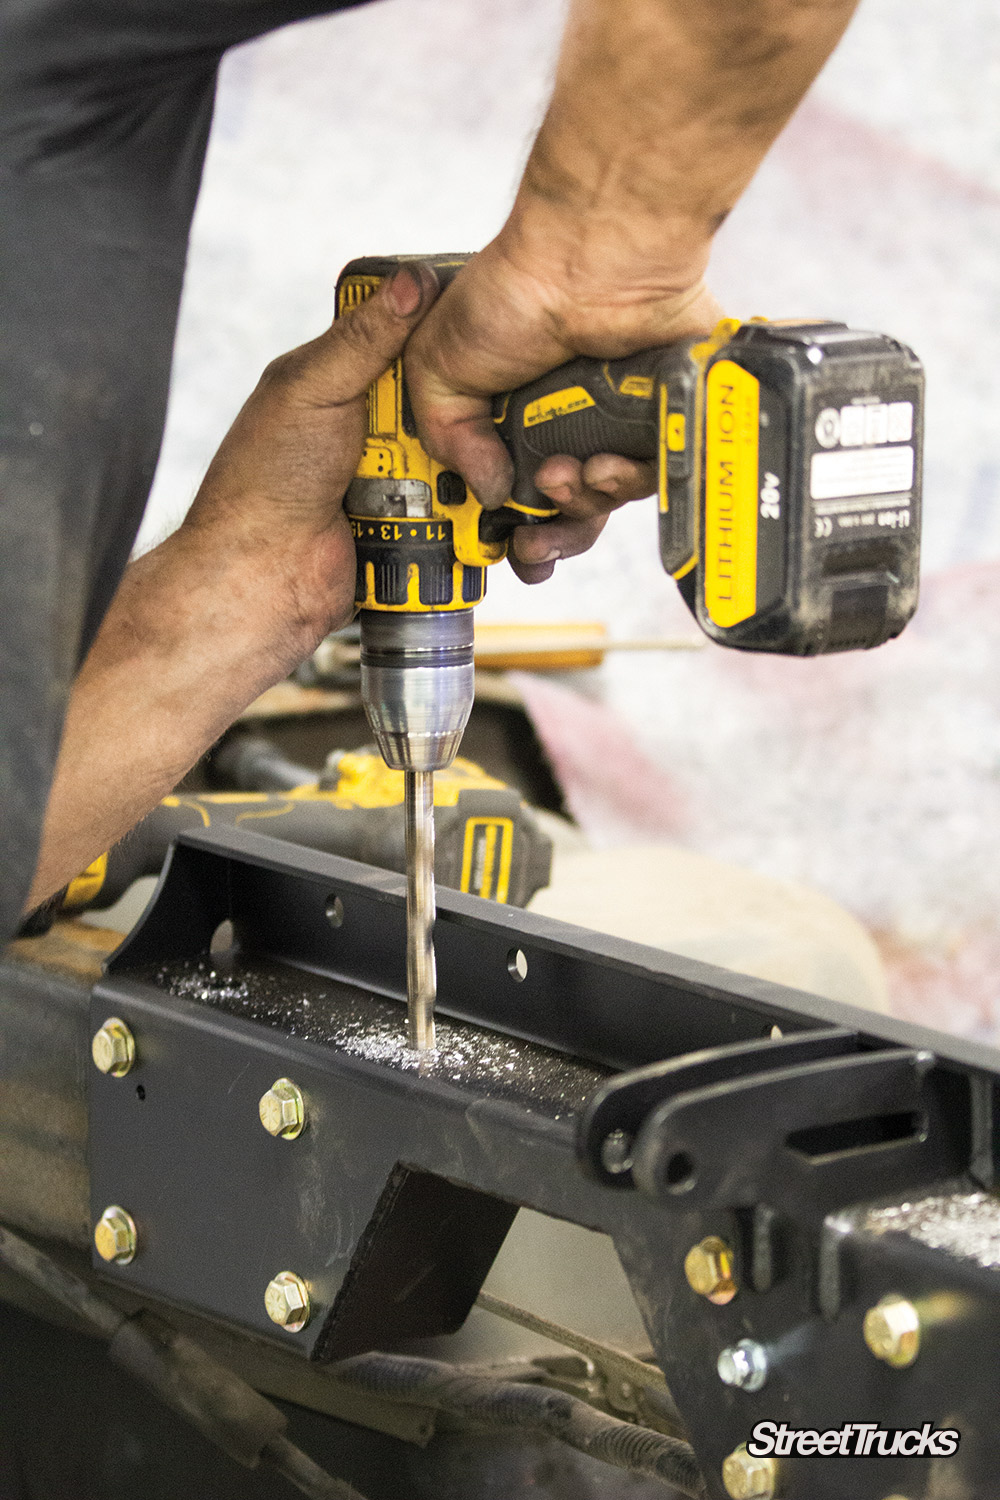
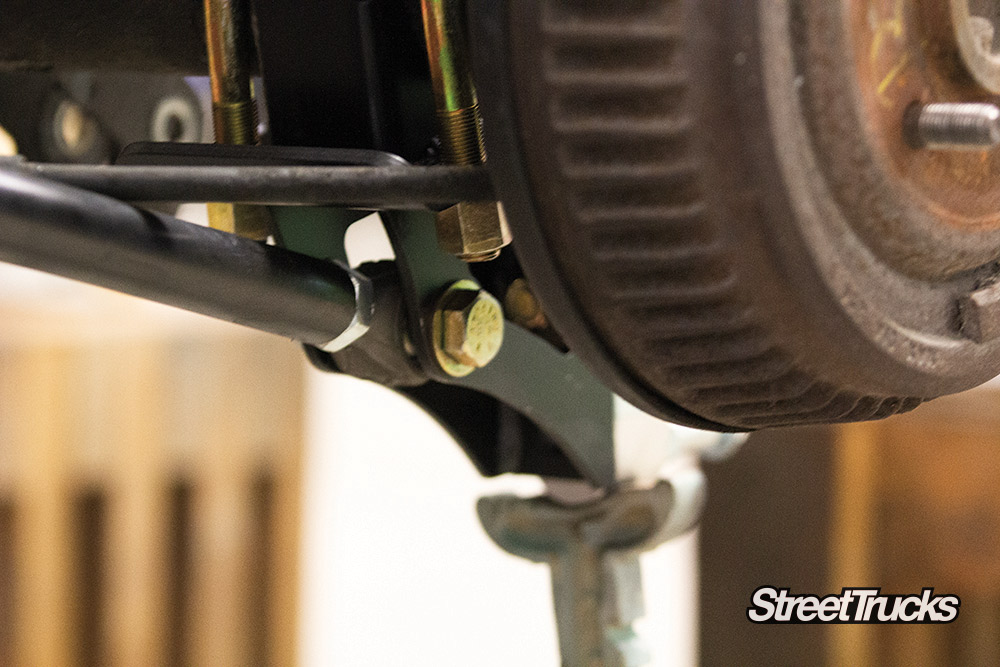
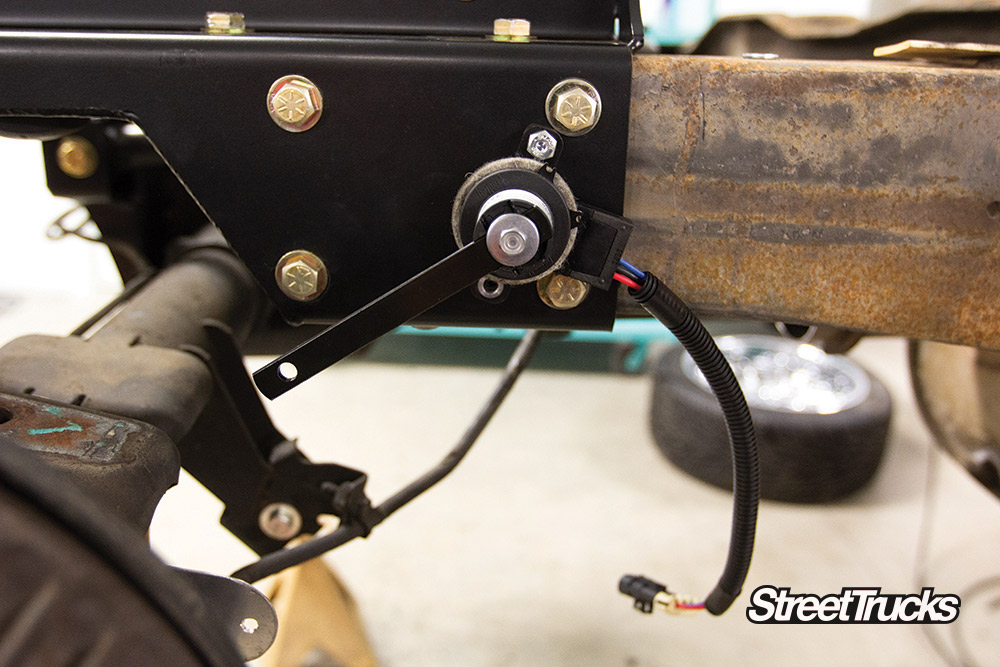
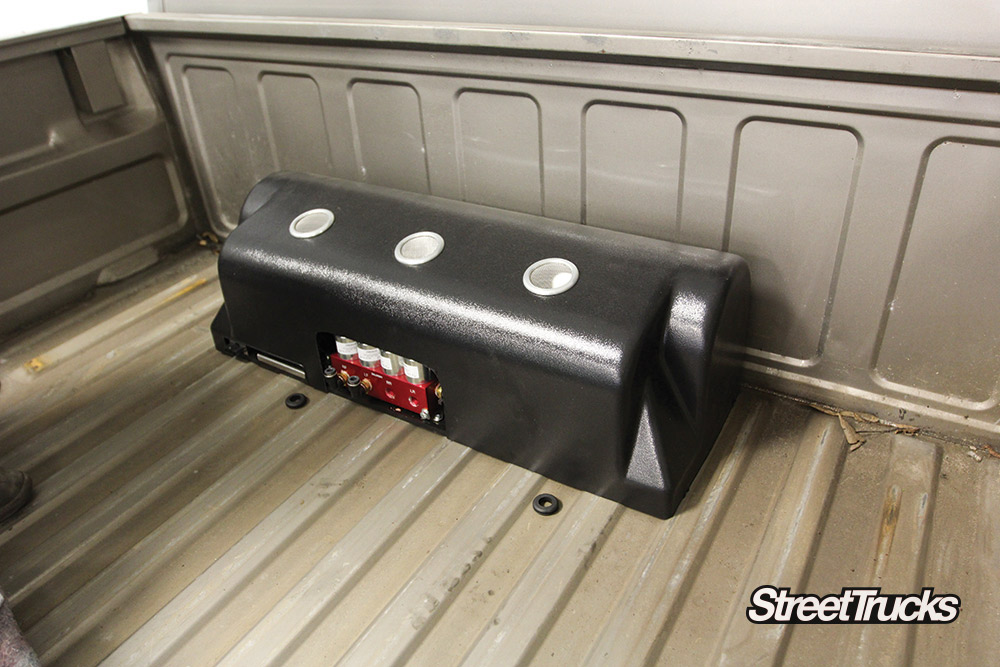
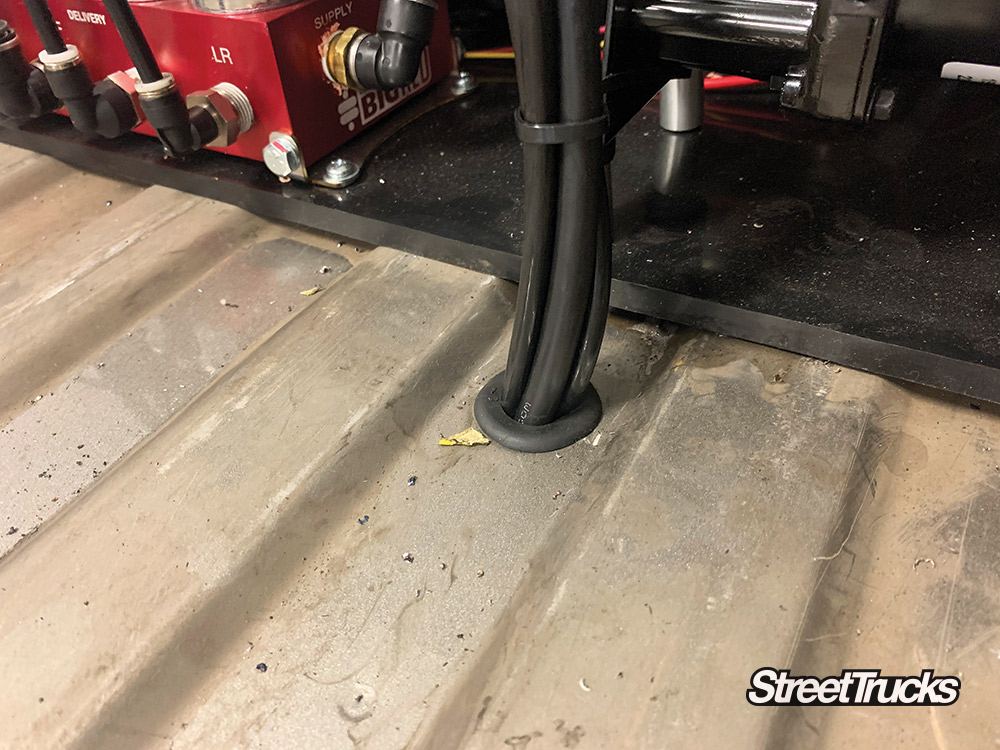
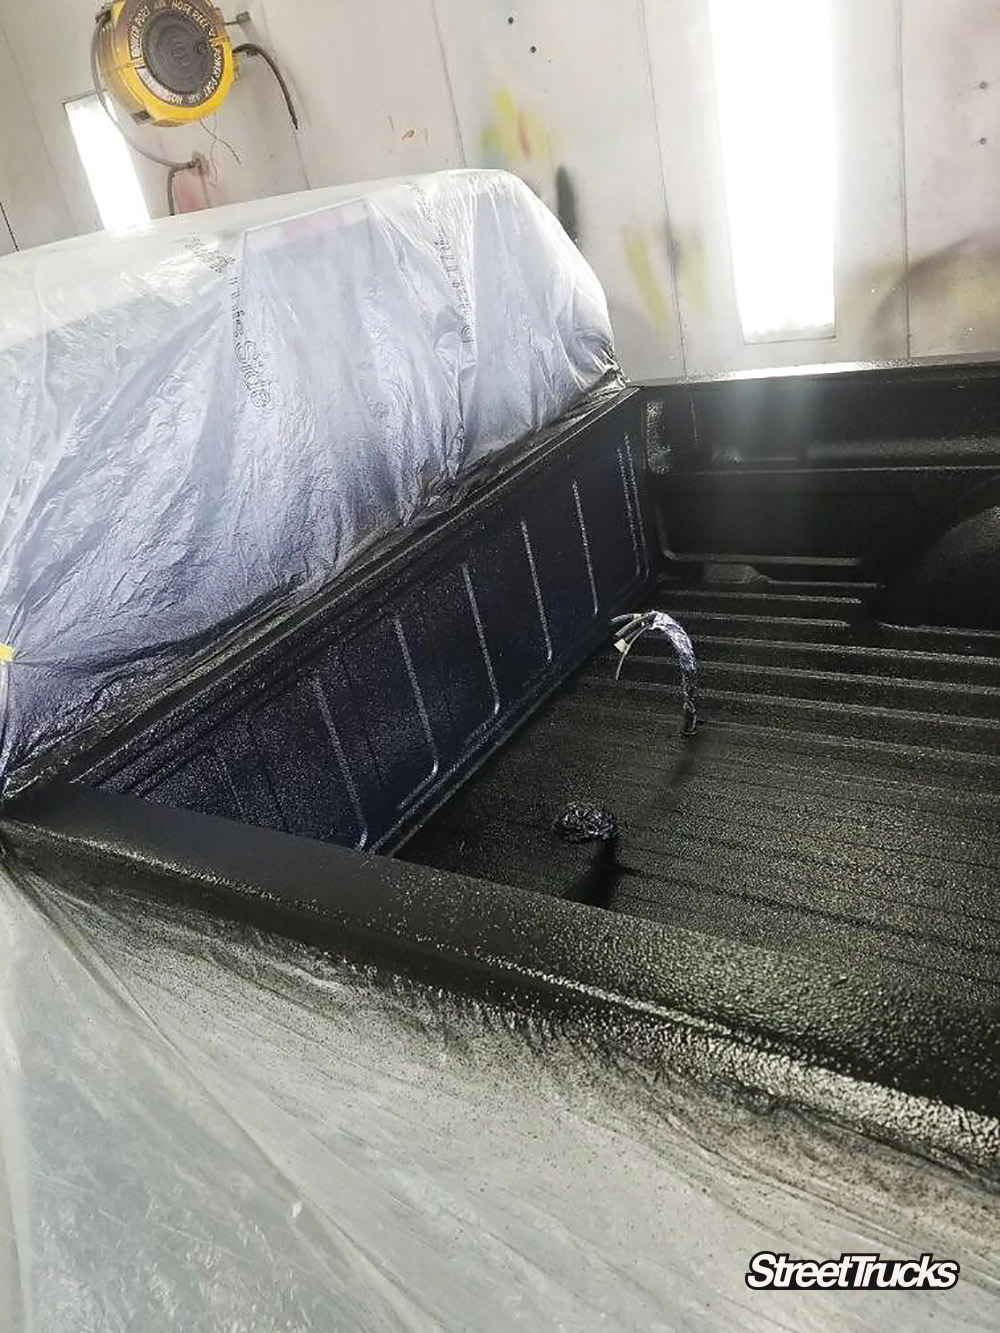
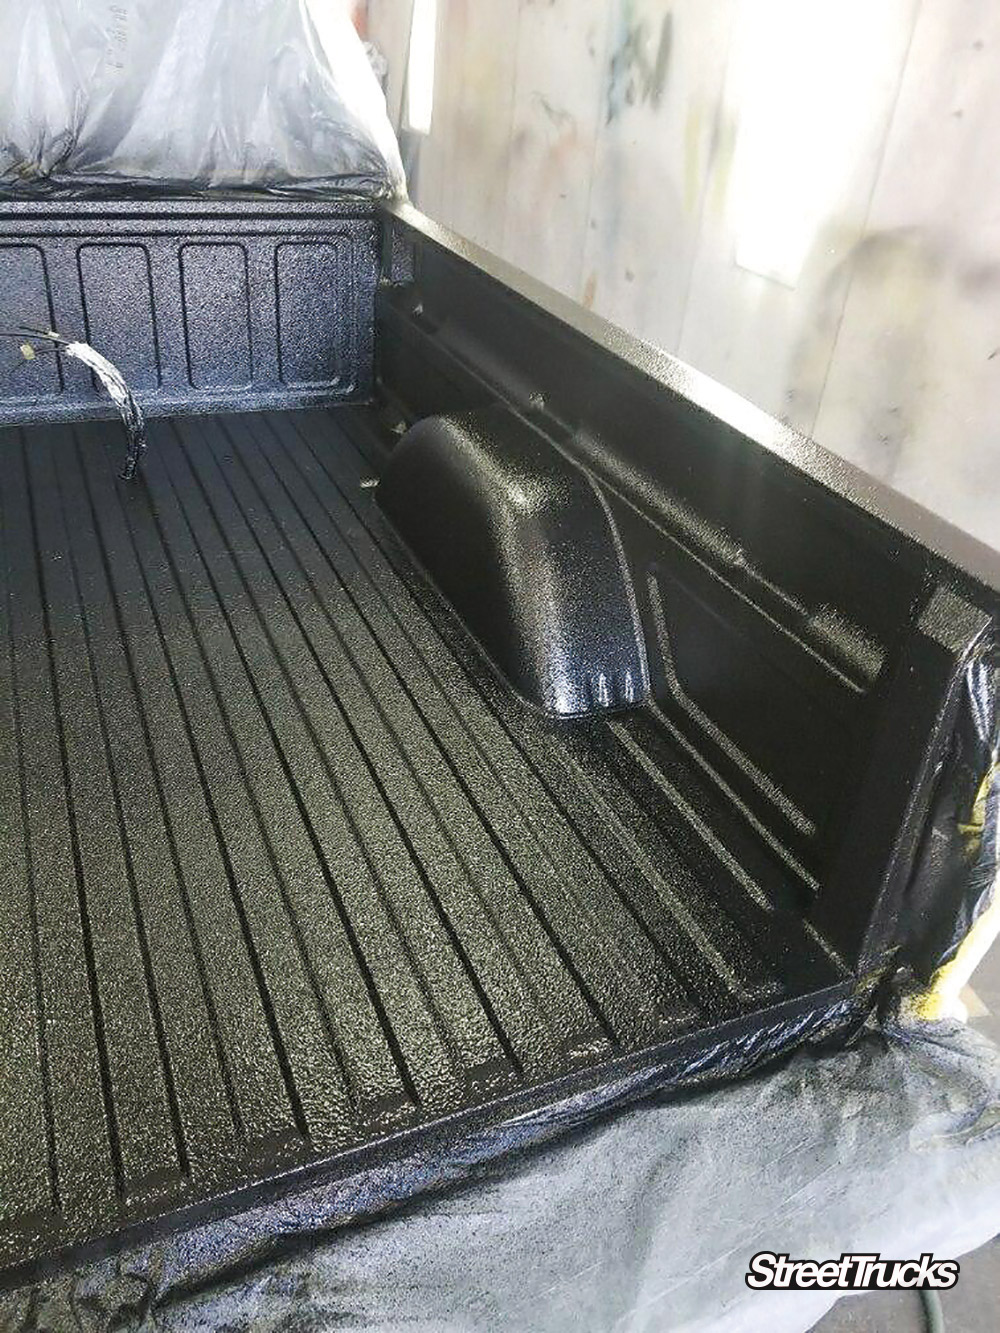
No cutting the bed floor and no removing the fender liners. Just a C-notch and a quick shave of the bed brace. All the permanent modifications that needed to be made. They’re nothing that would stop us from putting it back to stock one day if we wanted to. Which is what we were looking for in an air suspension system. This Ridetech system also has electronic ride height sensors that set your ride height to whatever PSI you want. This way, even if you have a leak. The system will correct it at the push of a button until you can pull off and make a repair.

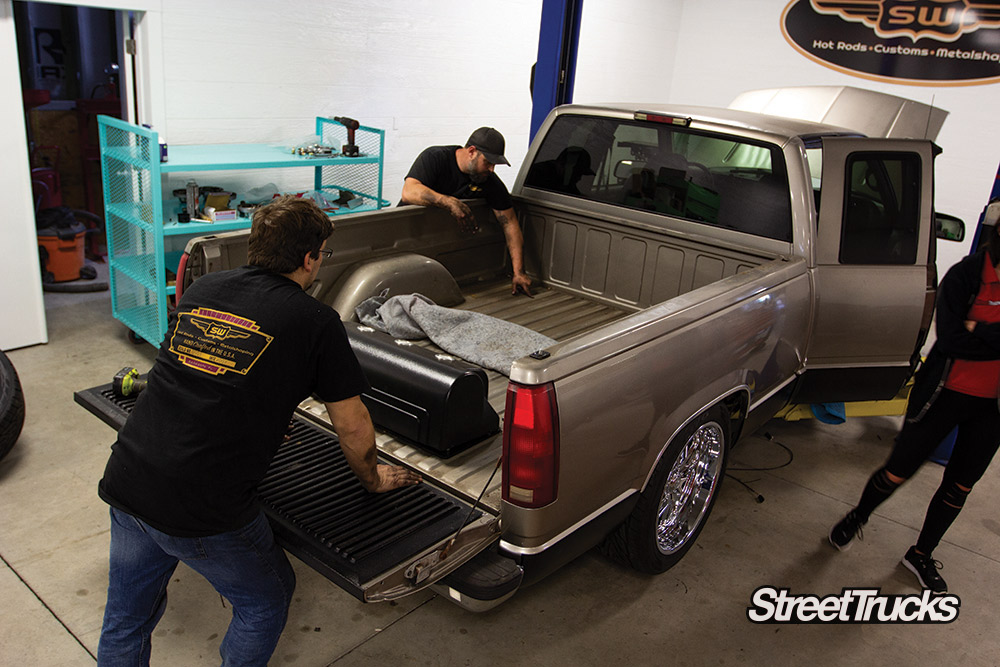
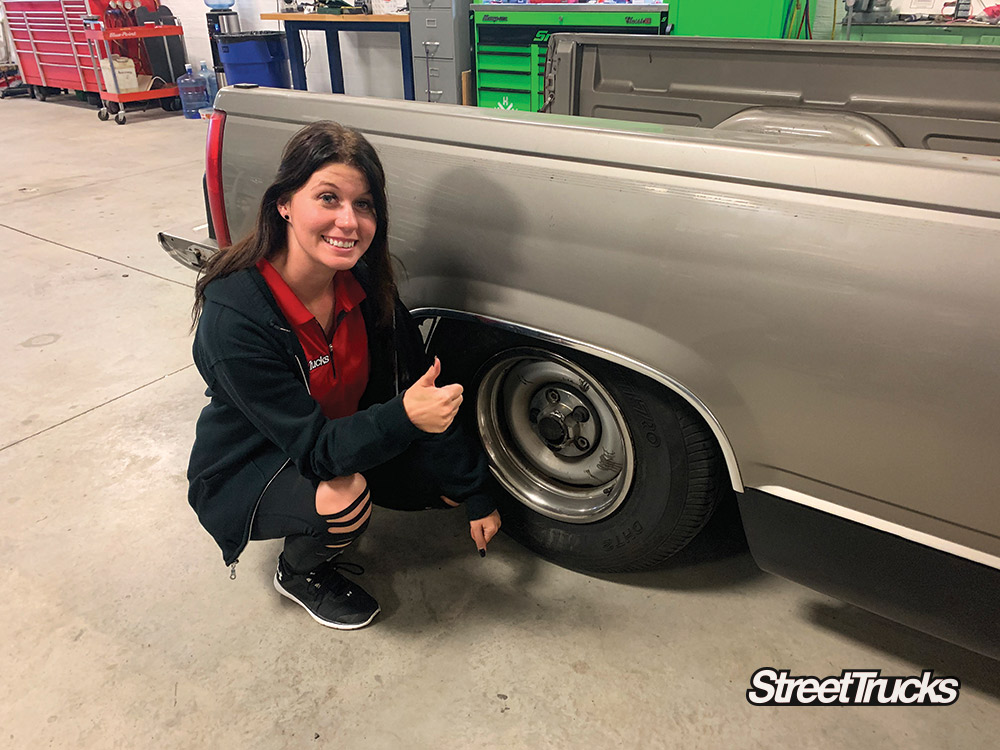
The final piece to the new suspension puzzle is picking a wheel and tire package. For project Artemis, we wanted a setup that would allow us to have a super low stance without cutting anything and a decent ride on 40-series tires. If you have any experience with air suspension, county roads and 35-series tires, you will more than likely understand our desires for this driver. The wheels are staggered fit, 20-inch aluminum wheels from US Mags with a width of 8 inches up front, and 9.5 inches in the back. Having a wider wheel in the back not only looks cool, but it also stretches the 40-series tire just a bit to give up some extra clearance out back when cruising low and slow. Now let’s check out the steps to installing the rear of this extremely well-engineered air suspension system for GMT400 trucks.
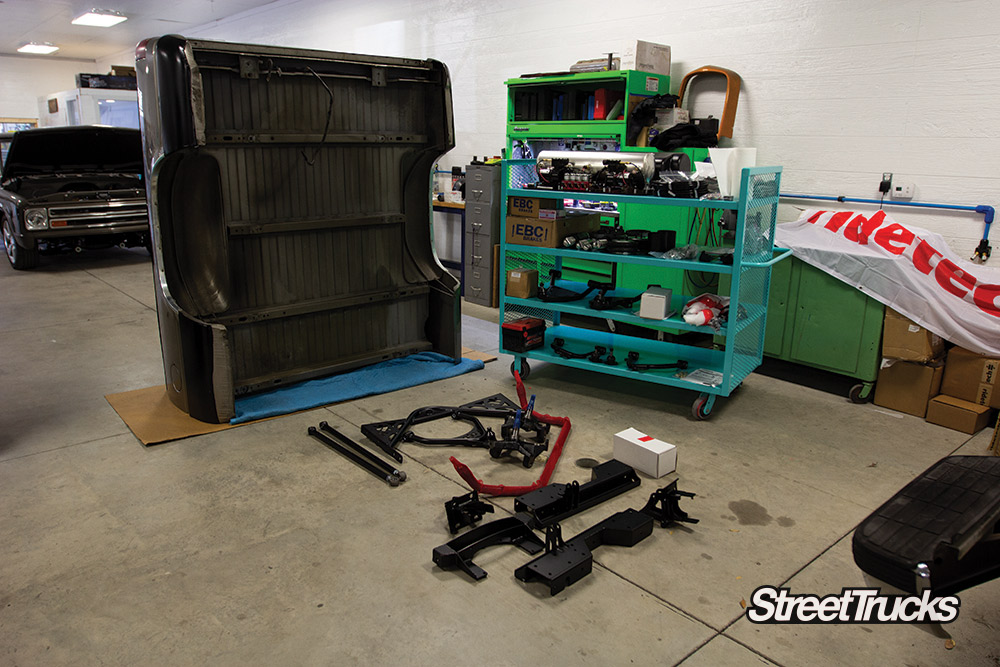

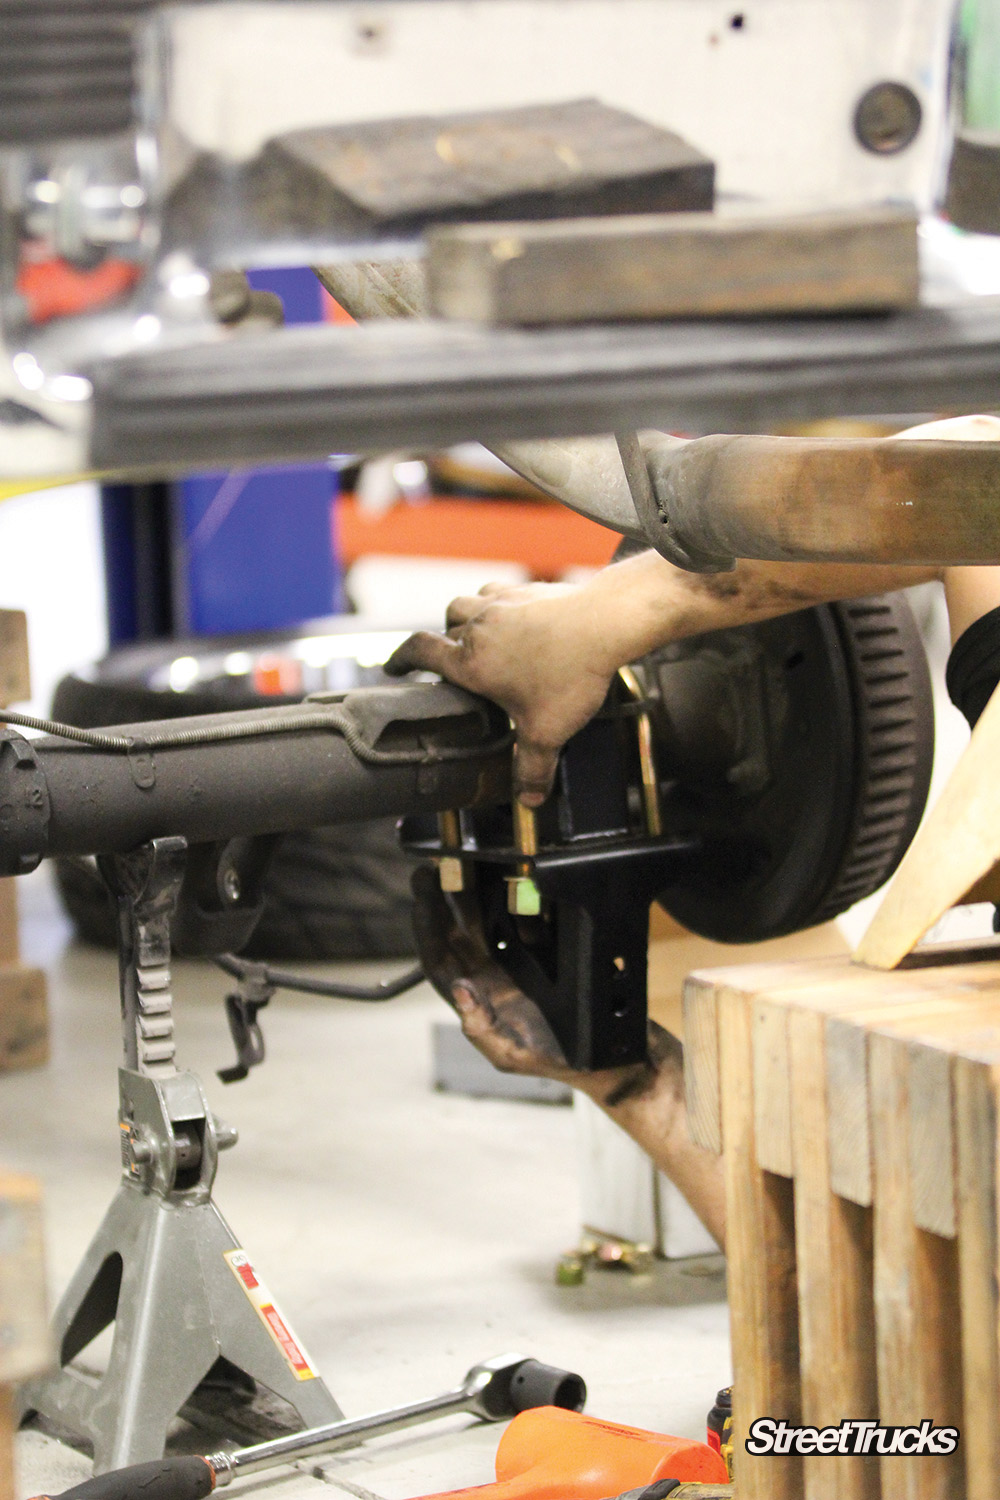

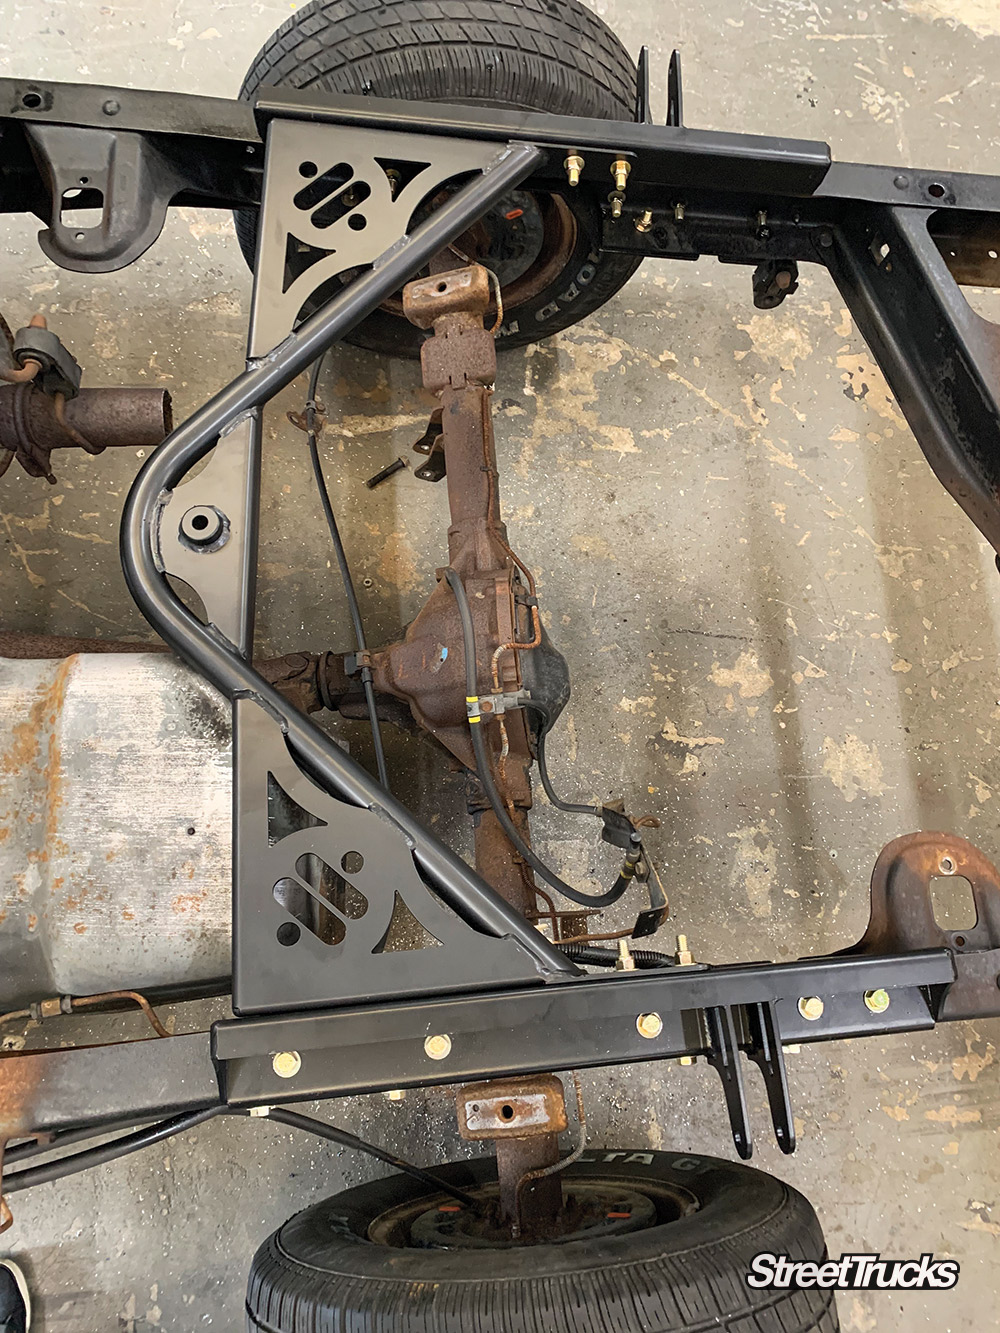
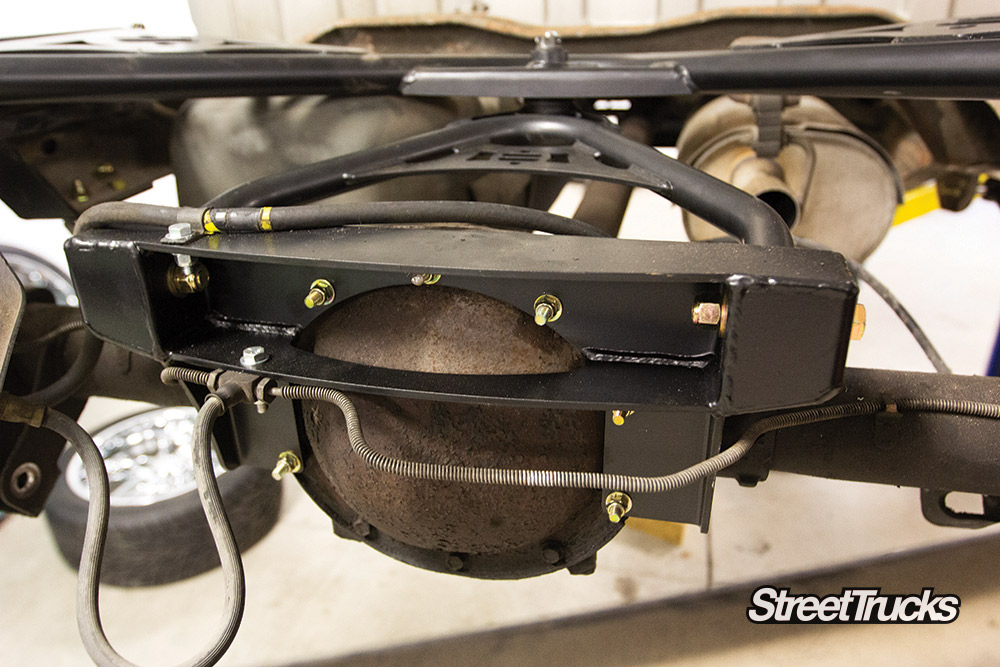
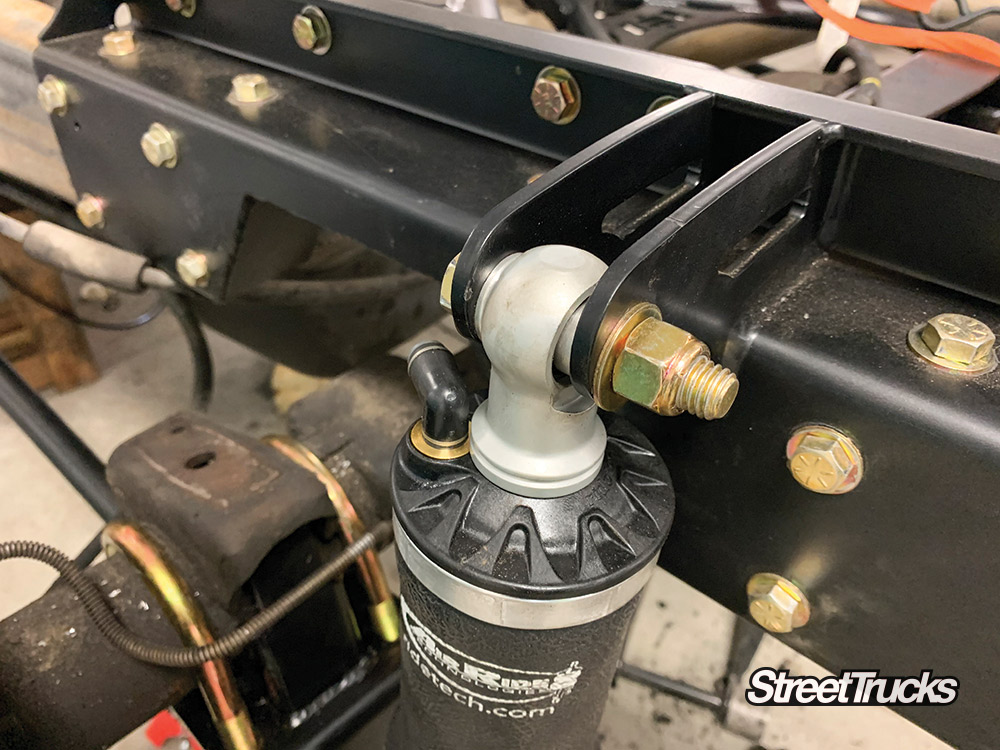
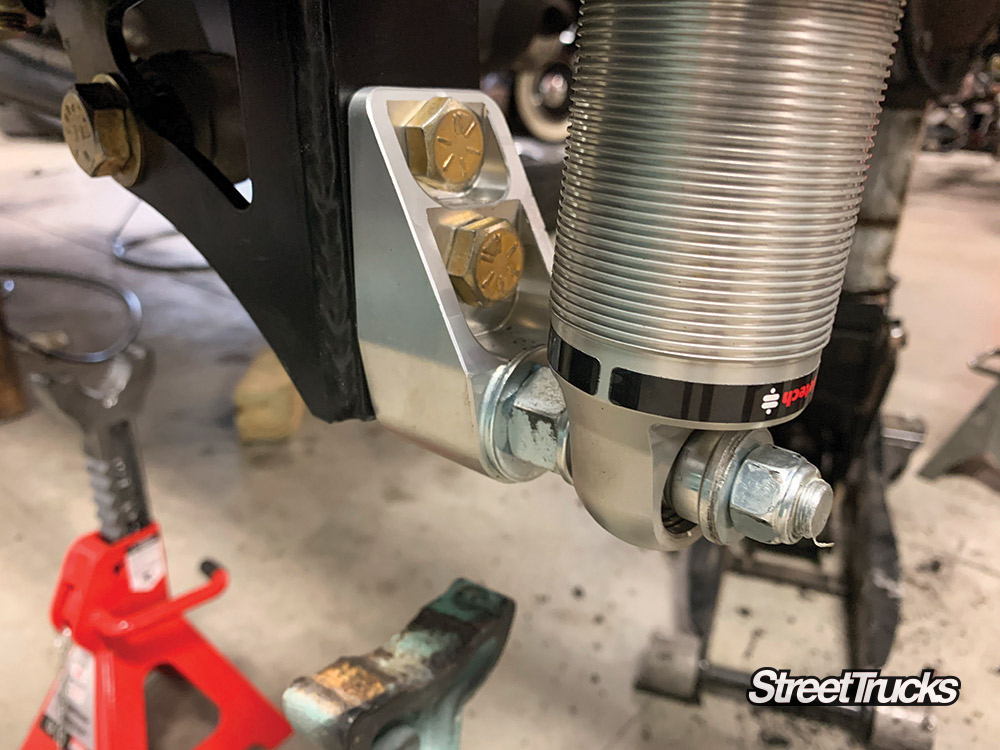
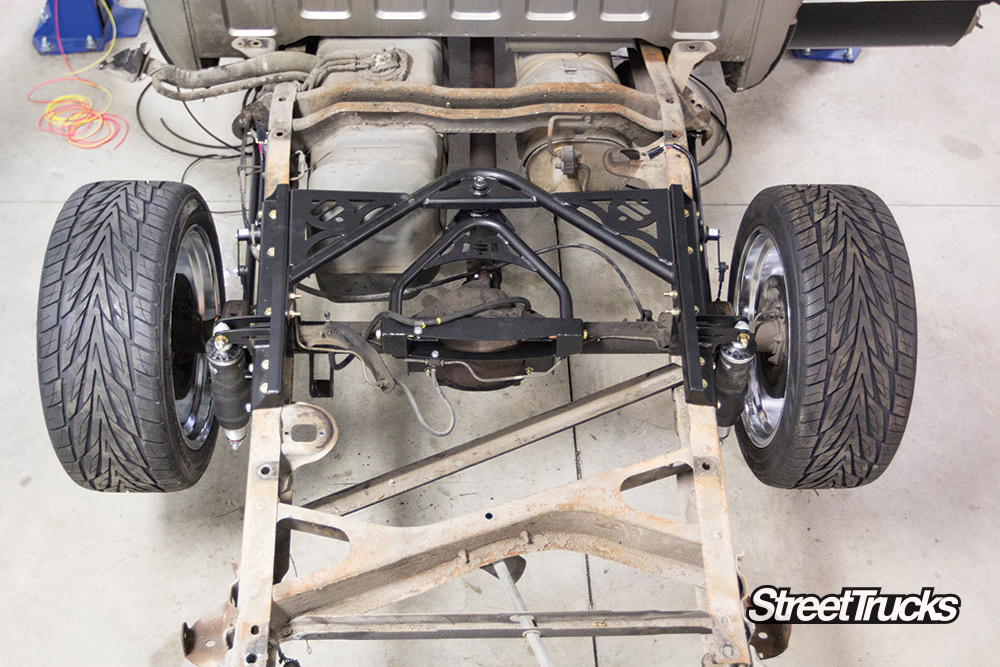
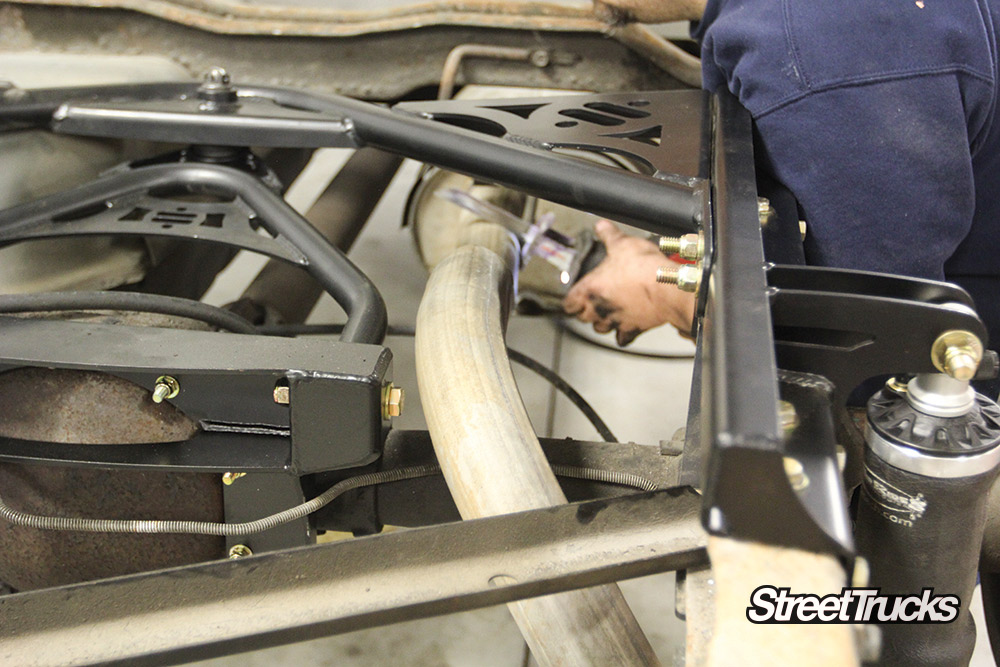
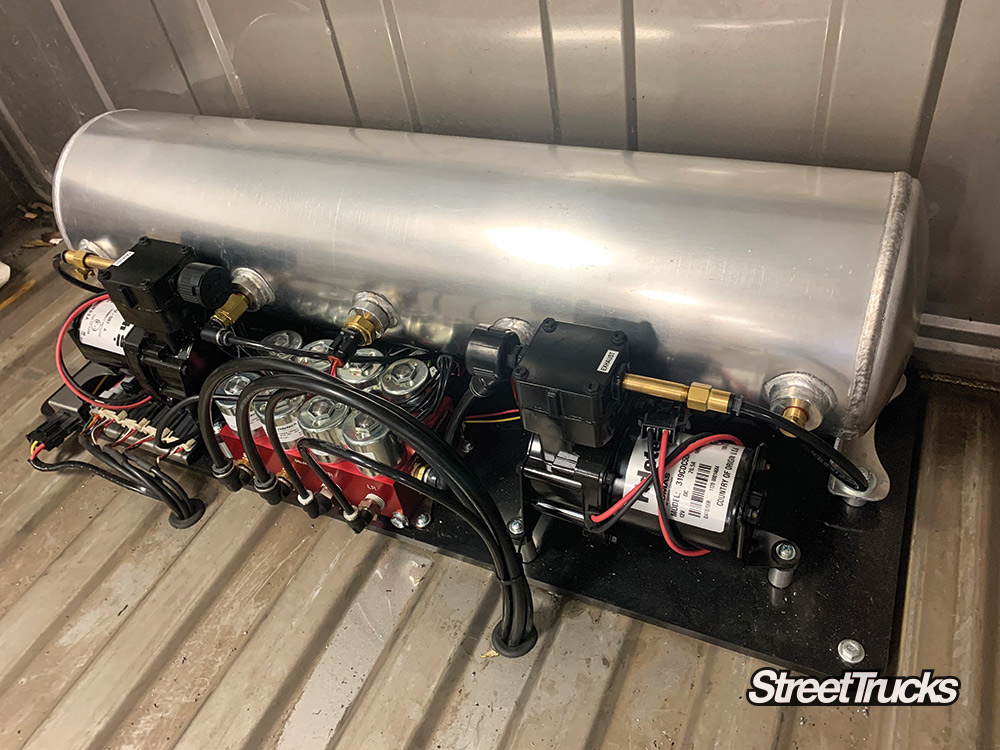
This is a completely bolt-on air-ride suspension for ’88-’98 Chevy/GMC 2WD trucks. No cutting the bed floor and no removing the fender liners.


Department
On The Cover: Award-winning photographer John Jackson made his mark in mini-truck history with this epic Datsun cover image. Subscribe to our weekly newsletter FEATURES… Continue reading
Chris Hamilton . March 24, 2021

HEADLINE
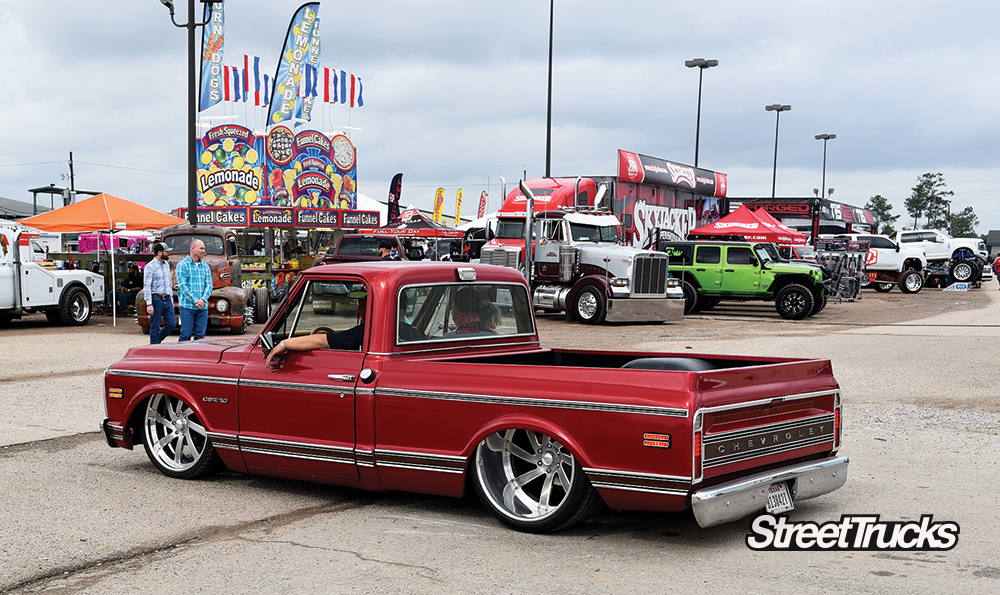
The Coolest Trucks at the Biggest Show in the World The 2022 SEMA event marked the second year back after the show’s 2020 hiatus, and… Continue reading
John Mata Jr. . April 20, 2023
Editor
Ten Years and One Apocalypse Strong Lone Star Throwdown Event Coverage 2021! Fellow enthusiasts, congratulations! We made it! We survived 2020 and made it all… Continue reading
JOHN HANSEN . June 24, 2021
America
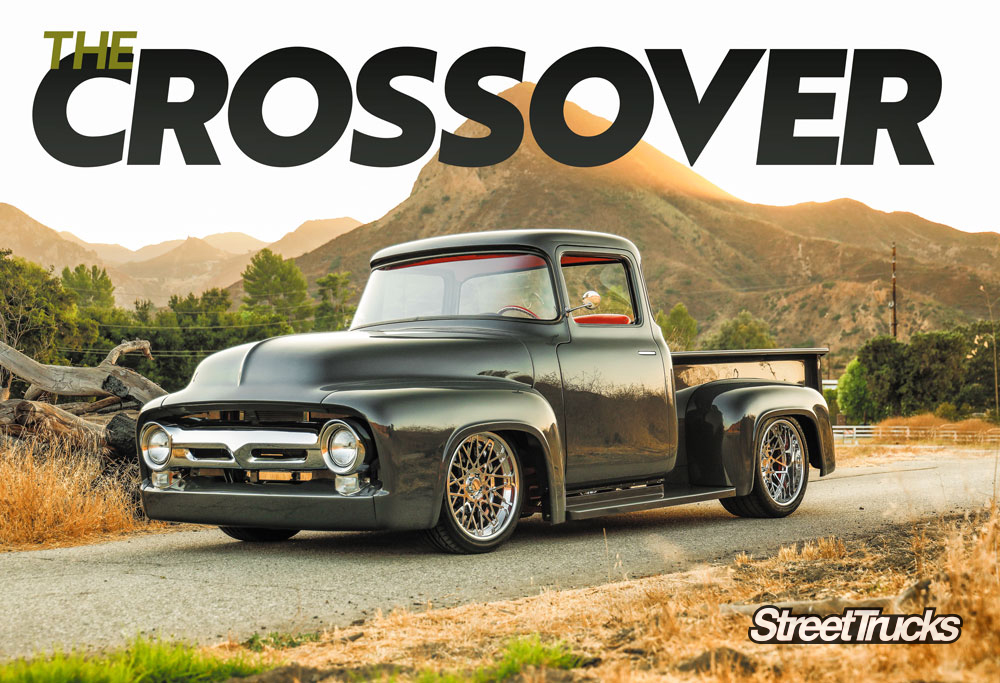
1956 F-100 Coyote Swap , Mustang Muscle Brand allegiance is something that runs very deep within builders in the custom community so doing a F-100 Coyote… Continue reading
John Mata Jr. . February 08, 2021
c10
Following trends is generally a pretty easy and quick way to buy your way into coolness. I mean, the social media influencers, celebrities, and marketing… Continue reading
Chris Hamilton . January 27, 2020
Editor
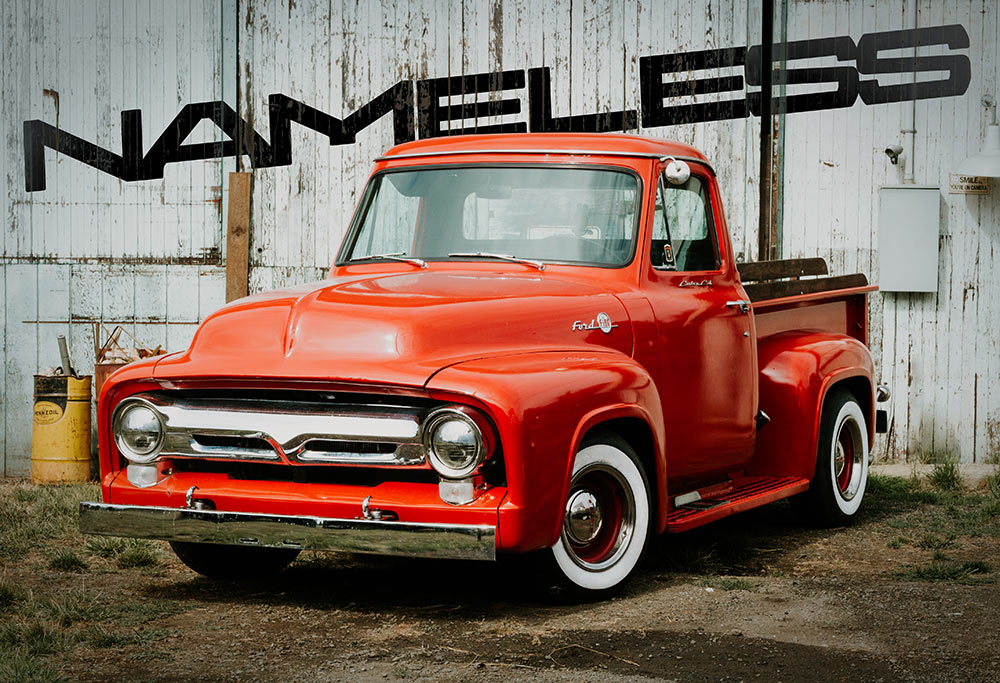
Father-Son ’55 Ford F-100 Build Needs No Moniker This truck has some stories to tell. Owned by Justin Zerwekh of Roseburg, Oregon, the 1955 Ford… Continue reading
WENDY WILSON . March 23, 2023


We use cookies to enhance your browsing experience, serve personalized ads or content, and analyze our traffic. By clicking "Accept All", you consent to our use of cookies. Visit our Cookie Policy for more info.

Share Link