 Jason Chandler
.
October 26, 2022
.
c10
.
Jason Chandler
.
October 26, 2022
.
c10
.
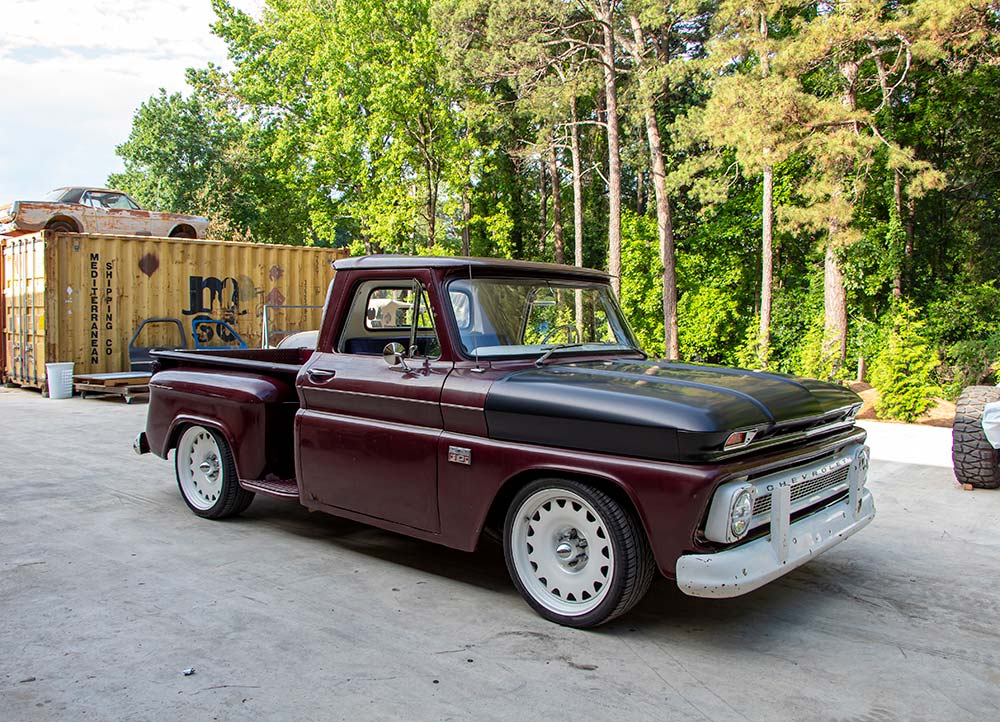
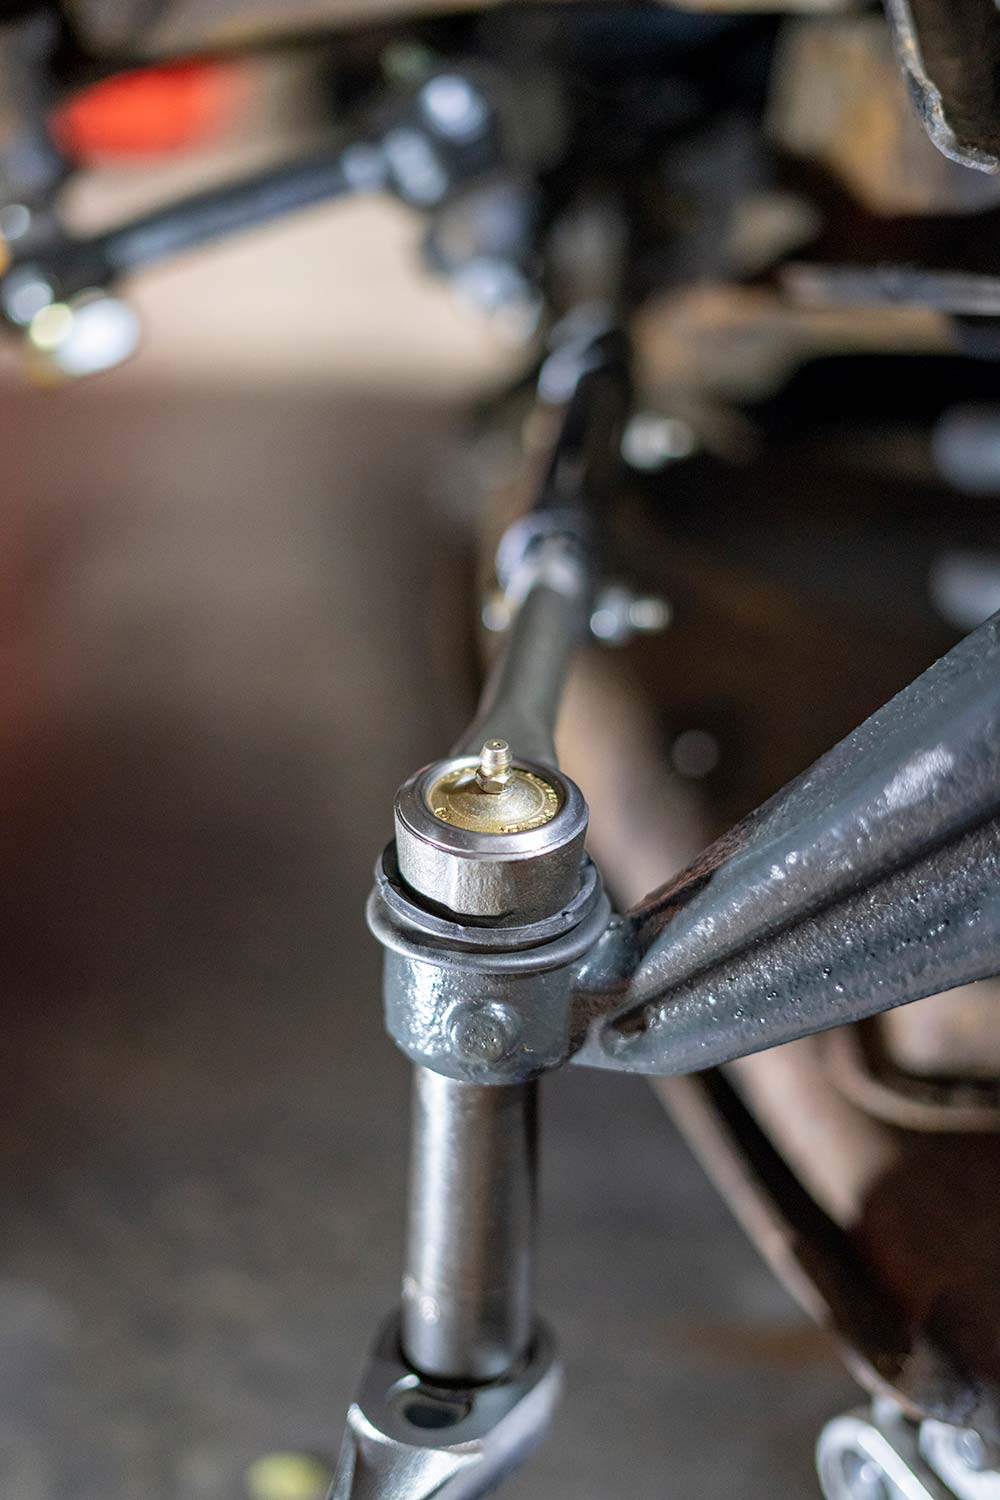
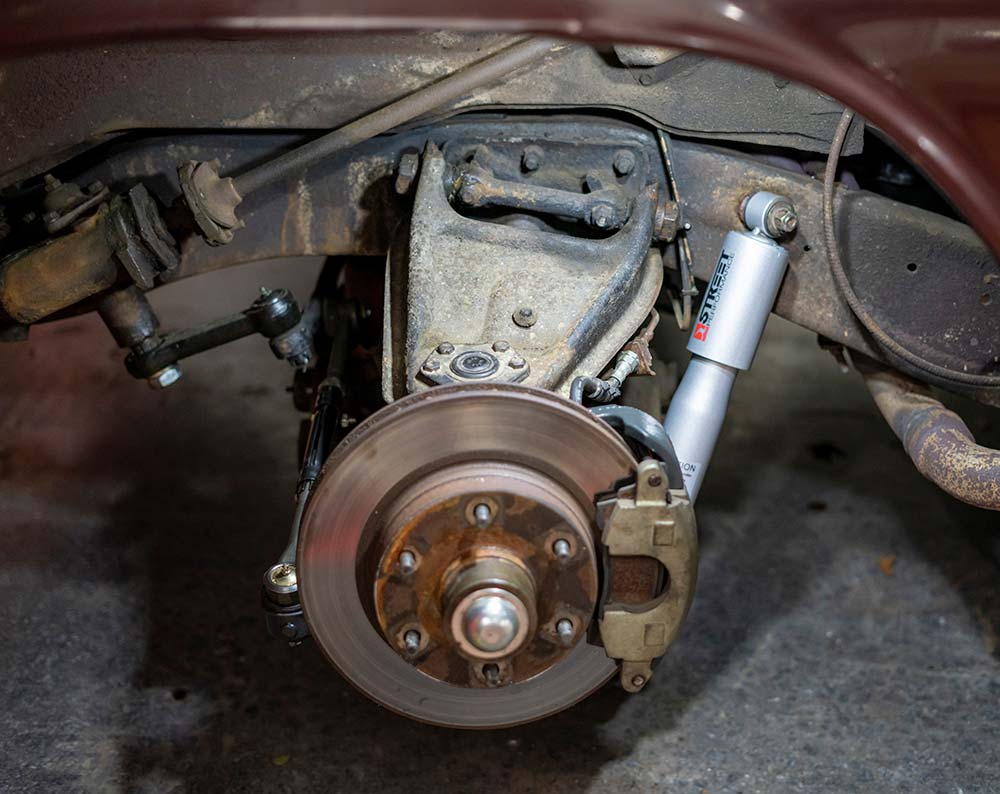
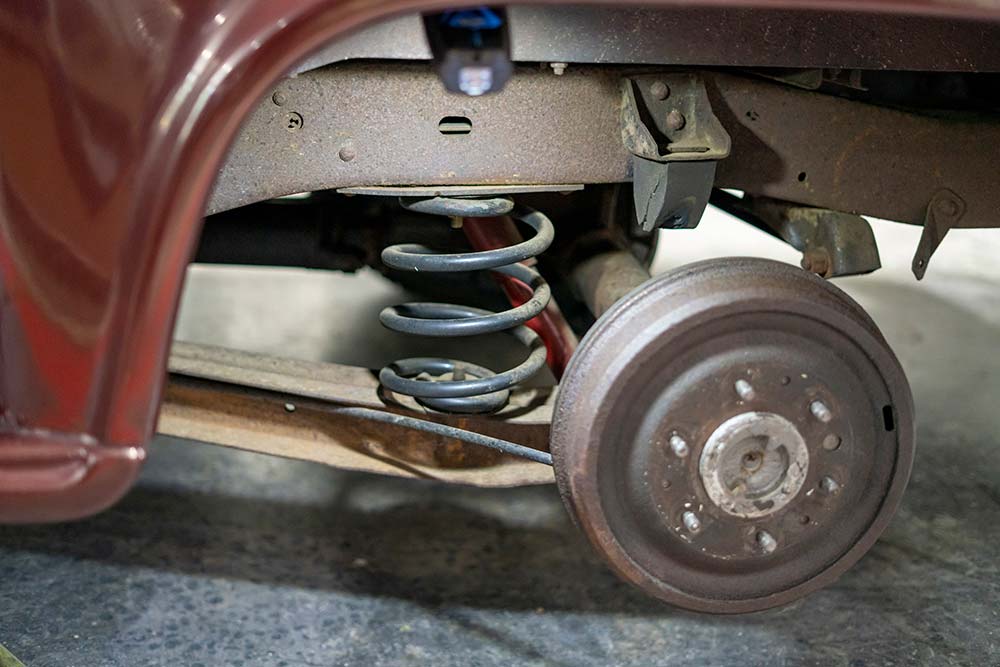
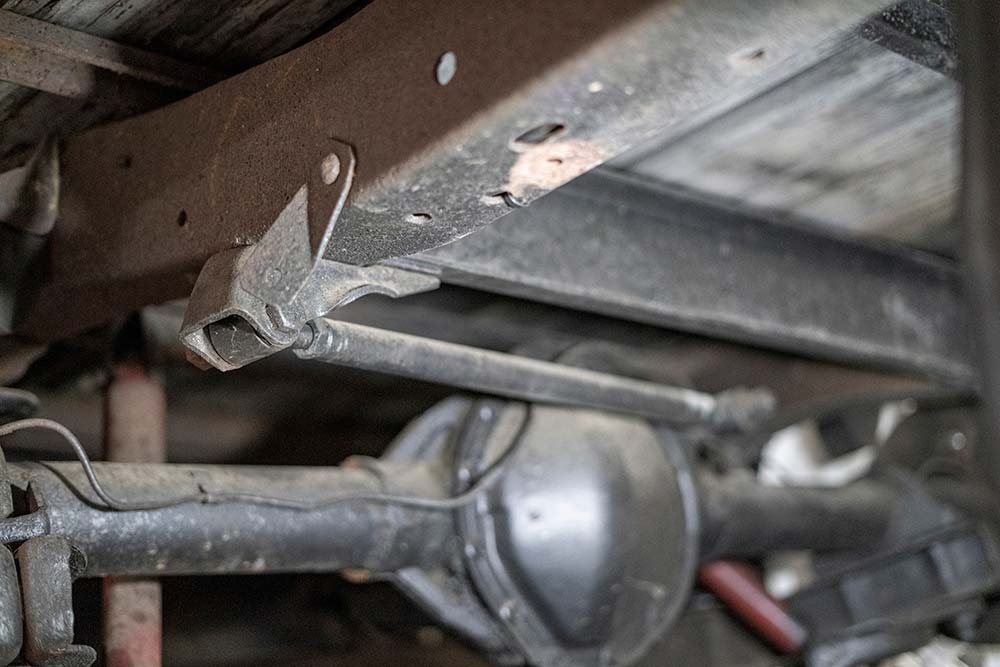
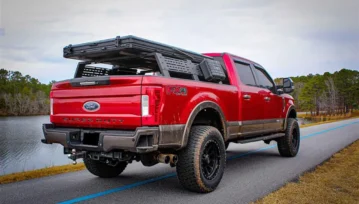
Project BackPay is the latest truck to go under construction from the guys at Auto Metal Direct. With a full rebuild in the works, this truck has a rich history and some questionable repairs that we will attempt to address, but more on that later. The plan is to keep this a running, driving project as long as possible before any major transformation takes place. In the meantime, we need to address the stance on the truck. We want the truck to have a nice street truck look to complement the new 20-inch Ambassadors from Detroit Steel Wheels. So, we turned to our friends at Belltech.
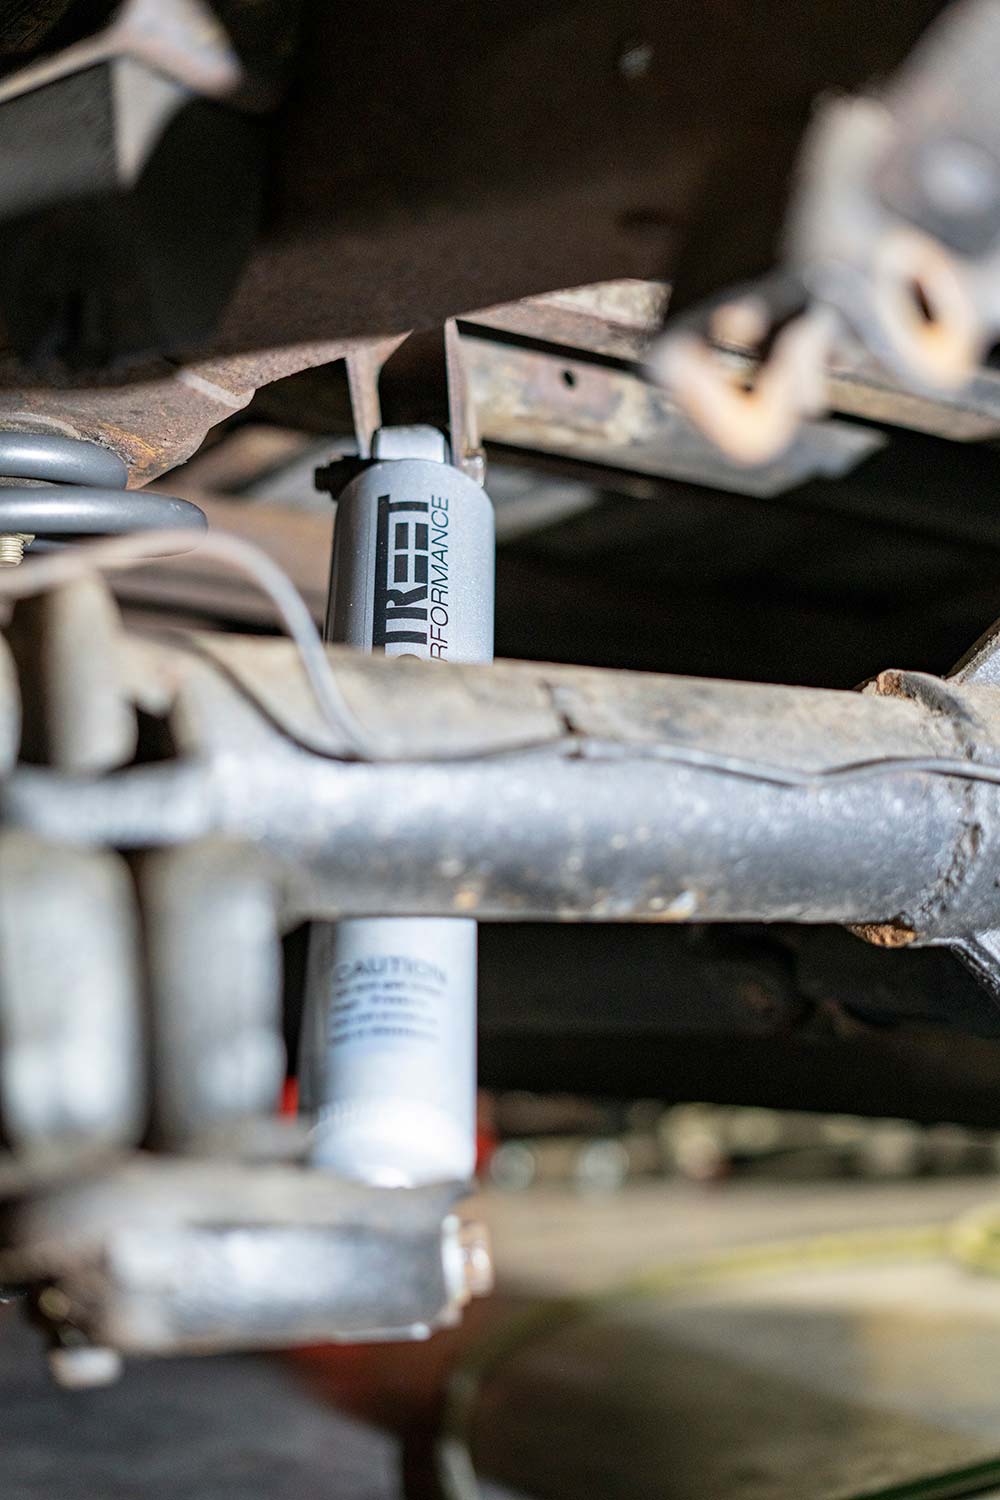
Whether you’re looking to change the look of your truck, replace tired rusty springs, or just upgrade the ride quality, Belltech Suspension has a great selection of premium quality components to do just that. All the way back in 1983, this company has been at the forefront of the sport truck scene. Since the launch of the drop spindle way back then to today’s complete line of lowering and lifting kits, Belltech has it all.

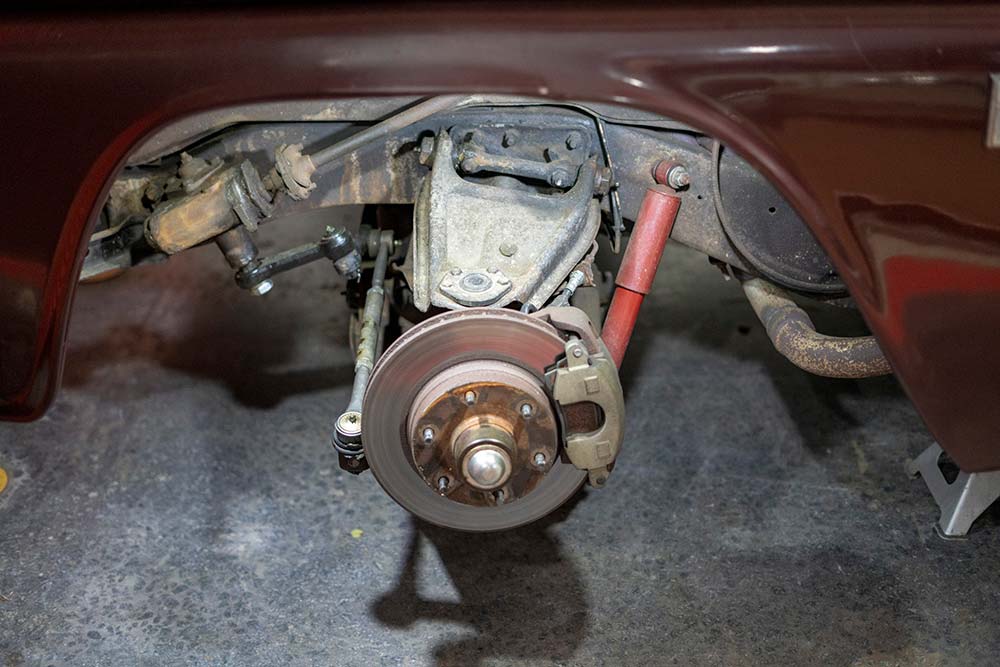
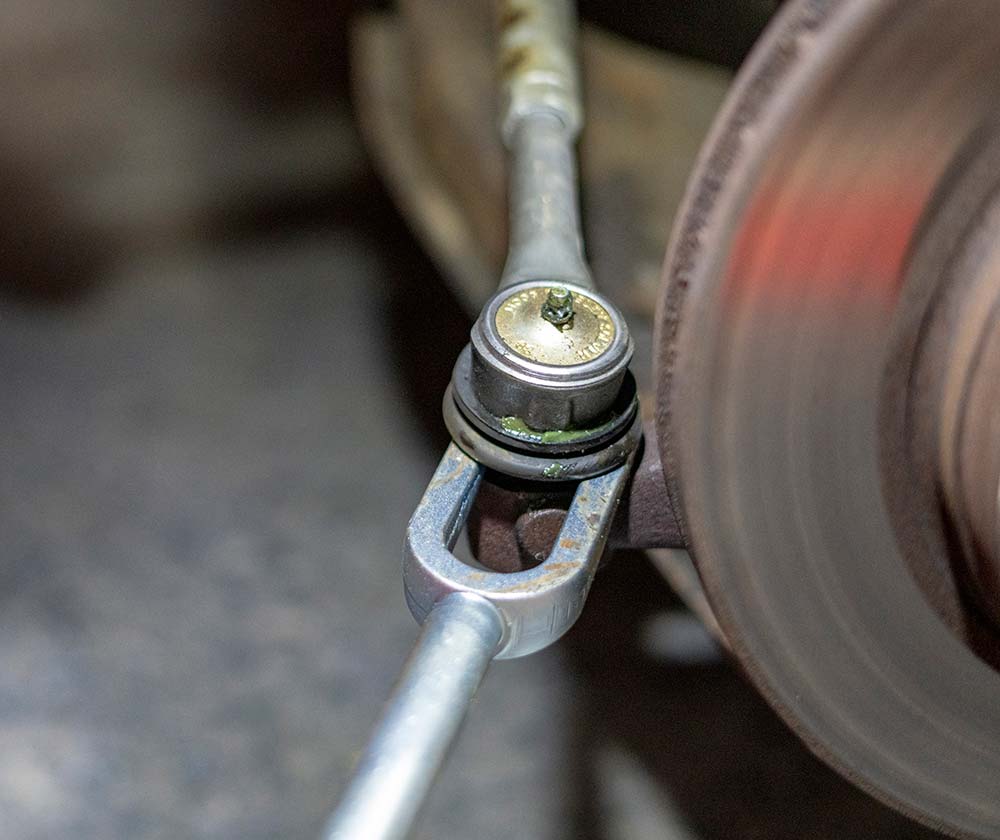
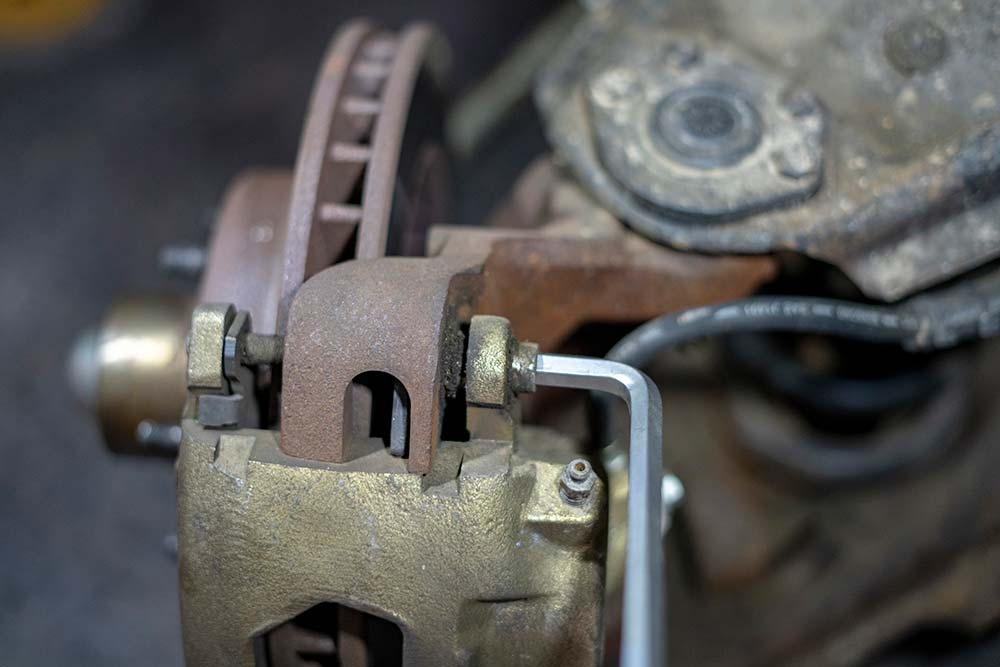
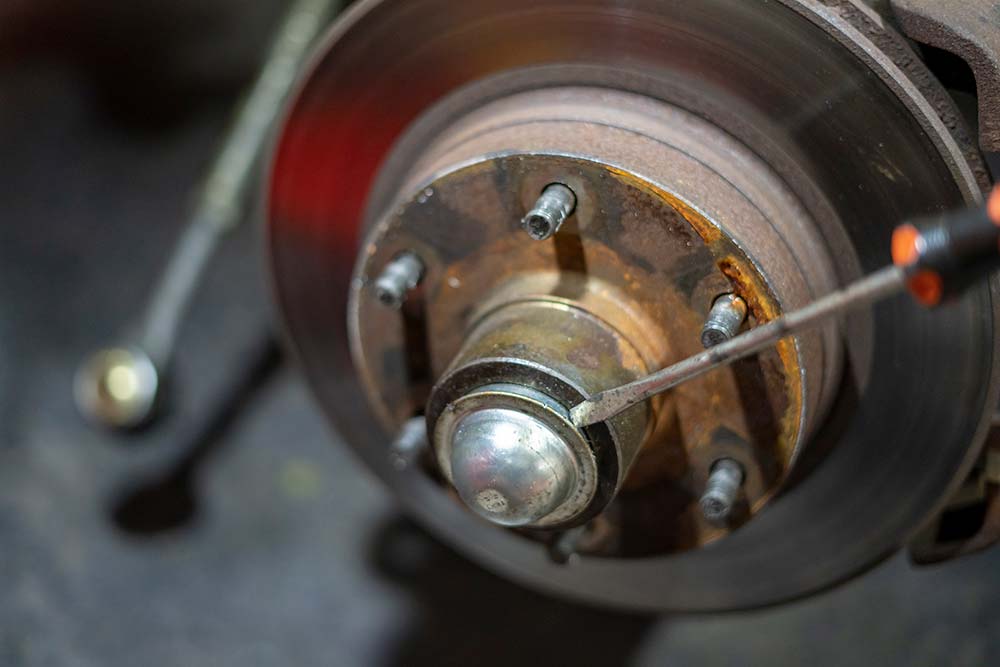
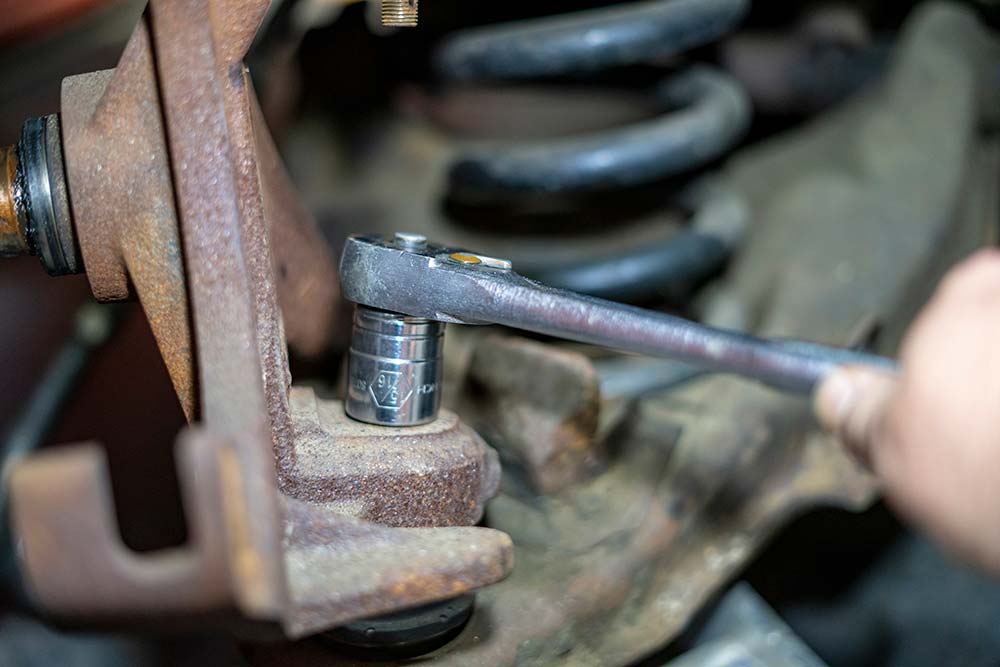
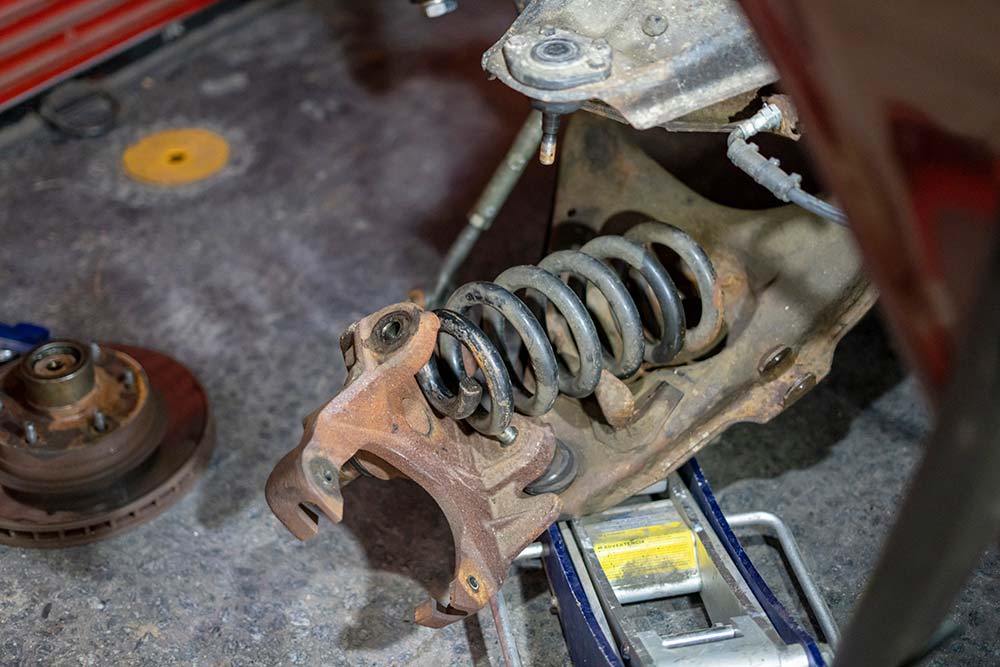
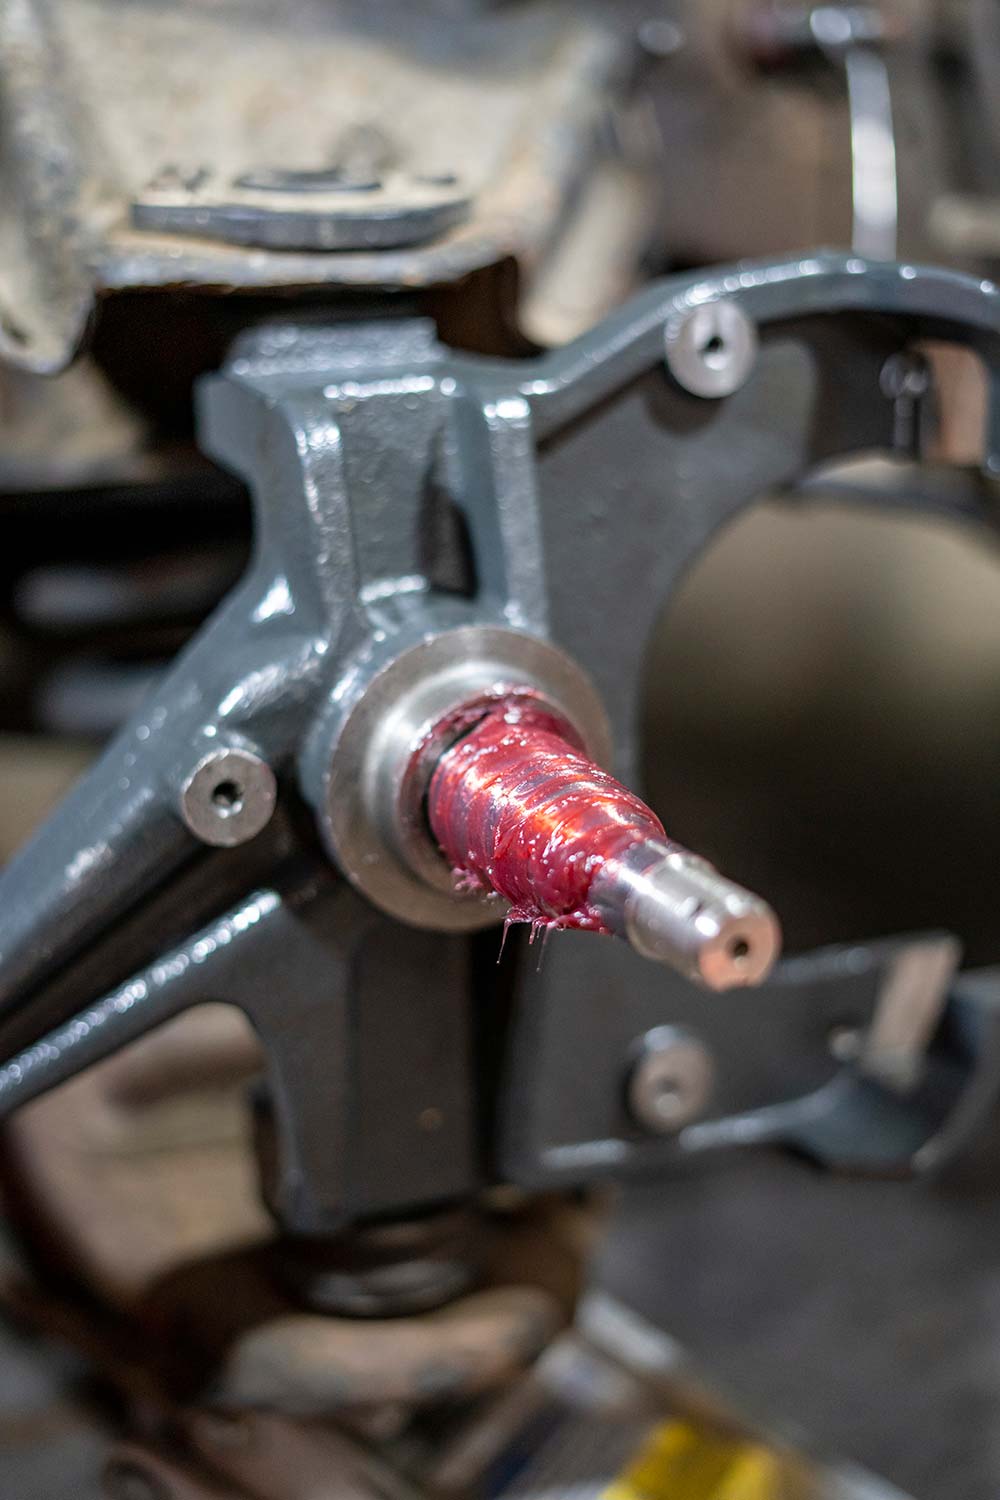
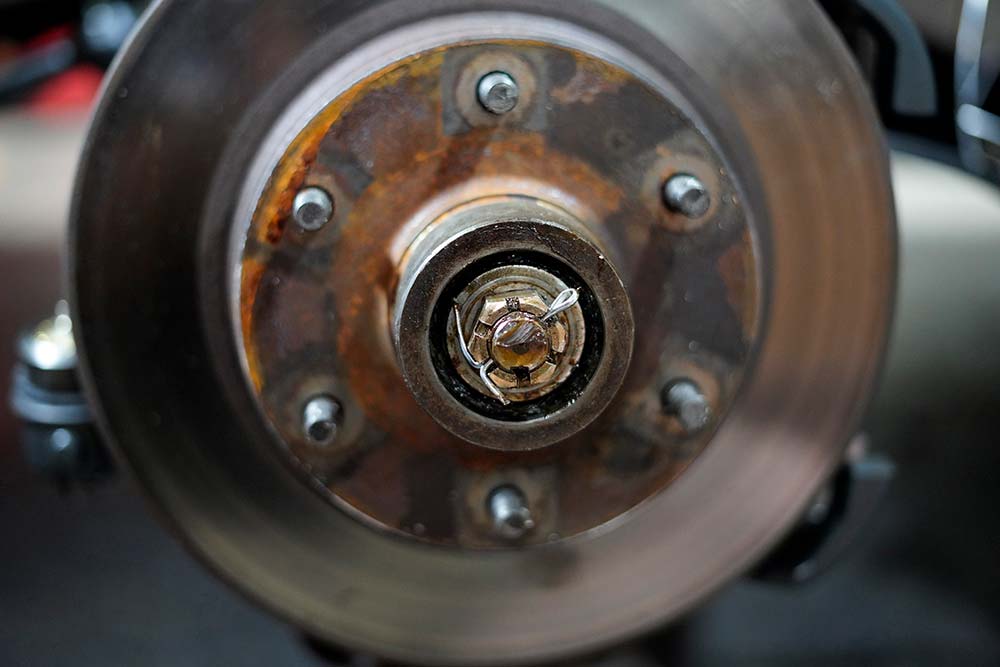
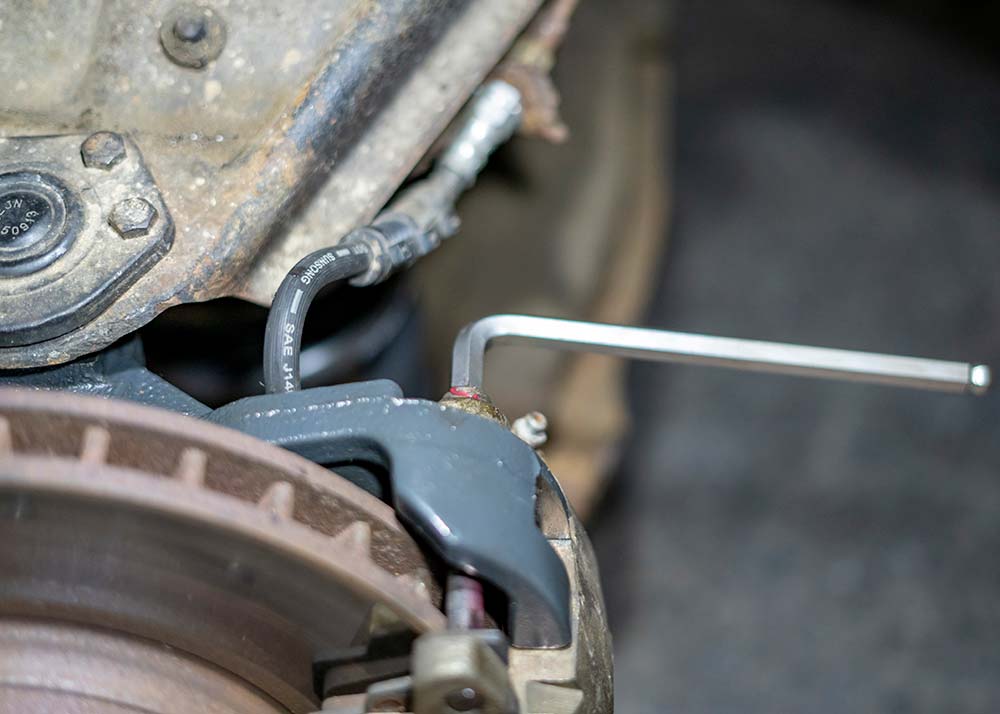
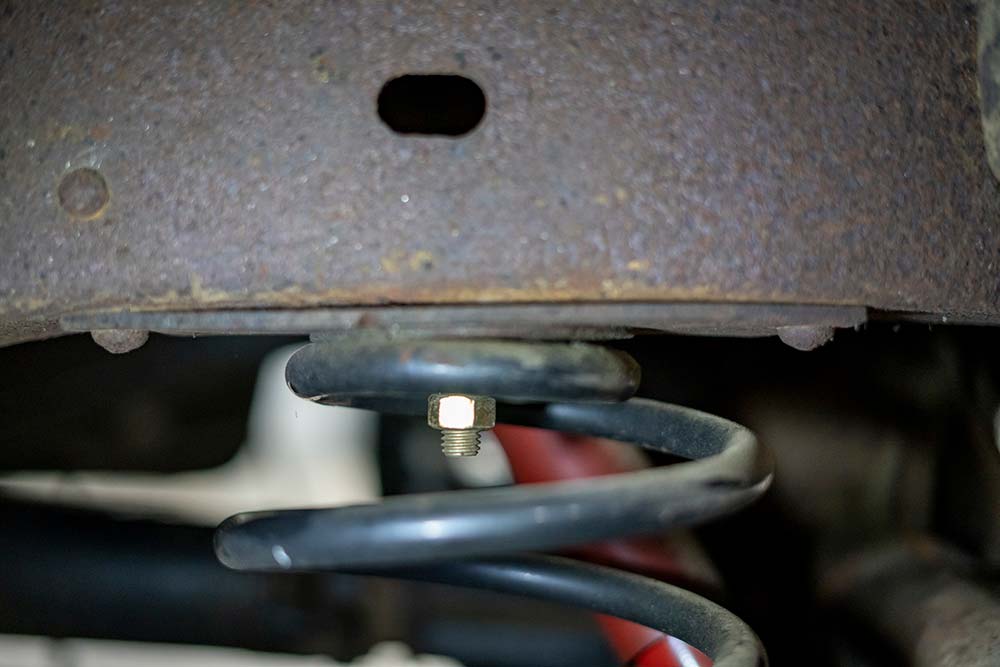
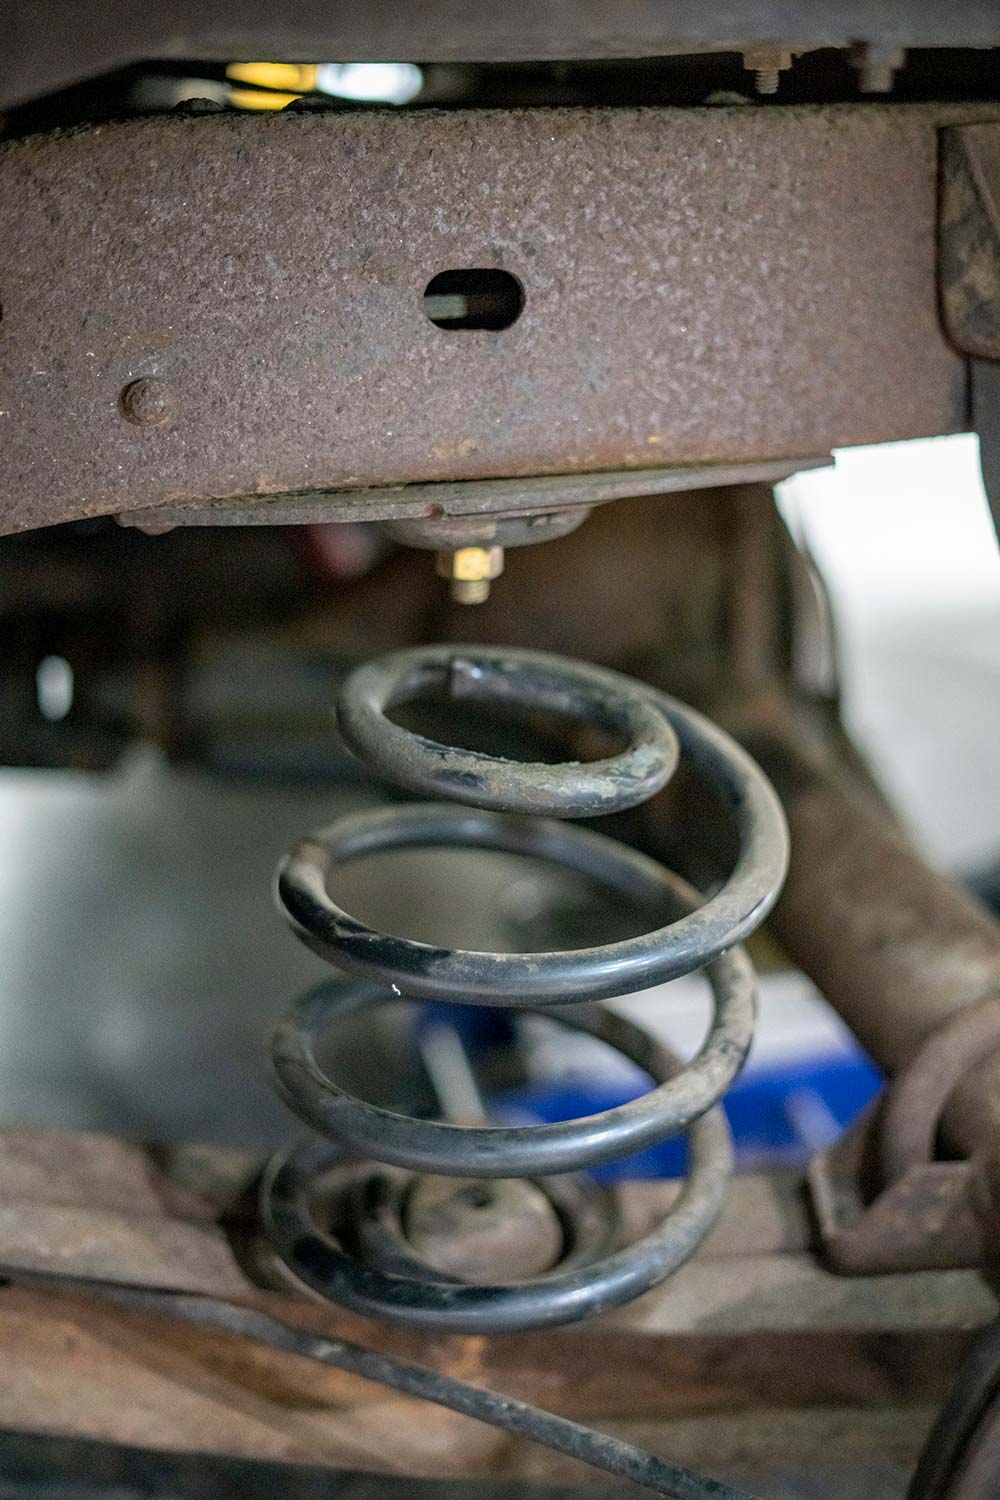
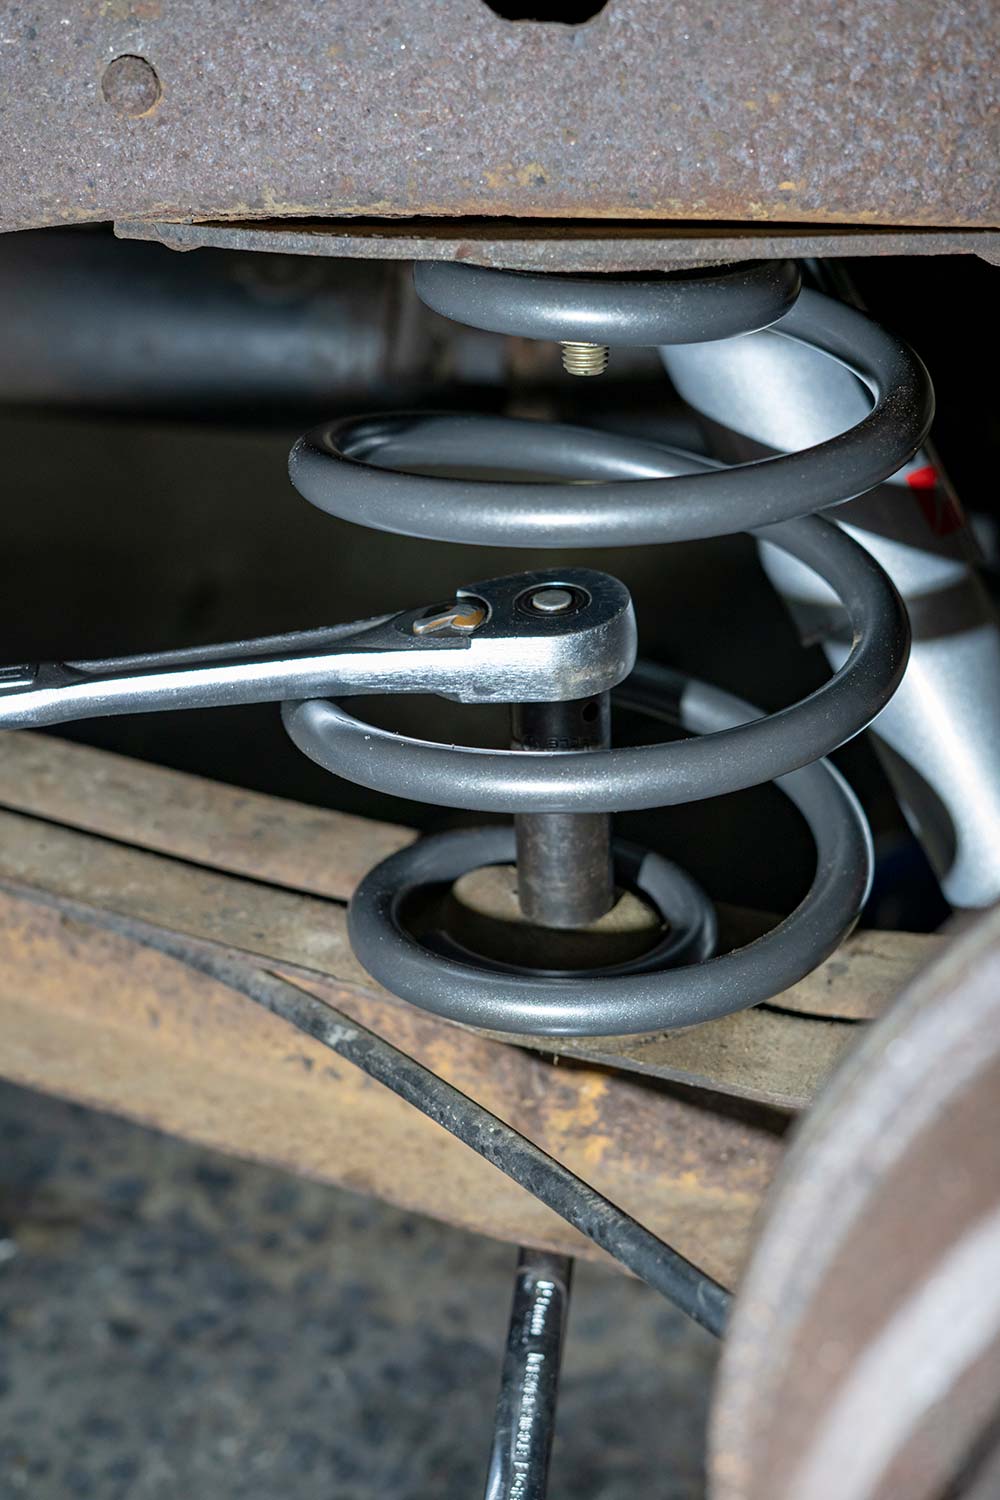
SPECIAL DELIVERY Belltech kit 952SP covers your ’63-’70 C10 Silverado/Sierra; coils rated for V-8 engine only; (requires converting to ’71-’72 disc brakes or equivalent) and will lower your truck 4 inches in the front and 5 in the back.

COOL GEAR
A Simple Weekend Project for Every Skill Level Most truck enthusiasts daydream about metal grinding and TIG welding on custom hotrods. The reality TV shows tease… Continue reading
Chris Hamilton . February 04, 2021
Department
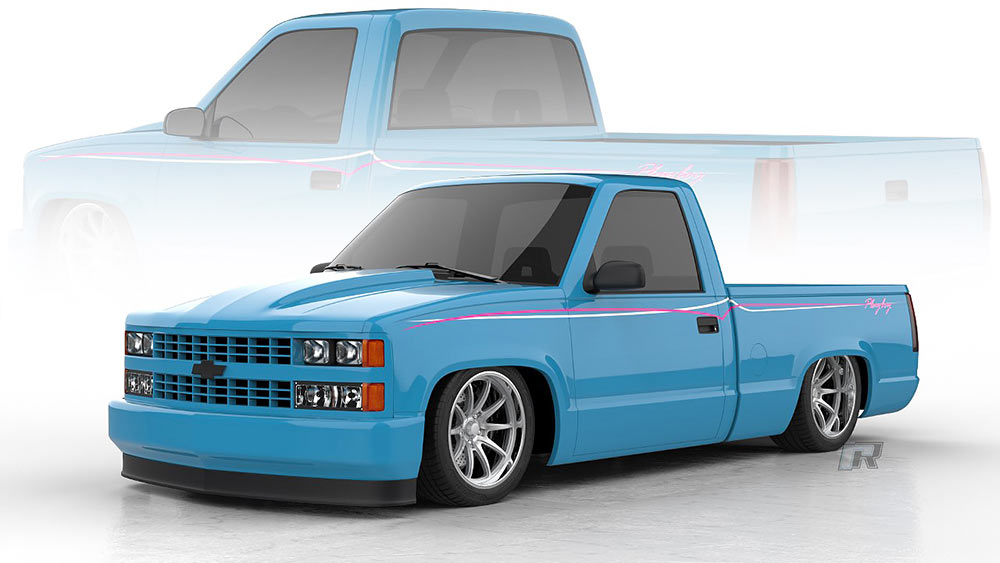
Project Playboy is our 1988 Chevy C1500 truck build that we found in the backyard of a random Florida man’s home. The truck was forgotten… Continue reading
Chris Hamilton . February 08, 2023
Features
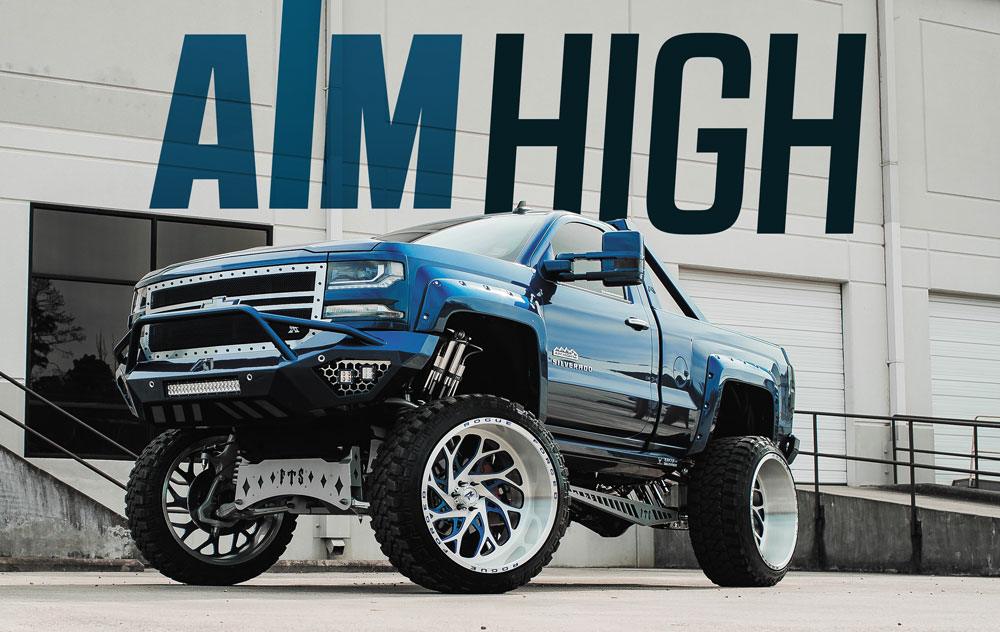
A Single Cab, Twin-Turbo Skyscraper! rowing up 30 years ago was a lot different than it is today. Without cell phones and social media, the… Continue reading
Chris Hamilton . June 09, 2022
Industry News
Owning a pickup isn’t just about getting from point A to point B. It’s almost like a personality trait at this point. Trucks are about… Continue reading
ST-STAFF . September 08, 2025
Department
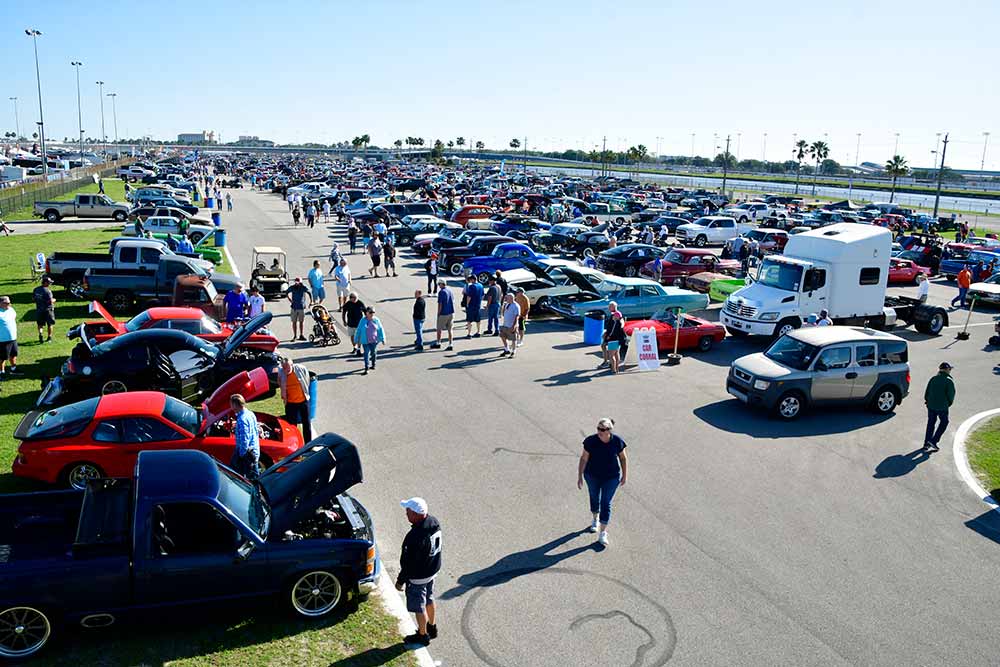
Classics At the Daytona International Speedway March weather in the Sunshine State is always wonderful and this year was no exception. Sunny weather, warm temperatures,… Continue reading
Joe Greeves . February 16, 2023
Department
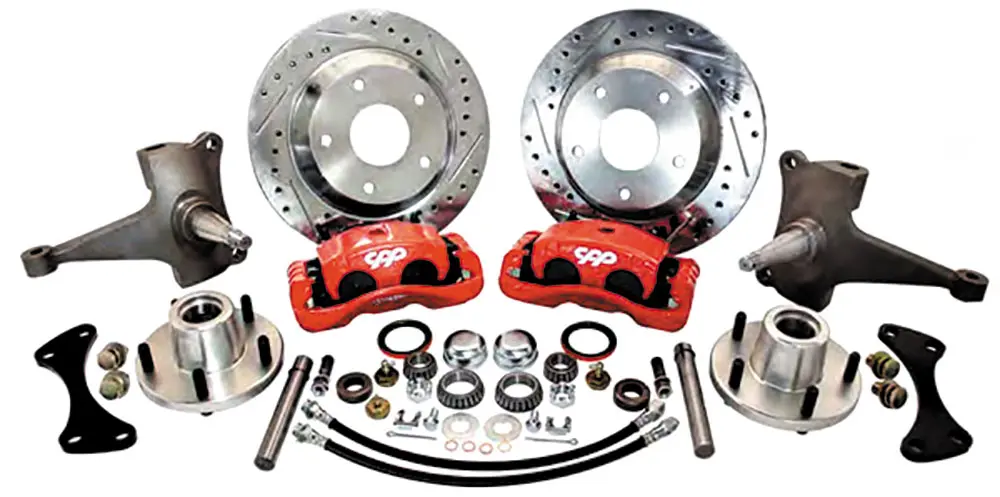
Andrew’s Tuning and Performance 15-inch Crown Victoria Front Big Brake Kit This is the brand new ATP 15-inch 03-11 Crown Vic front big-brake kit from… Continue reading
SOLOMON LUNGER . May 15, 2023


We use cookies to enhance your browsing experience, serve personalized ads or content, and analyze our traffic. By clicking "Accept All", you consent to our use of cookies. Visit our Cookie Policy for more info.
Share Link