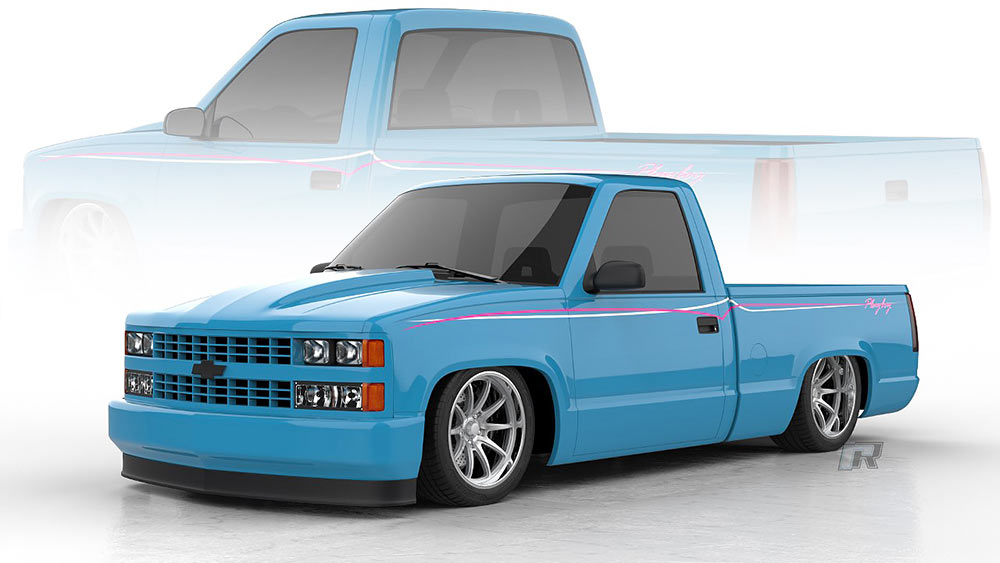
Project Playboy is our 1988 Chevy C1500 truck build that we found in the backyard of a random Florida man’s home. The truck was forgotten and full of interesting items, including some old Playboy magazines, hence the name. The goal with this new OBS project is to restore an ’80s-model vehicle with an era-correct look and a few hidden, modern upgrades to make it more reliable.
In previous issues we replaced the original suspension with a complete coilover conversion from Ridetech suspension, thanks to the crew over at Saltworks Fab in Myakka, Florida. All four corners received new brakes, including a rear disc brake upgrade from Performance Online. Bolted to the new disc brakes is a set of 20-inch stagger-fit wheels from Schott Wheels wrapped in Goodyear Eagle rubber. The stance was perfect, the offset was ideal, but the installed 350c.i. carbureted engine was still incredibly unreliable. To repair this rebuilt small-block, we ordered a Pro-Flo 4 fuel injection conversion kit from Edelbrock and an all-new fuel system from FAST. We simply followed the instructions and installed it exactly how they suggested, which went smoothly for us the very first time. How nice is that!
With Project Playboy nearly at completion, it’s time to finish up the interior overhaul we started in the last issue with our partners at TMI Products, Classic Industries, Dakota Digital, Retrosound, and DEI Heat and Sound. Let’s go!
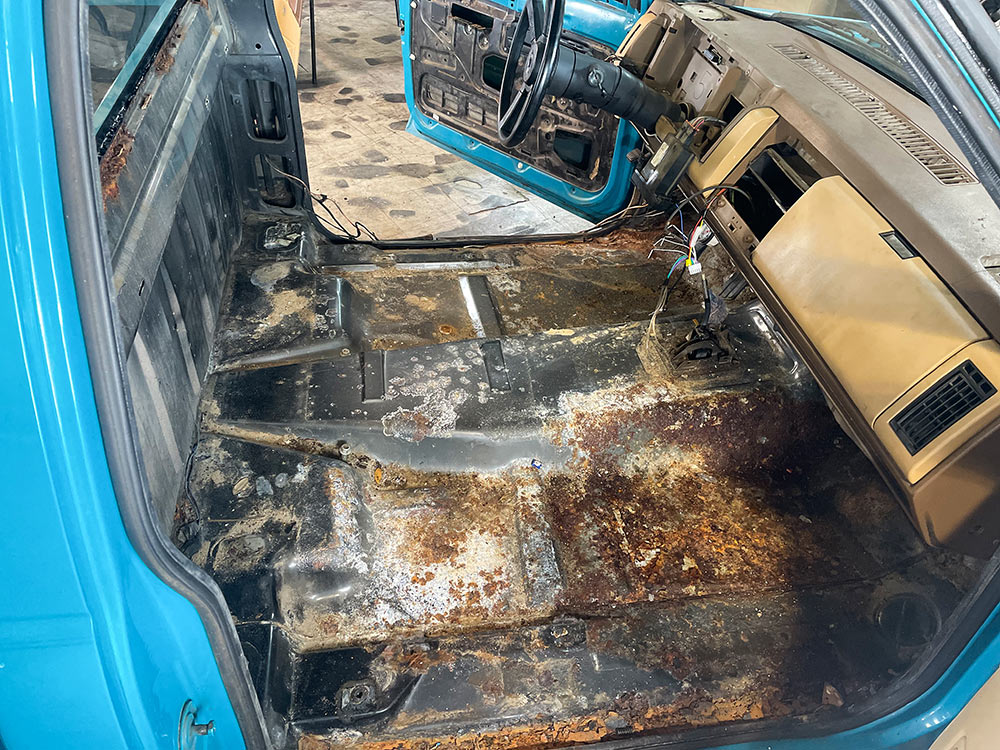
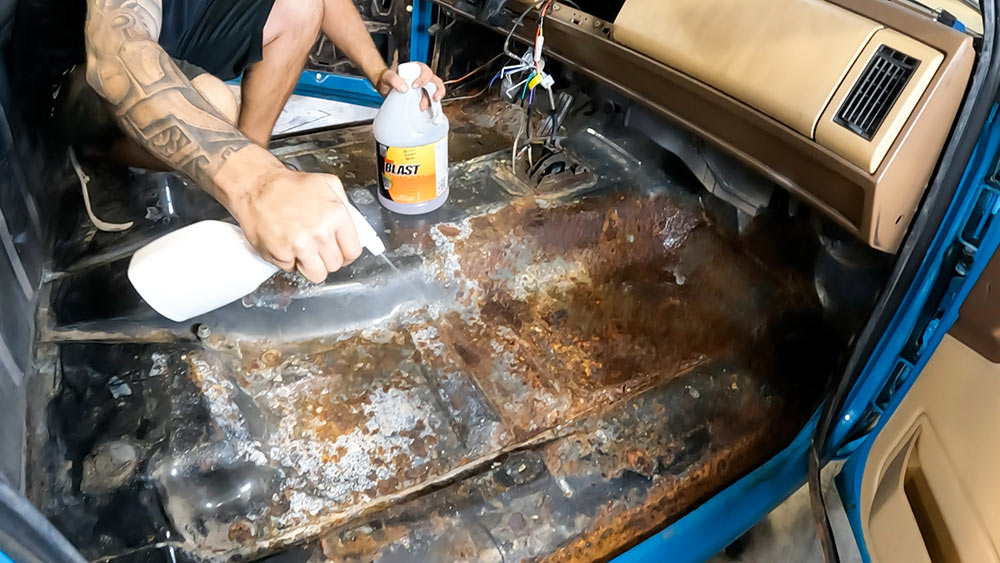
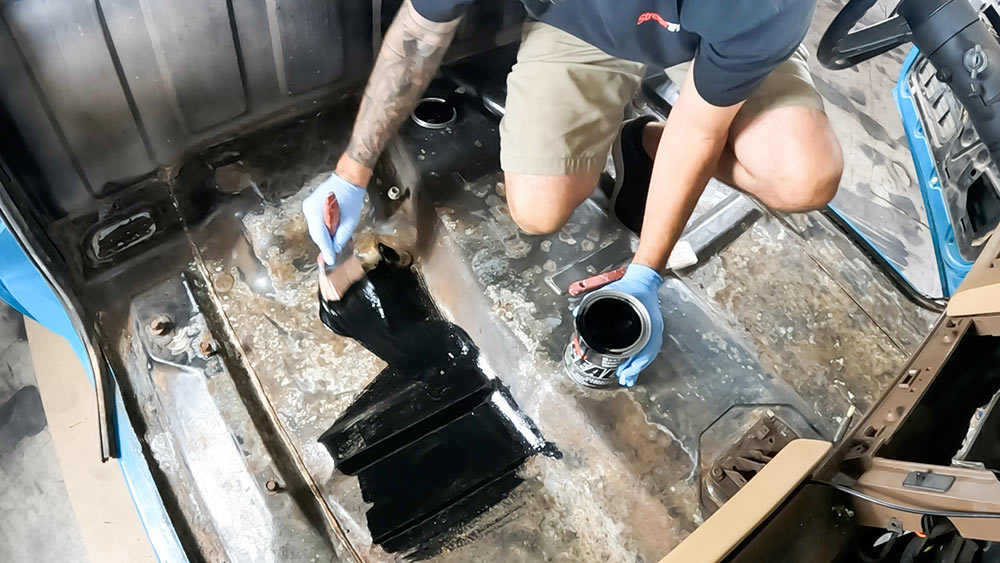
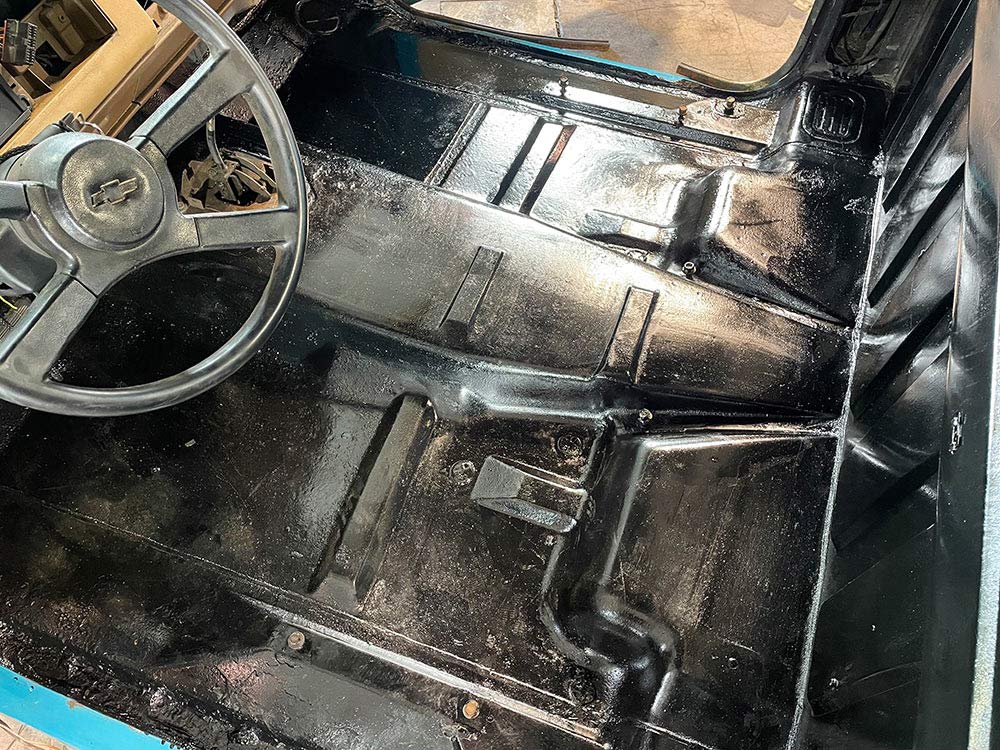
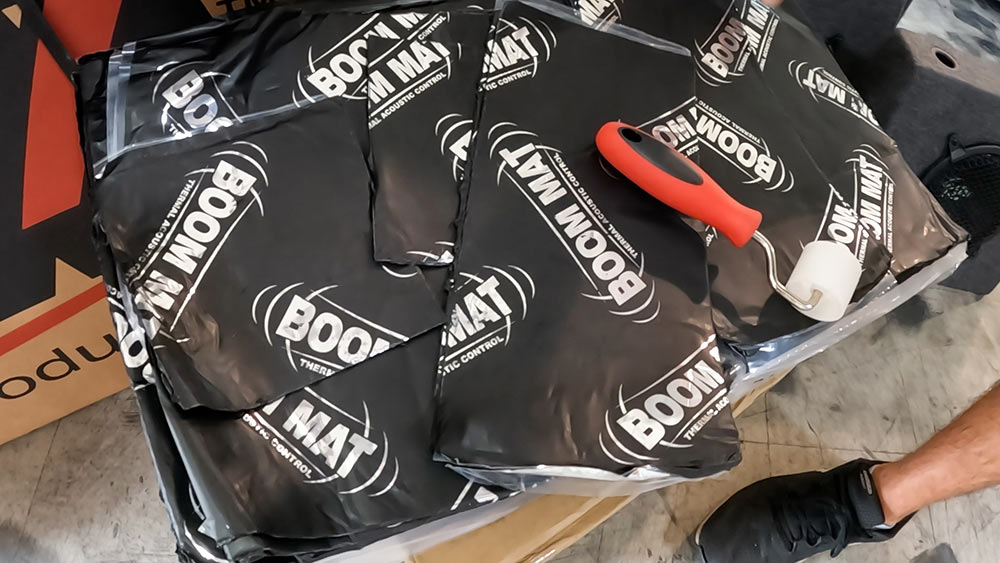
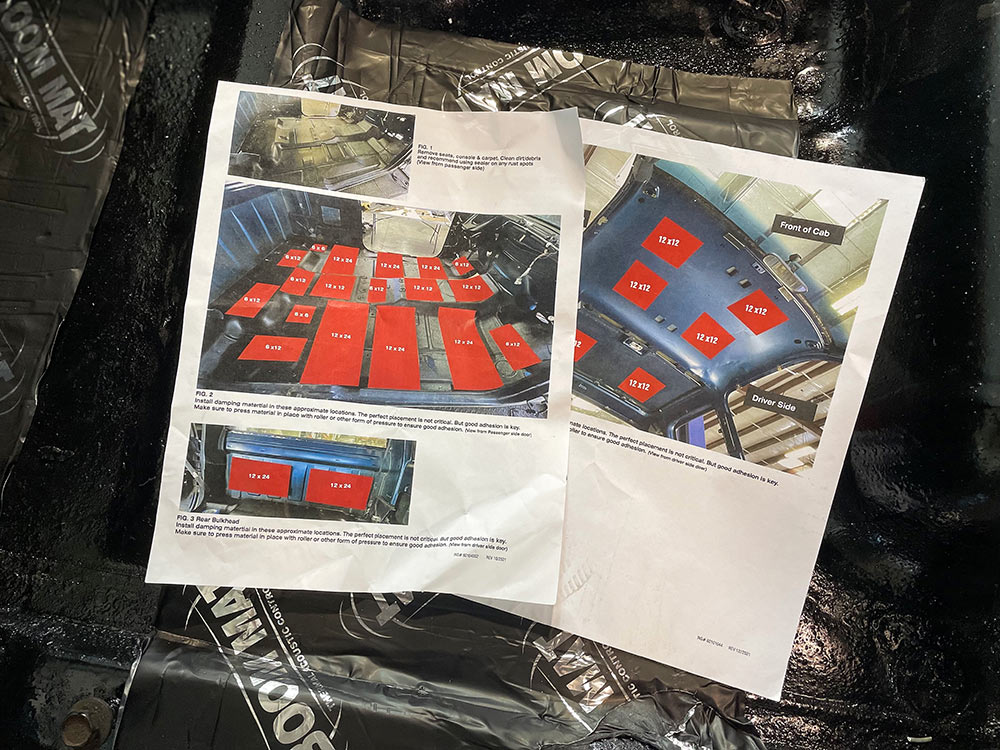
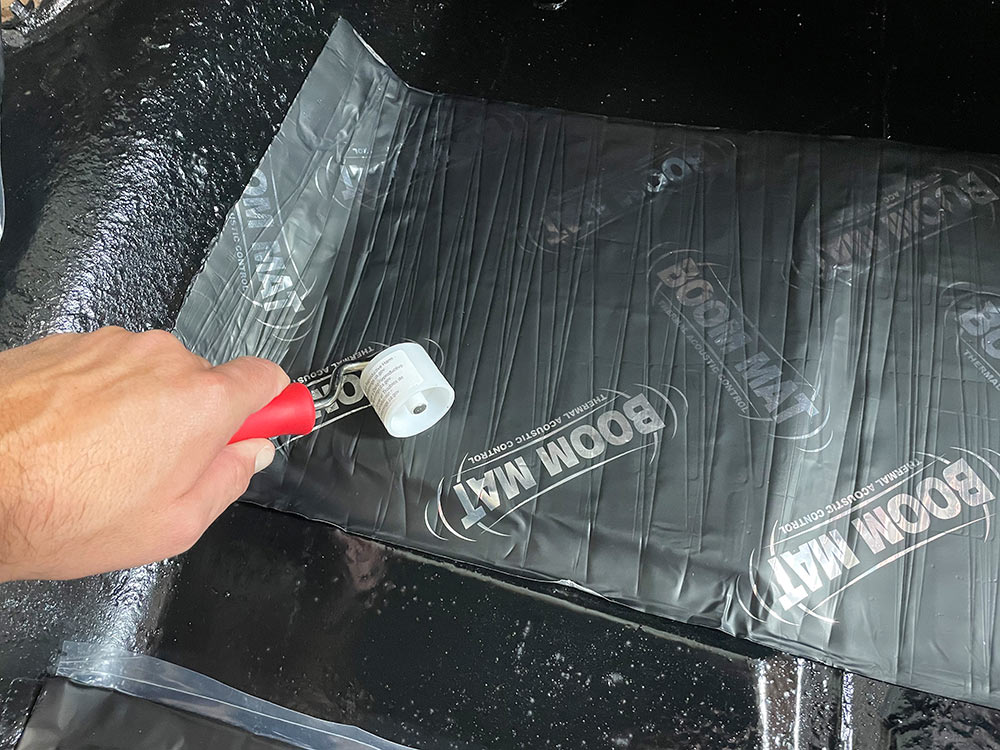
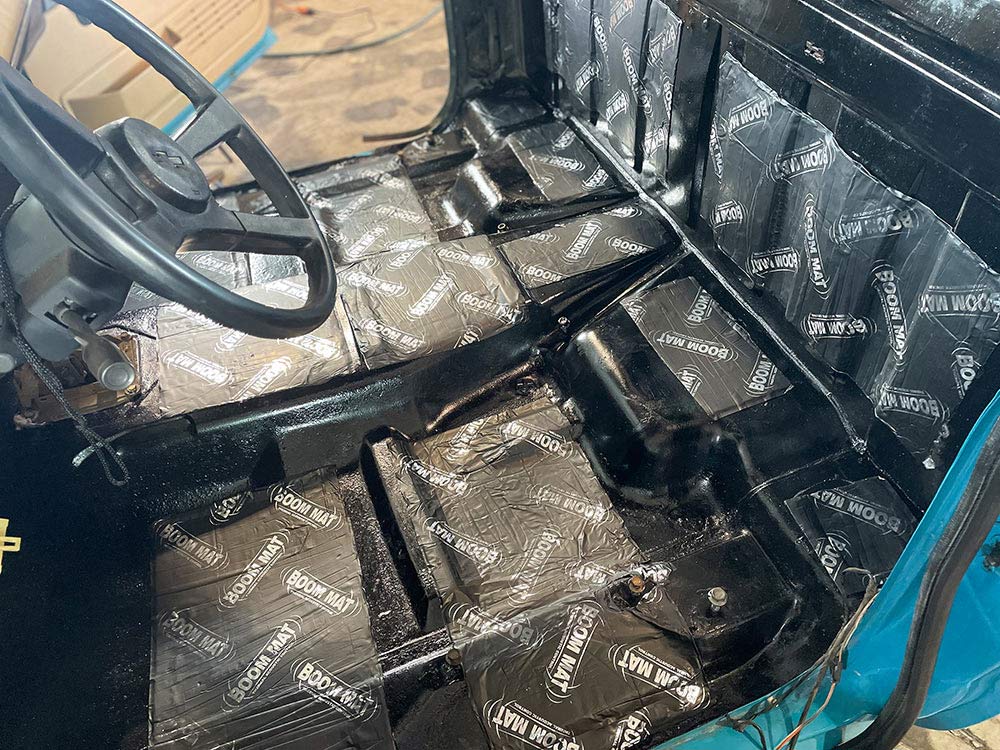
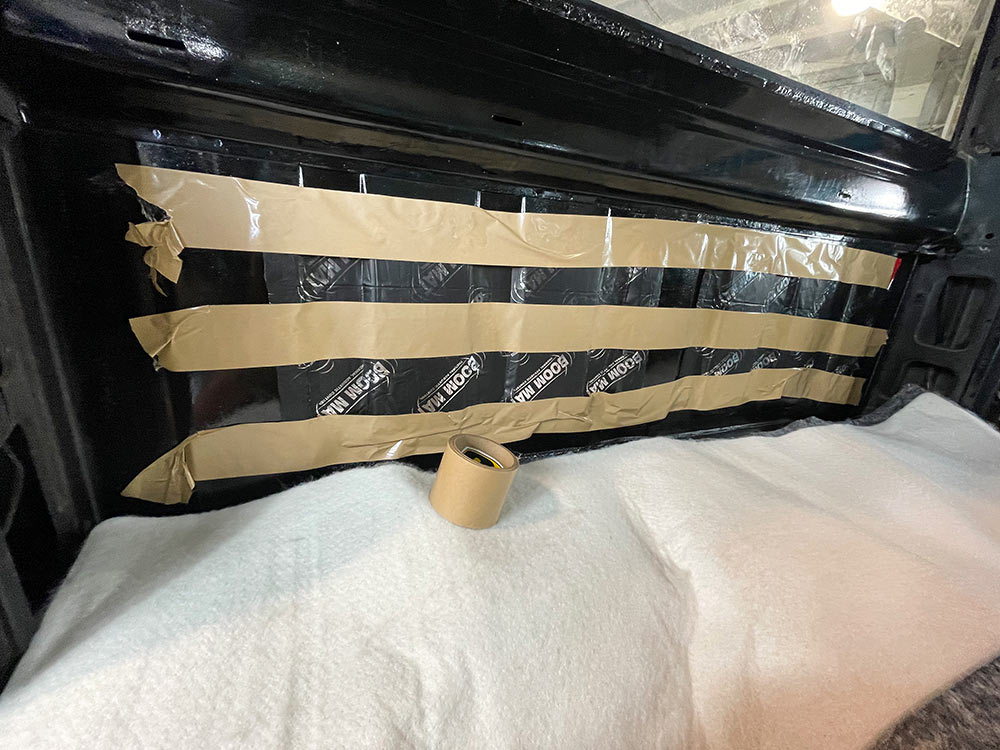
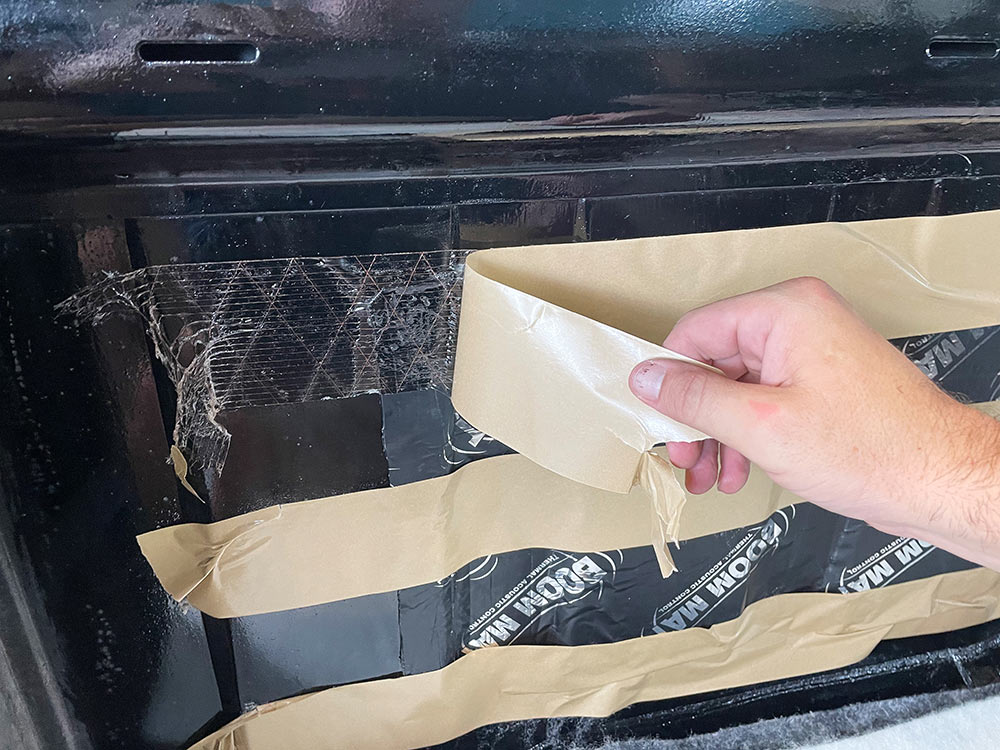
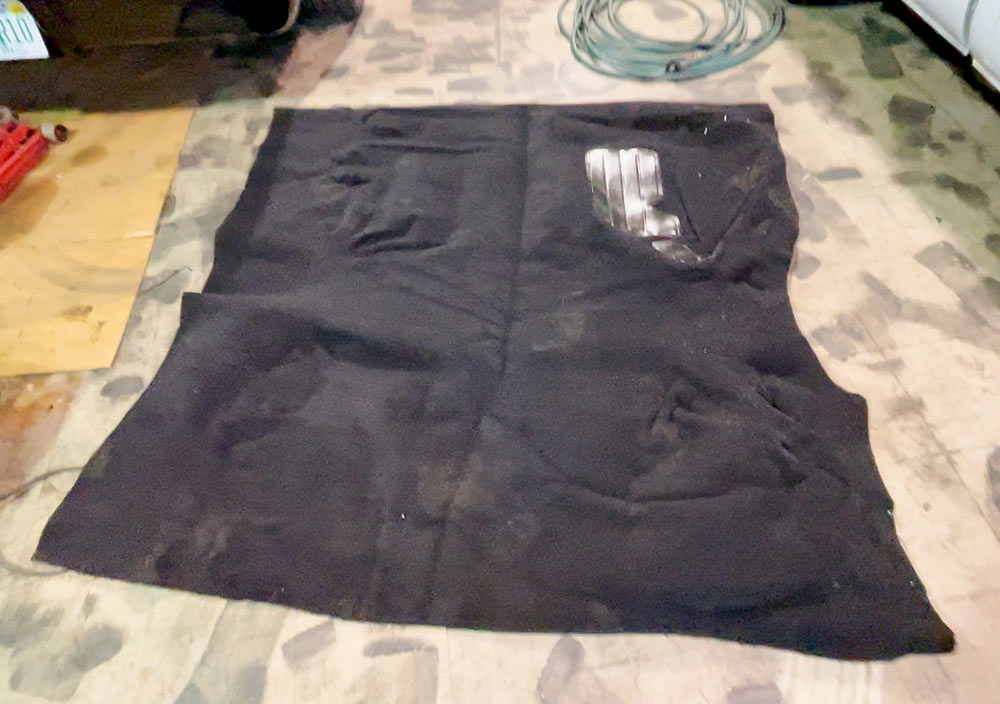
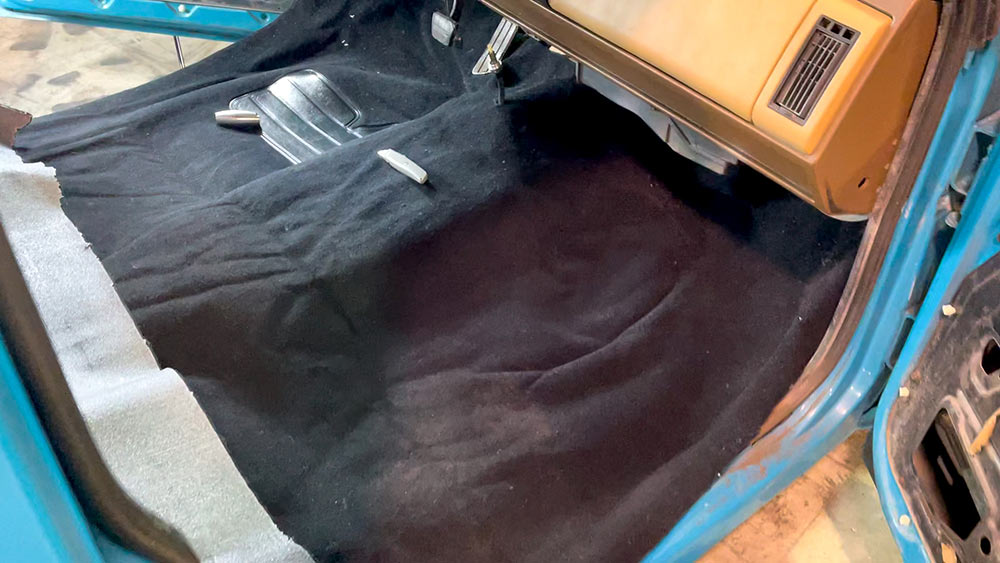
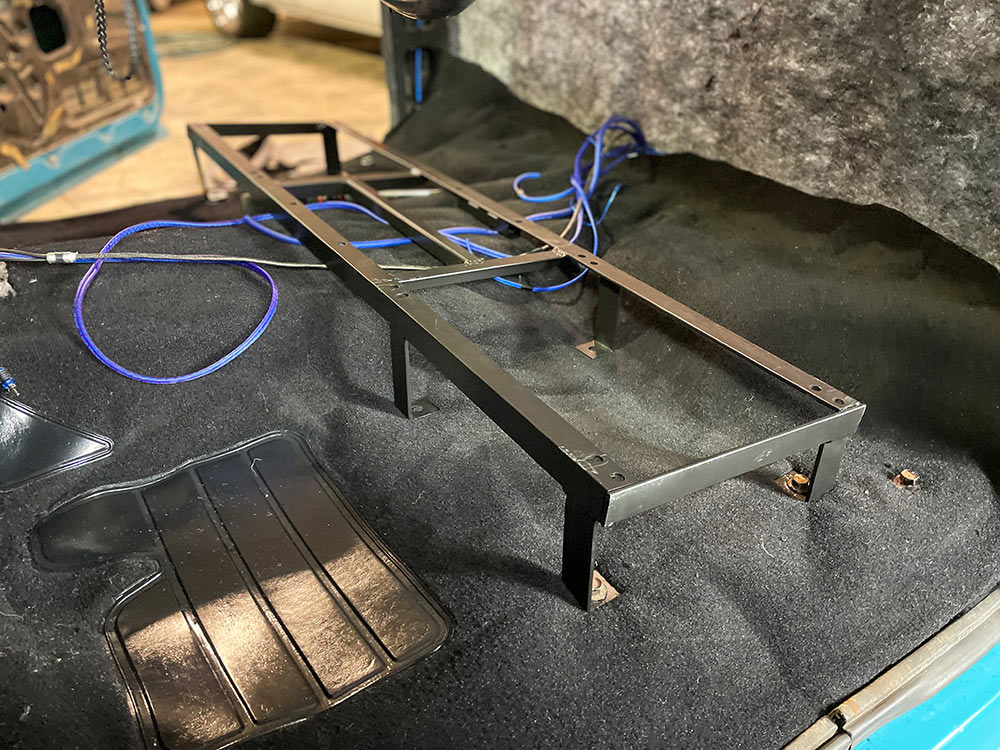
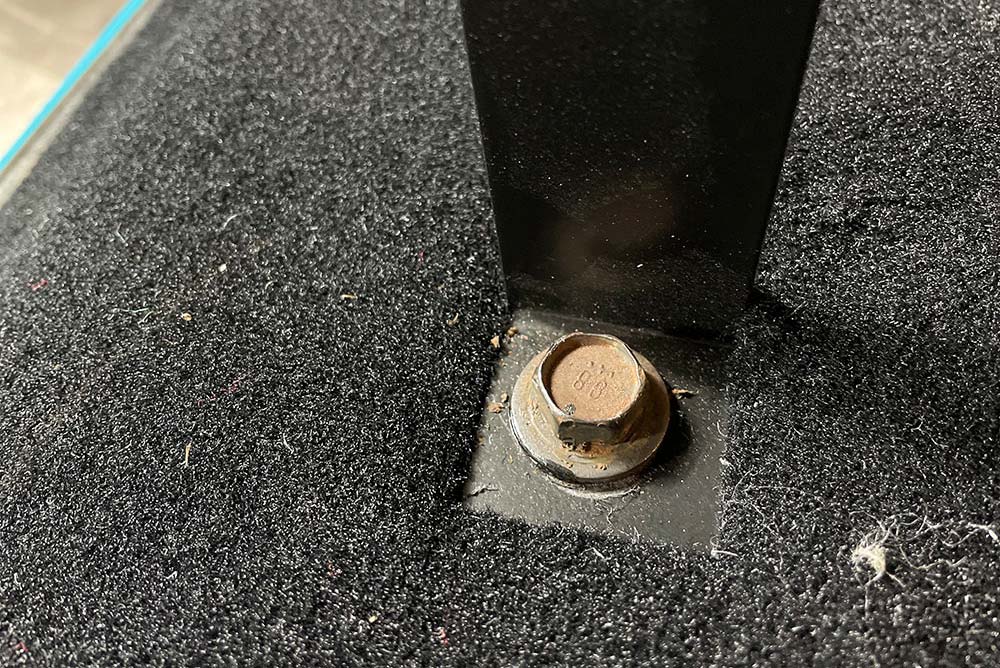
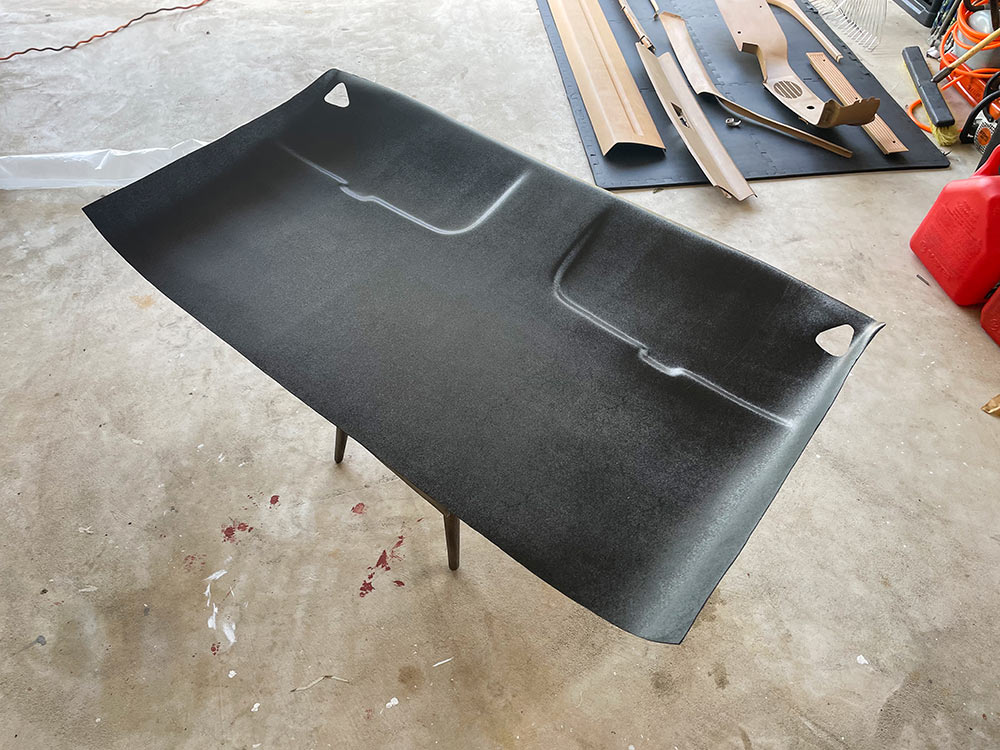
In the last issue of Street Trucks, we ground all the surface rust off of the floor and chemically cleaned it with KBS Coating products.The next layer to go on our metal floorboards is the KBS rust seal. This is essentially a POR 15 chemical that will bond to the metal and prevent any further rusting.With the final coat complete and dry, you can see the incredible difference it has made on the look and quality of our truck floor. This will now last so much longer than the original floor would have.Boom Mat from DEI is an adhesive damping material that is easy to install. It will reduce vibration and give you a quiet, comfortable interior.This kit was specifically designed for the ’88-’98 Chevy truck, so there is no cutting or guessing involved. Just follow the provided pattern!DEI even includes the rollers for a perfect, smooth install.We had enough padding to cover the floor and back wall, as well as some pieces for the roof.Double-sided adhesive tape is the next piece of this kit that we layer on top of the boom mat.There is plenty of tape provided for the floor and rear wall of the cab.With all the tape in place, we can peel off the front paper layer to expose the strong adhesive material.Now we simply lay the material in place and smoothly press it into the crevices with just our hands.This new carpet kit from Classic Industries is pre-molded for an easy install. We just need to let it sit in the sun for a while to stretch so we can put it into place.With a proper installer, there is no need for glue to hold the carpet down, so make sure you’ve done your research on this if it’s your first time.Now we can install the seat brackets from TMI Products. These are all built in-house at TMI Products facility in Corona, California.With the seat bracket in place, we can now install the new TMI seats using the hardware provided.Next, we need to focus on the headliner. Our original backing board was corroded and useless, so we bought a new one from our local National Parts Depot. You can order these boards online in any color to match or simply buy a blank board like we did. They will also ship directly to you!
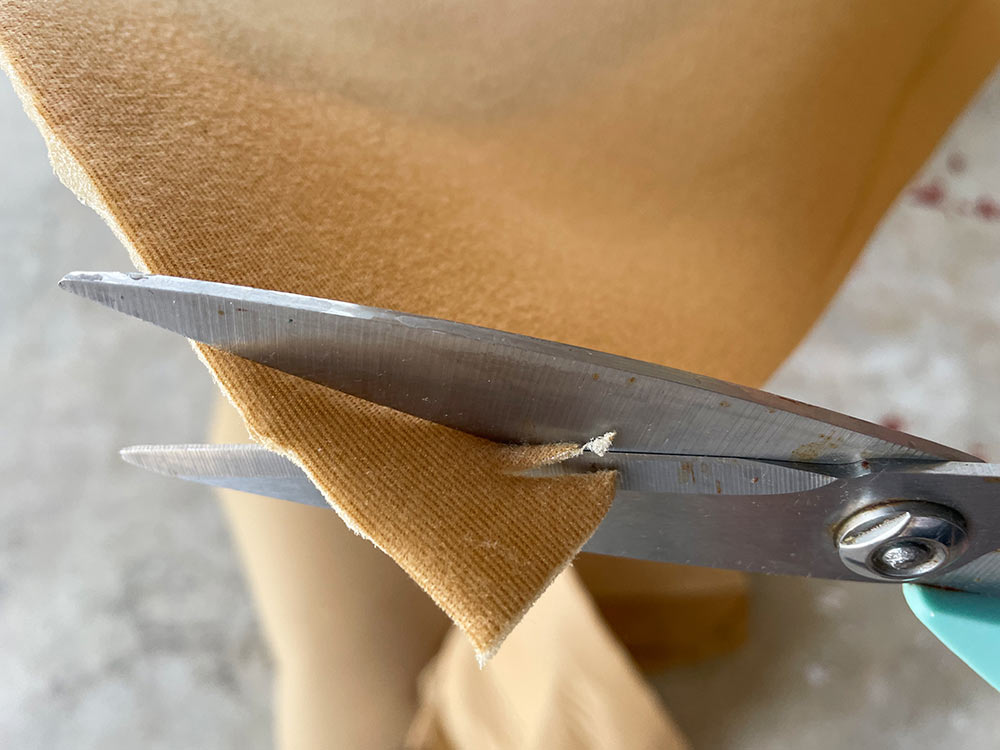
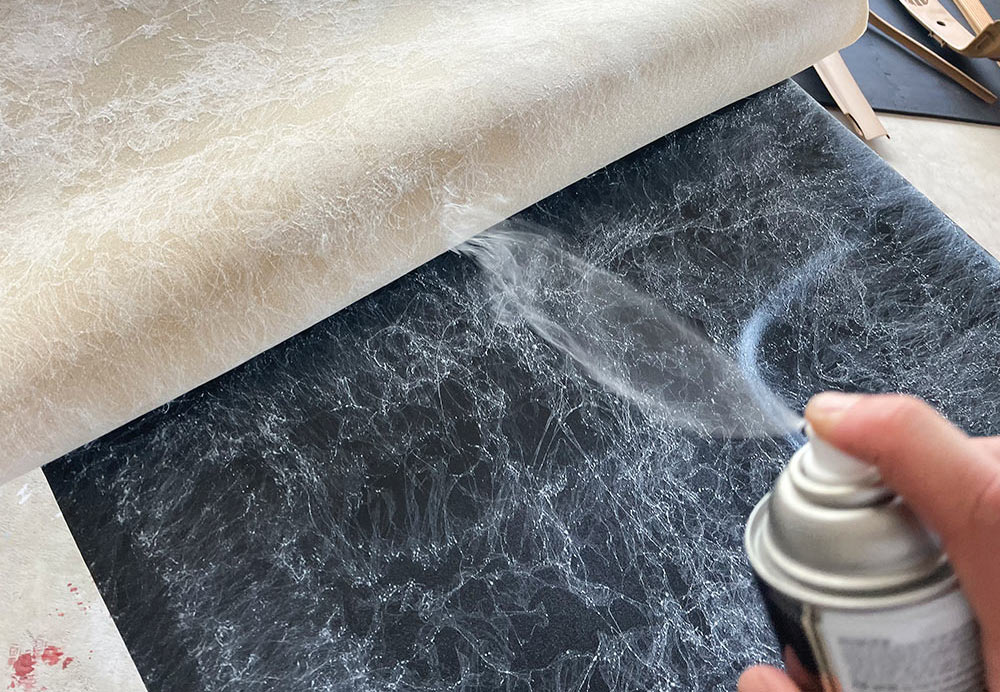
We ordered new material from a local upholstery shop and laid it over our new NPD backing board before trimming it to fit.
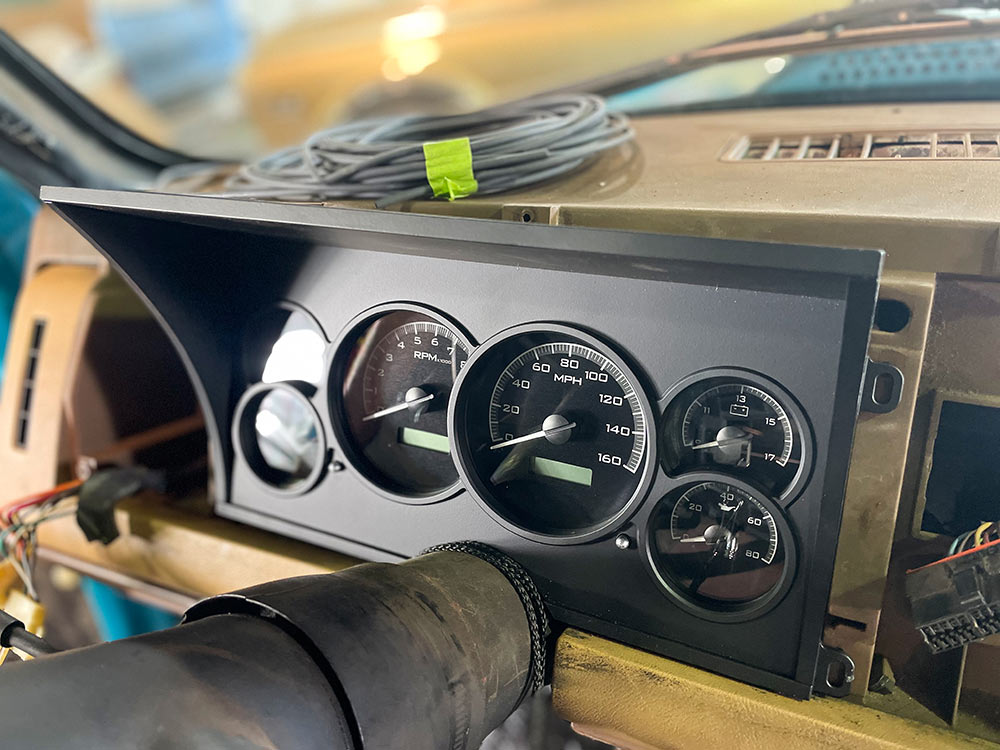
Now we simply layer one side over the other and spray adhesive contact cement glue on half of the material and half of the board. After a few minutes’ setting time, we layer the opposite side and pat it down smoothly.The factory gauge cluster has now been replaced with a Dakota Digital gauge setup. It took a few hours to install after searching for the wire colors online and carefully following the instructions, but it’s a simple process that we have easily completed many times.
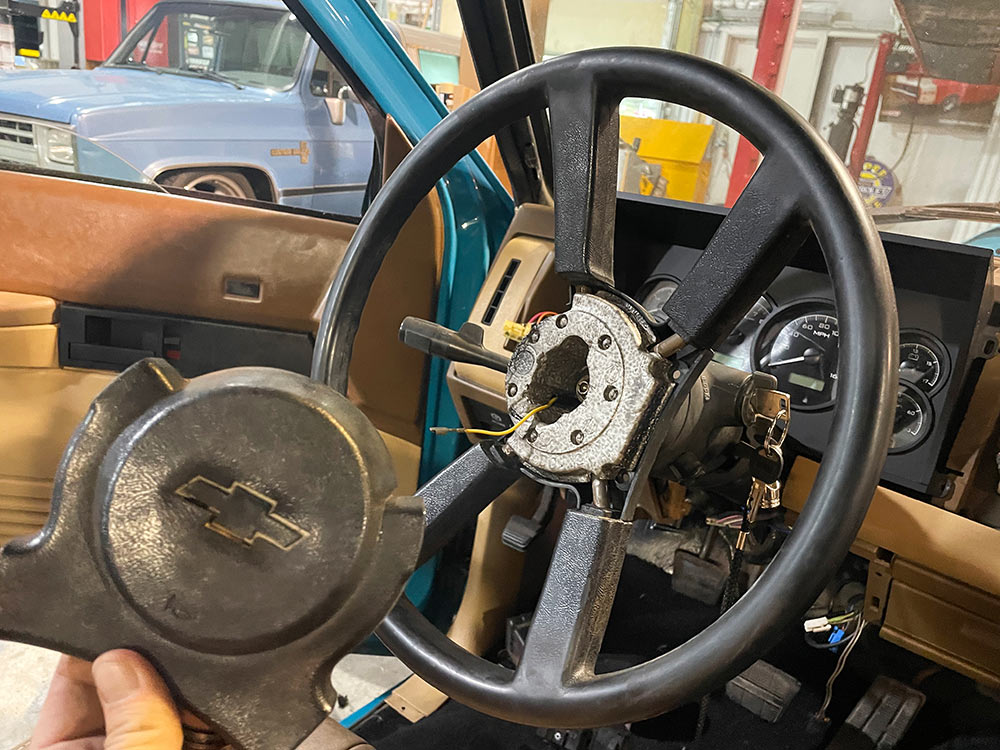
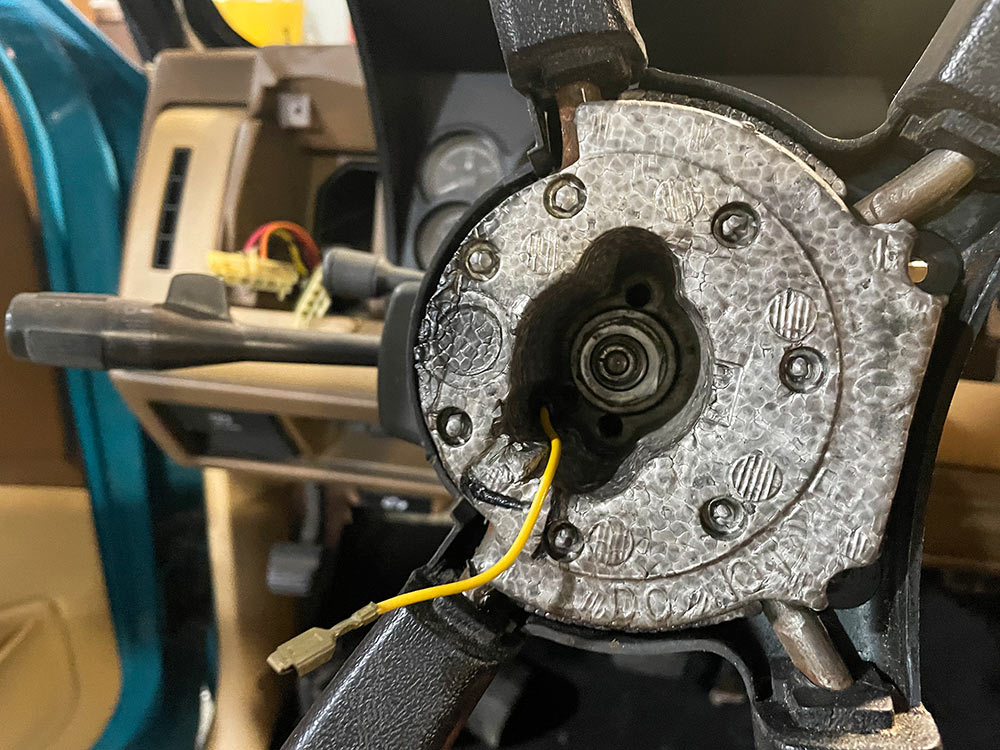
We are also replacing this worn-out steering wheel with a new piece from Eddie Motorsports, so the old wheel needs to be removed. This is easily done by popping the horn button off and on-bolting the steering wheel. Some things are easier done before airbags!
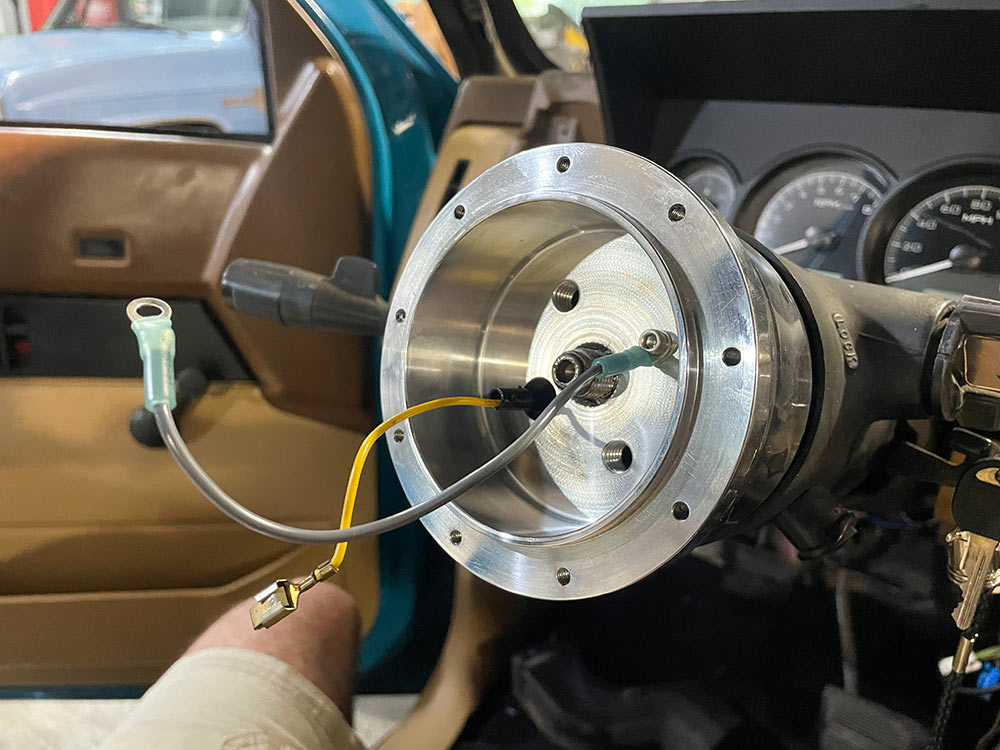
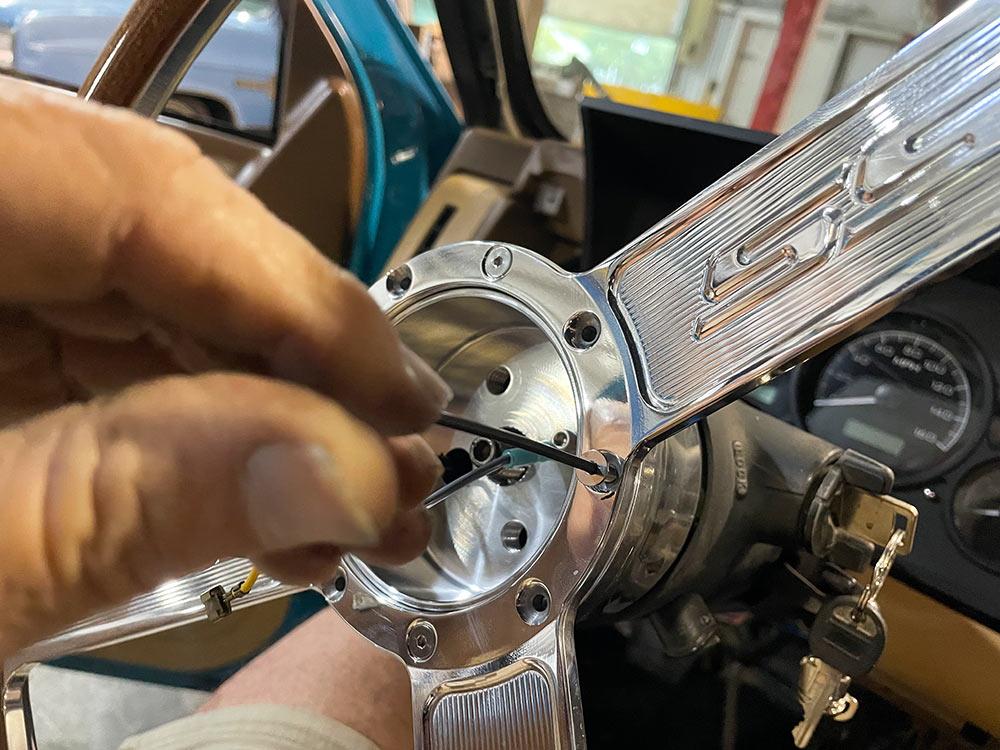
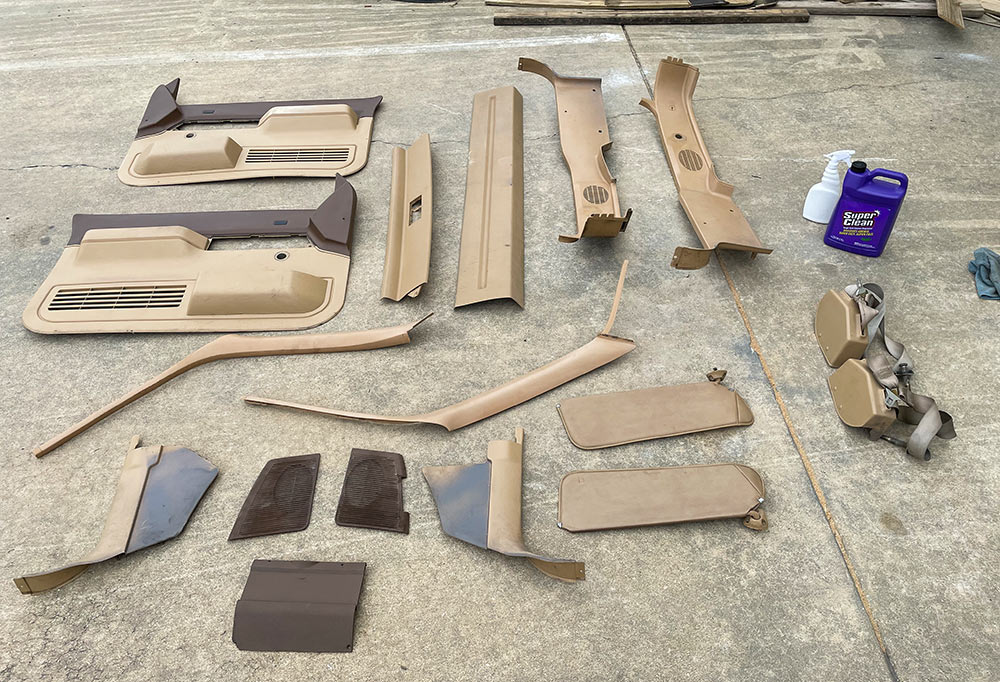
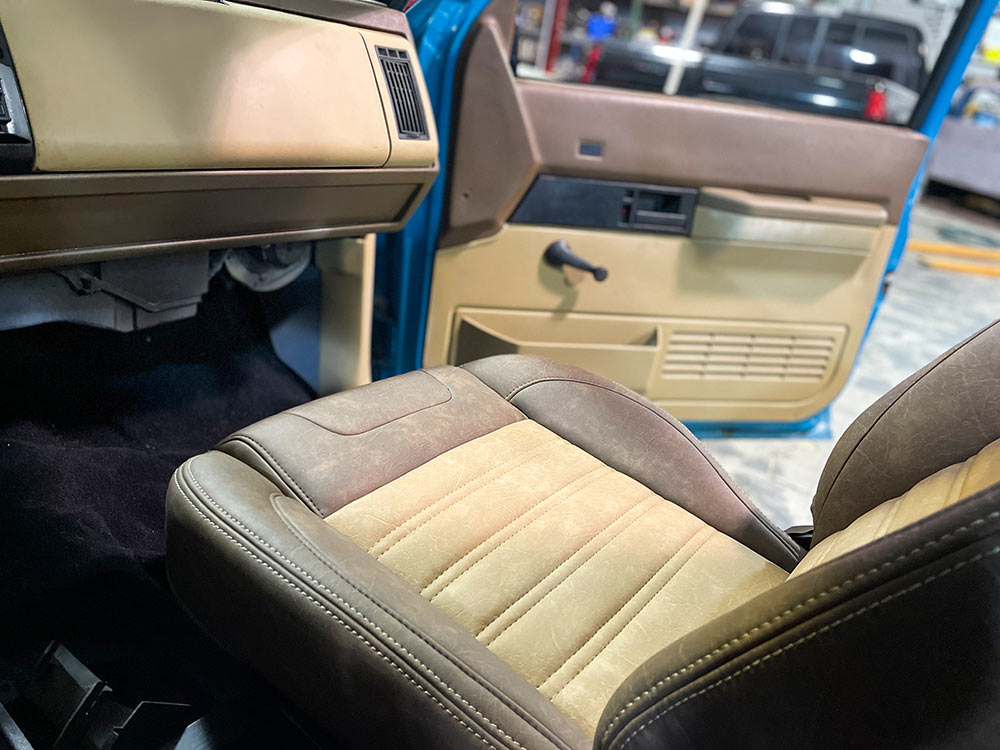
Now the new billet adapter from Eddy Motorsports is simply bolted on and the horn button is reconnected. A few turns of an Allen key finalize the install and dramatically change the look of this classic truck!Before we reinstall all of the plastic trim interior pieces, we’re going to give them a good scrub-down using a diluted mixture of Purple Power cleaning solution.We can’t convey enough how impressively TMI Products matched our interior colors. These incredibly comfortable seats match almost spot-on with our OEM door panels. Stay tuned for the next Street Trucks issue for more updates to this fun project truck.
Chris Hamilton is an automotive journalist, editor, and lifelong truck enthusiast with extensive experience covering custom truck builds, fabrication, performance upgrades, aftermarket products, and a ...
We use cookies to enhance your browsing experience, serve personalized ads or content, and analyze our traffic. By clicking "Accept All", you consent to our use of cookies. Visit our Cookie Policy for more info.


Share Link