 John Mata Jr.
.
February 08, 2022
.
c10
.
John Mata Jr.
.
February 08, 2022
.
c10
.
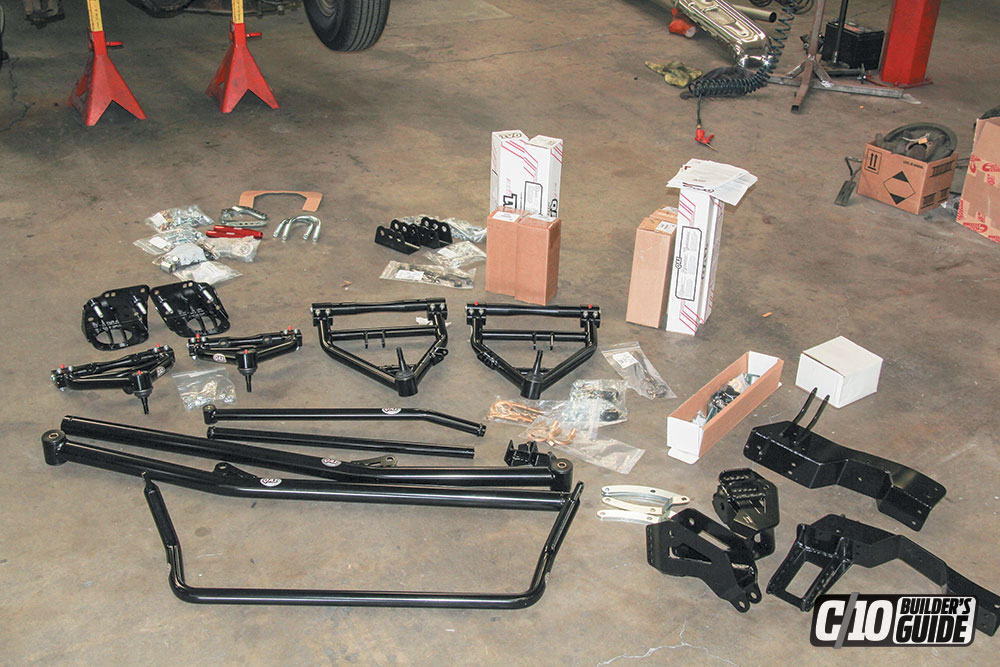
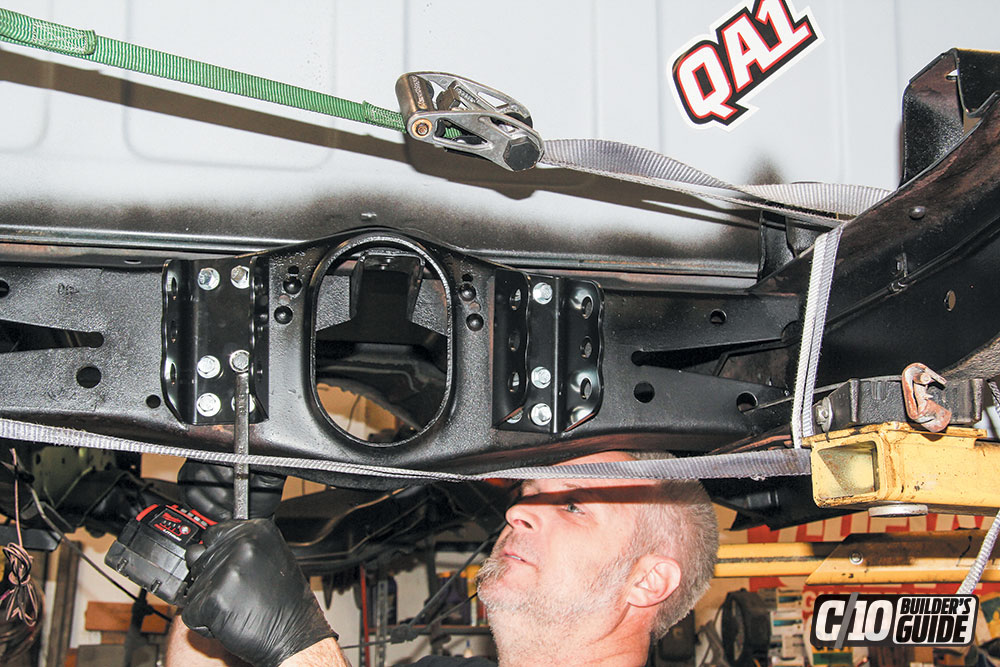
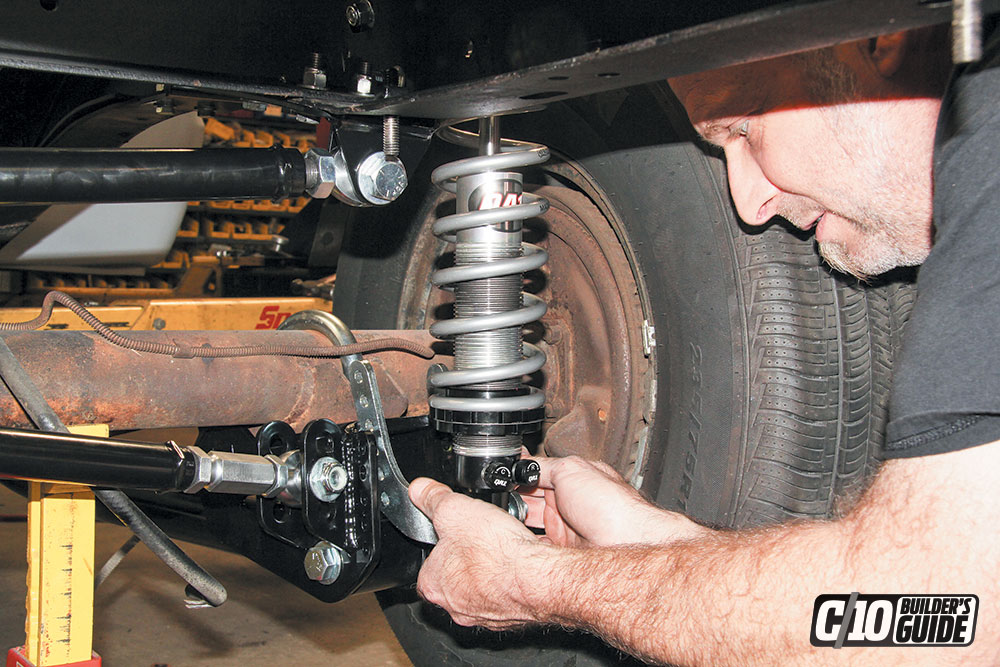
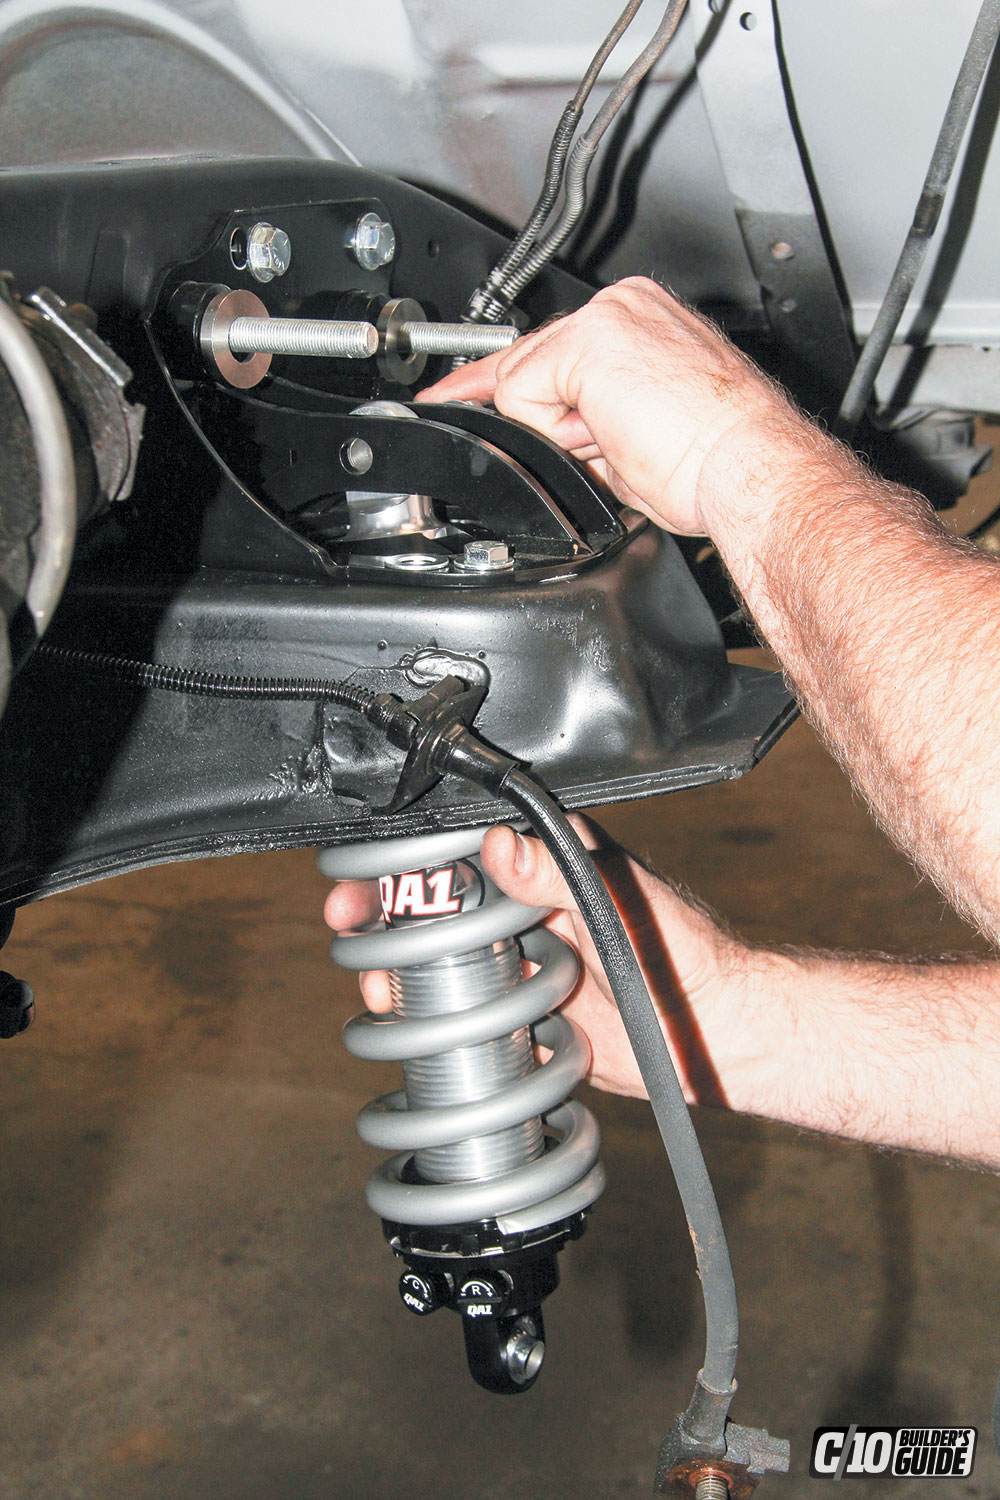
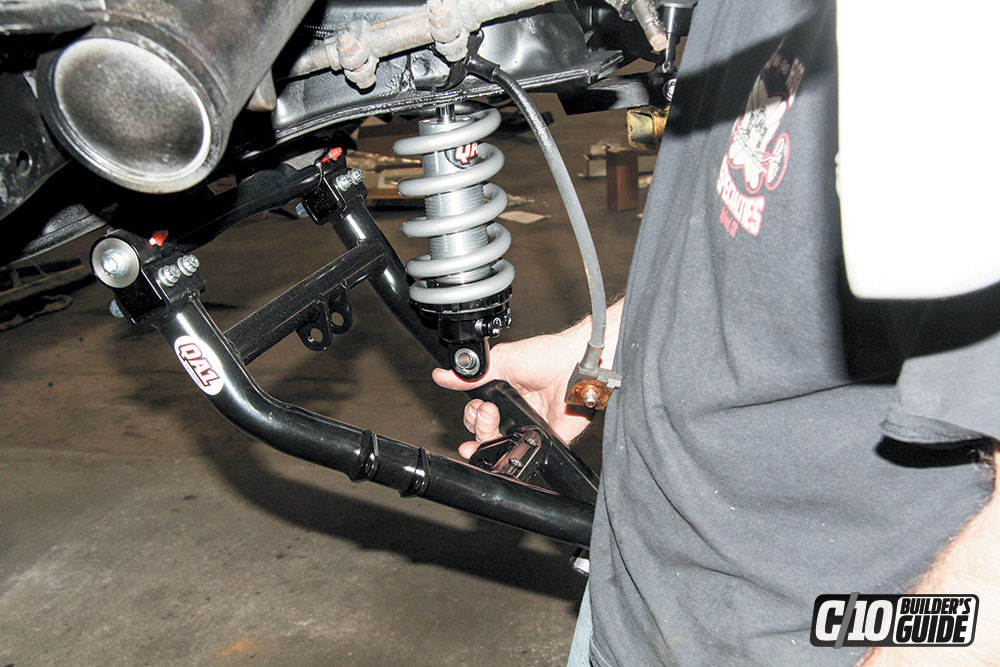
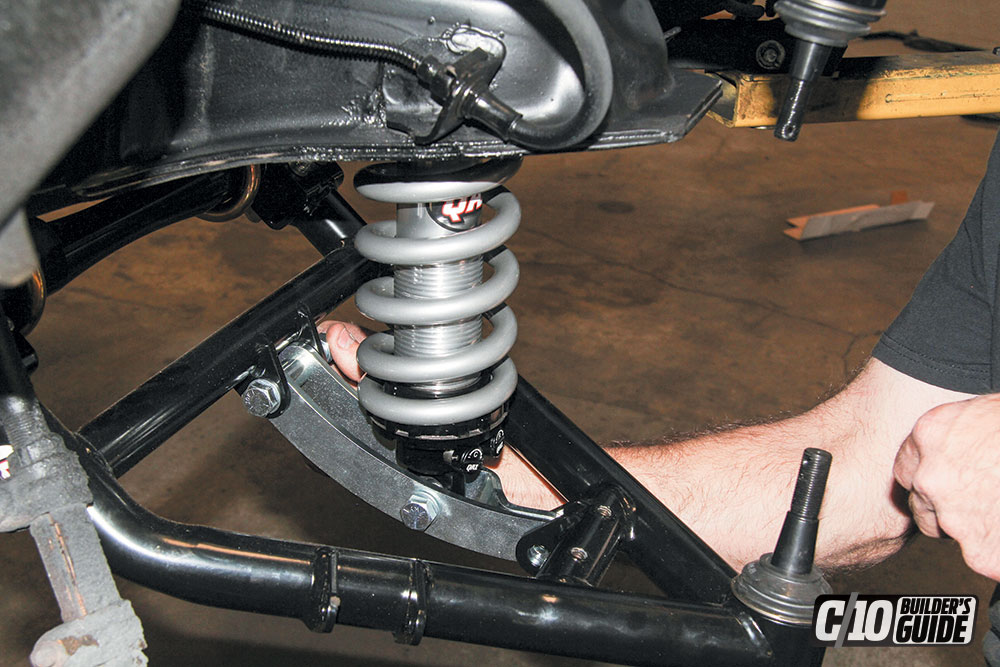
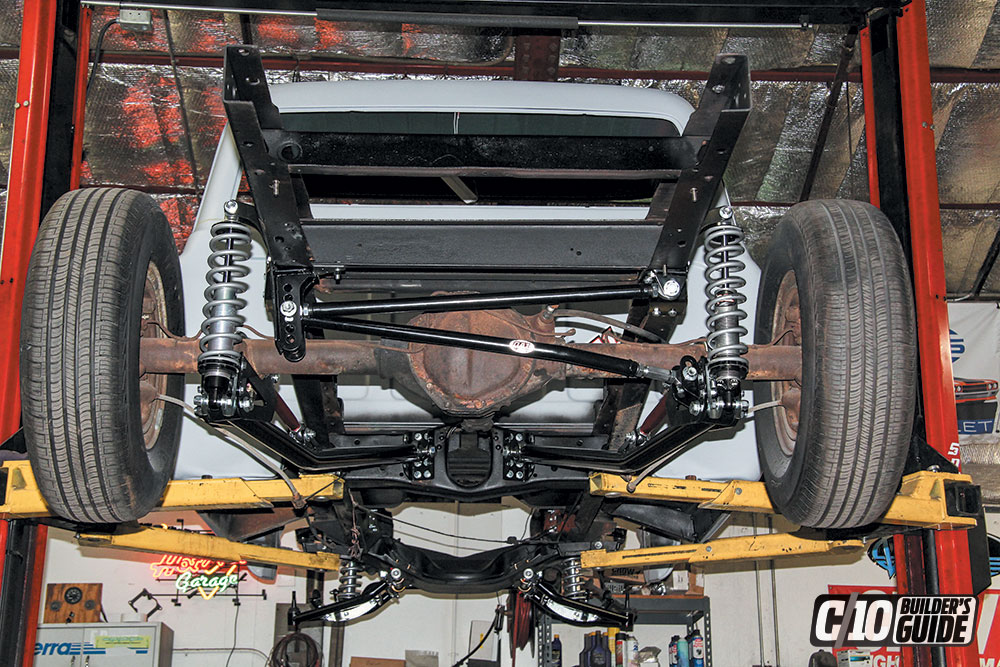
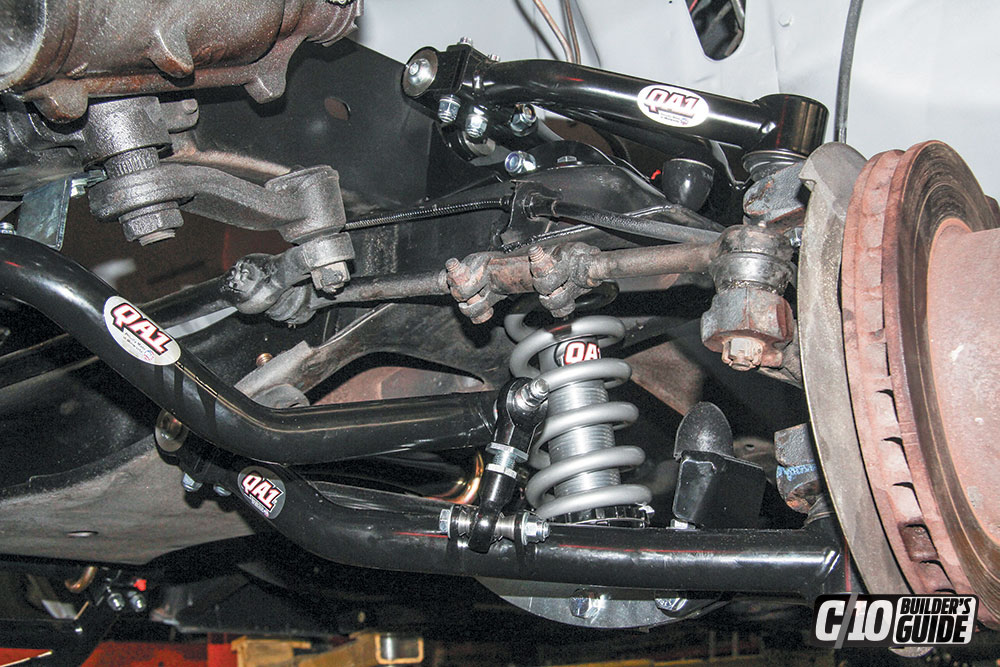
QA1’s front and rear coilover conversion kits have been painstakingly designed to offer the best of both worlds of suspension ride height and track-proven handling prowess. If that wasn’t enough, these kits also offer plenty of adjustability to better harness and promote maximum performance for many individual suspension needs.
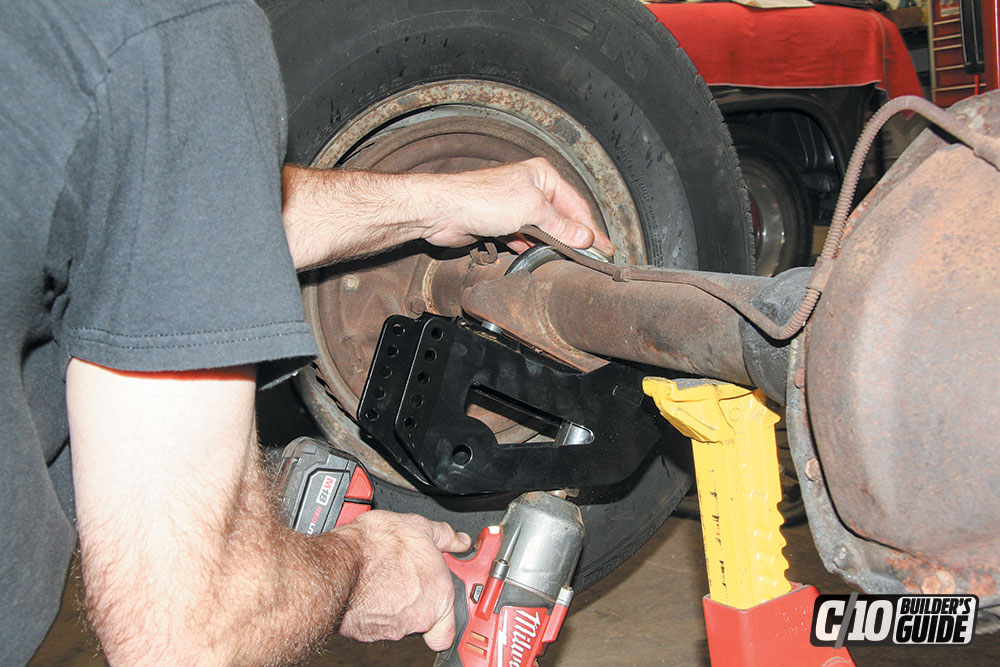
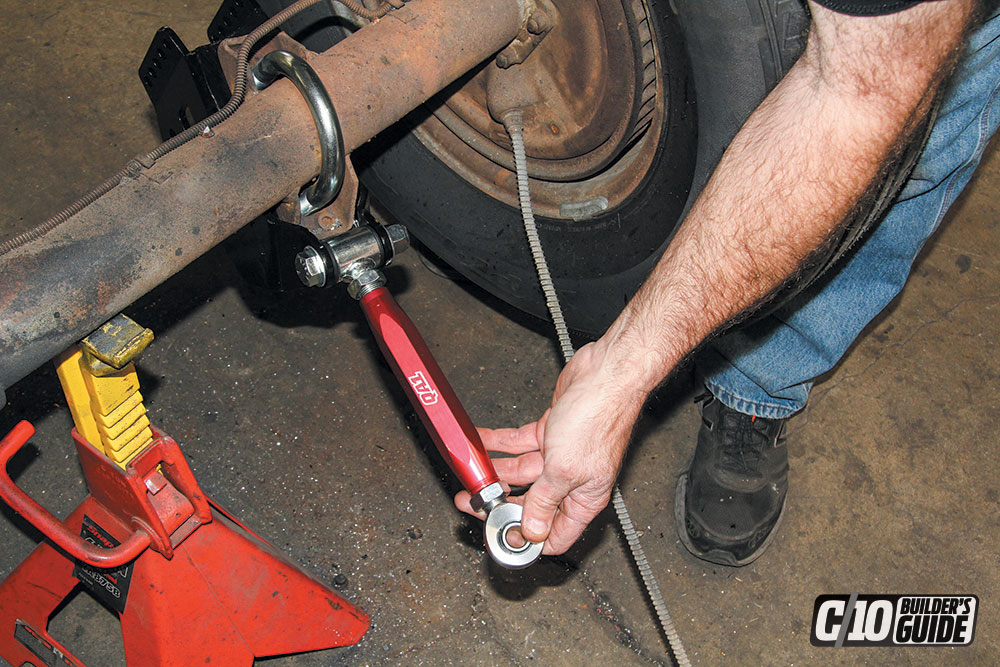
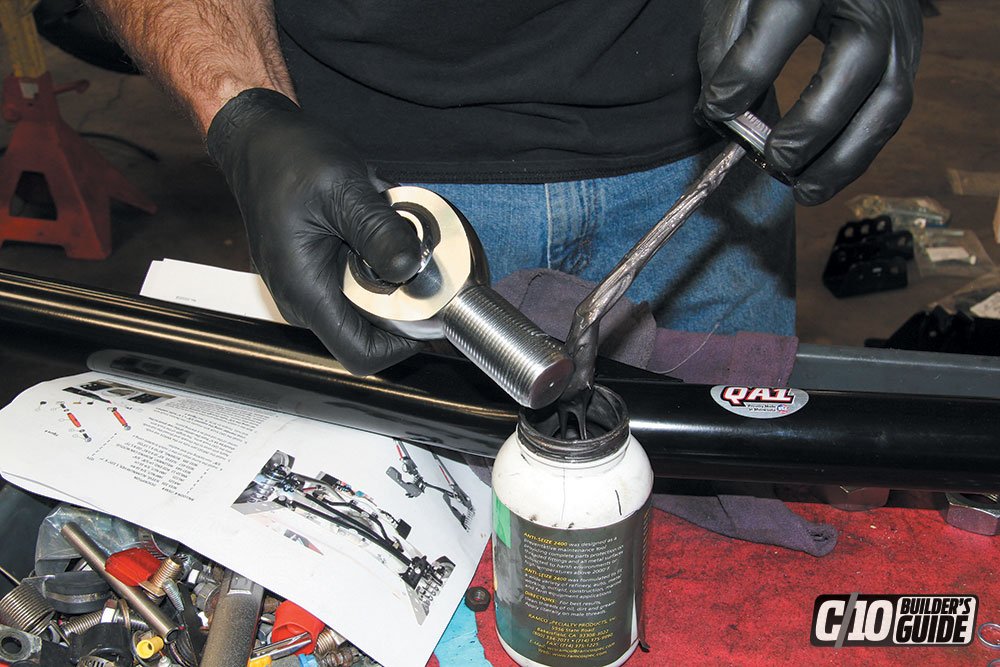
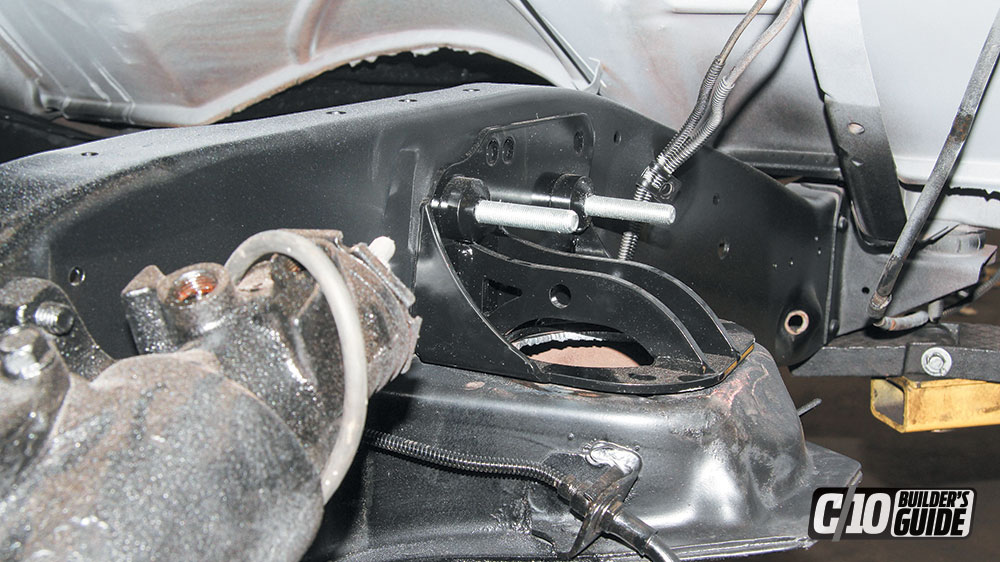
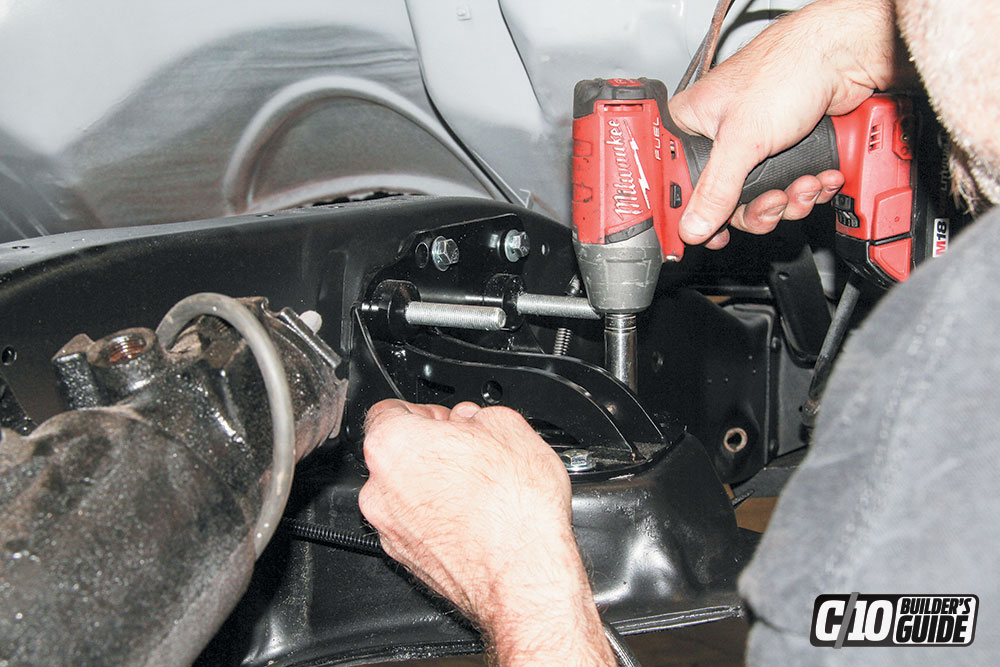
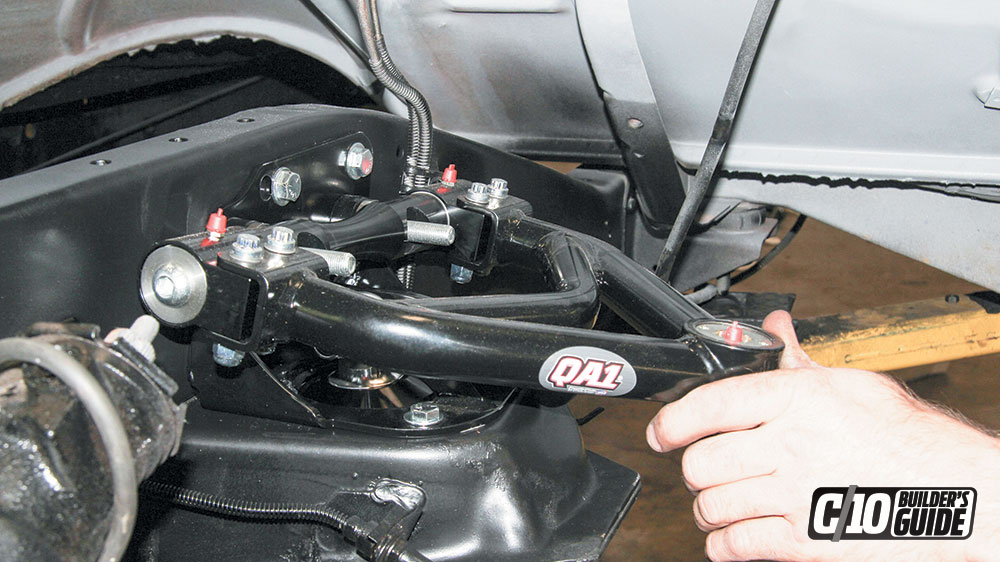
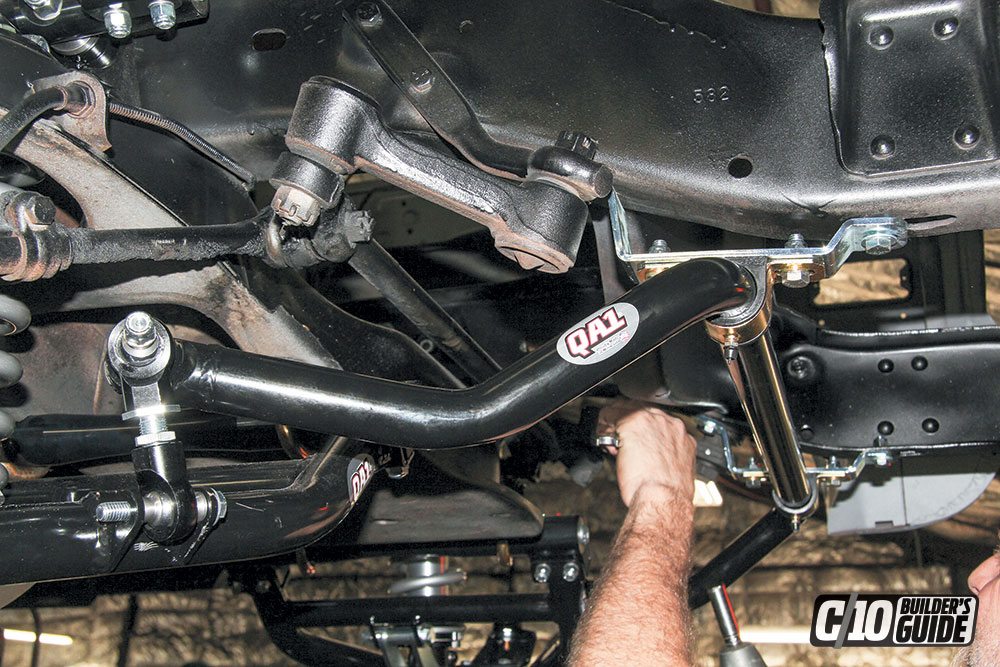
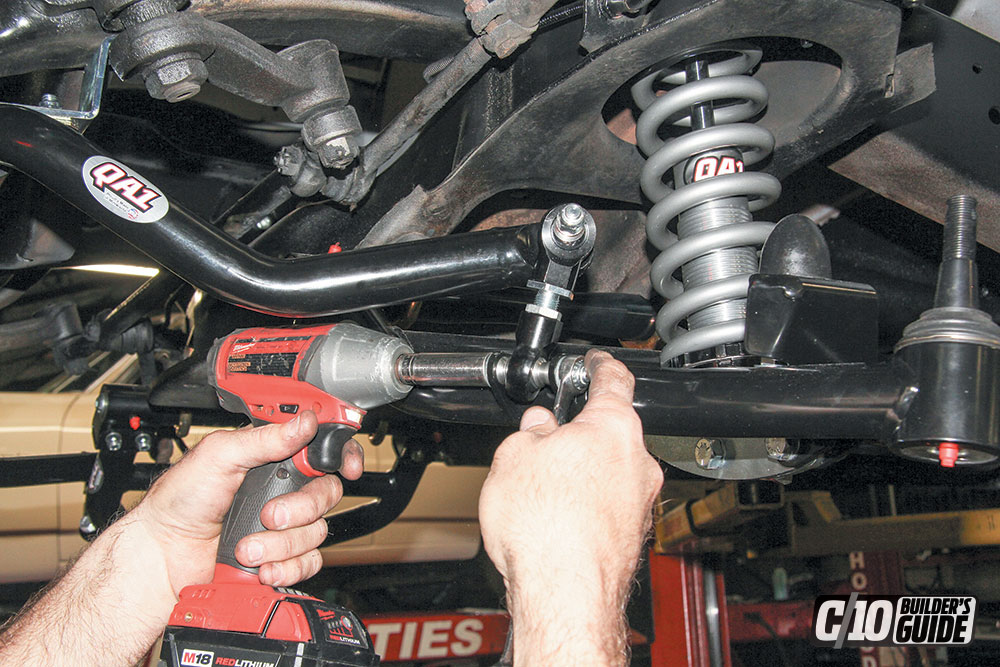
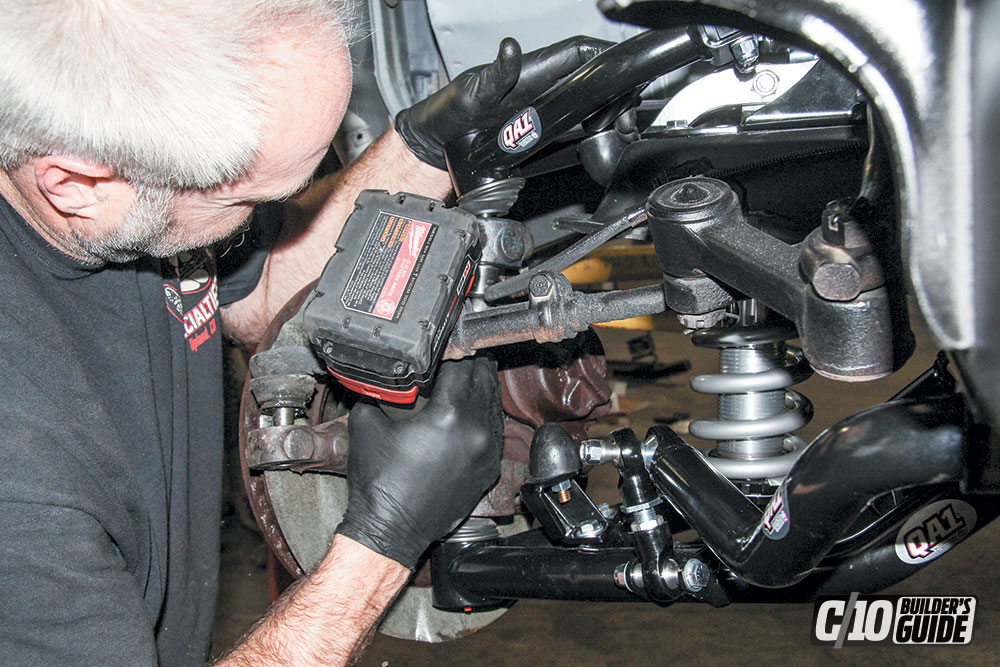
The single or double adjustable coilover shocks featured in the kits offer customizable valving to further meet the unique needs of your truck. The upper and lower control arms in the front kit are constructed from heavy-duty 12-gauge steel tubing, and have performance ball joints and low-friction polymer bushings for worry and maintenance-free performance.

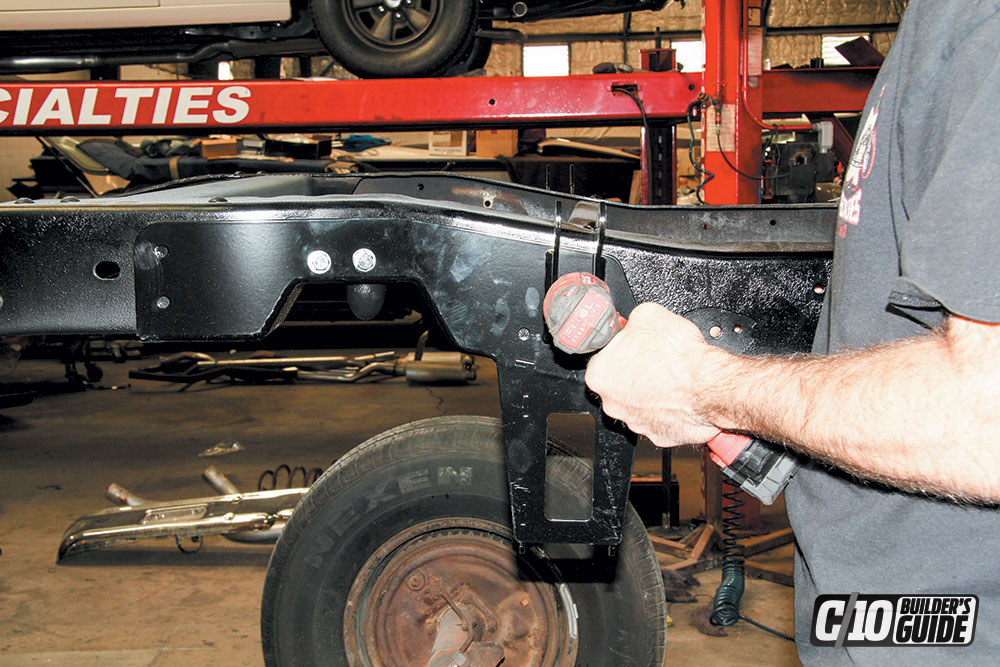
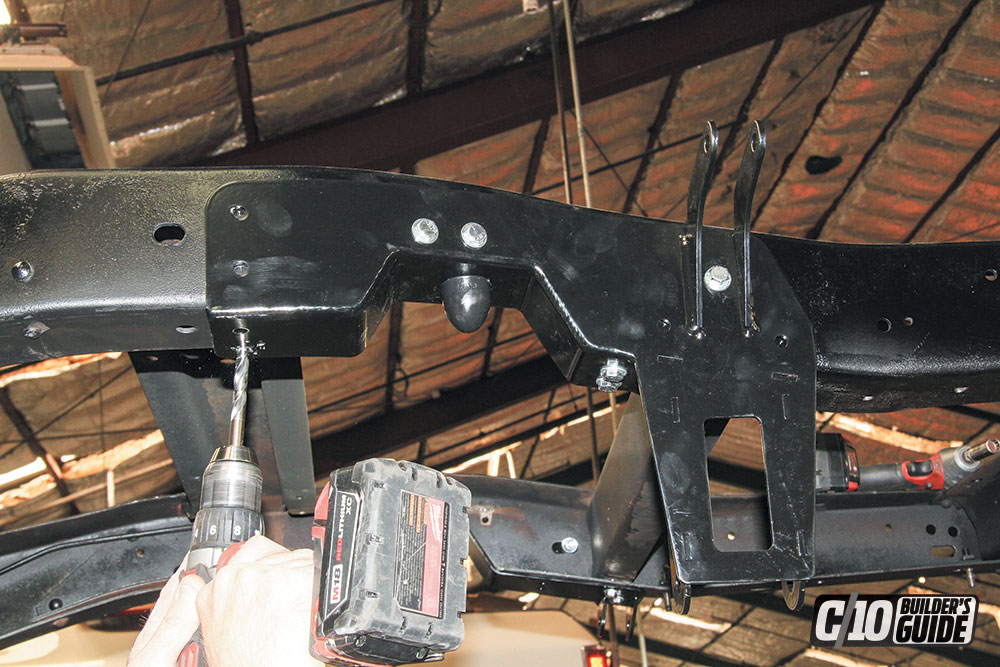
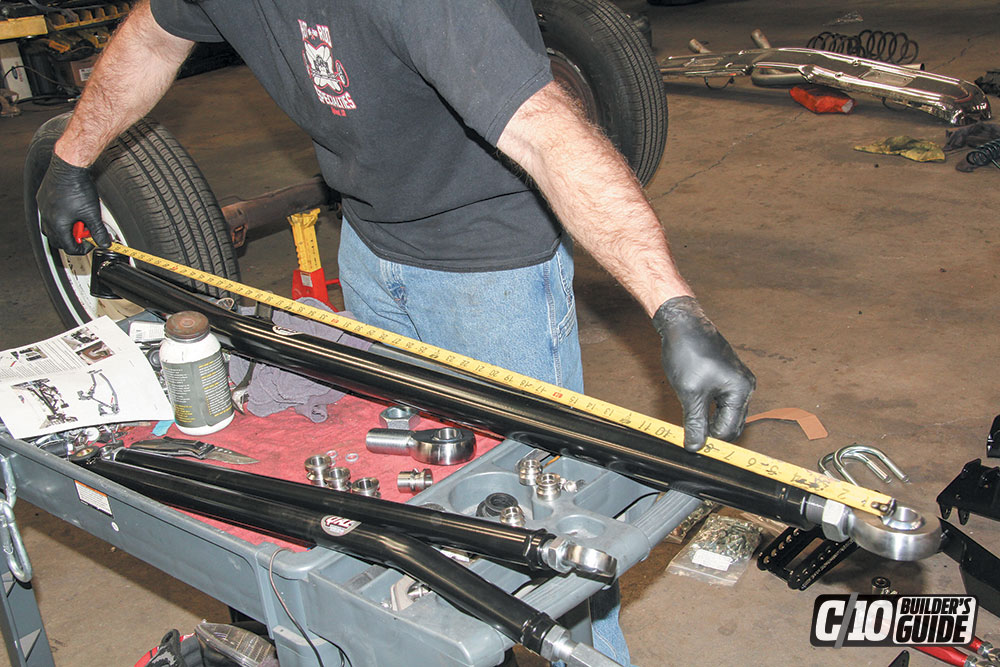
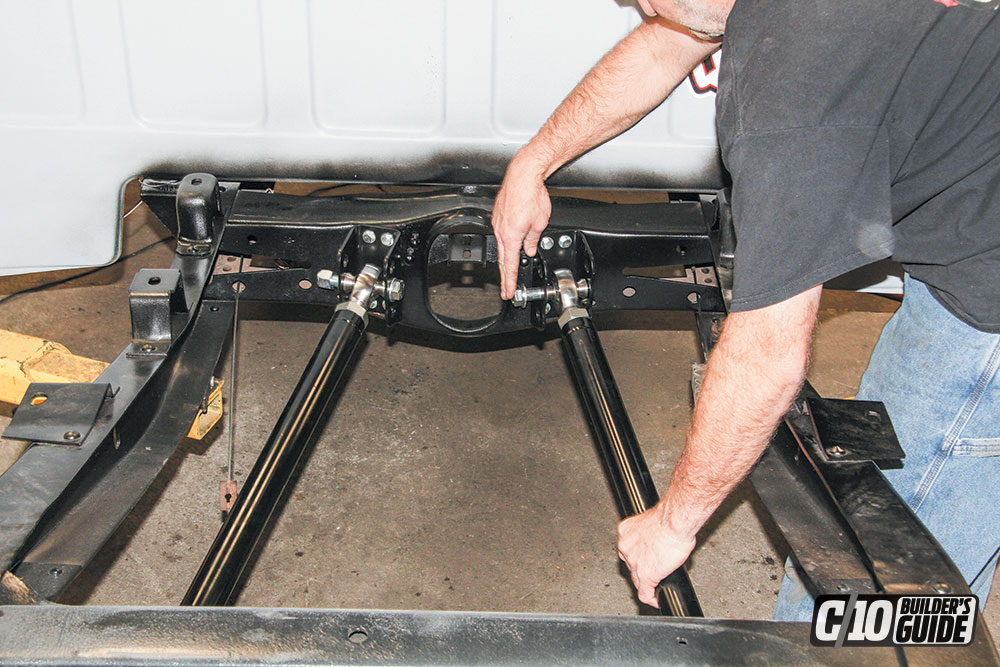
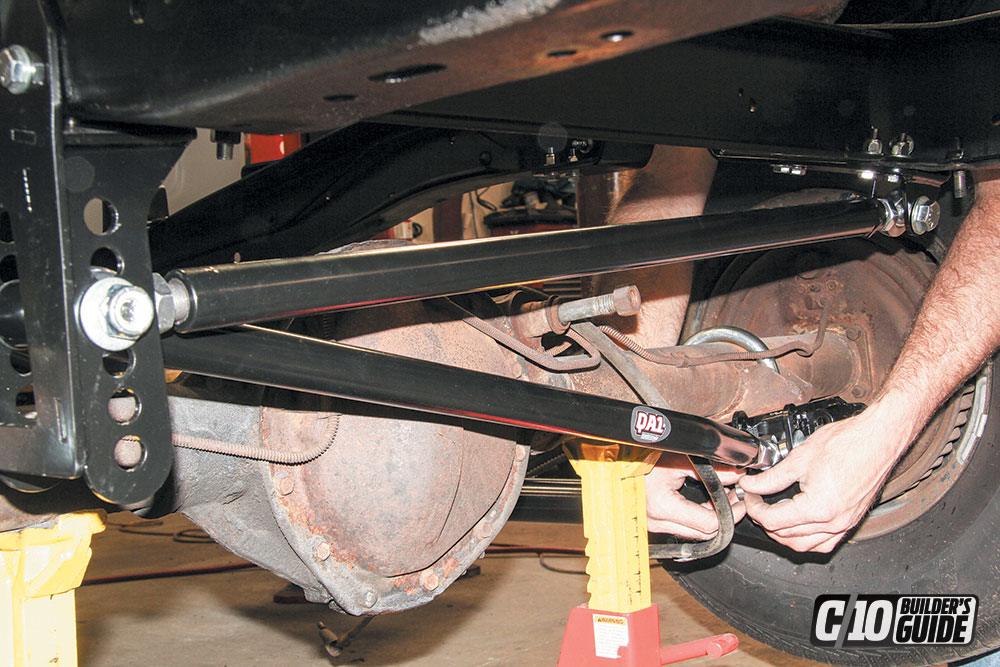
The geometry of the rear kit places the coilovers outside of the frame and closer to the wheel for better overall stability when hitting corners. The adjustable-length truck arms allow for setting of the exact wheelbase to meet your truck’s specs. When used in tandem, QA1s front and rear C10 coilover conversion packages create a real force to be reckoned with on the road.
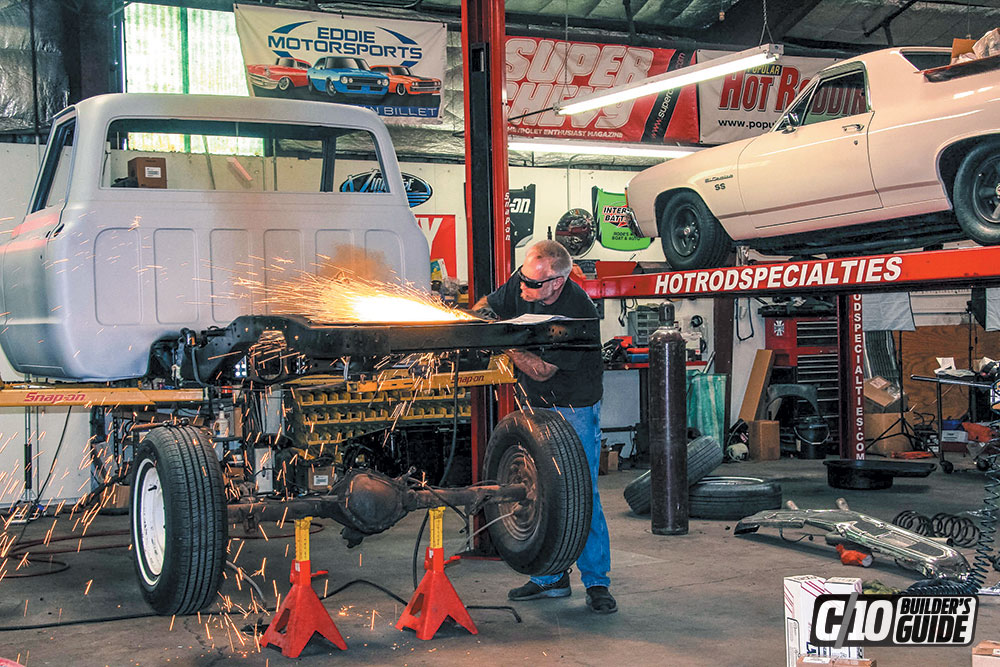
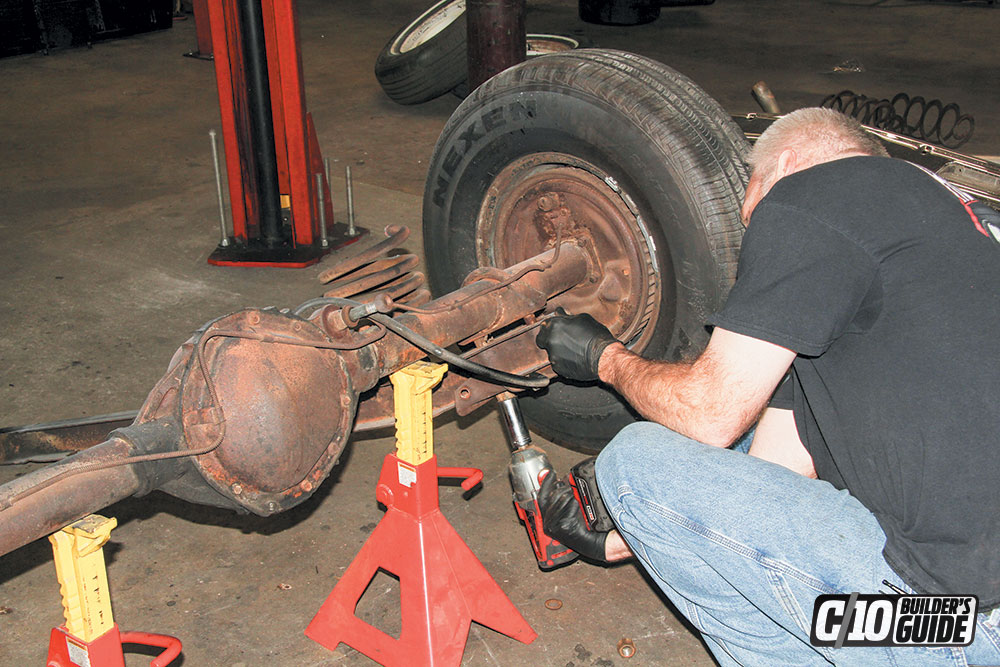
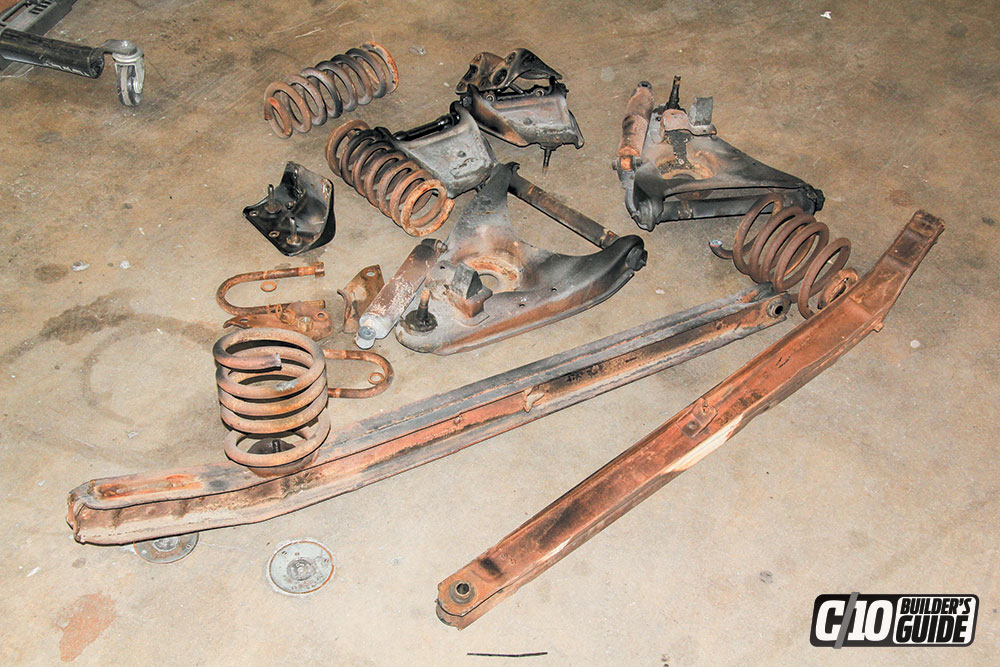
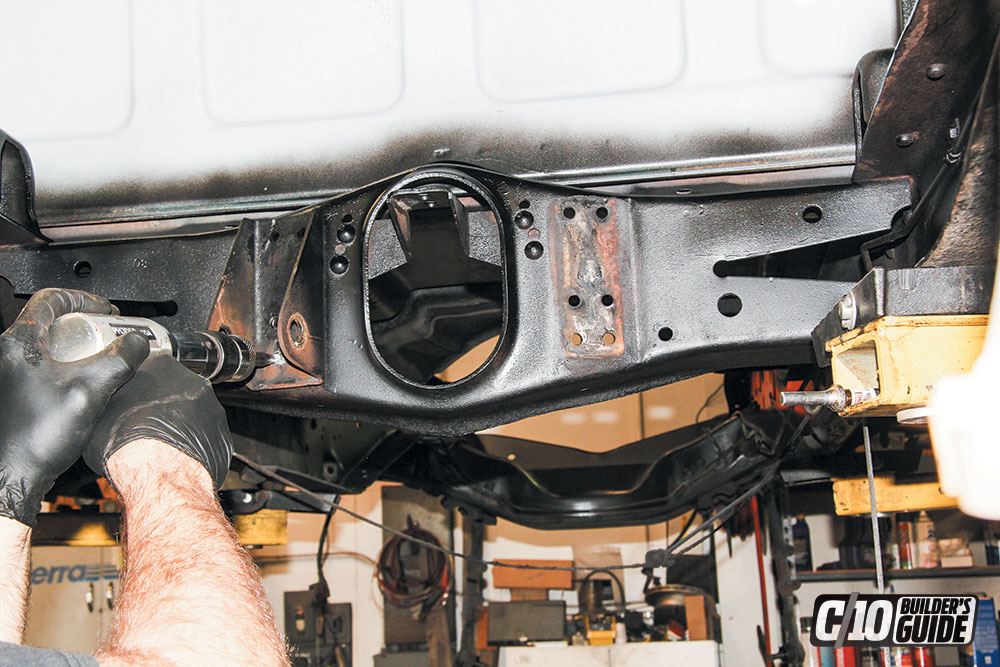
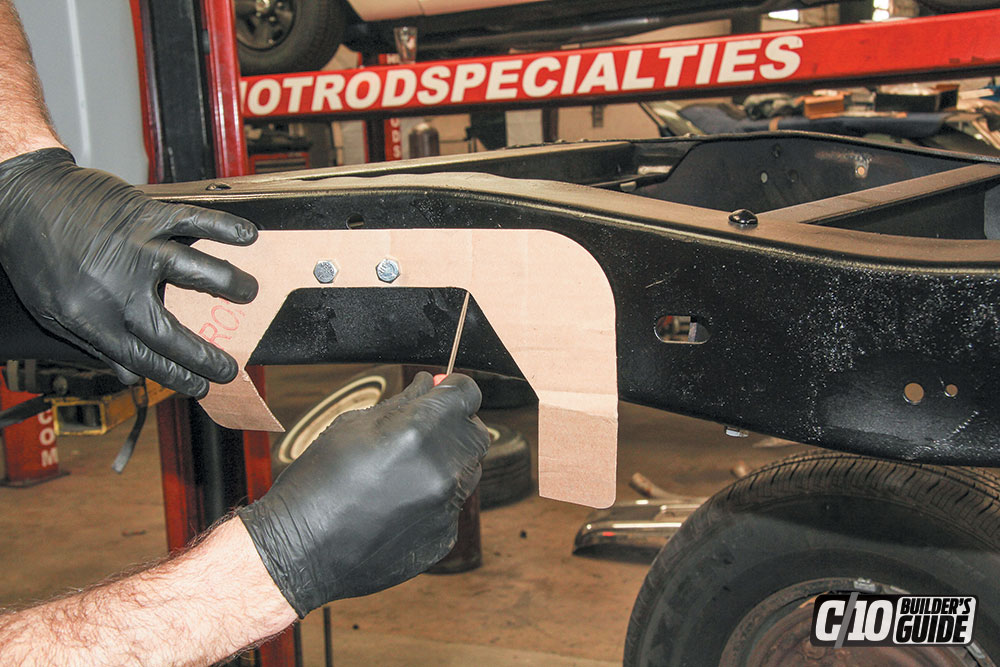
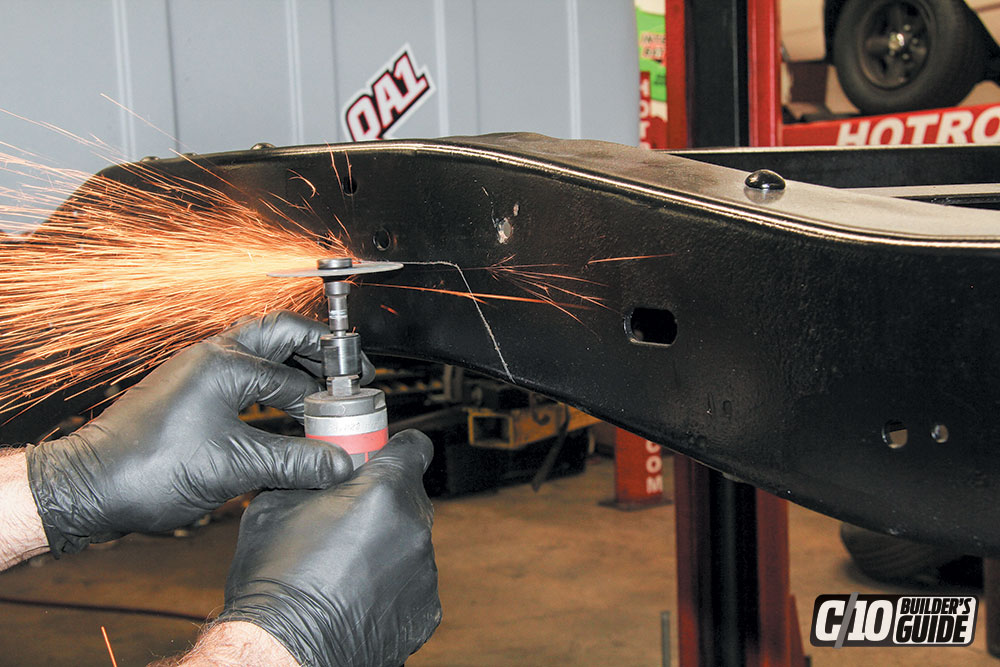
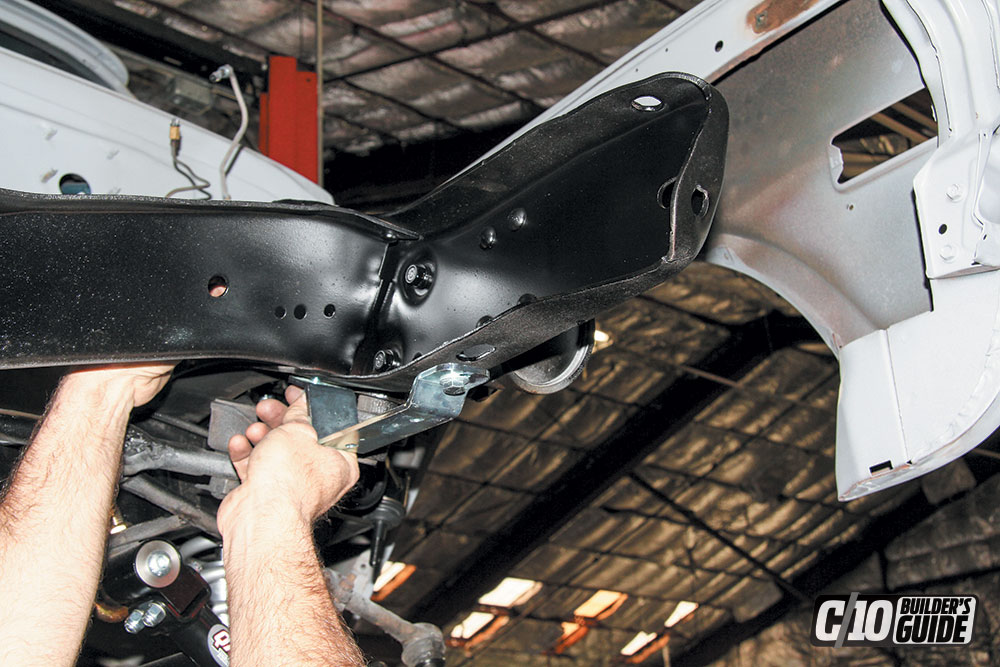
To get this party stared, follow along as we take a trip to see Joel Rode of Hot Rod Specialties in Upland, California, to transform the driving and handling action of this old ’71 C10. Its old, nearly corroded suspension system was long overdue for a change, and the QA1 kits offered more than enough ammunition to get this truck back into full attack mode. The entire install is completely bolt-on, making it possible for a capable weekend mechanic to get the job done in their home garage, which is also a huge benefit.
For further information on QA1’s high-end offering for C10s and other pickup models, visit QA1.net.


Department
Street Trucks Magazine Letter from the editor Chris Hamilton. Living the Life and Printing the Passion! Ever since I was a kid, and even before… Continue reading
Chris Hamilton . February 12, 2021
c10
It’s Not What It Looks Like.. Trucks have certainly evolved over the last century. At first, they were simply built to offer more cargo room… Continue reading
Mike Self . September 17, 2021
c10
We all have that bucket list truck we want to own or build. For me, that truck is a 1967-’68 patina 503 light green shortbed… Continue reading
JOSH MCPHERSON . May 12, 2022
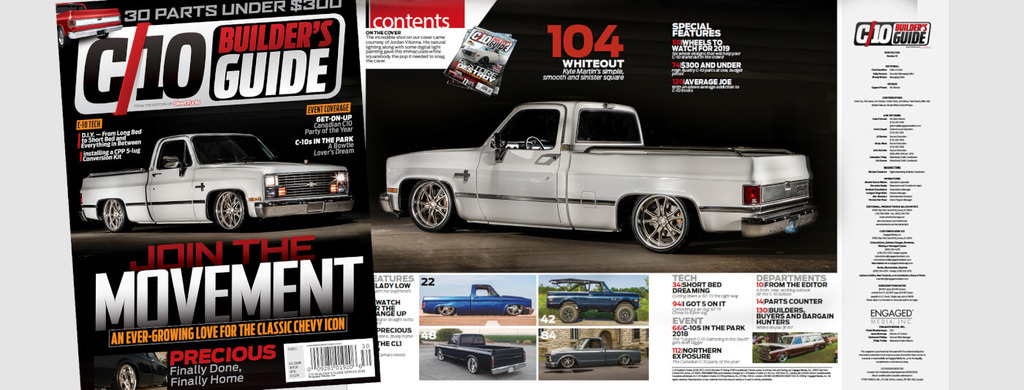
C10 Builders Guide
C-10 Builder’s Guide | Number 13 – Spring 2019 SUBSCRIBE NOW OR BUY ONLINE! The incredible shot on our cover came courtesy of Jordan Vilonna.… Continue reading
Chris Hamilton . November 28, 2018
c10
Installing Mar-K’s Body-Side Molding on a ’77 C10! Nothing sets off an early squarebody more than a complete set of body-side moldings. A few different… Continue reading
JERRY MCFARLAND . March 16, 2021
Blood Sweat and Gears
LS in an OBS…. Making the Swap After the Drop! Before the pandemic, life was easier in so many ways for so many people. One… Continue reading
Chris Hamilton . May 06, 2021


We use cookies to enhance your browsing experience, serve personalized ads or content, and analyze our traffic. By clicking "Accept All", you consent to our use of cookies. Visit our Cookie Policy for more info.


Share Link