 Mike Alexander
.
June 05, 2019
.
C10 Builders Guide
.
Mike Alexander
.
June 05, 2019
.
C10 Builders Guide
.
When building the perfect classic truck, the usual winning recipe is to retain its classic looks and style, and then pair them with modern performance and reliability (although we have a special place in our hearts for full classic restos too).
Instrumentation is a key element in this winning formula, and the HDX series from Dakota Digital is the latest in aftermarket automotive instrumentation technology. Expanding on the popular VHX series, HDX takes personalization and usability to a whole new level. Available with black or silver alloy gauge-face styling, the new HDX system allows users to select their favorite illumination color for the gauge readings and needles, as well as the TFT message center displays.

Calibration and personal settings can also be manipulated with the built-in capacitive-touch buttons or the available Bluetooth app for Apple and Android devices. Each needle hub is spun aluminum and black nickel plated to match the buttons. With the instrument system dialed in, including calibration of the speedometer and fuel gauge, the system can calculate remaining fuel range, expressed in miles to empty, as well. All HDX instrument systems feature integrated dash indicators (turn signals, high beam, check engine, cruise control engaged and parking brake) and a red user-settable warning light for each gauge.
The level of personalization this package offers is endless, so we were excited to get our hands on a setup and take it for a spin in our project F-100. This setup is now available for various applications, and we were anxious to check out its cool factor and see how easy it was to install.
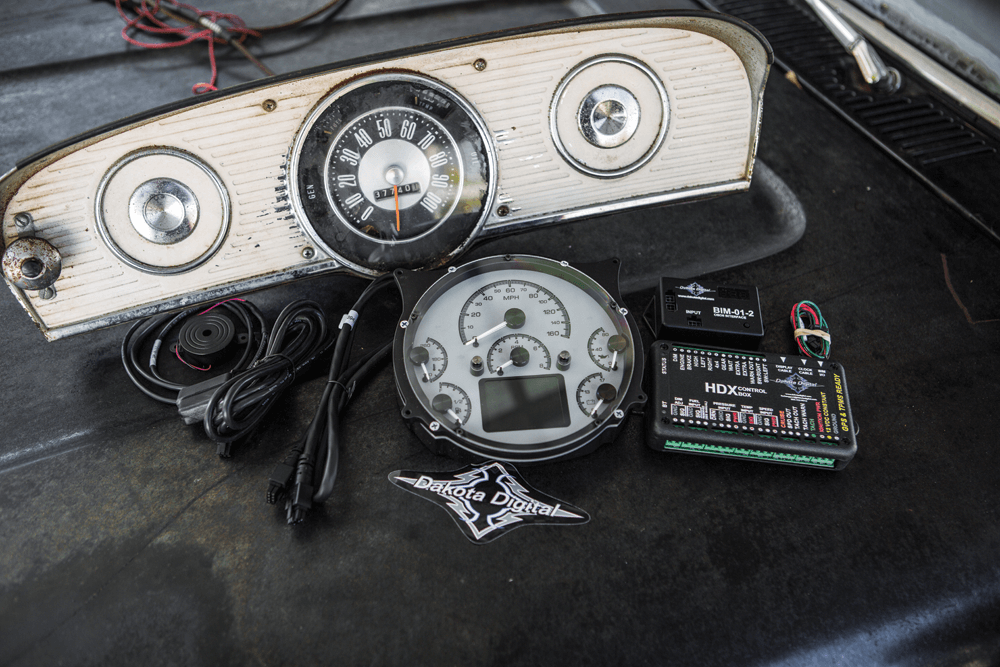
[dropcap size=big]01[/dropcap] Unpacking the Dakota Digital HDX system was a treat in itself, beautiful components all in one simple and clean setup.
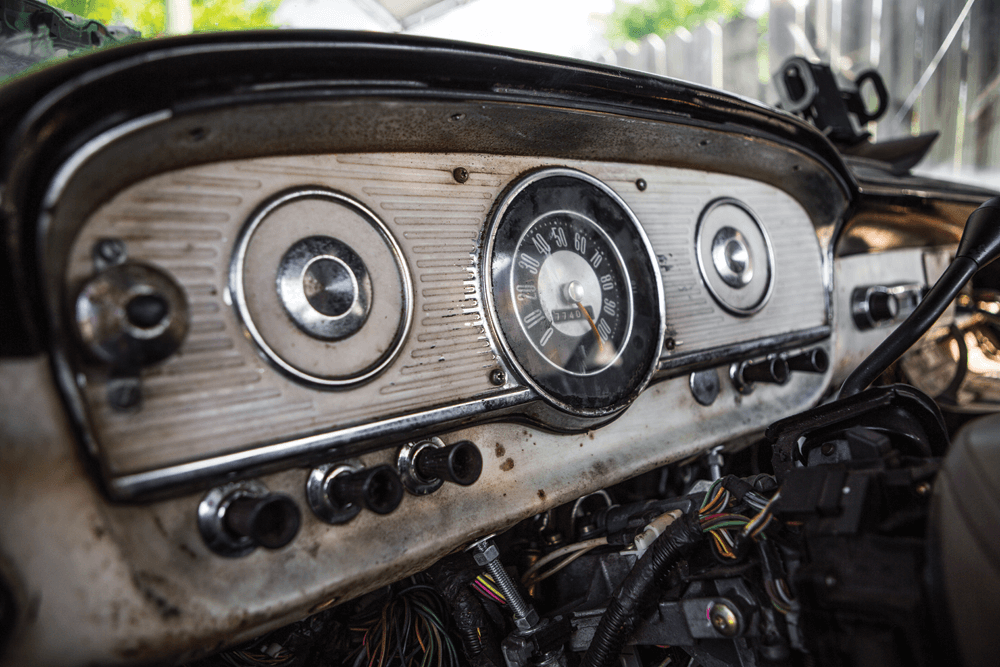
[dropcap size=big]02[/dropcap] Here’s our fresh canvas. It’s not bad, but an updated cluster with more readily available info will be a nice addition.
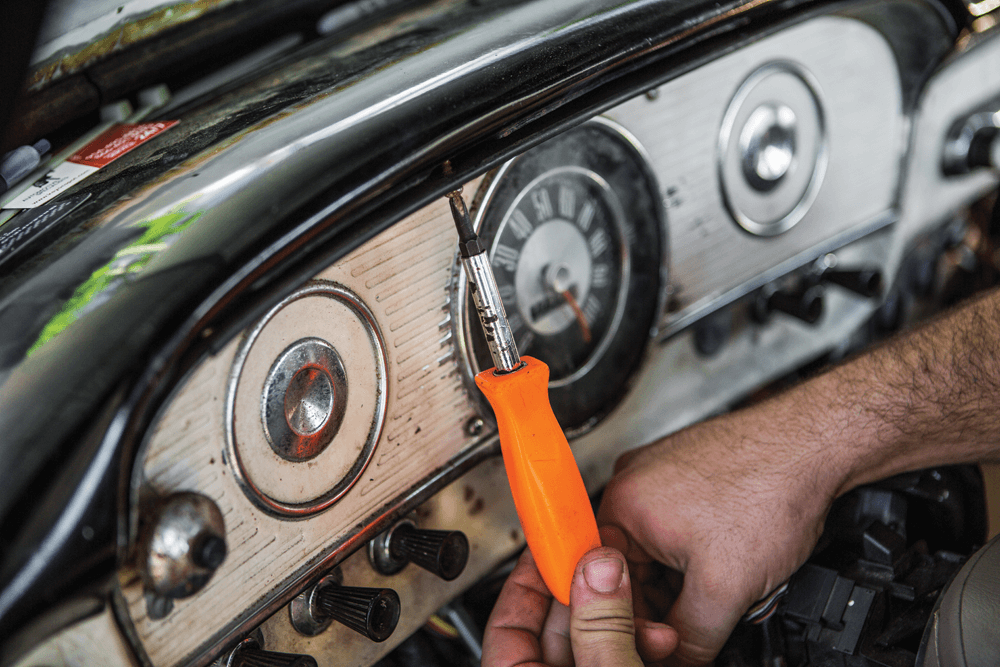
[dropcap size=big]03[/dropcap] First up, remove the screws holding the bezel using a Philips screwdriver.
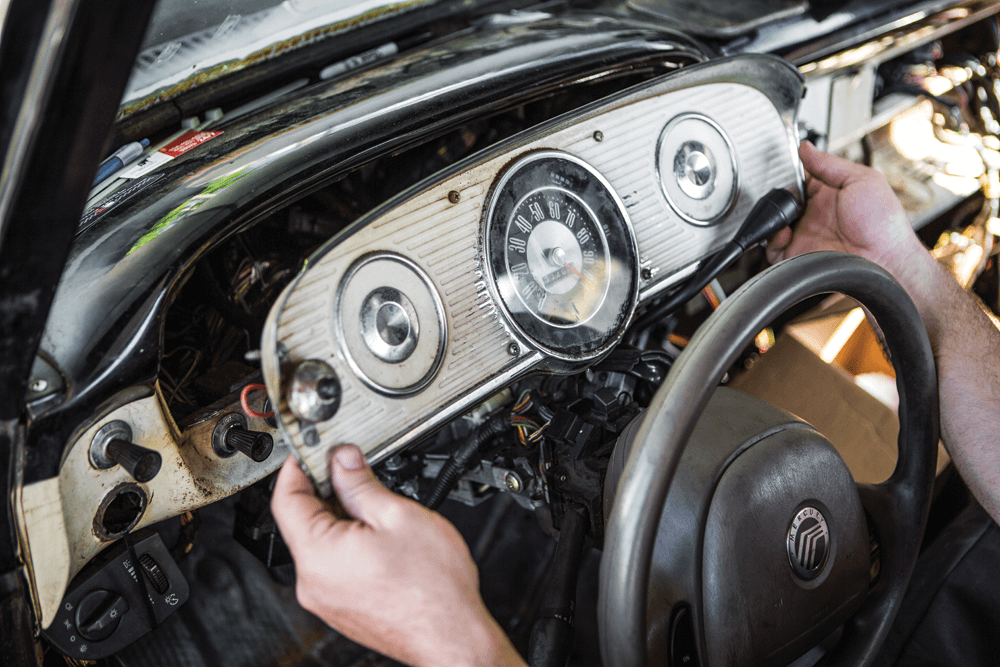
[dropcap size=big]04[/dropcap] Once the screws are out, remove the factory bezel from the dashboard.
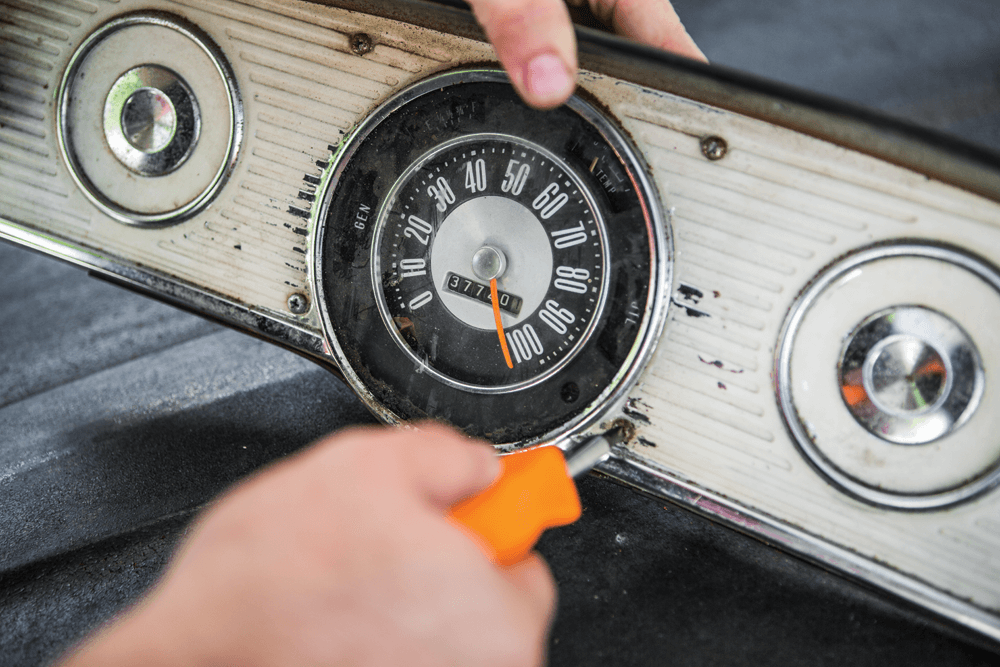
[dropcap size=big]05[/dropcap] Next, unscrew the four Phillip screws that hold the gauge in the cluster.
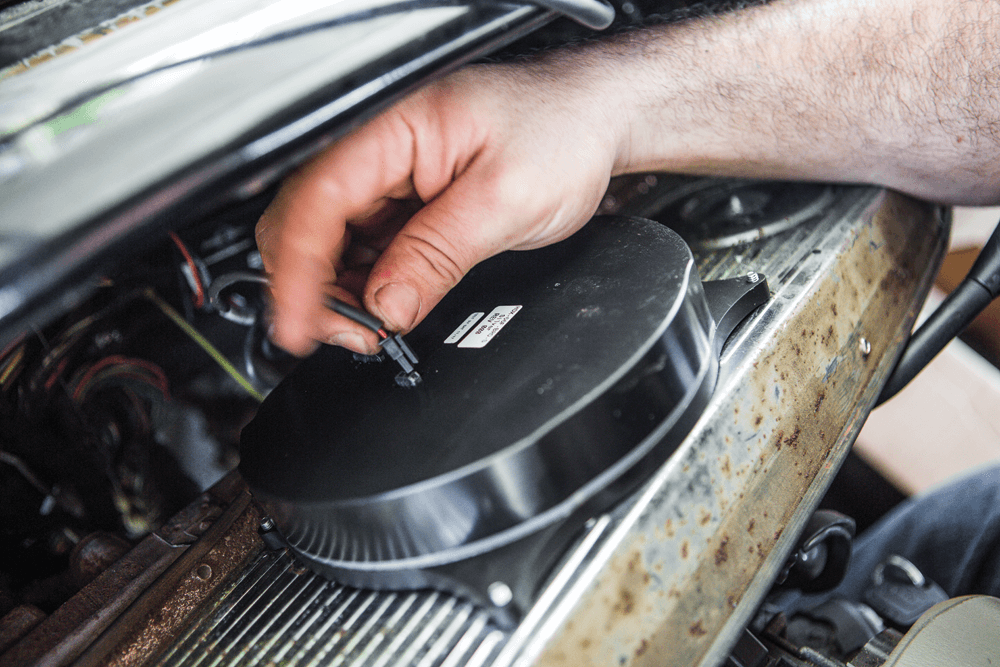
[dropcap size=big]06[/dropcap] Remove the gauge cluster and set it aside. We’ll be using some of its components to install the new HDX setup.
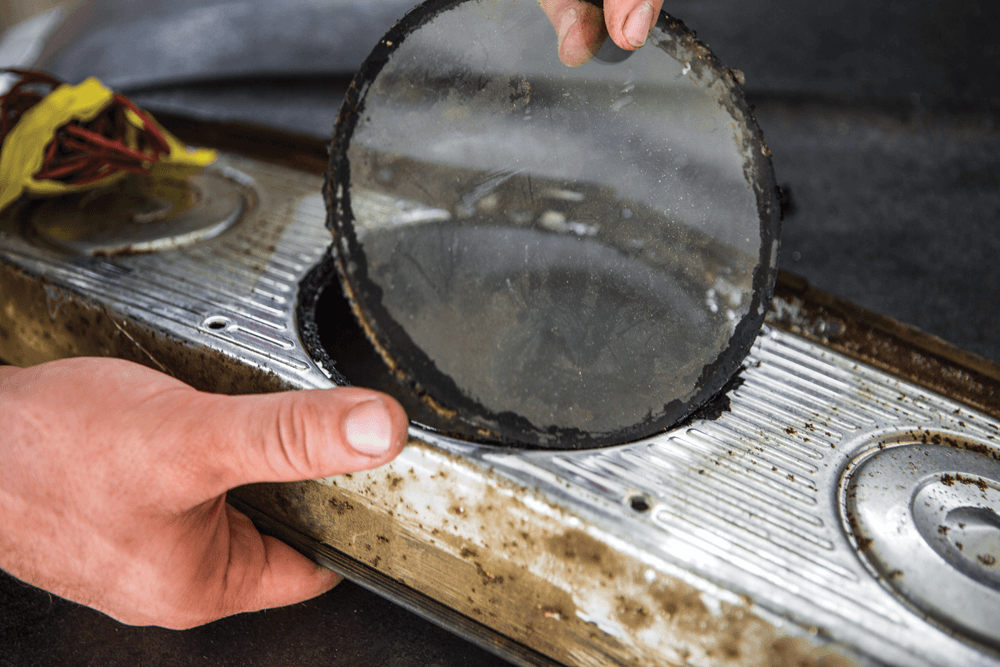
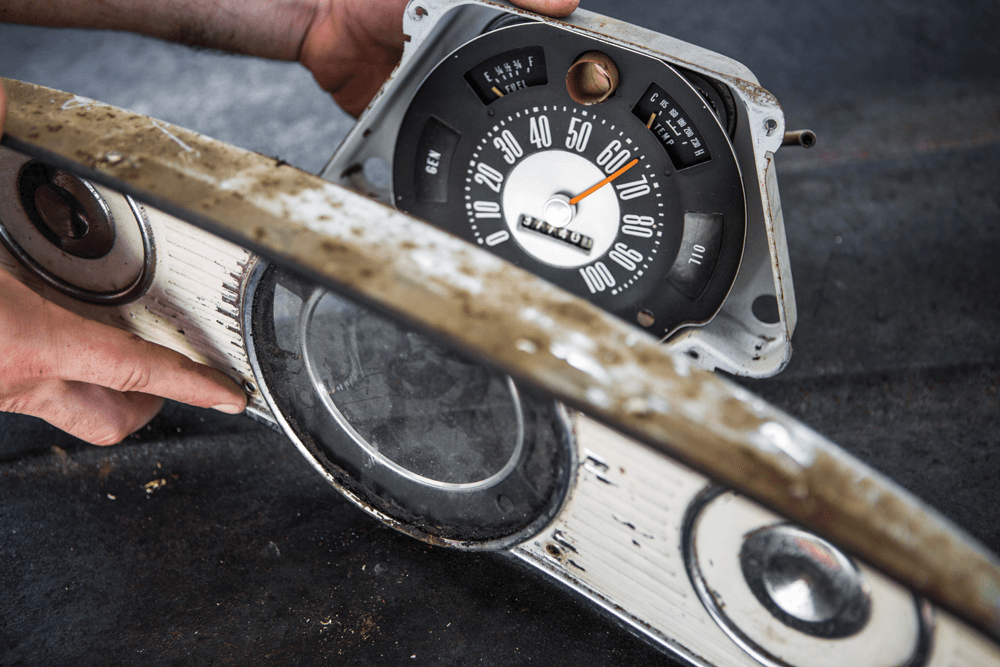
[dropcap size=big]07[/dropcap] Remove the gauge face surround
and glass.
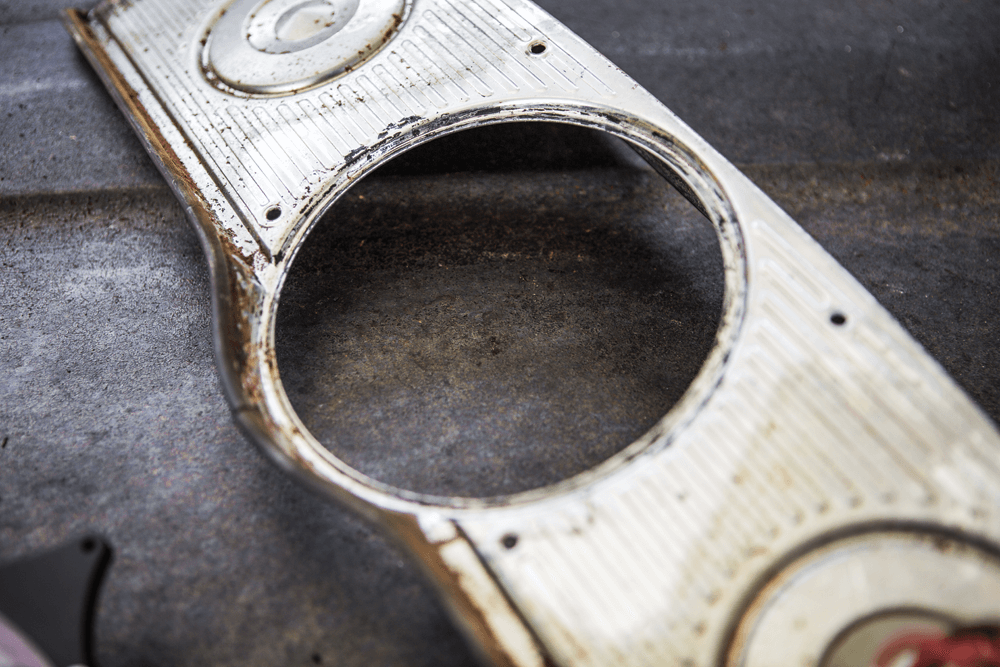
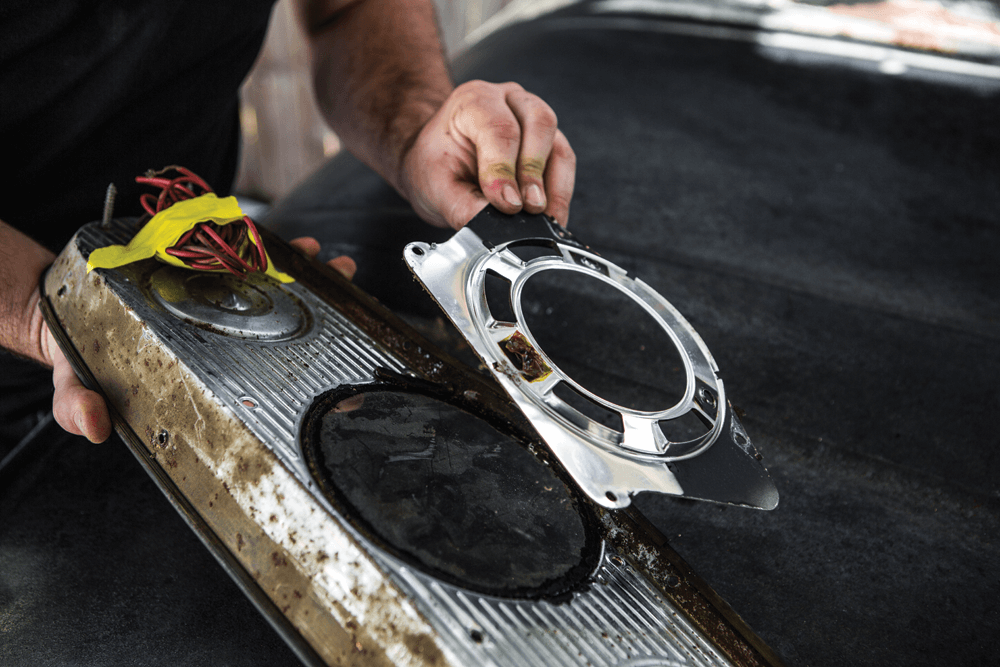
[dropcap size=big]08[/dropcap] Clean up the bezel as needed for a perfect fit.
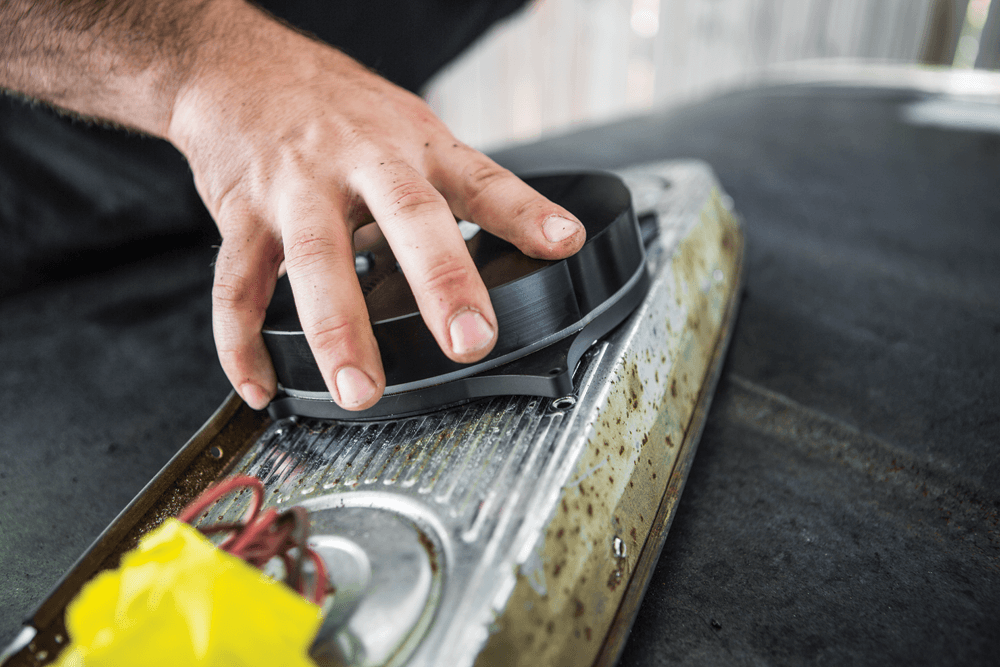
[dropcap size=big]09[/dropcap] Place the new Dakota HDX into position. Be sure to test-fit before attaching.

[dropcap size=big]10[/dropcap] Use the supplied screws to install the new gauge cluster into the bezel; it’s threaded in from the front.
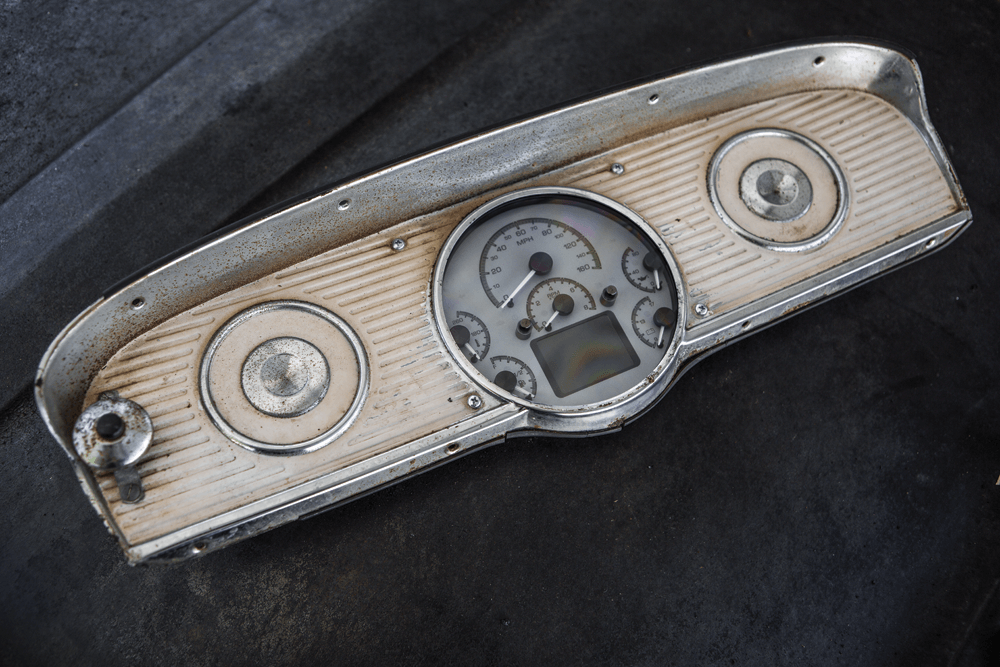
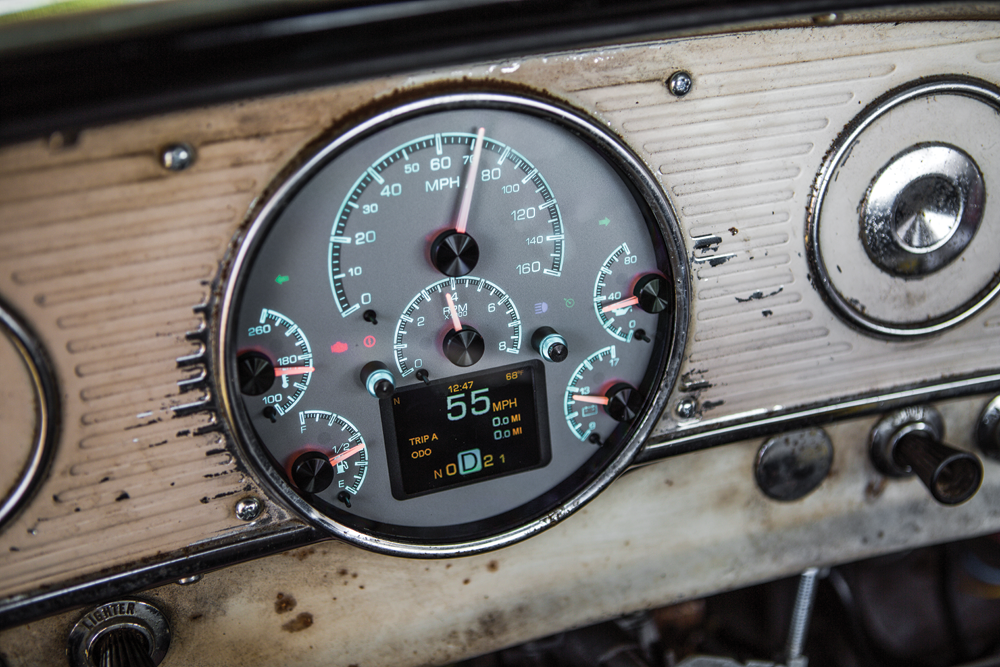
[dropcap size=big]11[/dropcap] See how nice that looks, a bit of classic paired perfectly with modern technology. Now on to some easy wiring.
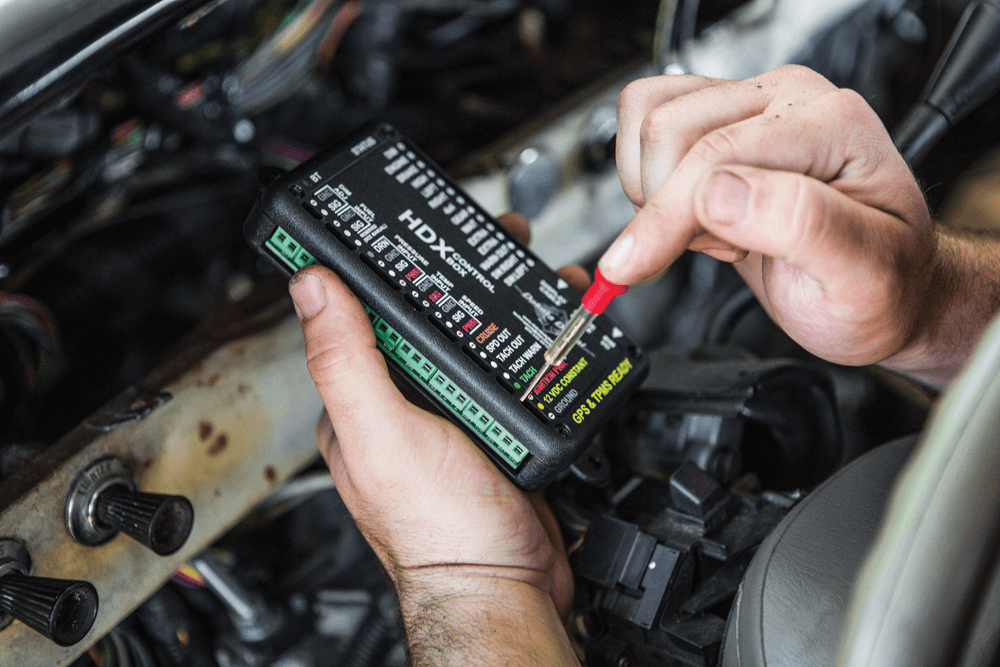
[dropcap size=big]12[/dropcap] Wire up a ground, 12v constant and ignition power to the HDX control module.
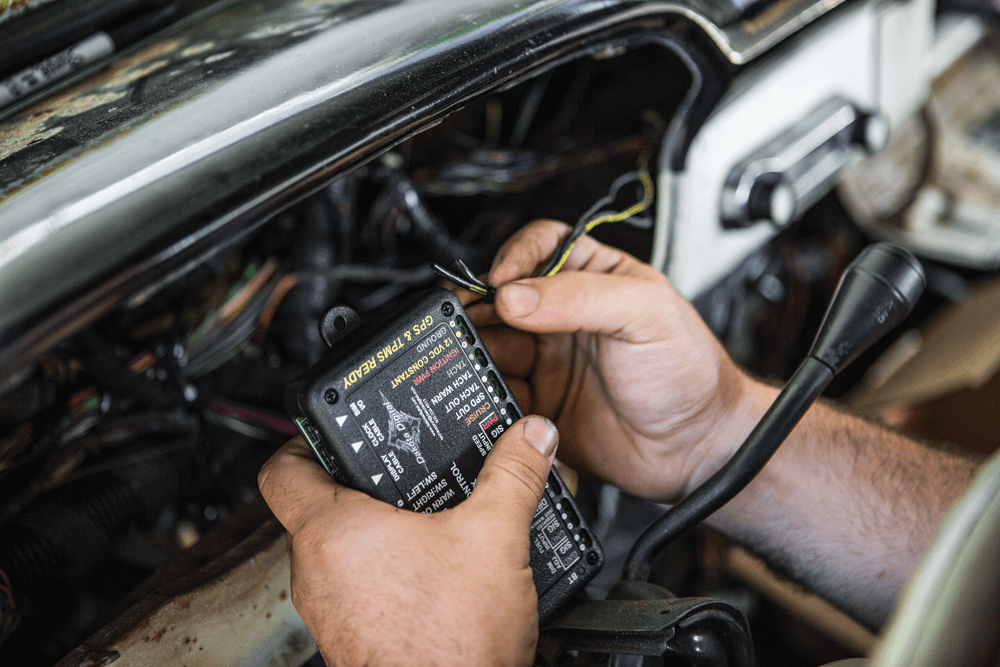
[dropcap size=big]13[/dropcap] There are a ton of options to connect as many or as few modern conveniences as you’d like. With plenty of outputs, find your leads, and the HDX control module will take care of the rest.
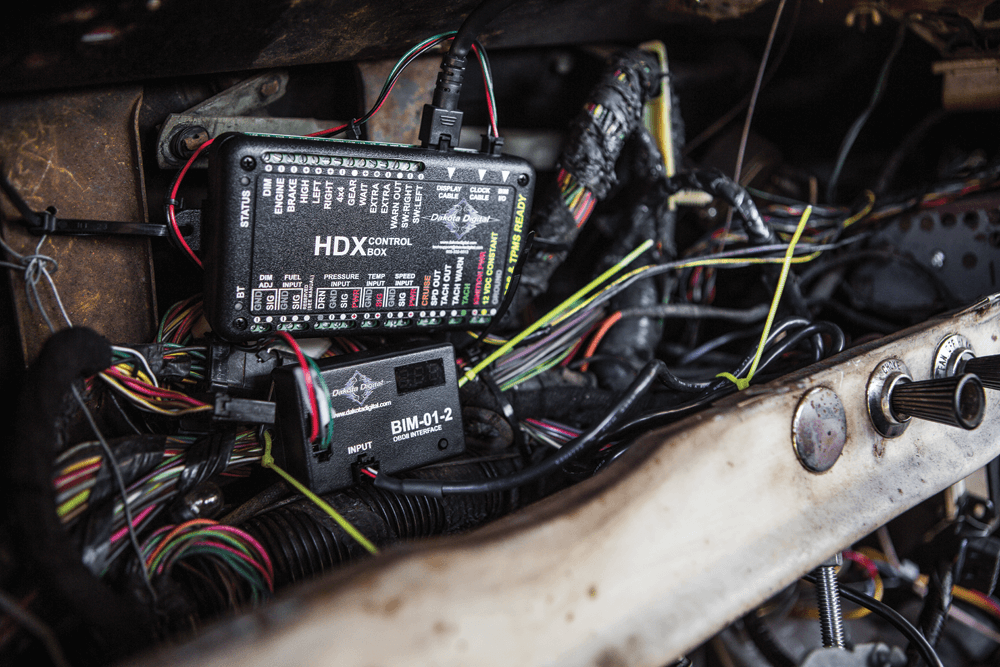
[dropcap size=big]14[/dropcap] Find a nice home for the control module (we have it zip-tied temporarily until we dial in all of the other options we might want to run).
[dropcap size=big]15[/dropcap] Next, connect the BIM OBD2 module to the OBD2 port.
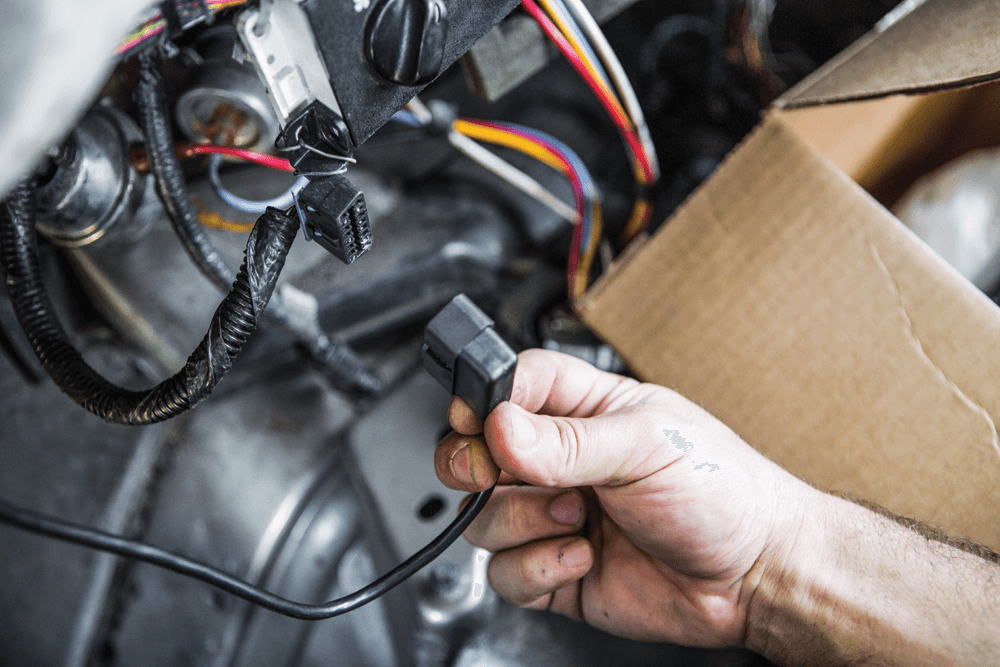
[dropcap size=big]16[/dropcap] The final wiring step is connecting the wire from the control module to the display.

[dropcap size=big]17[/dropcap] With the wiring wrapped up (for now), we’ll reinstall the bezel.
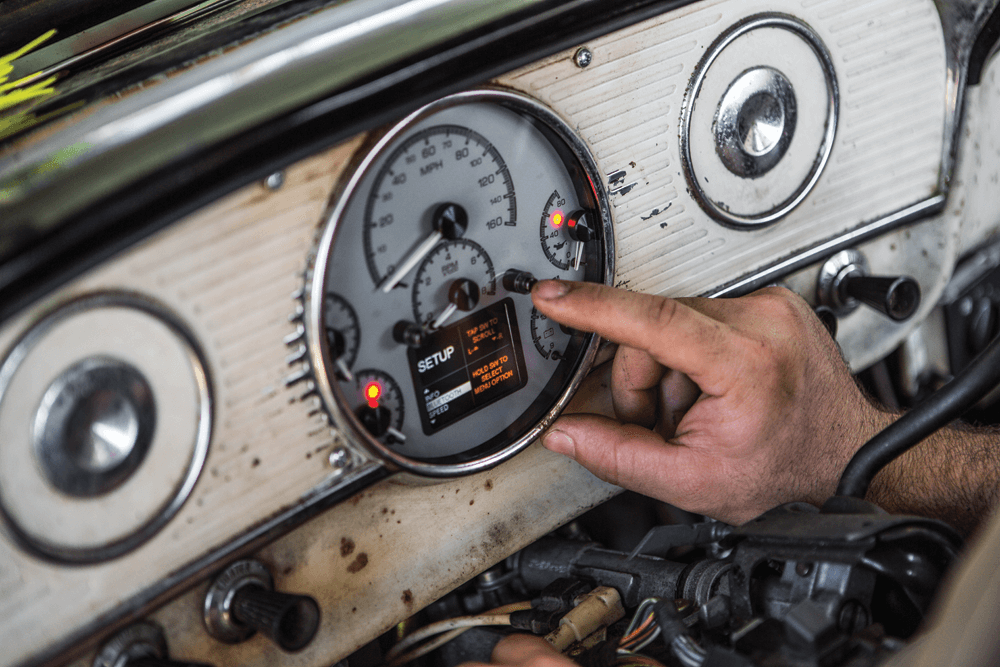
[dropcap size=big]18[/dropcap] Setup and personalization is just two buttons away with endless possibilities.
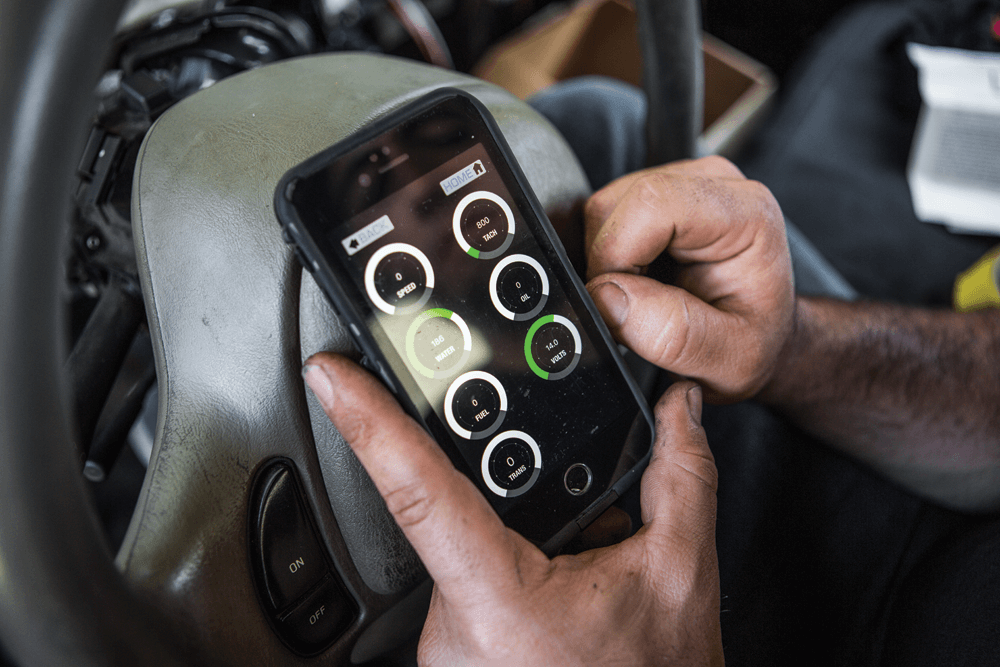
[dropcap size=big]19[/dropcap] As if the system weren’t fancy enough, you can also handle the setup with the Dakota Digital app via Bluetooth signal.
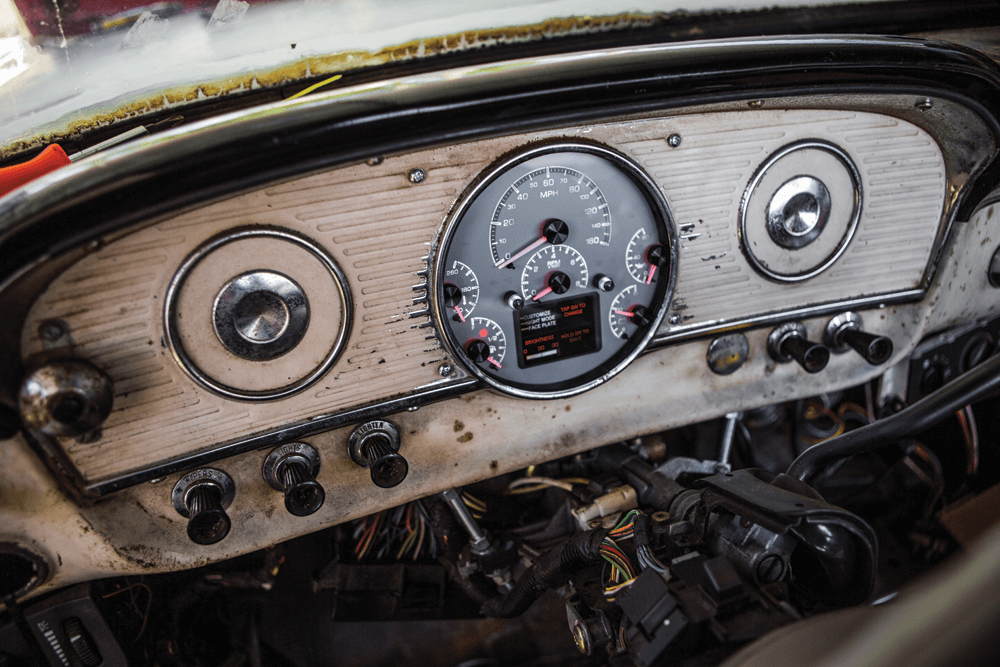
[dropcap size=big]20[/dropcap] After a super easy installation, the world is at your fingertips. Not only does the kit look good, but it also works great for keeping track of your vitals.
Dakota Digital Inc.
800.852.3228
Dakotadigital.com
Unibody Union
@unibodyunion on IG
Unibodyunion.com

c10
A LOT OF SHOPS BUILD CUSTOM VEHICLES TO SERVE AS A ROLLING BUSINESS CARD— AN ADVERTISEMENT FOR THE TYPE AND QUALITY OF WORK CAPABLE OF… Continue reading
John Mata Jr. . December 09, 2019
C10 Builders Guide
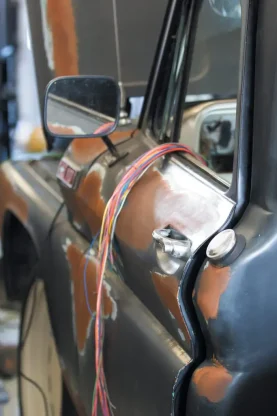
WITH THE suspension installed and the body back together, it’s time to give our 1965 Chevy C10 a new set of veins. The original electrical… Continue reading
Chris Hamilton . May 04, 2020

C10 Builders Guide
Representing the latest electronic dashboard technology for the street rodder, car and truck enthusiast alike, the RTX system combines modern digital electronics with a traditional… Continue reading
Chris Hamilton . February 24, 2020
C10 Builders Guide
If you remember, we closed the last issue by running all new wires throughout our project ’65 C10. The pre-engineered kit from Painless Performance wiring… Continue reading
Chris Hamilton . June 17, 2020
Blood Sweat and Gears
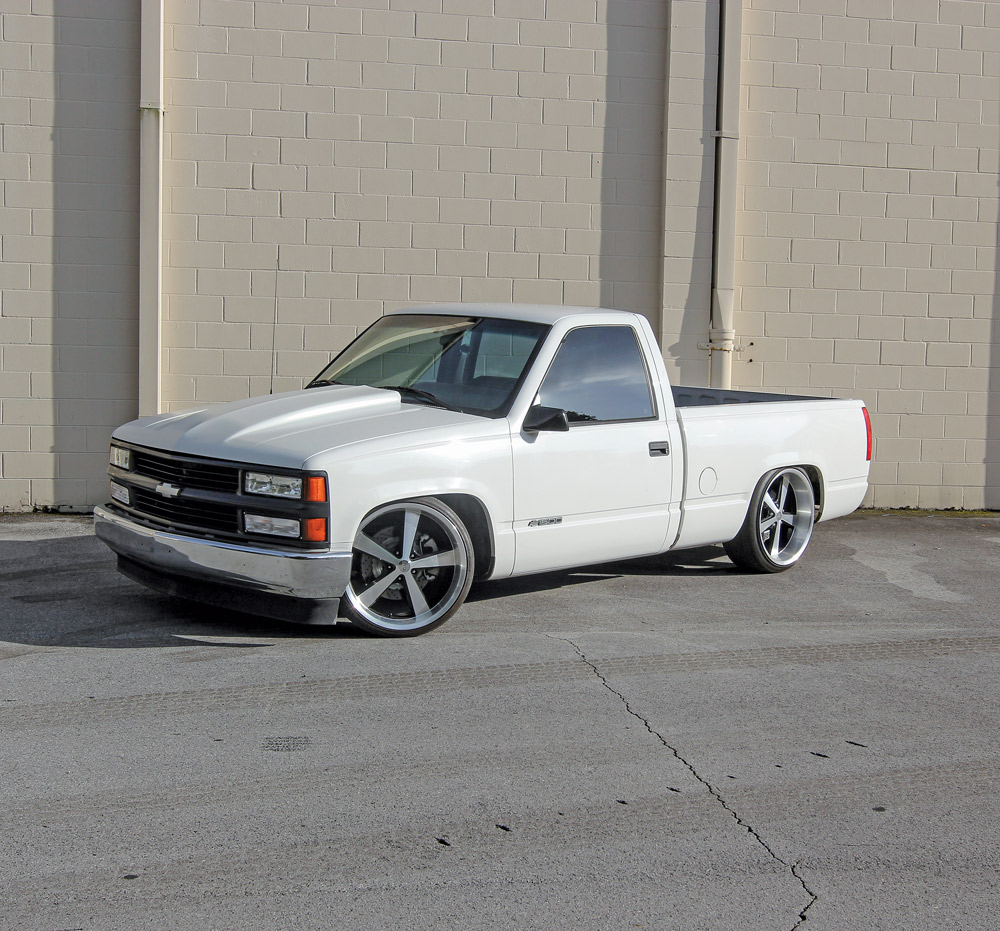
A Street Truck Aimed to Inspire The classic movie, “A Streetcar Named Desire,” was recently selected for preservation in the United States National Film Registry… Continue reading
Chris Hamilton . September 02, 2020

Features
On Every Kid’s Wish List in the 1990s How many of you wanted a Red Ryder BB gun after “A Christmas Story” appeared on TV… Continue reading
Chris Hamilton . June 06, 2022


We use cookies to enhance your browsing experience, serve personalized ads or content, and analyze our traffic. By clicking "Accept All", you consent to our use of cookies. Visit our Cookie Policy for more info.


Share Link