 ST-STAFF
.
January 21, 2020
.
C10 Builders Guide
.
ST-STAFF
.
January 21, 2020
.
C10 Builders Guide
.

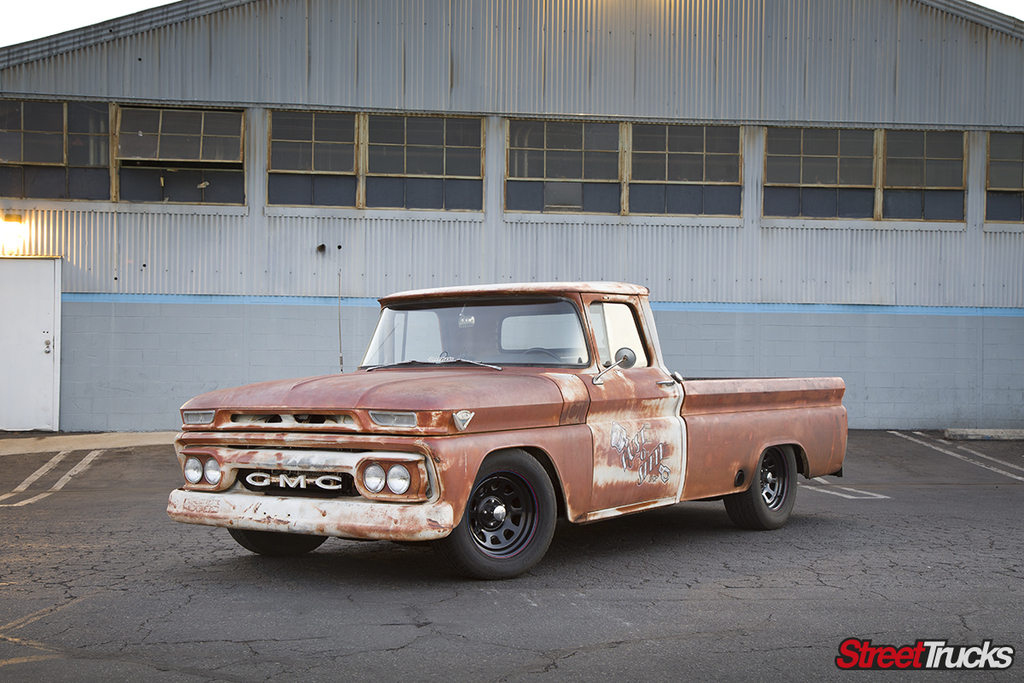
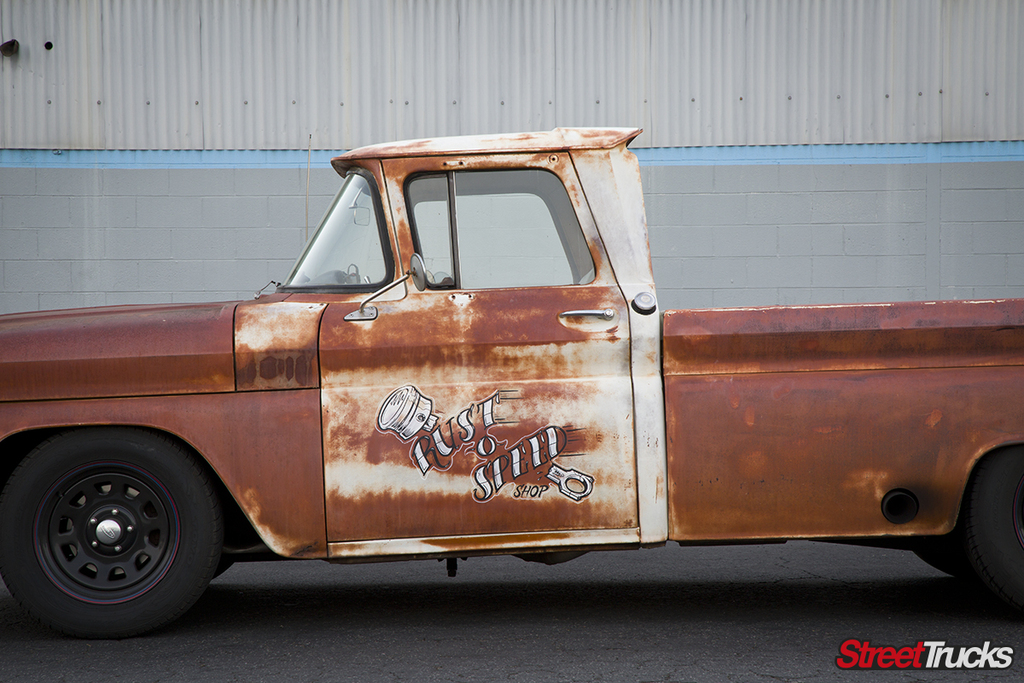
Trucks with patina are certainly rad, but patina trucks with old-school sign work are even better. Most of us can agree that these classic trucks look great with original sign art that was done decades earlier, or at least looks like it was. It really adds to the style and gives trucks tons of character. However, it’s pretty damn difficult to find a patina truck with a straight body and old-school artwork.

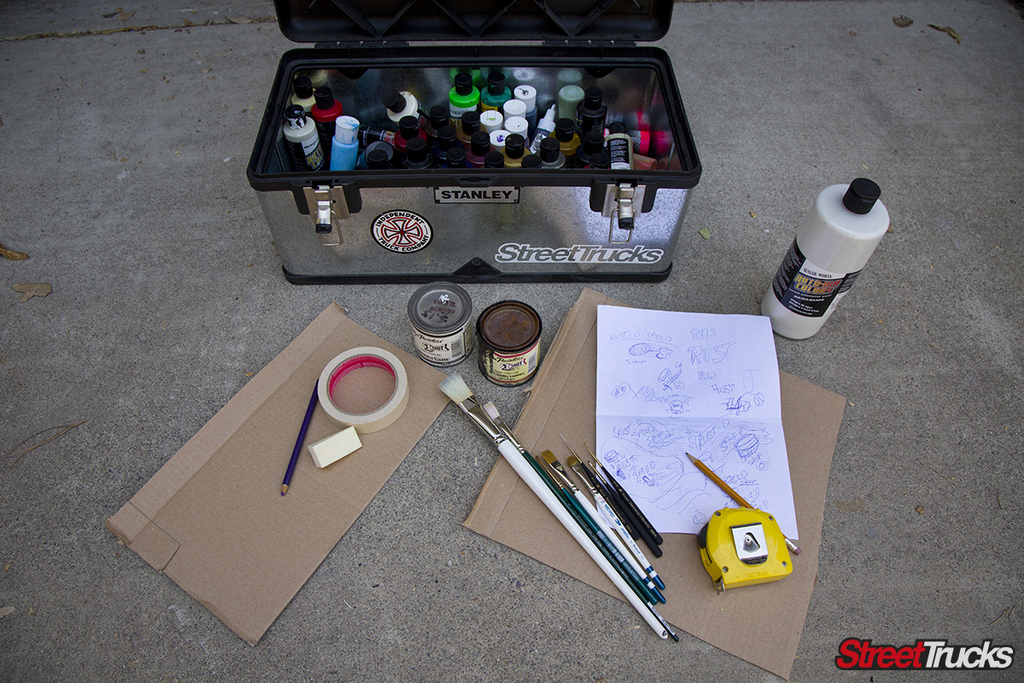
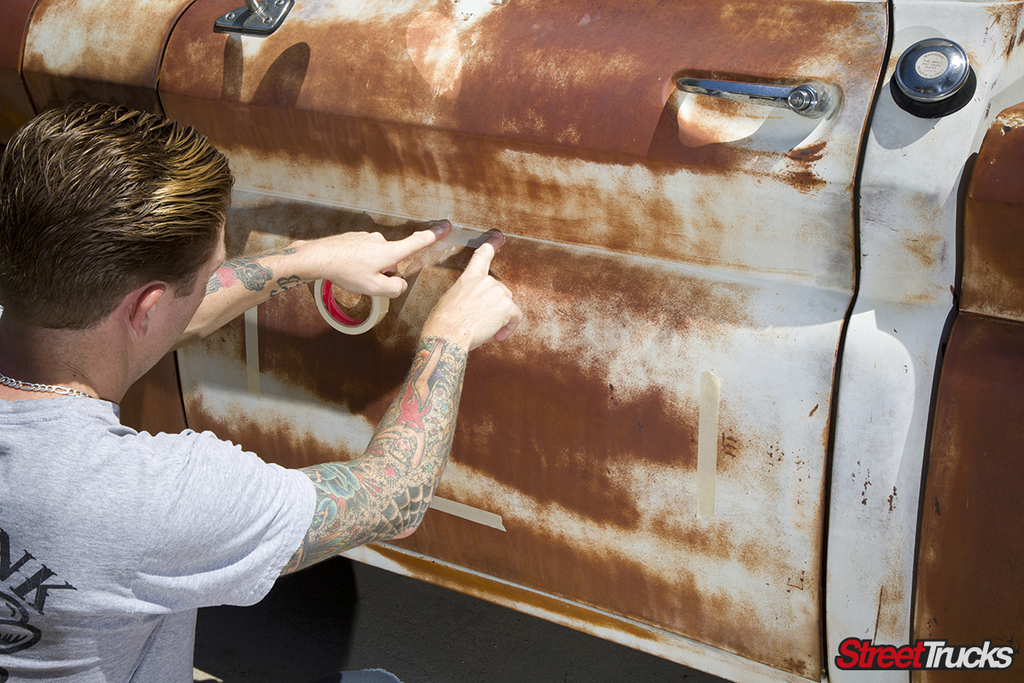
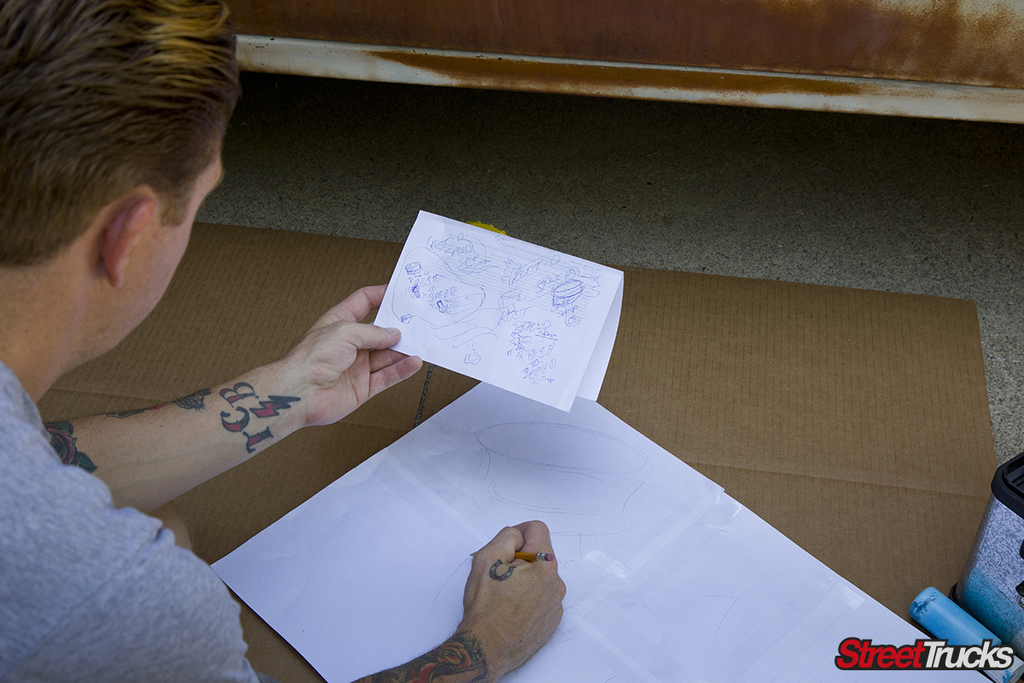
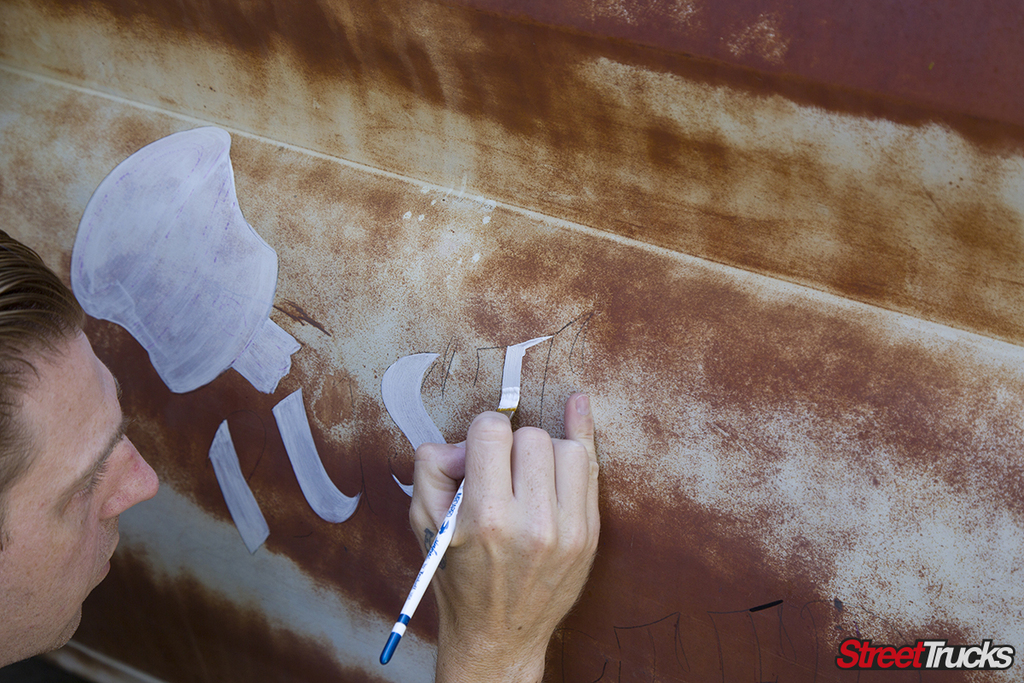
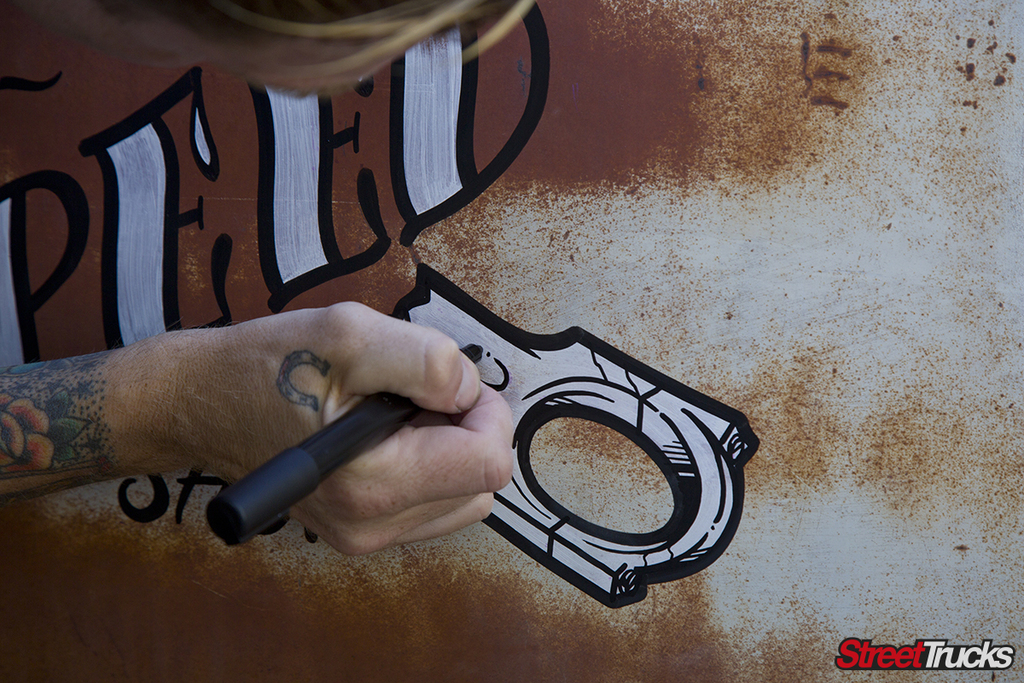
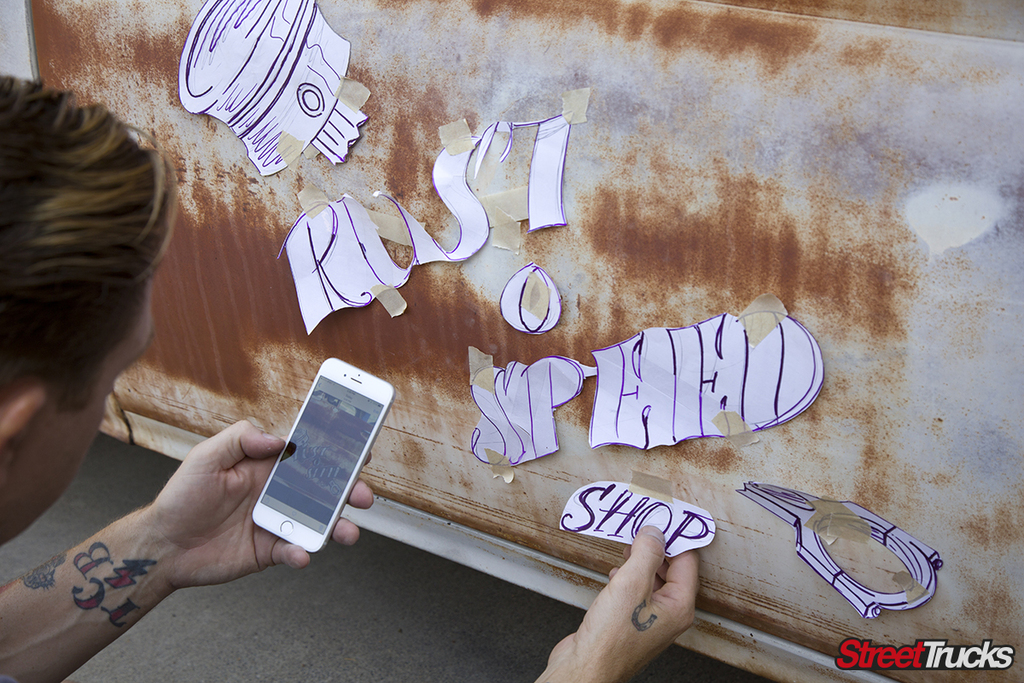
The solution is to make your own signage, but this can get tricky. The problem is that if you lay down paint using a traditional technique, it might look too new for the truck’s style, and you’ll need to break the rules to make it look right. Certain brushes and paints can be combined to create the right piece, but there are a few insider tricks that can make your art look legit. It also helps to research designs that will fit the part before you get started creating art specifically for your truck. If you can’t come up with something on your own, you will more than likely find a suitable design on the web.
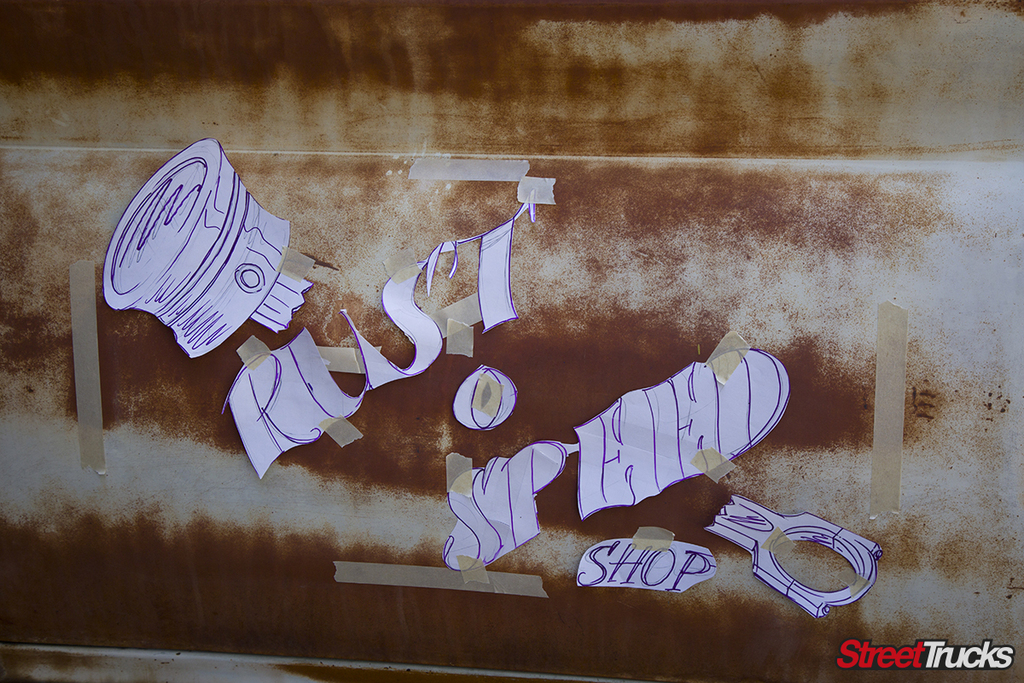
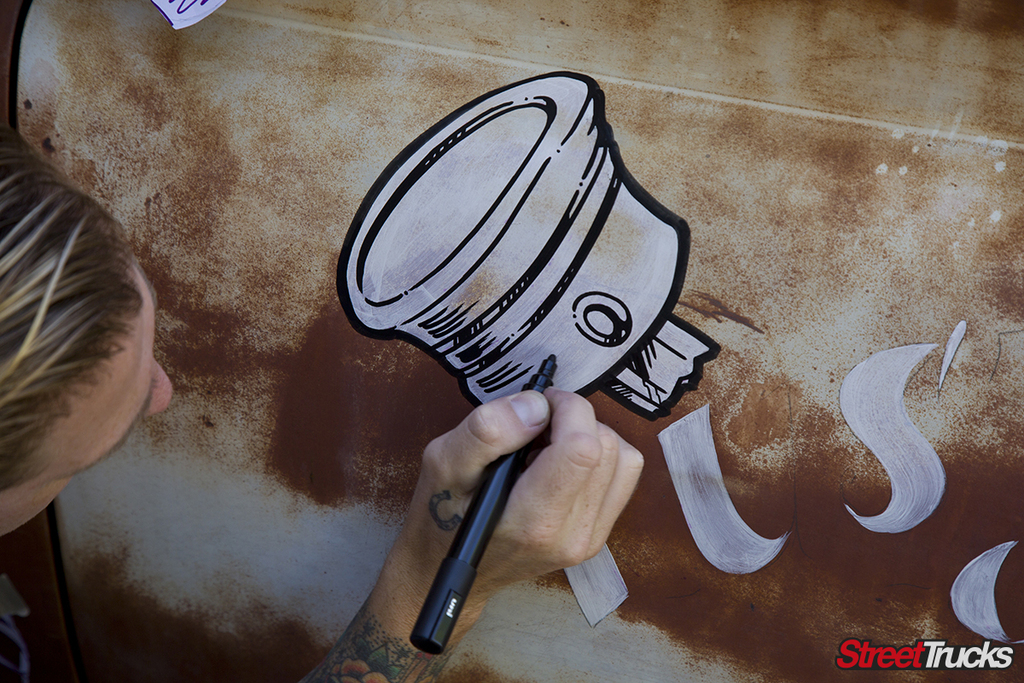
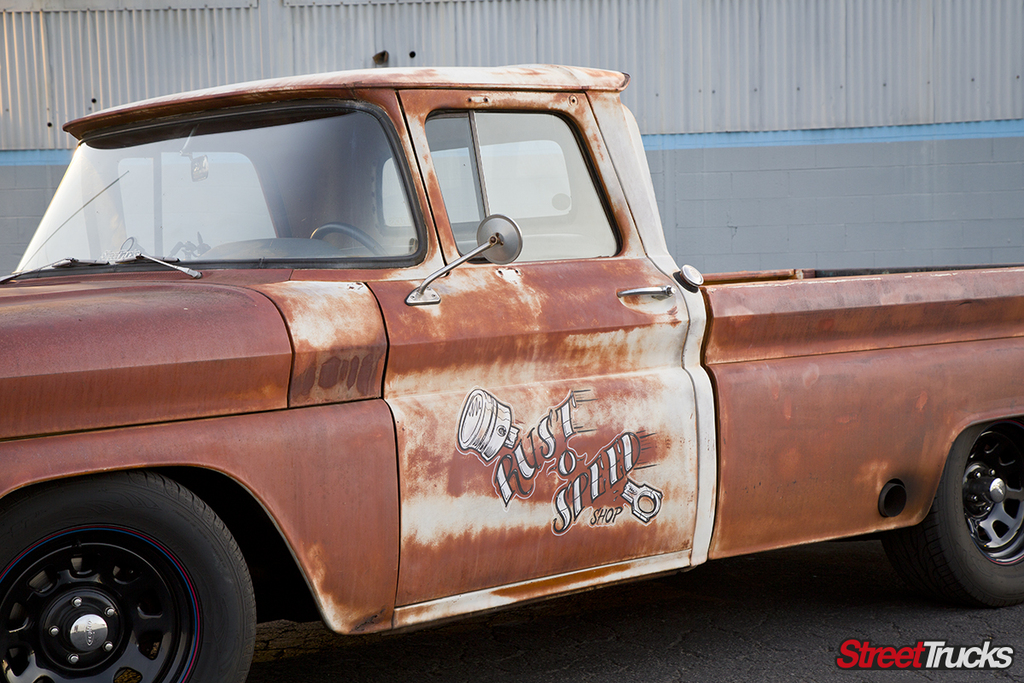
Since we already had a patina-style truck, we wanted to take it to the next level. Seeing several trucks with shop logos inspired us and got us thinking about what we could do. Though we don’t have an actual shop ourselves, a name was a must. Because this ’62 GMC has a 383-ci Stoker small-block engine, it’s pretty fast even though it might not look like it. Stock-looking trucks with a few upgrades are regarded as restomod trucks. Since our truck is the same thing minus the new paint job, we came up with “Rust-O-Speed Shop” for the name of our fictitious shop.
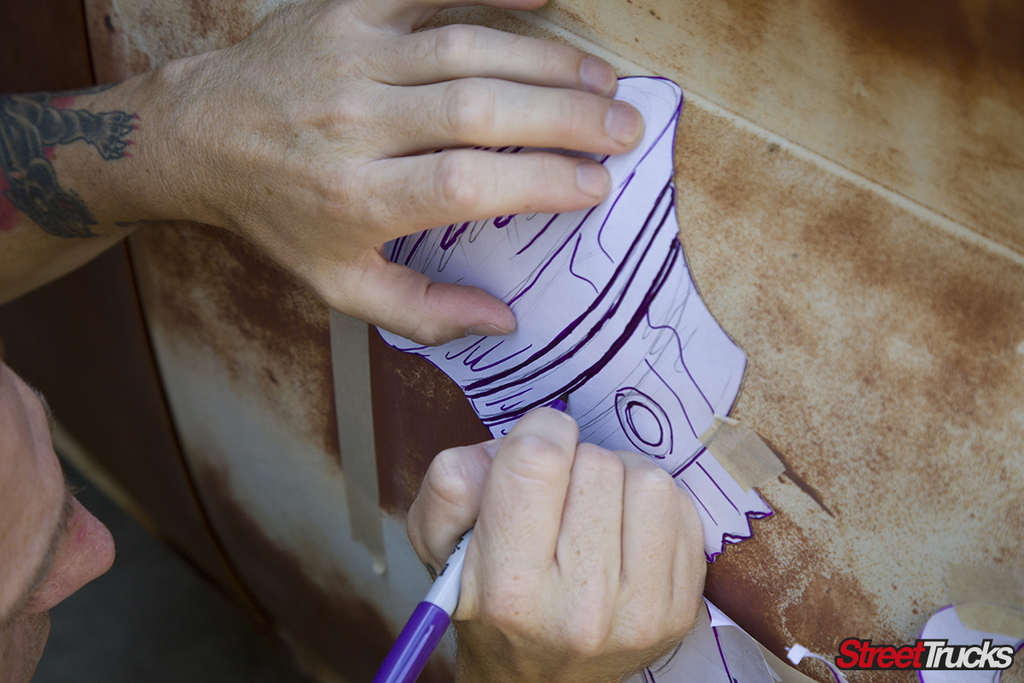
To get the artwork done for this story, we found an artist who could not only design the logo but also apply it properly. Since we’d done some work with Chad Carothers of Chadcan’tcolor, we knew he was a talented artist who also works on trucks. We hit him up about doing the GMC, and he decided that it was right up his alley and got right to work.
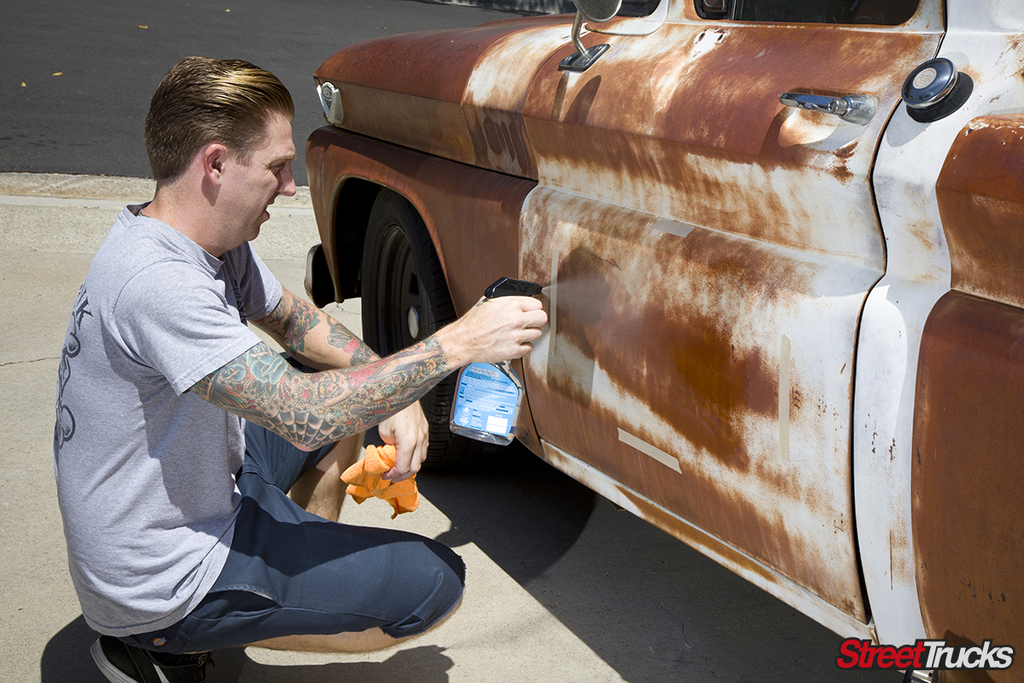
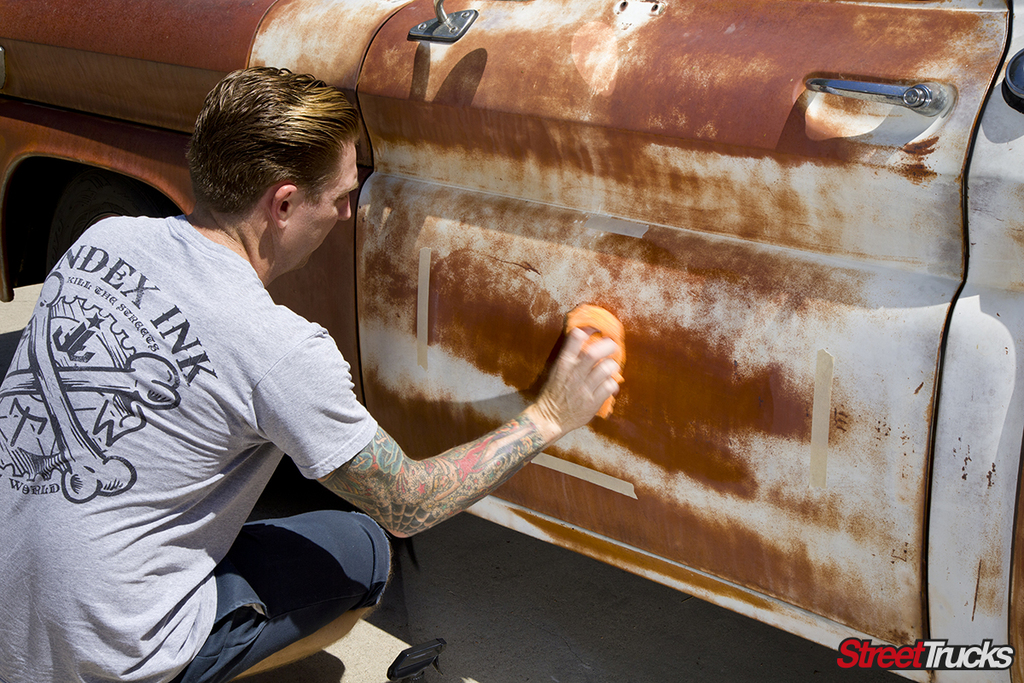
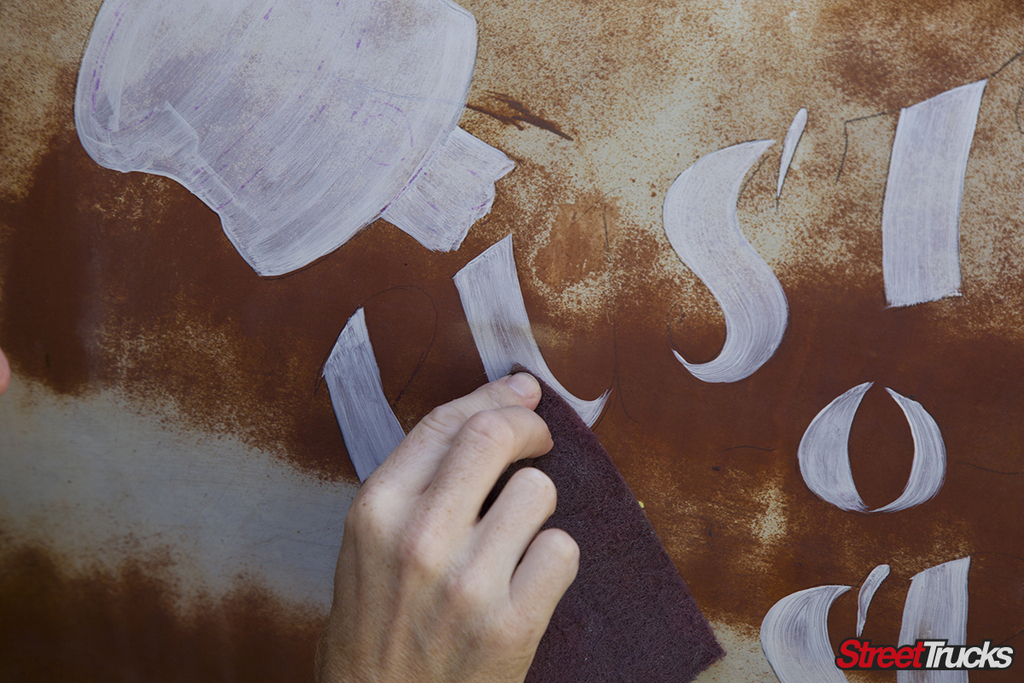
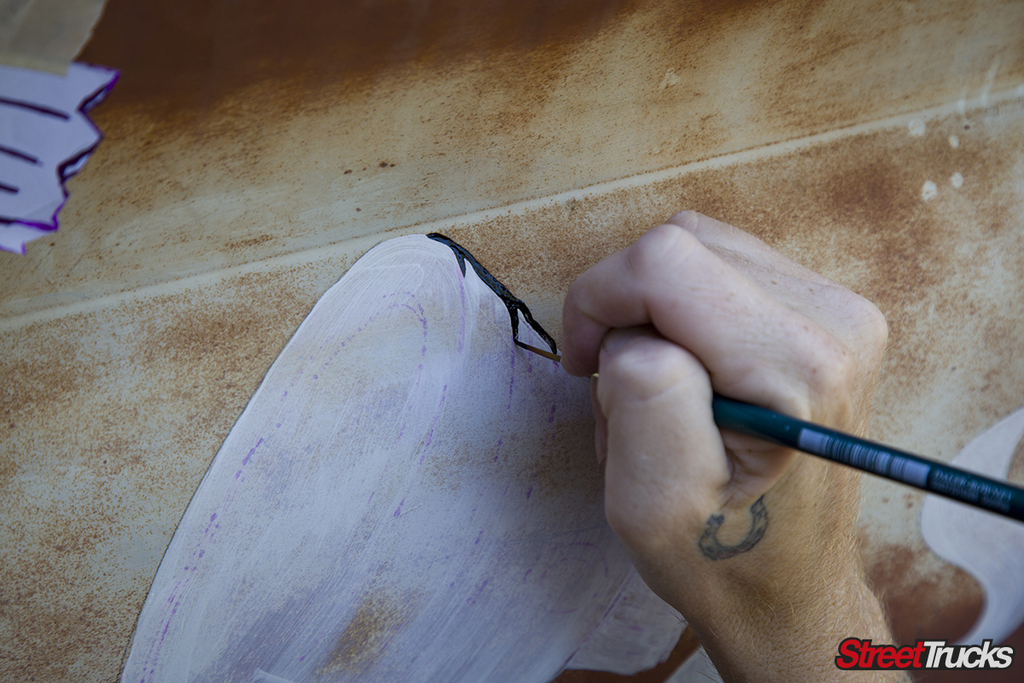
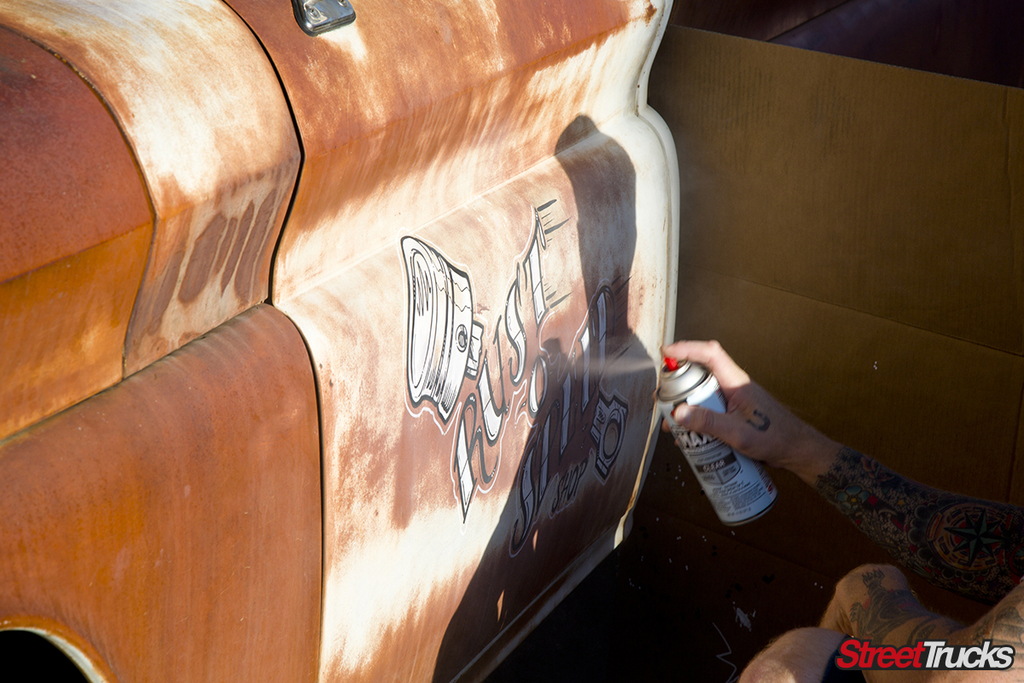
Although we had help from an artist, our goal was to demonstrate how just about anyone can handle this mod. We suggest using our steps as a basic framework and building off of them to suit your own truck. If this is your first time doing something like this, you should practice quite a bit before applying paint to your actual truck. You can use acetone to remove mistakes, but it might also strip off your truck’s patina. It’s wise to practice and make as few mistakes as possible. If you follow these steps and take the time to get the method down, you should be able to add custom signage to own truck.
Auto Air Colors
Autoaircolors.com
Chad can’t color
Chadartworld.com
Coast Airbrush
Coastairbrush.com
CLR
Shopclr.com
1 Shot
1shot.com
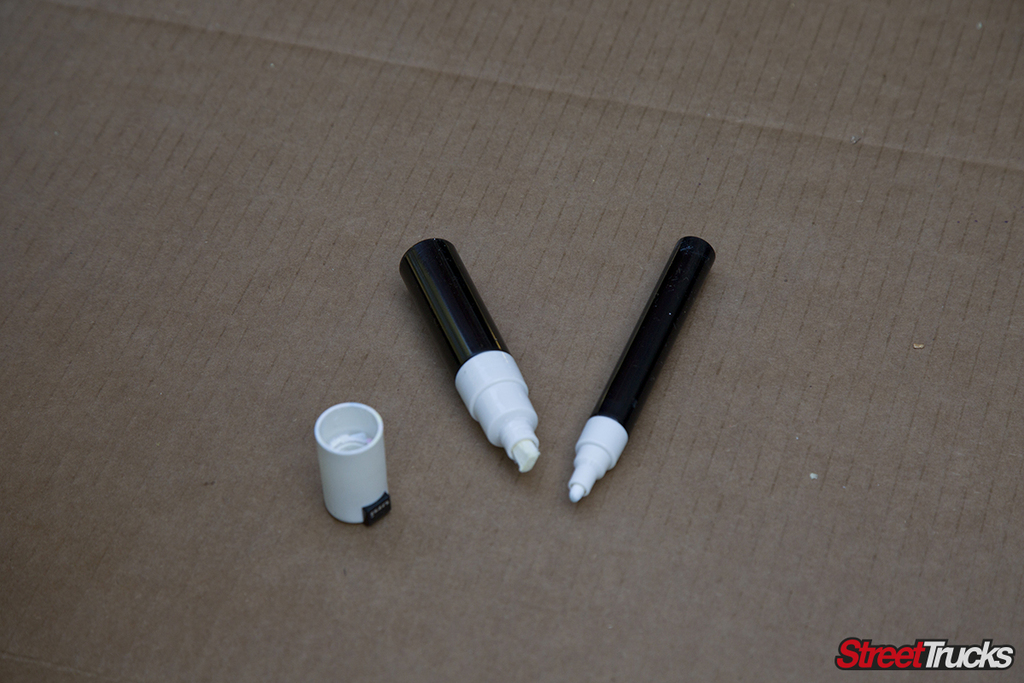
What we Used
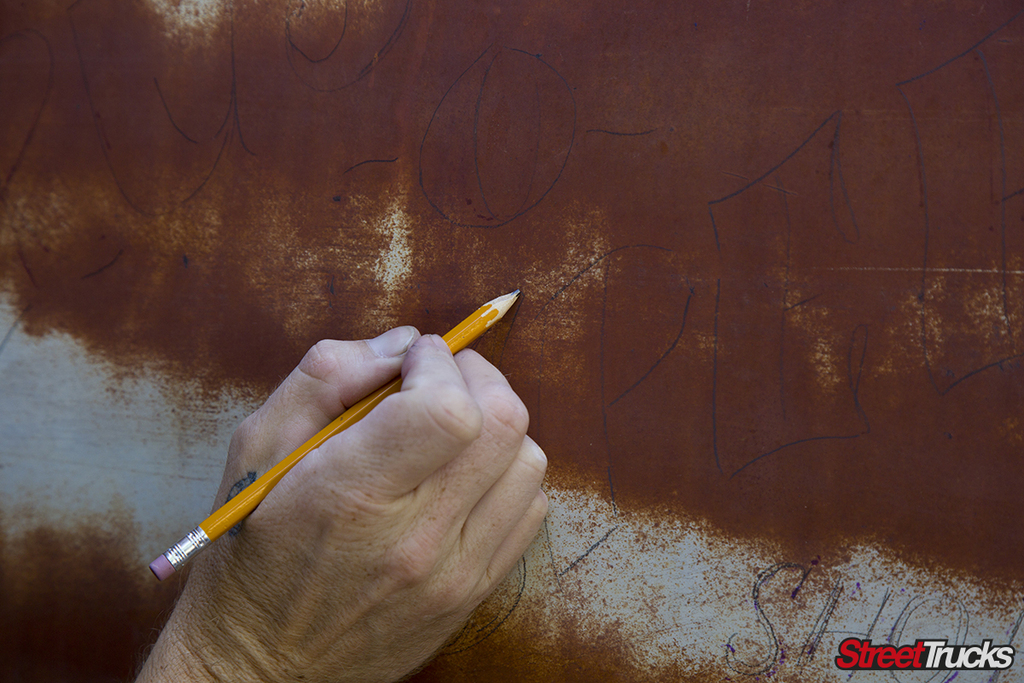
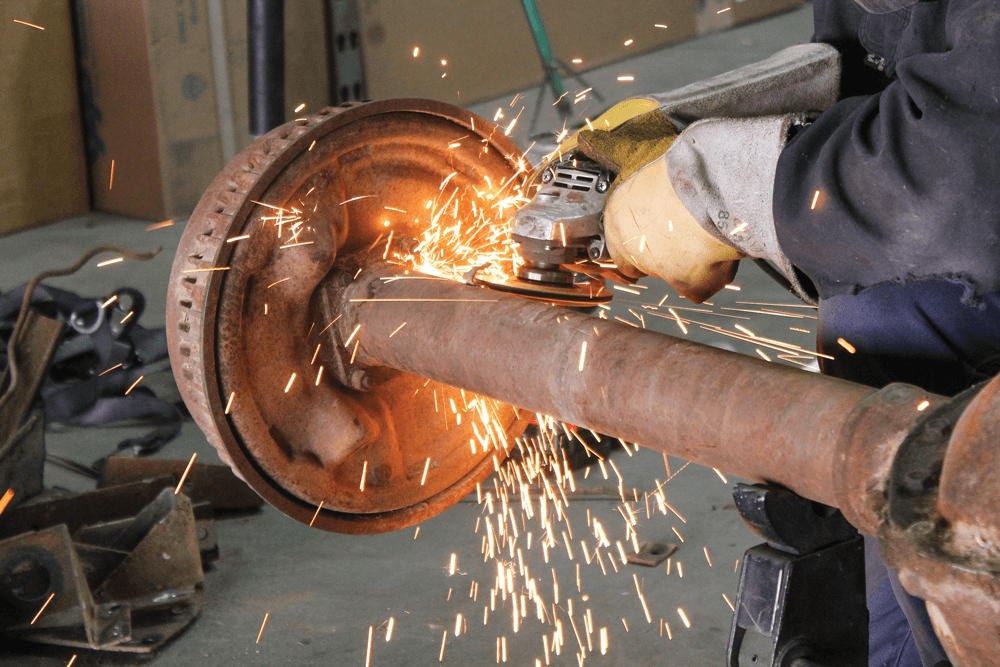
The Prep Work
Creating the Signage
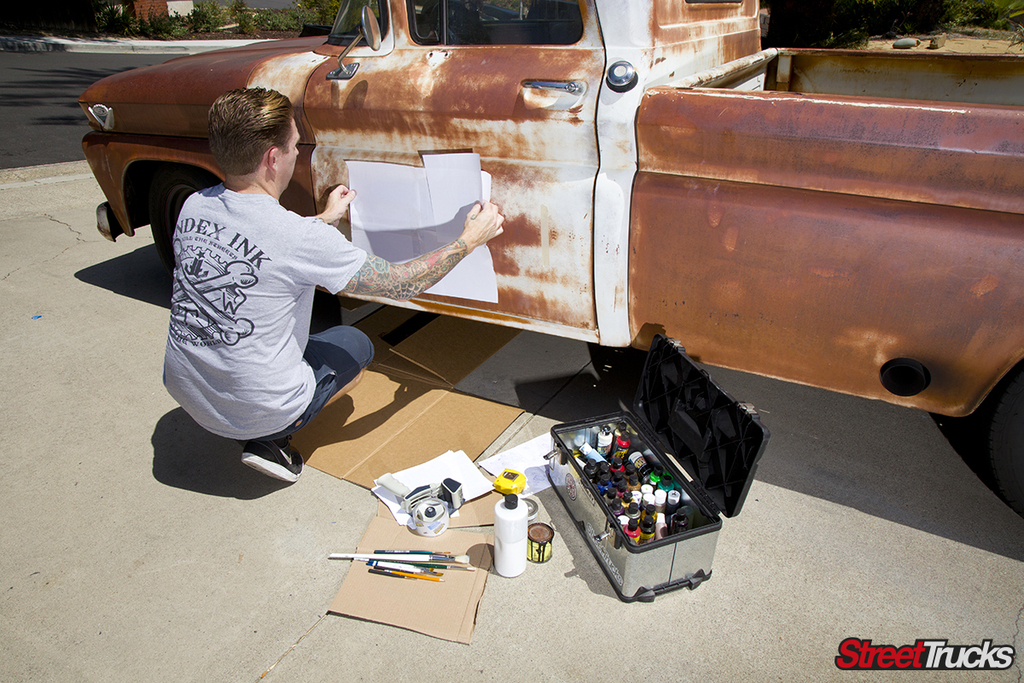

Transferring the Art

Laying Down the Paint
The Final Results

Blood Sweat and Gears
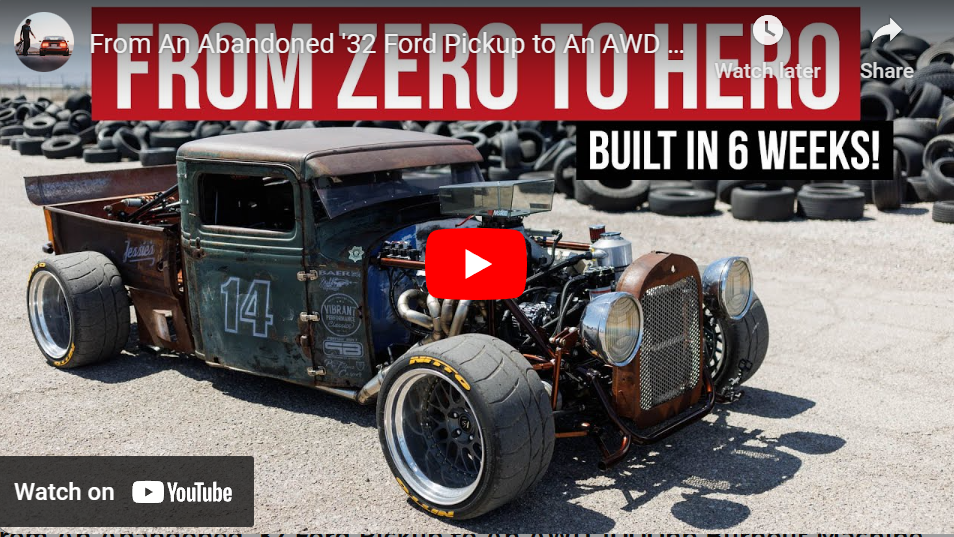
Jessie rescued this 1932 Ford pickup from abandonment and turned it into a 1,000hp AWD hot rod with a Steve Morris LSR engine! Check out… Continue reading
STREET TRUCKS STAFF . December 29, 2022
Features
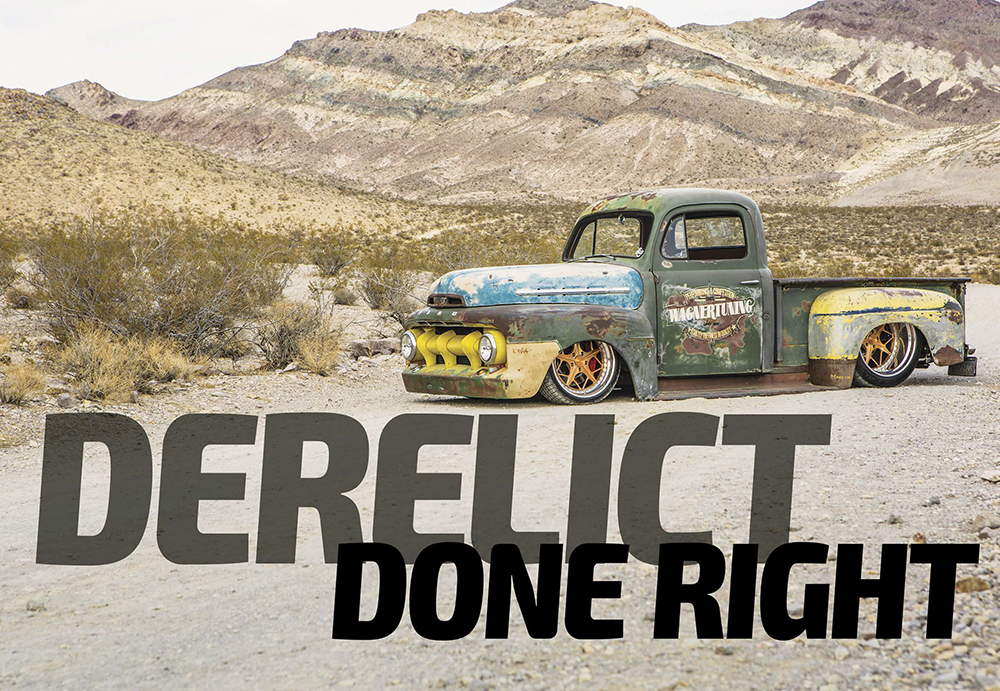
Wagner Tuning’s F-1 Gets the Stone Treatment LET’S GET SOMETHING out of the way right from the start. Sure, patina is overdone these days. Sure,… Continue reading
Mike Alexander . December 19, 2023
Features
Yeah, It’s Ugly—So What? I’ll admit it—I once sold a favorite ride of mine because my wife didn’t like it. Not only did she not… Continue reading
streettrucks . January 16, 2020
F100 Builders Guide
An F-100 Gets a Big Boost THIS VERY TRICK, UNIQUE TRUCK IS OWNED BY ARMAN SARKISSIAN OF CORSA VELOCITA, WHICH MANUFACTURES CUSTOM STEEL WHEELS FOR… Continue reading
Mike Self . September 24, 2024
Blood Sweat and Gears
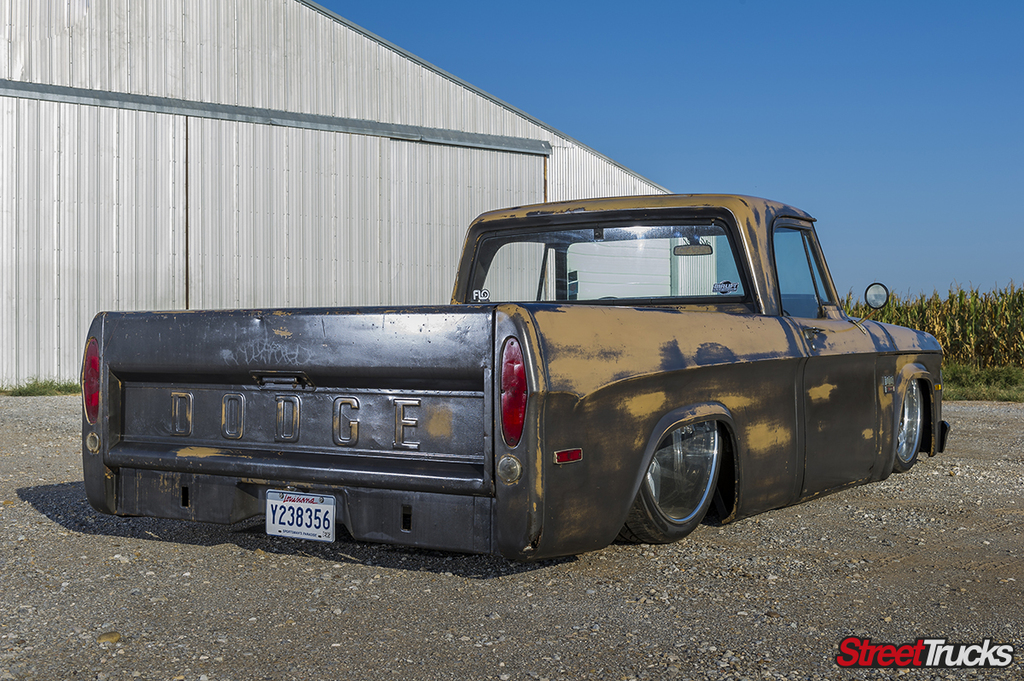
The truck that answers the question, “Why a Dodge?” When it comes to trucks built in 1970, two examples stand out: The Chevy C/10 and… Continue reading
Kevin Whipps . November 29, 2023
C10 Builders Guide
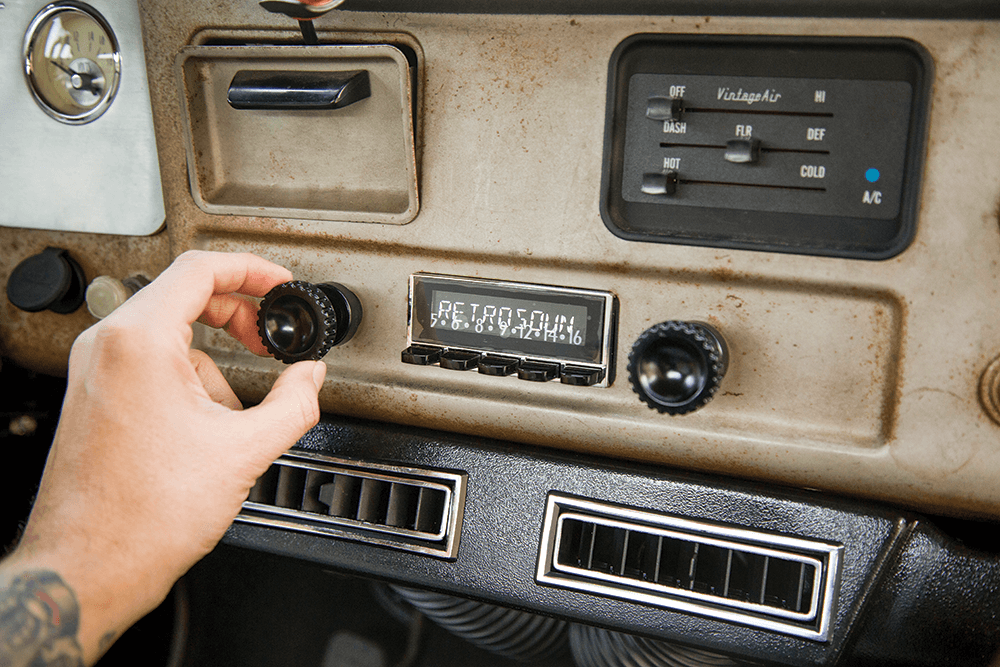
RetroSound Delivers Streaming Audio to This Classic Although Classic trucks are pretty damn cool looking, they don’t have all of the modern features we are… Continue reading
ST-STAFF . May 29, 2019


We use cookies to enhance your browsing experience, serve personalized ads or content, and analyze our traffic. By clicking "Accept All", you consent to our use of cookies. Visit our Cookie Policy for more info.

Share Link