 ST-STAFF
.
May 29, 2019
.
C10 Builders Guide
.
ST-STAFF
.
May 29, 2019
.
C10 Builders Guide
.
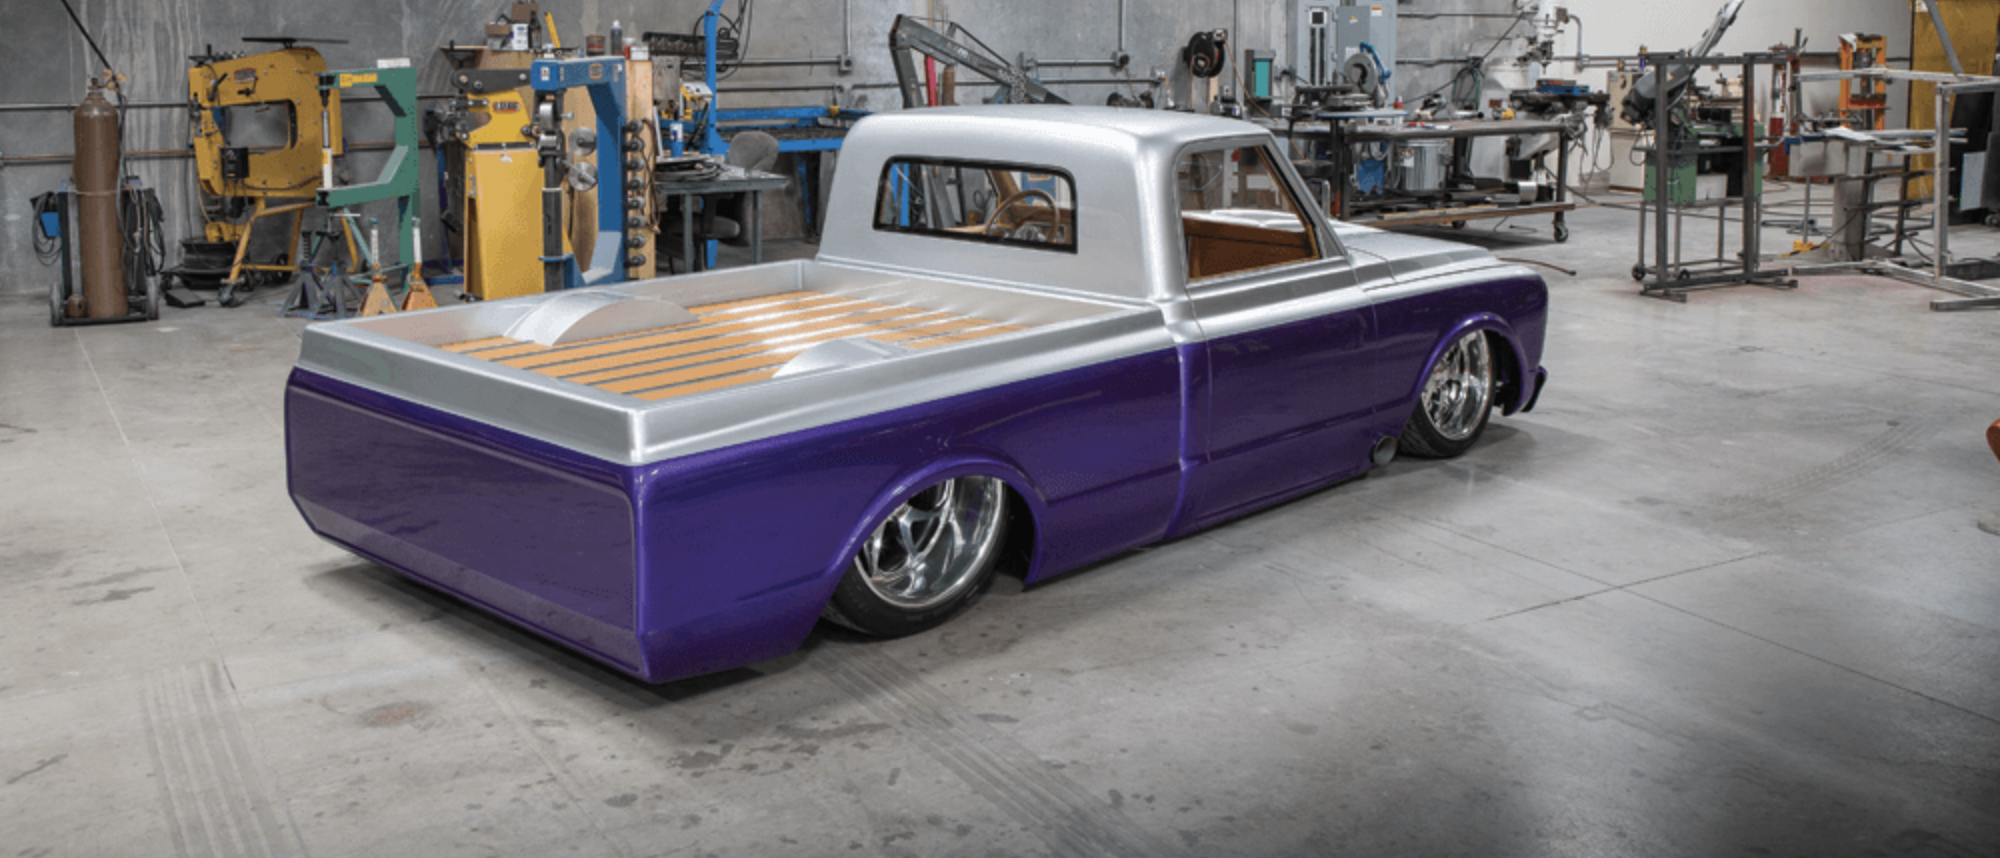
Although Classic trucks are pretty damn cool looking, they don’t have all of the modern features we are accustomed to, like a solid audio system. These classic haulers came with the basics and that’s where the options ended. A radio and a single dash speaker were standard equipment. Although it was very minimal, it was better than nothing at all.
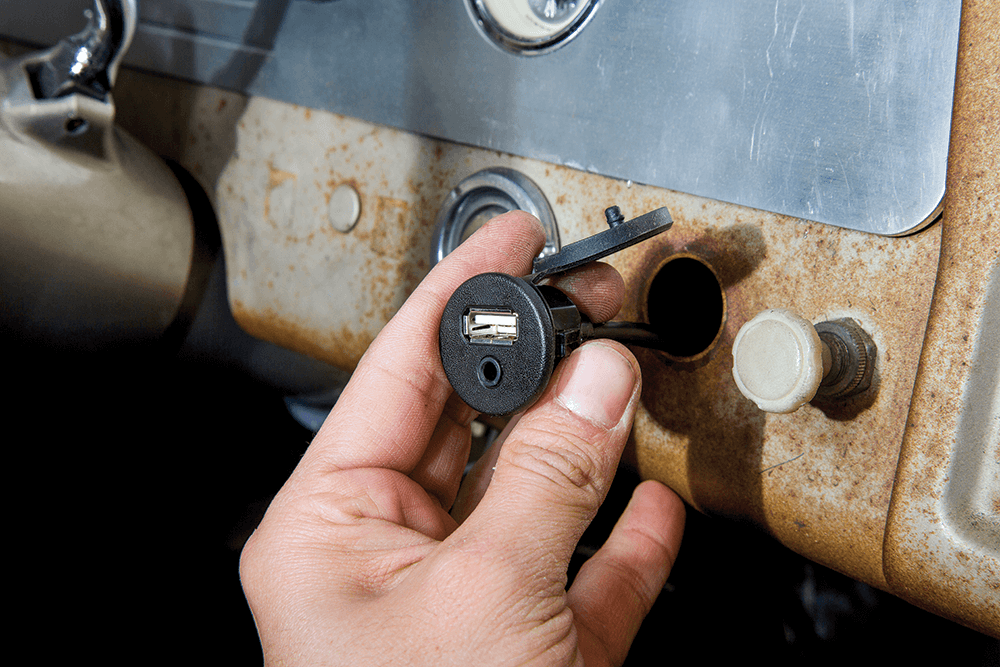
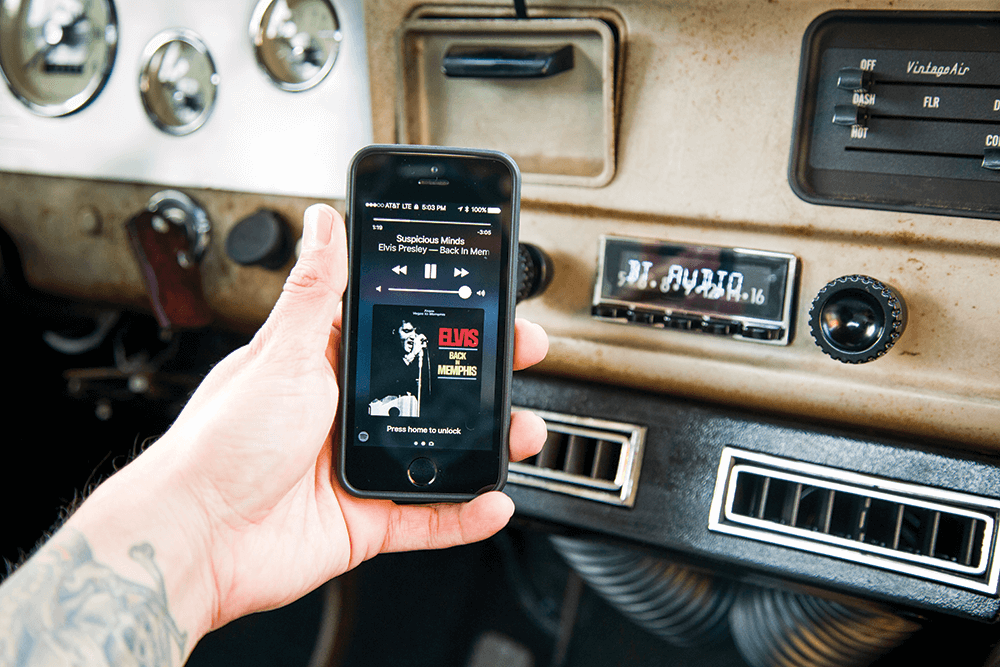
Now that we’ve entered the 21st century we can implement a lot of the conveniences that we are used to in modern vehicles in our classics, including multi-channel speaker systems and Bluetooth connectivity. We can even stream tunes from modern digital files and SiriusXM Radio. Since we have the capability to hook up our phones, we can also receive calls directly through the stereo system, just like a modern car.

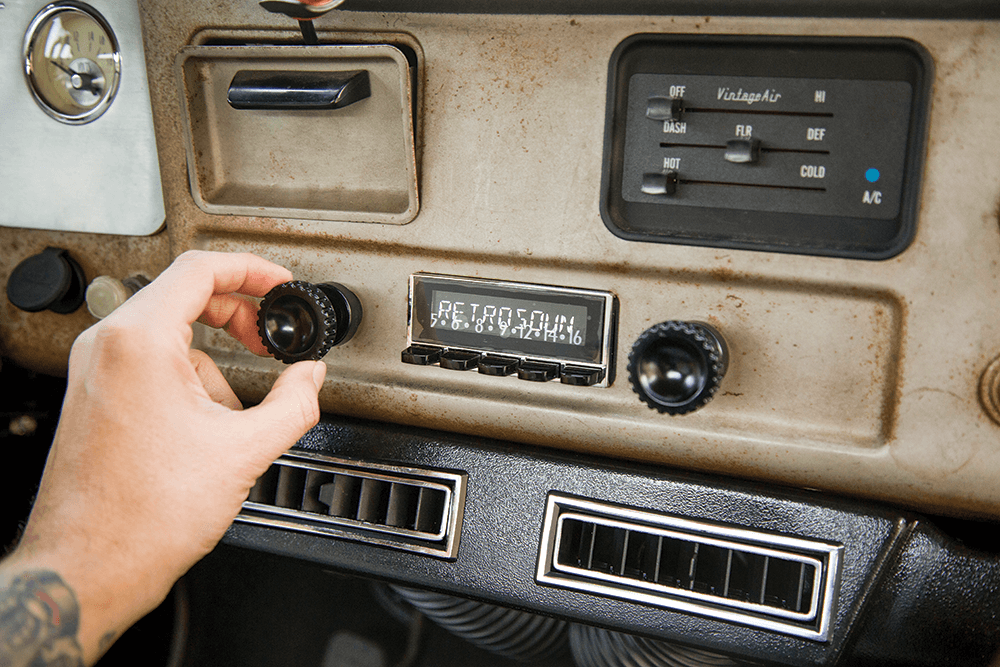
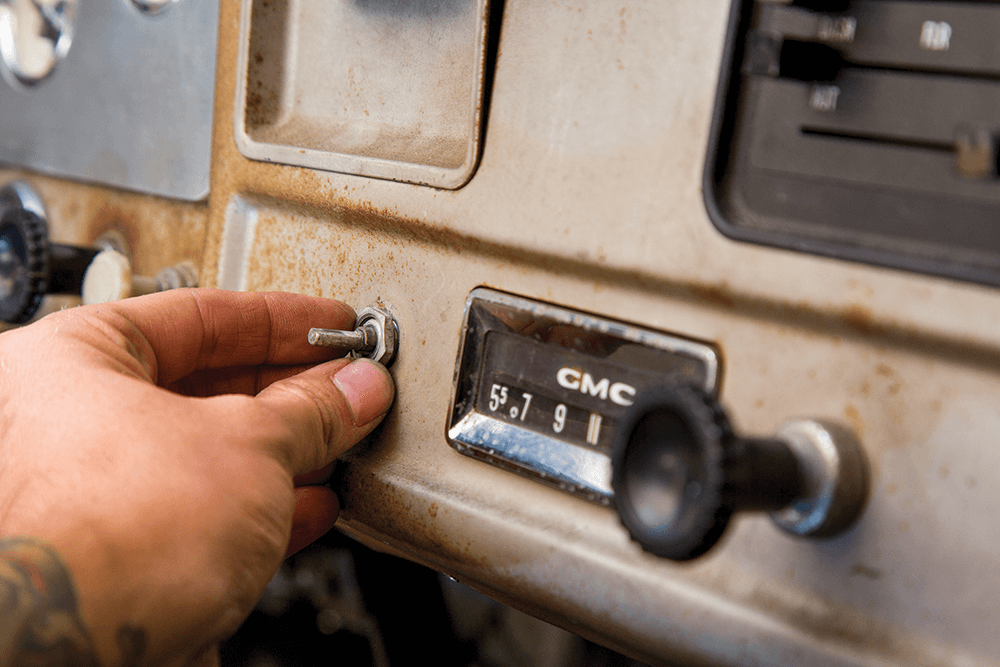
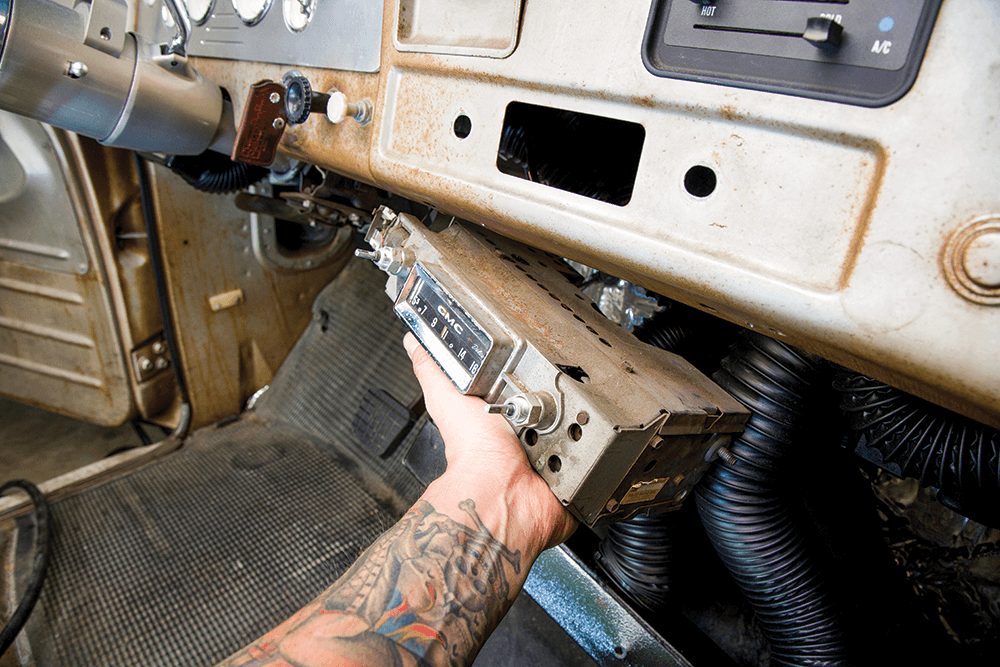
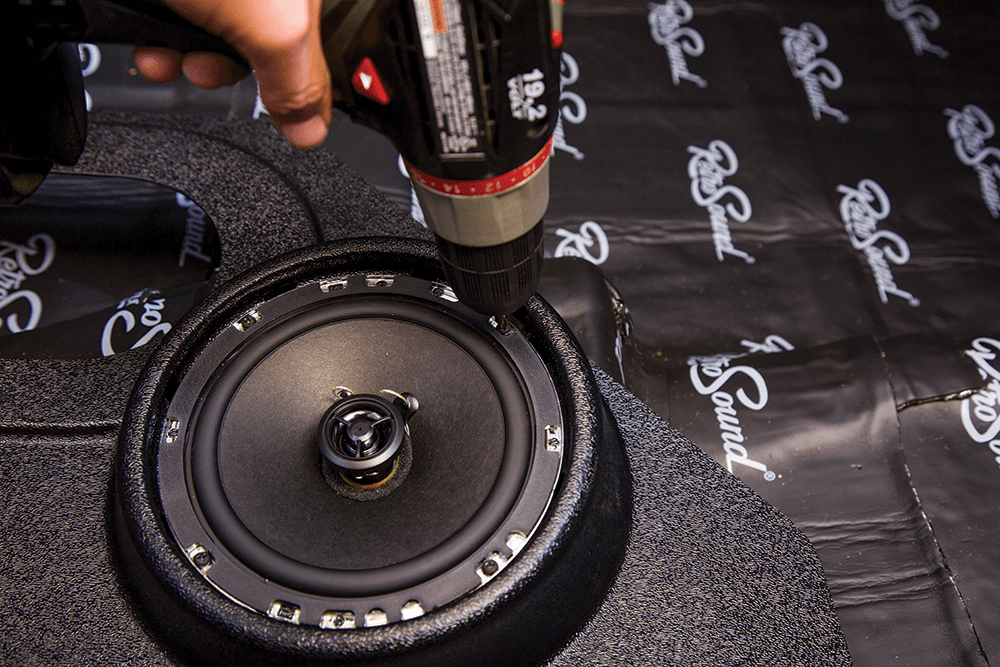
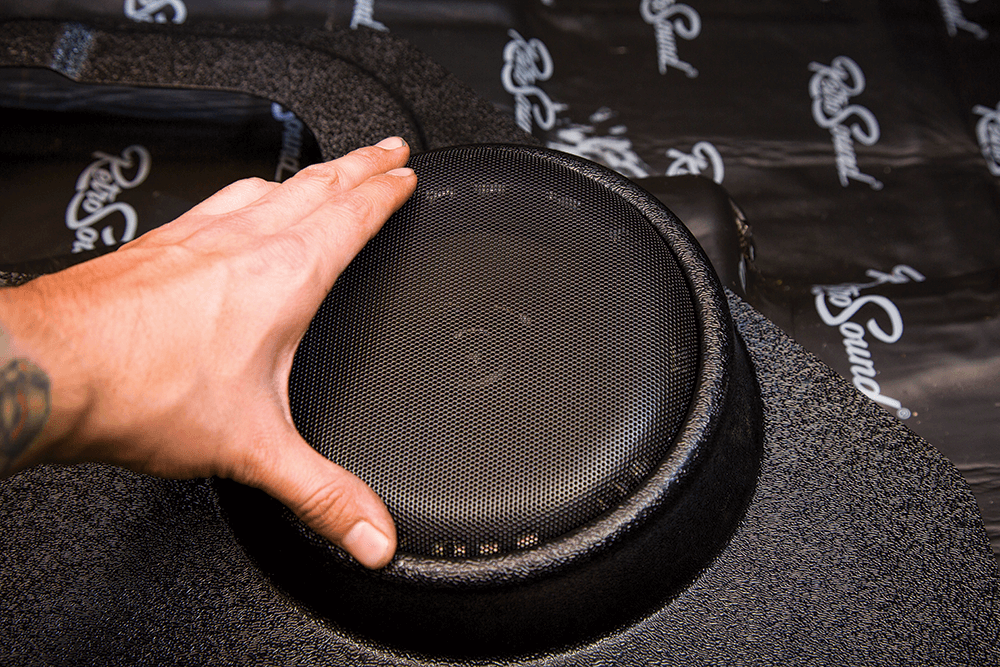
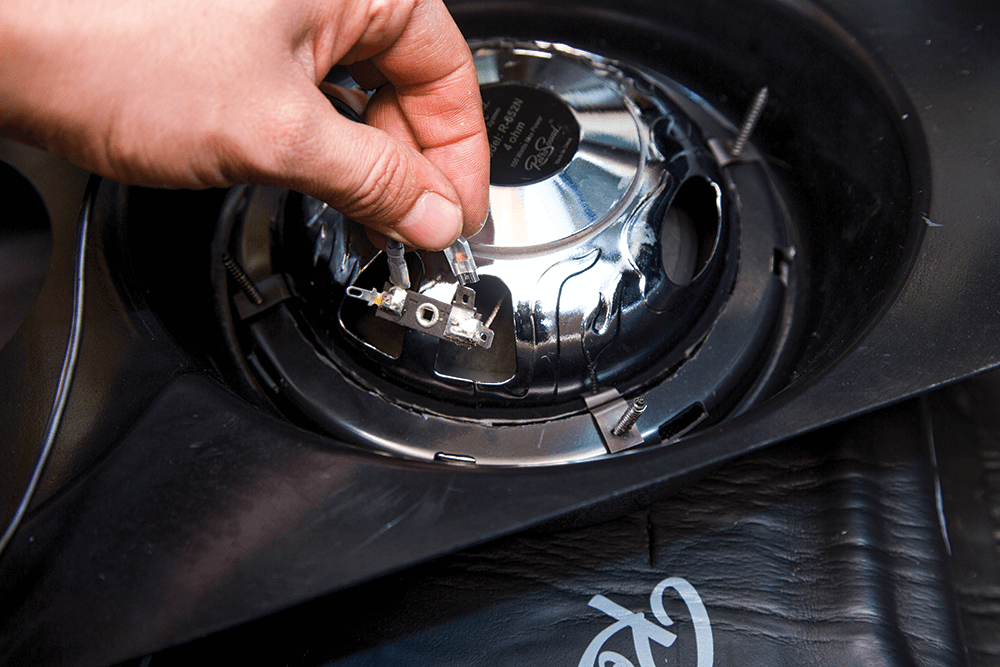
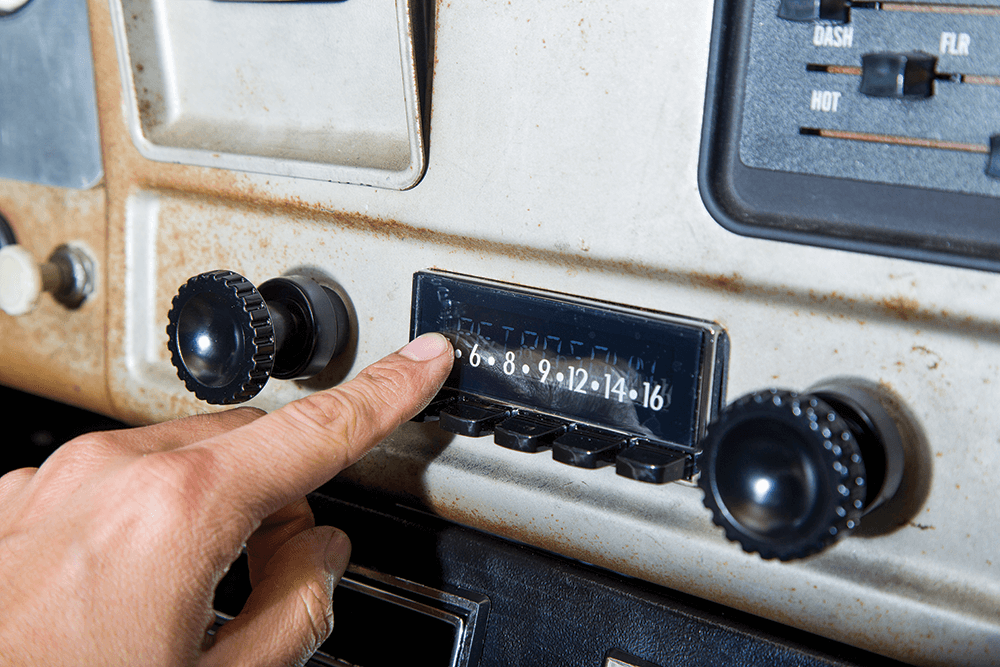
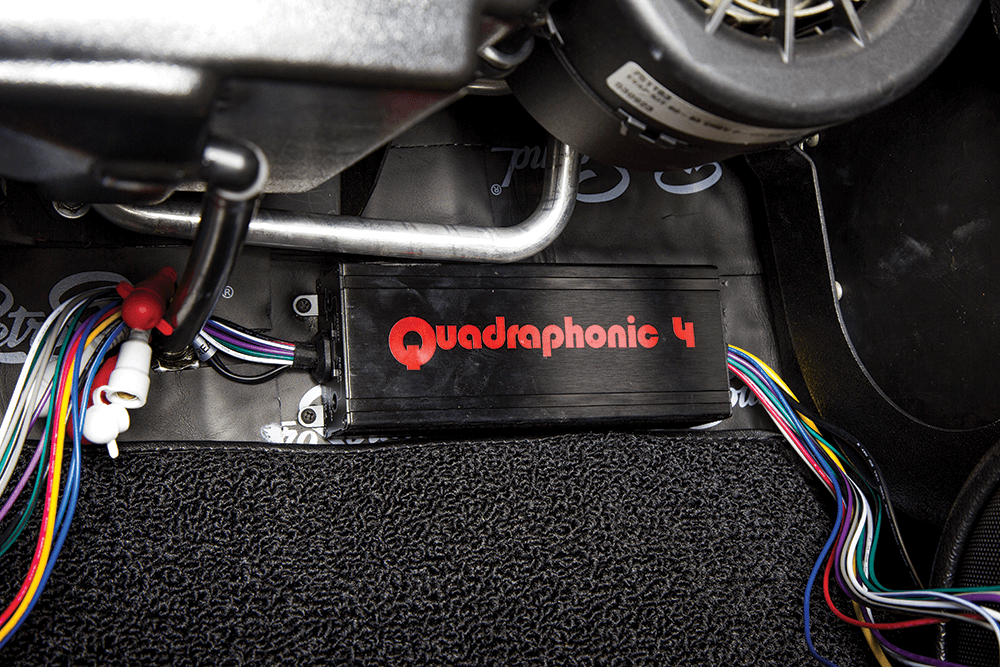
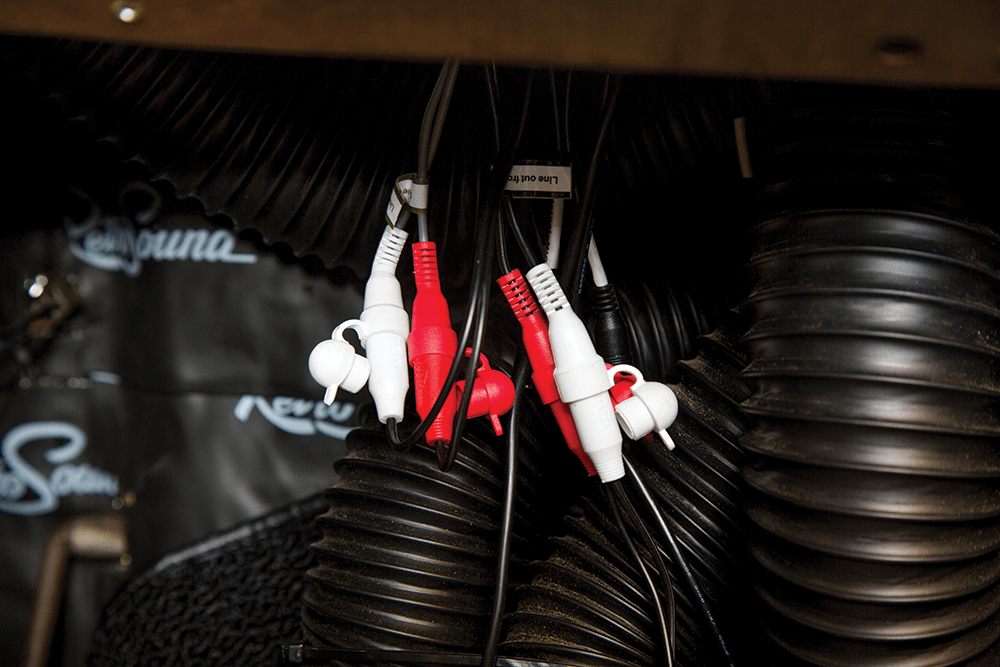
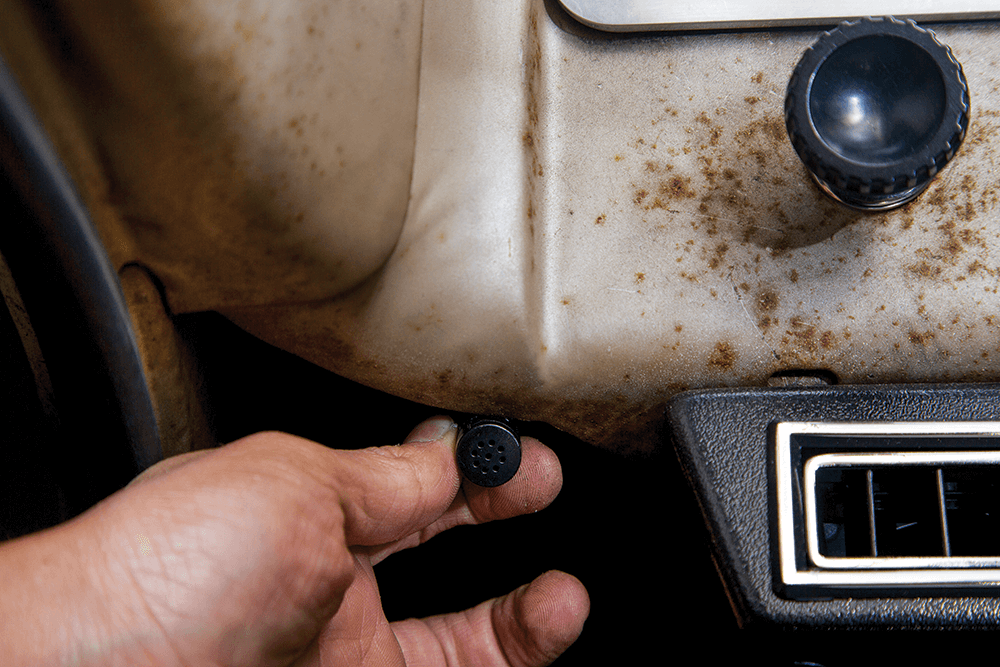
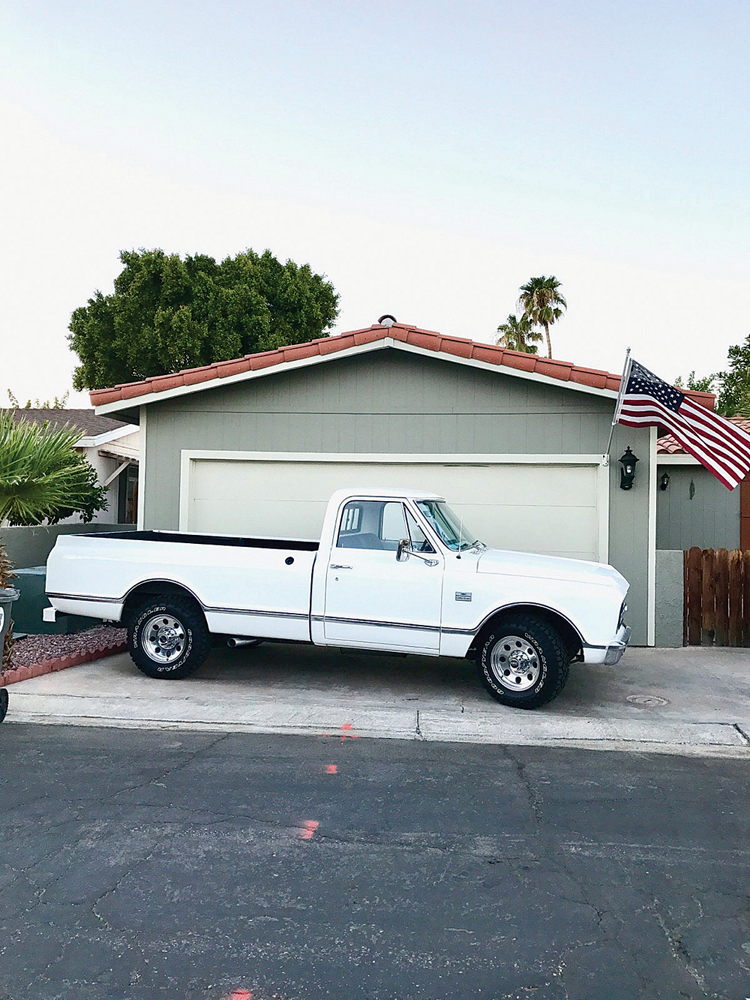
Our ’62 GMC was like most trucks of its era. The stereo consisted of a tube-style AM radio with a dash speaker that had seen better days. Though we were able to listen to talk radio and news stations on AM, we couldn’t listen to our favorite jams on FM channels or from other devices. This is where our friends at RetroSound were able to help. We found a solution in RetroSound’s Long Beach radio, which has all of the features we previously described. Along with the modern radio we purchased a new dual voice dash speaker, two kick-panel speakers, a full-range rear speaker system and an amplifier to power the whole system.
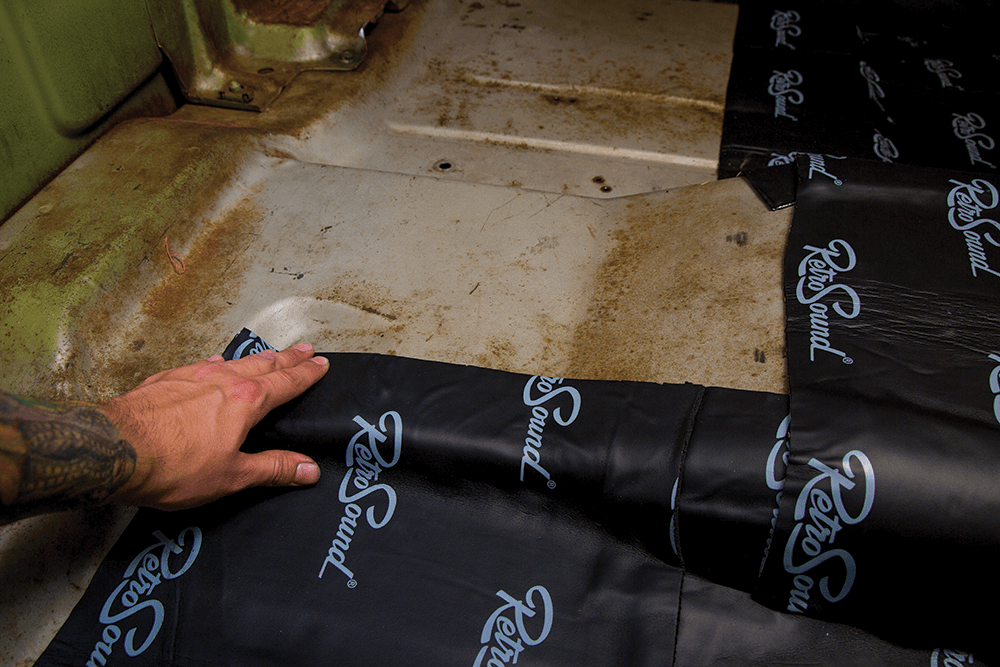
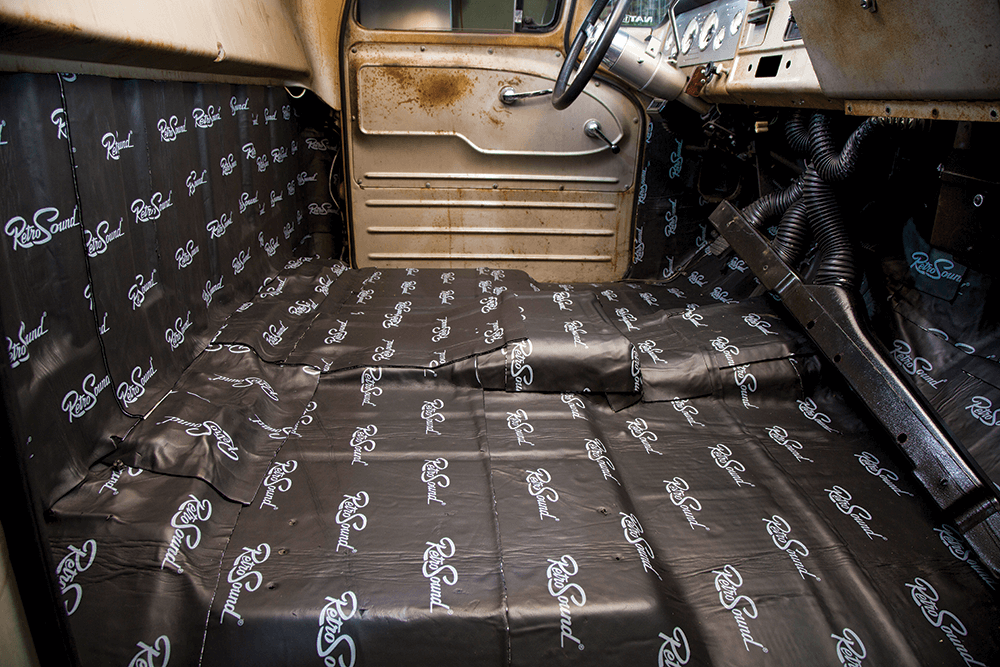
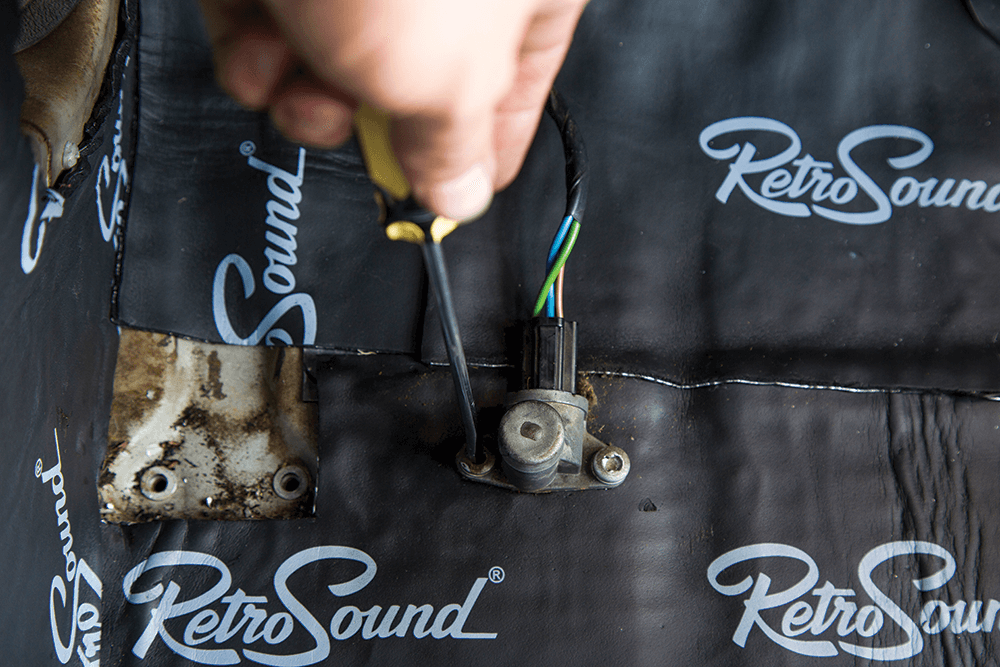
Although we installed a modern audio system in our classic truck, regardless of the brand you won’t get the best output without doing some prep work first. RetroSound came to the rescue again with its new line of sound-deadening material that boosts acoustics and blocks road noise. When applied correctly, the sound-deadening material will also block extreme temperatures from outside.
Since we were lining the bottom side of our cab, we decided to upgrade to a high-loop carpet kit from Classic Industries as well. This product was made to suit by contouring to the shape of the floor and the transmission tunnel. As an added bonus, it included jute padding, which also bolsters acoustics and insulation.
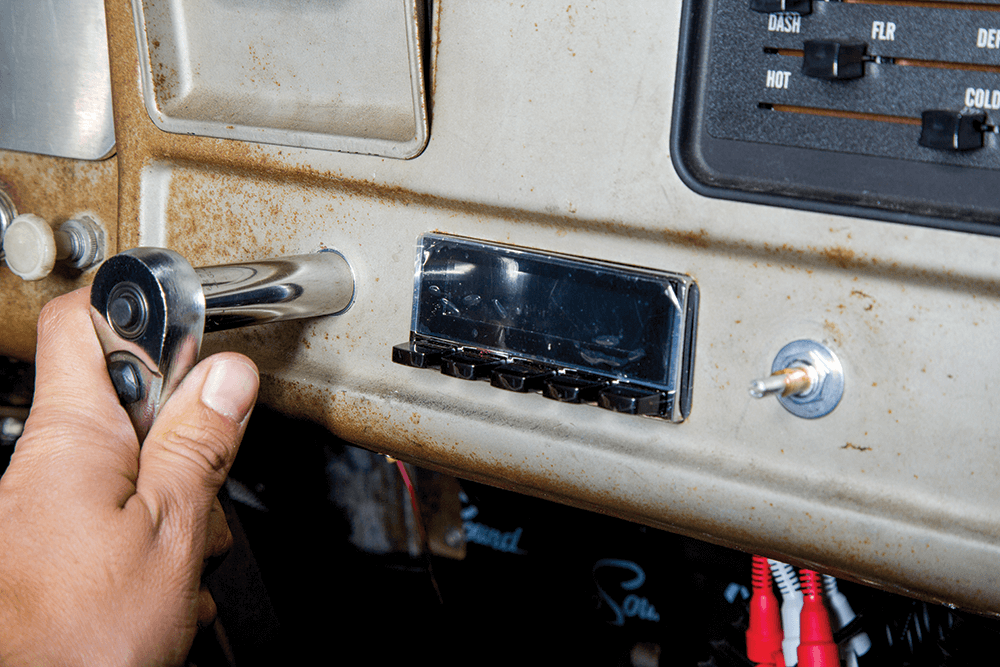
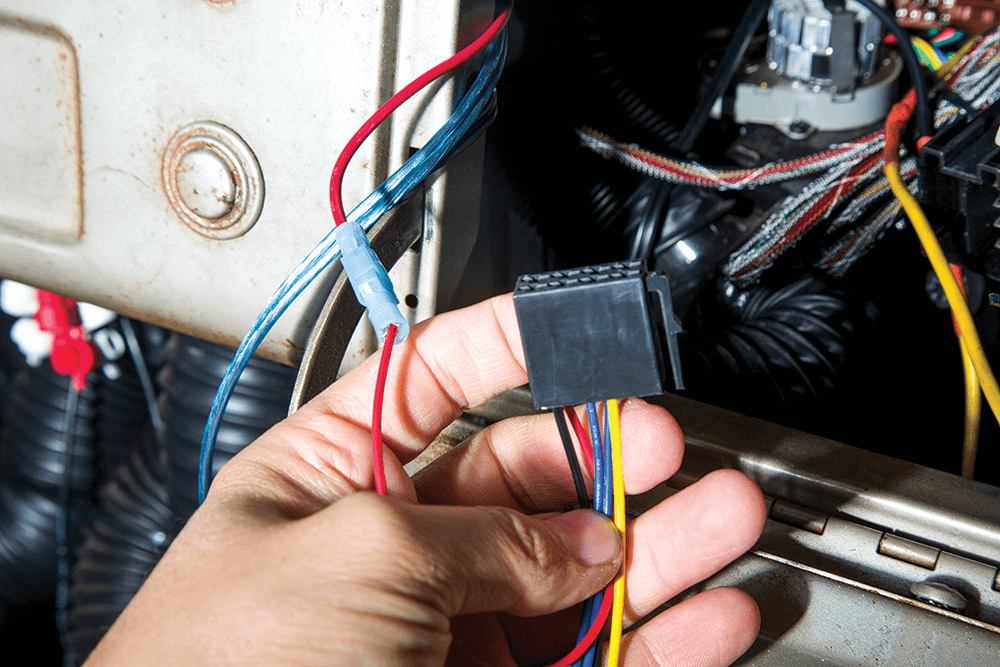
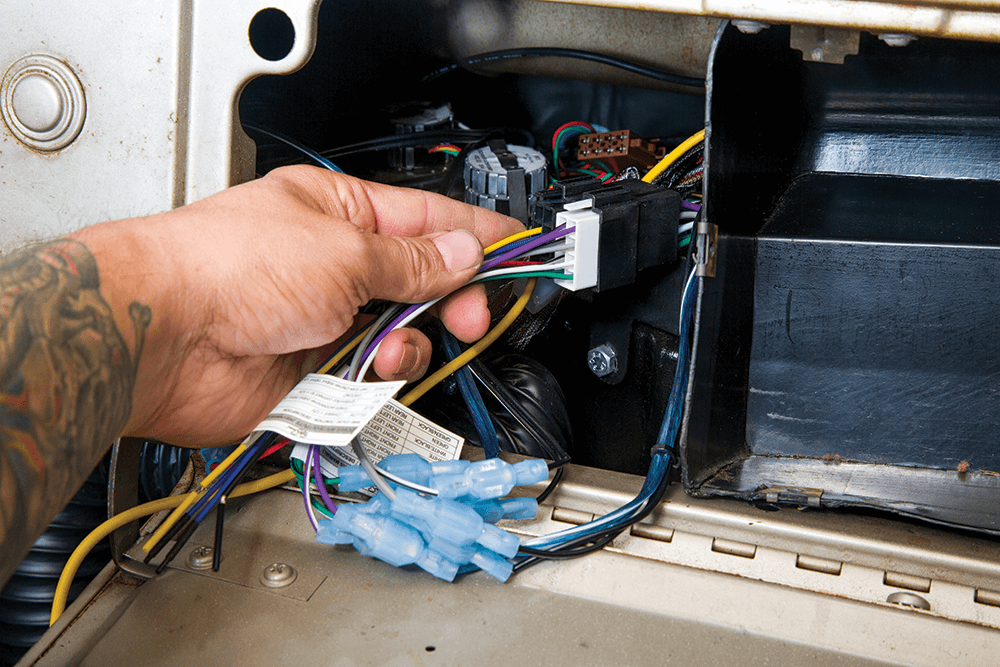
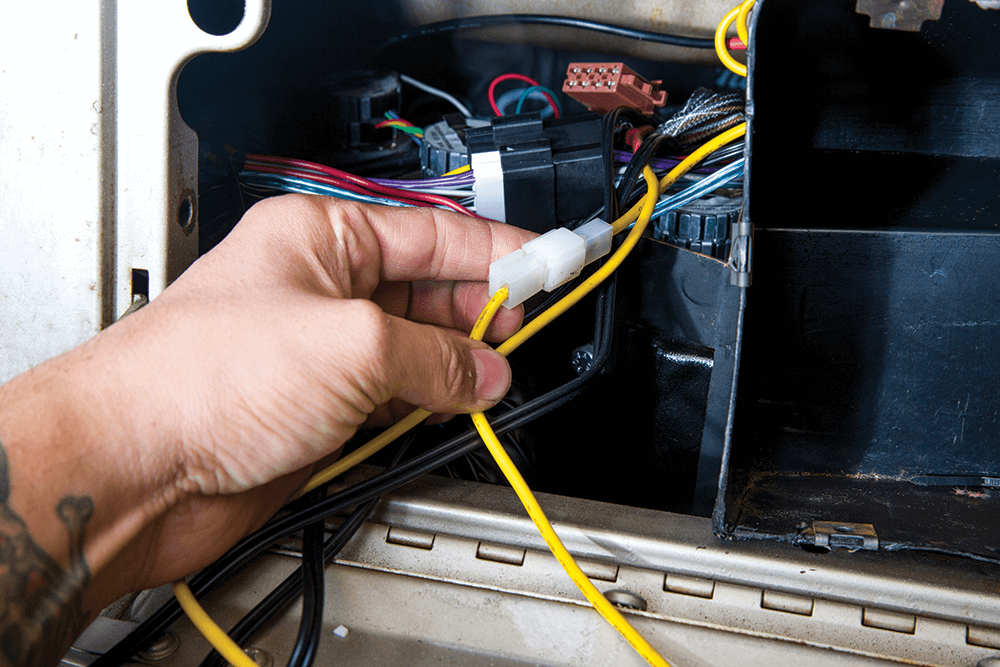
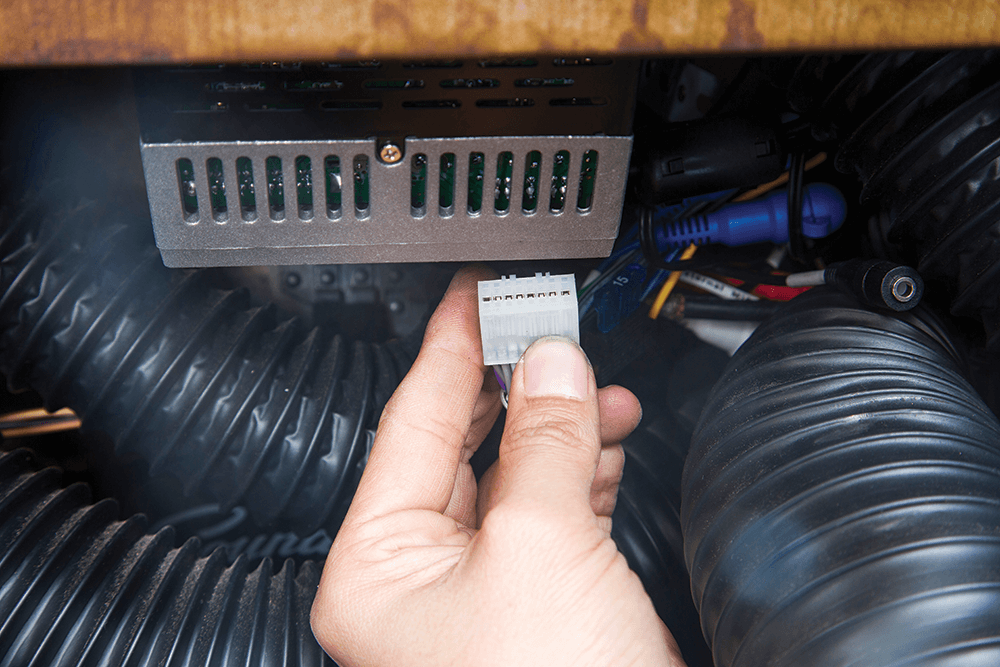
Admittedly, we were intimidated by the thought of installing our own stereo, but we shouldn’t have worried because the system was simple enough for us to hook up in our own driveway. We don’t love wiring mobile electronics, but the schematics in the installation manual were fairly easy to follow, and RetroSound’s tech support was always available to help out over the phone. The only setback we encountered was stopping to take photos.
Now that our sound system is completely installed, it’s a lot more fun to drive the truck. The sound-deadening material, jute padding and carpet improve creature comfort and sound quality. Even the pain of driving in bumper-to-bumper traffic has been lessened now that we can listen to our favorite streaming tunes.
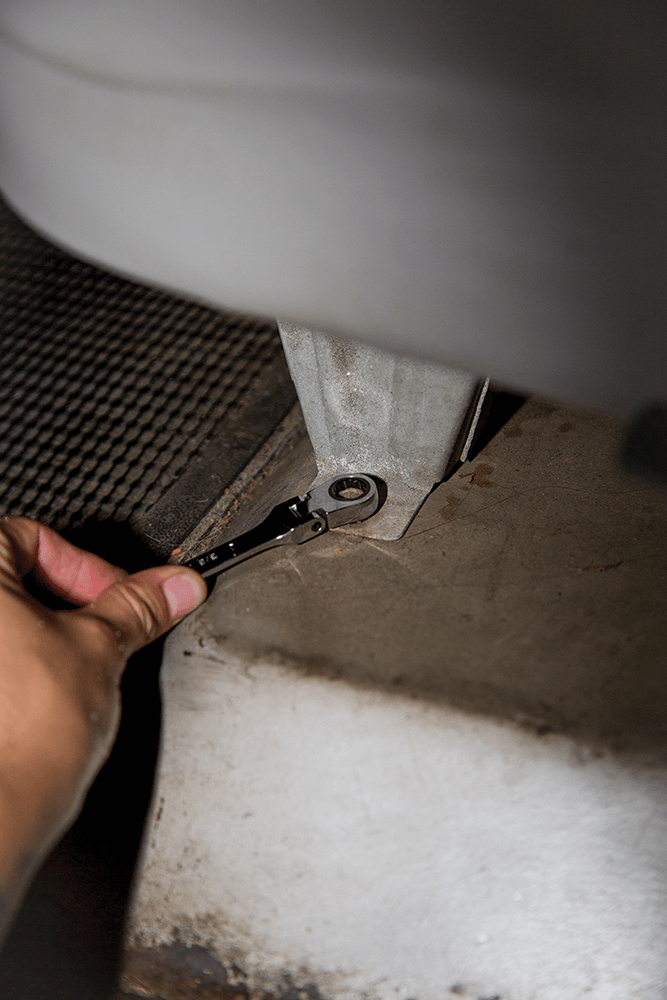
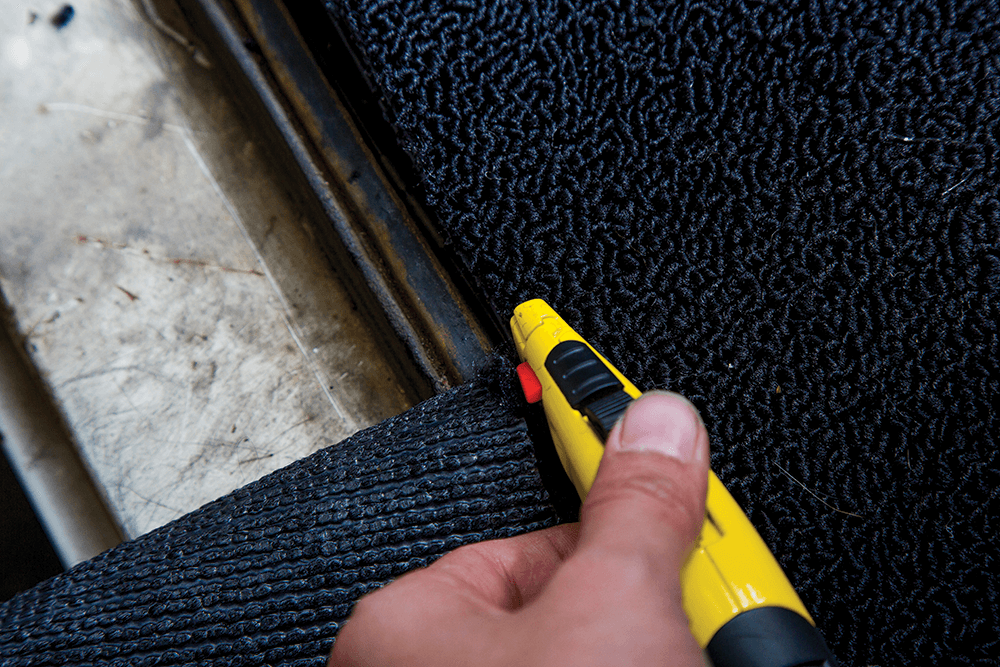
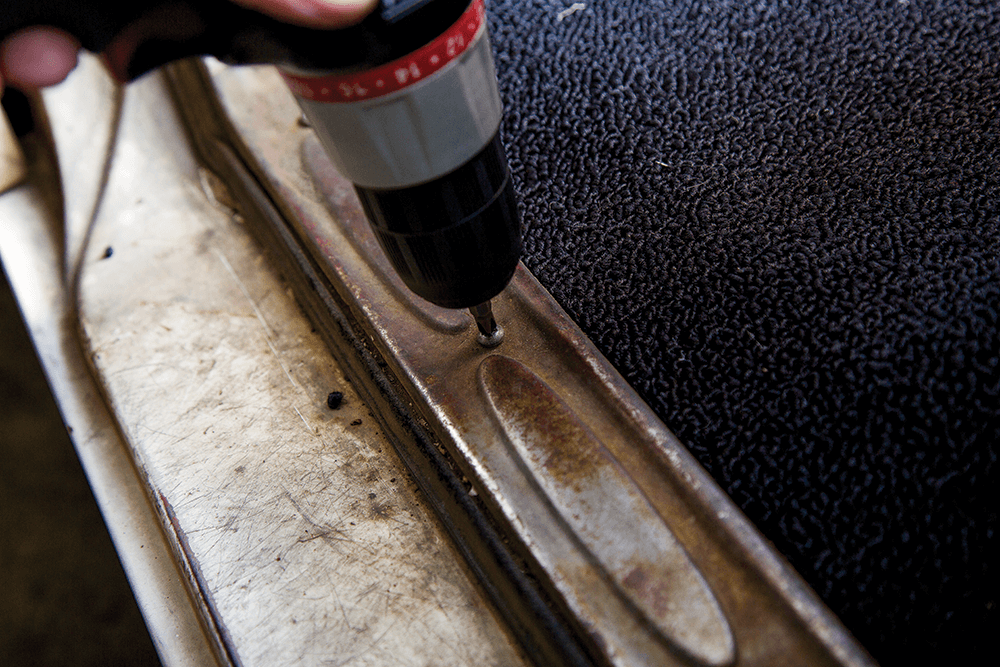
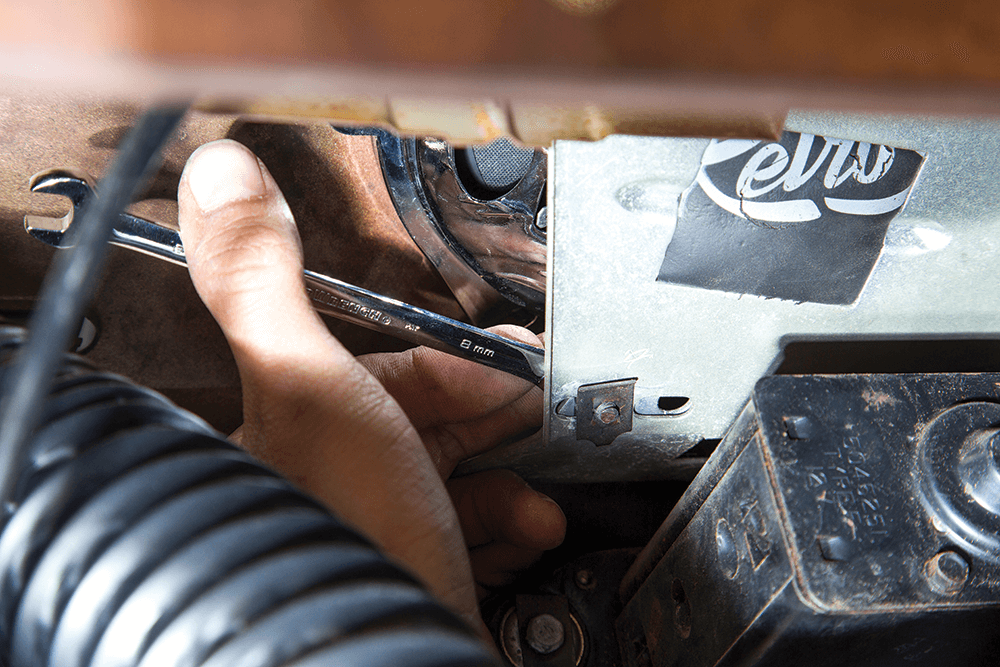
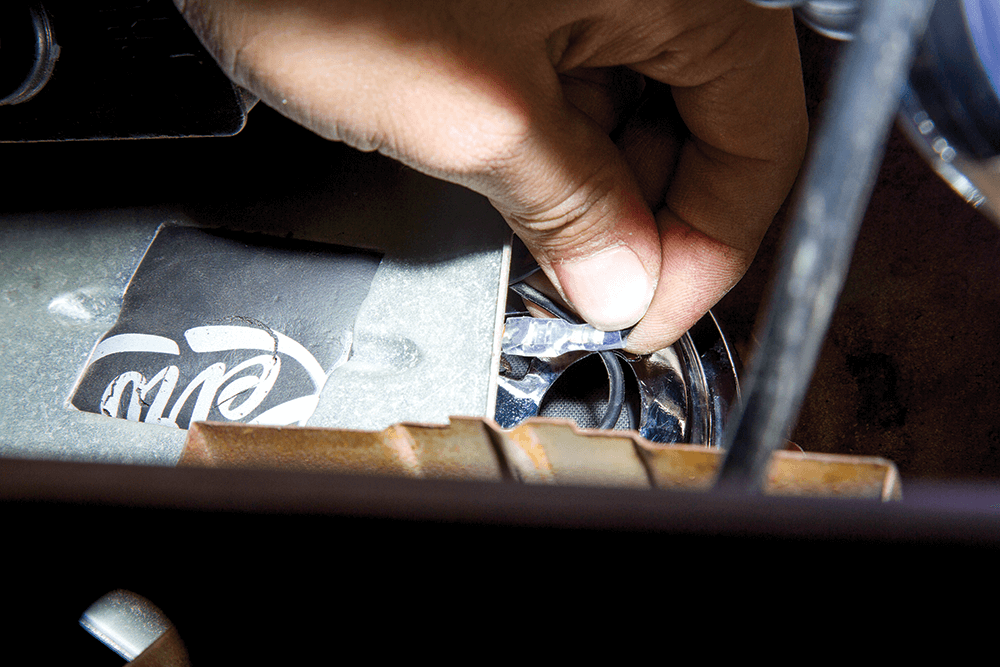
[divider] GETTING STARTED [/divider]
[divider] SOUND DEADENING [/divider]
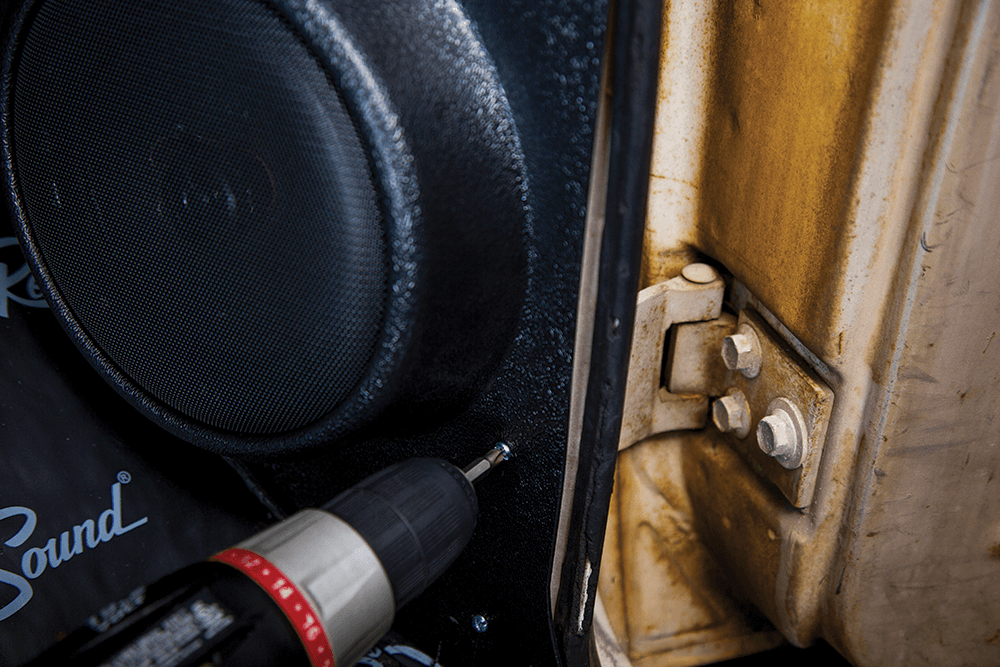
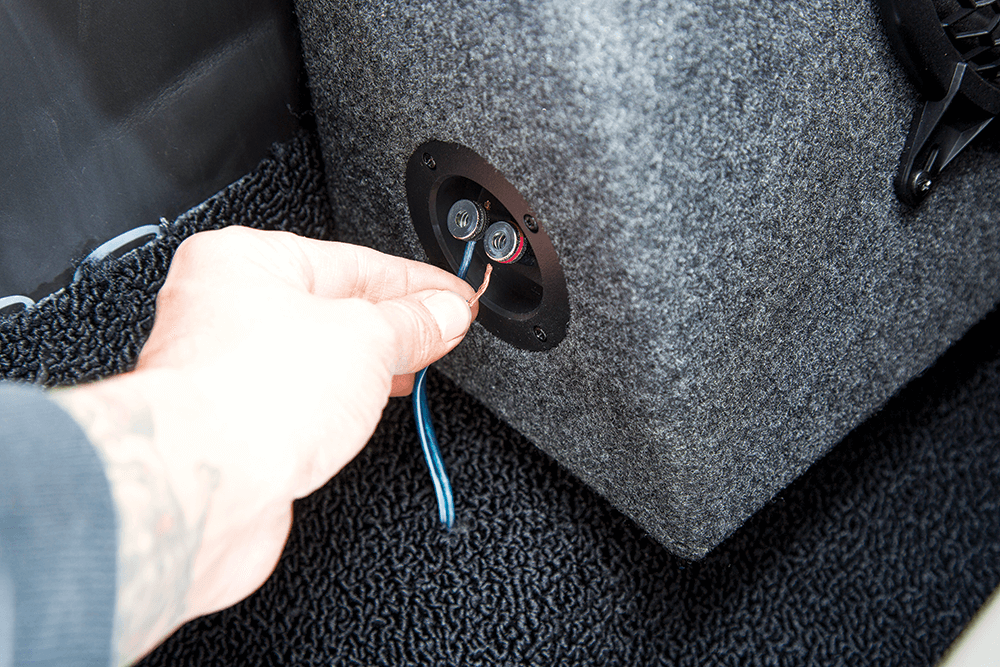
[divider] SPEAKERS [/divider]
[divider] CARPET KIT [/divider]

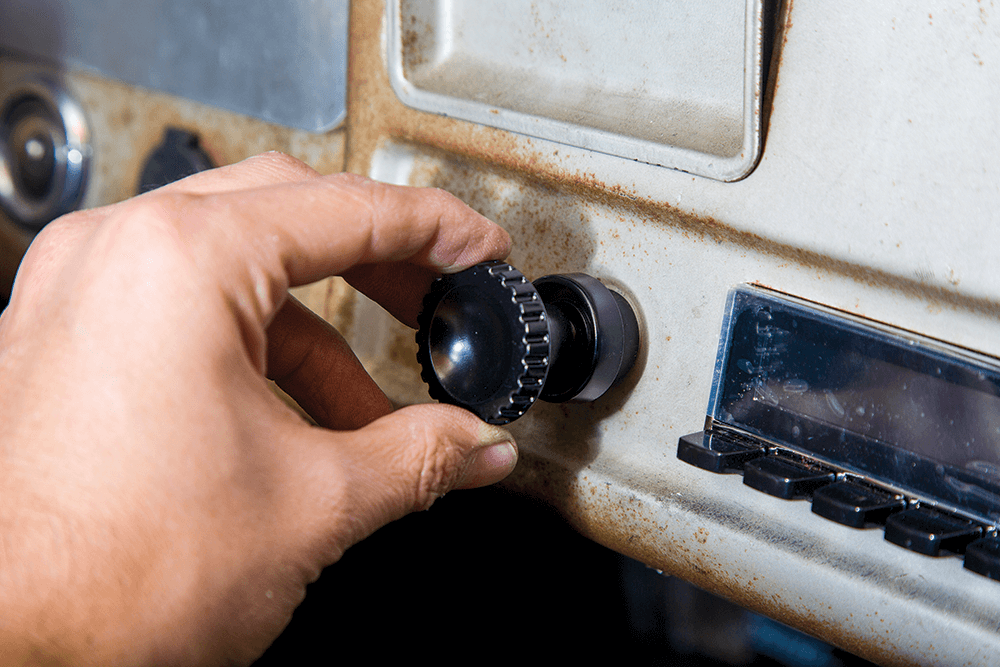
[divider] LONG BEACH RADIO [/divider]
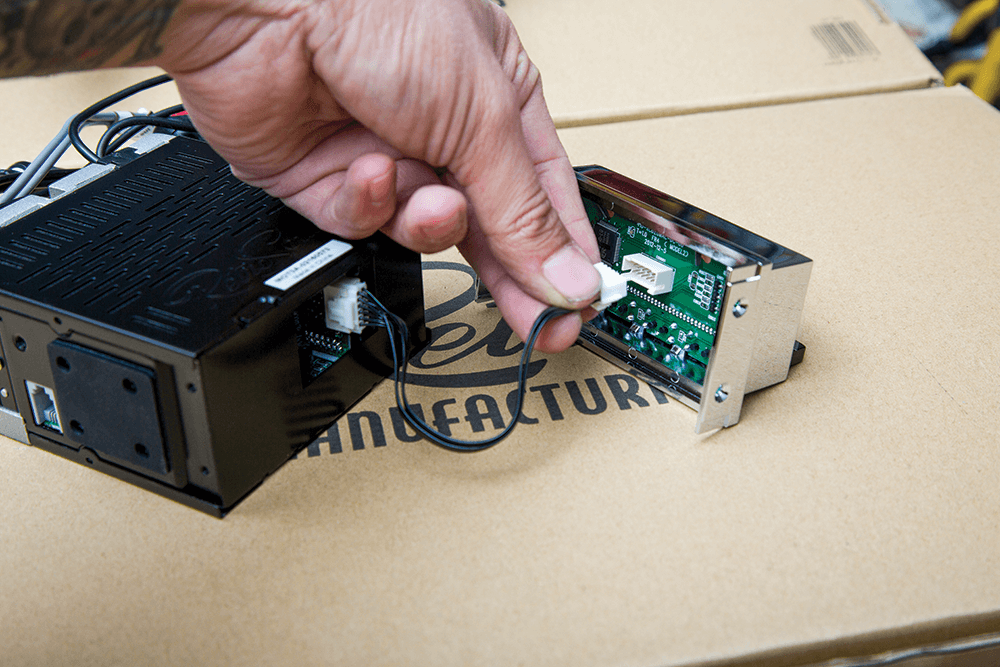
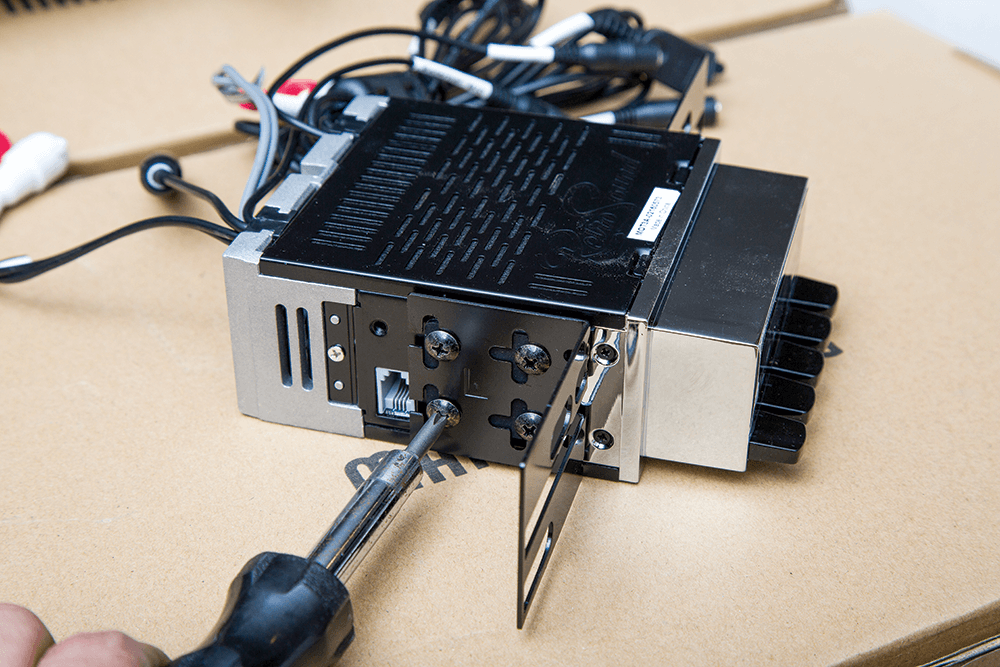
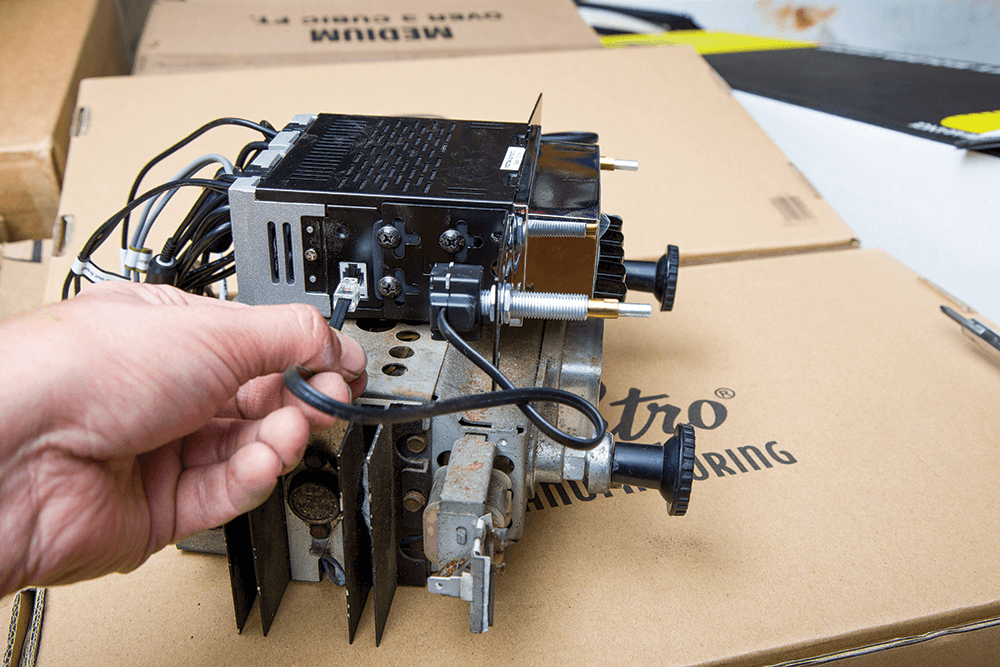
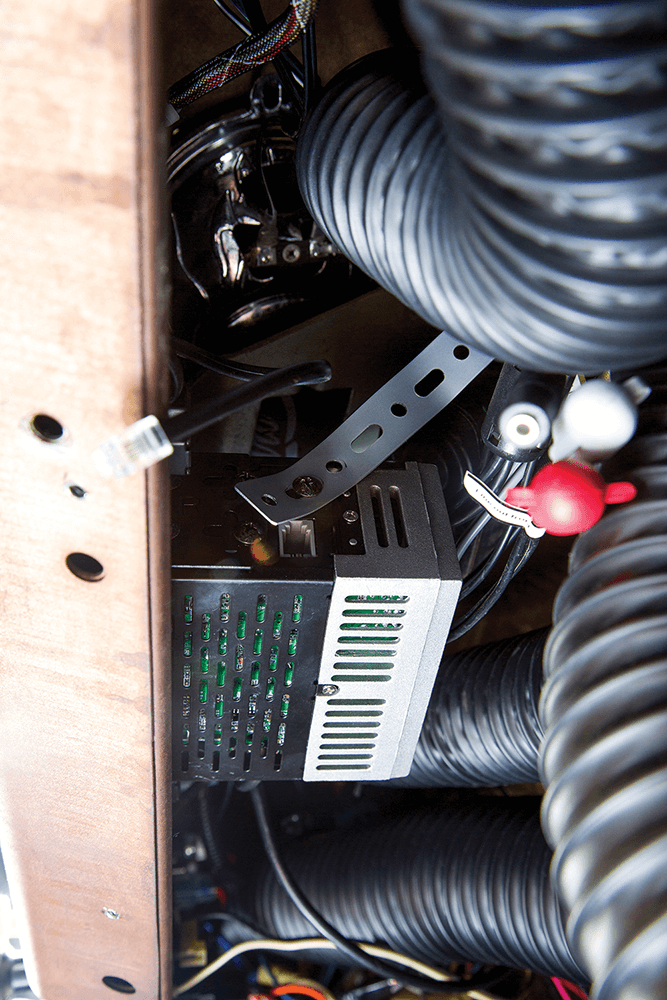
[divider] QUADRAPHONIC 4 AMPLIFIER [/divider]

[divider] FINAL SAY [/divider]


We use cookies to enhance your browsing experience, serve personalized ads or content, and analyze our traffic. By clicking "Accept All", you consent to our use of cookies. Visit our Cookie Policy for more info.


Share Link