 Jason Chandler
.
September 02, 2022
.
Department
.
Jason Chandler
.
September 02, 2022
.
Department
.
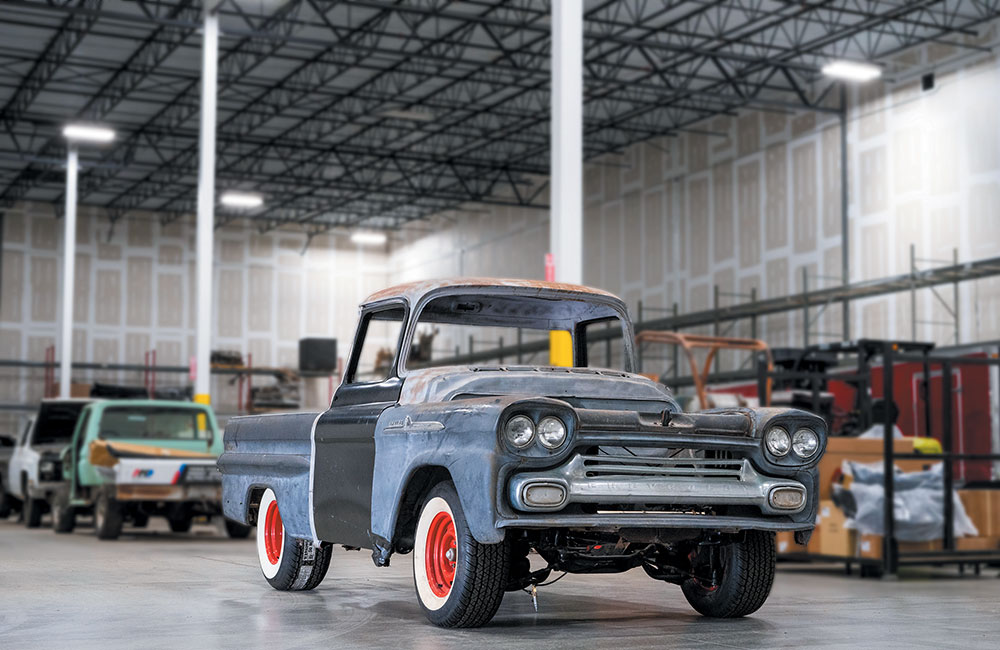
Back on Project Burnadebt! This 1959 Chevy Apache truck owned by Eddy Cebreco has been under major reconstruction. If you have been following along, you already know that with a step-by-step approach, you can do these same repairs at home. Last time you saw Burnadebt, we featured the floorpan assembly installation. This time we go in depth on installing a new back cab panel.
We head back to Auto Metal Direct in Gainesville, Georgia, with Jubee Mays of aMAYsing Metal Works performing the installation. Some of what you will see here covers the final installation of the floorpan we previewed in the April issue of Street Trucks. The floorpan assembly welds to the back cab panel along the lower rear, rocker panels, and at the inner cab corners. AMD has all the parts you need to swap out your old rusty back cab panel with all new fresh metal.

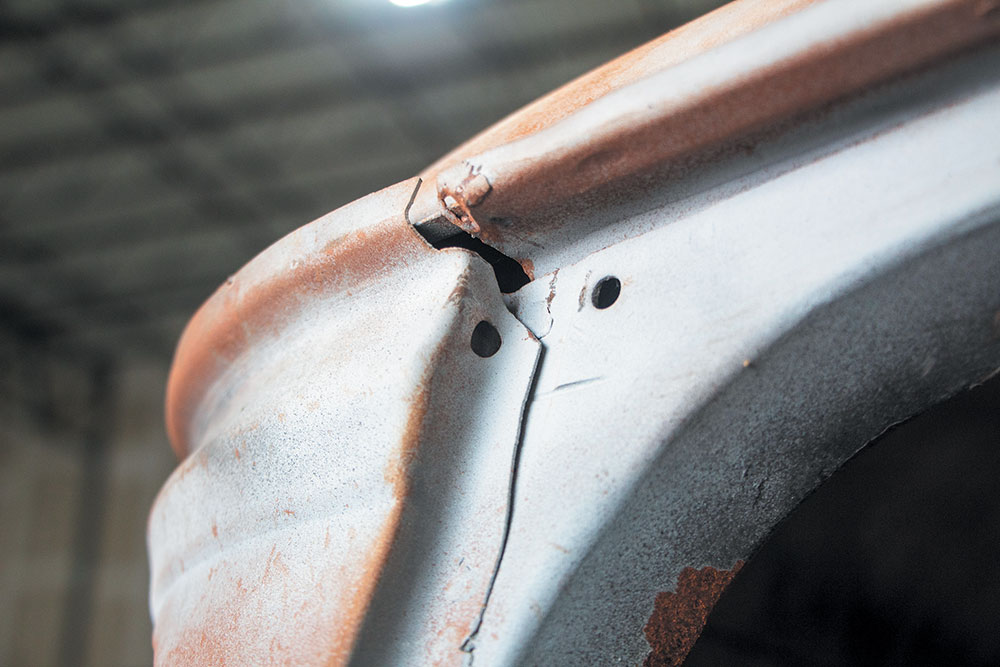
Now Burnadebt has seen its share of less-than-optimal repairs. The back cab panel is no exception. A previously replaced unit was incorrectly installed and needs some attention. This is where the time versus money debate comes into play. The back panel as-is can be fixed, but once you spend all the time to redo what is there, it’ll be cheaper to pull it out and replace it with a new panel the right way. A little more in parts will save you so much more in labor. Let’s go to Jubee and see what we got to work with.
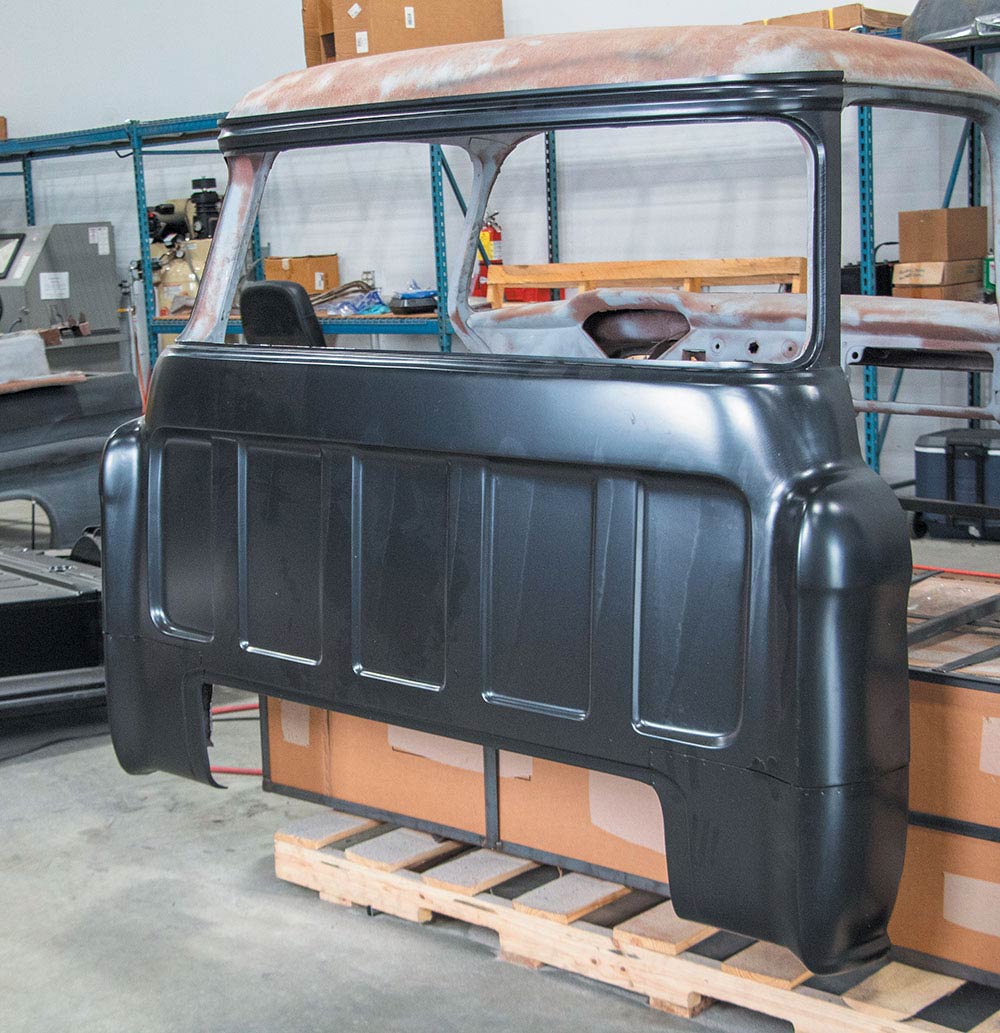
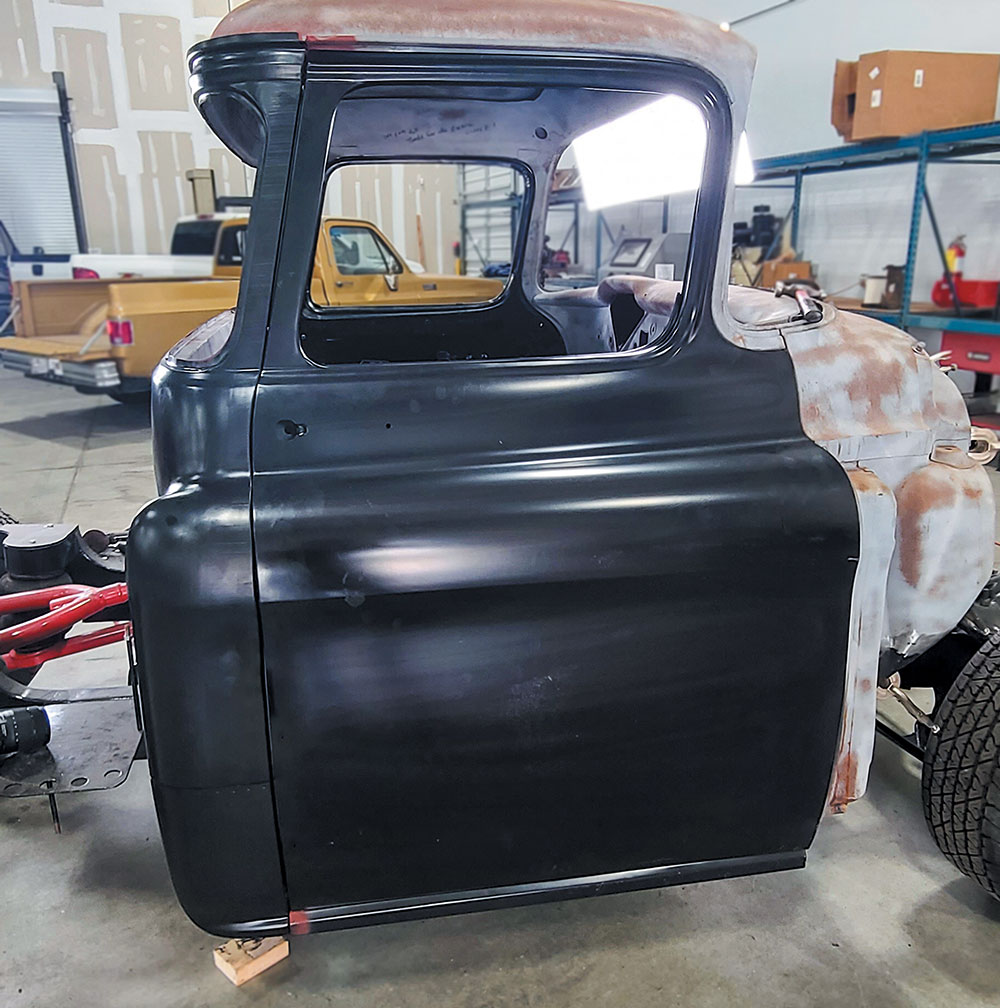
1. As you can see from 5 feet away, this back cab looks OK.
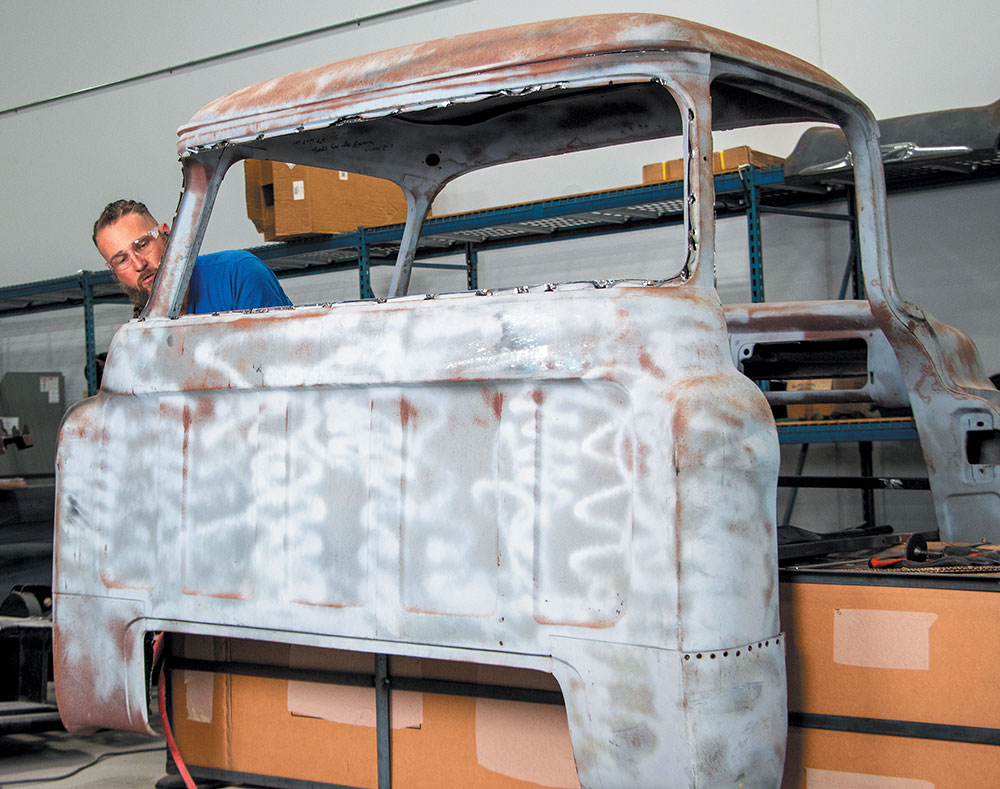
2. Upon closer inspection, we come across a lot of poorly executed welds, random holes everywhere, and gaps left unfinished. With a check of a tape measure, this truck isn’t exactly square.
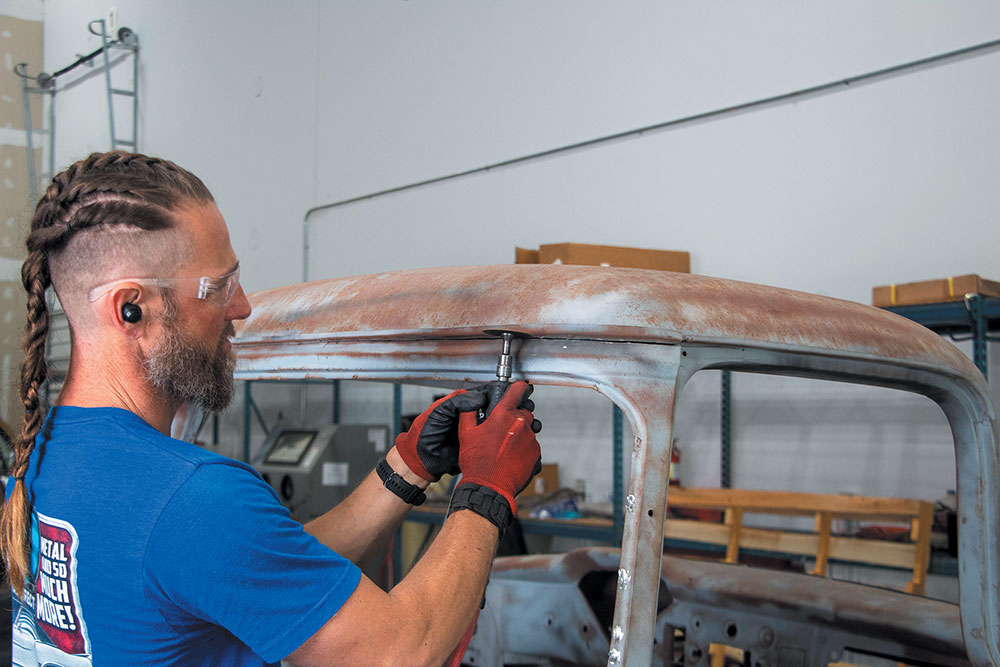
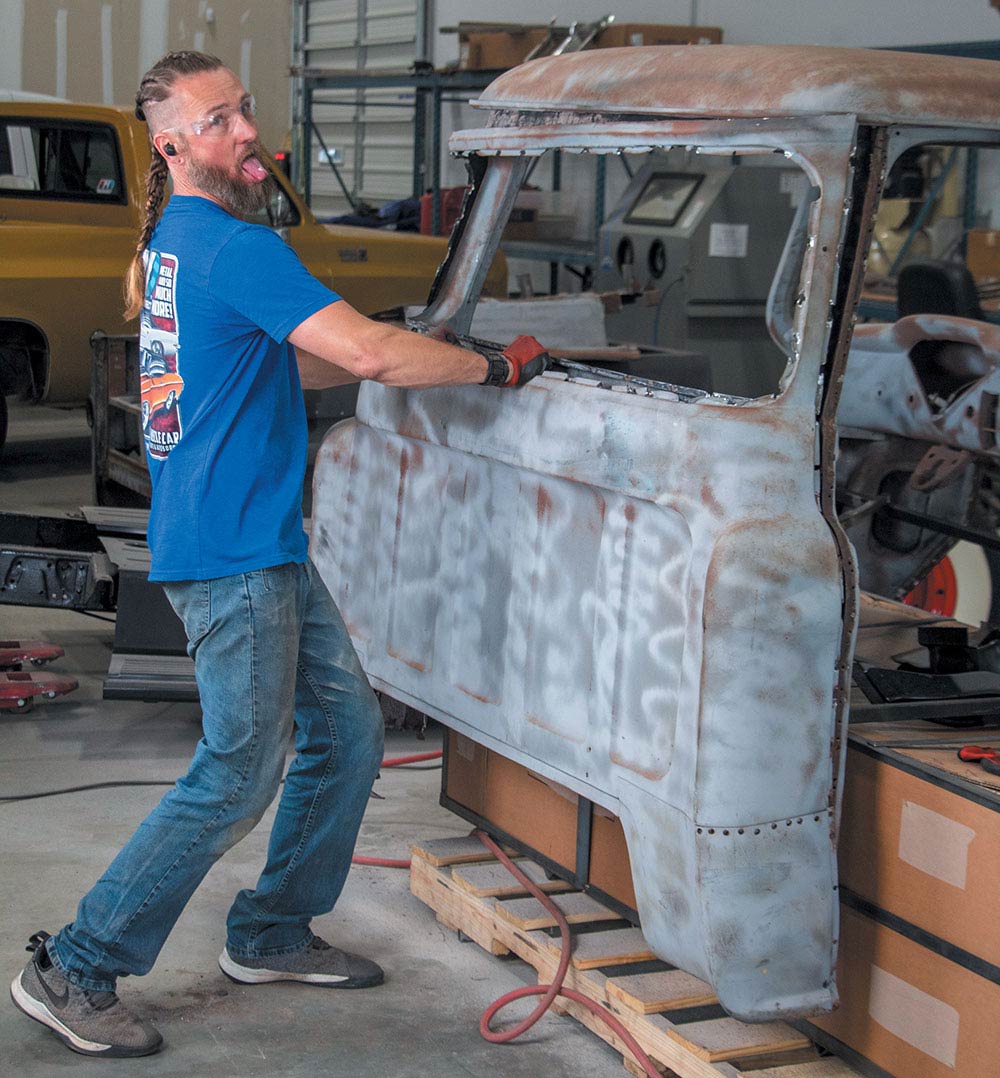
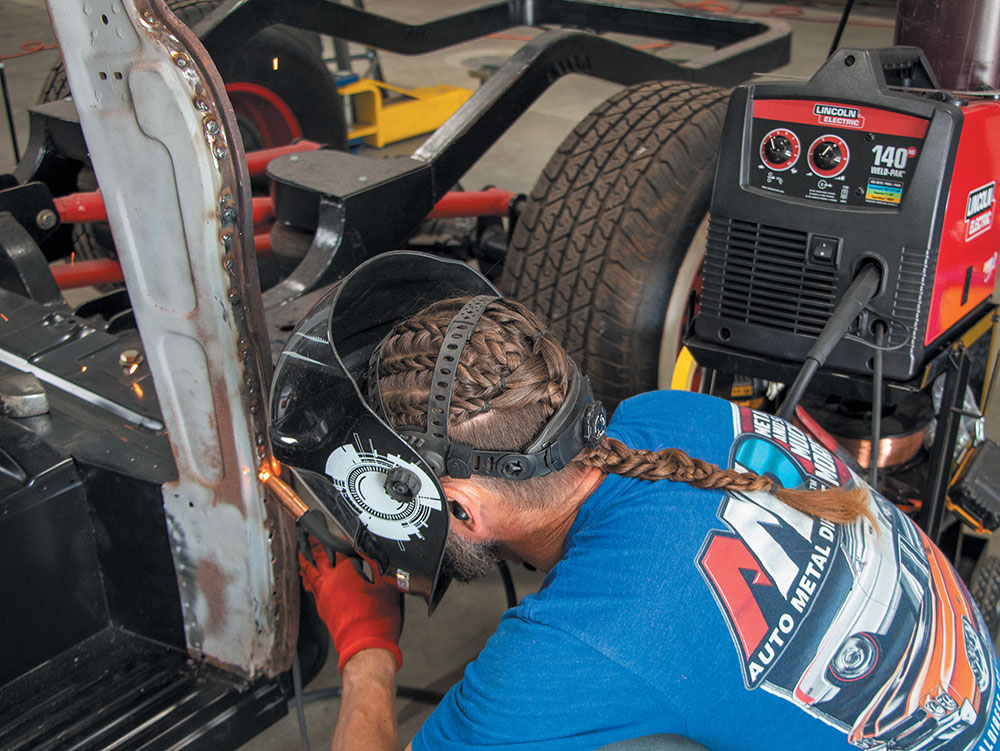
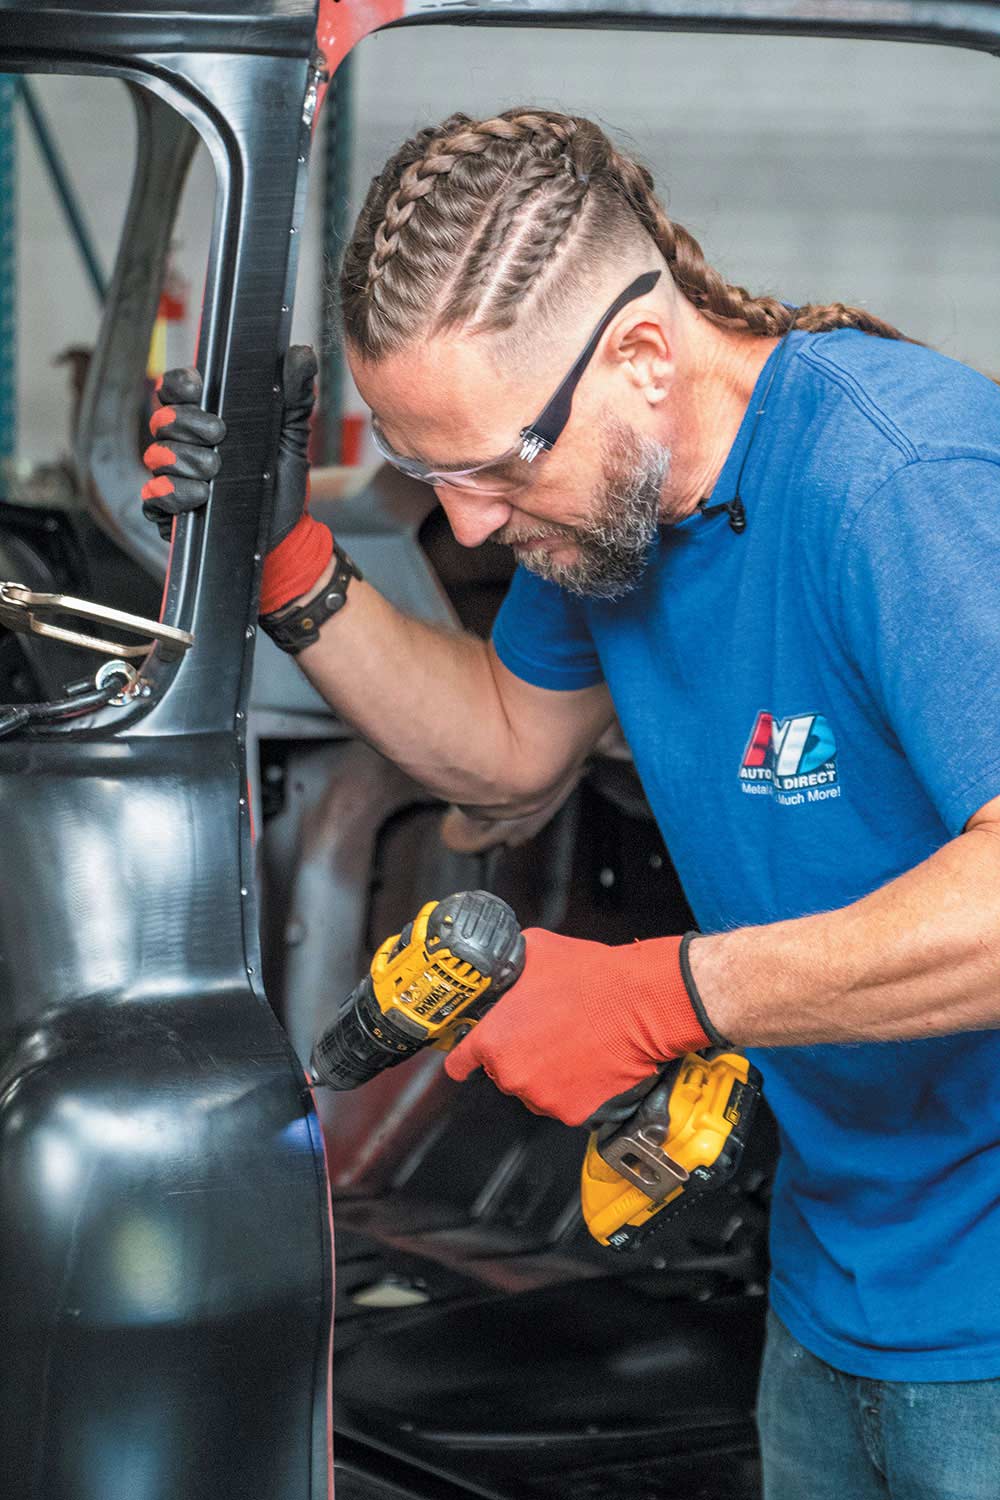
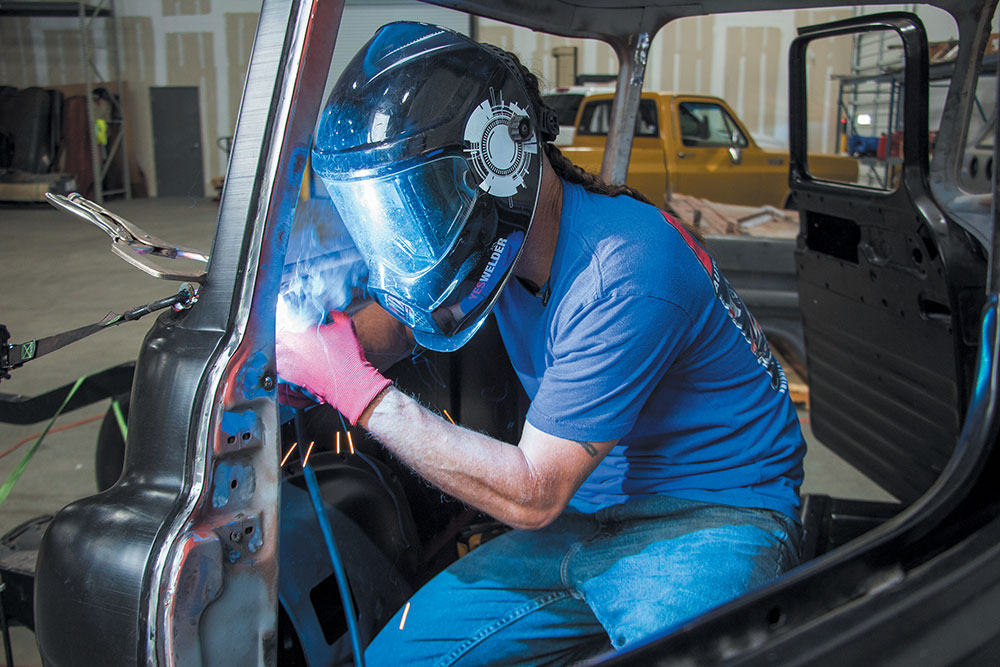
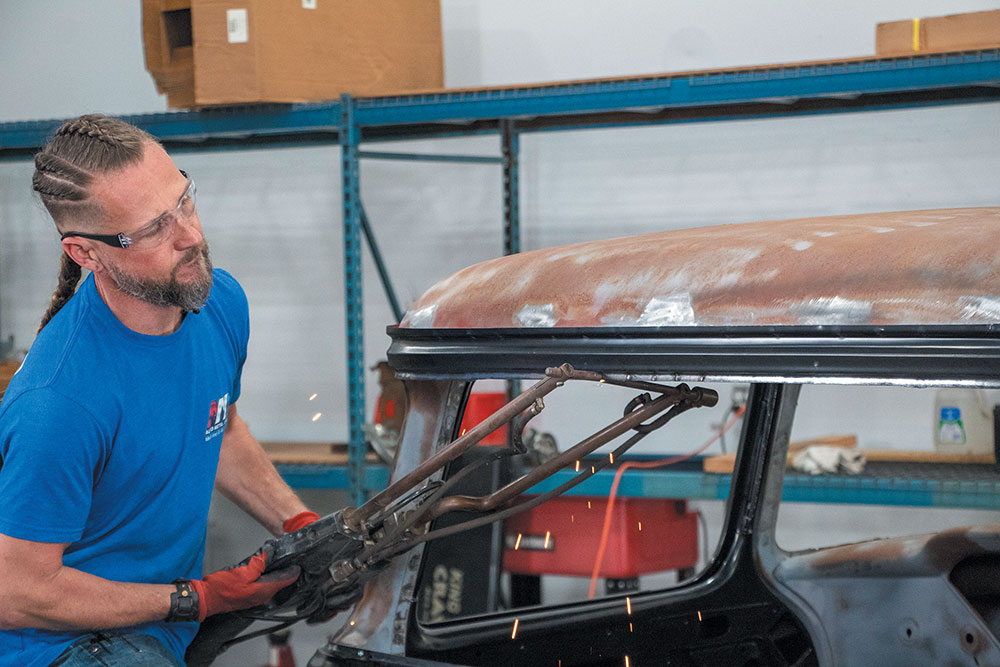
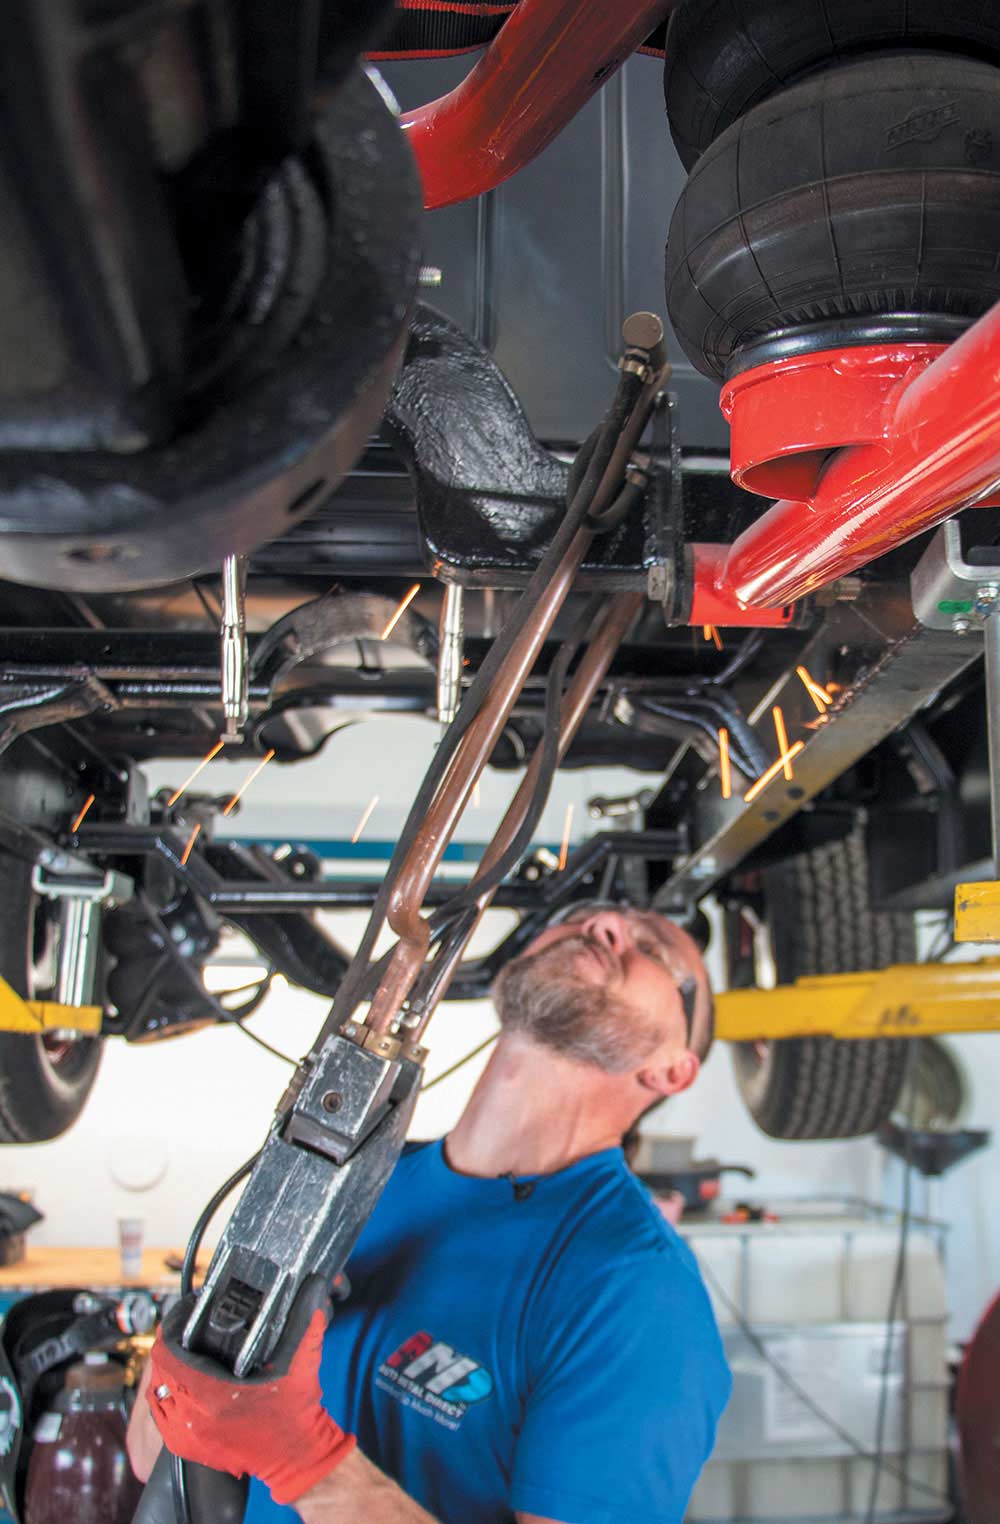
3. Jubee is ready to get this thing removed. Starting with the cutting wheel and proper eye protection, he begins the removal of the back cab panel.
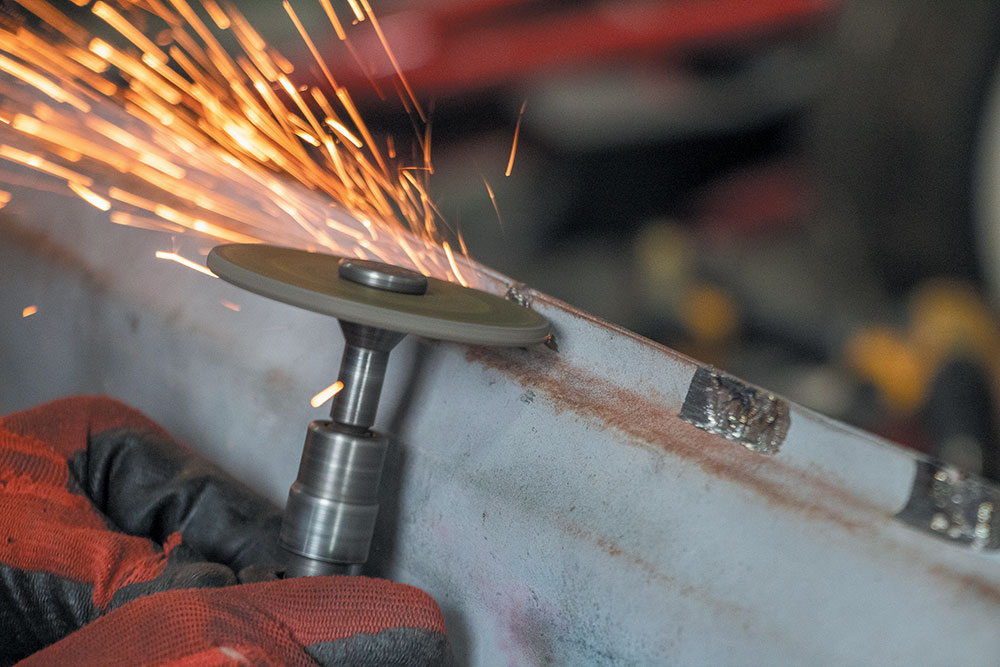
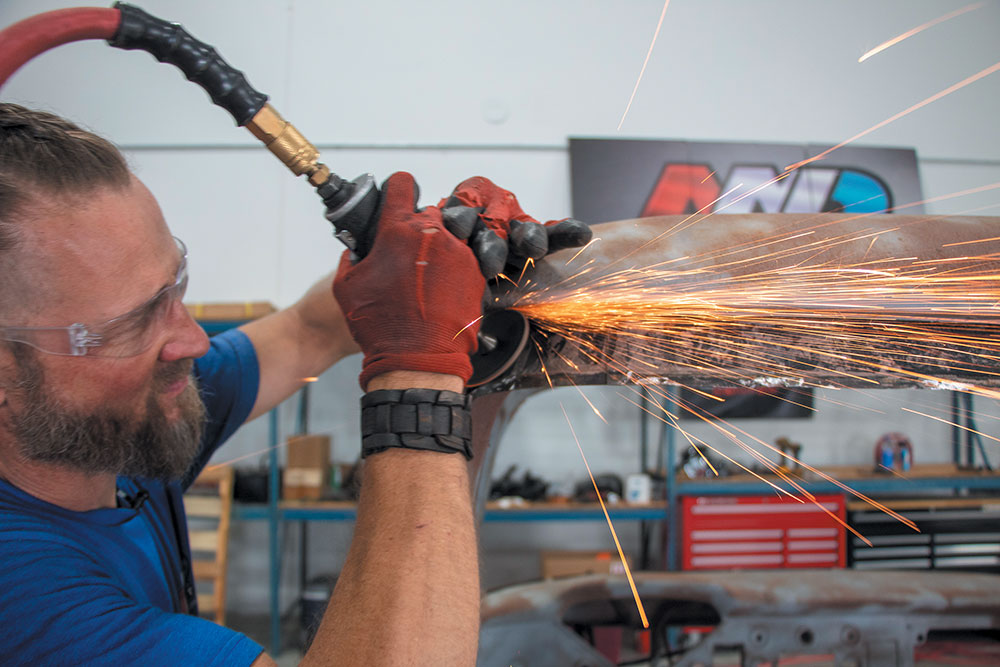
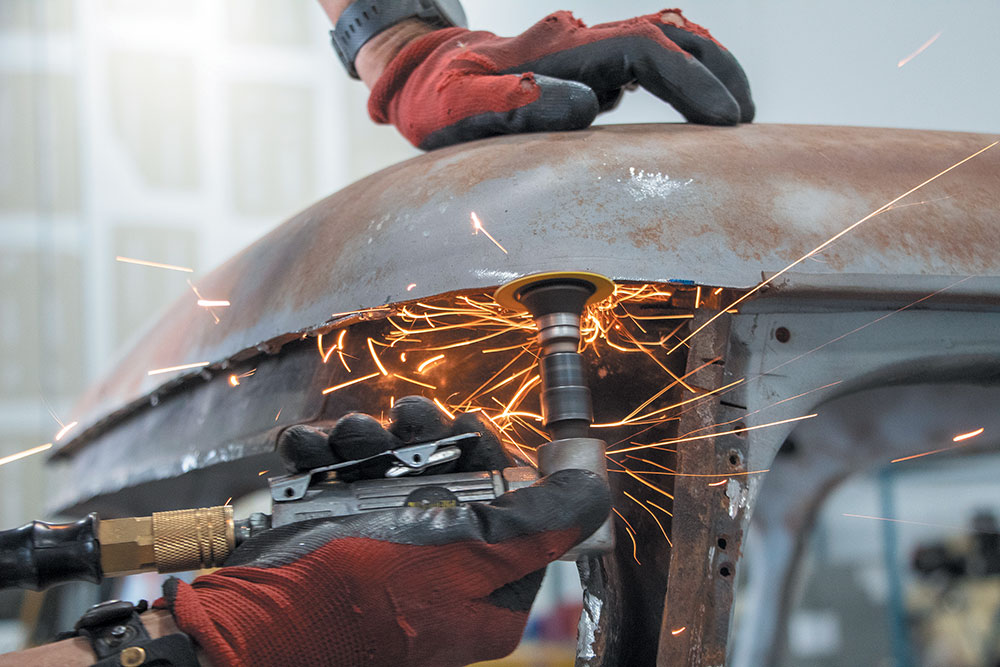
4. A grinding disc will help Jubee get the spot welds removed with minimal damage to the inner cab panel, which he is going to keep.
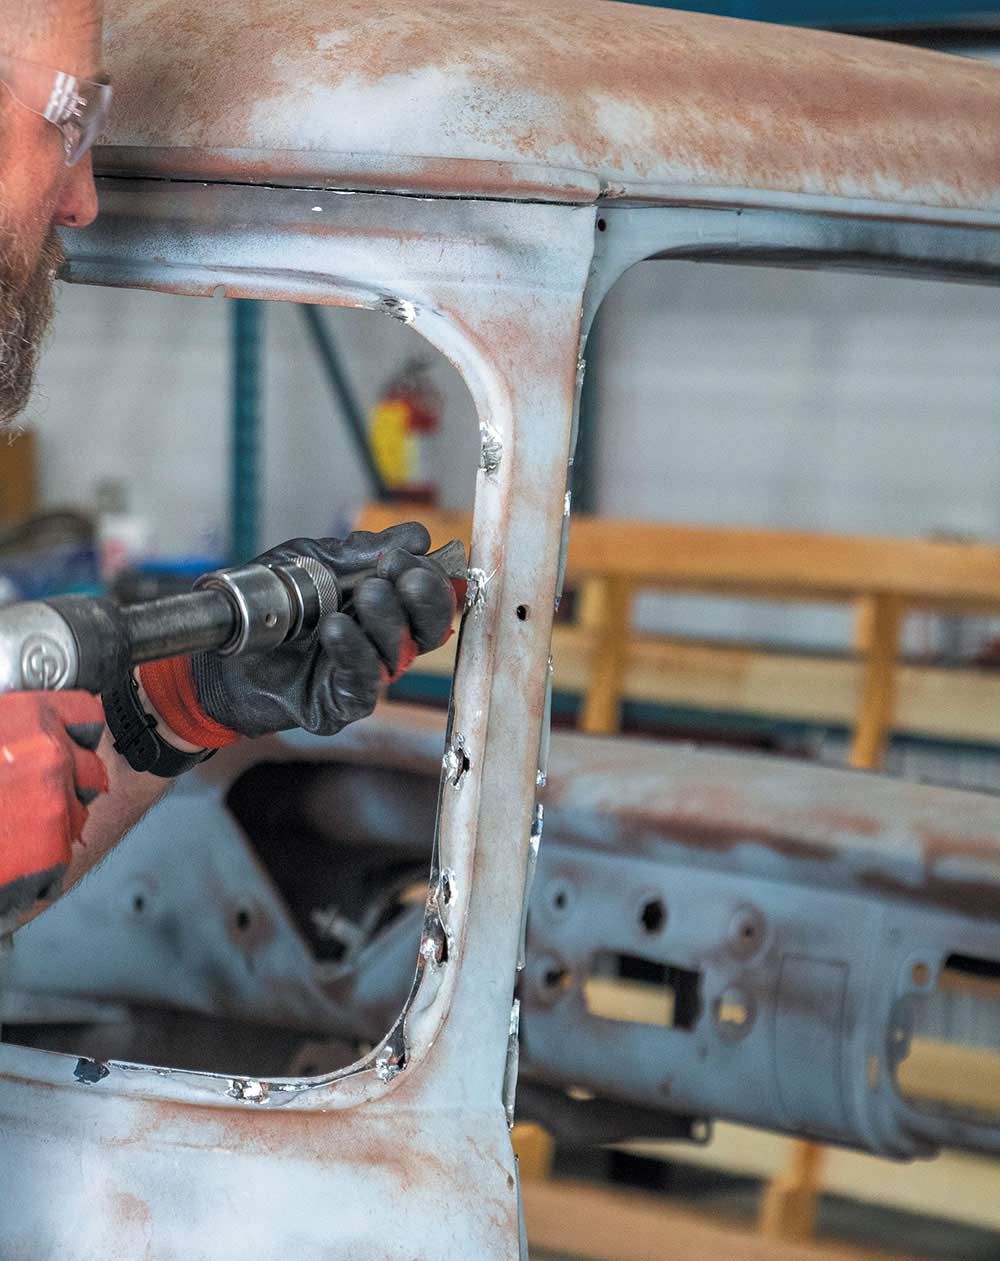
5. With the spot welds down to a workable thickness, Jubee uses the air chisel to separate the two panels. This process is repeated along both door jambs. Take your time here so not to damage the inner structure. It’s all about control.
6. Someone is excited to get that old panel out of there.
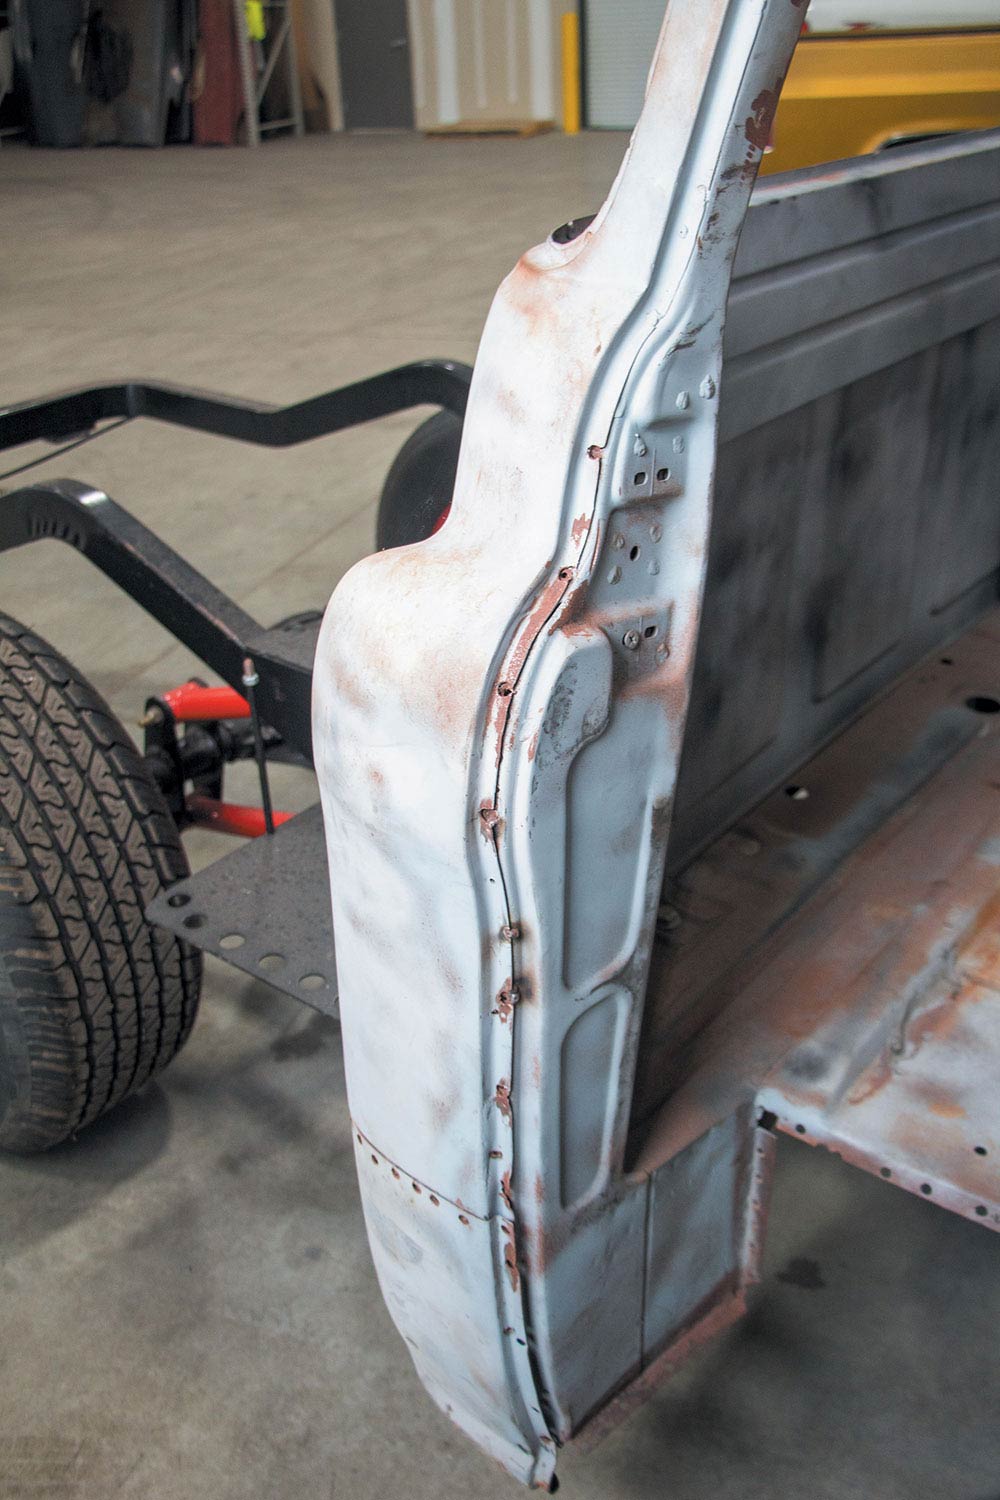
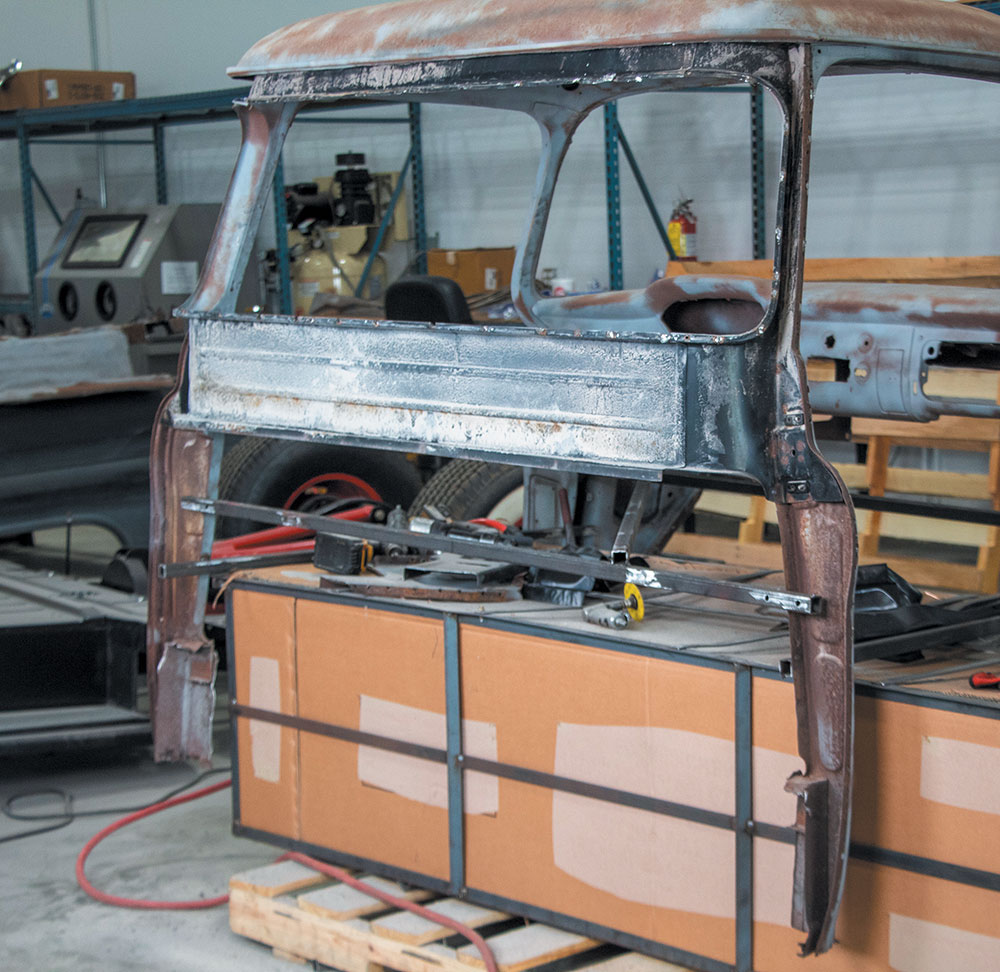
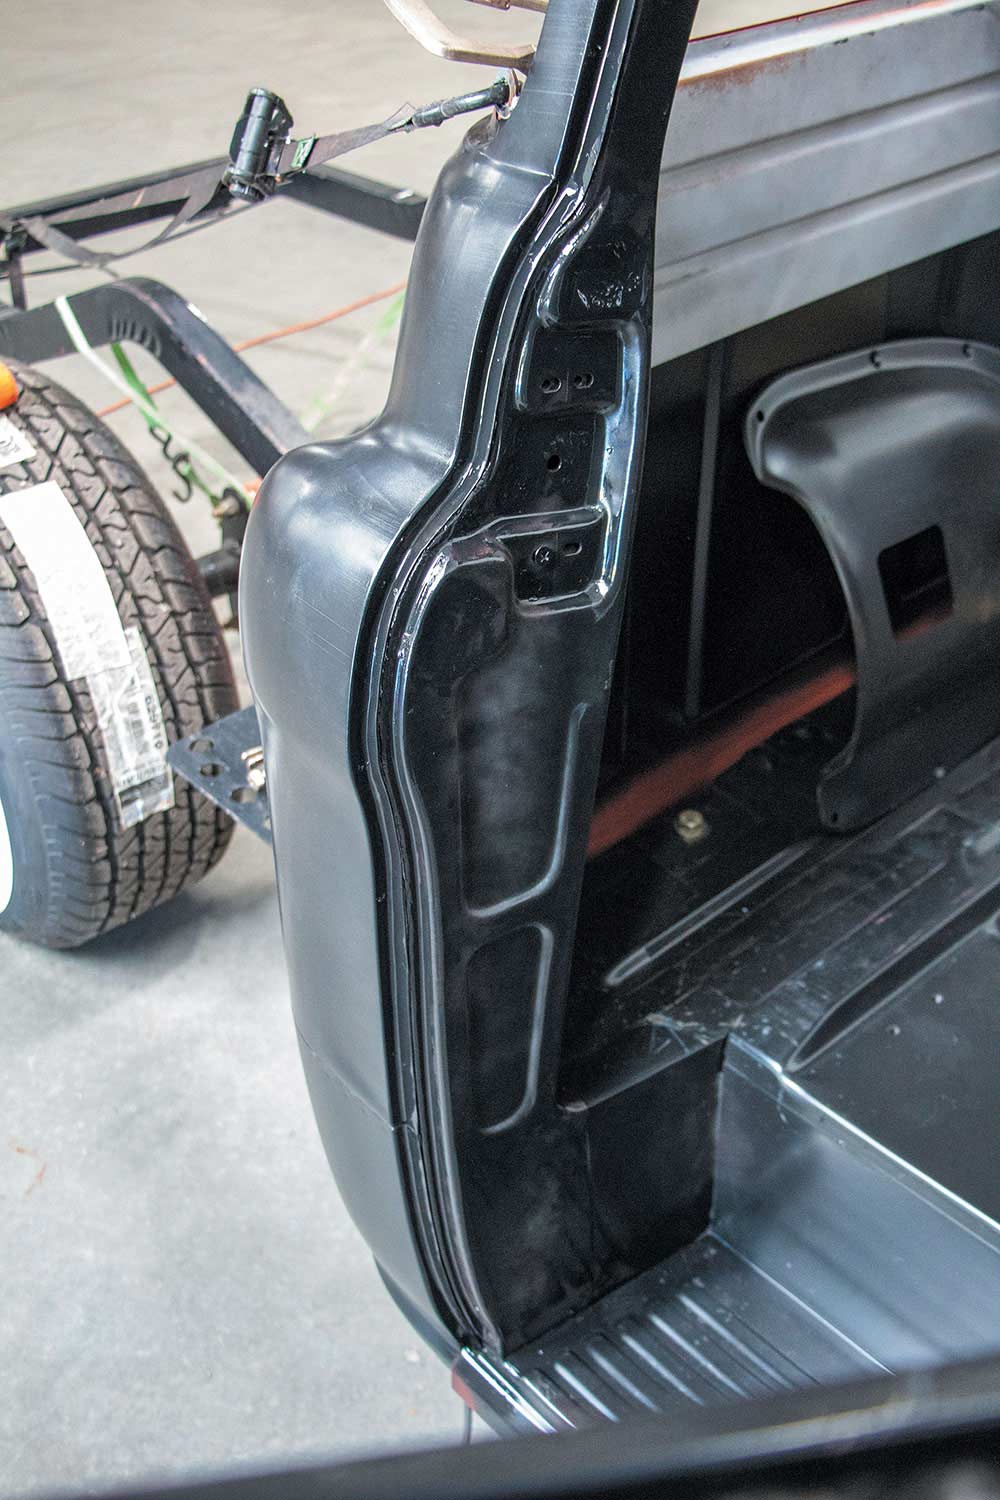
7. Here you can see the inner structure that will be prepped for installing the new back cab panel. In this multi-part series, we previously removed the floor and firewall as they needed replacement as well.
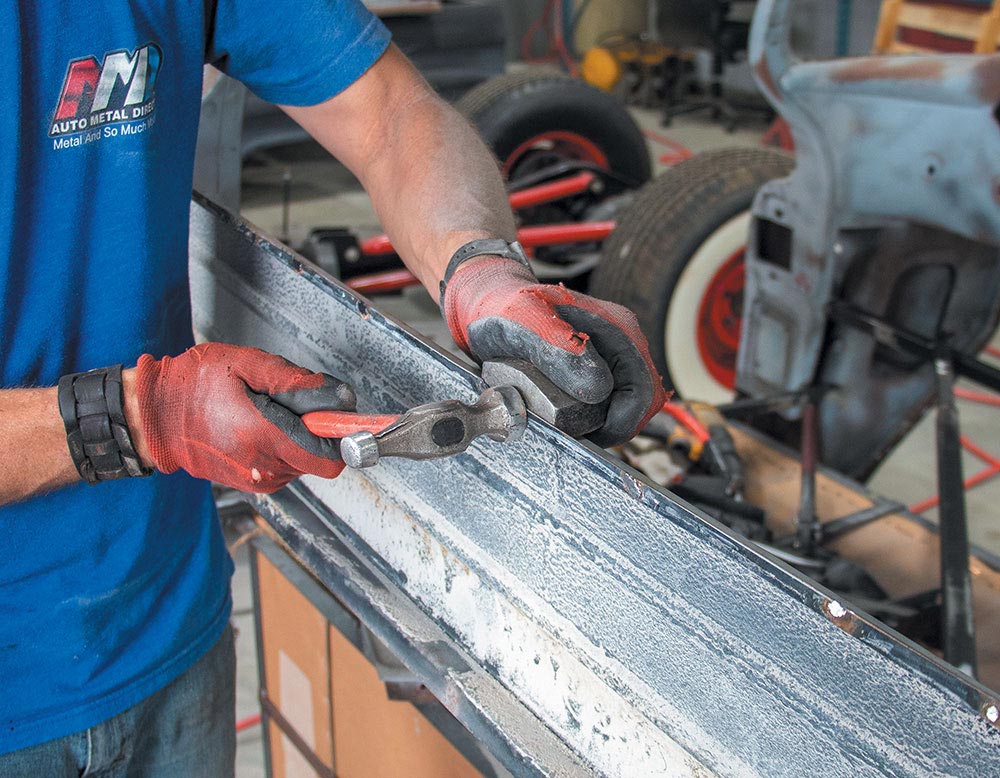
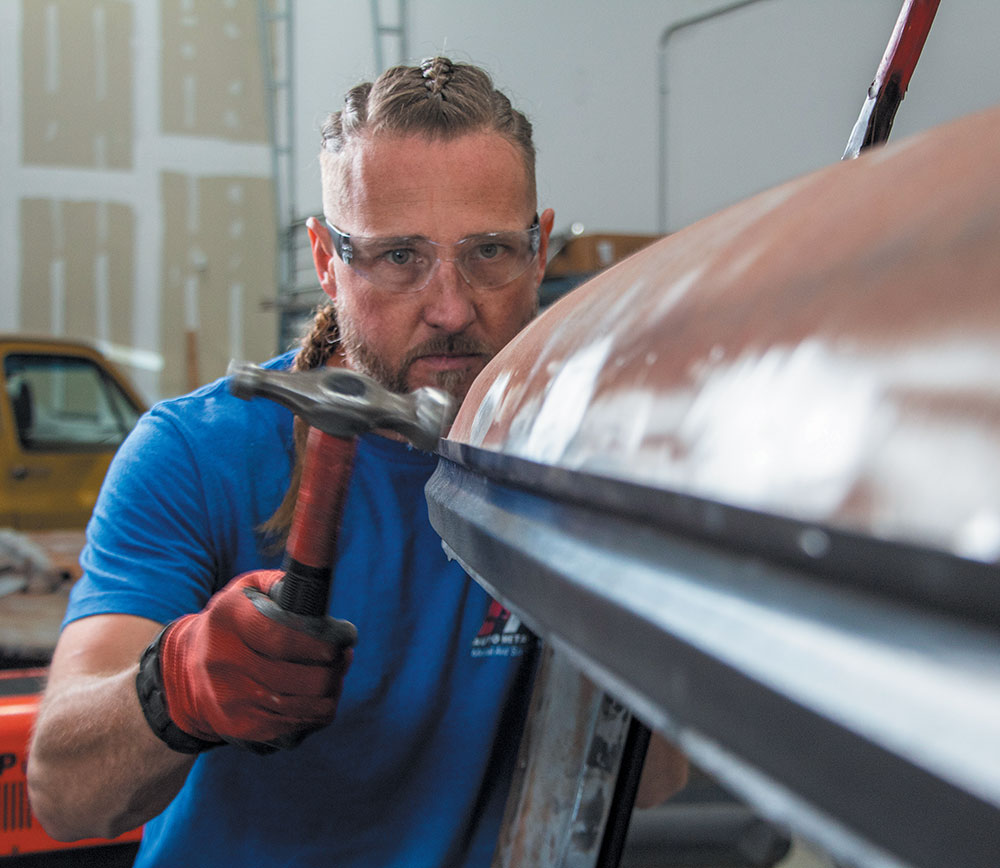
8. Hammer and dolly the remaining panel straight as needed. The more time you spend on prep, the better your results will be.
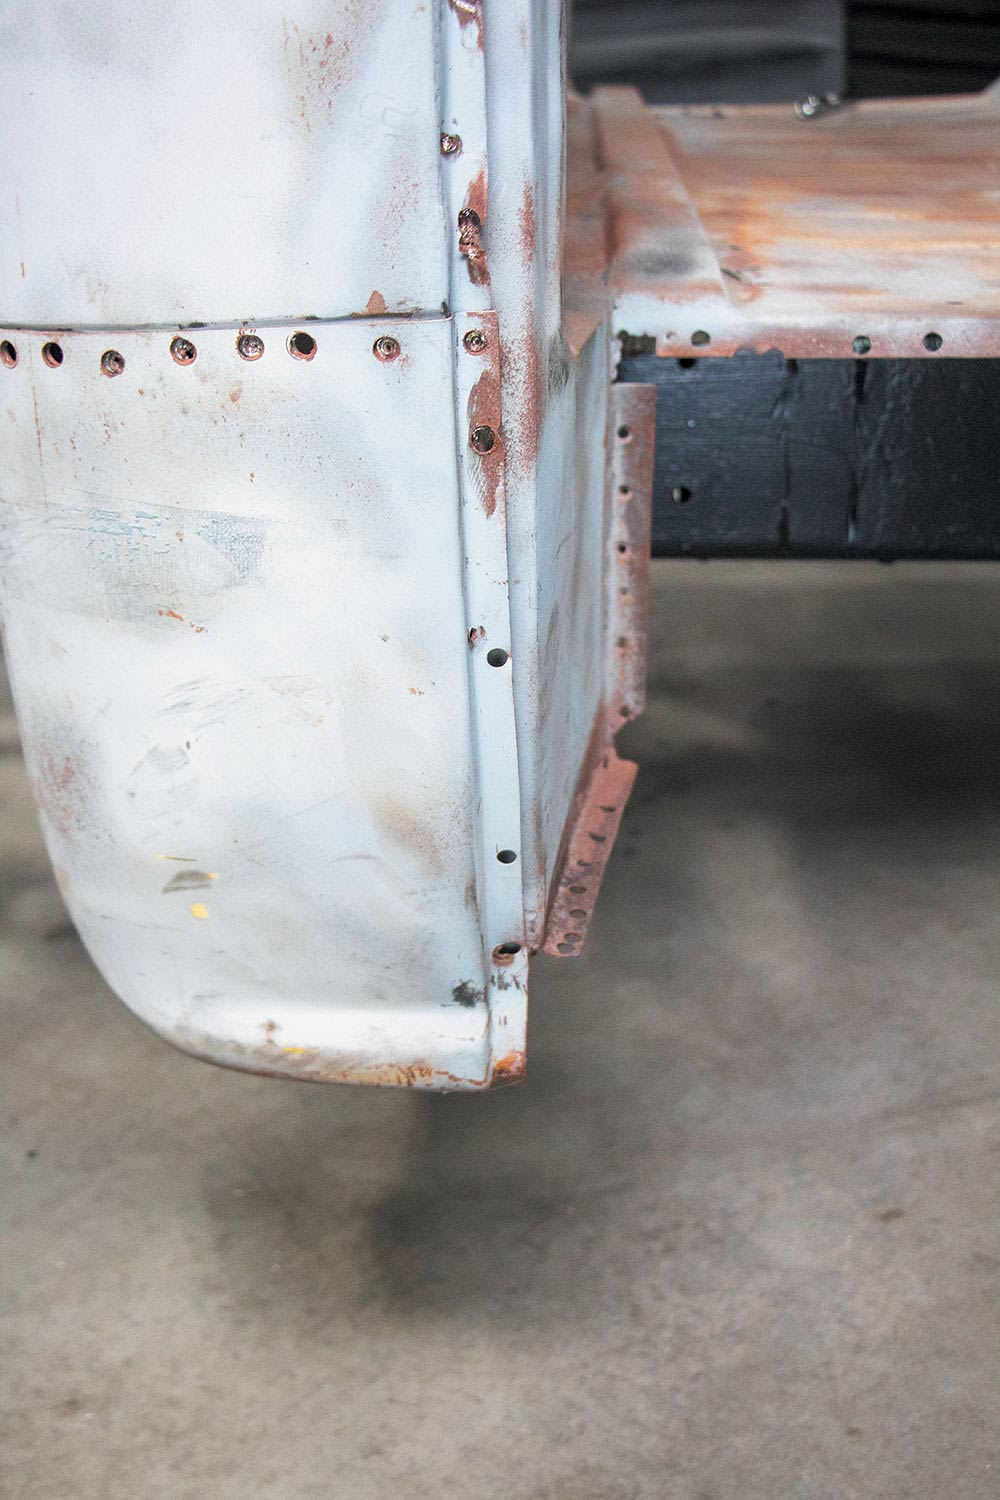
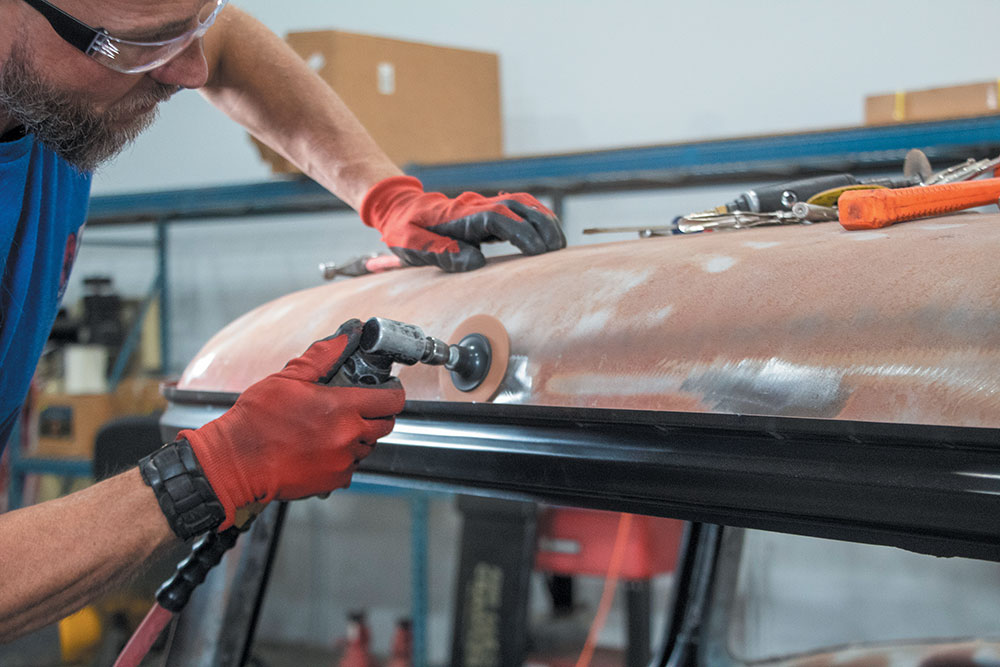
9. Sanding discs and grinding wheels help in cleaning up any of the spots where the back panel was welded to the inner panels.
10. Even though we replaced the back cab with a new panel, this cab still needs a fair amount of work to get it ready for install. Both door jambs need to have all the holes welded up so the new panel can land properly.
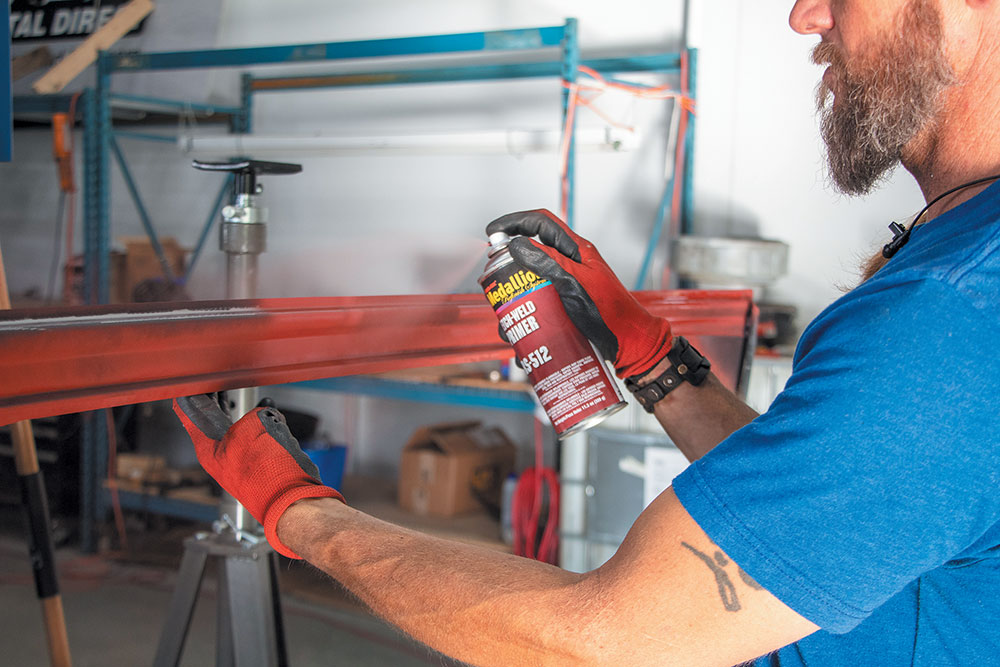
11. With everything cleaned up, Jubee applies a weld-through primer from Medallion Refinish. This will be applied to all the mating services to help prevent rust and corrosion.
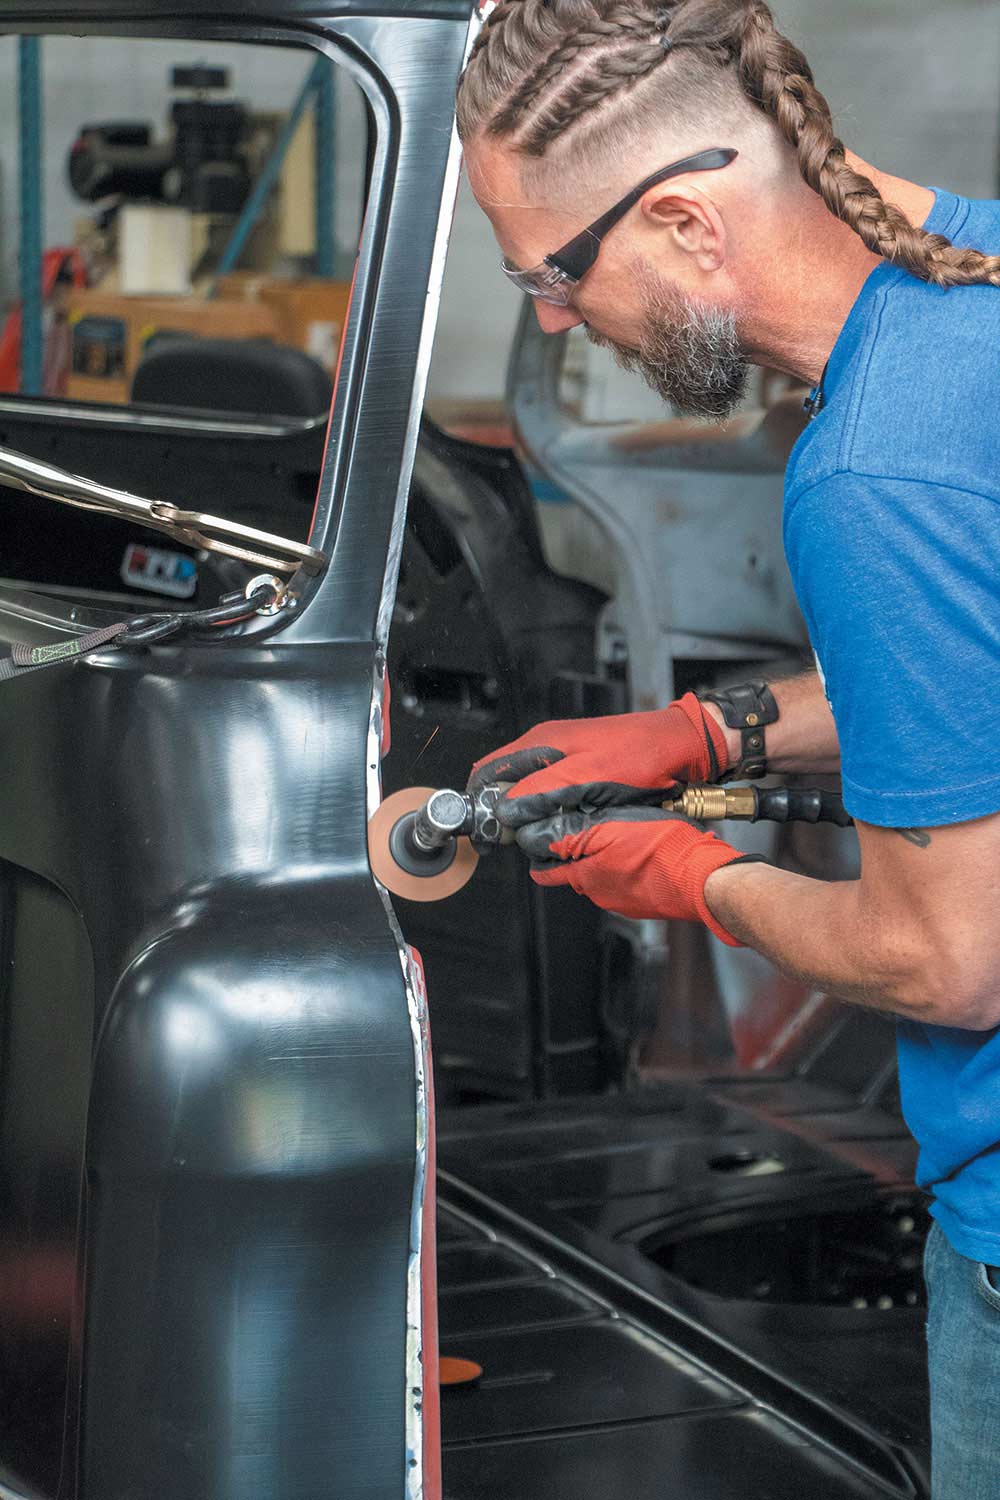
12. Using a surface conditioning disc, Jubee preps the new back cab panel for installation. The EDP coating will interfere with the welds, so it needs to be removed at the weld sites.
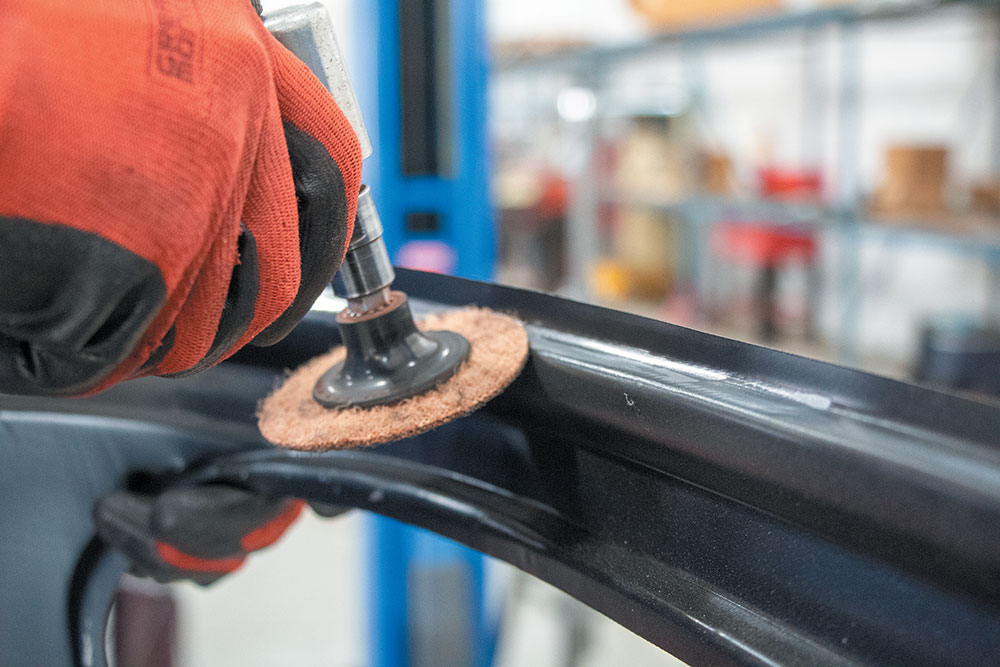
13. The Medallion Refinish weld-through primer is a go-to product and needs to be applied to the new panel where we sanded.
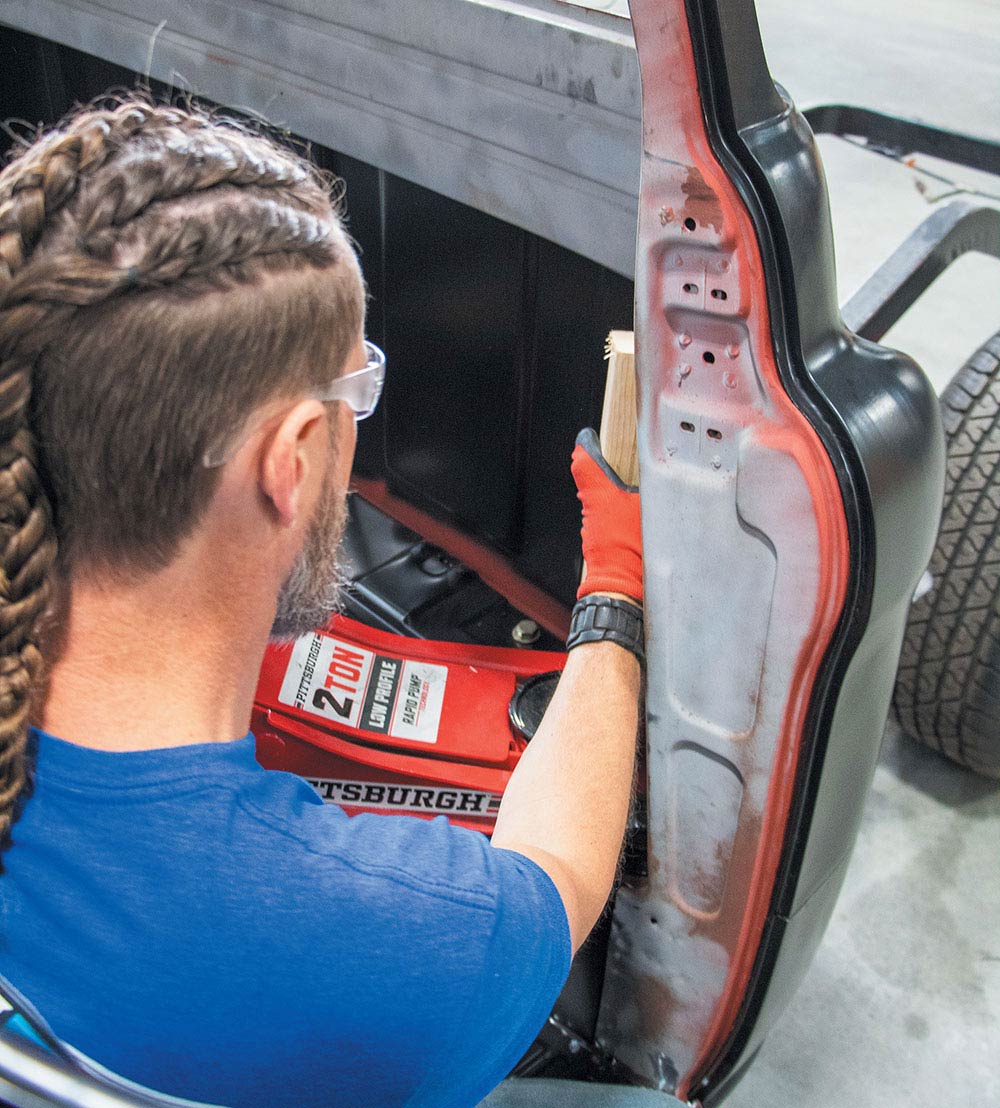
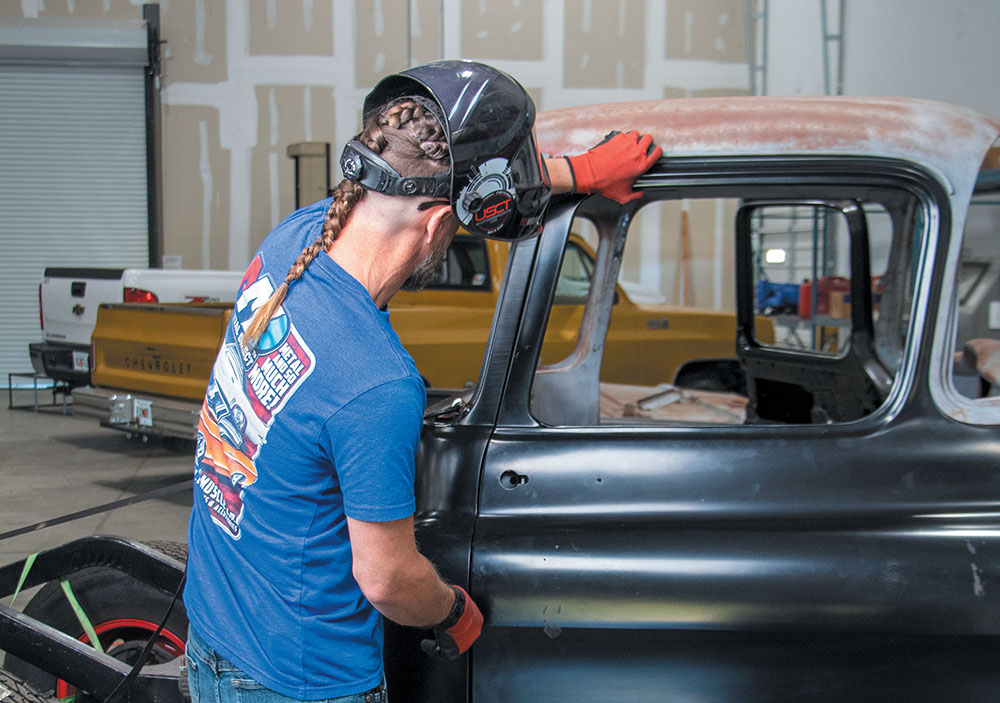
14. Jubee mocks up the new panel for installation.
15. A dead blow hammer is a great tool to manipulate the new panel exactly where you want it. It doesn’t take much effort to get it into place.
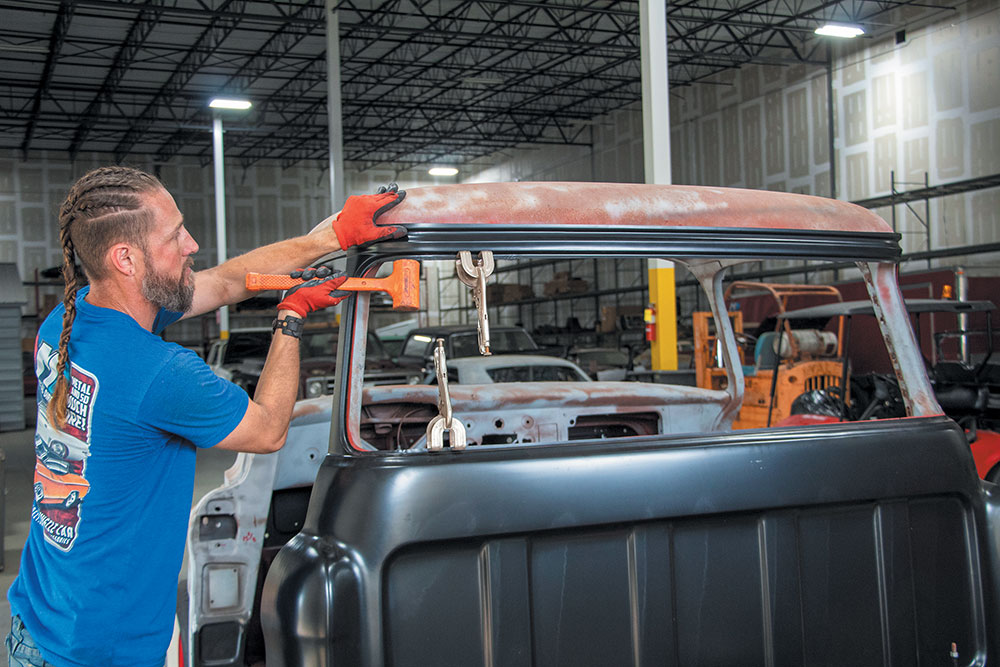
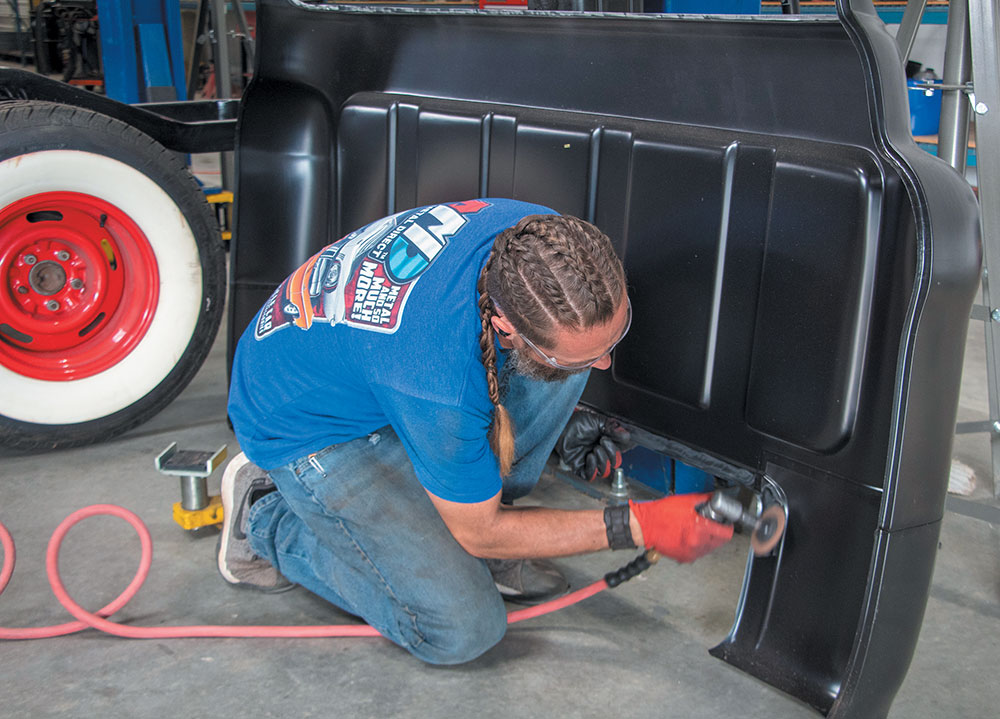
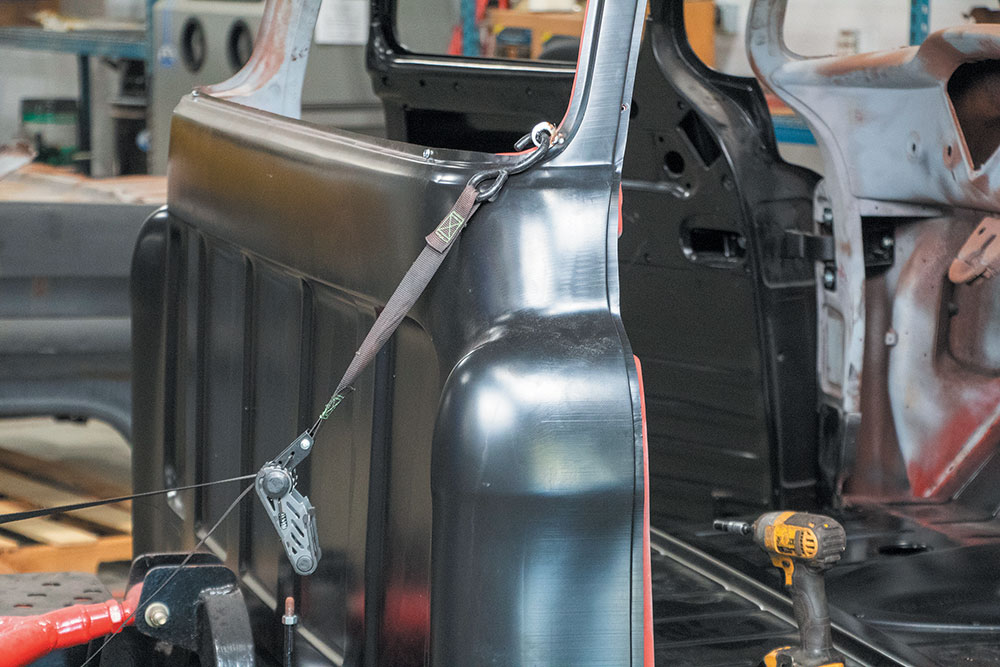
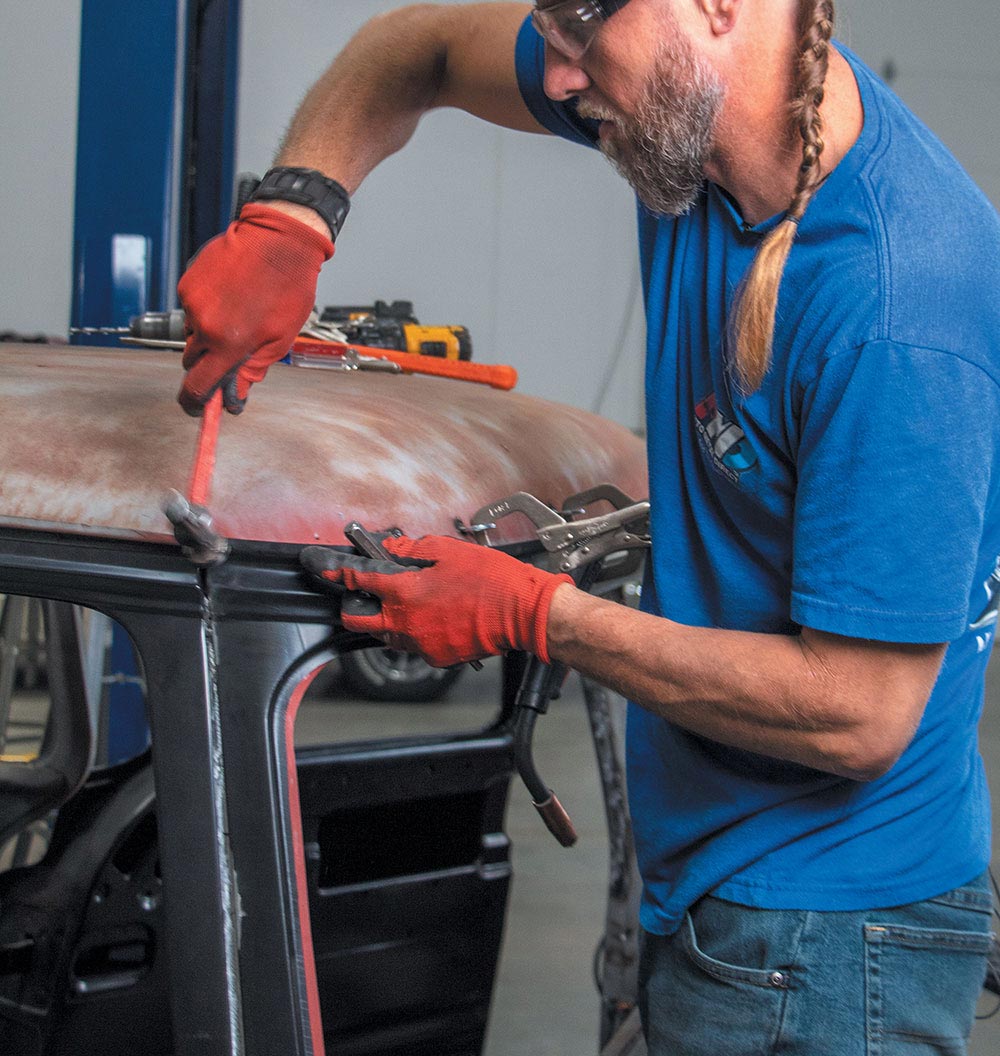
16. Install on an older truck often takes some ingenuity, especially when the truck has been tampered with over the years. A ratchet strap strategically located can help bring the panel in. Take your time and think where you need the panel to go to get it to line up prior to welding.
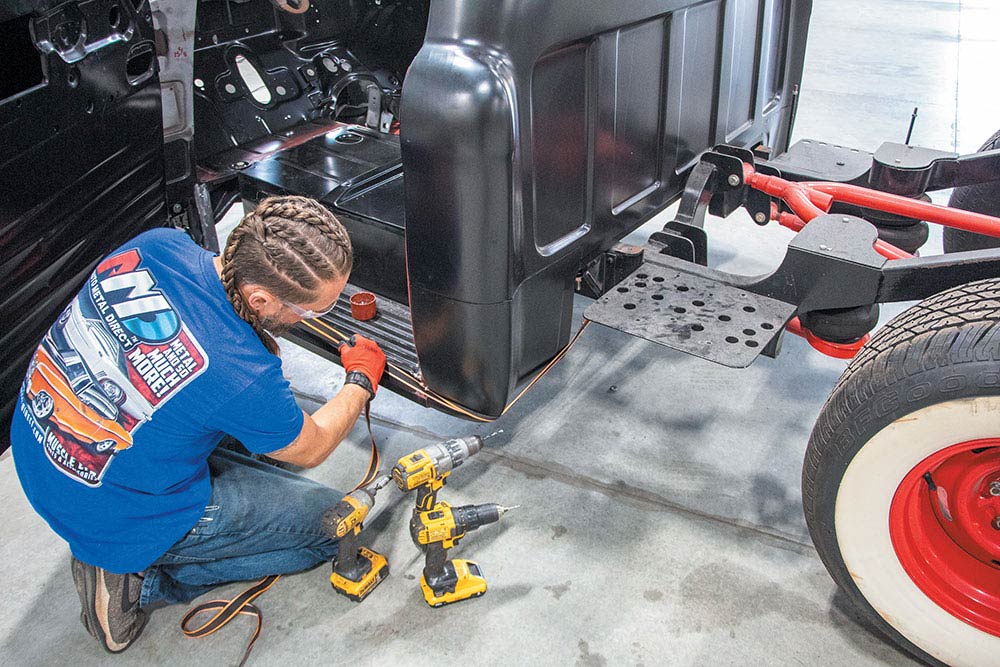
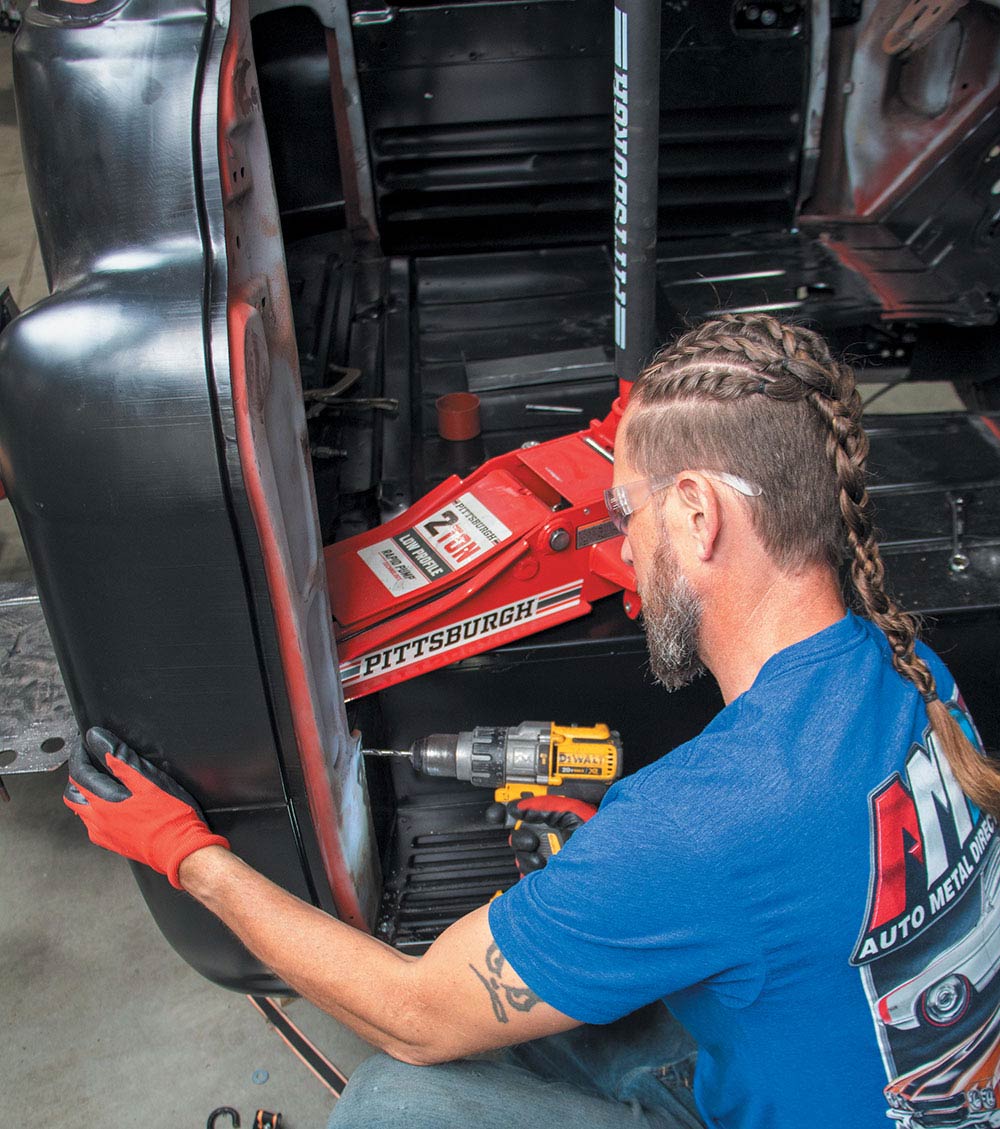
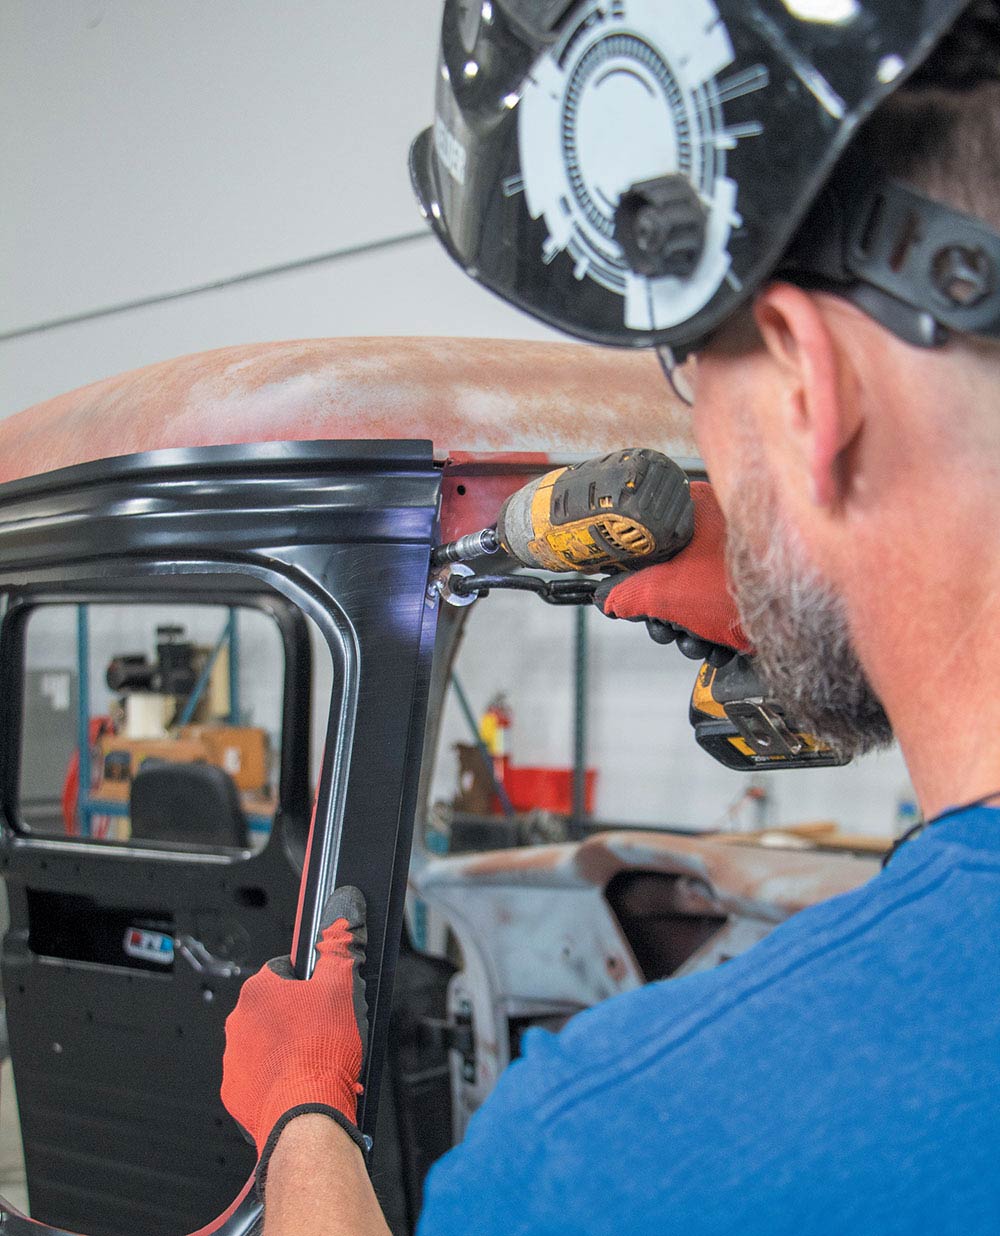
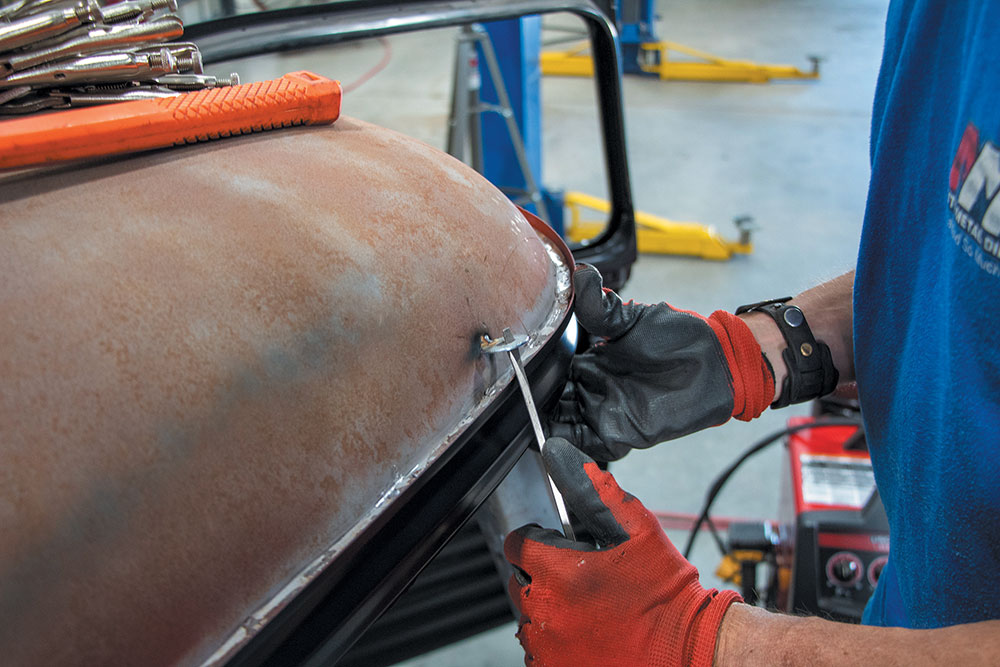
17. With the panel where he wants it, Jubee drills a hole and installs a sheetmetal screw to hold it in place. He drills the panel first so there is a good spot to weld to later.

18. Now that this corner is in place, he has a great starting point to get the rest of the panel lined up properly.
19. Jubee installs the door to make sure that everything is lining up. We will cover door installation specifically in a later article.
20. A floor jack can be a useful tool to get the metal to move how you want it. This will allow the side to relax a little so the panel will align with the door jamb. Like we said, this truck has seen its share of botched repairs in the past.

21. With the inner panel adjusted, a set screw will hold it in place with the floor pan assembly.
22. The same method is applied to the driver’s side. Don’t overdo it; make small adjustments each time.
23. With the inner panel adjusted, a set screw will hold it in place with the floor pan assembly.
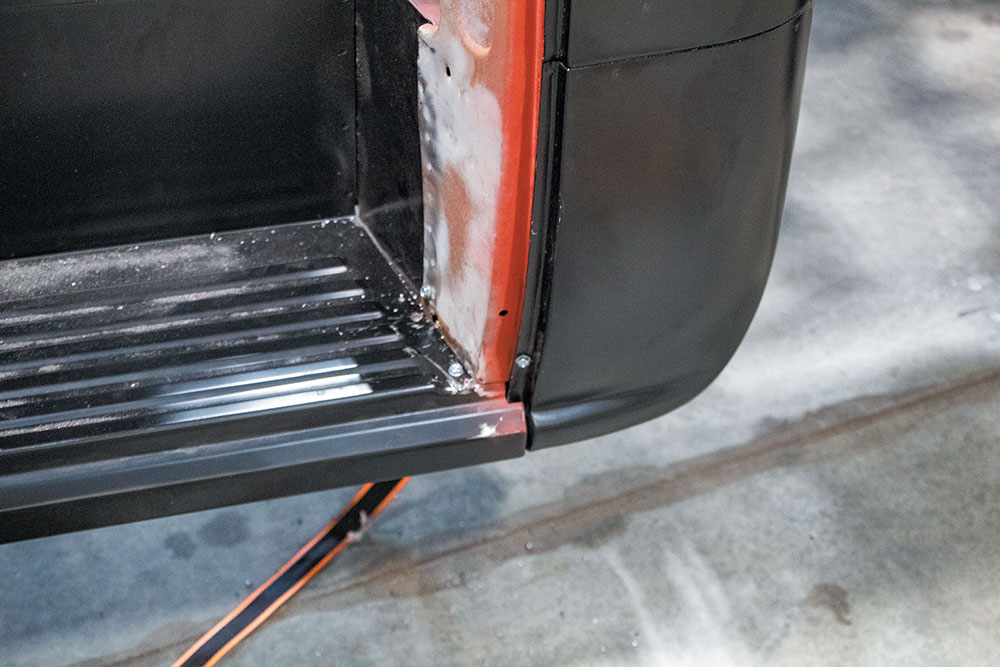
24. Jubee uses another sheetmetal screw to hold the panel in place. This will allow him to remove the strap and check the door clearance again.
25. This truck needs a little more adjustment. No problem: Reuse your washer from above and continue to get the panel exactly where you want it before you weld it up.
26. With the panel screwed in place, Jubee checks the door gap once more before moving on to welding. Take your time during this process. No need to rush it.
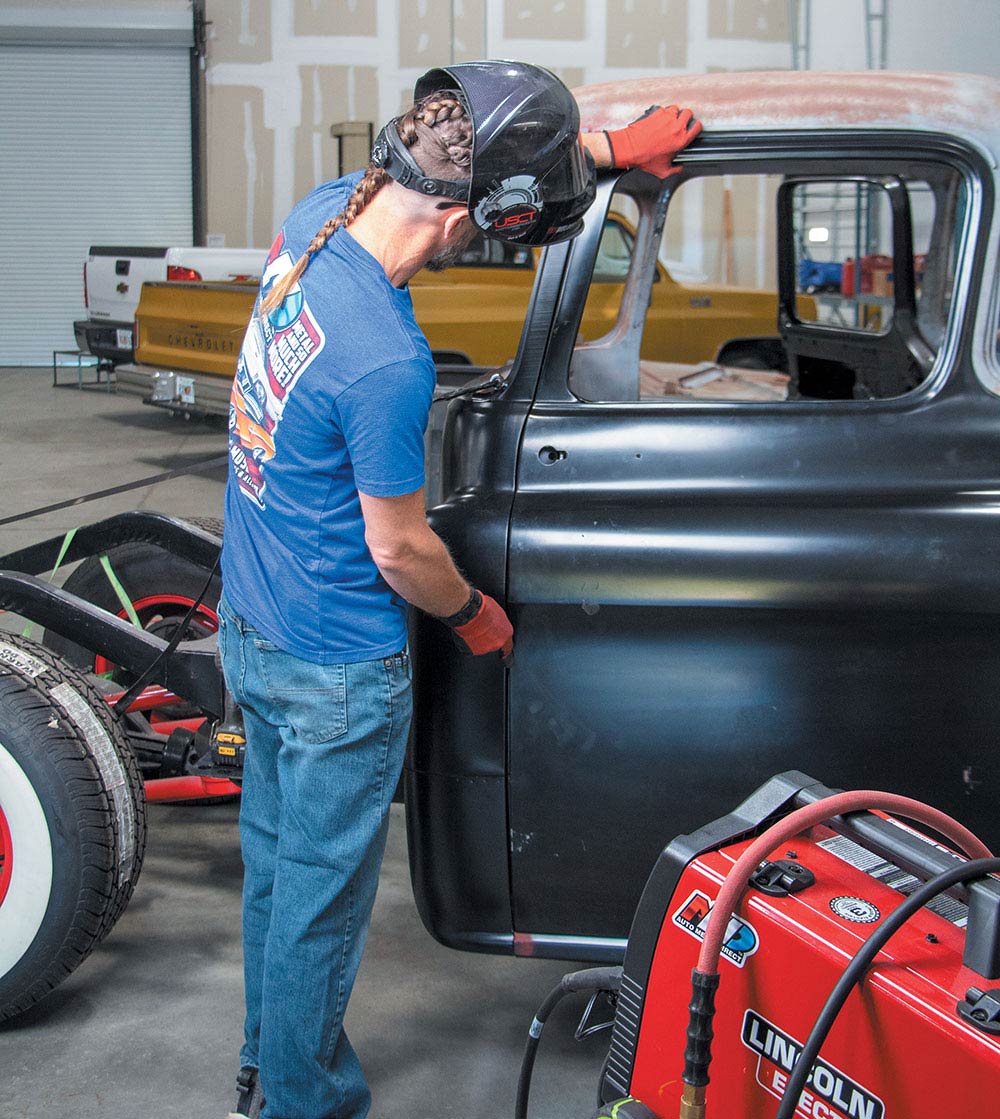
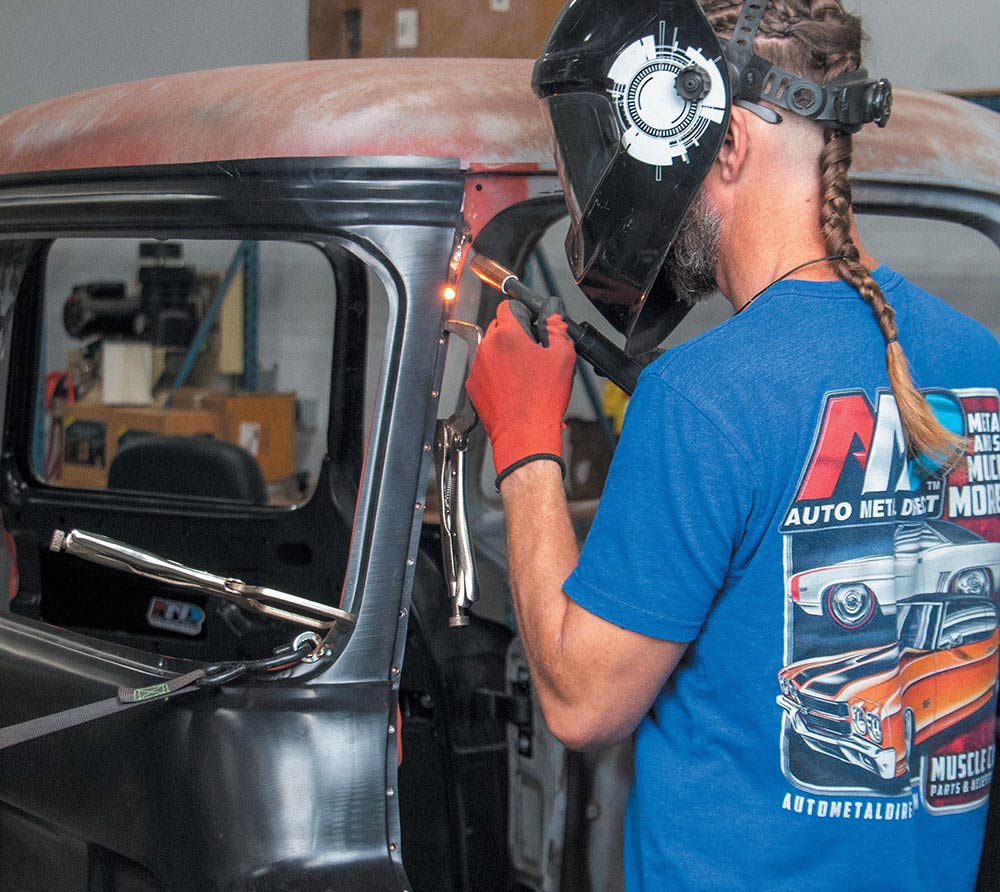
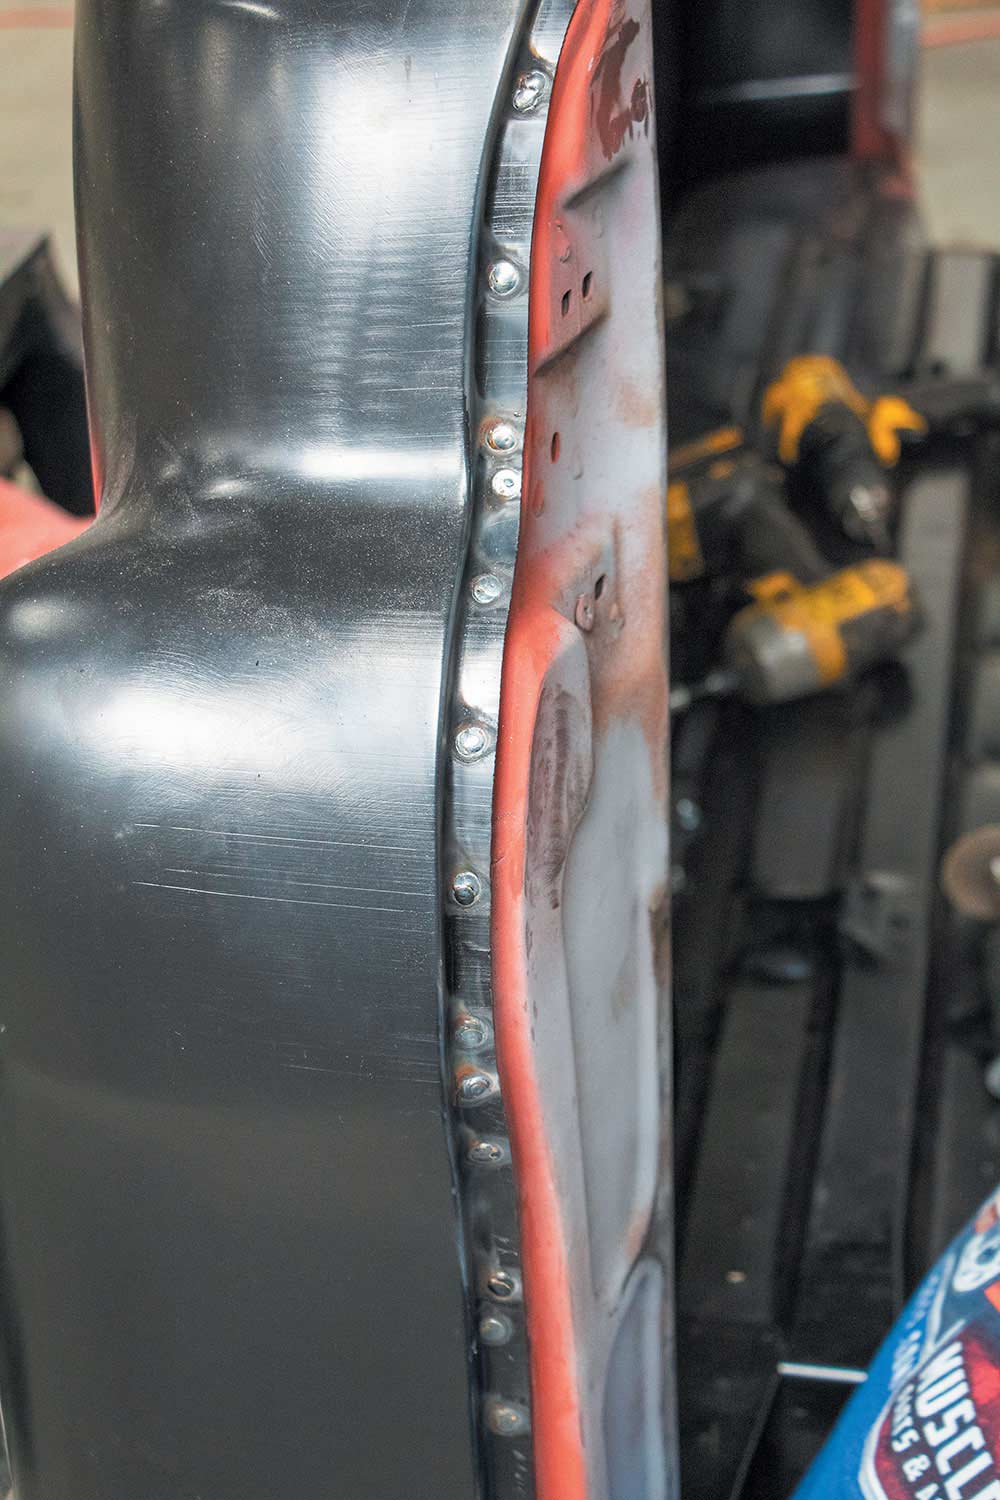
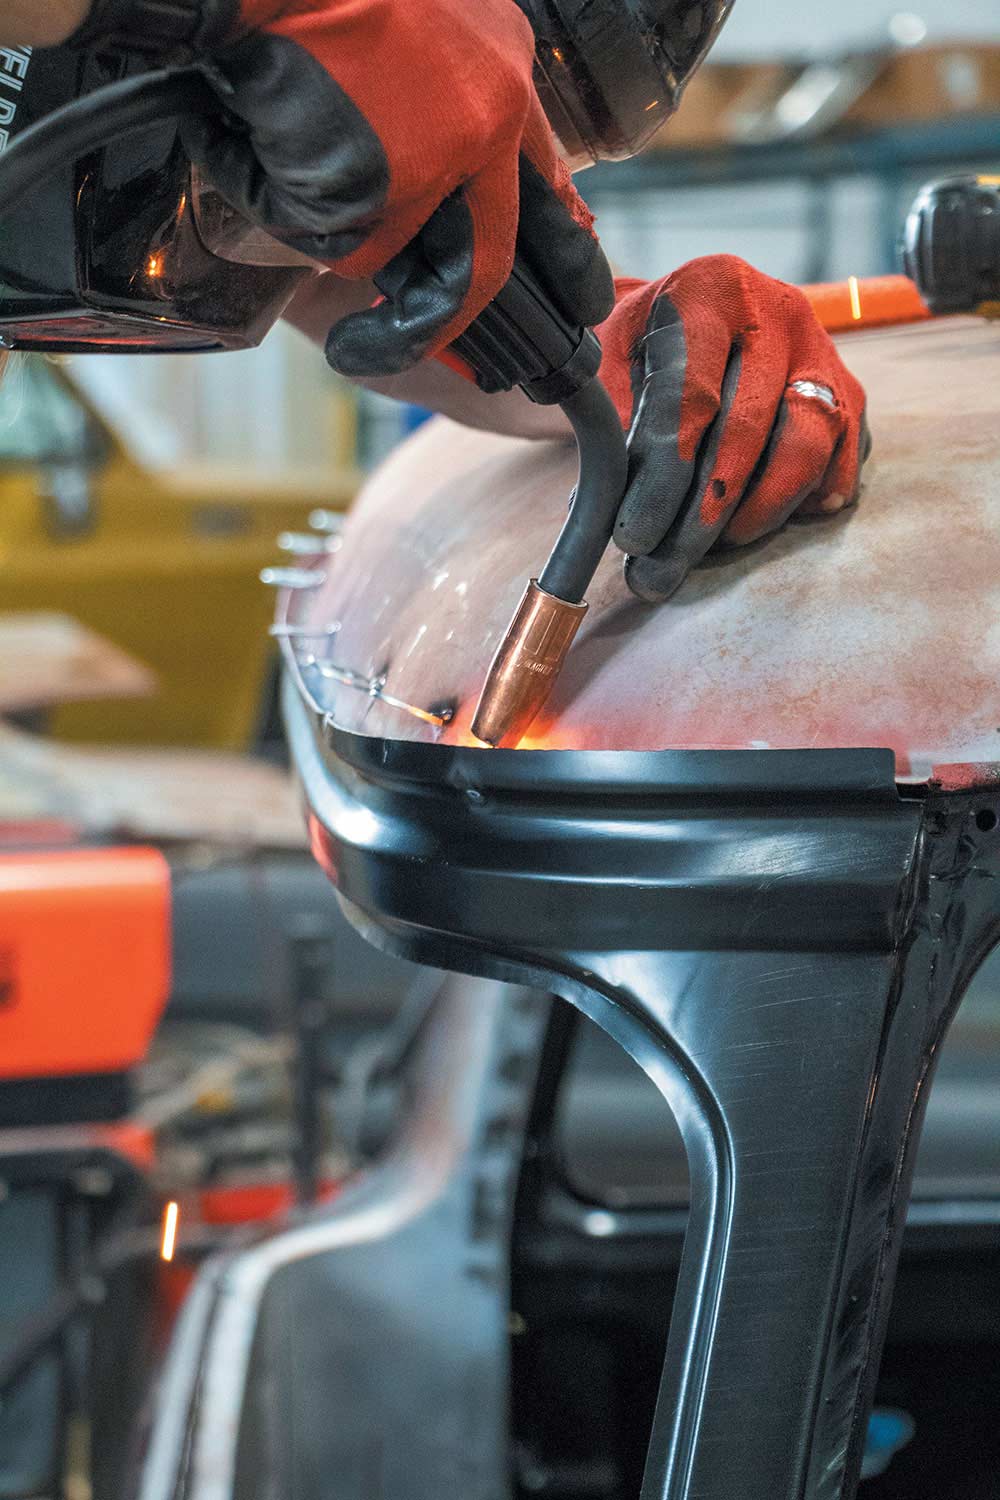
27. We spot weld as much as possible, but some areas you can’t get around having to plug weld. Jubee needs to drill holes to plug weld the door jamb area. If you don’t have access to a spot welder, pre-drilling these holes can be done before you install the panel back on the truck.
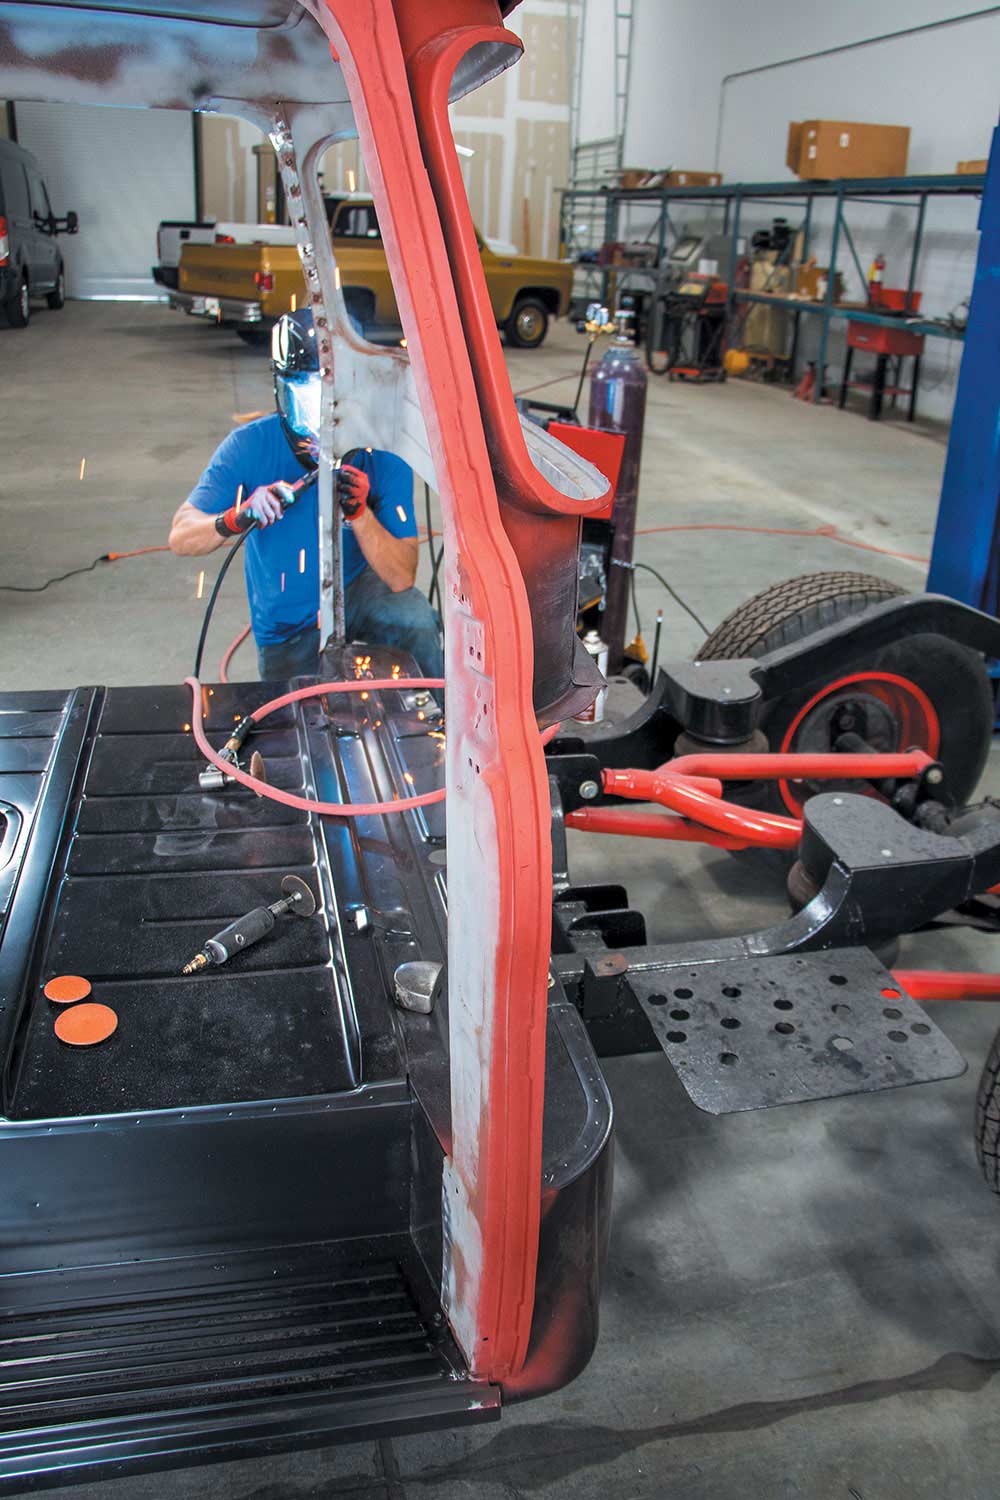
28. Jubee starts at the top of the door jamb and works his way down the panel.
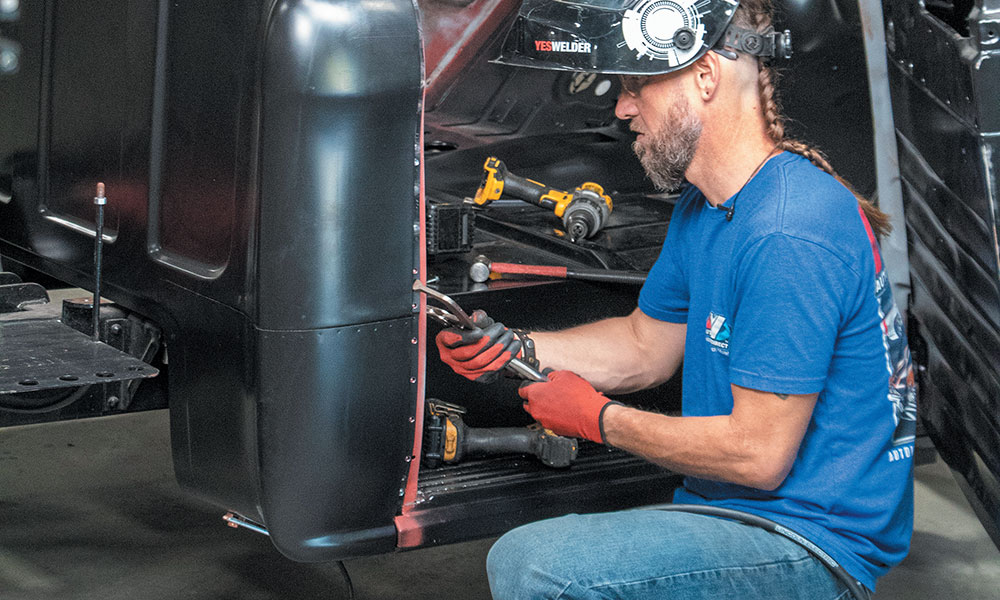
29. Keep your body hammer nearby so you can adjust as you work your way down the panel.
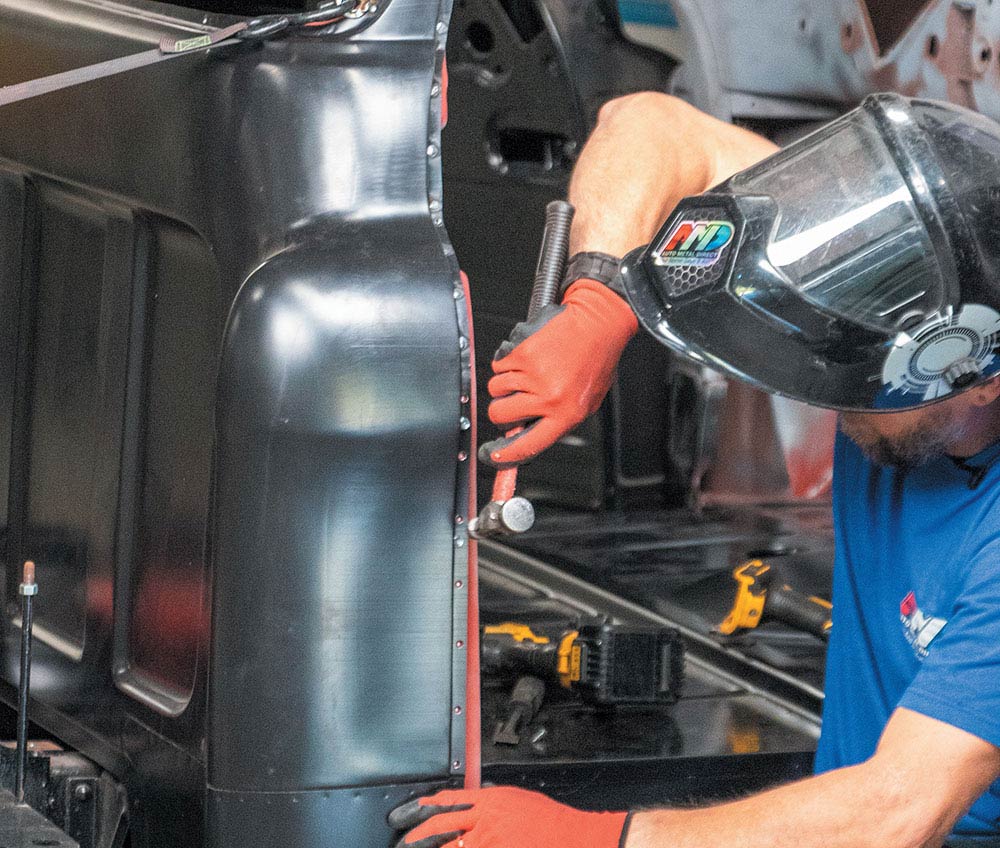
30. The key to a good weld is a tight bond. Use your channel clamps to achieve this throughout your welding.
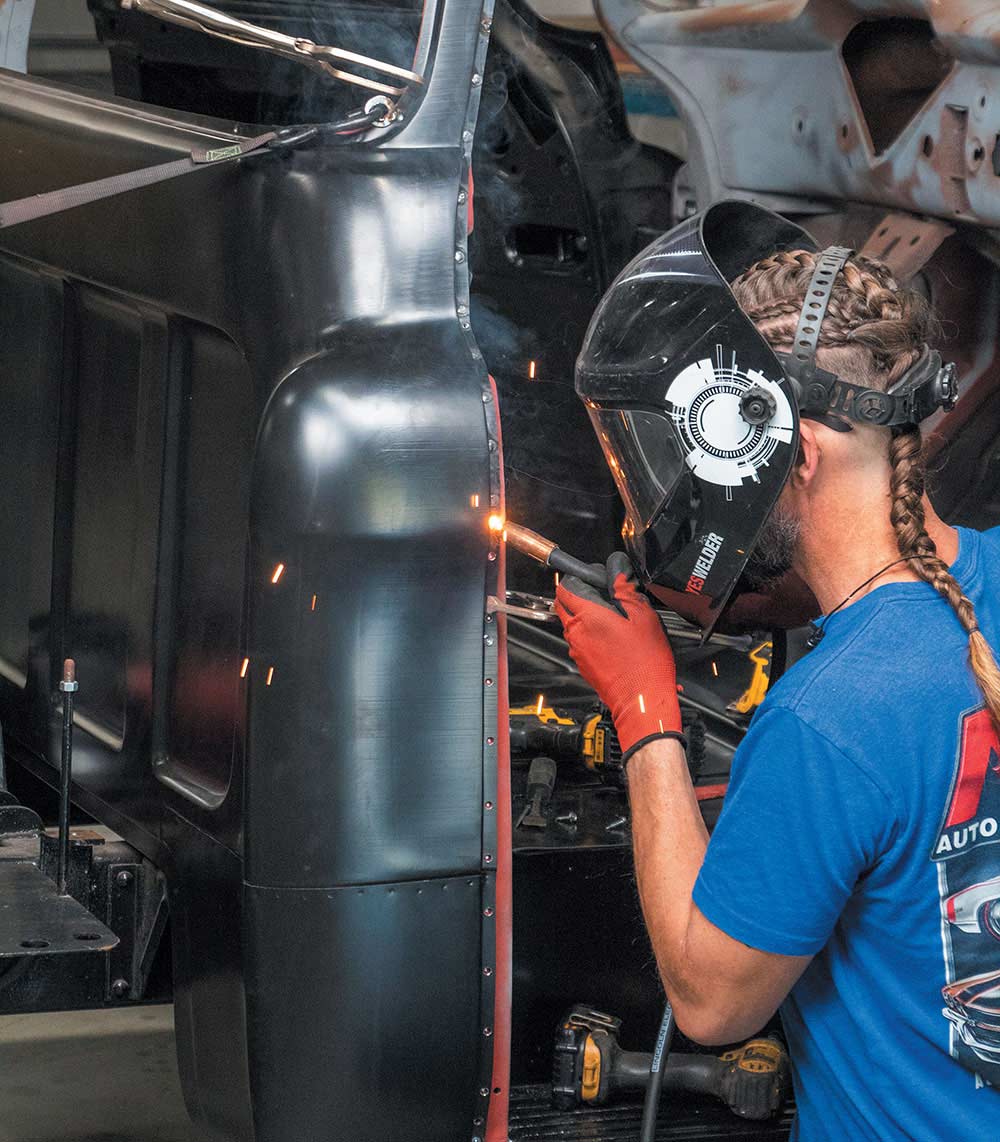
31. Practice is key to better welding. Jubee tries to make the welds look as close to spot welds as possible for a factory installed appearance.
32. While you have all your equipment out and ready, address any other issues you see at this time.
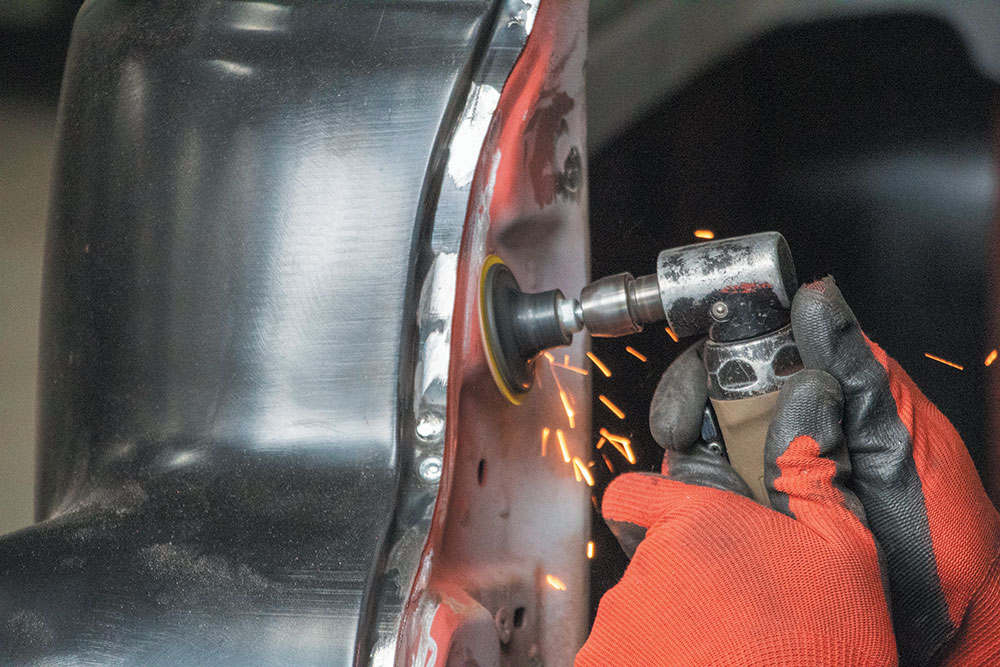
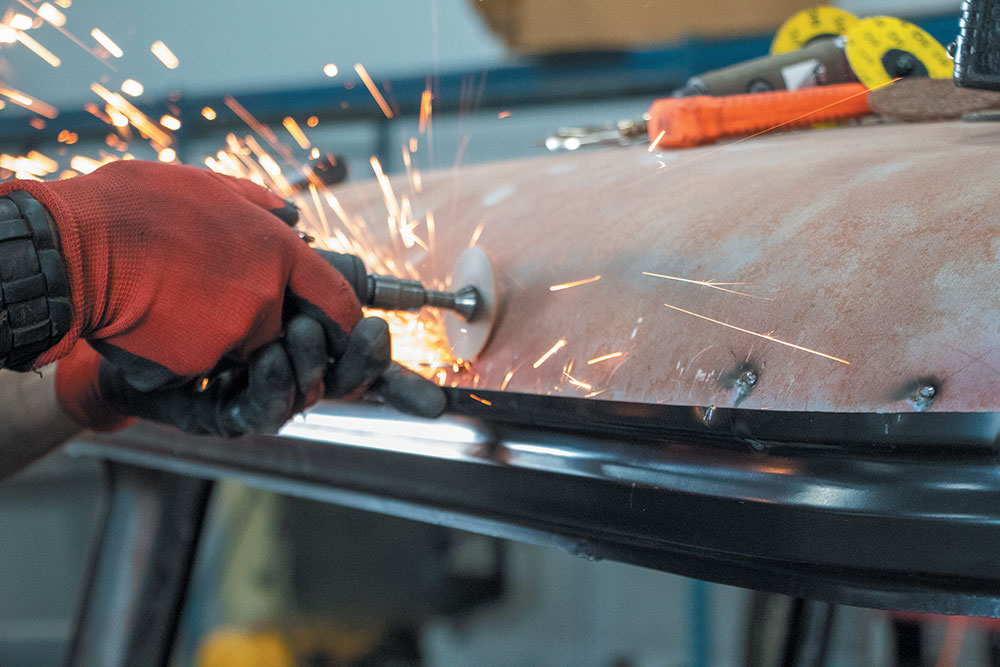
33. Jubee continues to use 36-grit sanding discs to blend the welds down.
34. If you have any excess, grind it down as needed.
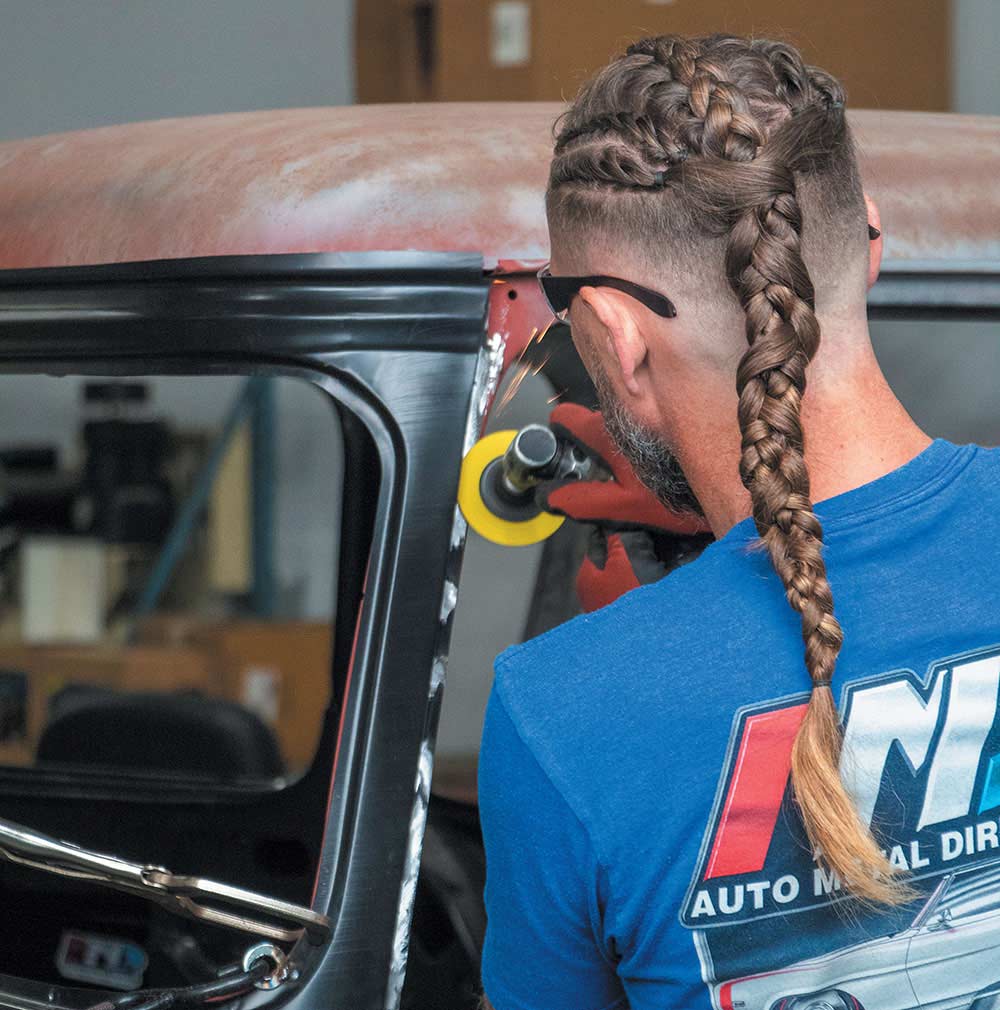
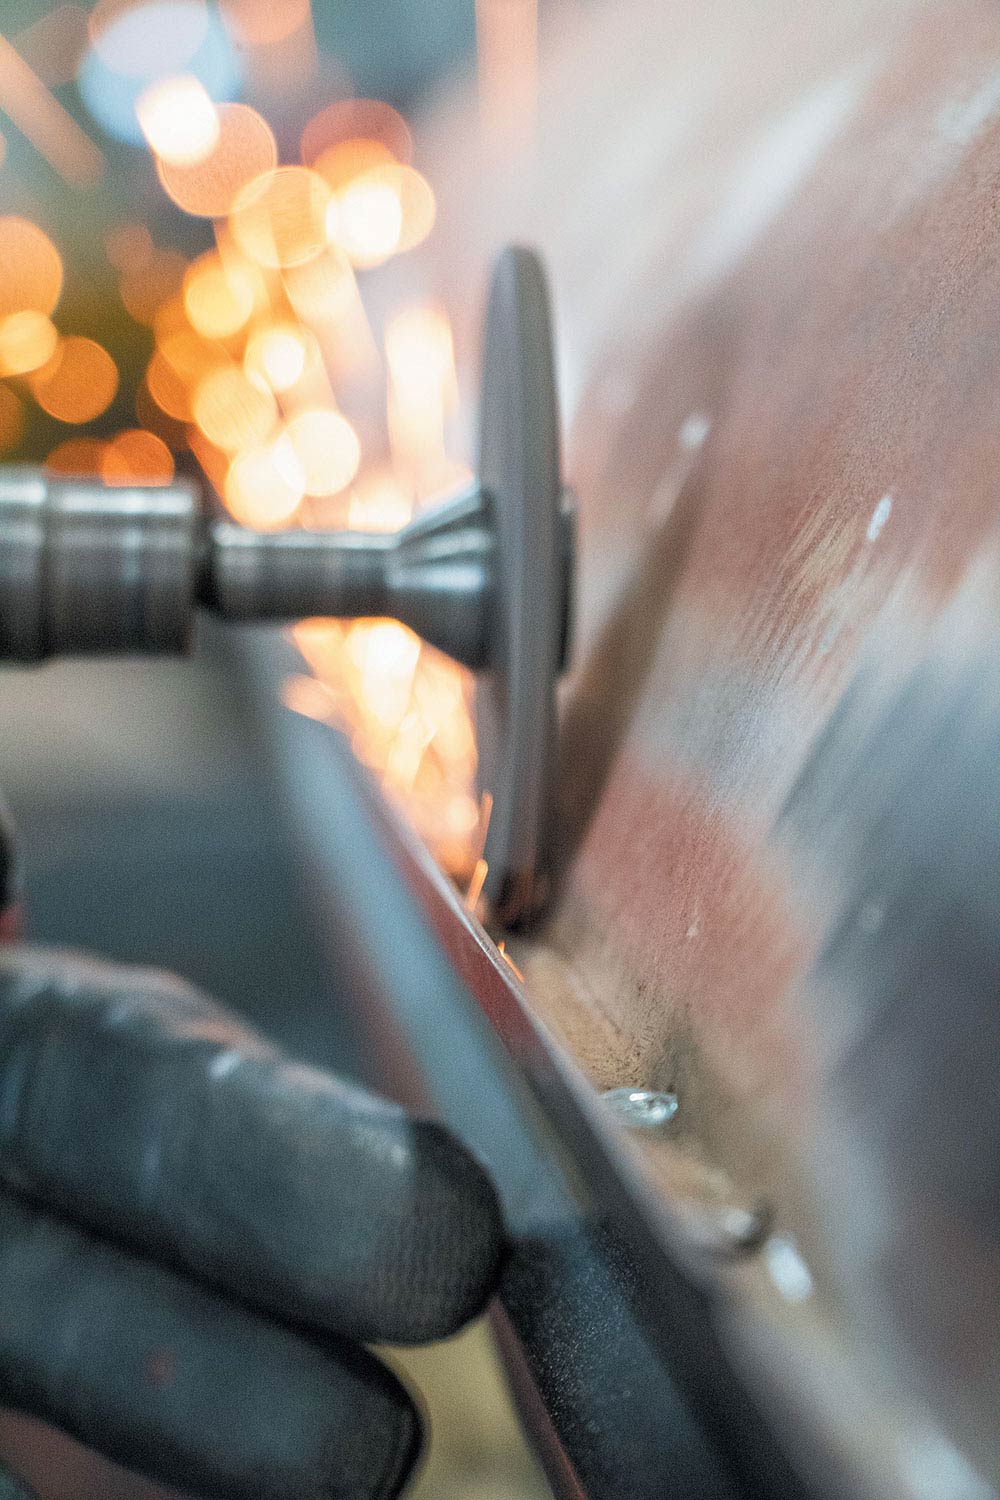
35. A final pass with the surface conditioning disc gives a more polished look, saving you time and money with the body shop.
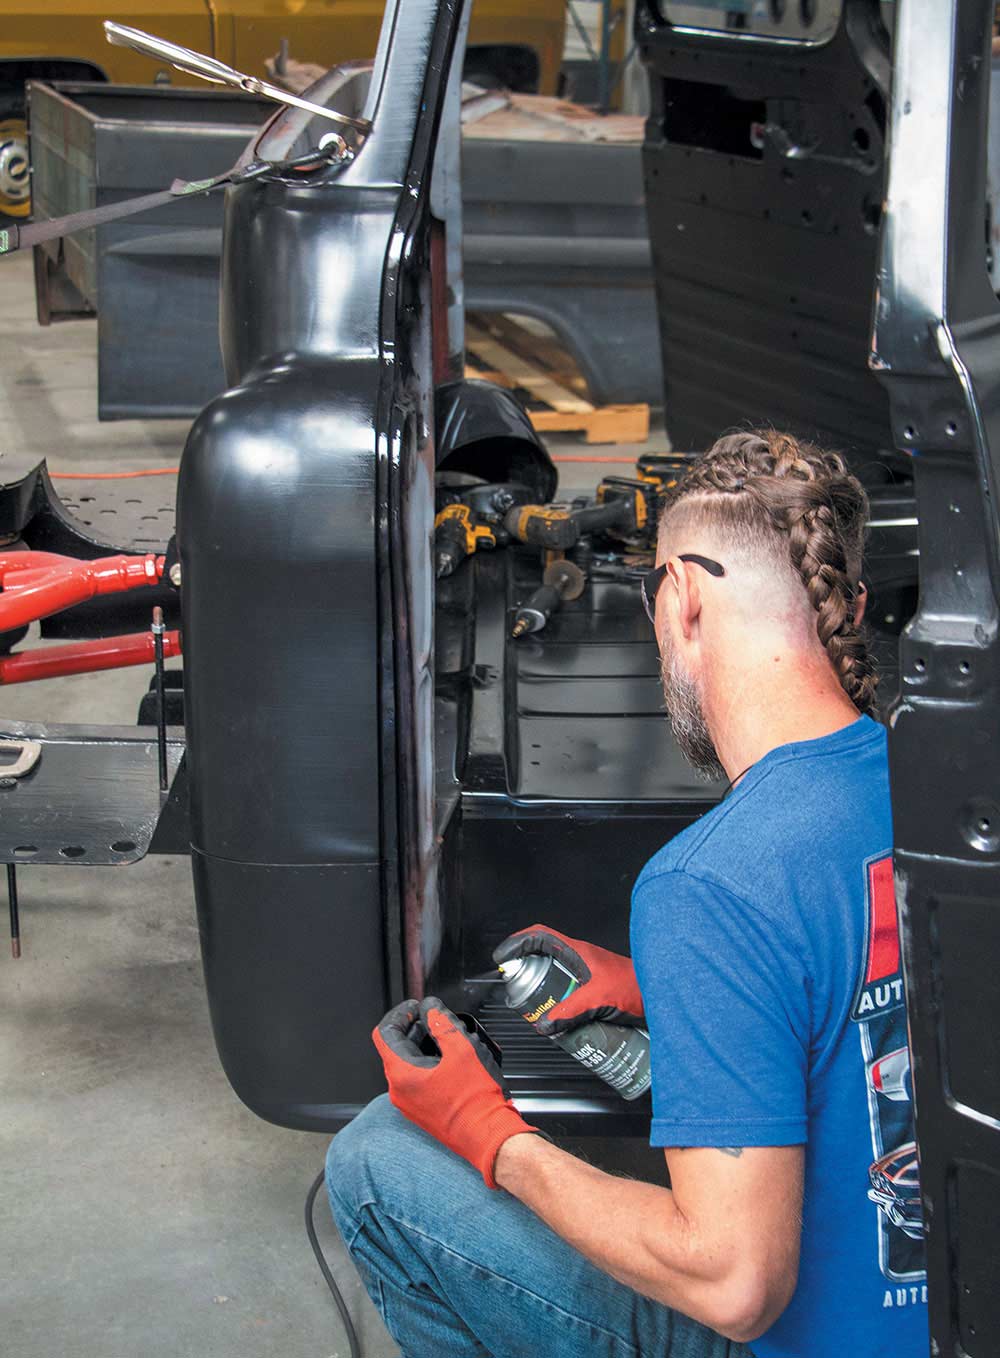
36. A final coat of Medallion OE-Coat in a can protects your work prior to heading to the body shop.
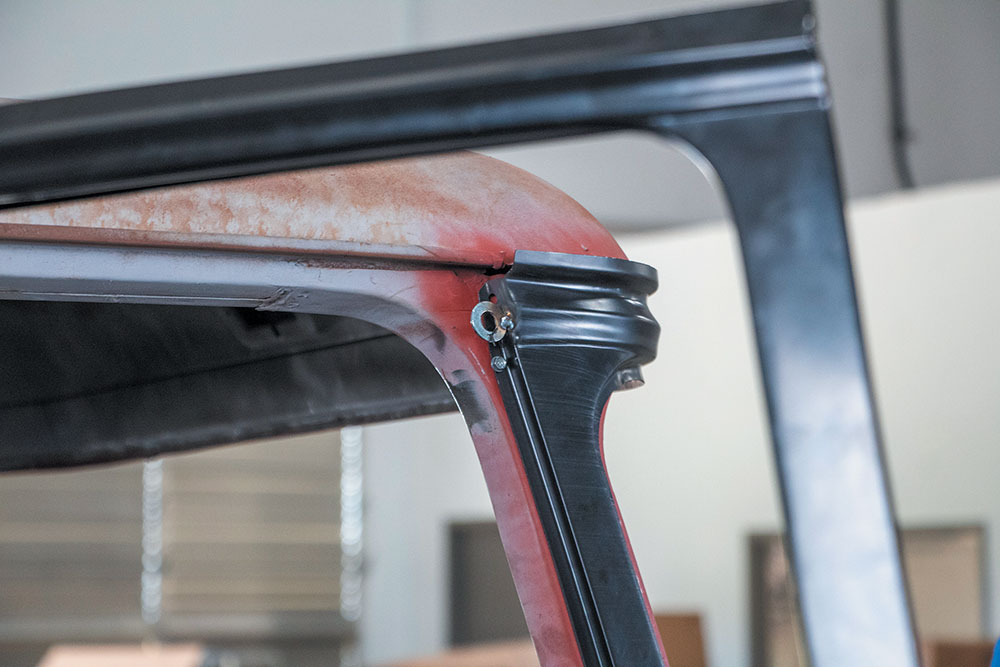
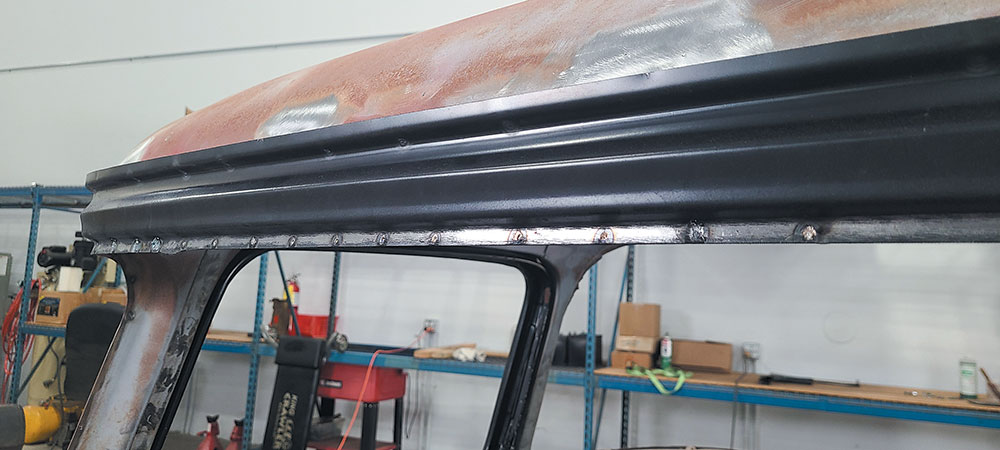
37. With the door jambs buttoned up and looking good, it is time to move onto the roof junction.
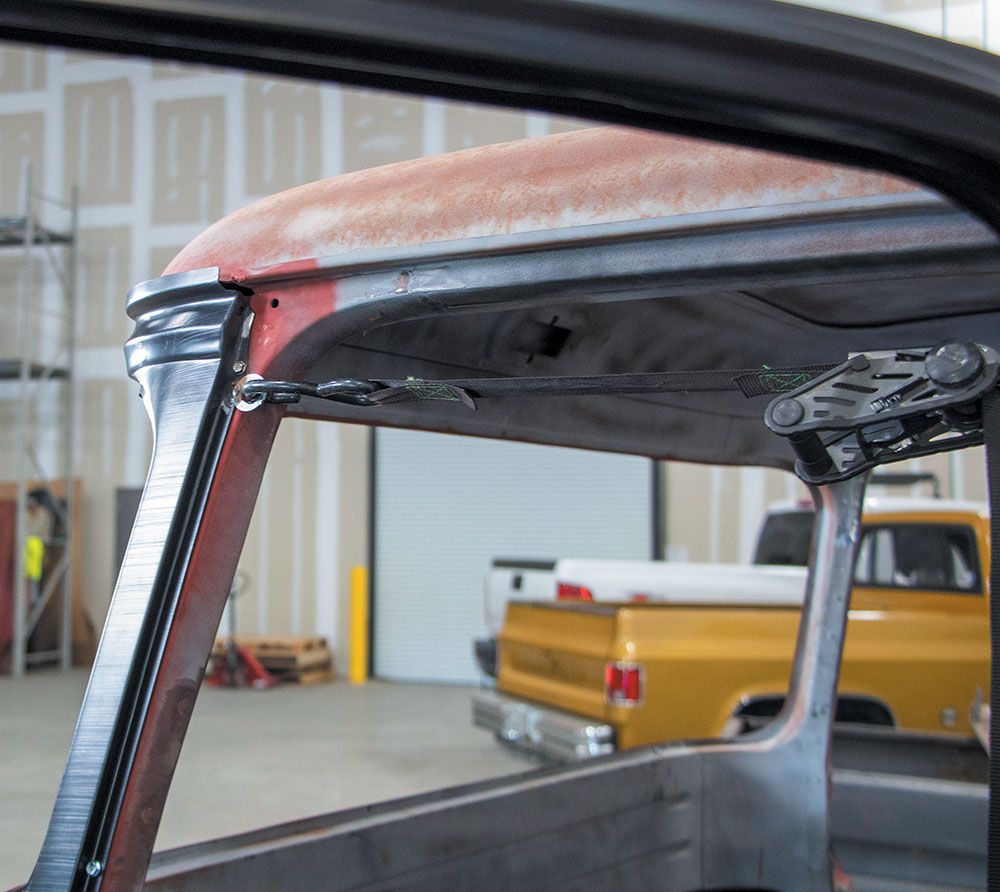
38. Here’s another great use for those washers. The roof gutter is a difficult area to manipulate on these trucks. Jubee’s solution is to reuse the washer method and weld them directly to the roof skin. This will give you a pivot point to move your roof skin in either direction as needed for proper alignment.
39. Using several clamps, you can get the roof skin aligned with the new back cab panel. Keep your body hammer close by for any on-the-fly adjustments.
40. Start in the center and work your way outwards, removing each clamp as you go until you reach the end.
41. A quick shot of the cut off wheel removes the washers from the roof skin. If you run into any issues, just weld them up and buff it out just like the other welds.
42. A grinding disc helps grind down the plug welds in the drip rail.
43. Buff out the welds on the roof.
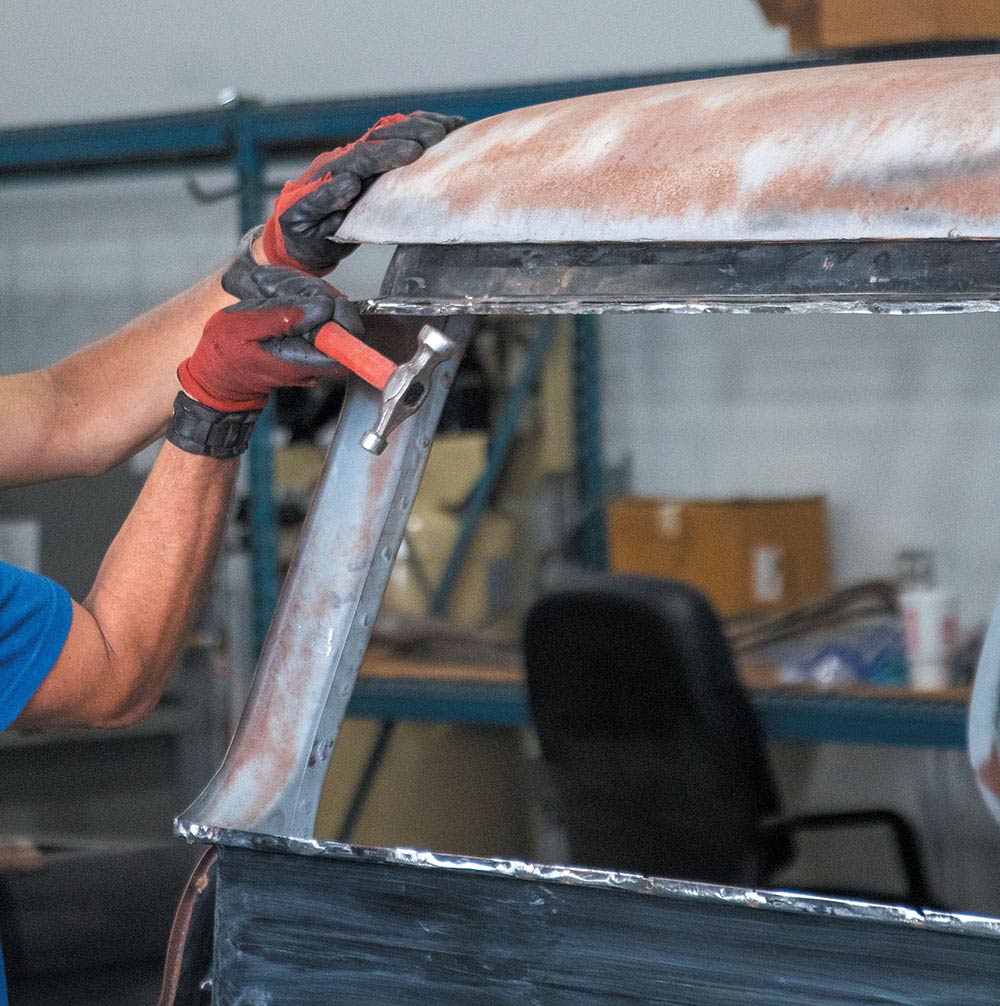
44. Use your body hammer to get the drip rail exactly where you want it.
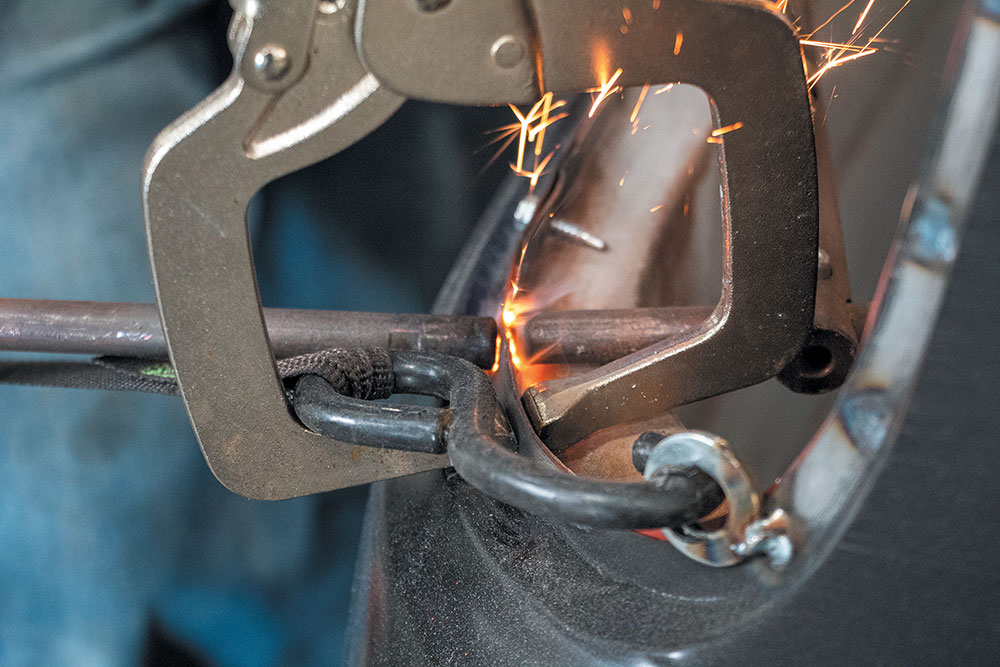
45. With the roof dialed in, Jubee spot welds the window frame together starting from the inside and working his way out towards each side.
46. The spot welder gives you a factory installation and reduces the cleanup associated with plug welds.
47. As you work your way around, body clamps are useful to get a tight fit when welding.
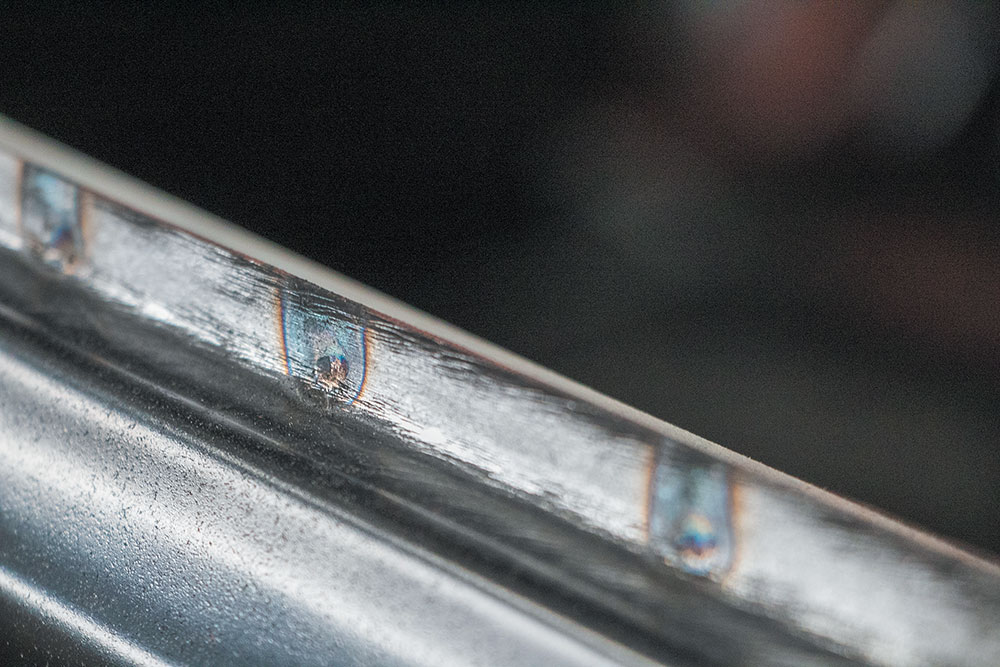
48. A closer looks shows how well the spot welder does in these areas.
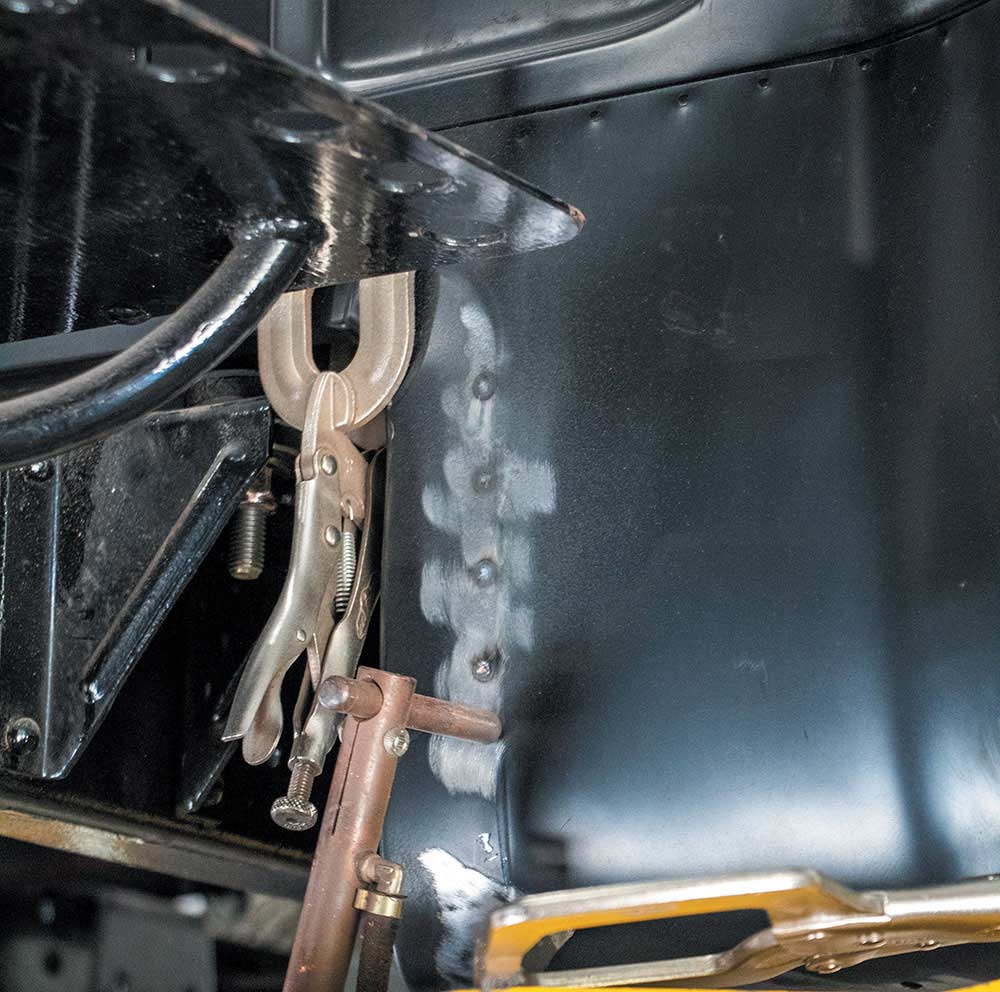
49. Jubee moves to the lower portion of the install where the floorpan meets the back of the cab. With everything clamped together for a tight fit, he spot welds the two panels together.
50. The inner cab corners that come with the floorpan assembly get the same treatment as they are spot welded to the outer cab corners. We continue to work our way around to the inner rocker.
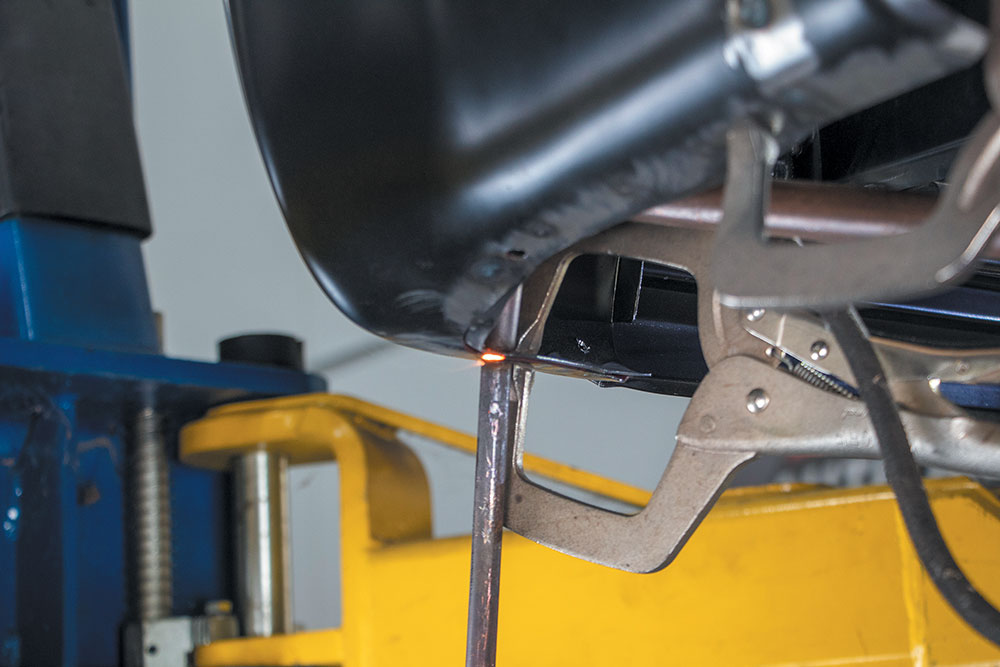
51. Jubee manages to get the spot welder in for the final weld up along the bottom side of the cab.
52. With the new back cab panel installed, we are close to sending project Burnadebt to the body shop where they will dial in the gaps and get it ready for paint.
Stay tuned for our last installment of this tech series where we cover door installation and adjustment. You will see it right here in Street Trucks!
Truck Specs
1959 Chevrolet Apache
Owner – Eddy Cebreco
Repair Panels – Auto Metal Direct
Installer – Jubee Mays at aMAYSing Metal Works
@amaysingmetalworks

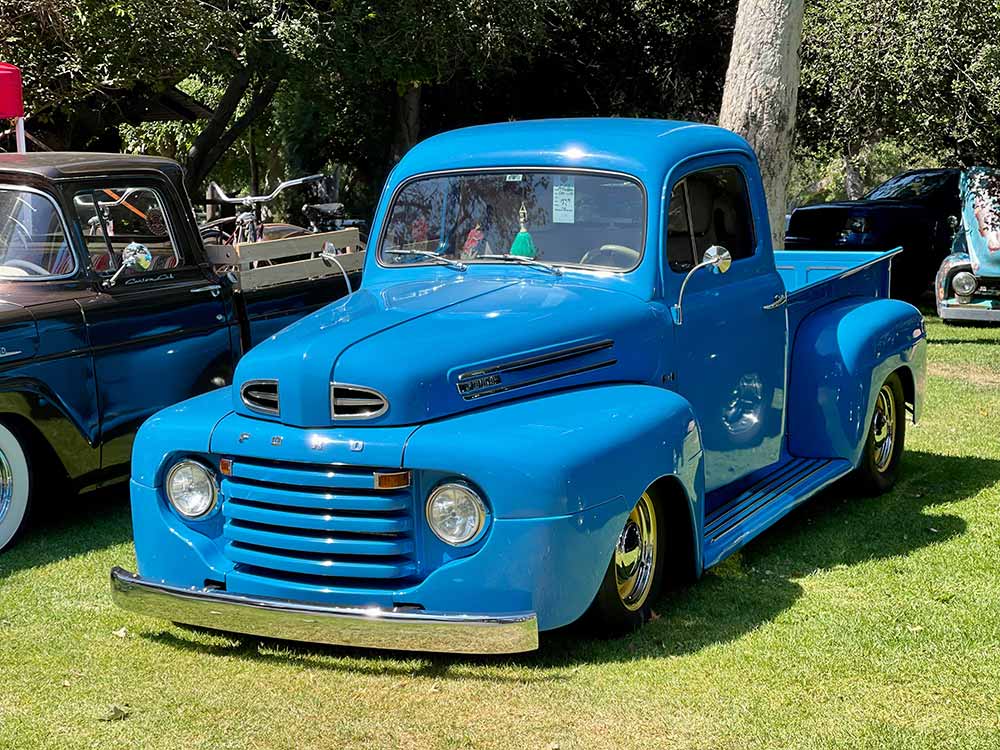
F100 Builders
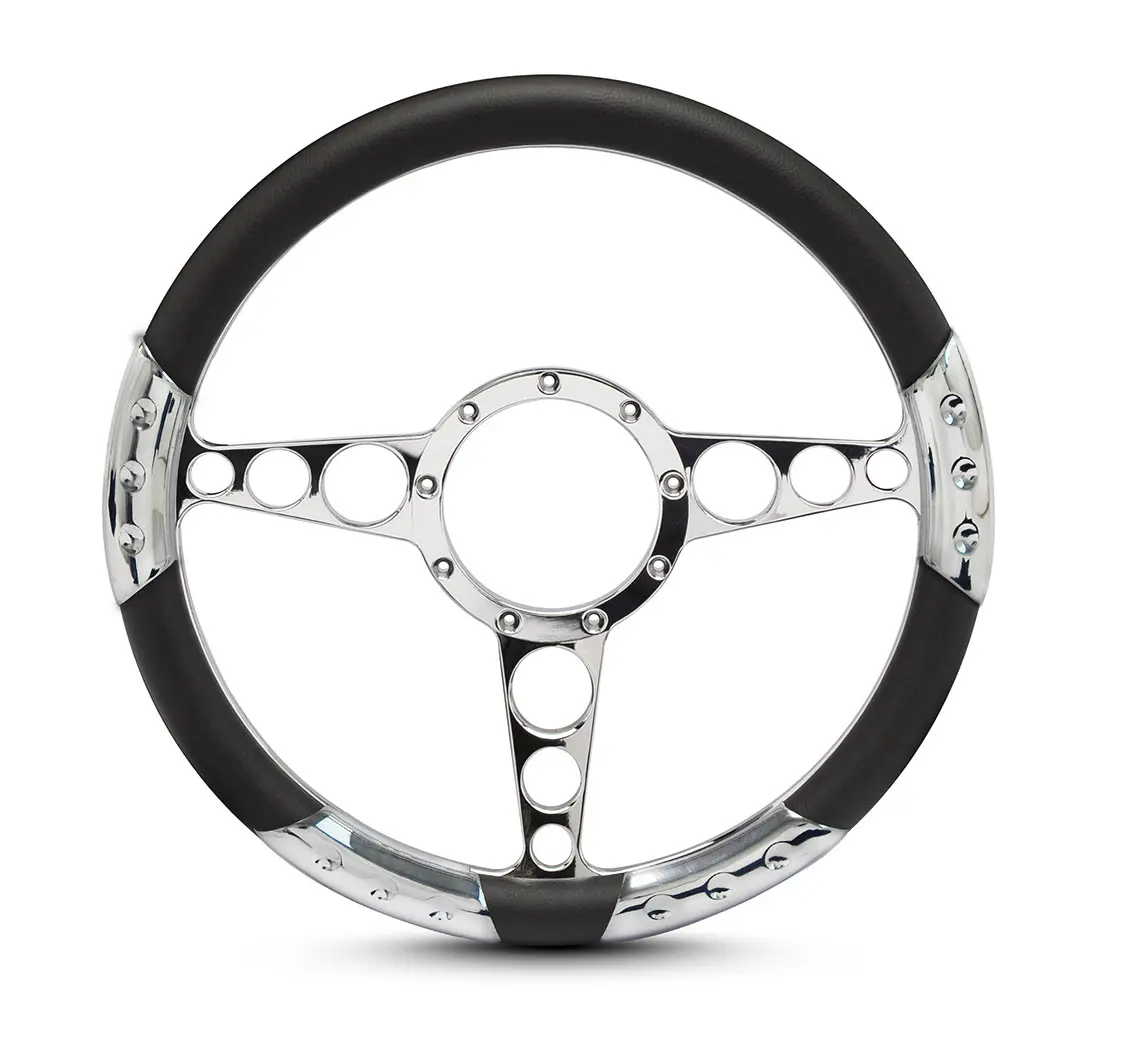
The Latest Gear for your Ford Truck Sport Series Steering Wheels Eddie Motorsports’ new Sport Series billet aluminum steering wheels are precision CNC-machined in the… Continue reading
F100 BG STAFF . January 01, 2024
Events
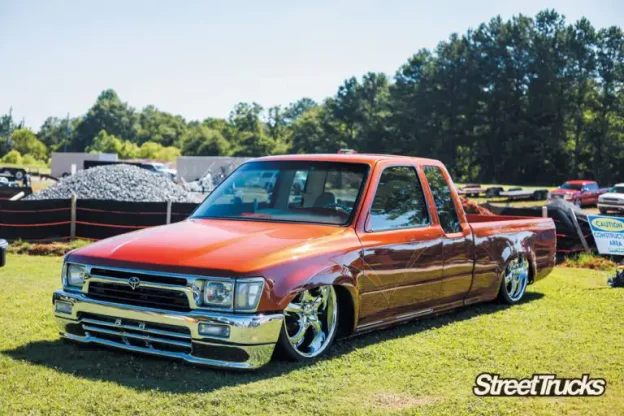
Southern Tradition Third Annual Custom Car and Truck Show! The Georgia summer weather was hot, but the trucks were even hotter! The third annual Southern… Continue reading
Logan Wade . January 21, 2021

Uncategorized
Tito’s As a member of of Negative Camber, John Yoakum had been away from trucks for a… Continue reading
Adam Johnson . December 23, 2021
Department
1320video NEW Merch!: https://1320video.com/ We ran into the Warpath C10 at Lights Out 13! Warpath is the first full sized pickup to ever run a… Continue reading
Adam Johnson . March 25, 2022
Industry News
20 Years of photography can fill up even the largest servers real quick. So over the next few months, we will start unloading all these… Continue reading
Chris Hamilton . December 17, 2018
C10 Builders Guide
Check out coverage from the very first The first Pro’s Pick Truck Invasion! Subscribe to our weekly newsletter
Chris Hamilton . April 26, 2024


We use cookies to enhance your browsing experience, serve personalized ads or content, and analyze our traffic. By clicking "Accept All", you consent to our use of cookies. Visit our Cookie Policy for more info.

Share Link