 BRYCEN SMITH
.
February 21, 2023
.
Department
.
BRYCEN SMITH
.
February 21, 2023
.
Department
.
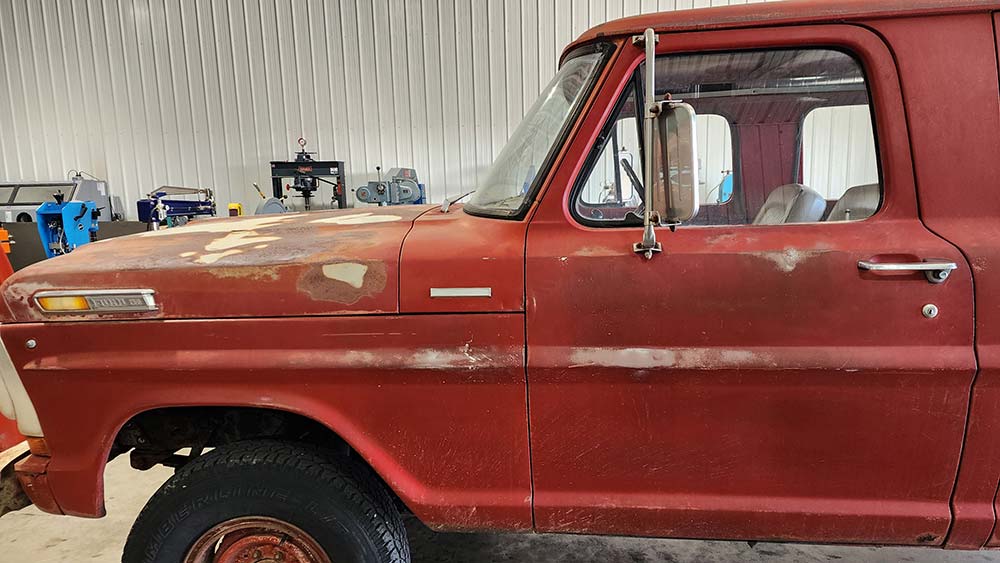
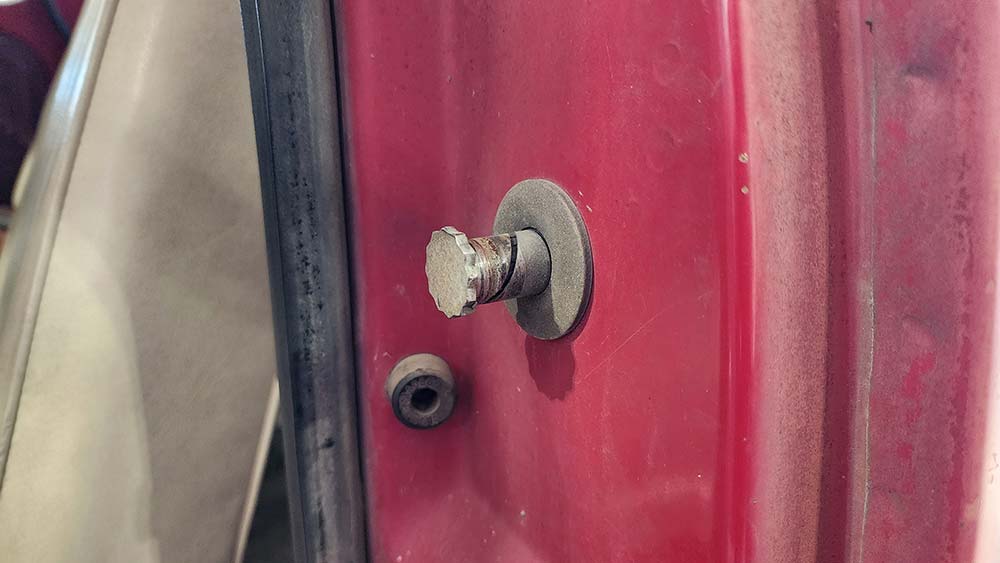
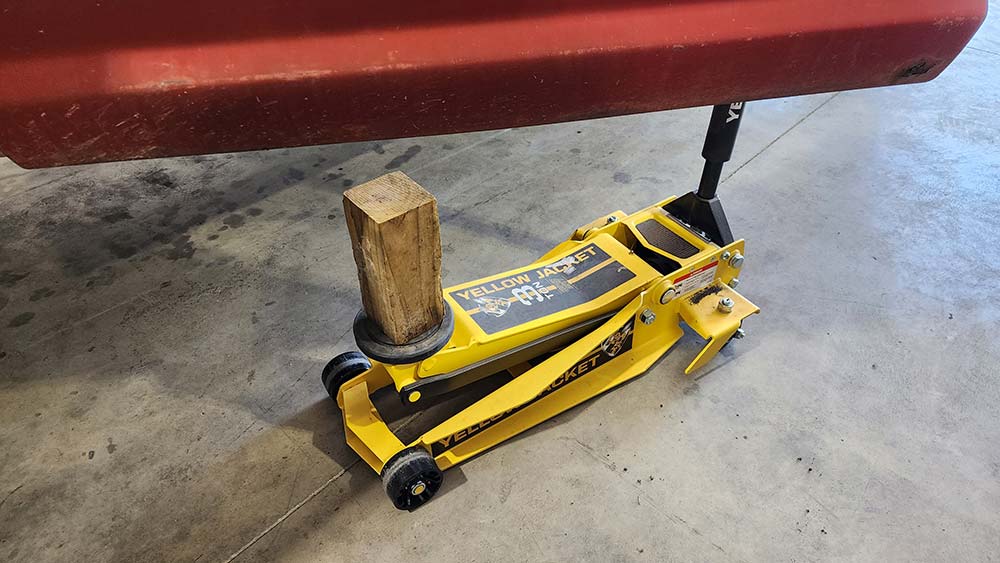
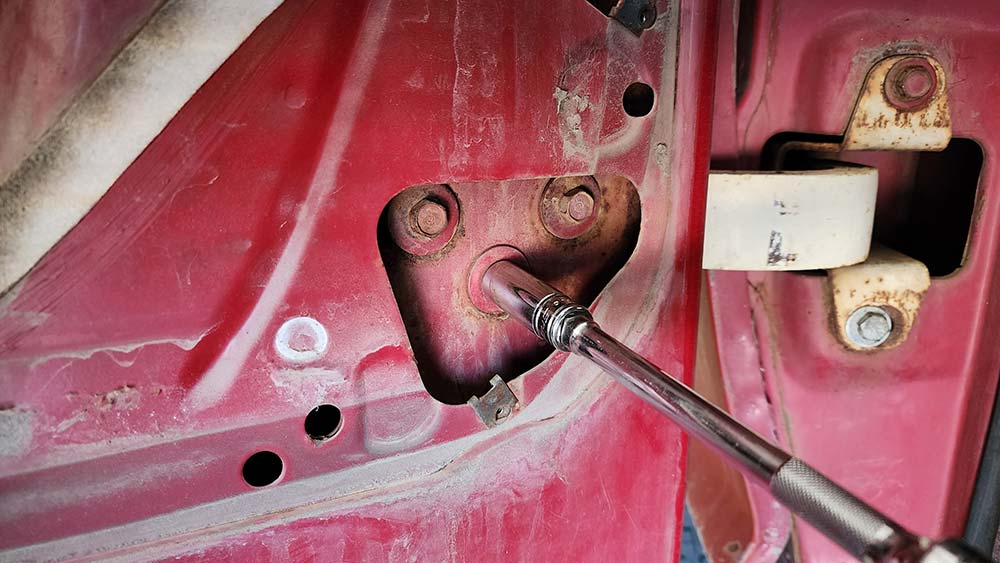
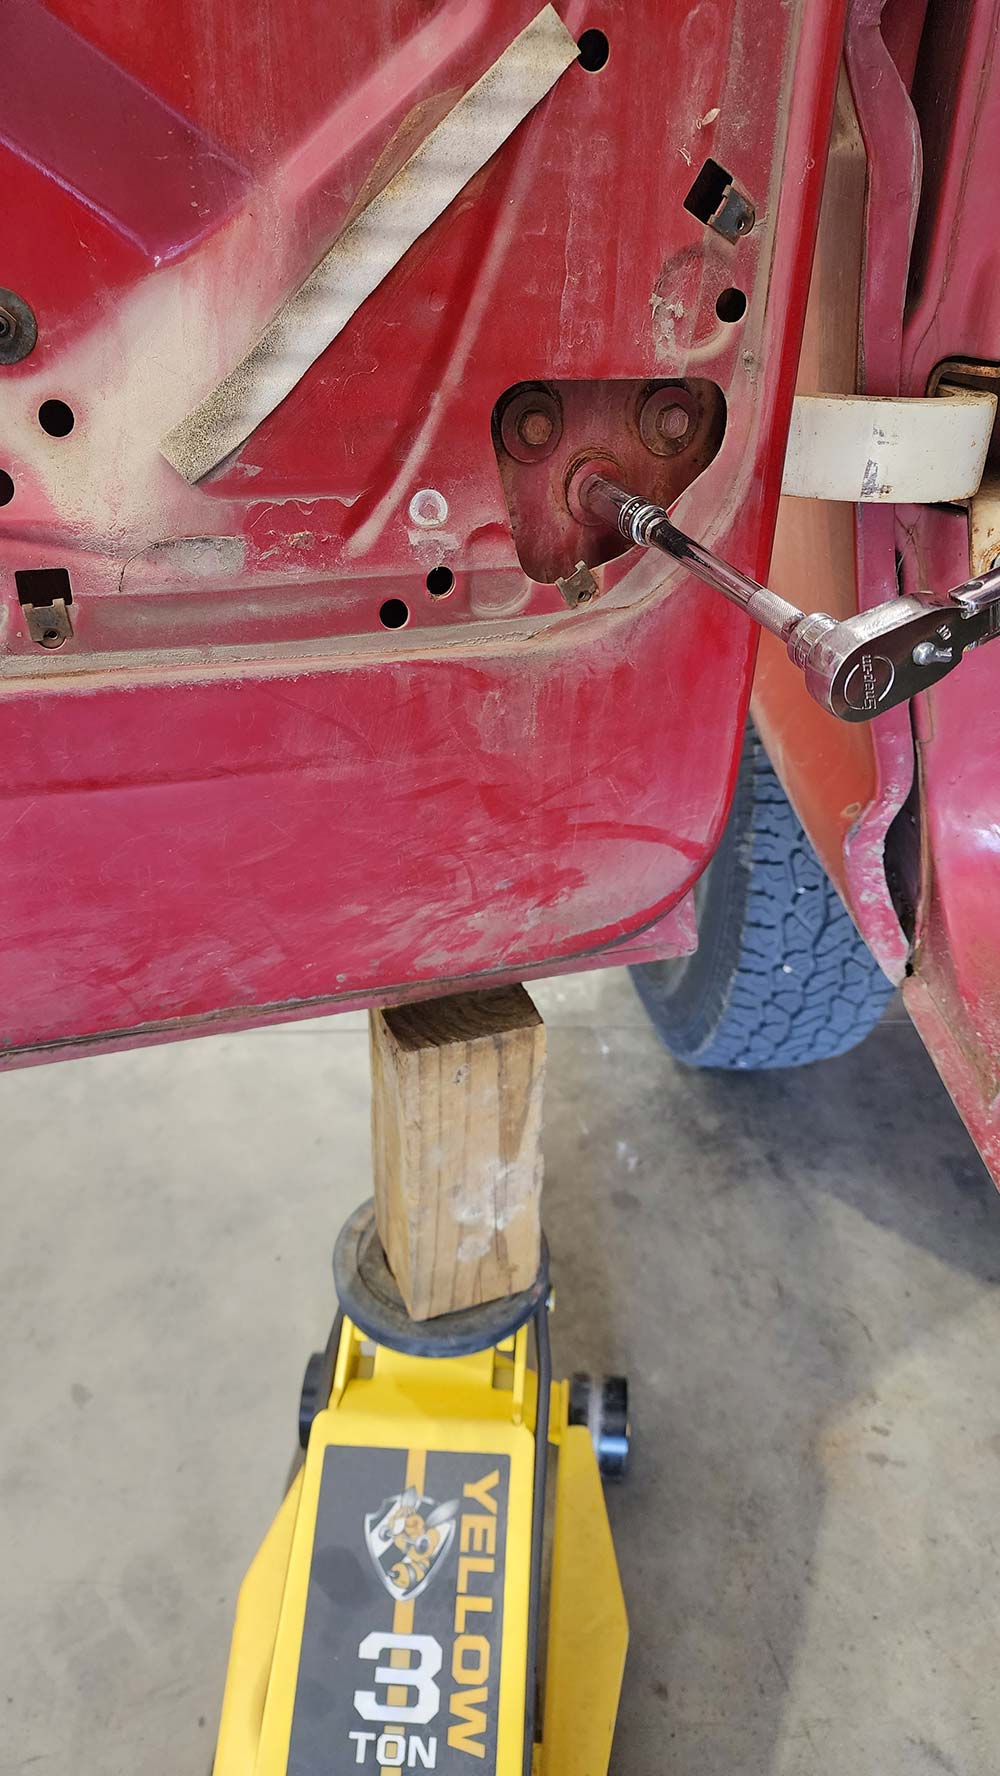
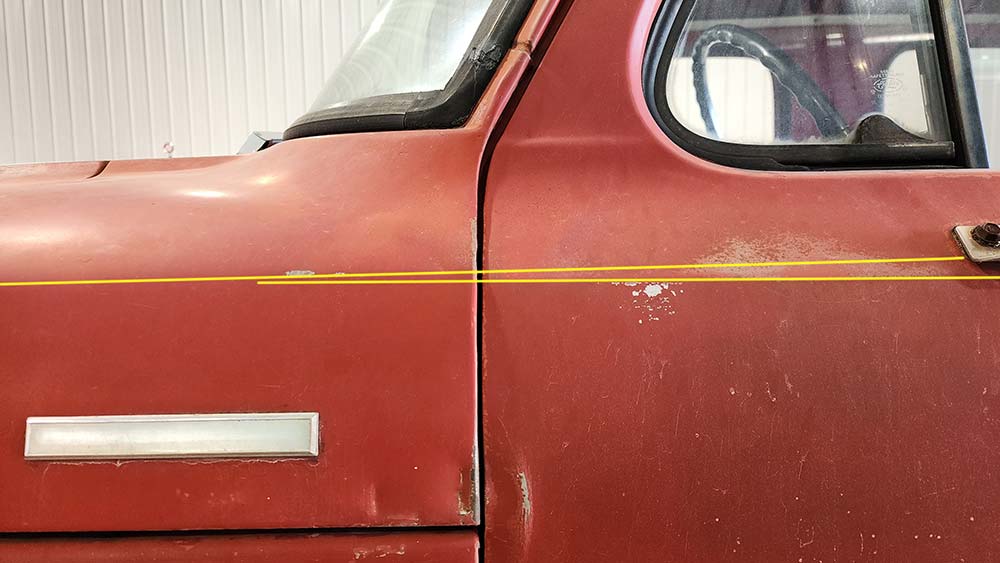
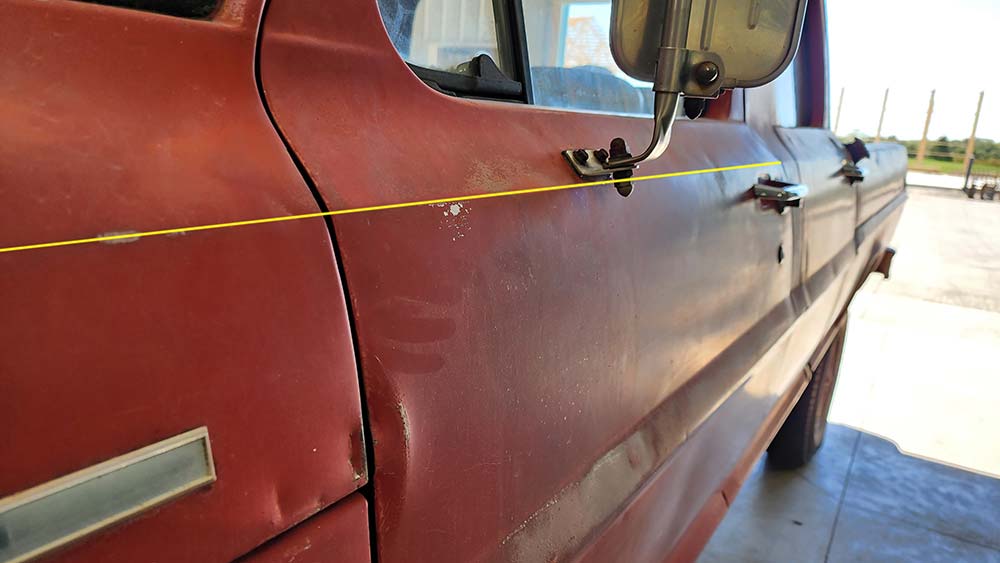
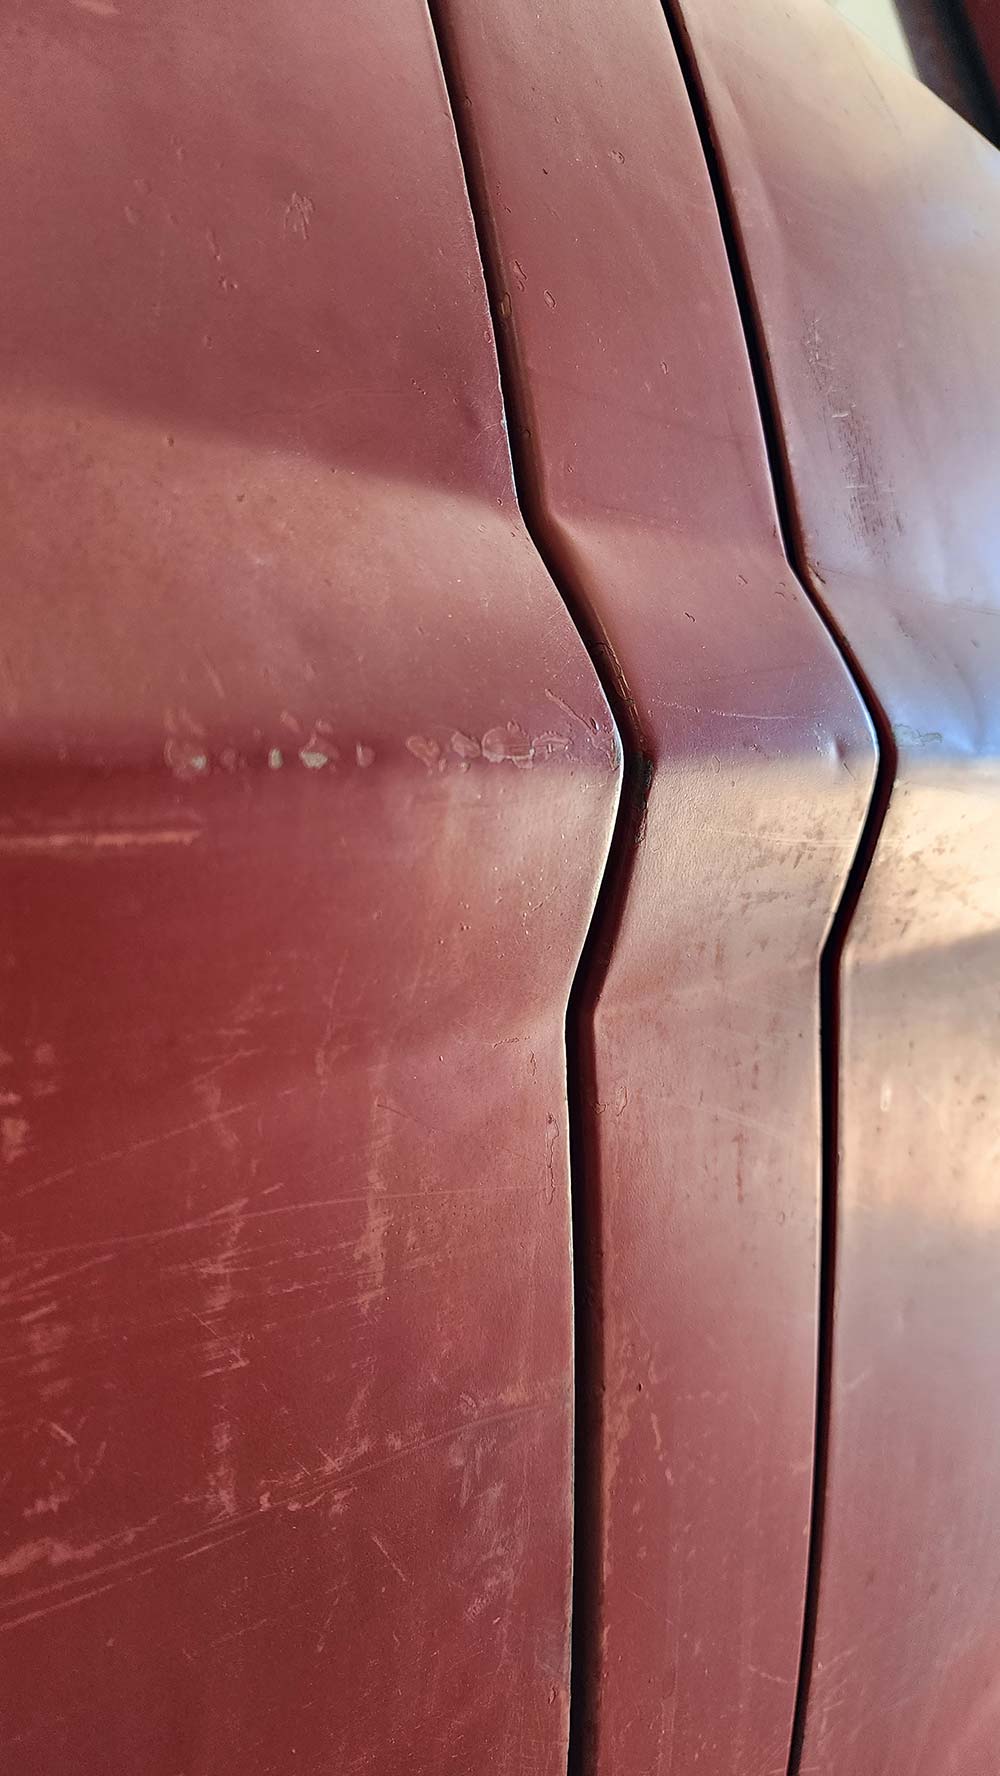
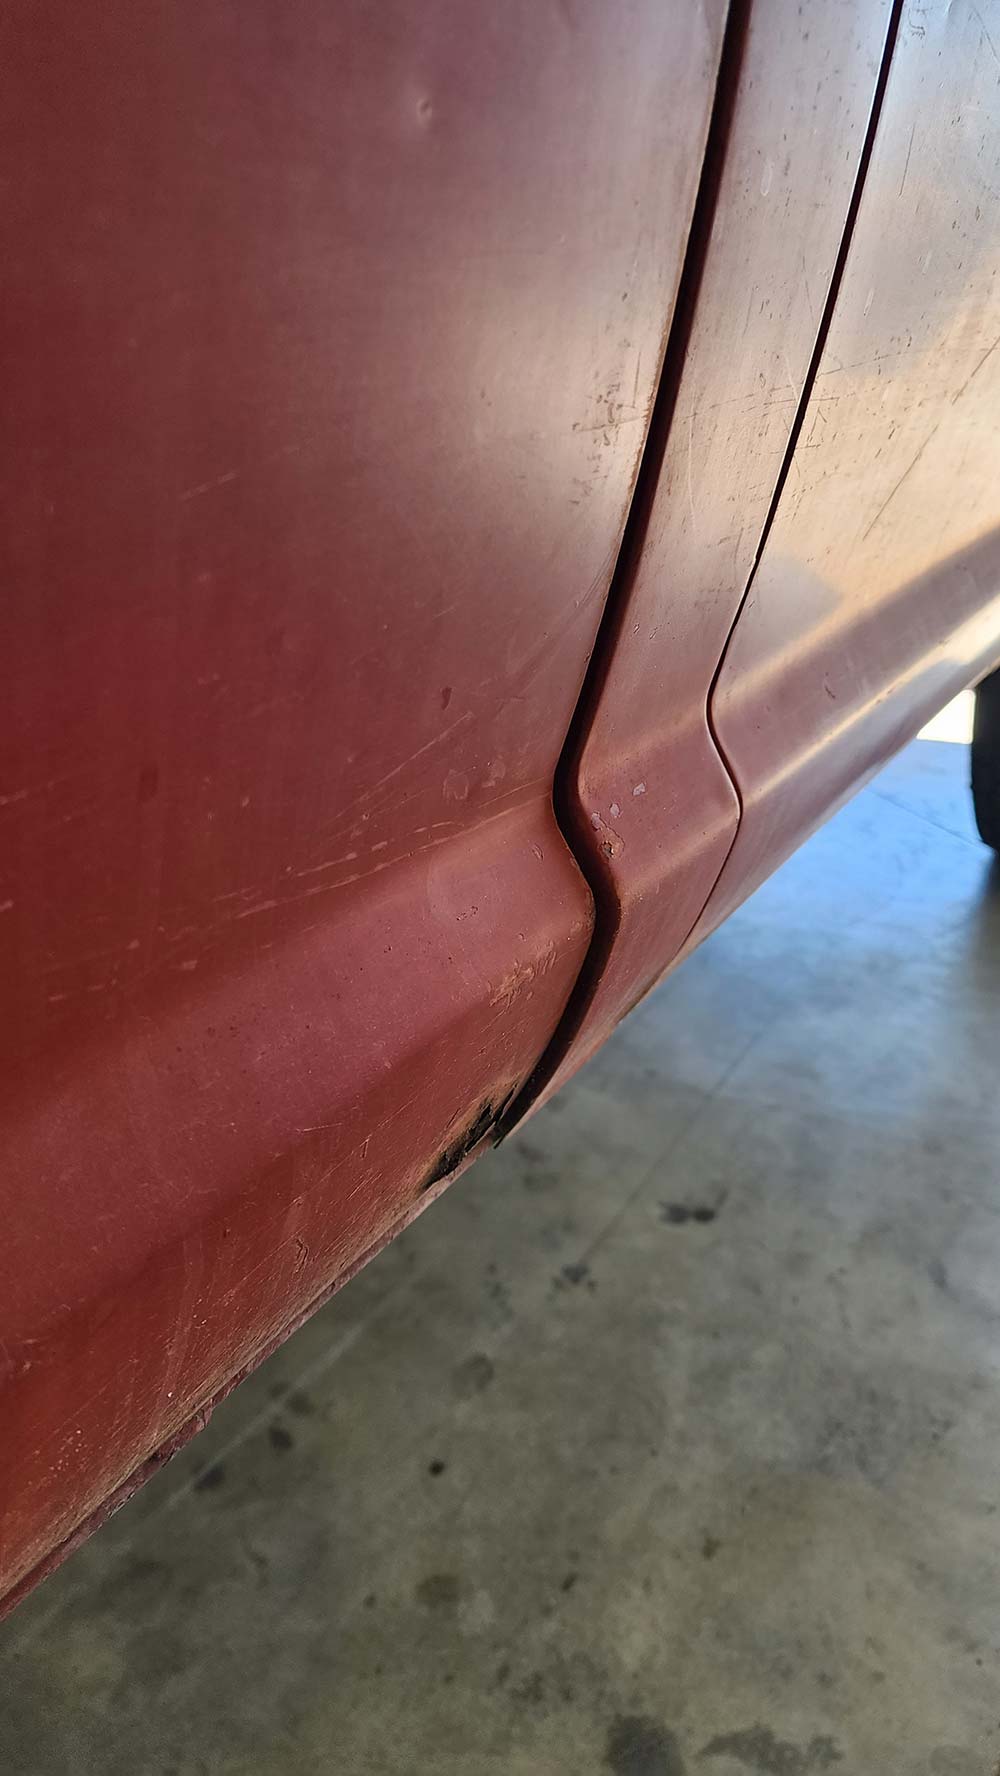
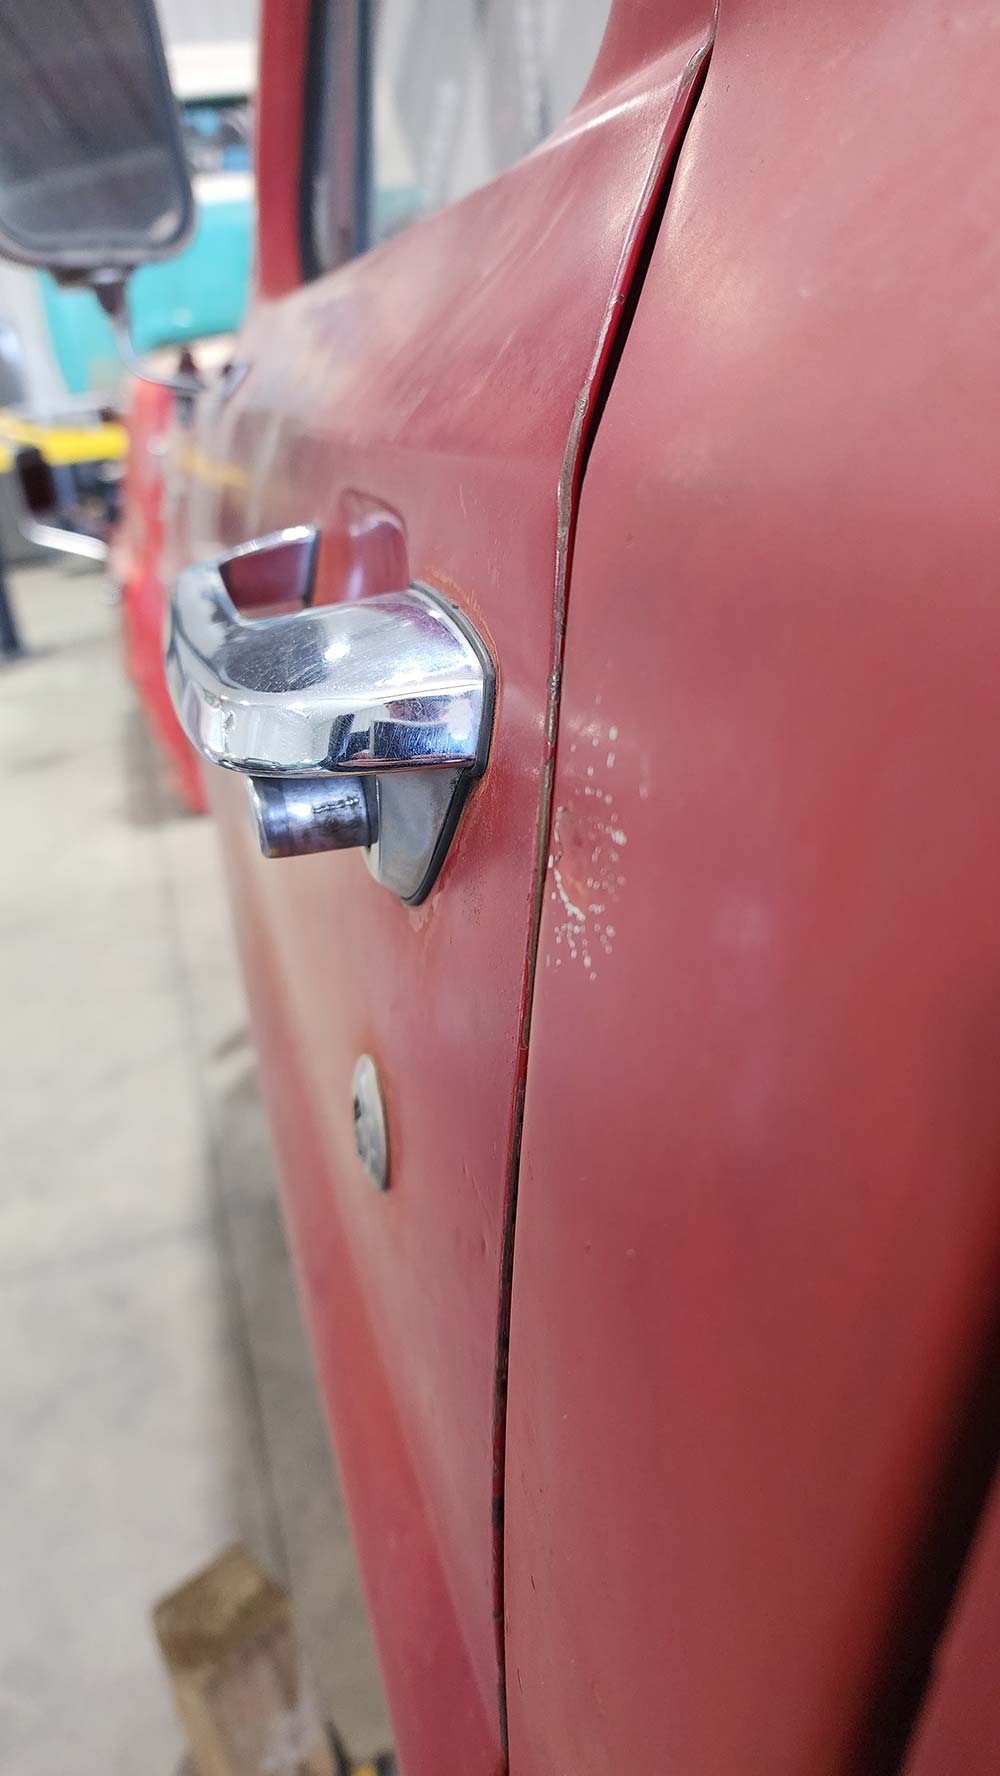
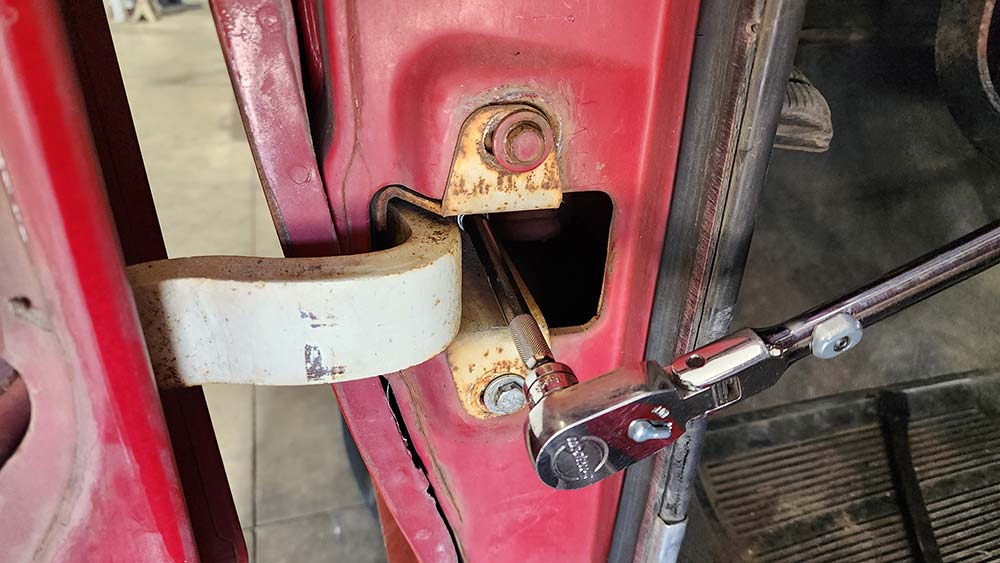
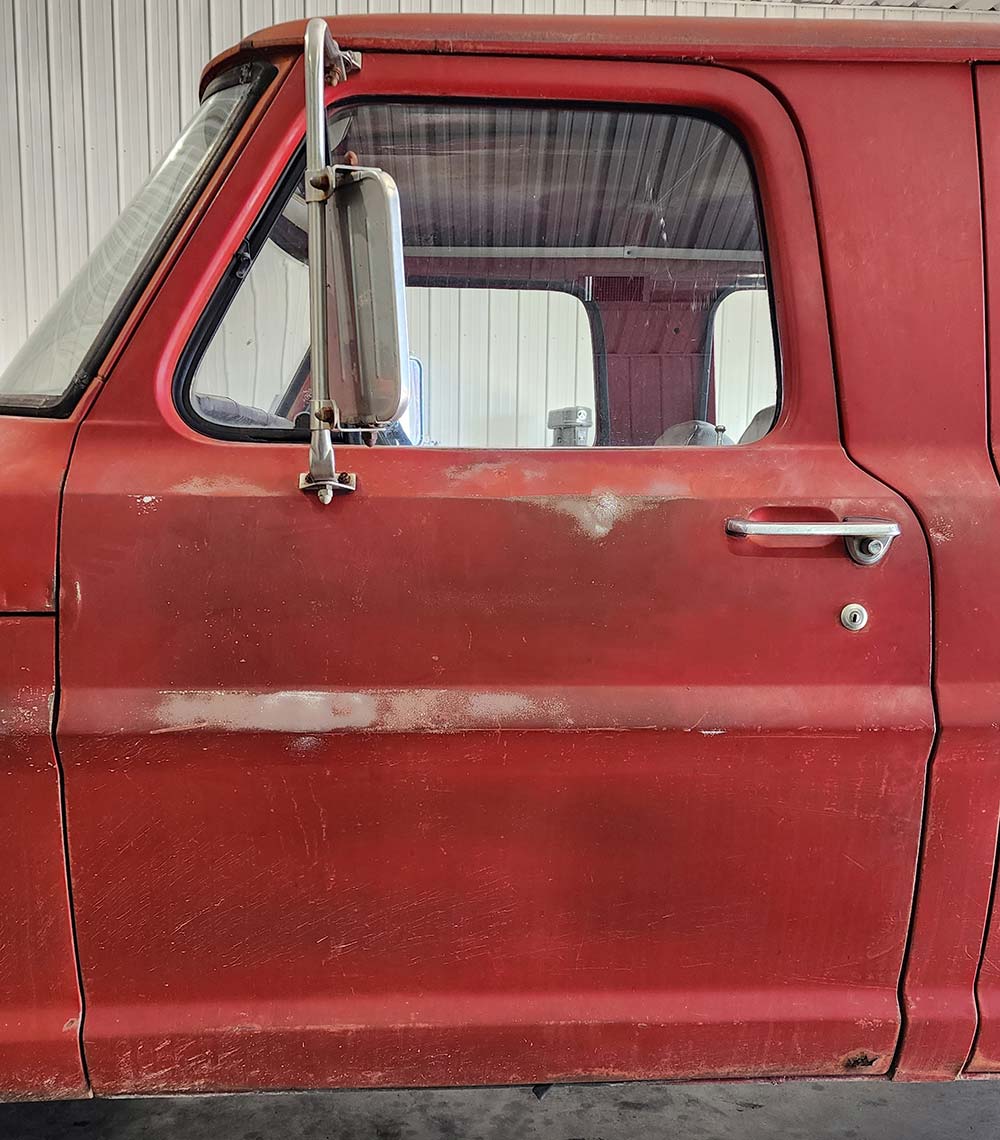
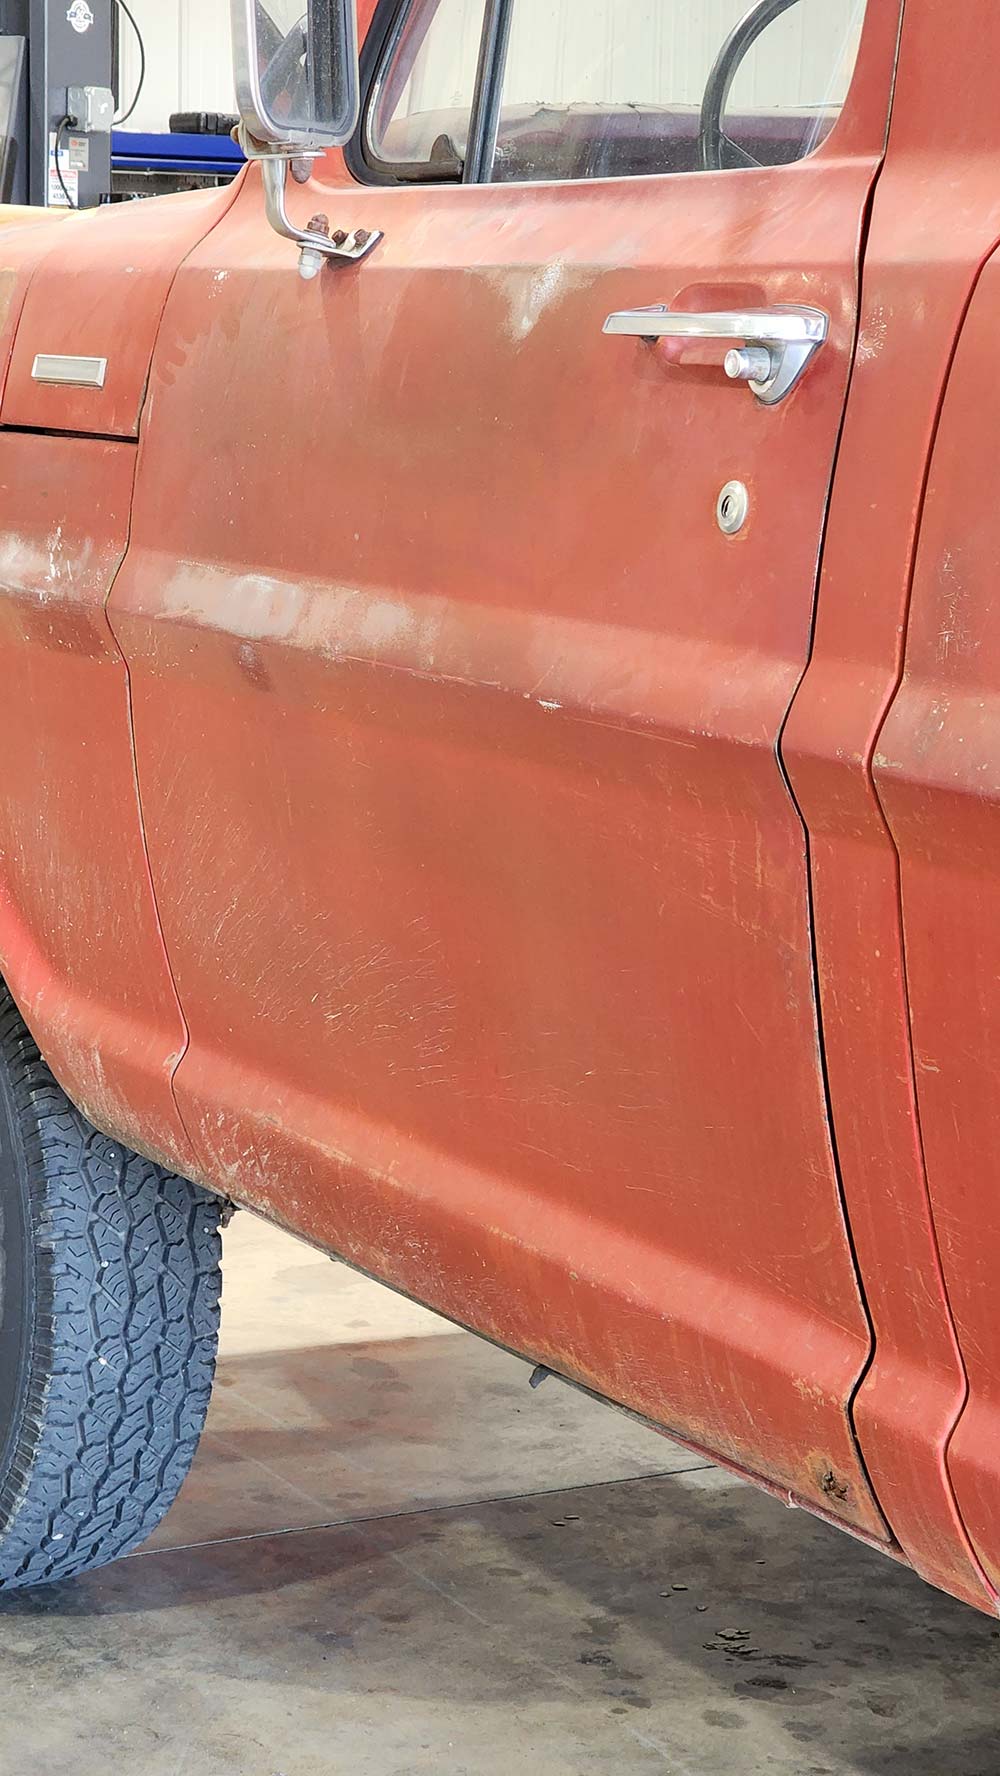
Though aligning the body on your bump side may seem like the most basic thing on a build, doing so is often forgotten but relatively easy to address, even after you are “done” with your build. Body alignment can make an average build look nicer, or a nicer build look average. The biggest mistake you can make is aligning the body parts in the wrong order, making it a more challenging task.
So, where should you start? The doors. You start with the doors because their correct position is solely based on the cab, which is not adjustable. The cab is the solid foundation that the doors, fenders, and hood must fit. The fender location is determined by aligning the “bump” line to the door, so if the door is off, the fender will also be.

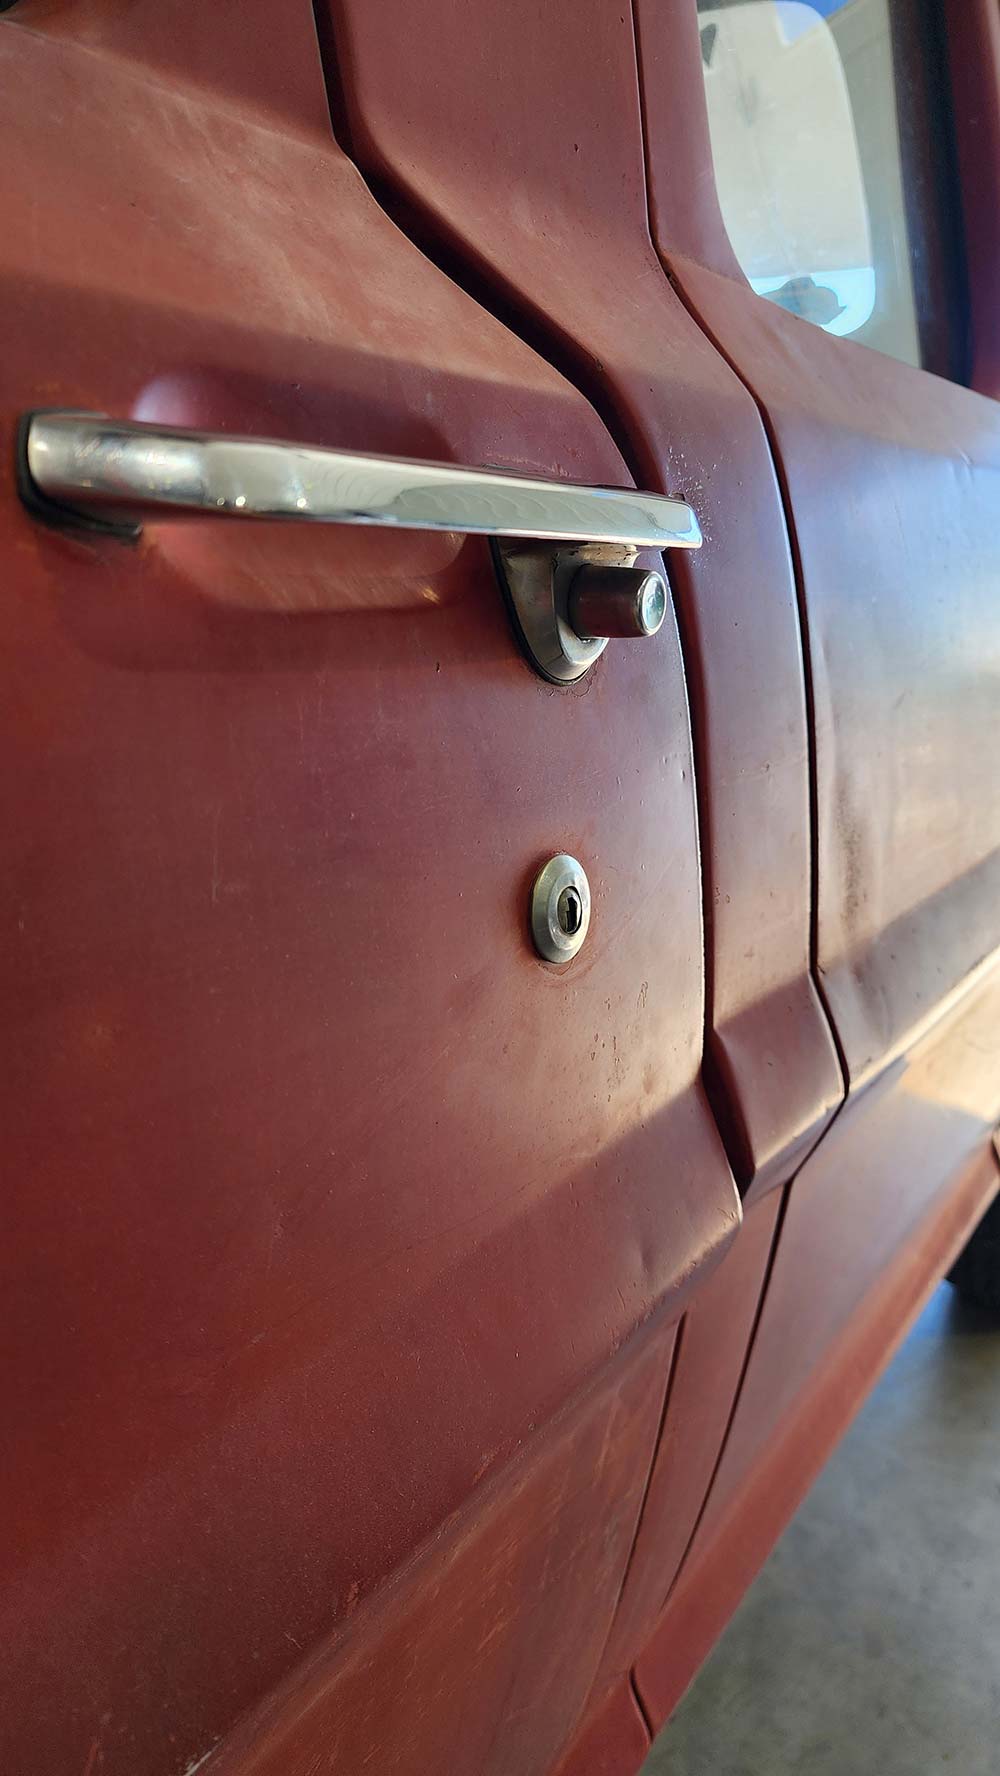
Misaligned panels can adversely affect many parts of the truck, including faulty door and hood latches and proper sealing of weatherstripping and trim alignment. When aligning body panels, you must let the lines tell you what adjustments are needed. Your eye is the best tool for this because if the panels are not looking right, they probably need more adjustment. So now, on to the fun part.


c10
A Super Clean ’67 Andy purchased this 1967 Chevy C10 on his 40th birthday. The truck was in a shed for more than 10 years… Continue reading
Adam Johnson . August 25, 2022
Department
Living the Life and Printing the Passion What up, Street Trucks fam! We have been working hard across all our Engaged Media titles to make… Continue reading
Chris Hamilton . October 07, 2024

Department
All Mark Leonard wanted out of his latest truck build was to be able to fit his family in one vehicle (including their dog Duke)… Continue reading
John Mata Jr. . January 31, 2023

Department
EnerSys® (NYSE:ENS), the global leader in stored energy solutions for industrial applications and the manufacturer of ODYSSEY® batteries, will premier its expanded ODYSSEY® battery product offering at the… Continue reading
Chris Hamilton . September 17, 2019
F100 Builders
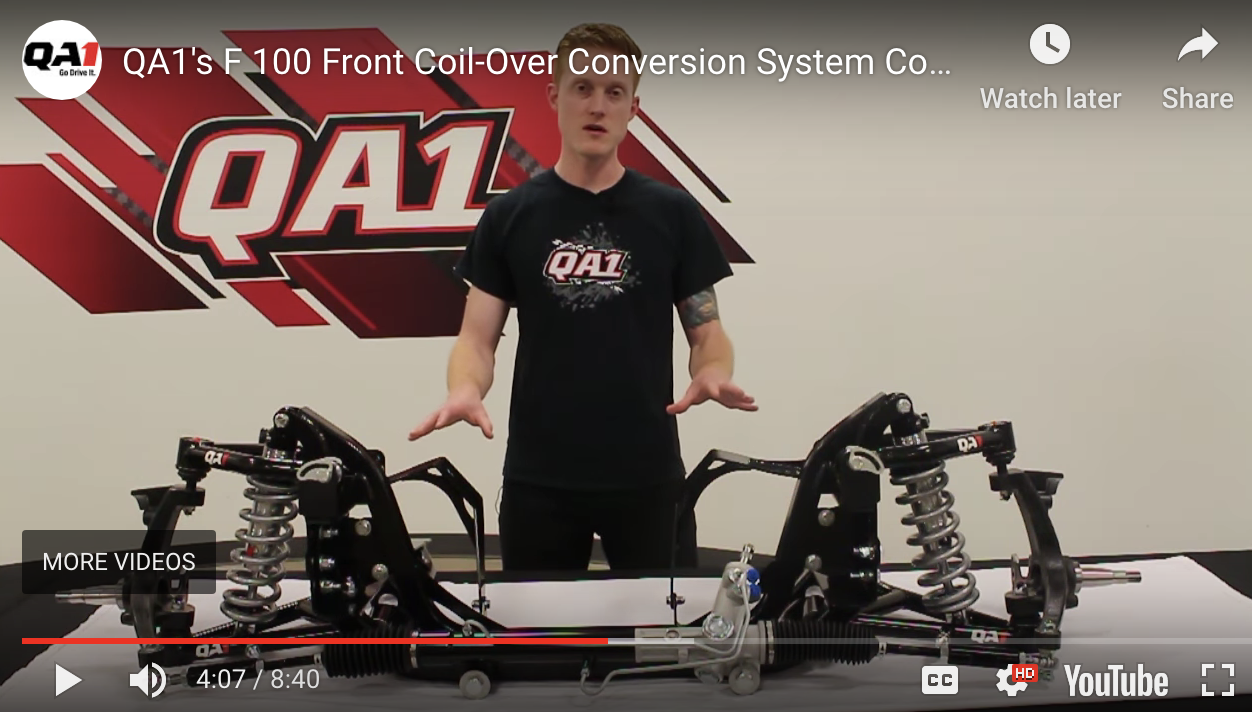
If you have an old F-100, you know that the front Twin I-Beam suspension is less than desirable. Upgrading the entire front suspension is a… Continue reading
Chris Hamilton . February 05, 2020
Blood Sweat and Gears
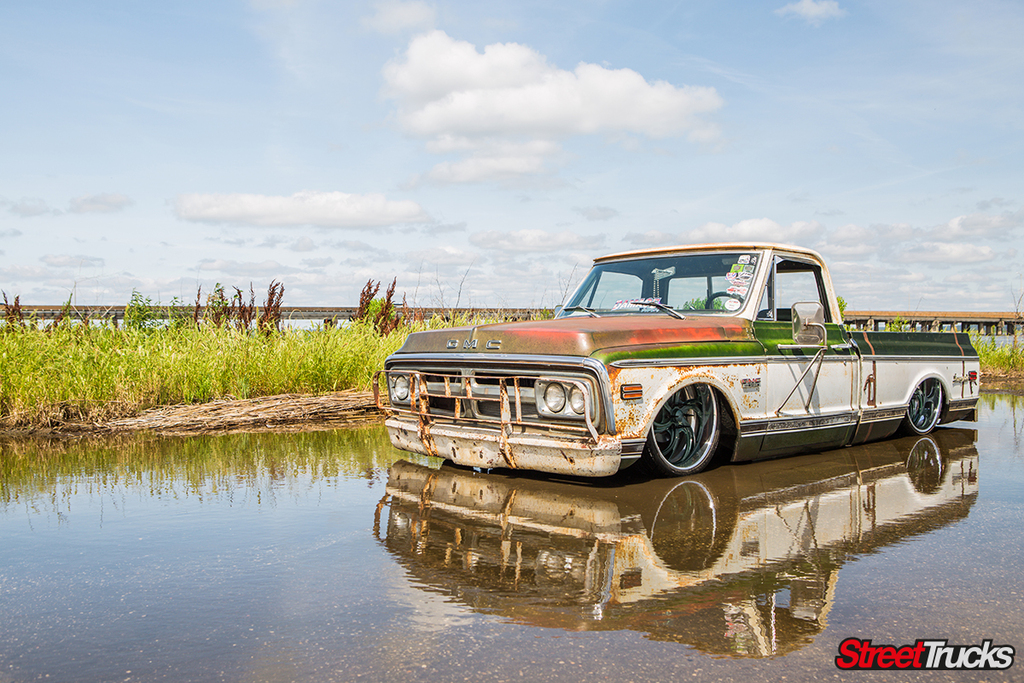
This ’72 GMC Sierra here is rusty and covered in natural patina, and although it has been left in its original aged condition, it looks… Continue reading
Chris Hamilton . March 02, 2020


We use cookies to enhance your browsing experience, serve personalized ads or content, and analyze our traffic. By clicking "Accept All", you consent to our use of cookies. Visit our Cookie Policy for more info.
Share Link