 DEVAN ENCE
.
December 14, 2023
.
c10
.
DEVAN ENCE
.
December 14, 2023
.
c10
.

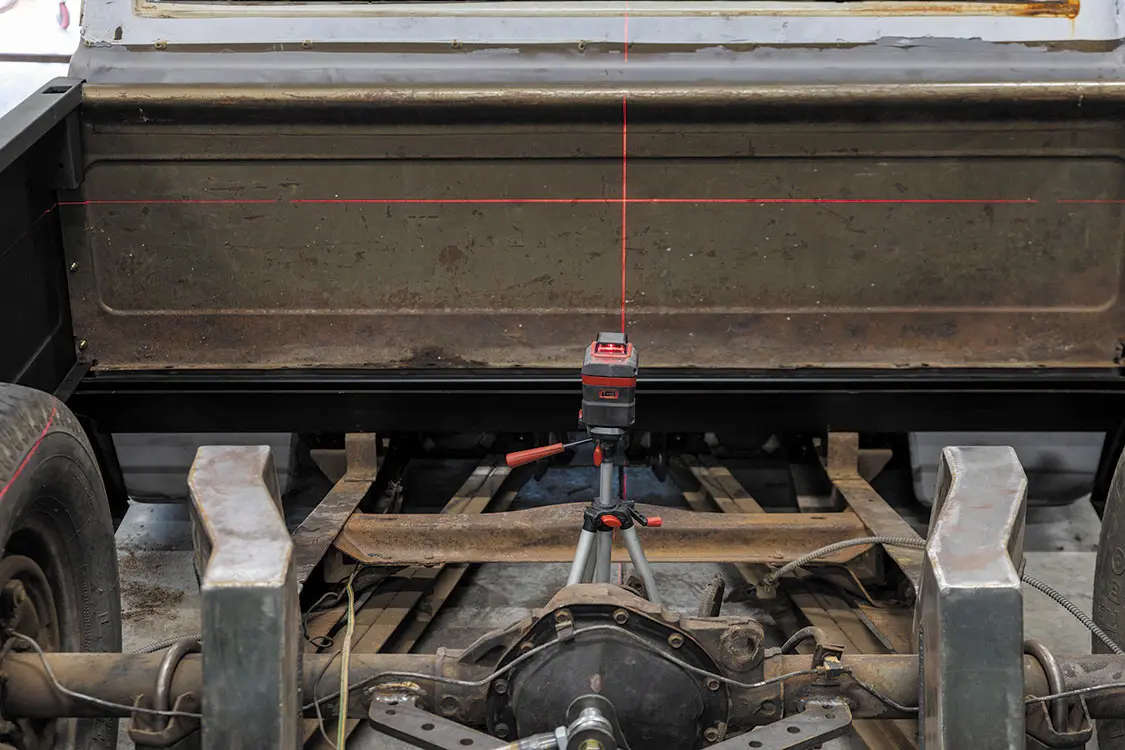
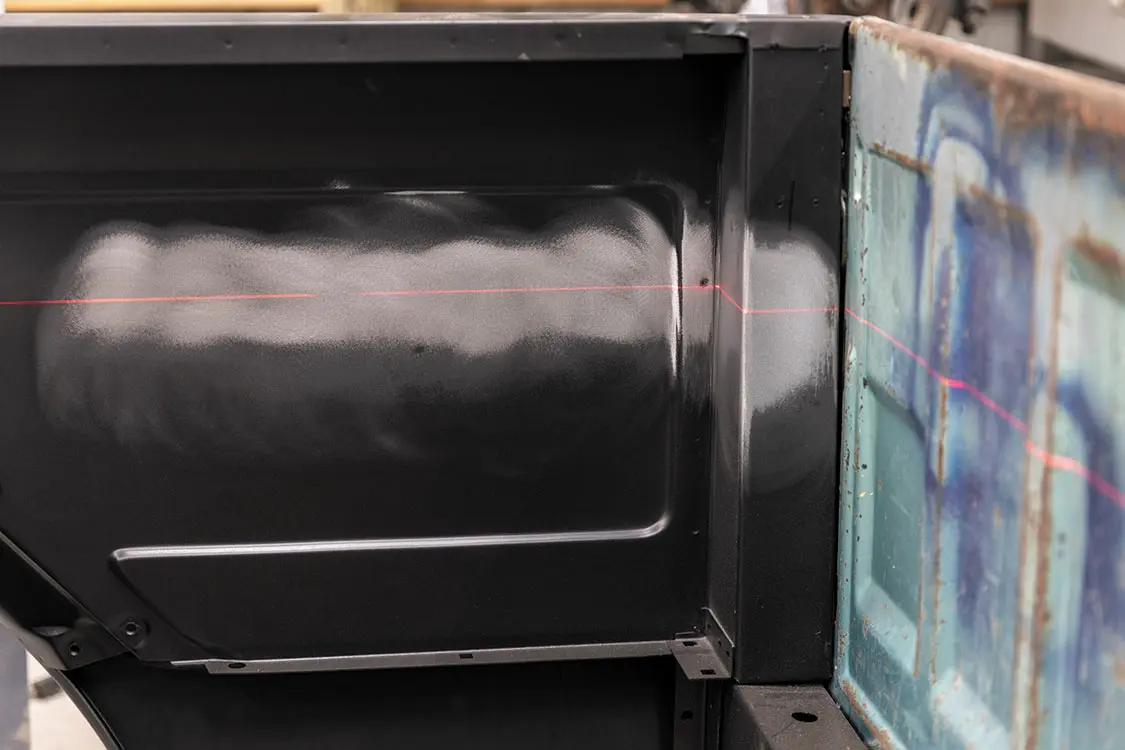
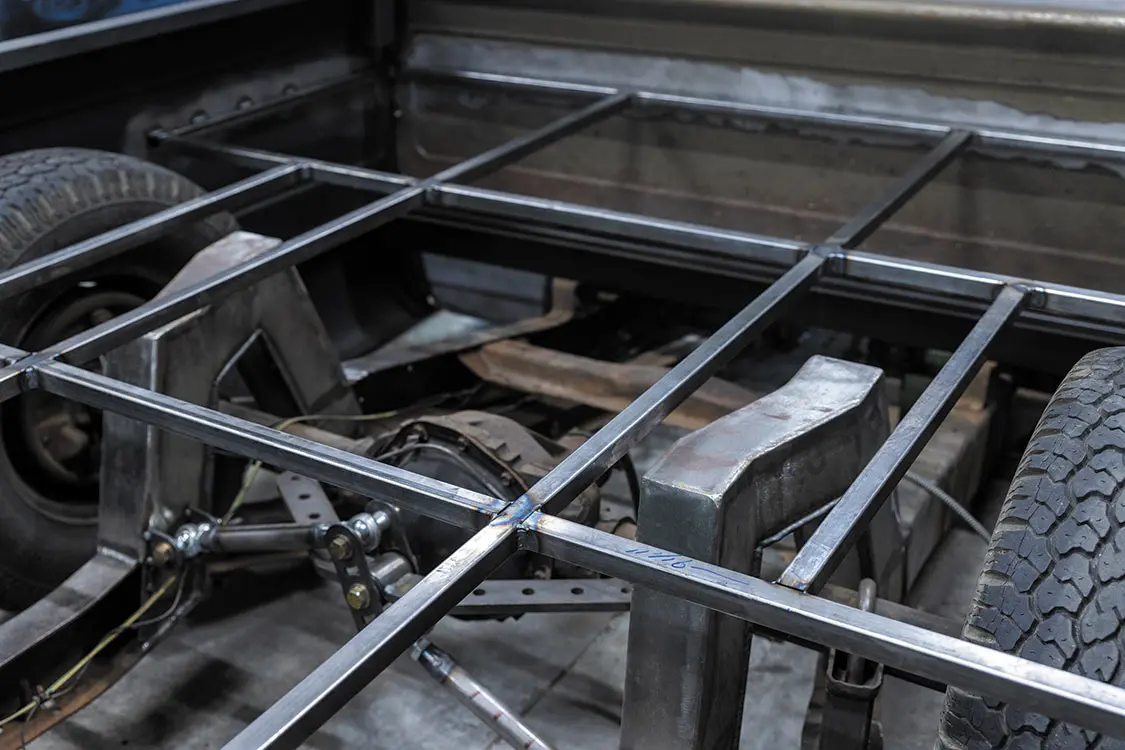
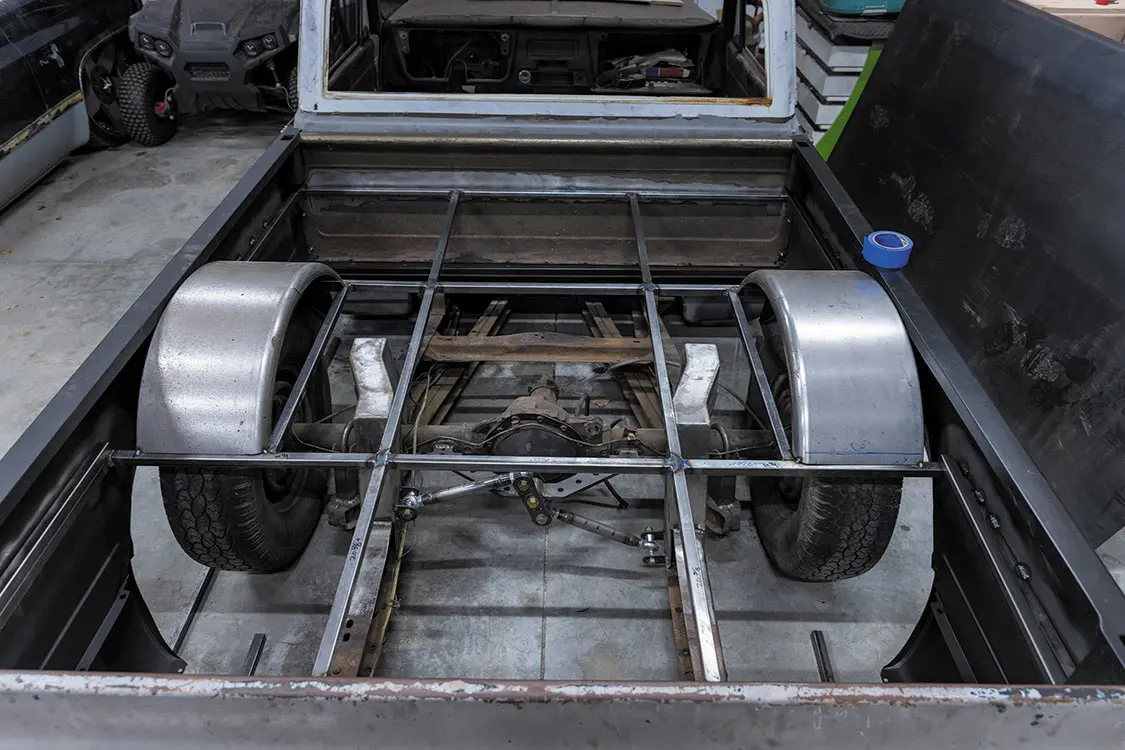
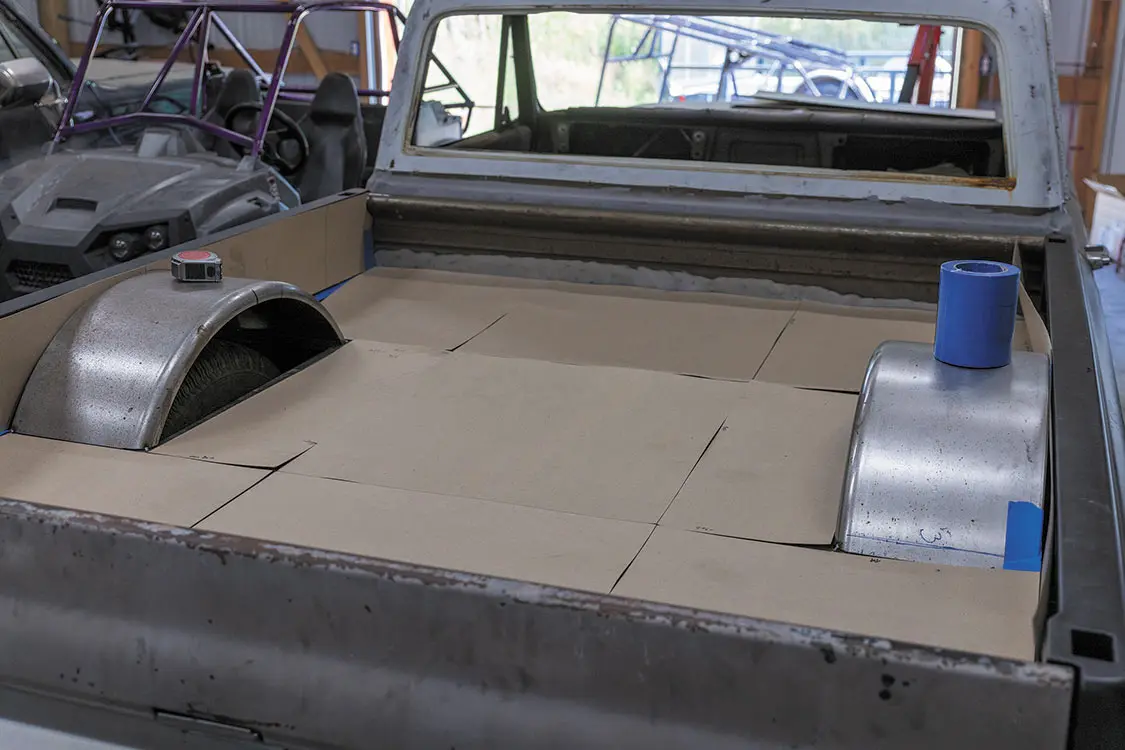
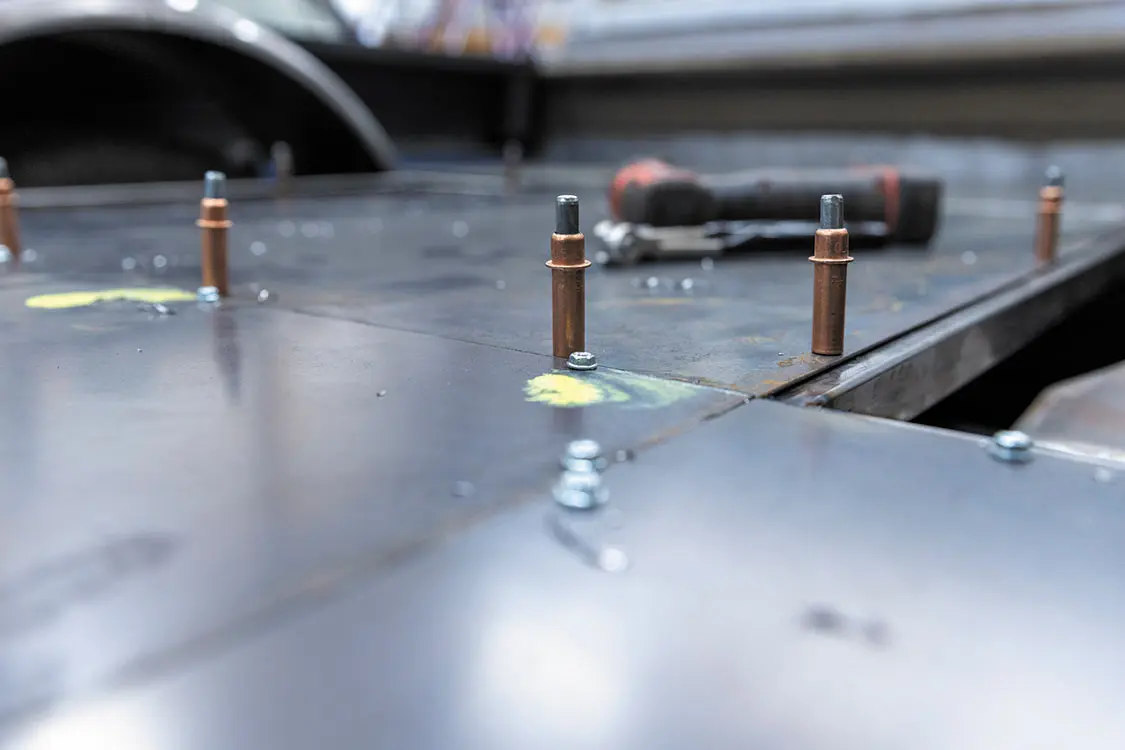
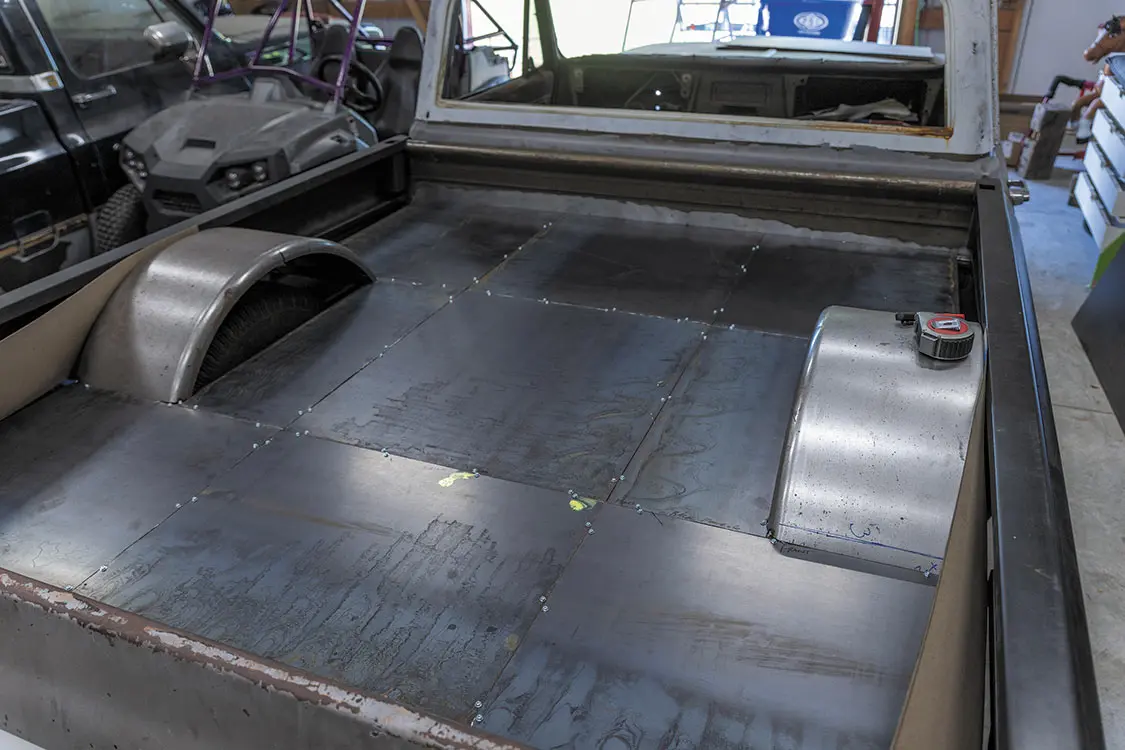
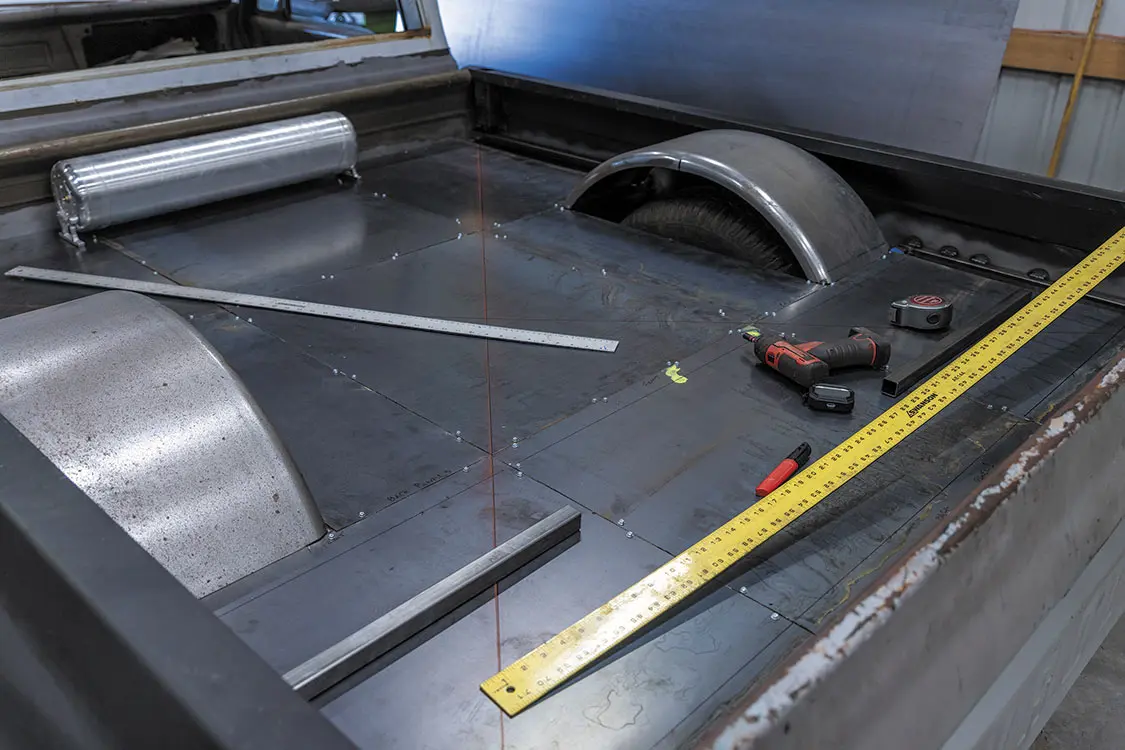
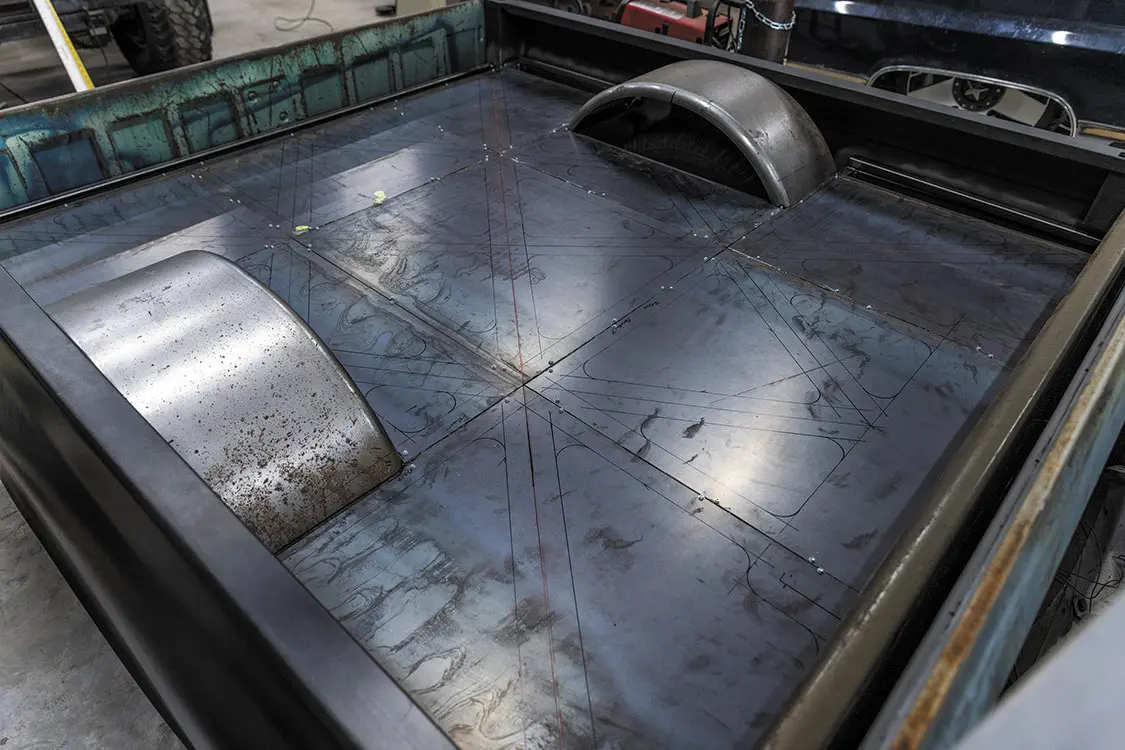
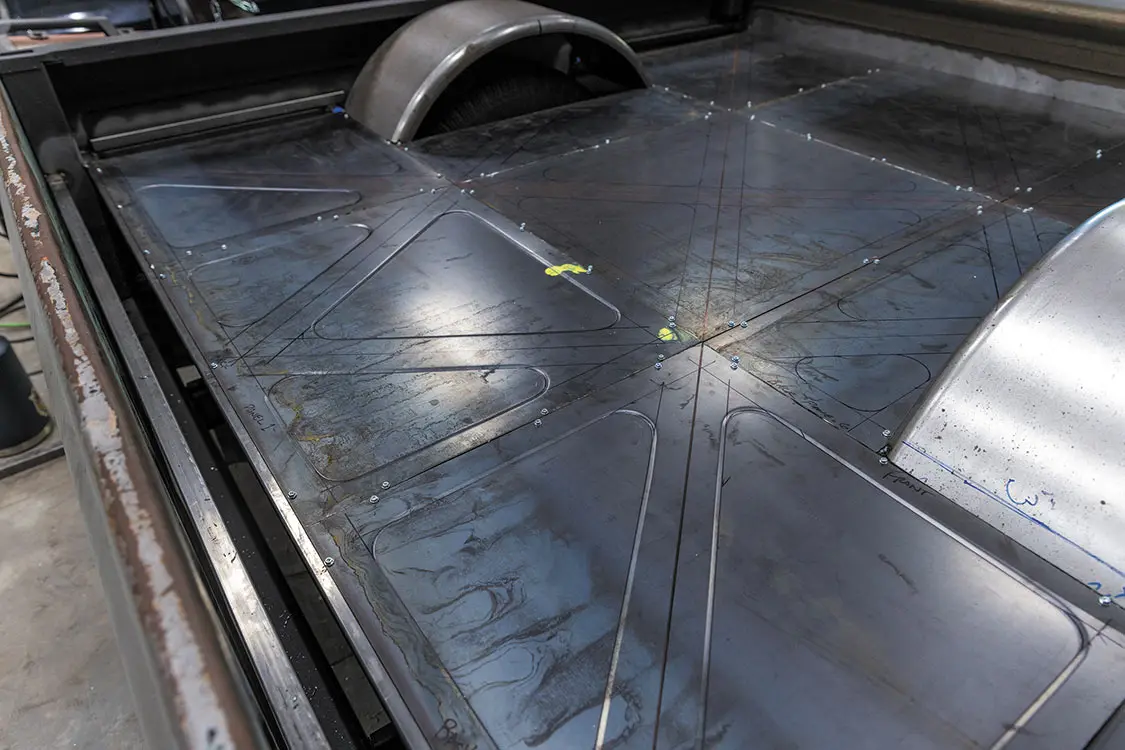
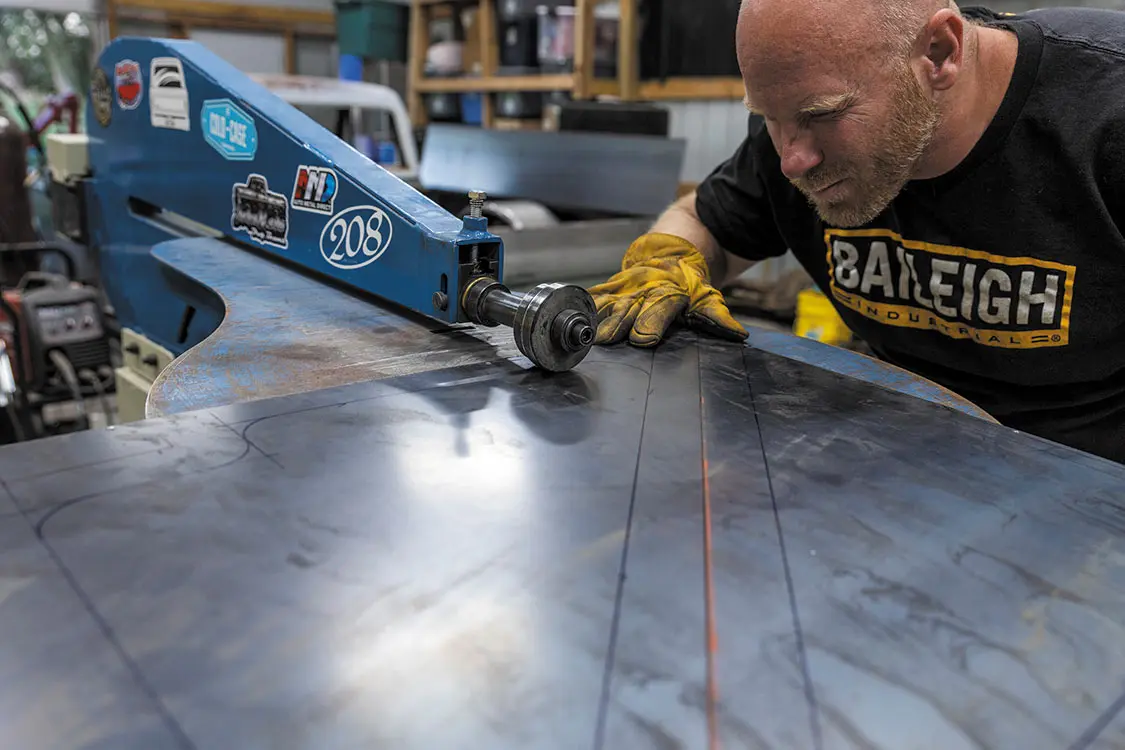
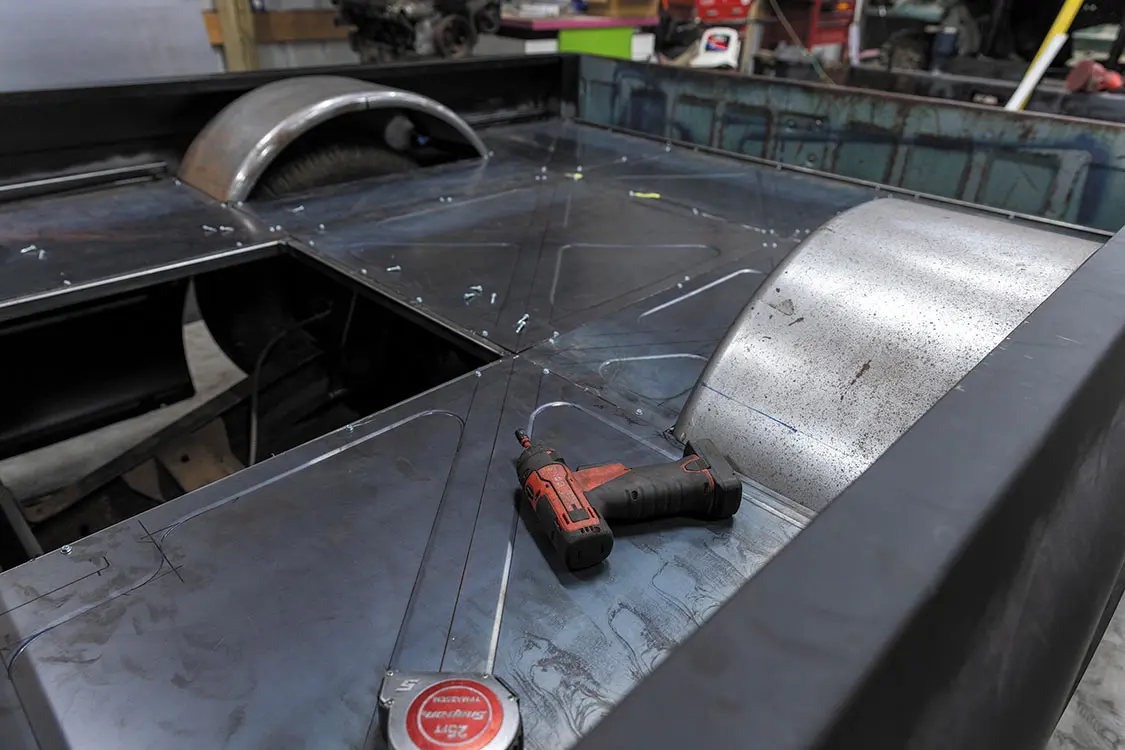
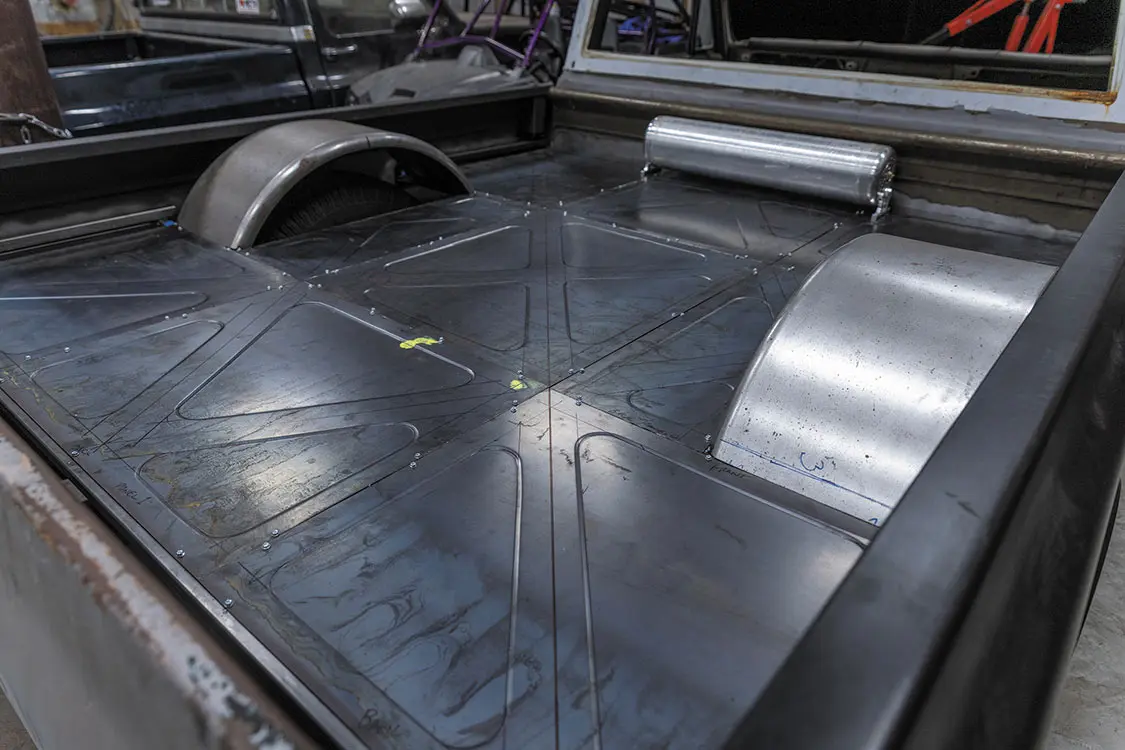
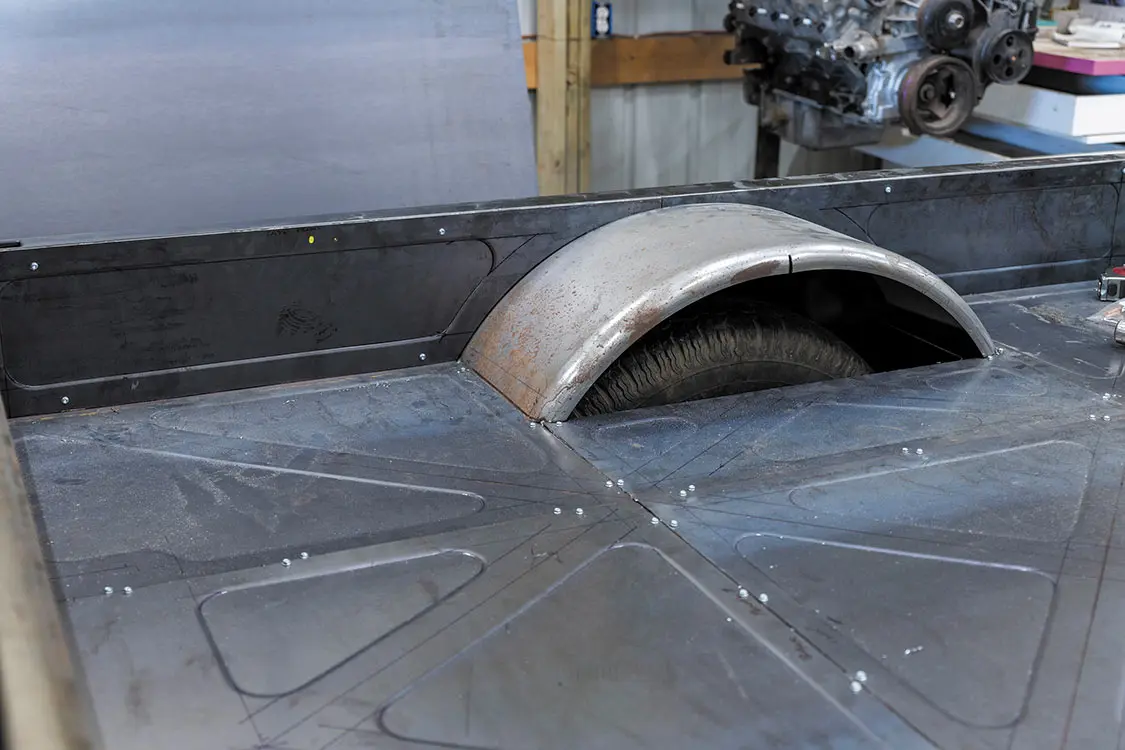
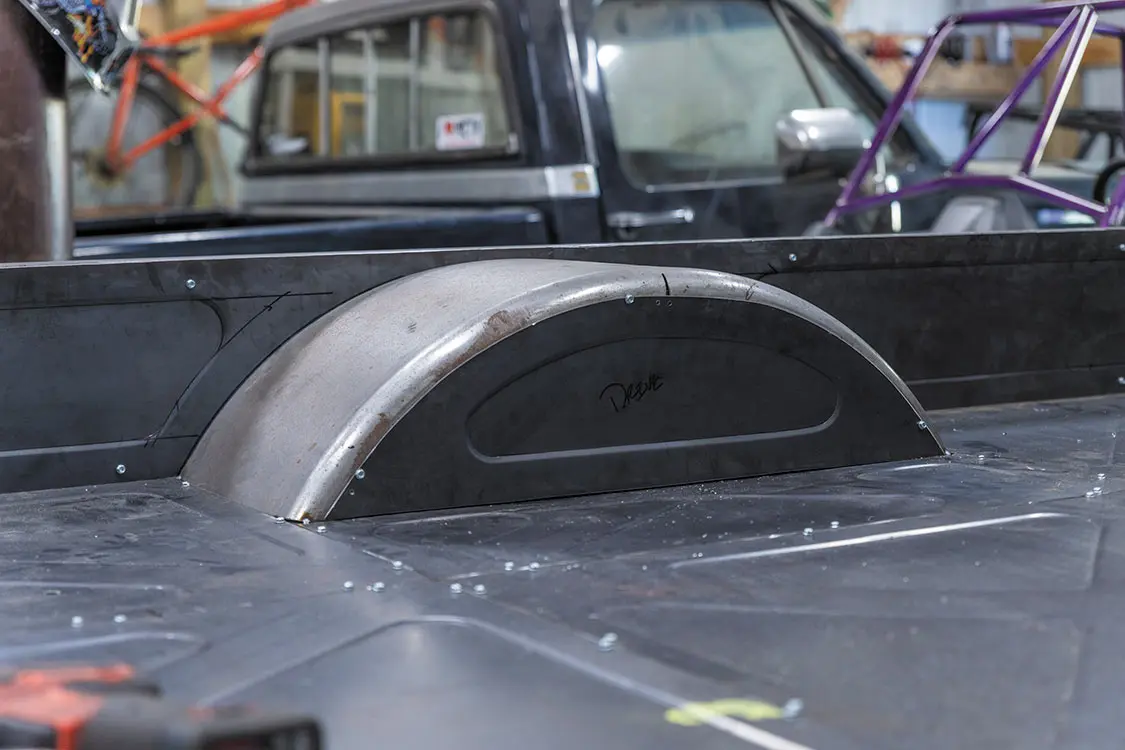
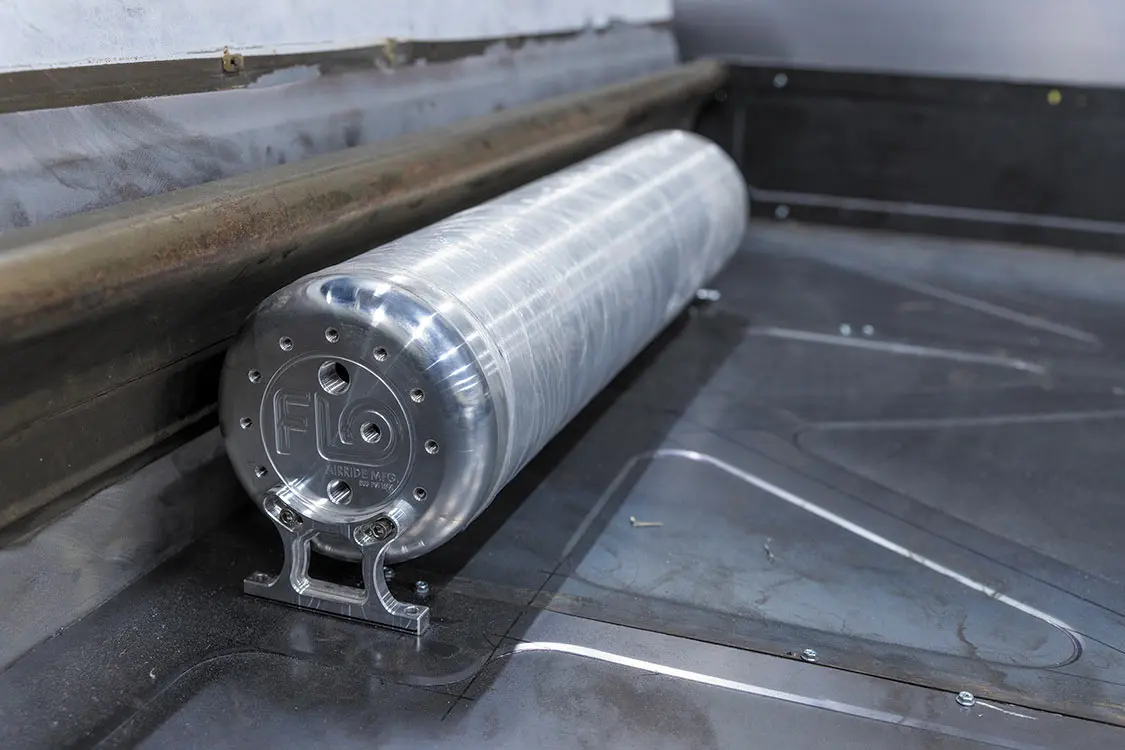
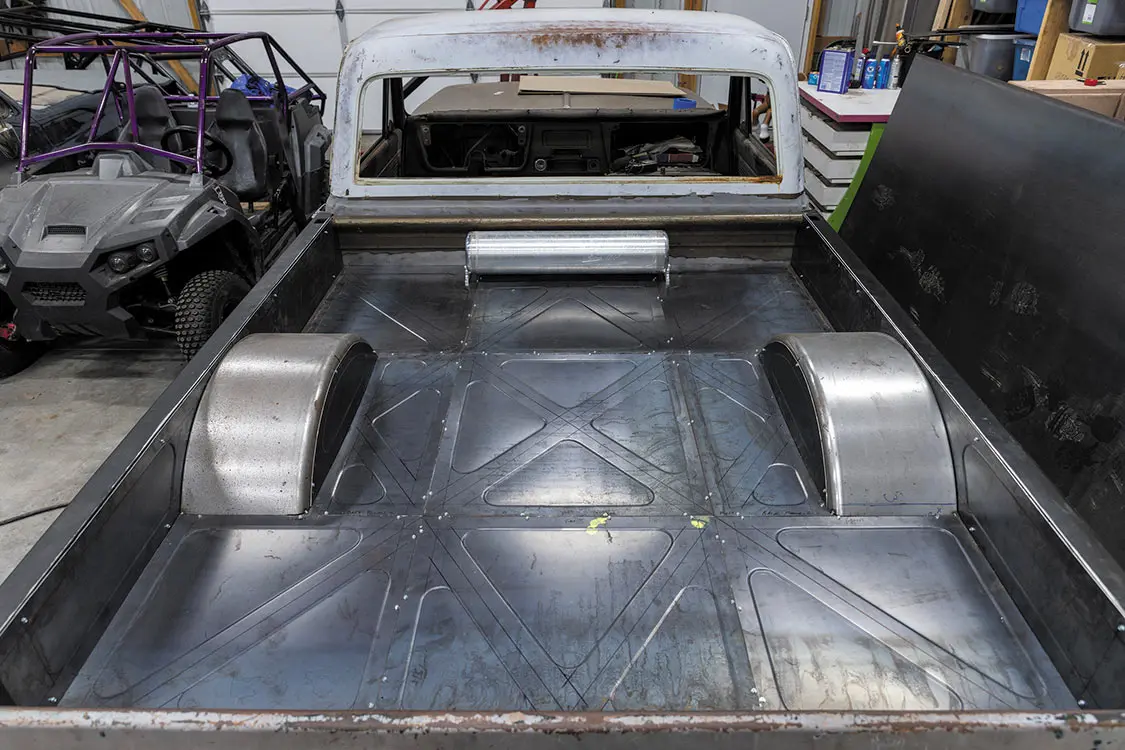
ARE YOU LOOKING to make your C10 stand out from the crowd? A way you can truly make your build one of a kind is with a custom bed floor that fits your project and your own unique style. With such a large canvas, you can really let your artistic side come out on full display.
The steps below are just one of the many ways to get started and your creativity flowing! For custom sheetmetal work like we’ve shown here, you have quite a few ways to go about it. Most are just personal preference, meaning that beyond the basics, there’s no real “right” or “wrong” way to some of what’s shown. There are a ton of amazing fabricators out there who use many different techniques, so don’t be afraid to experiment with what works best for you and your build!


c10
Starting a new C10 truck project is always an exciting time, but some builds are just a little more meaningful than others. Billy Lane and… Continue reading
John Mata Jr. . February 21, 2023

C10 Builders Guide
Have you ever seen a unicorn? Webster’s Dictionary defines a unicorn as a mythical animal typically represented as a horse, or something that is highly… Continue reading
Jon Hansen . June 27, 2023
C10 Builders Guide
GSI Air-Ride, Installing a ’63-’66 C10 GSI Air-Ride Back Half Using GSI Air-ride Machine and Fabrication’s complete back half is a no brainer when… Continue reading
SCOTT NELSON . February 17, 2021

C10 Builders Guide
EVERYONE TOLD HER THE truck was coming back—she had even followed the build on Facebook—but seeing the GMC roll to a stop in front of… Continue reading
Chris Hamilton . June 19, 2024

C10 Builders Guide
The Family that Builds Together, Stays Together When Candice Wheeler first got behind the wheel of a ’63 Chevy C10, things didn’t go so well.… Continue reading
streettrucks . December 24, 2019

C10 Builders Guide
The High School Hauler That Stuck Around FEW OF US ARE LUCKY ENOUGH to still own the ride we had in high school. More often… Continue reading
streettrucks . April 16, 2020


We use cookies to enhance your browsing experience, serve personalized ads or content, and analyze our traffic. By clicking "Accept All", you consent to our use of cookies. Visit our Cookie Policy for more info.


Share Link