










 OBS HEADQUARTERS
.
October 14, 2022
.
How to
.
OBS HEADQUARTERS
.
October 14, 2022
.
How to
.
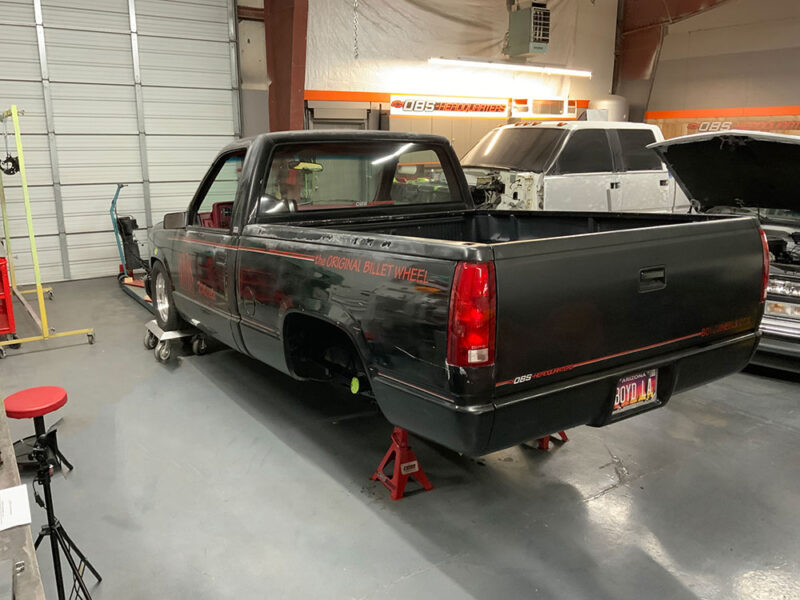
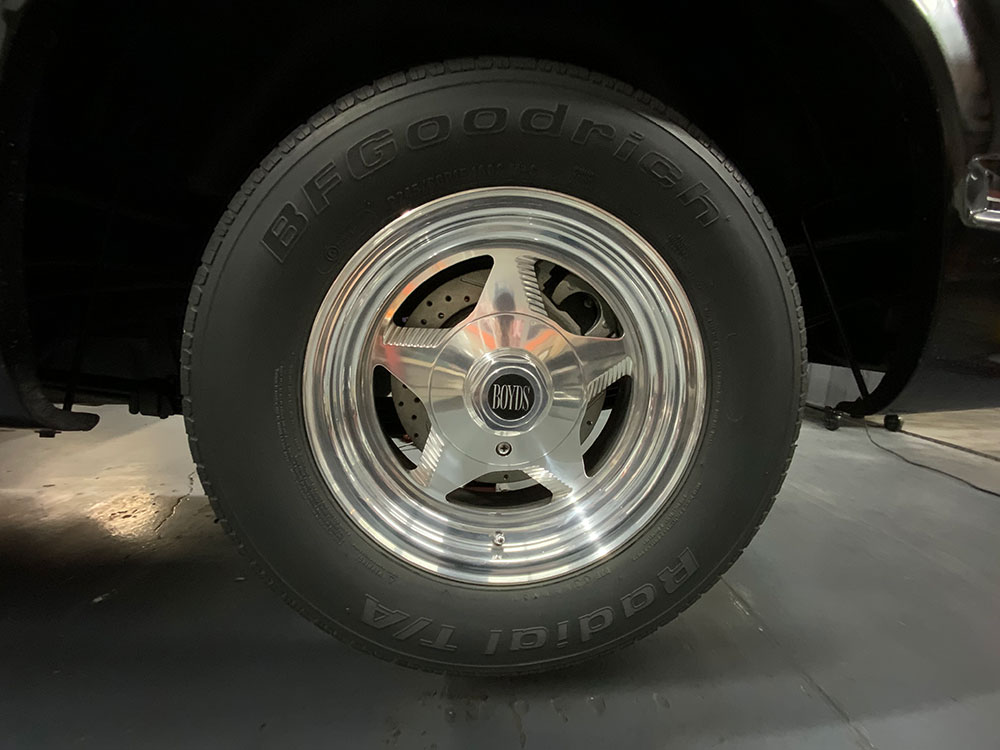
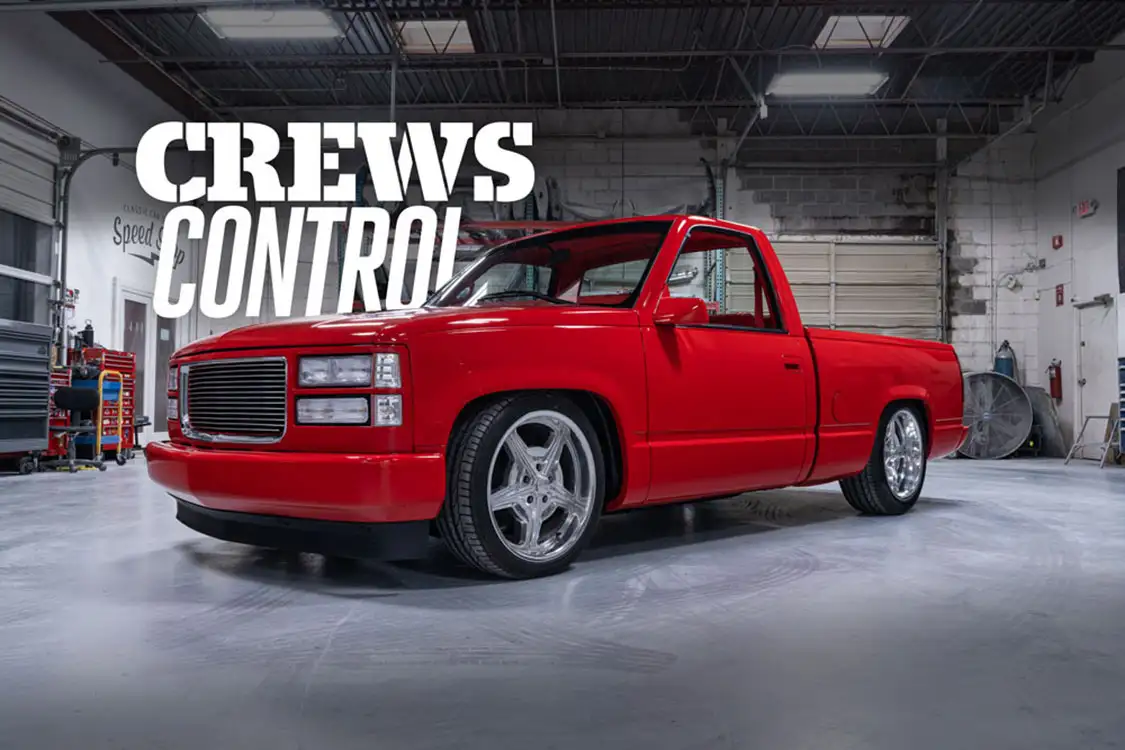
Are you old school? Do you want to keep your OG billet 15-inch sport-style truck wheels? It’s all possible now thanks to the partnership of Pro Performance and Baer Brakes with their all new 1150Kit. In an era where bigger is better, there’s a retro movement lurking below the surface—upgraded braking and performance with old-school looks. We all love the timeless styling and mechanical simplicity of the OBS platform but performance braking is not high on the list. Now there’s a simple solution.
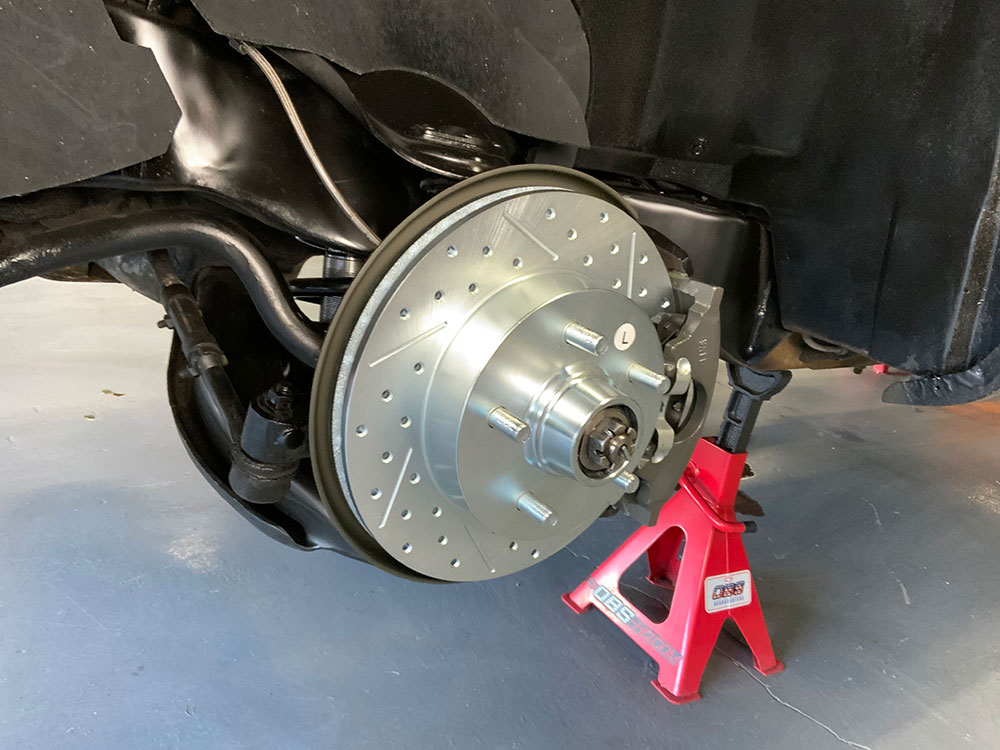
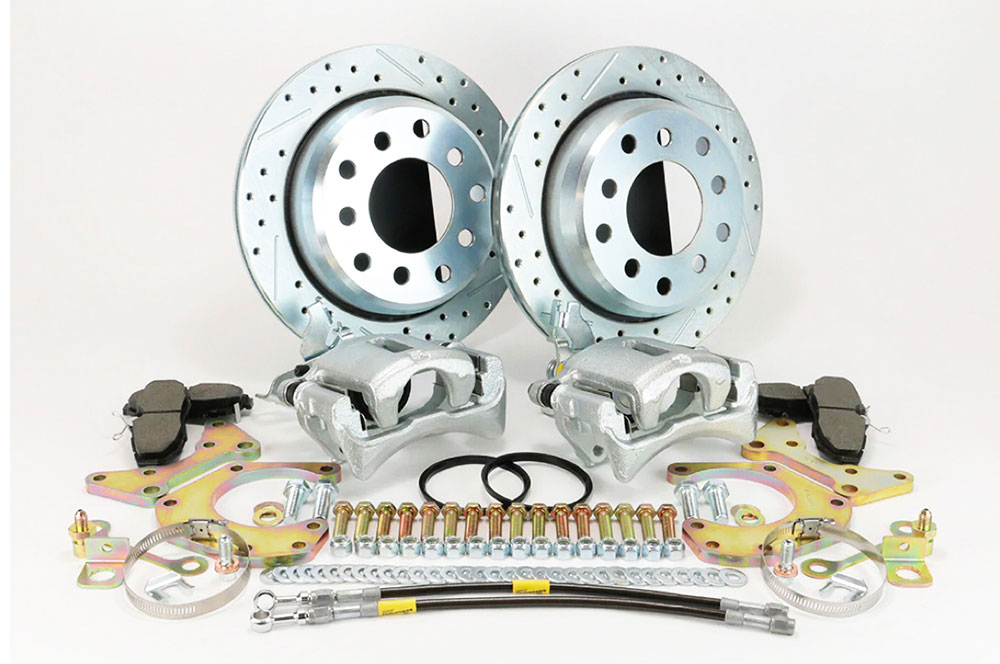
Specifically designed to work with 15-inch wheels, the kit includes:
Additional recommended parts are rear axles seals, gear lube, front calipers, wheel bearings, and seals.
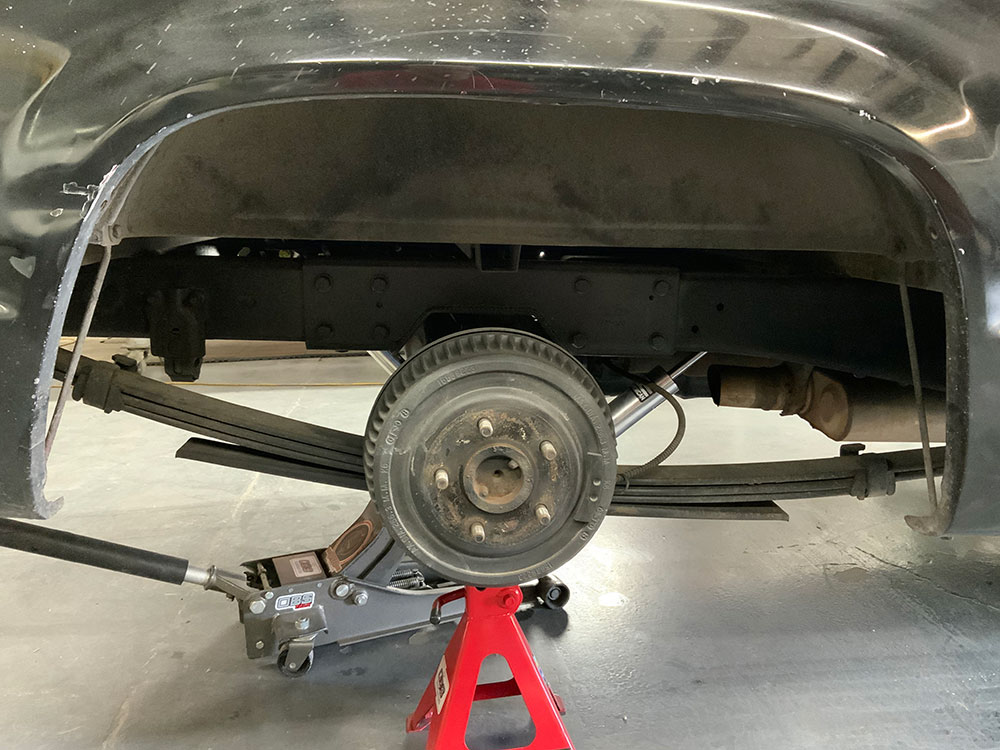
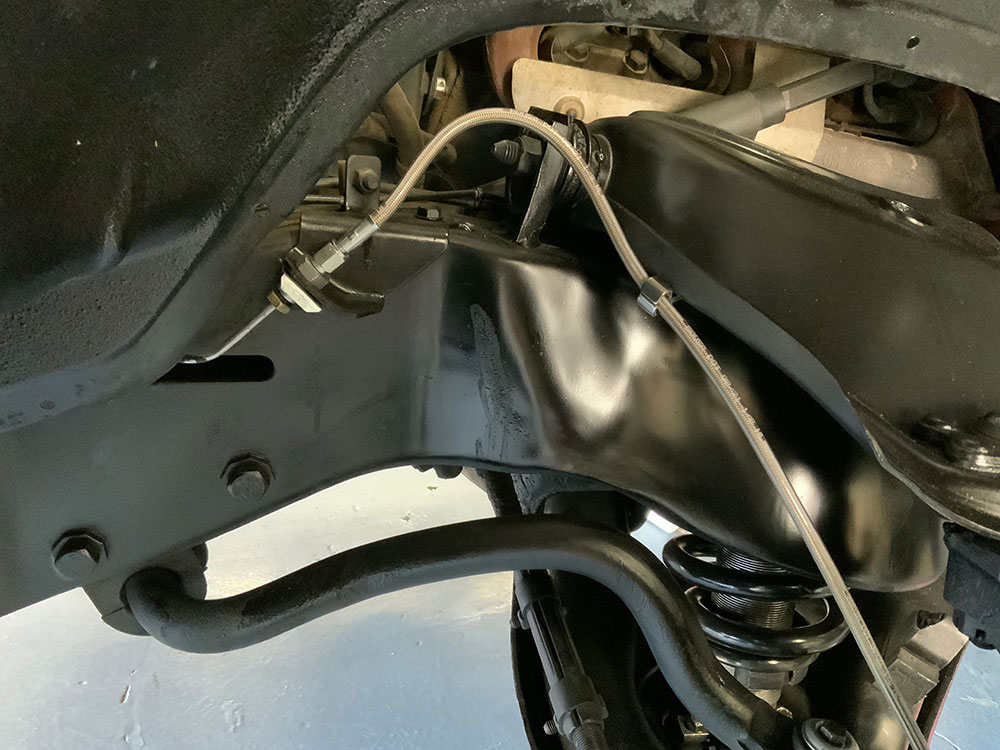
Installation is relatively straightforward for an OBS brake upgrade using basic hand tools. It does require removing the rear axles to disassemble the original brake drum backing plates, but then it’s simply a matter reinstalling the axles and the new rear caliper brackets, rotor, and caliper loaded with the new pads. New stainless steel flex lines are included with all the necessary mounting hardware.
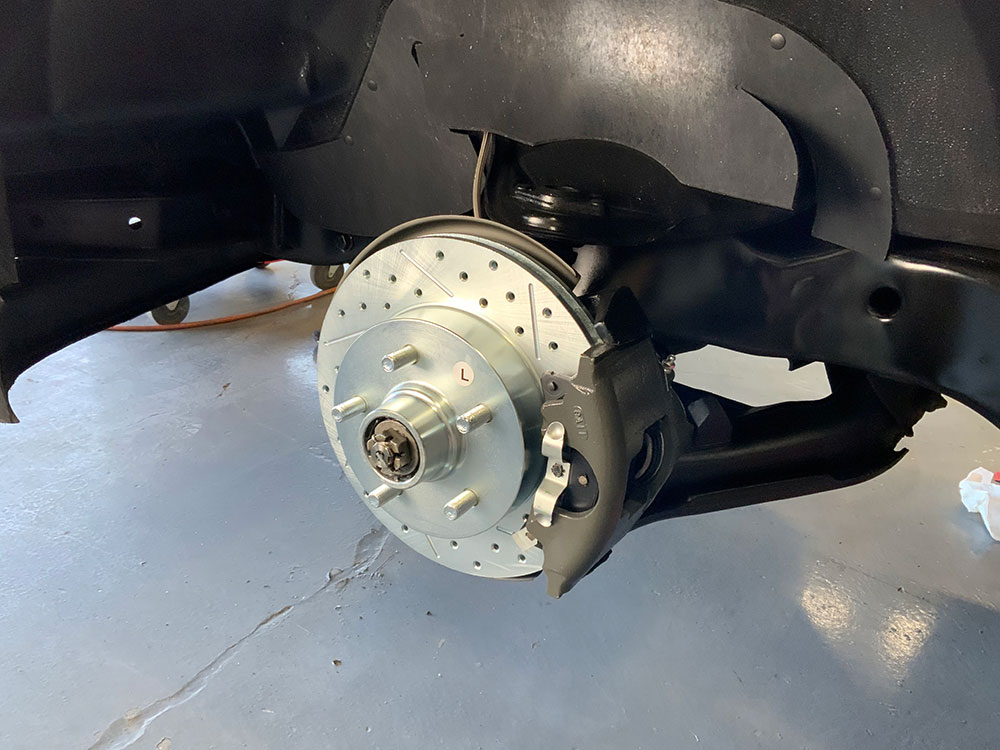
The front is as simple as replacing the front rotors and pads. Wheel bearings and calipers can be replaced as required.
Upgrade your brakes, retain your cool wheels, and keep on truckin’!
| Specification | Detail |
|---|---|
| Kit Part Number | 1150Kit |
| Minimum Wheel Size | 15 inches |
| Rotor Type | Drilled and Slotted |
| Rotor Position | Front and Rear |
| Caliper Position | Rear (front sold separately) |
| Flex Lines Included | 4 (Stainless Steel) |
| Mounting Hardware | Included |
| Rear Axle Removal Required | Yes |
| Gear Oil Drain Required | Yes |
| Brake Bleeding Required | Yes |
| Emergency Brake Compatible | Yes (cable reconnect) |
| Supplier | AZ Pro Performance / Baer Brakes |
Contact Pro Performance for rotor diameter, pad compound, and caliper piston specifications.
Still have questions about your 15-inch wheels? Street Trucks answers the top 10 truck wheel questions.
SOURCES
PRO PERFORMANCE
480-420-8175
www.azproperformance.com
BAER BRAKES
602-233-1411
www.baer.com
Step 1: Prepare the Vehicle
Step 2: Inspect and Remove Front Brake Assembly
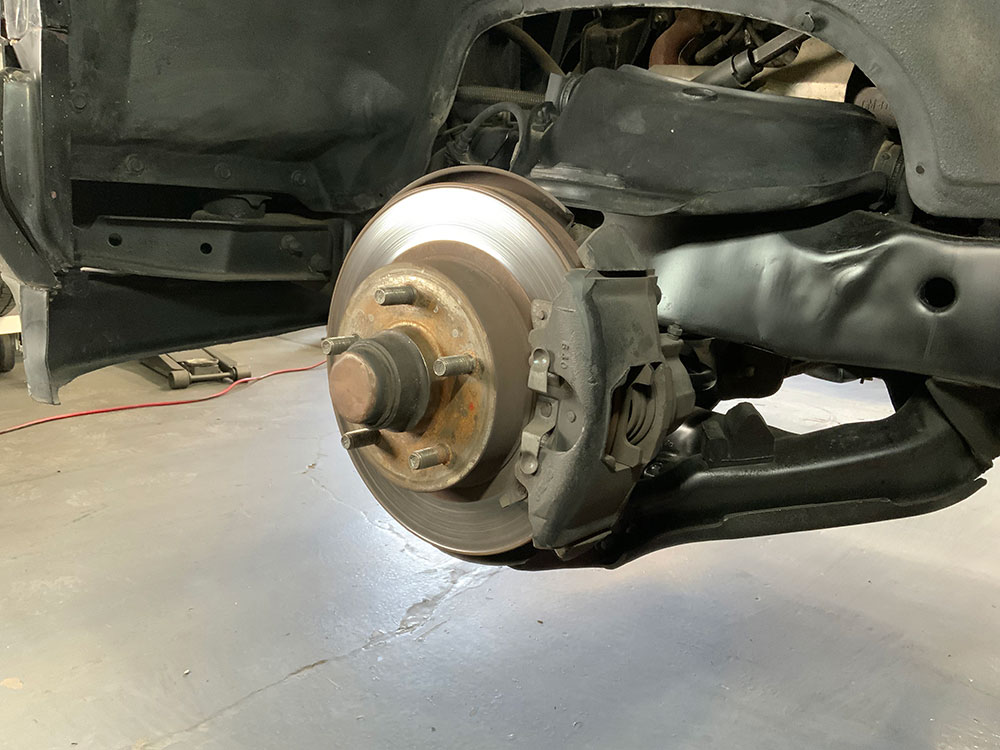
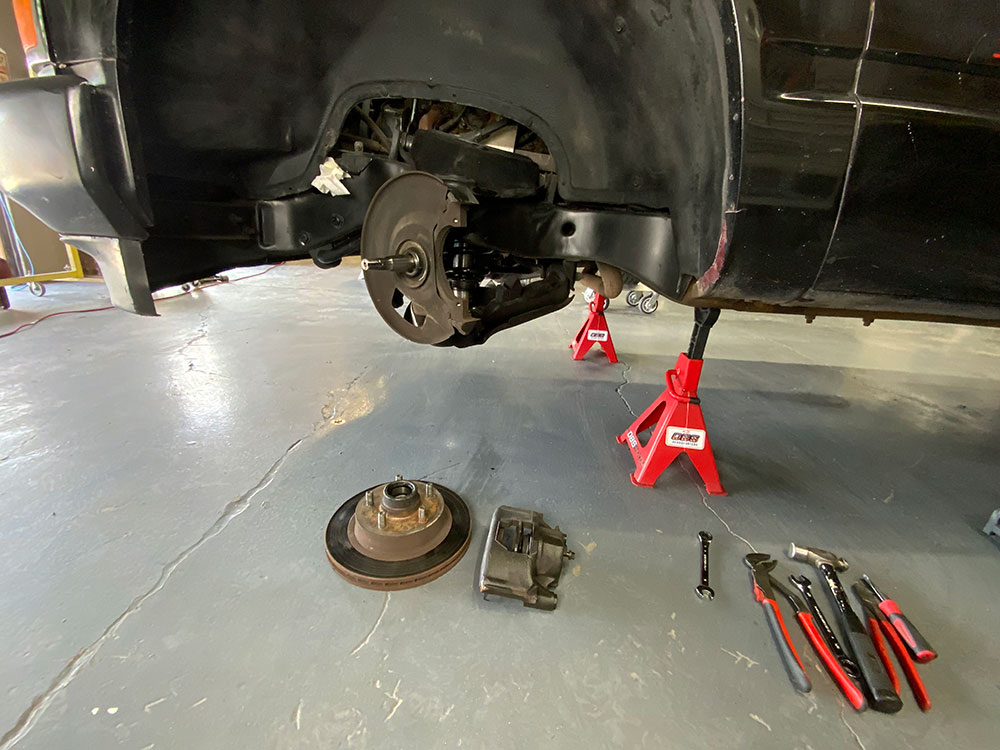
Step 3: Install New Front Flex Line
Step 4: Install New Front Rotor and Caliper
Step 5: Remove Rear Brake Drums
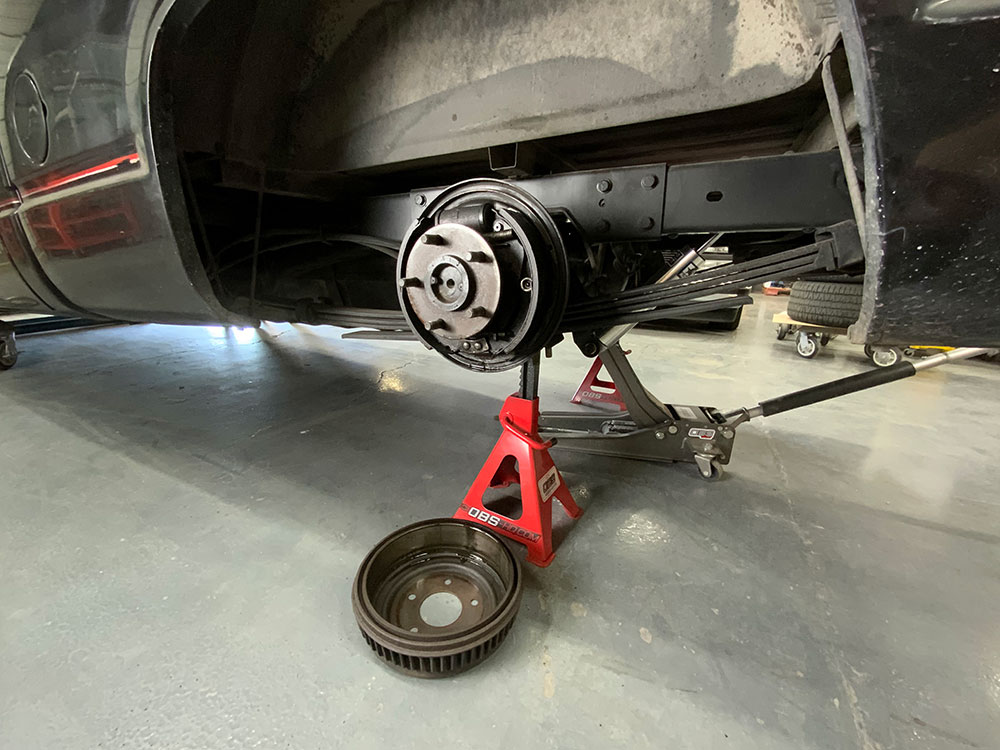
Step 6: Drain Gear Oil and Prepare Differential
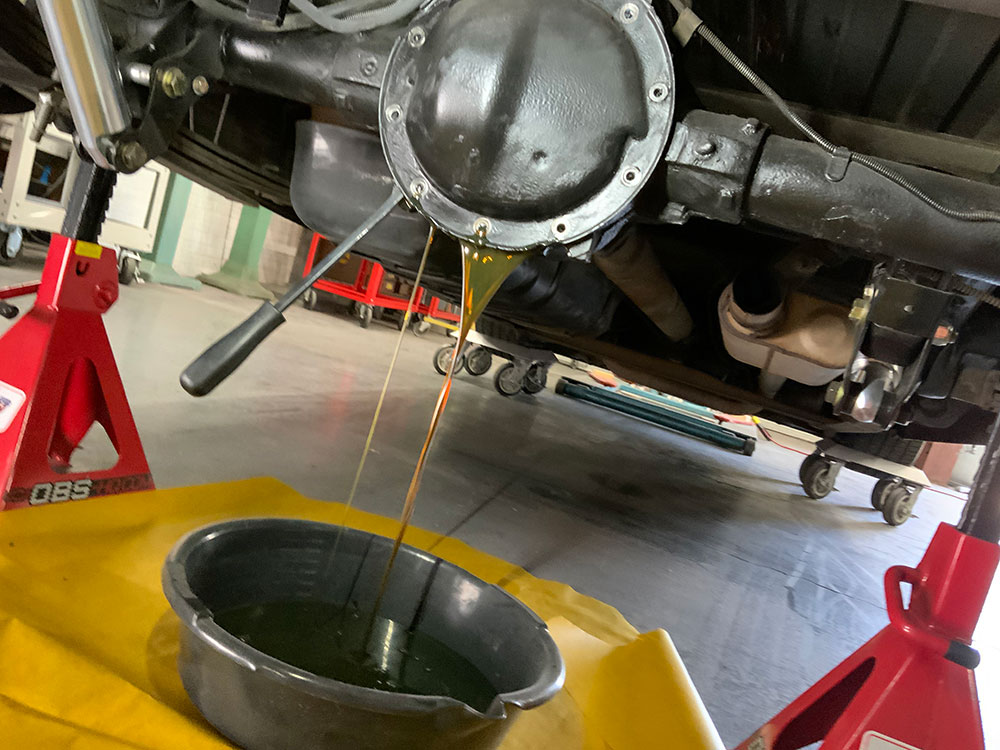
Step 7: Remove Differential Cross Pin
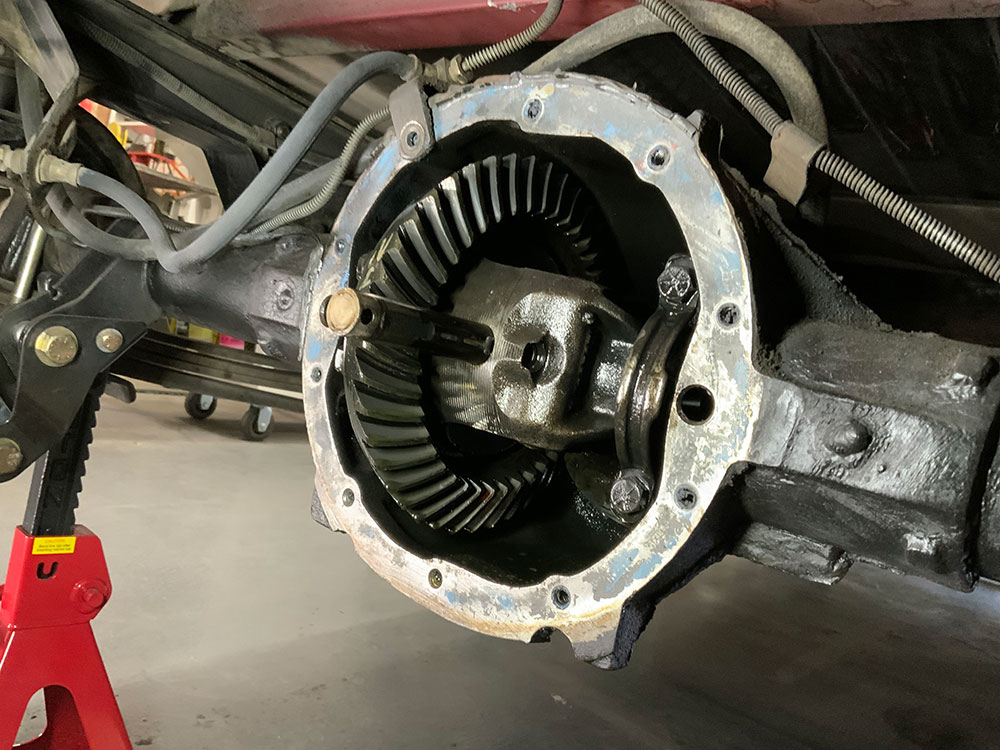
Step 8: Remove Drum Brake Backing Plates
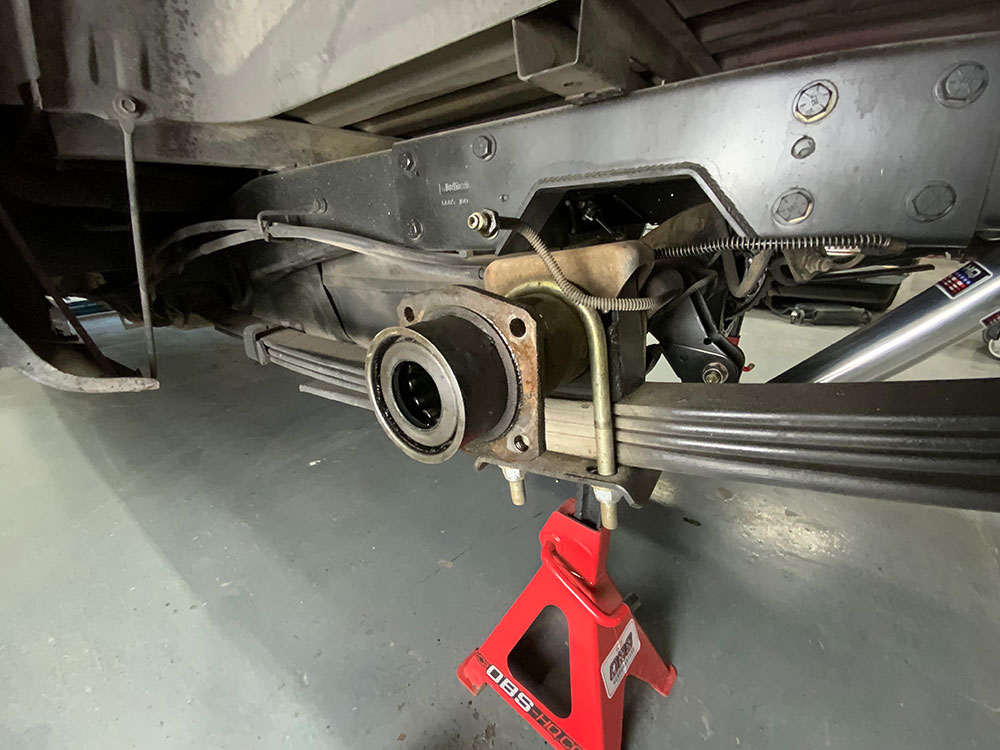
Step 9: Prepare and Install Rear Caliper Brackets
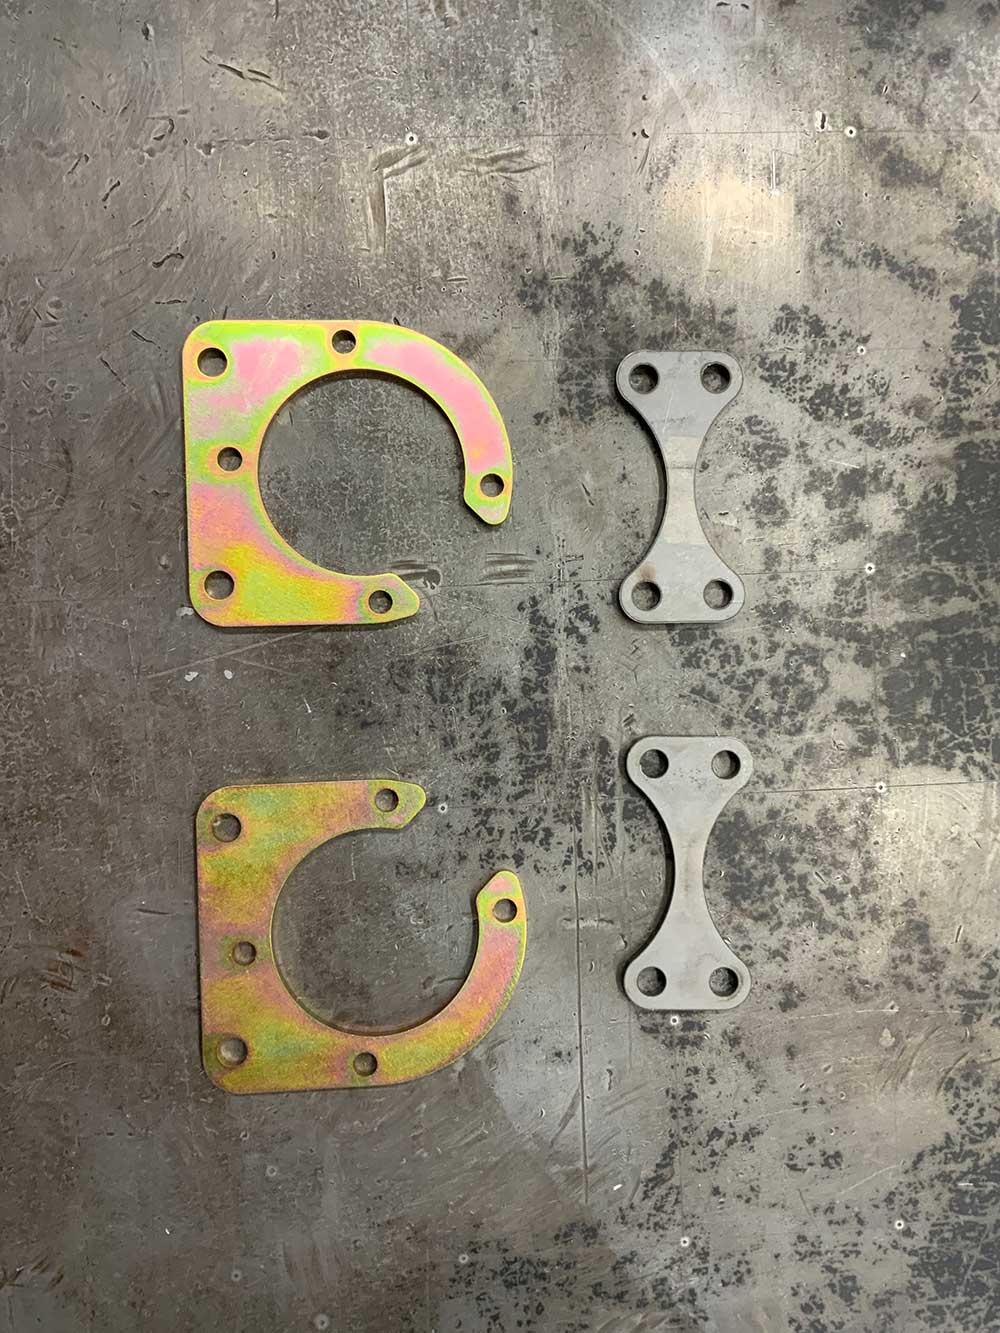
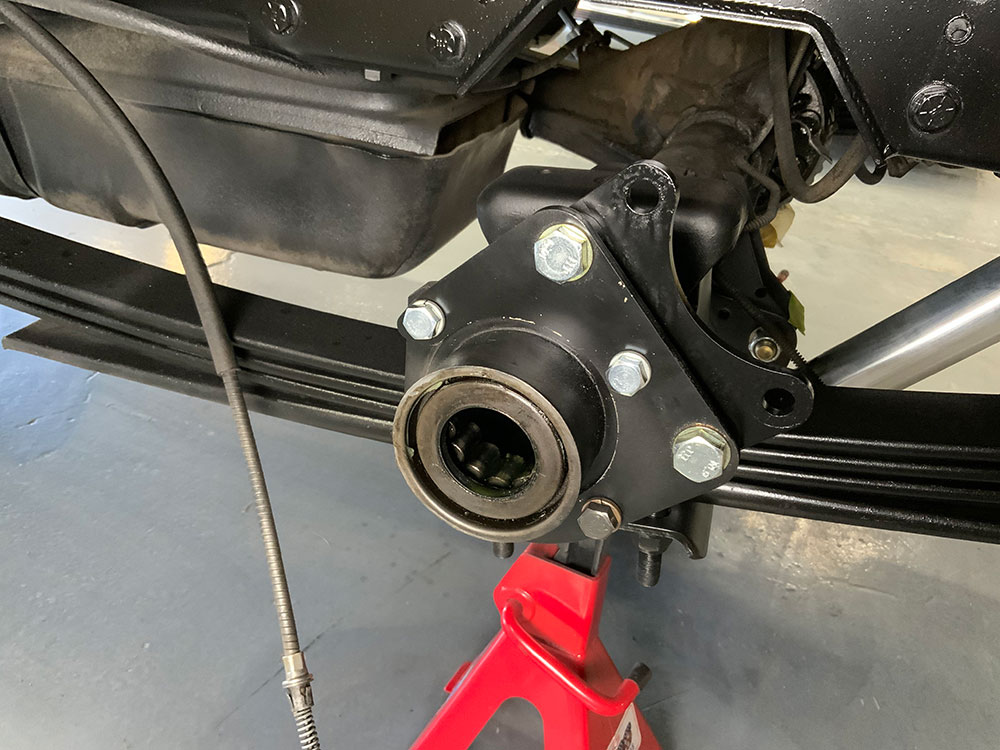
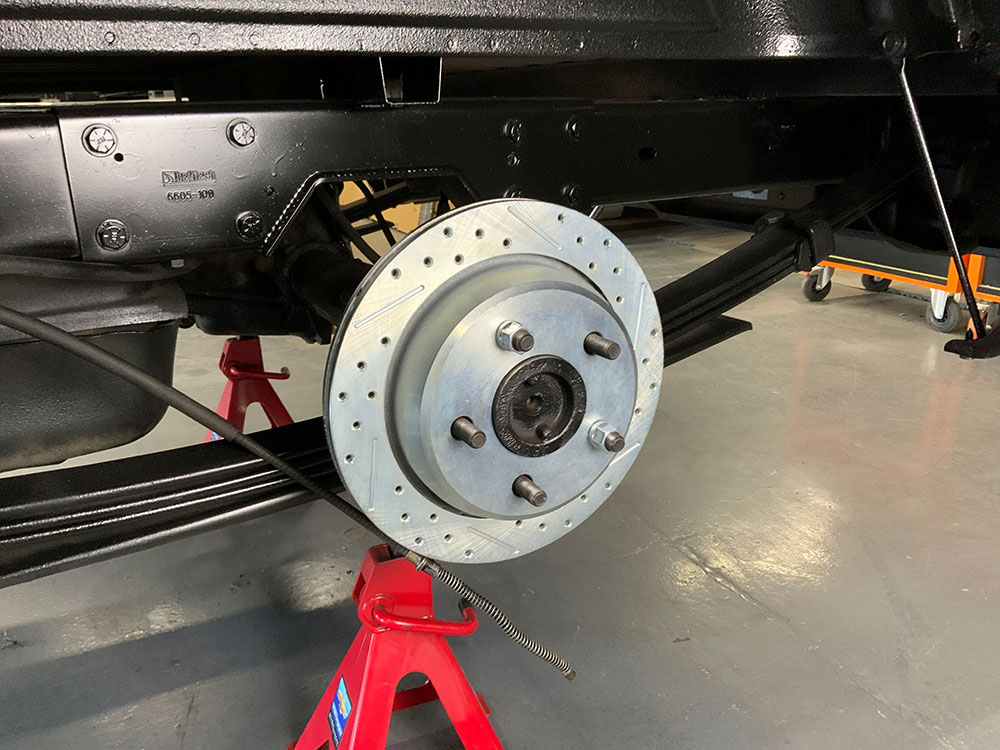
Step 10: Install Rear Calipers and Brake Lines
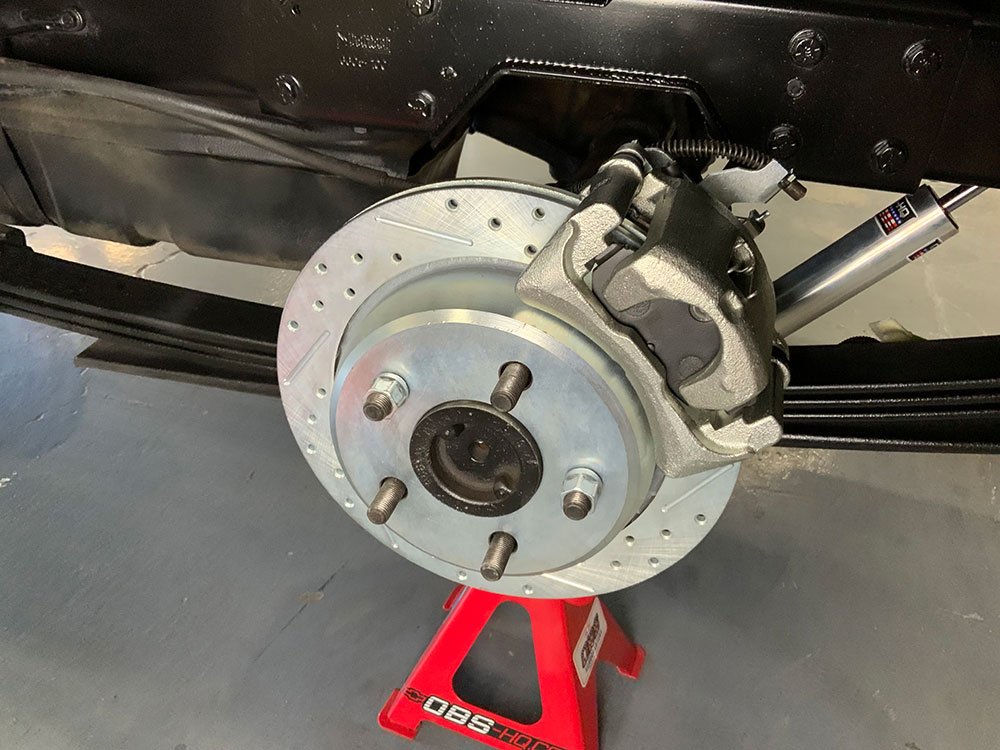
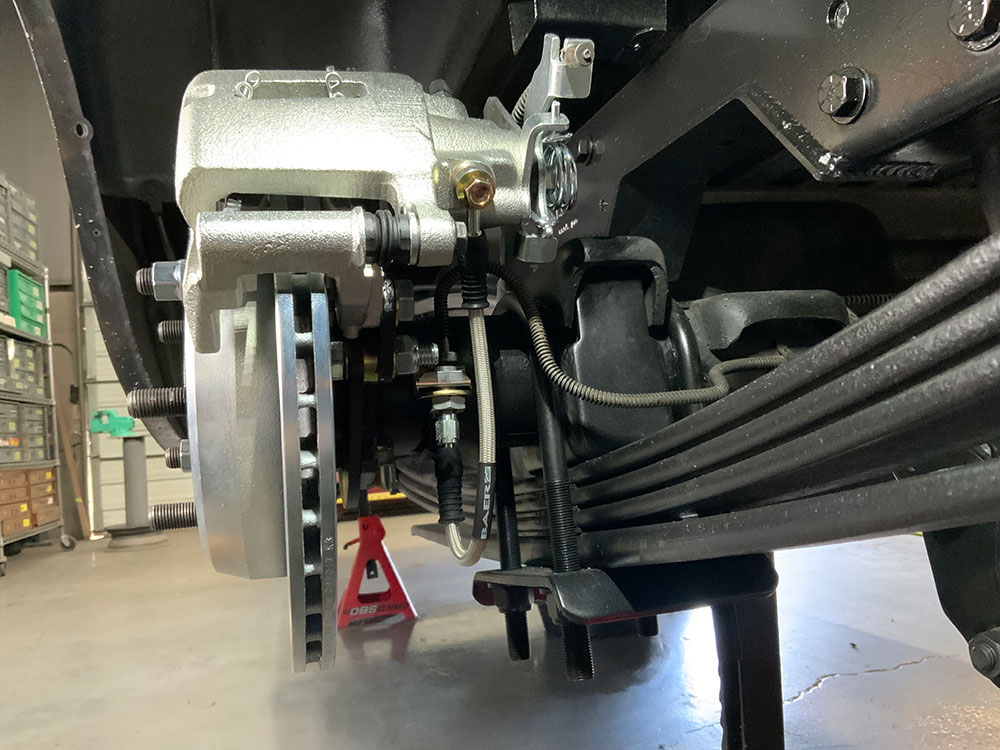
Step 11: Reconnect Emergency Brake Cable
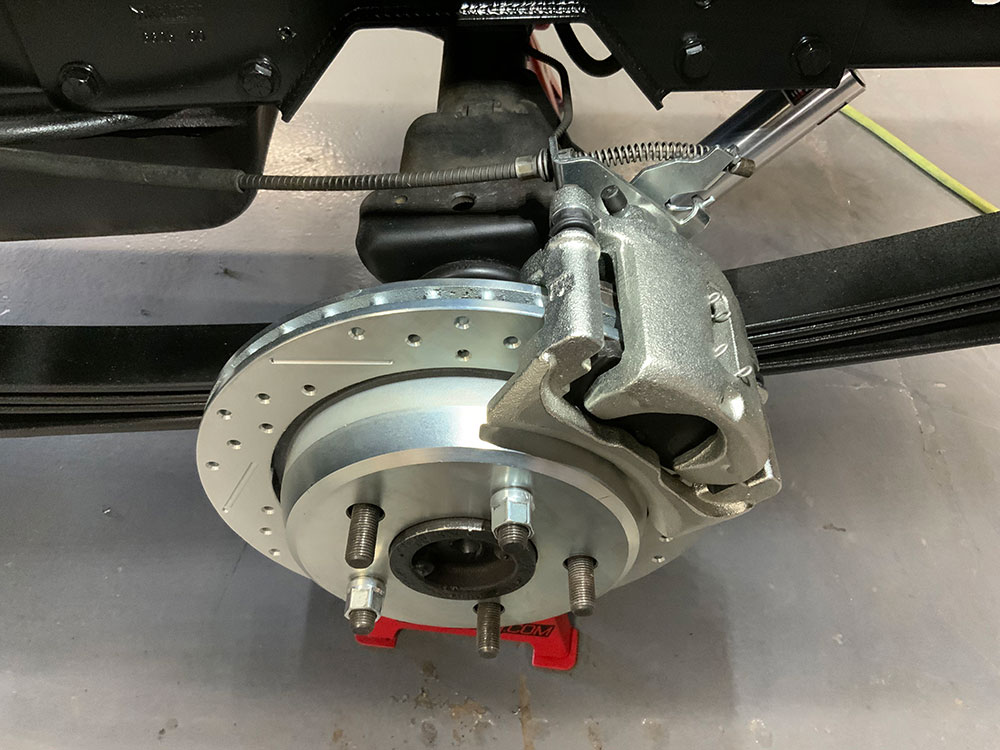
Step 12: Reinstall Wheels and Bleed Brakes
C10 Builders Guide
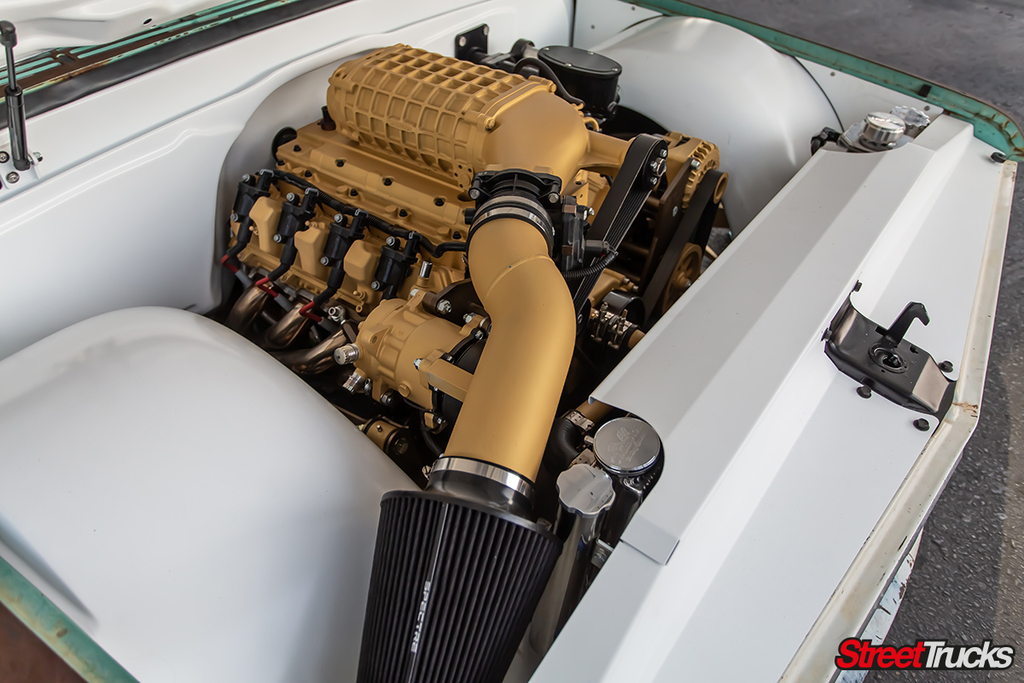
Everyone loves cool engines right?! Well, we decided to capture all the best truck engine set-ups at SEMA 2019 so you can spend your afternoon… Continue reading
Chris Hamilton . December 27, 2019
Department
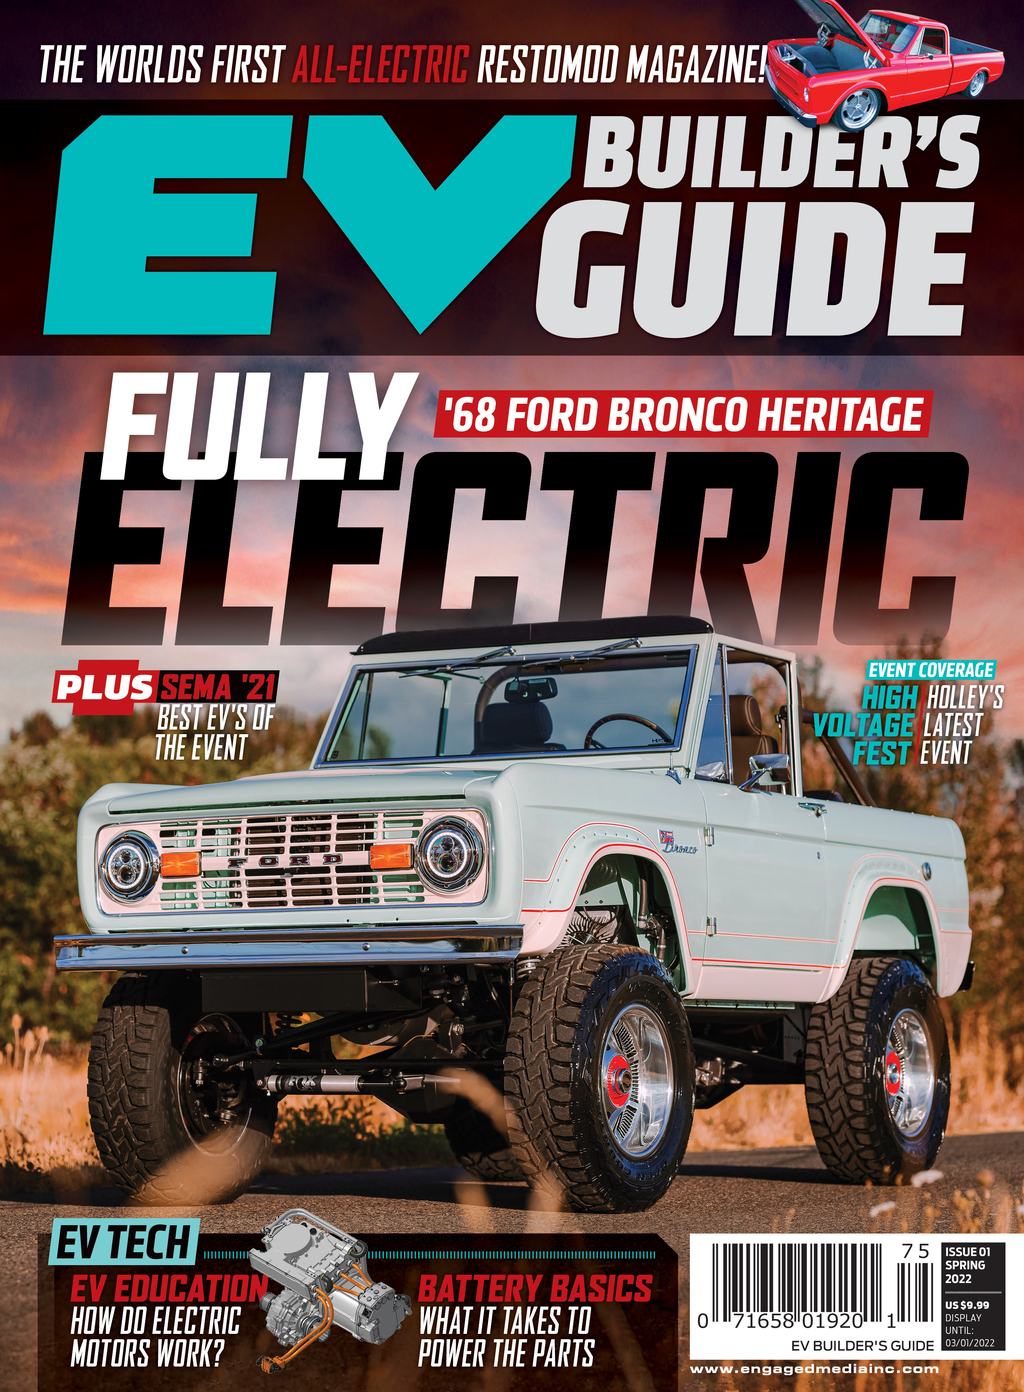
We’ve seen it. We’ve talked about it. And now, we’re going to dive deep into the world of electric motor-swapped RestoMods to show you what… Continue reading
Chris Hamilton . March 08, 2022
Department
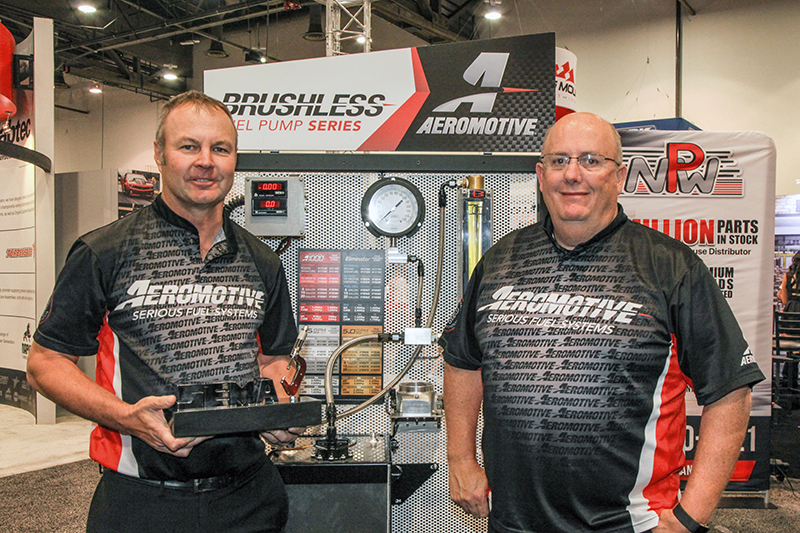
Aeromotive was honored today at the 2019 SEMA Show when its True Variable Speed (TVS) Brushless In-Line 5.0 Spur Gear fuel pump was named Best… Continue reading
Chris Hamilton . November 19, 2019
Department
The Right Hardware for Your Hauler ’63-’87 C10, C15 Stage 5 CoilOver Kit This all new high-performance coilover suspension kit for the 1963-’87 Chevy C10… Continue reading
Chris Hamilton . May 04, 2023
Department
The Right Hardware for Your Hauler Plastic Repair Kit Fixing cracked or broken plastic just got easier with the Summit Racing’s Rechargeable Hot Stapler Plastic… Continue reading
Chris Hamilton . November 01, 2024
C10 Builders Guide
ePlus Air Management AccuAir Suspension, maker of next generation air suspension control products, has launched the ePlus air management system app. The new app allows… Continue reading
Chris Hamilton . May 25, 2021




We use cookies to enhance your browsing experience, serve personalized ads or content, and analyze our traffic. By clicking "Accept All", you consent to our use of cookies. Visit our Cookie Policy for more info.



Share Link