 JASON R. SAKURAI
.
July 29, 2021
.
Department
.
JASON R. SAKURAI
.
July 29, 2021
.
Department
.

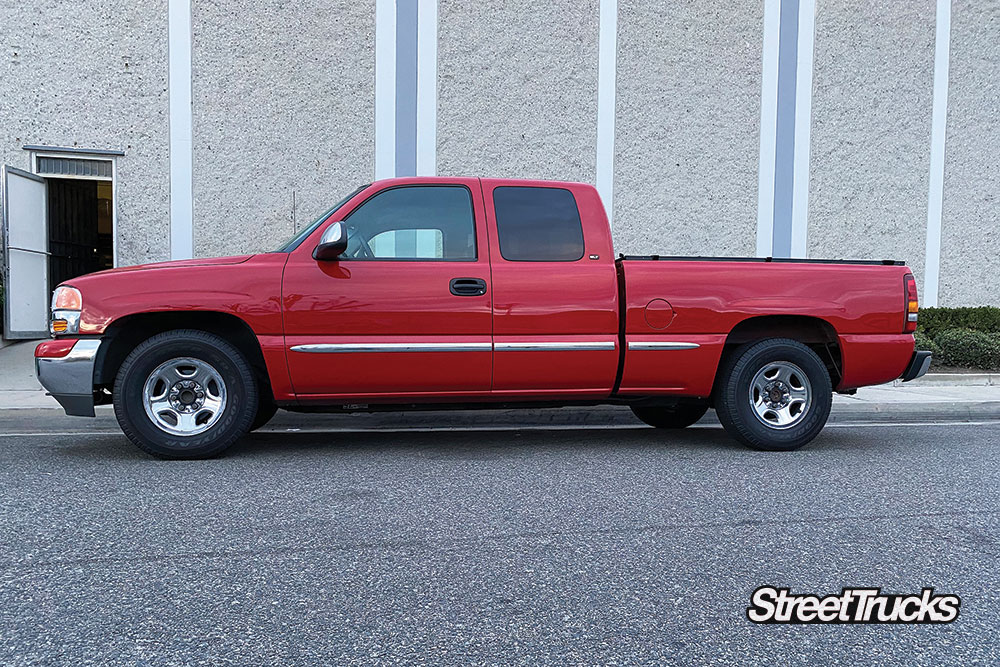
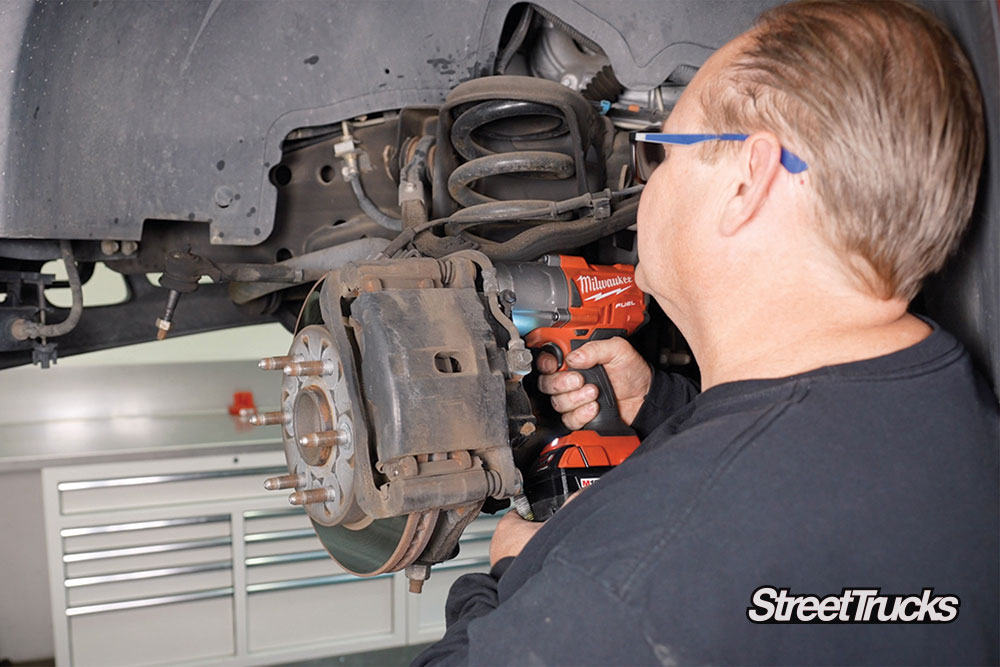
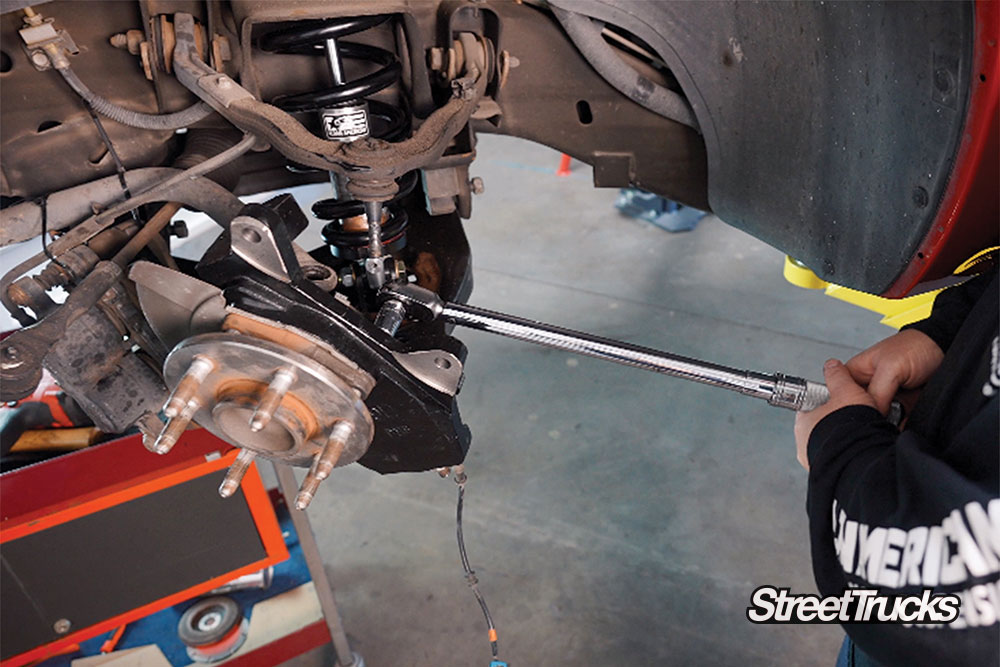
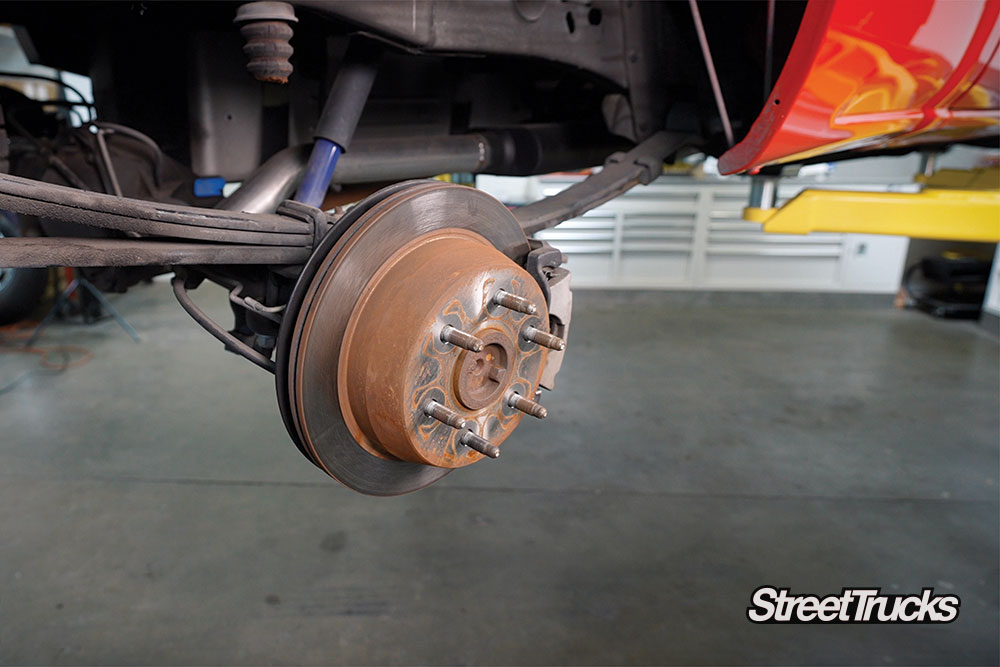
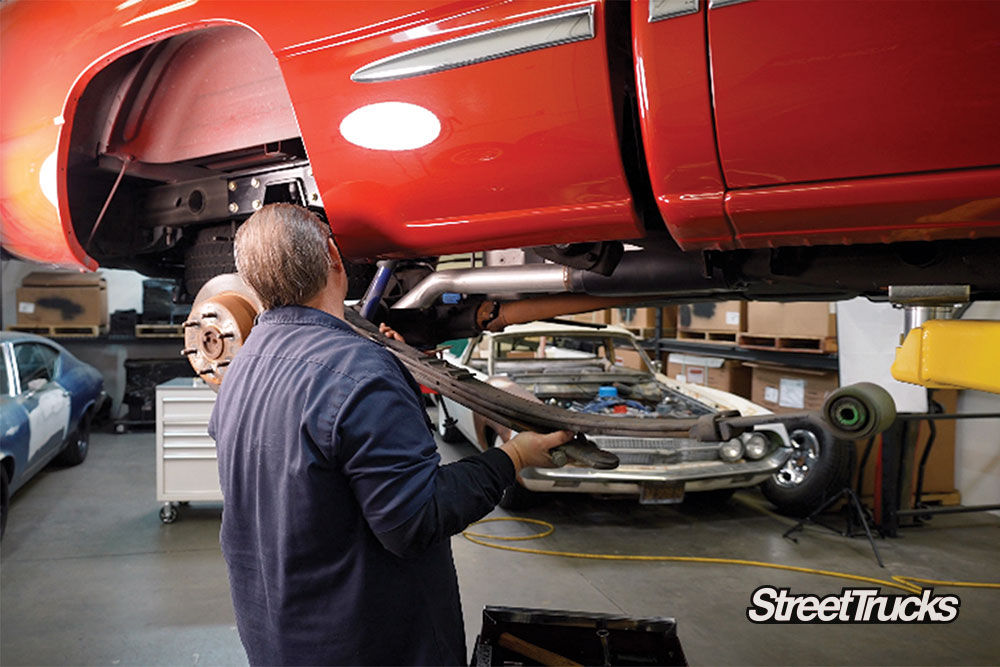
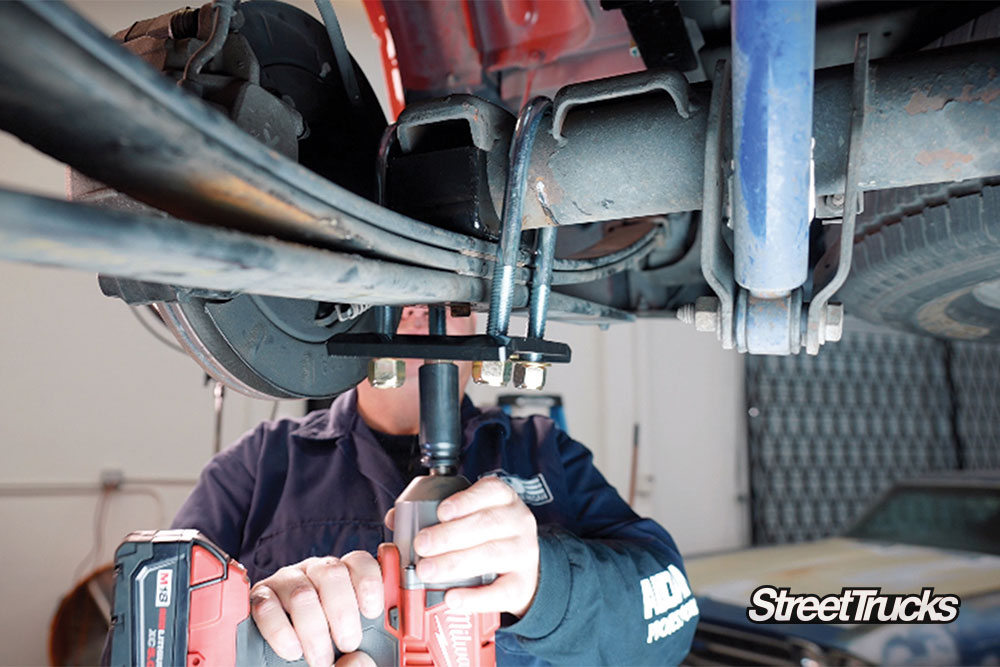
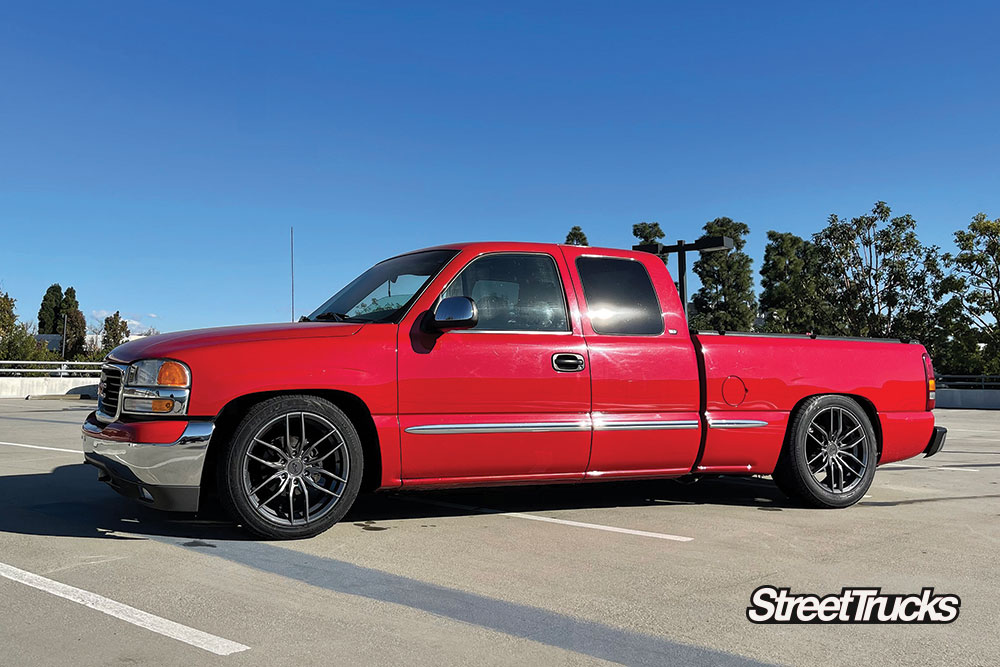
Got a 1999-2006 Chevy or GMC pickup that you’ve had for a while? Chances are that your NBS (new body style) GMT 800 truck requires a suspension overhaul like this ’99 GMC Sierra did. After some intense online search and digging, we found just what we were looking for in an Aldan American 300219 Suspension Package.
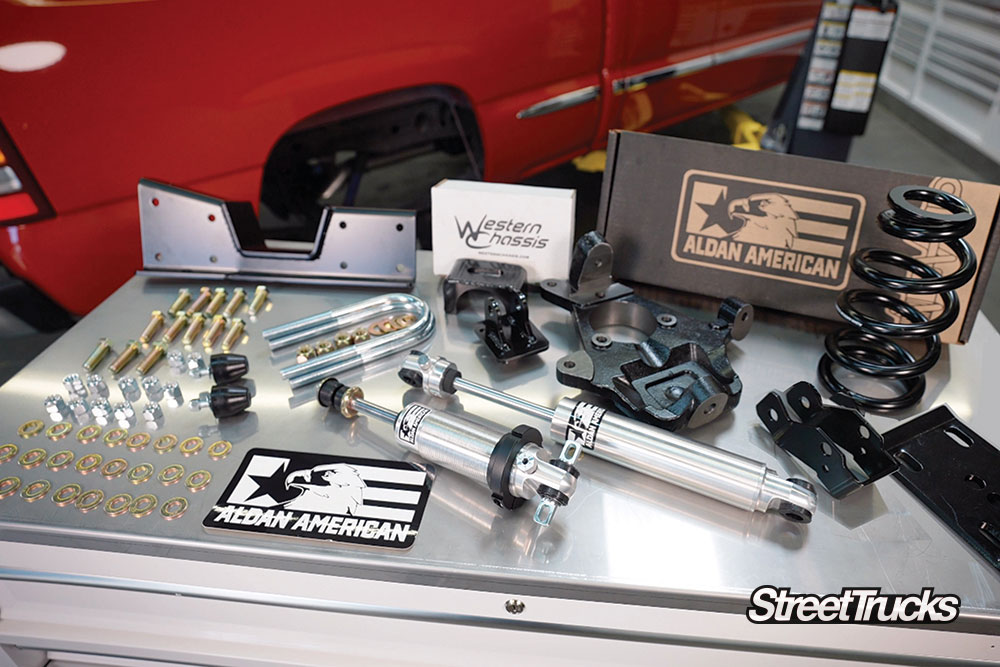
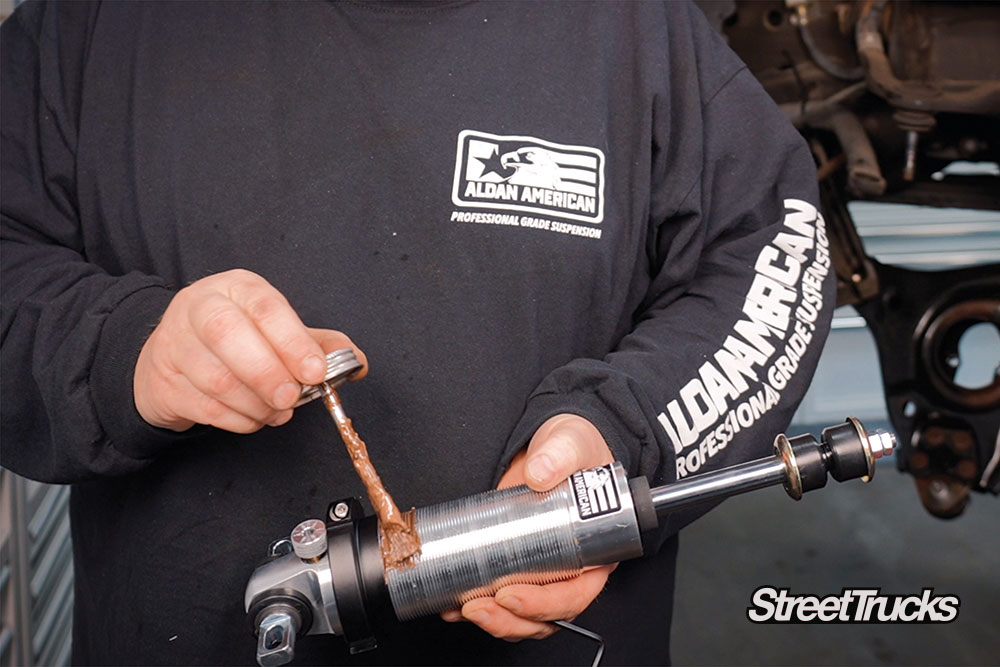
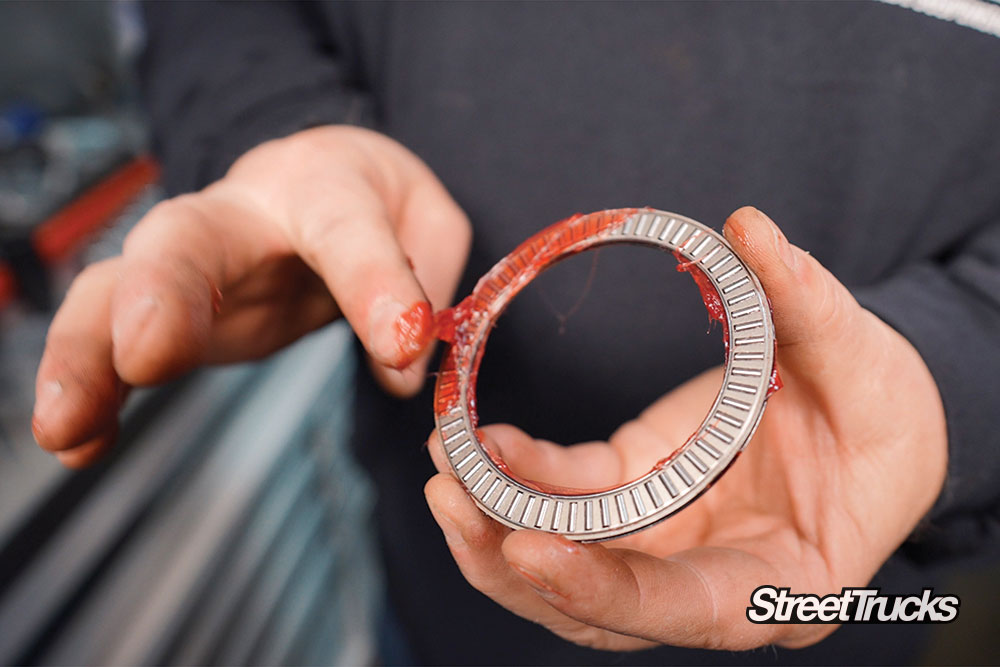
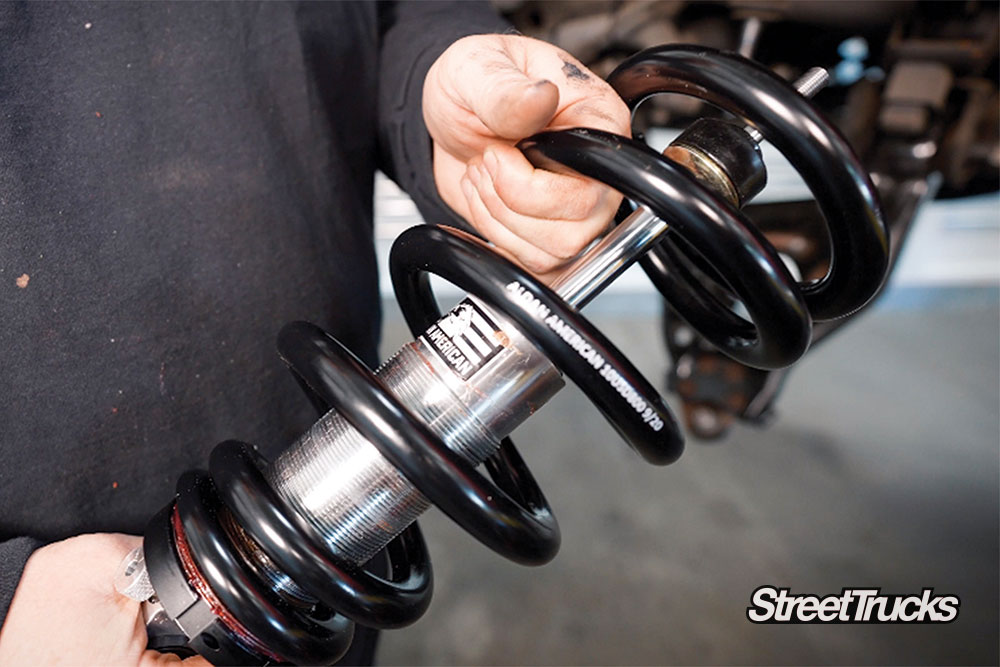
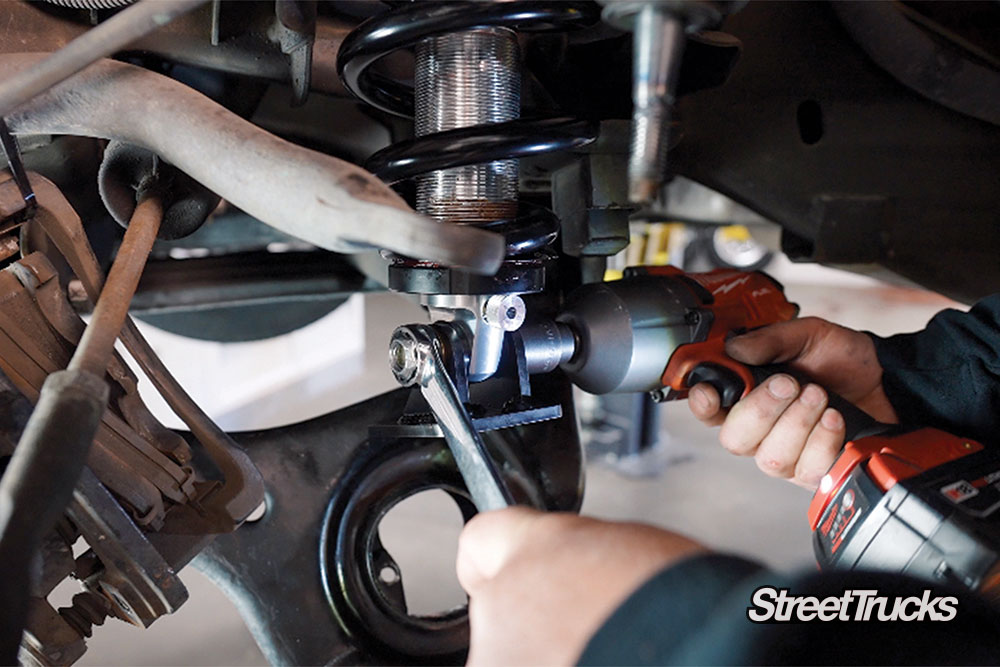
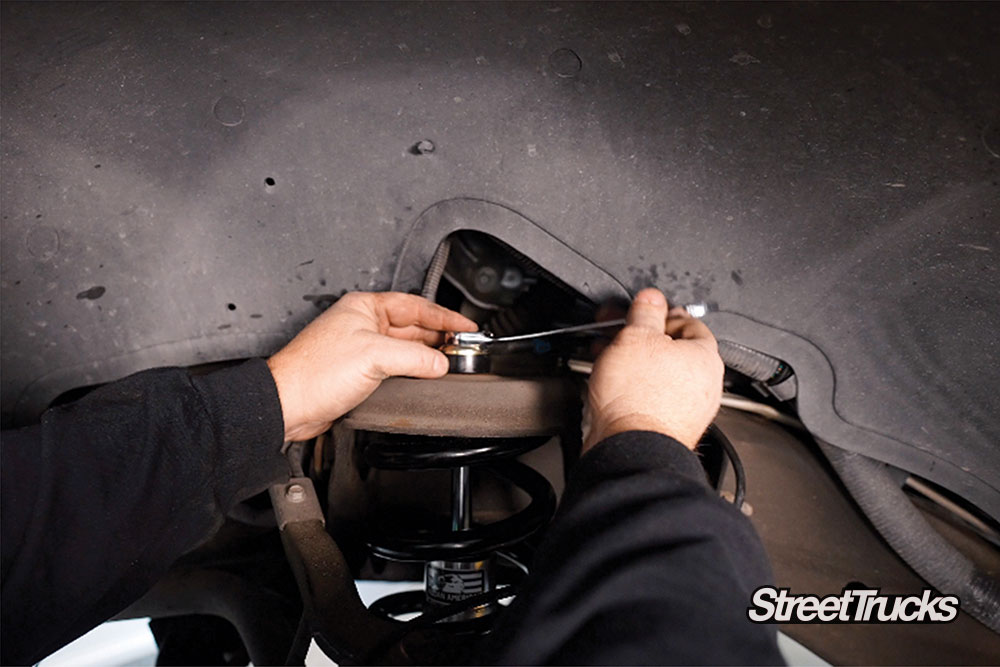
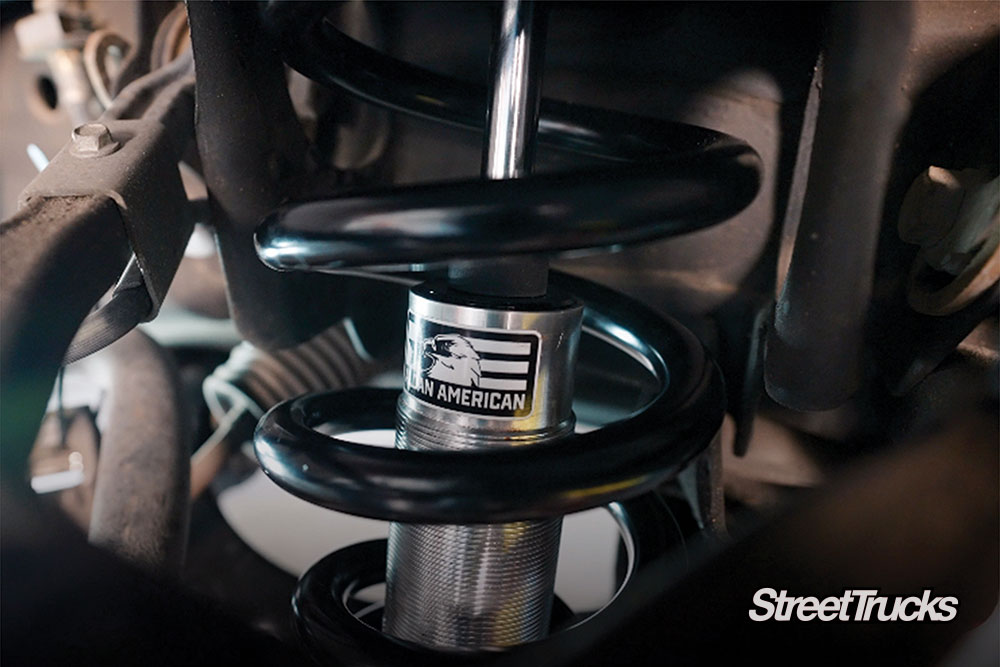
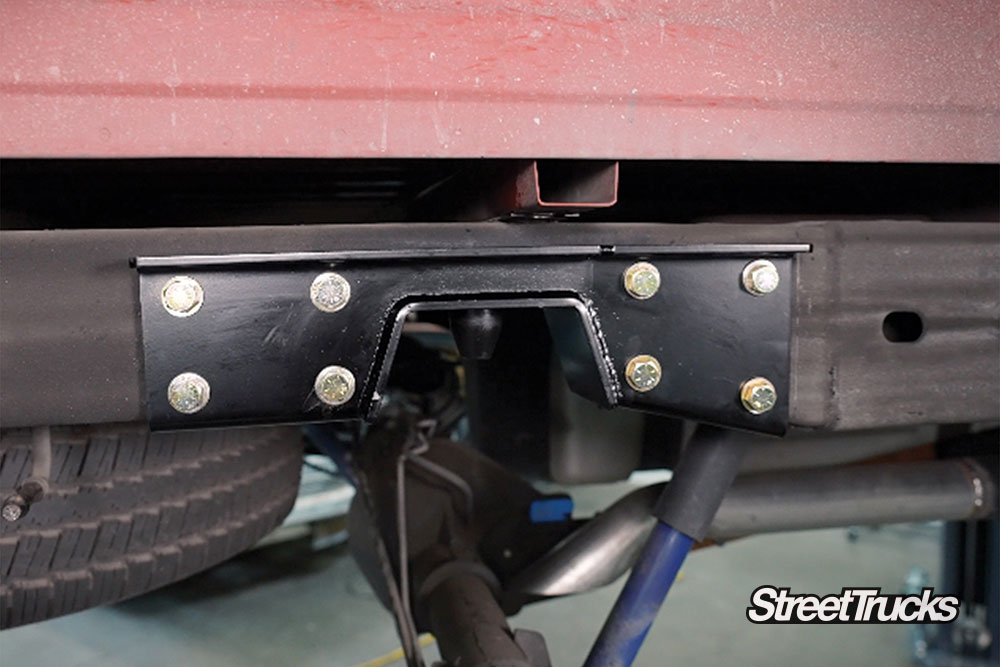
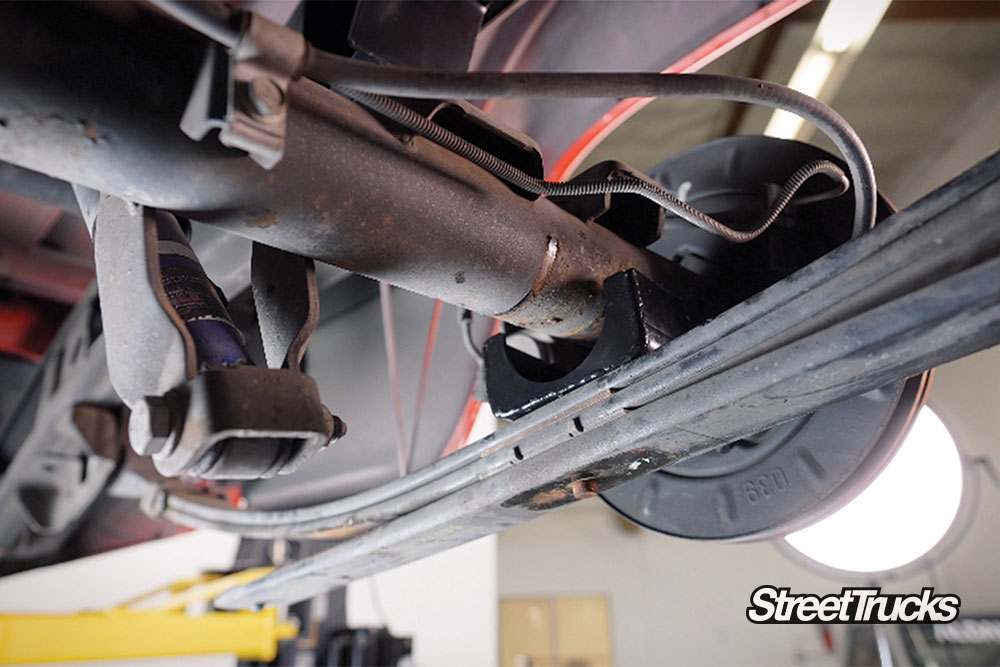
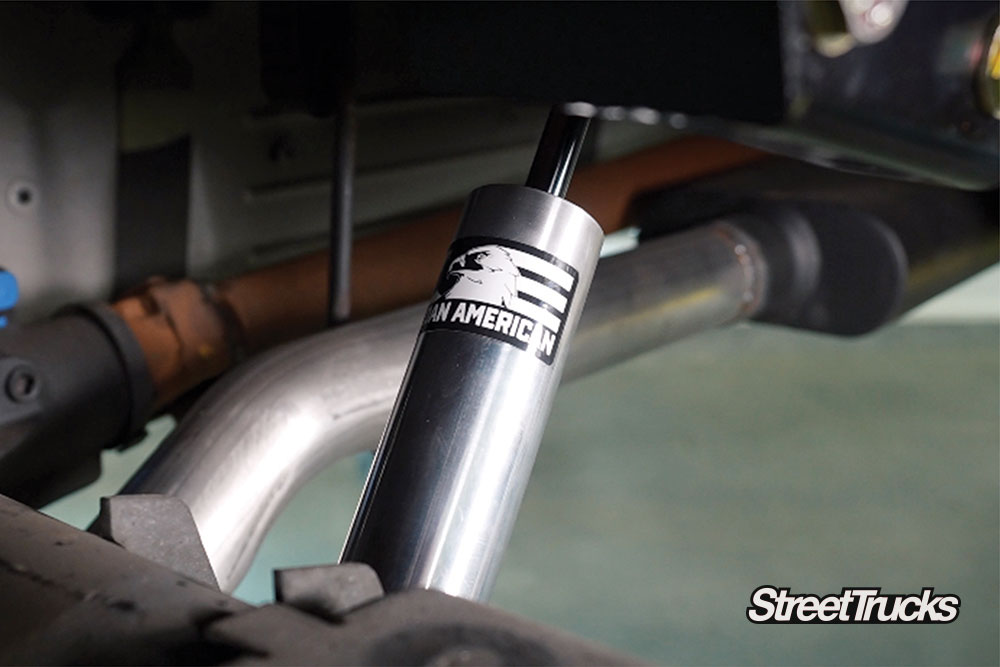
Aldan’s new easy-to-install, bolt-on suspension kits for ’99-’06 Chevy Silverado and GMC Sierra 1500s are the latest in the company’s Road Comp Series. Everything is included in the kit, and it allows you to use factory or aftermarket control arms and the stock rear shock mounts. Infinitely adjustable front coilover shocks will lower the front of your truck from zero-2 inches, and the TruLine series adjustable rears can be tuned as well.

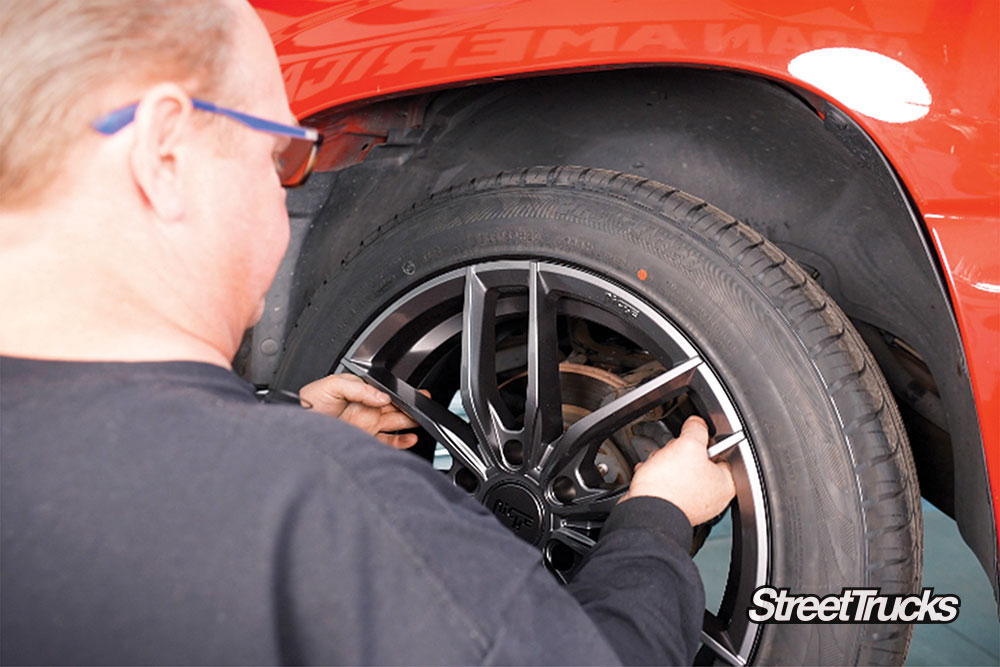
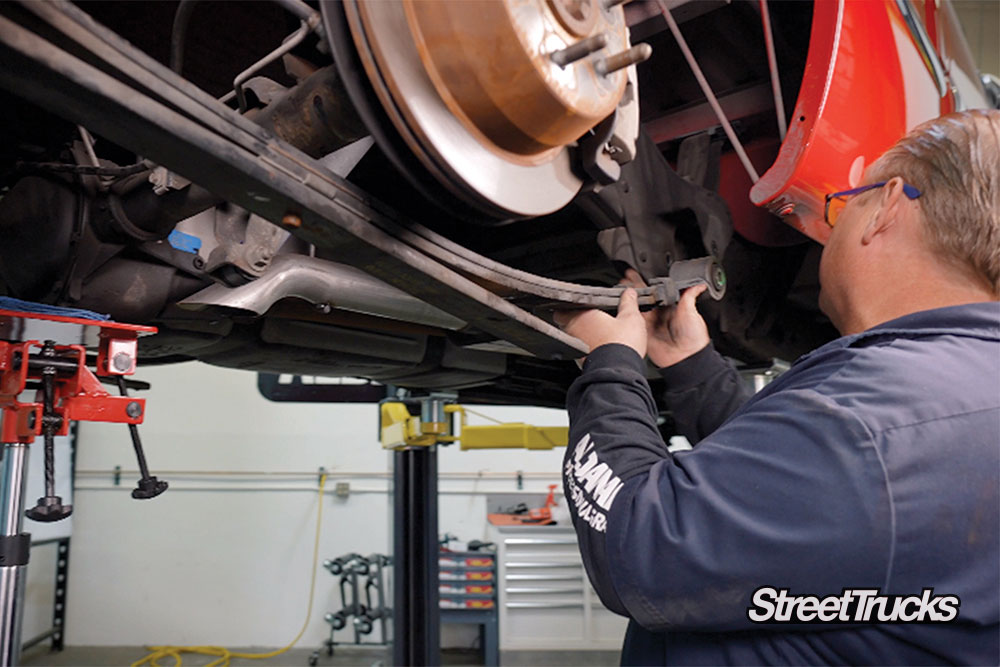
We recommend that you measure the ride height of your truck prior to getting started with the installation. Find a level spot to park and do your measurements. Complete instructions on how to measure the ride height and what discrepancies could mean can be found on Aldan’s website.
A product right out of the hotbed of high performance in Southern California, Aldan American is out to define a new standard ever since being founded in 1981. Formulated for street performance, vehicle-specific applications and racing, all of its shock absorbers, coilovers and suspension kits are designed, tested and made in the U.S., backed by a limited lifetime warranty.
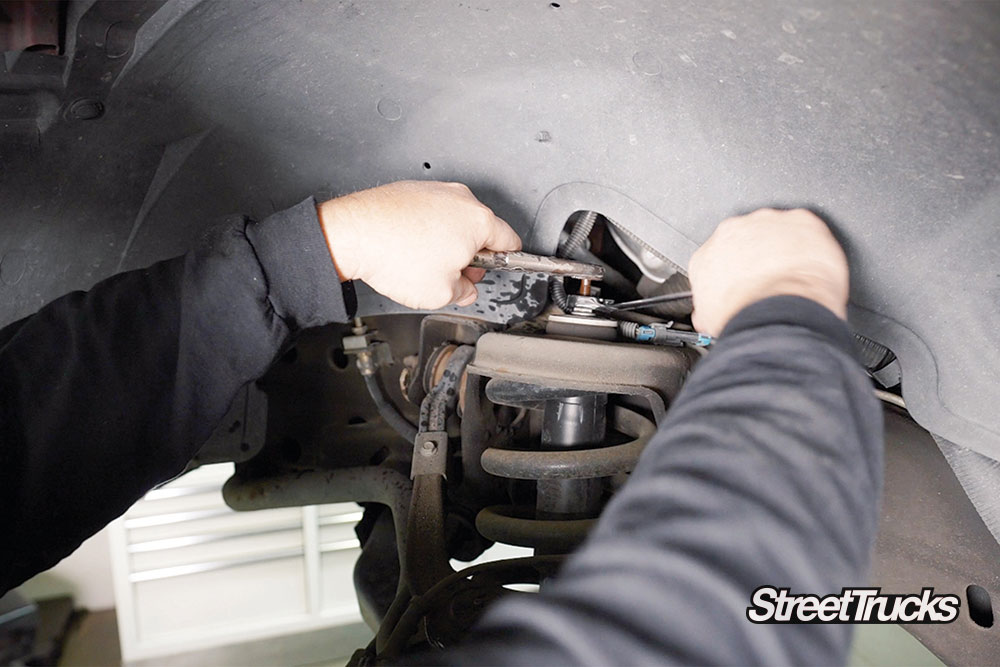
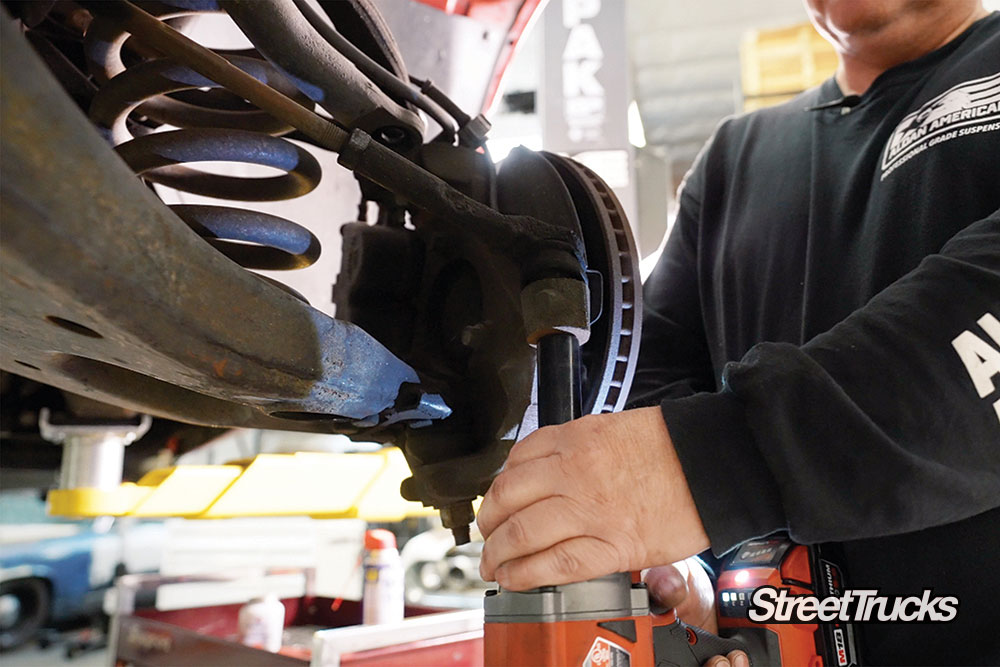
Interested in our impression after the installation was completed? We couldn’t ask for a better riding, smoother-handling truck. Now let’s check out how it’s done!


C10 Builders Guide
It May Be a Grouch, But It’s No Slouch! JASON BOWMAN HAS BEEN DOING this whole truck thing for a while now—in fact, it’s what… Continue reading
streettrucks . April 07, 2020
Industry News
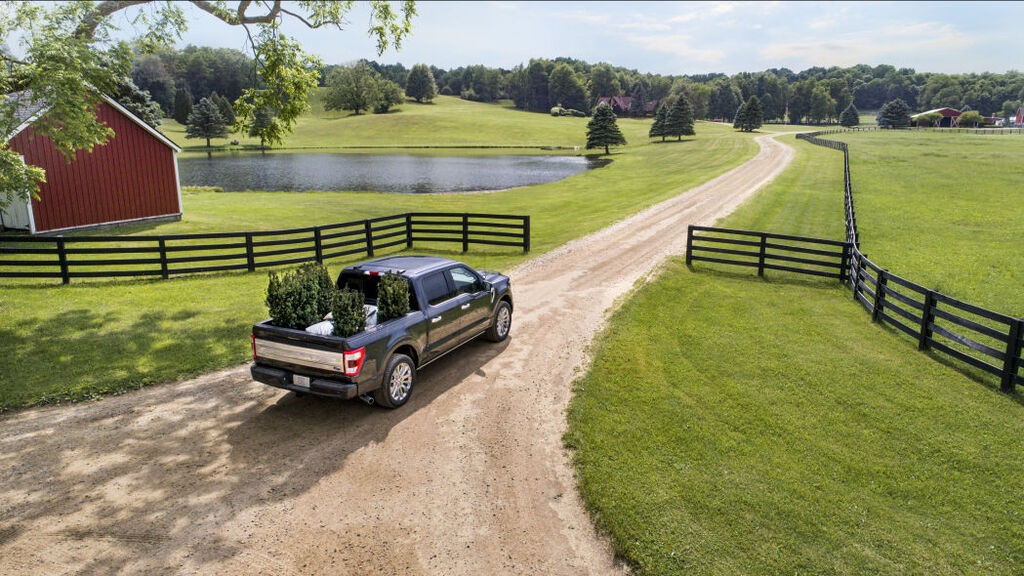
Ford rumored to be working on a multi-function tailgate In July, after the debut of the 2021 Ford F-150, Ford Authority asked the automaker why the 14th-generation pickup didn’t… Continue reading
Logan Wade . August 31, 2020
Features
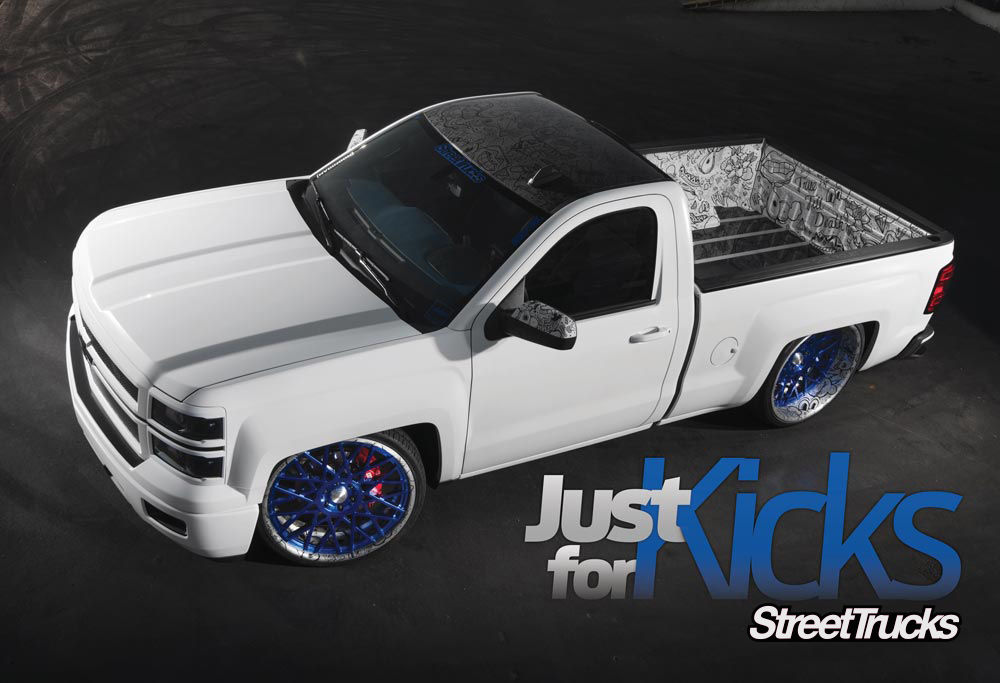
2015 Chevy Silverado was Built for Pure Tire-Shredding Fun! Inspiration can come from anywhere, so for this Chevy Silverado, it’s in your best interest to… Continue reading
streettrucks . February 22, 2021

Features
Legendary Customs’ P-57 GMC Fighter Pickup THE PHRASE “WHERE ORDINARY BECOMES LEGENDARY” COULDN’T BE MORE FITTING FOR CHRIS MEYER AND HIS TALENTED CREW AT LEGENDARY… Continue reading
John Mata Jr. . November 07, 2023

Features
On Every Kid’s Wish List in the 1990s How many of you wanted a Red Ryder BB gun after “A Christmas Story” appeared on TV… Continue reading
Chris Hamilton . June 06, 2022
c10
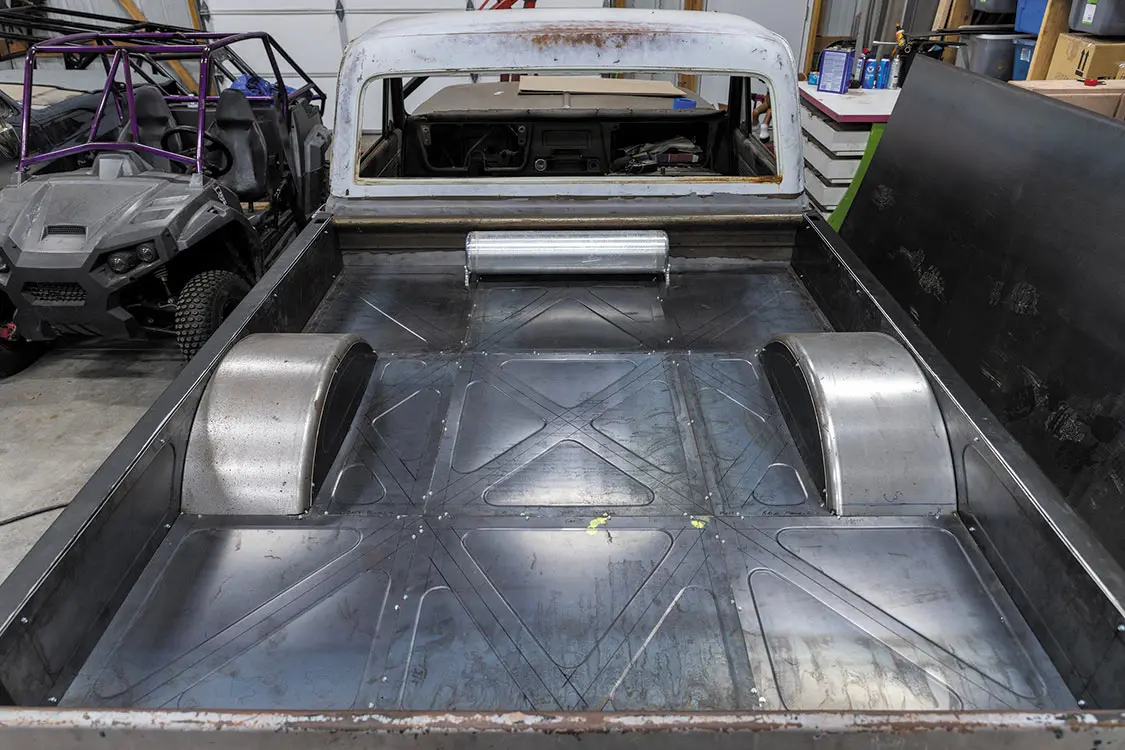
Raised Sheetmetal Bed Floor ARE YOU LOOKING to make your C10 stand out from the crowd? A way you can truly make your build one… Continue reading
DEVAN ENCE . December 14, 2023


We use cookies to enhance your browsing experience, serve personalized ads or content, and analyze our traffic. By clicking "Accept All", you consent to our use of cookies. Visit our Cookie Policy for more info.

Share Link