 Don Lindfors
.
August 31, 2021
.
COOL GEAR
.
Don Lindfors
.
August 31, 2021
.
COOL GEAR
.
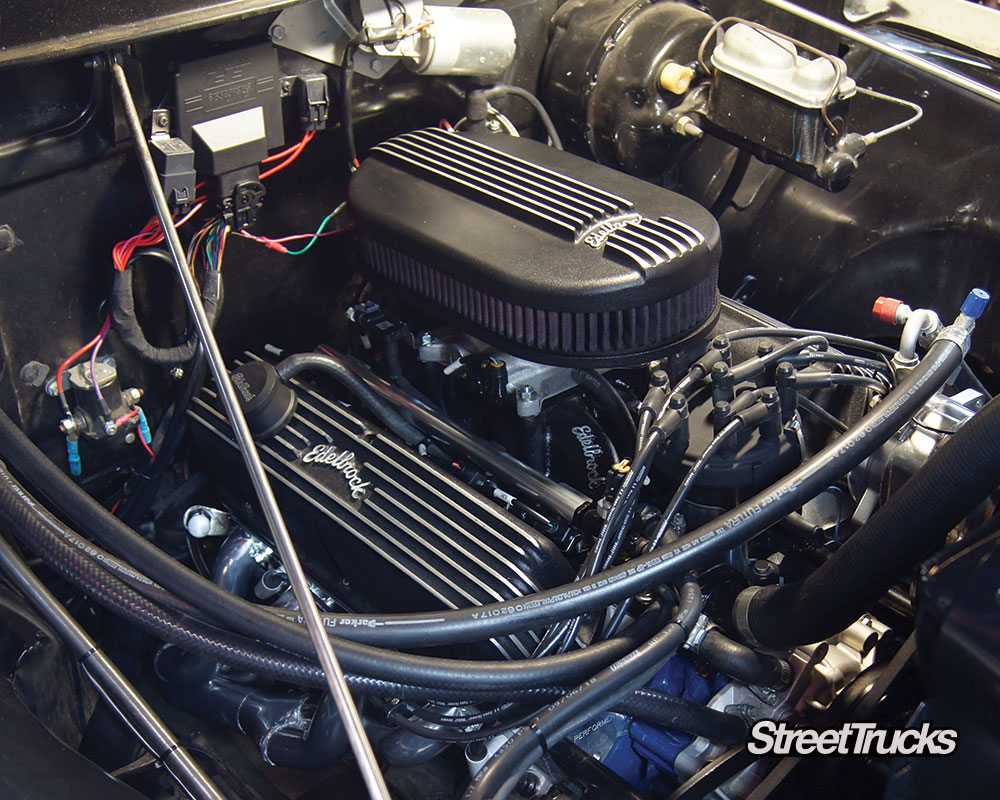
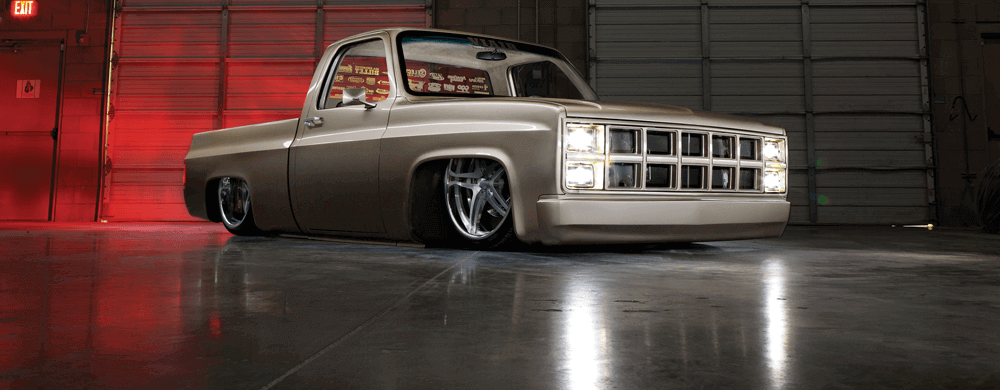
This ’56 F-100 was put together as a hotrod truck back in the early ’90s. It has a 302 out of a late ’80s F-100 and a C-4 trans. We ran the existing motor on the dyno and then did a cam, head, and manifold swap to see if we could get some decent power over a weekend without breaking the bank. The upgrades were successful, with a 35% increase in horsepower and 25% in torque. With our previous A/C installation, an AOD trans and rear end gear swap, and the newfound power, the old F-100 was now really fun to drive and even started seeing some 65-mile daily commute duty. That got us to thinking about possible mileage increases.
The switch from the old C-4 three-speed automatic and 2.75 rear gear to the AOD four-speed auto and 3.89 gears had not only helped wake up the performance a bit, but it also increased mileage from 9.8 mpg to 12.5 with the overdrive. We kind of figured that the new power parts in the motor would probably roll some of that mileage increase back, but when driven in commuting mode, it has stayed the same, but obviously it’s a little more efficient now. Driving it hard, it still manages to average about 11.5 mpg. We figured there had to be more. Now, of course the ’56 F-100 is about as aerodynamic as a barn door, especially with the upright windshield and the way the roof hangs over the windshield, so we aren’t expecting to bring it up to the 21.6 mpg average my 2017 F-150 Super Crew gets, but we guessed that we could seek out a bit more and maybe make it a bit more fun to drive. Electronic Fuel Injection (EFI) with timing control seemed to be the answer.

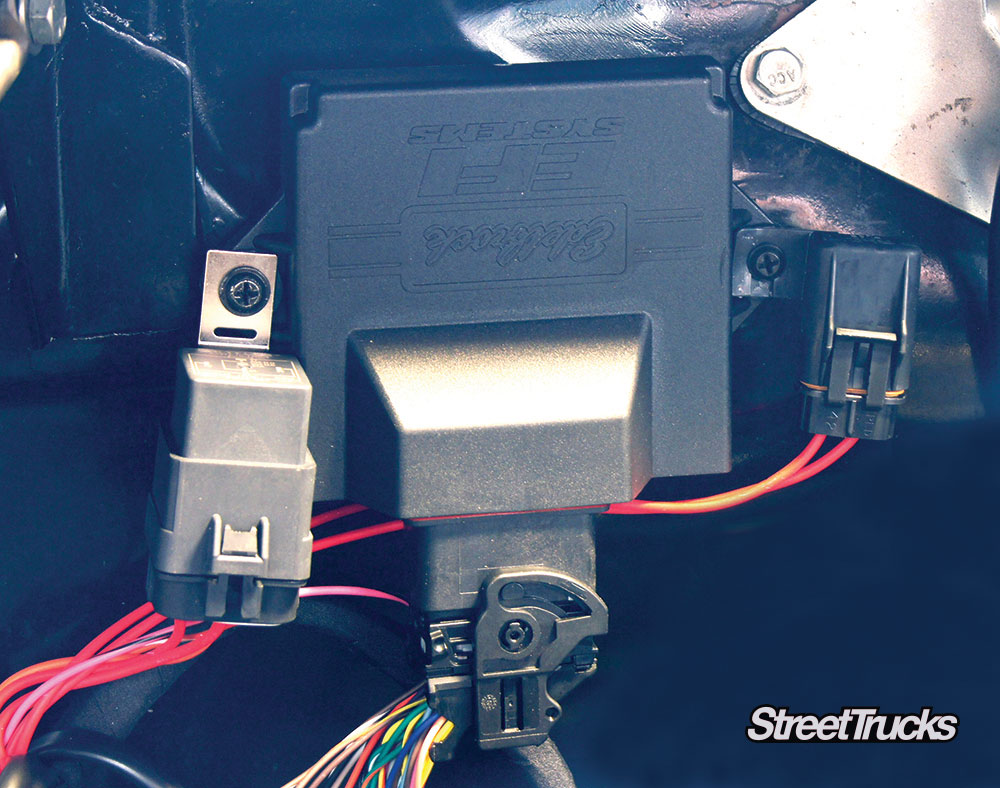
After looking at the myriad of systems that are available for the small block Henry, from high-end individual runner systems to simple throttle body carb replacements, the New Edelbrock Pro Flo 4 sequential port injection caught our attention. A call to our good buddy Smitty at Edelbrock educated us on the upgrades of the newest “4” version. The Pro Flo 4 has a new processor (ECU) that is faster and allows for quicker self-learning as it continually adjusts the air-fuel ratio and ignition timing for maximum performance and fuel mileage. Hmm, seemed like just what we were looking for. This system differs from a throttle body injection, or TBI, where the injectors are in the throttle body, which makes them act like a sophisticated carburetor, but still relies on manifold flow patterns to deliver the A/F mixture which can vary from cylinder to cylinder.
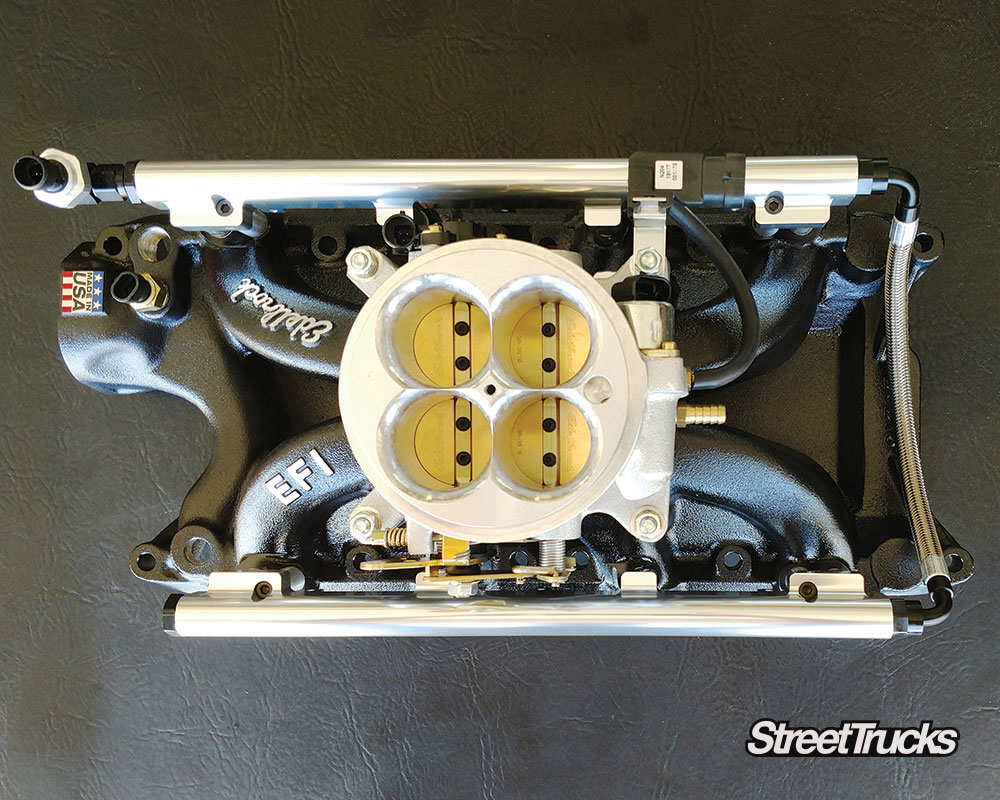
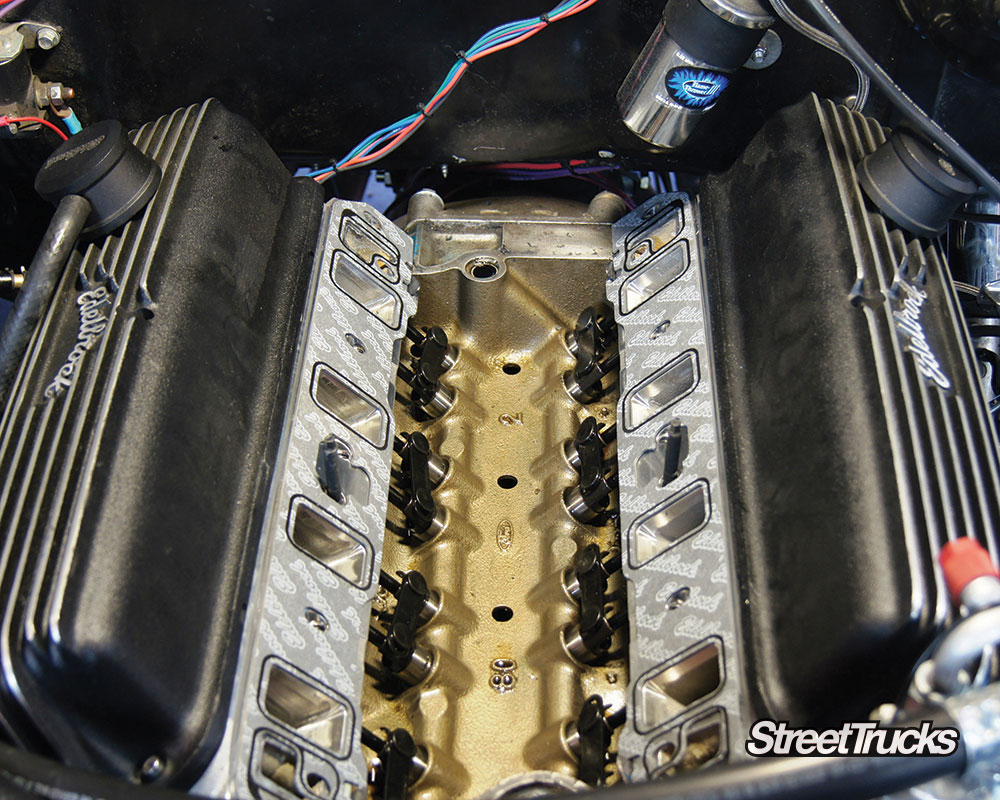
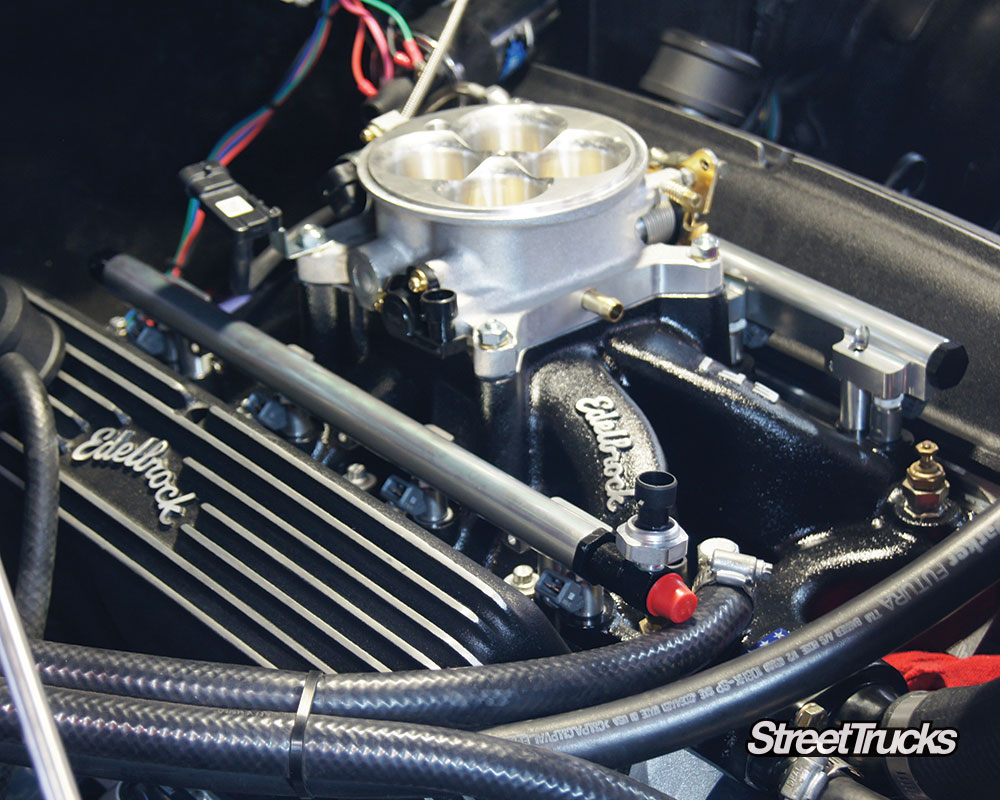
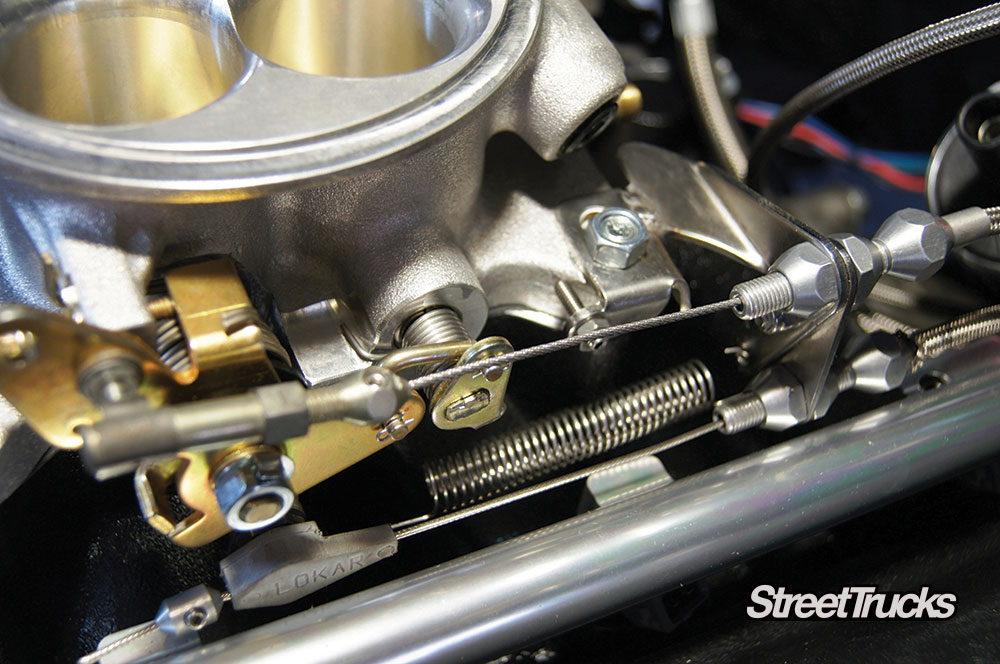
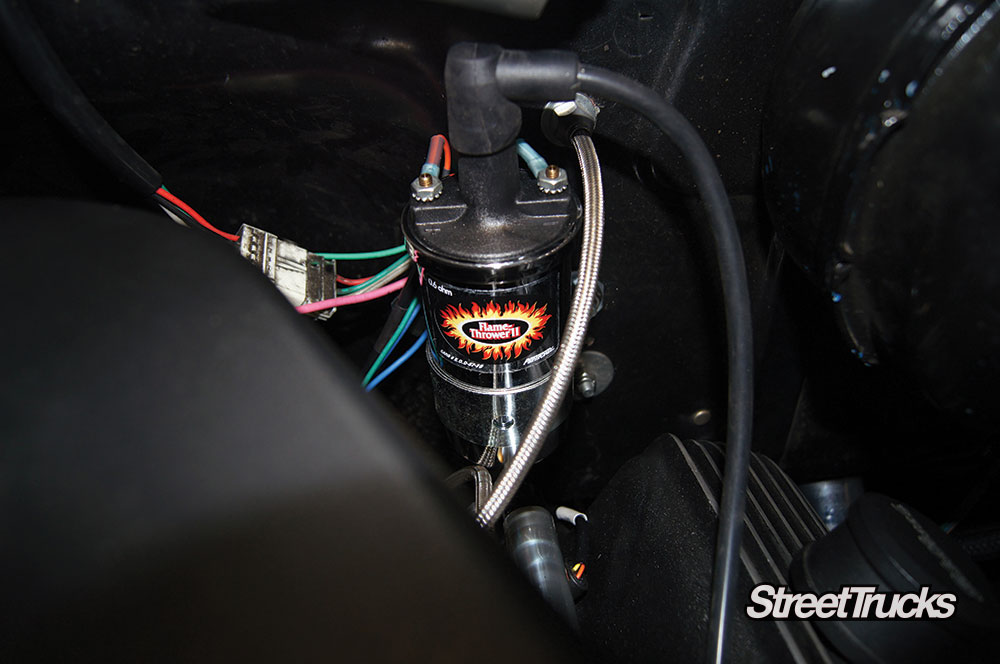
The Pro Flo 4 is a sequential port injection system. What that means is the fuel injectors are located in the intake manifold, right above the cylinder heads, aiming the fuel flow at the back side of the intake valve for optimum fuel atomization. Additionally, each injector only sprays fuel during the intake stroke event for that individual cylinder. This is far more efficient and improves individual cylinder mixtures for improved power and economy. The air valve (which looks like a throttle body) controls the air flow into the intake manifold and sends a signal to the ECU as to how far the throttle is opened via the throttle position sensor (TPS). The Edelbrock system comes with a proprietary distributor for timing control (and to tell the ECU when each injector needs to fire) and the whole thing is tuned via the Bluetooth E-Tuner 4 program – no laptop or computer needed. It sounded like the perfect system for our F-100, so we ordered one up.
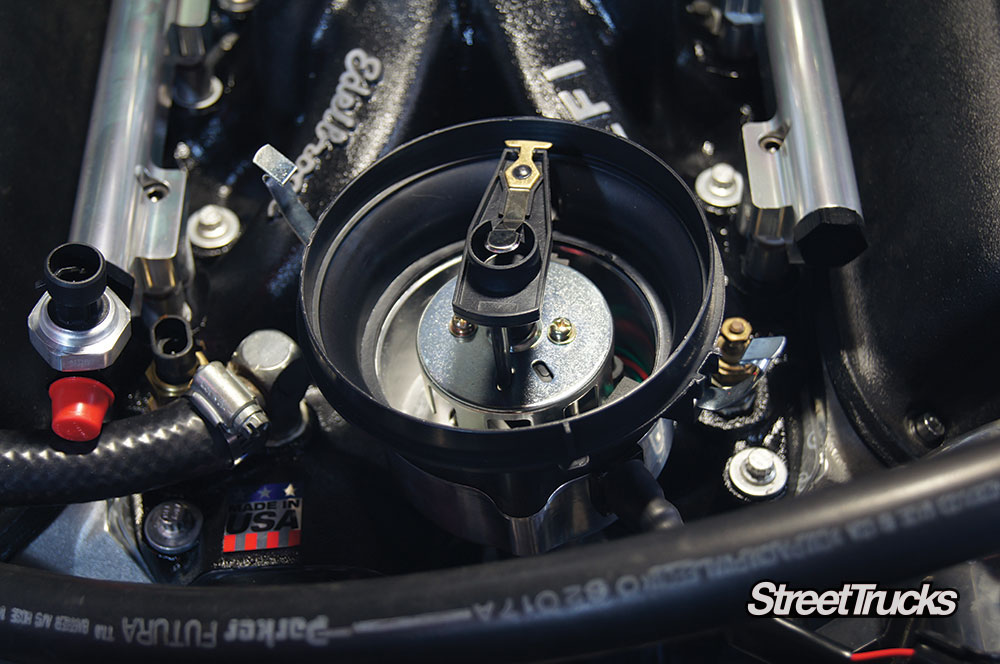
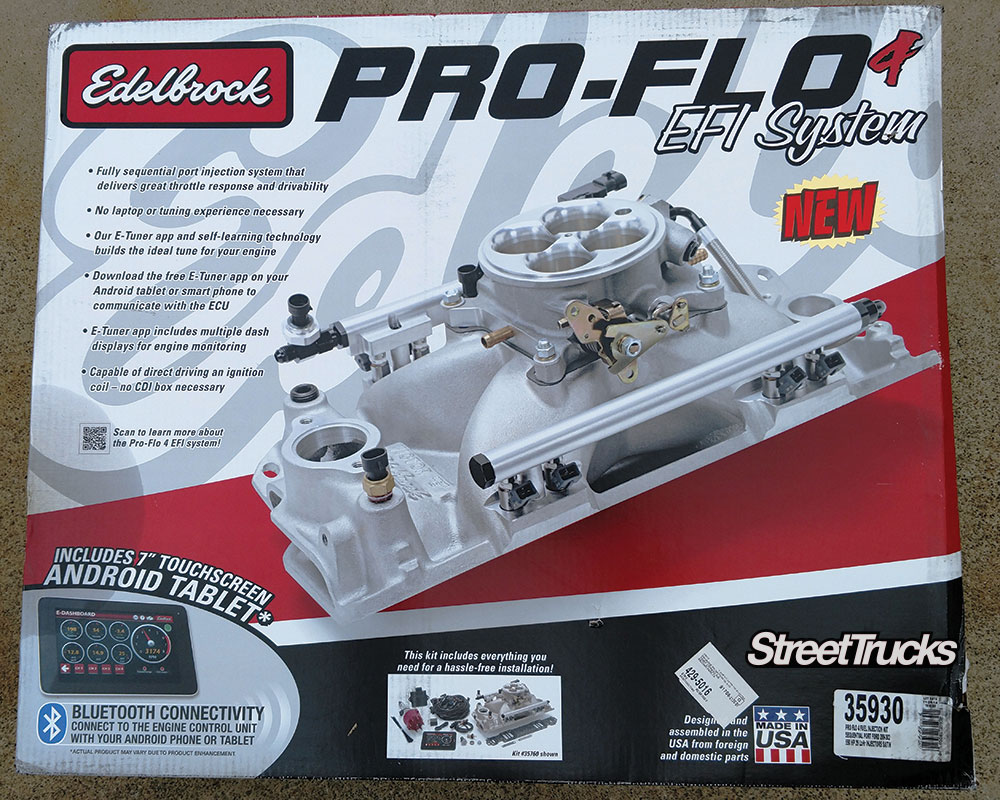
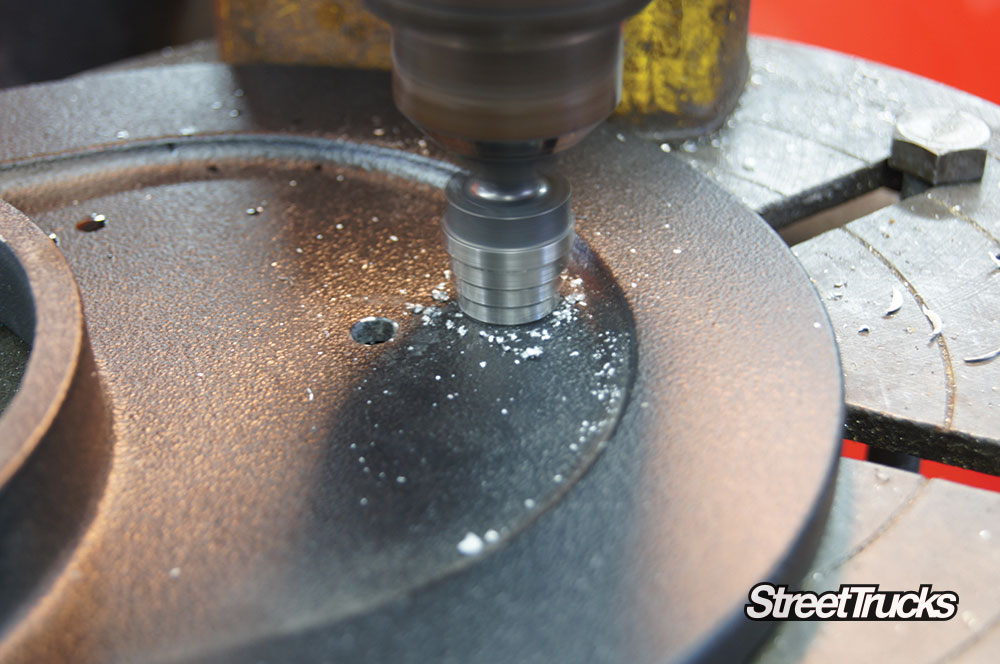
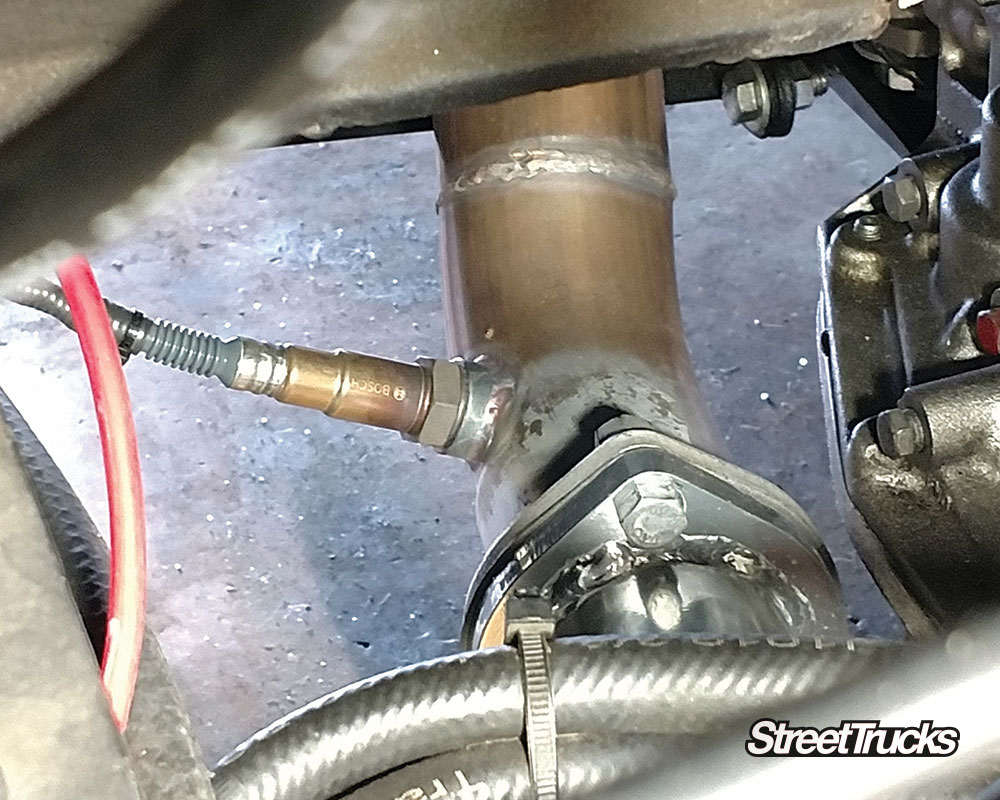
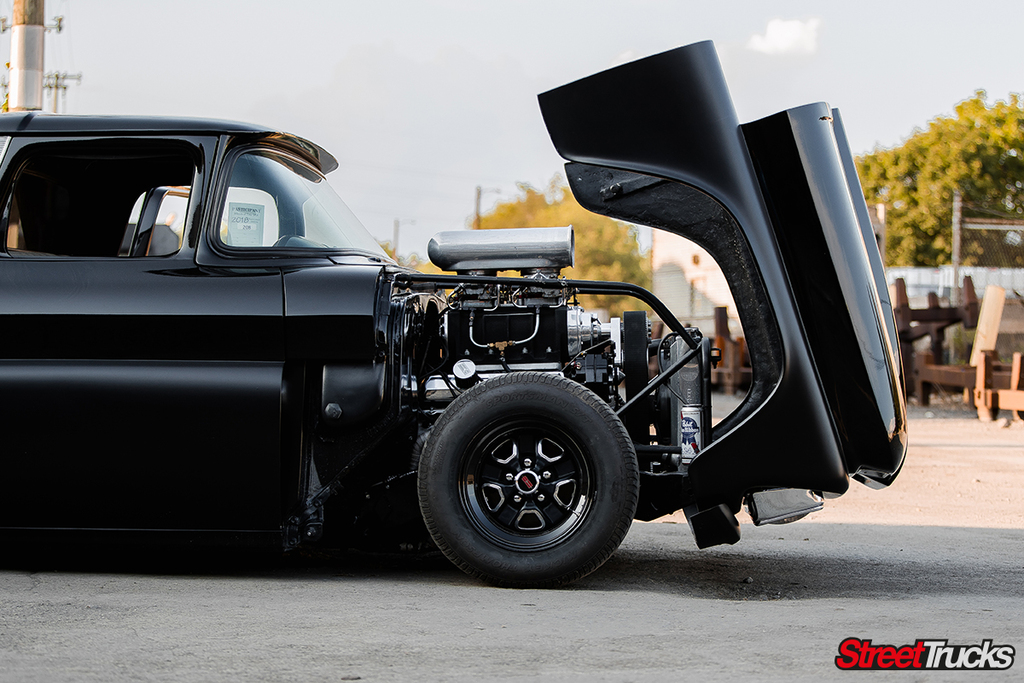
The big brown truck showed up, and we were delighted to see that the entire Pro Flo 4 system came complete in one package—no other parts needed to be ordered. We opted for the version that came with a 7-inch Android tablet that had the E-Tuner software already installed. This saved us from having to use our small phone screen (which would also work) or an existing tablet, which, since we are a bit of a Luddite, we didn’t own. The big box was impressive in that it had everything you need to install the EFI except for a fuel delivery system (more on that later). The manifold is an air gap style and comes completely assembled with the fuel injectors, fuel rails, temperature sender, and air valve installed and ready to bolt on. The distributor is a plug and play that has the proper gear for flat tappet or hydraulic roller cams and is controlled by the ECU. The wiring harnesses are pre-terminated and well labeled for easy hook up between the ECU and the various components. The only fabrication required is drilling a hole in your air cleaner base for the inlet air temperature sender and the installation of the oxygen sensor (02) bung (included) into the exhaust system. We had planned for this when we did the swap to the Doug’s tri-Y headers in the last installment and had welded a bung to the exhaust a few inches past the collector per Edelbrock’s suggestion.
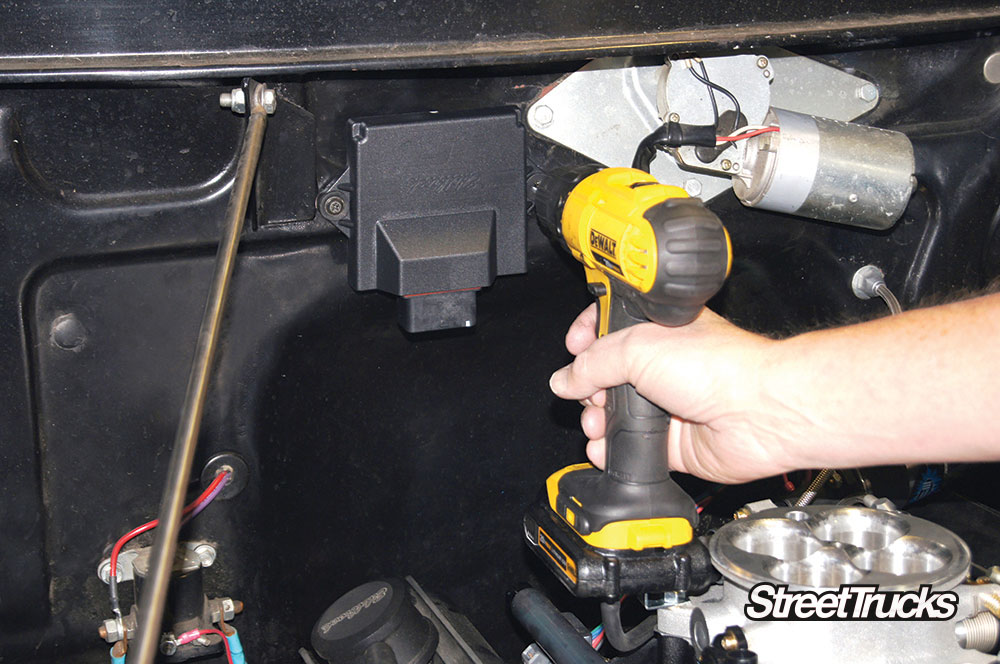

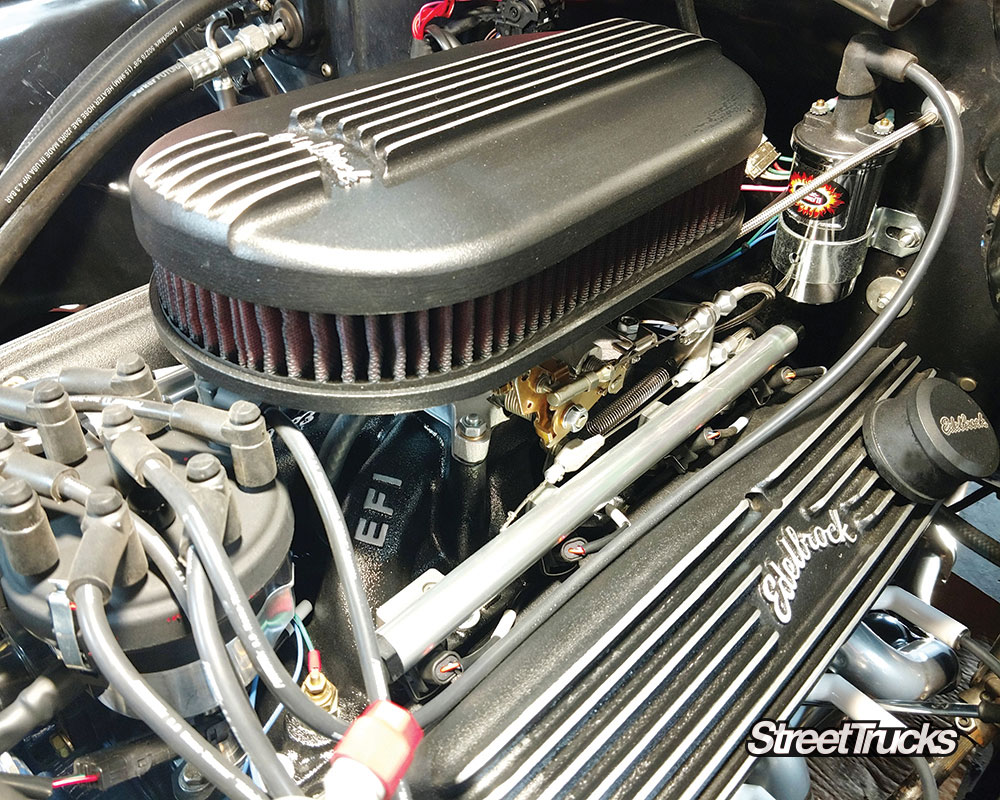
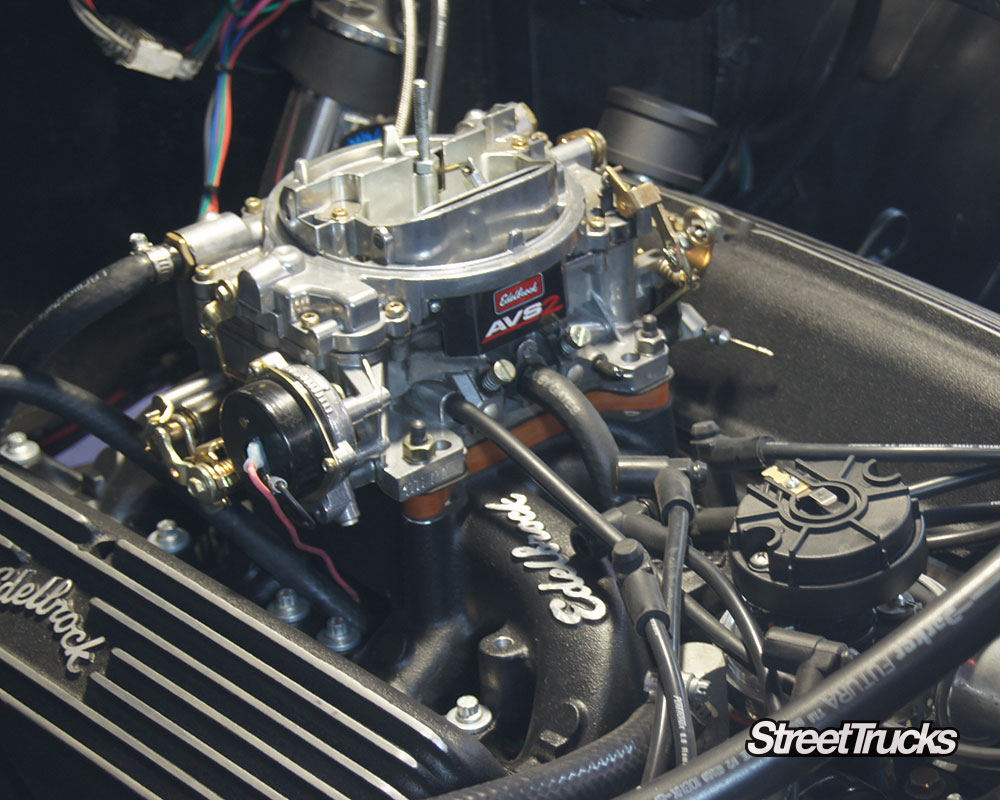
We started the installation on a Saturday morning by sitting down with a cup of coffee and the instructions to prep ourselves for the work ahead. I was pleasantly surprised at how hassle free the installation went, including the ease of wiring and bolting on the parts. Taking my time, and shooting photos as I went, I had it wrapped up and running before dinner time. After setting the parameters of our motor combination into the ECU using the easy-to-follow set up menu on the tablet, we turned on the key to prime the system, and after making sure we had no leaks, we hit the starter and it fired right up and settled into a nice idle with our lumpy cam with only a quick adjustment of the idle speed screw. Sunday morning, I fired it up and went for a drive, watching the E-Tuner dash as it self-learned and adjusted the fuel and timing for optimum performance. We had spent some time with the Edelbrock AVS-2 carb that was on the truck dialing it in and were very happy with the way it performed, better than any other street carb I’ve ever dealt with, but the Pro Flo 4 offered an immediately noticeable improvement in idle quality and off idle transition with our aggressive camshaft. Over the next few days, the ECU continued to learn and the truck only got better. We chose to let the ECU and 02 sensor feedback do all the tuning, but there is an advanced tuning mode in the E-Tuner 4 for those who wish to custom tailor the tuning parameters. The ECU can also control up to two electric fans and has a tach output and can be used with a CDI ignition box (which we didn’t feel was necessary for our installation).
After I’d put about 1,000 miles on it, it was time to check the mileage again. Using the same 65-mile commute and driving style, I was very happy to see that the mileage had jumped from the previous best average of 12.5 to a current 15.4, an increase of almost 25%. That is much more than we could have hoped for, and while your results may vary, this is one of the best things we have done to this hot rod truck. While we didn’t return to the dyno, it feels like we have picked up even more mid-range power, and the solid tire chirps going into second sure seem to confirm that. Edelbrock has packed a lot of features into the Pro Flo 4 that you don’t get with most entry level systems, like sequential injection, a complete distributor with timing control, and an OE-quality ECU. It is a great way to increase performance and mileage over weekend with a simple installation at a reasonable cost, and we can’t say enough about how impressed we are with this product.
Electronic fuel injection has different fuel delivery requirements than that of carbureted systems. The EFI uses high pressure to the injectors that will range from 35-65 psi typically, depending on the brand and power levels of the system. In the case of the Pro Flo 4, the tuning map for your combination will dictate either 43 or 58 psi fuel pressure. There are different ways of setting up the high-pressure system, and the Edelbrock installation instructions are very clear about the optional ways of doing this. Many installations will use either an in-tank pump and return system, which is preferred as the pump in immersed in the fuel and runs cooler and quieter than a frame mounted pump, which will also work.
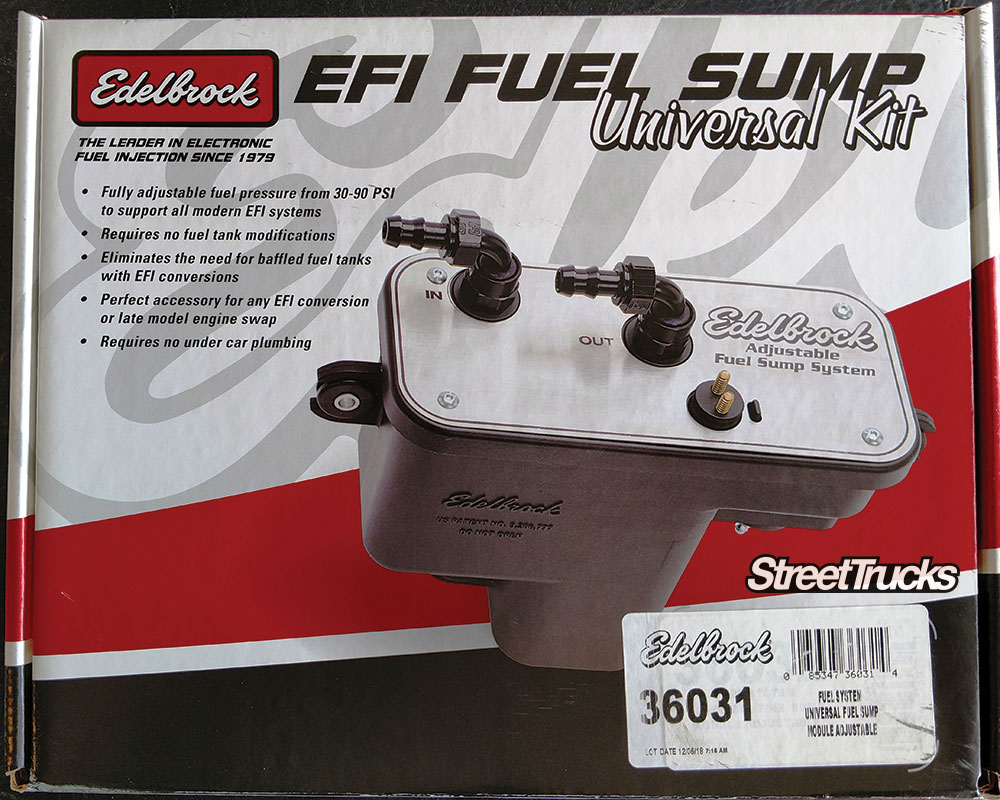
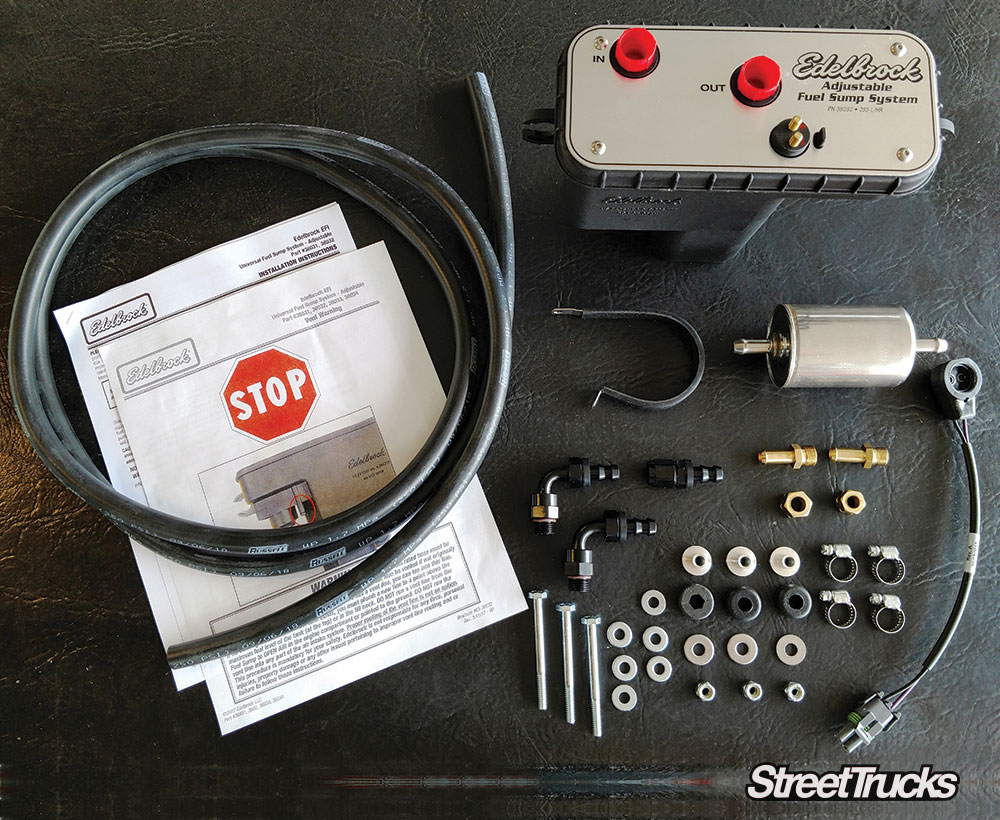
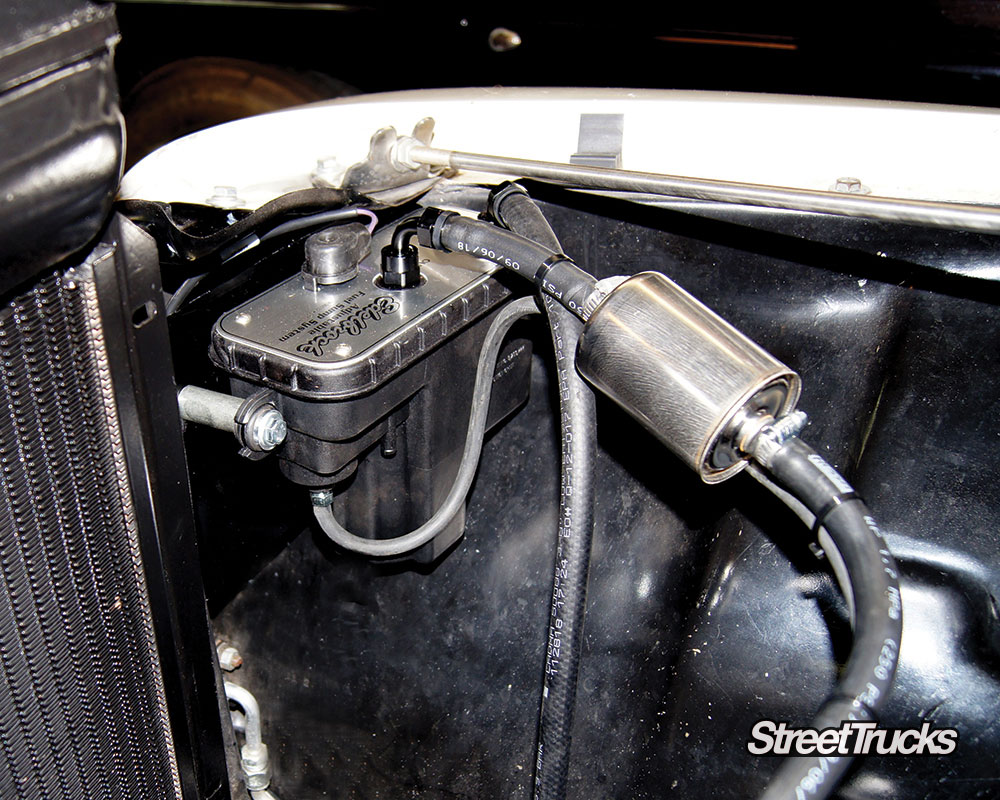
For those who don’t wish to invest in a new tank with an internal pump or have to modify the tank for a return line plus the noise of an external pump, Edelbrock has a cool solution: the Universal EFI Fuel Sump kit. This is a self-contained pulse width modulated small fuel tank with an internal pump that can be mounted under the hood and is fed by the existing mechanical fuel pump or a low-pressure electric pump. In our case the F-100 has an aftermarket aluminum gas tank that was not set up for a return line. The truck has a small electric low-pressure pump mounted to the frame next to the tank that had served well for the carbureted motor.
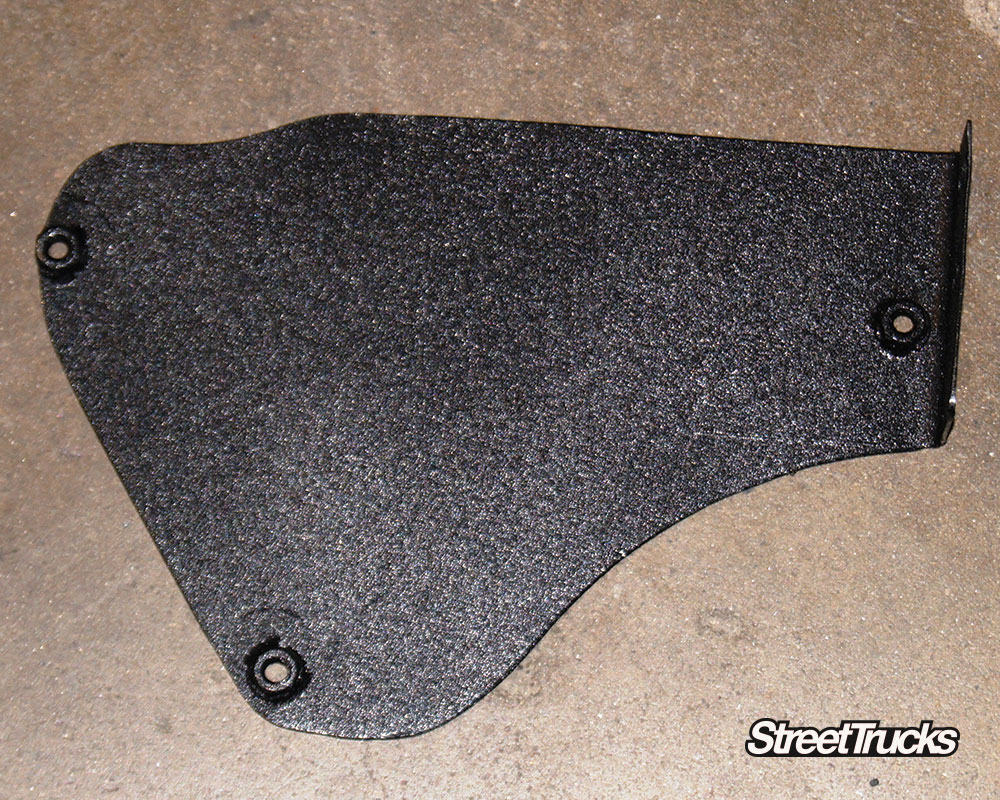
The first thing is to find a suitable mounting location; in our case it fit perfectly to the back side of the core support on the passenger side and only required making a bracket to mount it to the existing horn mounting hole (we relocated the horn). With the bracket made up, we mounted the sump, ran the power lead to the output from the ECU and installed the fuel lines and supplied filter. There is also a fitting for a sump vent, and this is critical to run back to your fuel tank vent so that you don’t have harmful vapors venting under the hood, which could ignite a fire. Once we started the truck, we adjusted the built-in pressure regulator to the 43-psi requirement for our tuning map and we were ready to run. This is a great solution to complete the weekend install of the Pro Flo 4 EFI system and can also be used with most aftermarket EFI systems and will support up to 750 HP.

C10 Builders Guide
The Benefits of Working Late Besides the sore hands, backaches and throbbing knees there are upsides to staying true to the almighty hustle. There is… Continue reading
John Mata Jr. . April 04, 2022

Blood Sweat and Gears
This ’72 GMC Sierra here is rusty and covered in natural patina, and although it has been left in its original aged condition, it looks… Continue reading
Chris Hamilton . March 02, 2020
c10
Following trends is generally a pretty easy and quick way to buy your way into coolness. I mean, the social media influencers, celebrities, and marketing… Continue reading
Chris Hamilton . January 27, 2020
Features
An Iowa-Built California Cruiser When you see something you love, go for it! Dave Gonzales of Temecula, California, had been a previous customer of Lakeside Rods… Continue reading
streettrucks . July 22, 2020

America
This 1990 Nissan Hardbody named California Love, Paradise Rediscovered. Ever since he can remember, Jeff Popiolek has been California dreaming. Born and raised in Chicago,… Continue reading
John Mata Jr. . February 11, 2021
Editor
When we last left Stella, she was under the knife at Overpower Customs getting a new heartbeat thanks to Blueprint Engines. The surgery was scary… Continue reading
Chris Hamilton . July 29, 2020


We use cookies to enhance your browsing experience, serve personalized ads or content, and analyze our traffic. By clicking "Accept All", you consent to our use of cookies. Visit our Cookie Policy for more info.


Share Link